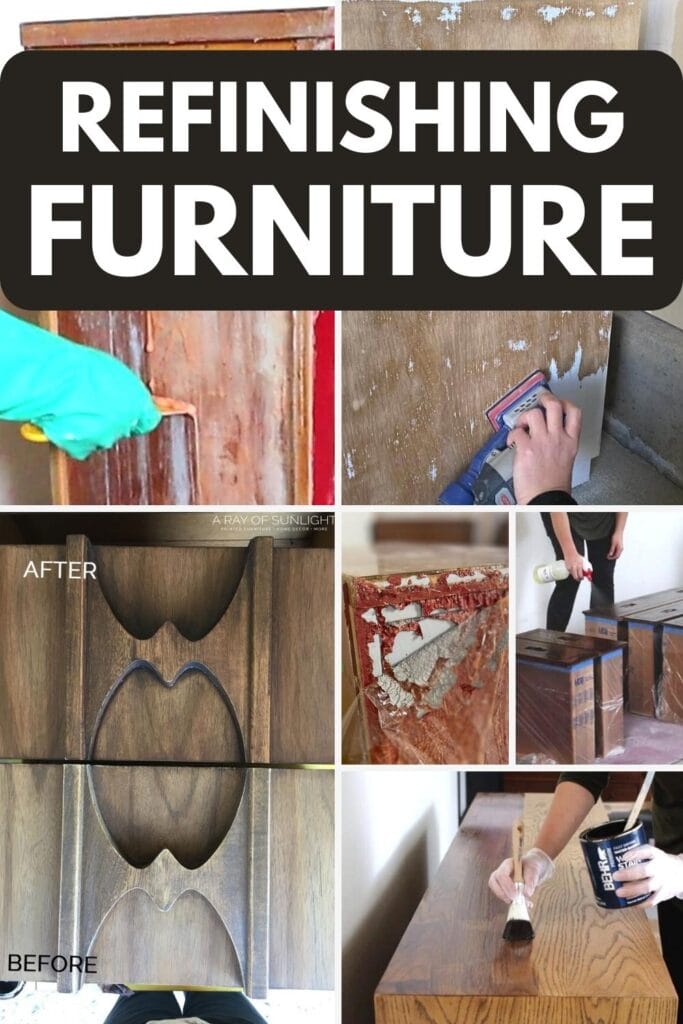
When it comes to updating the look of your home, furniture can play a huge role. Whether you’re looking to renew your current pieces or you’re looking to renew thrifted furniture, refinishing furniture with stain is a cost-effective way to revamp your decor. Staining provides a beautiful finish that enhances the natural beauty of wood while also protecting it from wear and tear.
At A Ray of Sunlight, we’ve been refinishing and selling furniture since 2014. So I’ve made plenty of mistakes, and I’ve learned a lot along the way.

If you’re considering refinishing your furniture with stain, this post will provide some tips and ideas to help you get started. So, grab your sandpaper and get ready to give your old furniture a new lease on life!
If you’re new to the world of furniture refinishing, don’t worry – staining your furniture is easier than you might think.
While there is some prep work involved, such as removing any existing finish and sanding the surface, the actual staining process is relatively simple.
Plus, staining allows you to showcase the beauty of the wood grain while adding color and depth.
Removing Stain or Paint from Wood Furniture
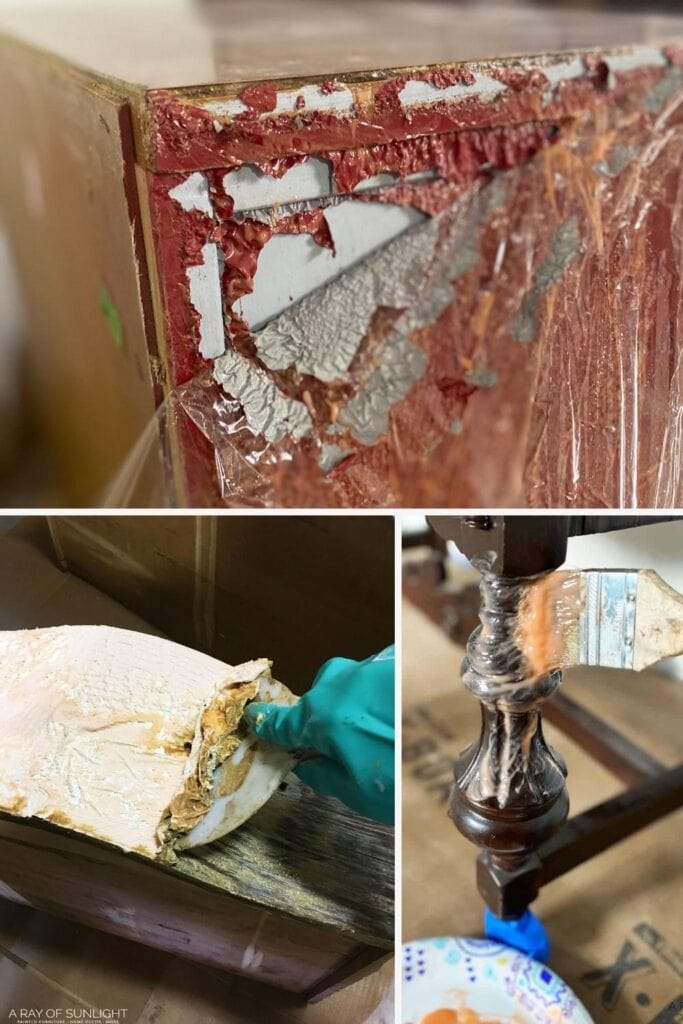
Removing old stain or paint from wooden furniture is the first step in refinishing old furniture and getting it ready for stain. With the right tools and techniques, removing stain or paint from wood furniture can be easy and hassle-free.
In this section, we will cover exactly of how to remove stain or paint from wood furniture safely and effectively.
These posts linked below discuss more detailed information on specific removal methods for stains and paints.
So whether you are trying to remove latex paint, oil-based paint, shellac, varnish or any other type of finish, these resources should help you get started with confidence!
- How to Remove Wood Stain
- The Easiest Way to Remove Paint from your Old Wood Furniture
- How to Strip Paint from Wood Furniture
- How to Remove Old Stain from Detailed Wood
- How to Remove Chalk Paint Easily and Quickly
- Best Tools for Removing Paint from Wood
- How to Sand Curved Surfaces
- Remove Stain From Wood Without Sanding
- How to Sand Wood By Hand
- How to Sand Down Wood
- Sanded Through Veneer to Particle Board
Supplies for Refinishing Furniture
In order to get the best results when refinishing furniture with stain, it’s important to have the right supplies on hand.
From stains and topcoats to chemical strippers and sandpaper, having the right tools will ensure that your project turns out just as you imagined it!
In this section, we’ll discuss some of the essential supplies you need for refinishing furniture so that your project is successful from start to finish.
So grab your sandpaper and get ready for a transformation – with these supplies in hand, you’re sure to have beautiful results!
- Stripwell QCS Review
- Best Wood Stains for Refinishing Furniture
- The Best Stain for Weathered Wood Look
- Wax VS Polyurethane
- Spray Polyurethane VS Brush On Polyurethane
- Best Wood Stain Removers
- Heirloom Traditions All in One Stain
- Minwax Polyurethane Spray
Tools for Refinishing Furniture
When it comes to refinishing furniture, the right tools can make all the difference.
From sanders and brushes to scrapers and applicators, there are a variety of essential tools that you should have on hand when taking on this project.
Having these items will not only help ensure a successful outcome but also save time in the process. In this section, we’ll discuss some of the most important tools for refinishing furniture and how they can be used effectively.
So whether you’re looking to remove old stain or paint from your wooden furniture or add new stain, having the right tools is key!
- Best Sanders to Remove Paint
- SurfPrep Sander
- SurfPrep VS Festool Sander Reviews
- SurfPrep Sander Alternative
- Top Furniture Refinishing Tools That Will Make Your Project Perfect
- Best Brushes For Staining Wood

Staining Wood Furniture
Staining wood furniture is a great way to revitalize your home décor and give old pieces of furniture a new lease on life.
Not only does staining provide beautiful color and depth, but it also helps to protect the natural beauty of the wood from wear and tear.
With the right supplies and techniques, anyone can have success with staining their furniture. In this section, we will discuss some tips for getting started with staining wood furniture so that you can achieve professional results in no time!
- How to Refinish a Dresser
- How to Restain Wood Furniture
- How to Stain Wood Darker
- How to Repair (and Stain) Chipped Veneer Furniture
- How to Whitewash Furniture
- How To Stain Wood With Paint
- Restaining Furniture
- Staining Wood Filler
- How To Stain Wood With A Rag
- How to Stain Already Stained Wood
- How to Stain Wood Furniture
- Painting Over Oil Based Stain
- How To Whitewash Stained Wood
- Gel Stain Over White Paint
- How to Tone Down Orange Wood Furniture
- How to Refinish Wood Furniture
- How to Change Wood Color Without Sanding
Refinished Wood Furniture Makeovers
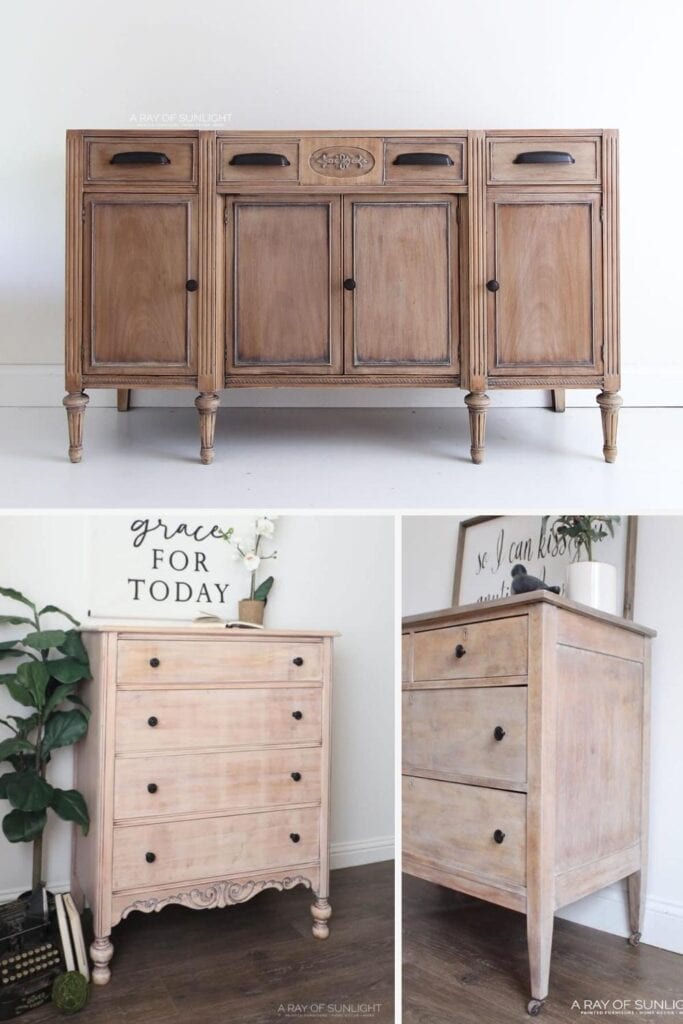
Here are some of our furniture makeovers that were refinished with stain instead of painted.
You’ll find some great inspiration here!
- DIY Whitewash Dresser
- How to Whitewash Wood
- Buffet Turned Into Bathroom Vanity
- Refinishing An Old Dresser

As an Amazon Associate, I earn from qualifying purchases. I also may earn from other qualifying purchases with other companies or get free product to review and use. All opinions are my own.
What are the steps to refinishing furniture?
To refinish furniture with a stain, there are a few key steps that you need to follow.
The first step is to remove the old finish from the furniture. You can use a chemical stripper, scraper, or sander to remove the old finish.
Chemical strippers are effective, but then you have to let the wood dry out. If you choose to use a scraper or a sander, be sure to use caution and work slowly to avoid damaging the wood’s surface.
Sanding the furniture smooth is also important to help prepare the surface for the new finish.
After you have removed the old finish and sanded the furniture smooth with 150 grit sandpaper or 220 grit sandpaper, you can then “pre-condition” the wood.
This involves applying a pre-stain conditioner, which helps to ensure that the stain is absorbed evenly by the wood.
Pre-conditioners are especially important when working with soft woods such as pine or cherry, as these types of woods can absorb stain unevenly.
When it comes time to apply the stain, it’s important to use a clean cloth or brush and work it in the direction of the grain. Be sure to apply the stain evenly, working it into the surface of the wood.
Once you’ve applied the stain, wipe the excess stain off with lint free rags, wiping with the direction of the wood grain. And then, allow it to dry completely before moving on to the final step.
The final step is to apply a topcoat to protect the newly-stained wood from wear and tear. You can use a clear coat, lacquer, or varnish to provide a protective layer that will help to maintain the furniture’s new finish.
By following these steps, you can successfully refinish furniture with stain and give your favorite pieces a fresh, updated look.
Is it worth it to refinish old furniture?
Refinishing old furniture can be a great way to bring your favorite pieces back to life and give them a fresh, updated look. Not only does it help to extend the life of these pieces, but it can also save you money in the long run.
By refinishing furniture yourself, you can take something outdated and make it look like new without having to buy something new.
Refinishing furniture can be a time-consuming process, but it’s worth it in the end when you have a beautiful piece that is customized to your own taste and style.
So if you’re looking for an easy way to spruce up your home décor, refinishing old furniture may be the perfect solution for you!
By following these steps and using the right tools, you can successfully refinish your furniture with stain and give it a new lease on life.
And with practice, you’ll be able to create professional-looking results that will make your home look even more beautiful.
So if you’re looking to give old furniture a fresh new look, get started on your staining project today!
More Furniture Ideas:
Follow us on YouTube to get more tips for painting furniture.
Or share your project with us on our Facebook Group and be part of our community. See you there!
