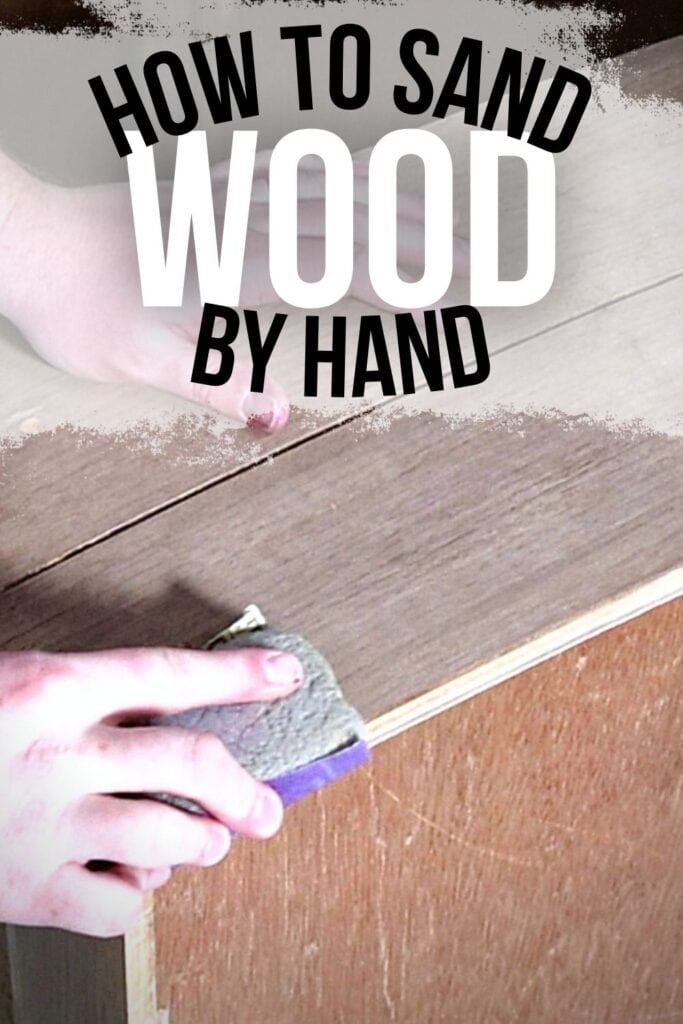
How to Sand Wood By Hand
Sanding furniture by hand is a great way to give wood an even, smooth finish for painting, staining, or finishing. But learning how to sand wood by hand is an important part of refinishing furniture to make it look and feel nice.
In this blog post, we will discuss the steps you need to take when sanding wood by hand, as well as provide sanding furniture tips and answers to some frequently asked questions about the process. With the right tools and technique, anyone can sand wood by hand properly and get amazing results!
Whether you are looking to give a piece of furniture a new coat of paint, stain, or finish, sanding the surface first will make sure that your project has a smooth and even finish. But how exactly do you go about sanding wood by hand?

Sanding wood by hand is a great option for those who are starting out with woodworking or with smaller furniture projects. It is also a more accessible method, as it does not require any expensive equipment or power tools.
Sanding by hand also allows you to work at your own pace. This is especially useful for beginners who may not be comfortable using power tools yet or for those who want a more hands on approach to their projects.
So if you are ready to tackle sanding wood furniture by hand for your next project, keep reading for our step by step guide on how to sand down wood and some helpful tips to make the wood sanding process smoother and more efficient. Let’s dive in!
Supplies Used for Sanding Wood by Hand
As an Amazon Associate, I earn from qualifying purchases. I also may earn from other qualifying purchases with other companies or get free product to review and use. All opinions are my own.
- Sandpaper (Coarse, Medium, and Fine Grit)
- Shop Vacuum
- Tack Cloth
- Krud Kutter
- Safety glasses
- Respirator mask
How to Sand Wood Furniture with the Right Sandpaper
When it comes to sanding wood by hand, choosing the right sandpaper is essential for achieving a smooth and even finish.
Different types of projects require different grits of sandpaper – coarse grit paper for removing rough spots, medium grit paper for smoothing out irregularities in the wood’s surface, and fine grit paper for creating a smooth finish on the wood’s surface.
Our blog post on the best sandpaper for furniture painting gives an overview of the different types of sandpapers that are available and which ones are best suited to your project.
The cheap sandpaper will only last a very short time before it won’t sand much at all. Or it rips easily, so then you have to change it out for a new piece. Spending a little more money on the sandpaper will help your project go faster.

If you just need to smooth out the wood a little, maybe remove some splinters on the end of the wood, you can just sand it with 220 grit sandpaper.
If you need to remove an old finish on the wood, start with medium grit sandpaper (150 grit) and see how easy it is to remove. If it isn’t coming off very quickly, you can move to a more coarse grit sandpaper like 80 grit.
Just be careful with the more coarse sandpaper because if you have thin wood veneer on your furniture, you can easily sand through it, and then not be able to stain your wood without having a big spot in it. Can veneer be sanded? – check out the post to learn more.
Once you’re done with the coarse grit sandpaper, change your sandpaper out for medium grit sandpaper, and sand everything again. Then sand everything again with 220 grit sandpaper to finish smoothing everything out.
Moving through all of the different grits like that is more efficient and it doesn’t leave as many marks behind.
How to Prepare Wood for Sanding
If your surface is dirty with grime on the surface, it’s best to remove all of the grime before sanding to prevent that grim from being pushed down into the wood. If there is dirt on the surface, it’s best to remove the dirt so it doesn’t scratch up the wood more than sandpaper.
To start, use a shop vacuum and tack cloth to remove any dirt and debris from the surface of the wood. If the wood has a finish on it, clean it off with Krud Kutter and a damp cloth. Check out our blog post on how to clean furniture before painting to learn more about why it is important to clean before painting.
Additionally, if there are any nails, screws, or other hardware on the piece of furniture you’re working on, make sure to remove them before beginning to sand as well.
Once all foreign objects have been removed from the surface of your project, you can now begin to prepare it for sanding!
Grits of Sandpaper for Wood
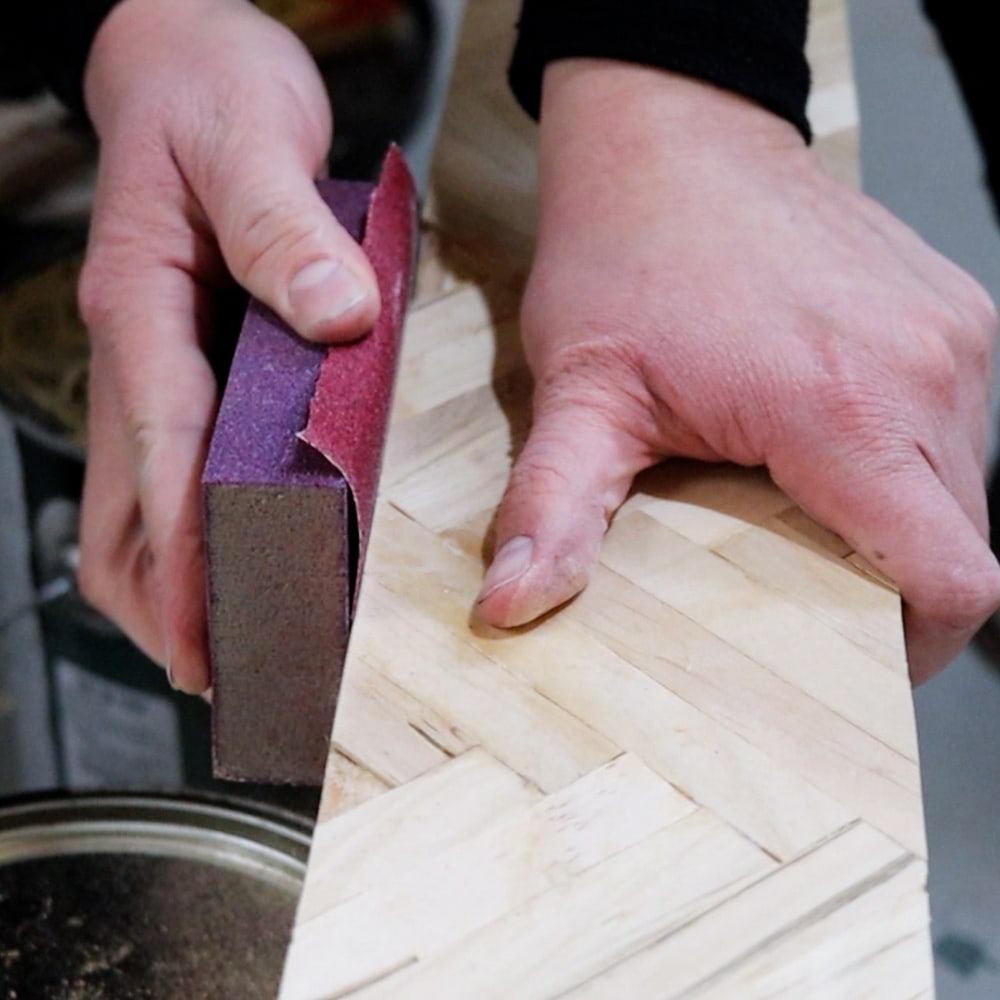
When it comes to sanding wood by hand, starting with a coarse grit sandpaper like 60 grit sandpaper, 80 grit sandpaper, or 100 grit sandpaper, will remove any rough spots or irregularities in the wood’s surface.
It’s important to remember that if you have thin wood veneer on your furniture, be careful when using more coarse sandpapers because they can easily damage the veneer.
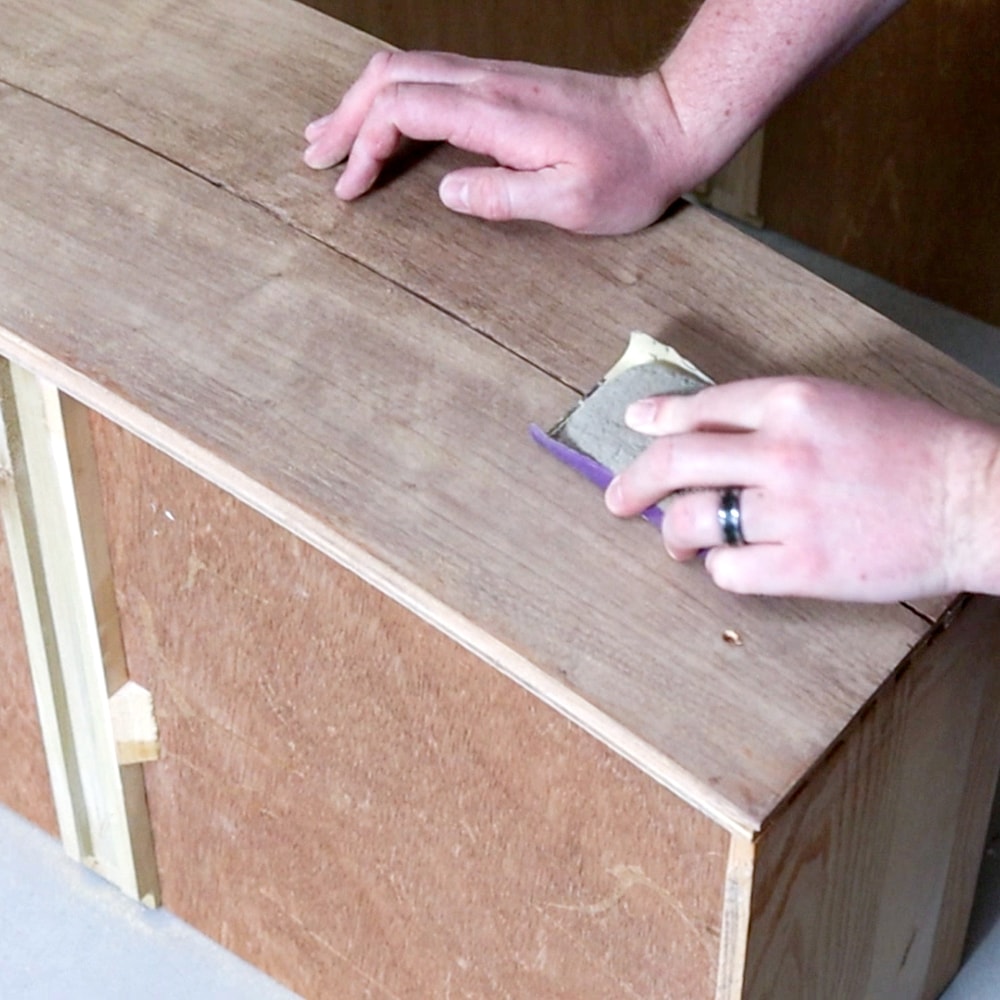
When sanding, sand with the direction of the wood grain. For example, there are lines in the wood. Those are called the grain. So, you want to sand with those lines. If you go across the lines, you will see all of those scratches once you add a topcoat or stain to the wood.
When done with the coarse sandpaper, use a vacuum to suck up all of the sanding dust off of the surface.
Would you like to save this?
What Grit Sandpaper to Smooth Wood
Then move to a medium grit sandpaper (120 grit, 150 grit, or 180 grit sandpaper). This grit of sandpaper will smooth out the wood better and give you a nice, even surface.
Sand with medium grit paper until all of the irregularities in the surface have been smoothed out. When done with this step, use a vacuum to suck up all of the sanding dust off of the surface once again.
Then, finish off with some fine grit sandpaper (200 grit, 220 grit sandpaper) to finish smoothing the surface for stain, paint, or a topcoat. This step helps to make sure that your project looks even and professional.
Once done, use a vacuum or tack cloth to remove any sanding dust from the surface before staining, painting, or topcoating. For a detailed guide on cleaning furniture after sanding, check out how to clean wood after sanding here!
Following the steps above will make sure that you are sanding wood correctly and safely. Sanding is an important part of any furniture restoration or refinishing project, so taking your time and following these tips will help you get amazing results. Here are more tips on sanding for paint prep and how to sand down wood properly.
How to Sand Detailed Wood Furniture
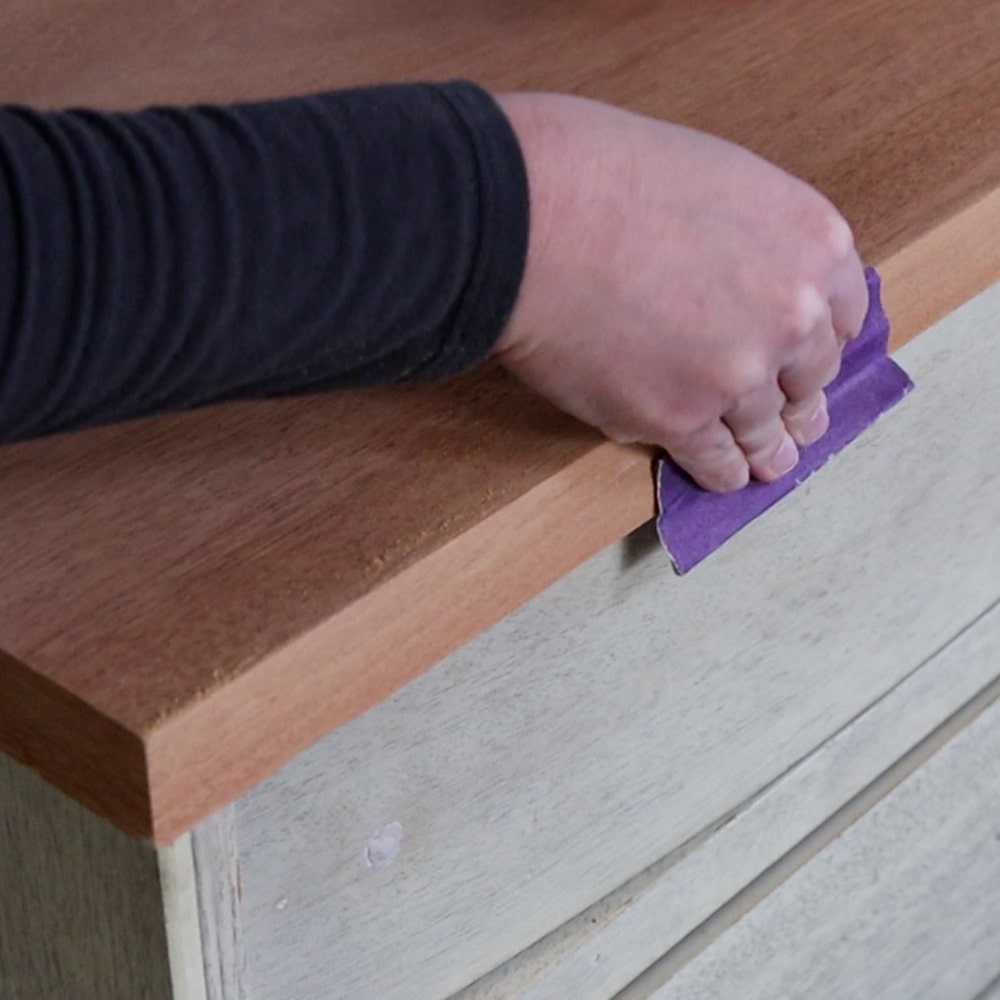
When it comes to sanding detailed wood by hand, it’s definitely tricky, but not impossible! After working on the flat surfaces of your project, it’s time to tackle all of those detailed areas. The key to successfully sanding intricate wood furniture is having the right tools.
Foam sanding pads (Use code RAY10 to get 10% off your order at SurfPrep!) and sanding contour grips are perfect for reaching tight corners and edges while also providing a smooth sanding experience. The foam pads are flexible and come in a variety of grits, allowing you to choose the right one for your specific project needs.
For the sanding contour grips, wrapping your preferred grit of sandpaper around these grips allows you to easily reach those tricky spots without damaging or scratching your project. These grips also come in various shapes to accommodate different curves and edges on furniture.


Don’t forget to follow the same steps as before when it comes to using different grits of sandpaper for wood. Start with a coarse grit (60-100 grit) for rough spots and then move on to a medium grit (120-180 grit) for smoothing out the surface. Finally, finish off with a fine grit (200-220 grit) for a professional and even result.
You can check out how to sand curved surfaces and how to sand in tight spaces for more detailed tips and tricks on sanding detailed wood furniture.
After Hand Sanding Furniture
After the wood has been properly sanded, it’s time to apply stain, topcoat, or paint! Applying a finish to your wood project can be a bit daunting if you’ve never done it before. But don’t worry – with the right supplies and some knowledge, you’ll get amazing results in no time!
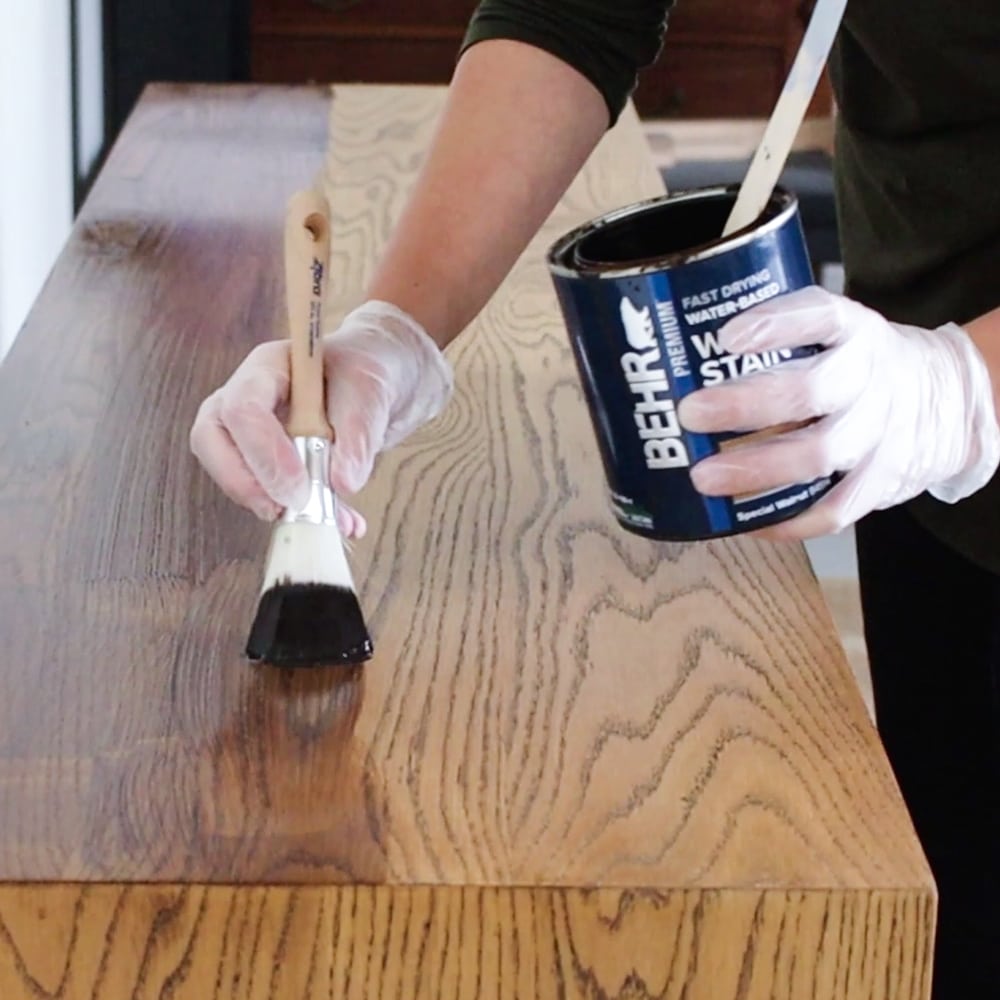
Our blog post on how to stain wood furniture provides an overview of all the steps involved in staining wood furniture including what types of stains are best for certain projects and how to prepare the surface of your project before applying stain.
Our painting furniture ideas post will also give you everything you need to know to start painting your furniture to get high end results. And here’s sealing painted furniture to guide you on what topcoat to use and how to apply it to your painted piece.
How many times should I change my sandpaper when working on a large project?
When sanding a large project, it’s important to change out your sandpaper often. When using a coarse grit paper like 80 or 100 grit, you should change it out as often as you notice that it isn’t sanding as fast as it was.
Sandpaper can quickly lose its abrasive properties when being used on large projects. Keep in mind though that the higher quality sandpaper will last longer than the cheap sandpaper.
If you would rather save money, you can keep using the sandpaper after it starts to loose the abrasiveness, as it will still sand. It just doesn’t sand off as fast as new sandpaper.


Does it matter which direction I move while sanding?
Yes, it does matter which direction you move while sanding because moving in the wrong direction can result in scratches showing up in your stained or topcoated wood.
It’s important to always sand with the grain of the wood and not against it as this will not leave unsightly scratches. (But how to tell direction of wood grain for sanding? The direction of the wood grain is the same direction of the lines in the wood.)
Additionally, if you’re using a finish on your wood such as paint or stain, sanding with the grain will help the finish go on more evenly and look better.

How to Sand Wood by Hand
Sanding wood can be an intimidating process if you've never done it, but with the right knowledge and tools, it's actually quite simple and fast. Here's how to sand wood by hand!
Instructions
- Remove dust, dirt, and grime from the surface.
- To remove the finish from the wood or to sand very rough wood, start sanding with a coarse grit paper (60, 80, or 100 grit) making sure to sand with the direction of the wood grain
- Use a vacuum to suck up all of the sanding dust off of the surface after finishing with coarse grit paper.
- Move to medium grit paper (120, 150, or 180 grit) for smoothing out irregularities in the wood’s surface. Use a vacuum again once done with this step
- Finish off with fine grit paper (200 or 220 grit) to create a smooth finish on the wood's surface
- Vacuum one more time before applying stain, topcoat, or paint
Recommended Products
As an Amazon Associate and member of other affiliate programs, I earn from qualifying purchases.


more sanding furniture tips
- The Importance of Sanding Before Painting Furniture
- Best Sanders for Furniture
- Festool Rotex 125 Review
- Best Hand Sander for Furniture
- Sanding Furniture For Beginners
Follow us on YouTube to get more tips for painting furniture. Or share your project with us on our Facebook Group and be part of our community. See you there!