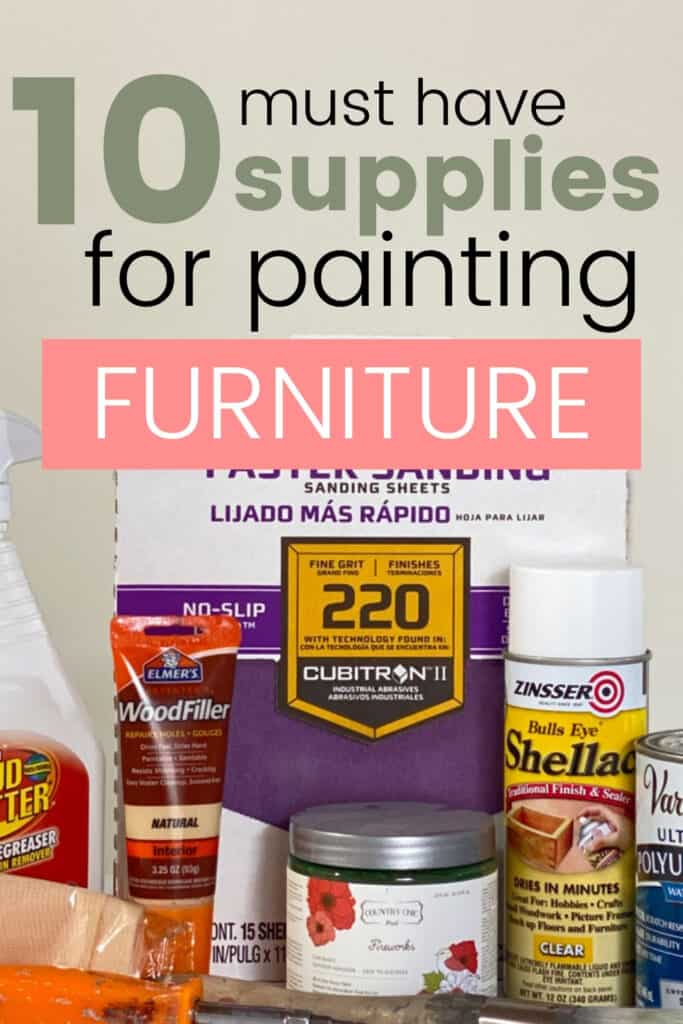
10 Must Have Products When Painting Furniture
There are SO many paint products and brands out there! It can be overwhelming when trying to figure out which to use especially if you’re new to painting furniture. After many years of painting and trying out different products, here’s our list of the best painting furniture supplies.
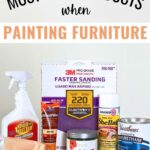
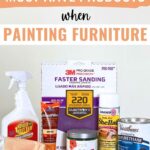
These furniture painting tools and supplies will not only make the process easier but also give you professional looking results. Keep reading to discover these 10 must have products when painting furniture!
No more sifting through tutorials and makeovers trying to figure out what you need or don’t need for your first painting furniture project. Obviously, you can use so many more products than just 10, but these are the things that we use basically every single time we paint a piece of furniture.

Below I’ll go into more detail about which exact product I use and recommend, and why I do. Annnnnd if you’re wanting to paint a large project or multiple projects, I have another list of things that will make your life SO much easier!
**Keep scrolling past this first list to see that list. 🙂
10 Must Have Products When Painting Furniture
As an Amazon Associate, I earn from qualifying purchases. I also may earn from other qualifying purchases with other companies or get free product to review and use. All opinions are my own.
- Screwdriver
- Cleaner
- Wood Filler
- Sandpaper
- Vacuum with Hose and Brush Attachment
- Tack Cloth
- Primer
- Paint
- Paint Brush
- Topcoat
Screwdriver
Most furniture has some sort of hardware that needs to be removed before you paint. Think drawer pulls, hinges, and knobs. These things all typically are held on with a screw or two, and they just need to be unscrewed to remove them.
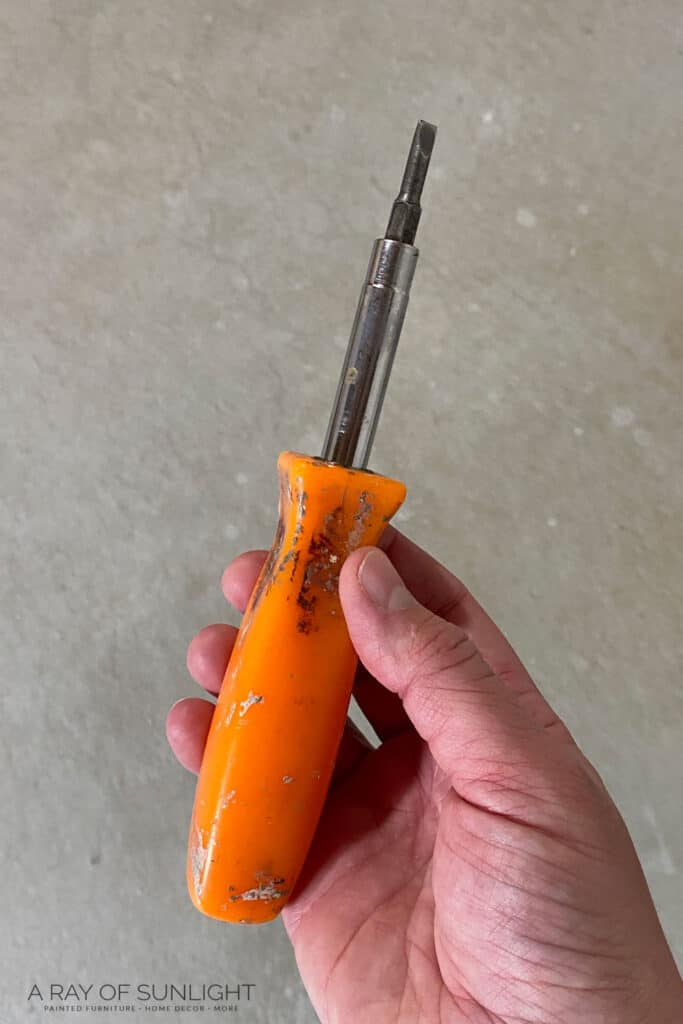
You don’t need anything fancy! My favorite screwdrivers are the kind that can change from Phillips to flat, so I don’t have to search around for another screwdriver. Learn more about how to change hardware on a dresser here where you usually use a screwdriver.
Cleaner
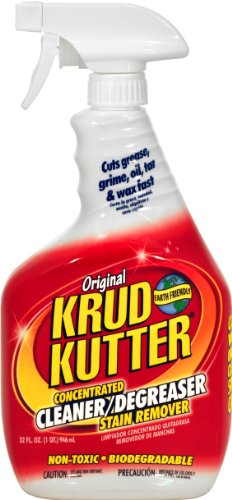
The most important first step to painting furniture is to clean the surface really well. Years of gunk, grease, oil, and grime probably have built up. And all of those things can compromise how well the paint can stick.
So, we always clean each piece of furniture down with a cleaner/degreaser to remove all of those things. My favorite to use is Krud Kutter cleaner degreaser. It cuts through grease and grime really well!
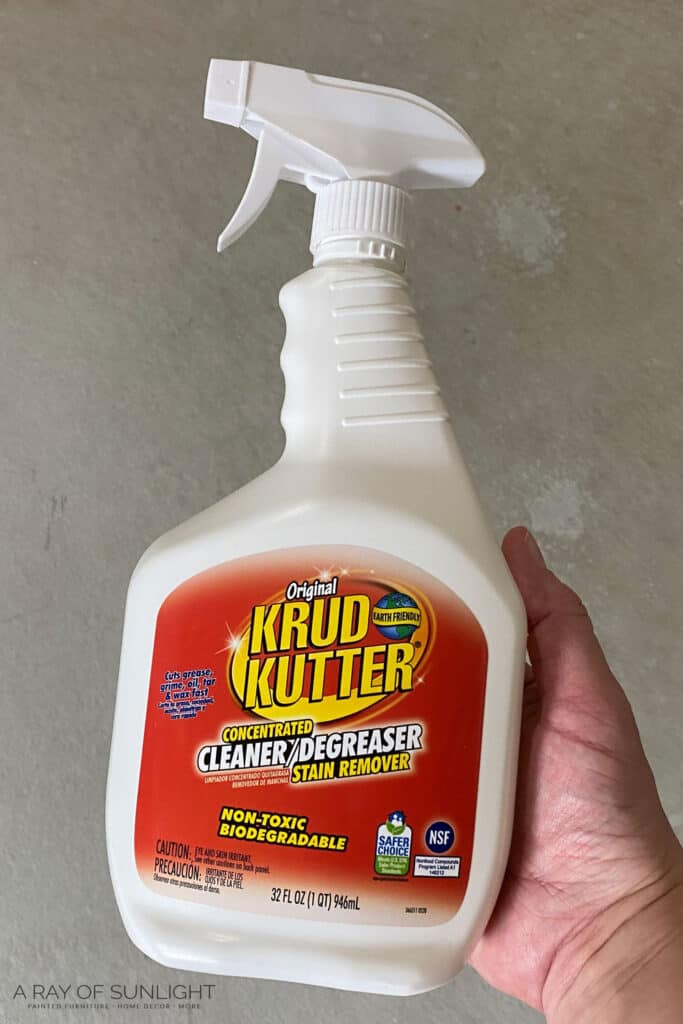
But if you don’t have any on hand, my next go-to cleaner is just good ole dawn dish soap in hot water. Read all about how to clean furniture before painting here!
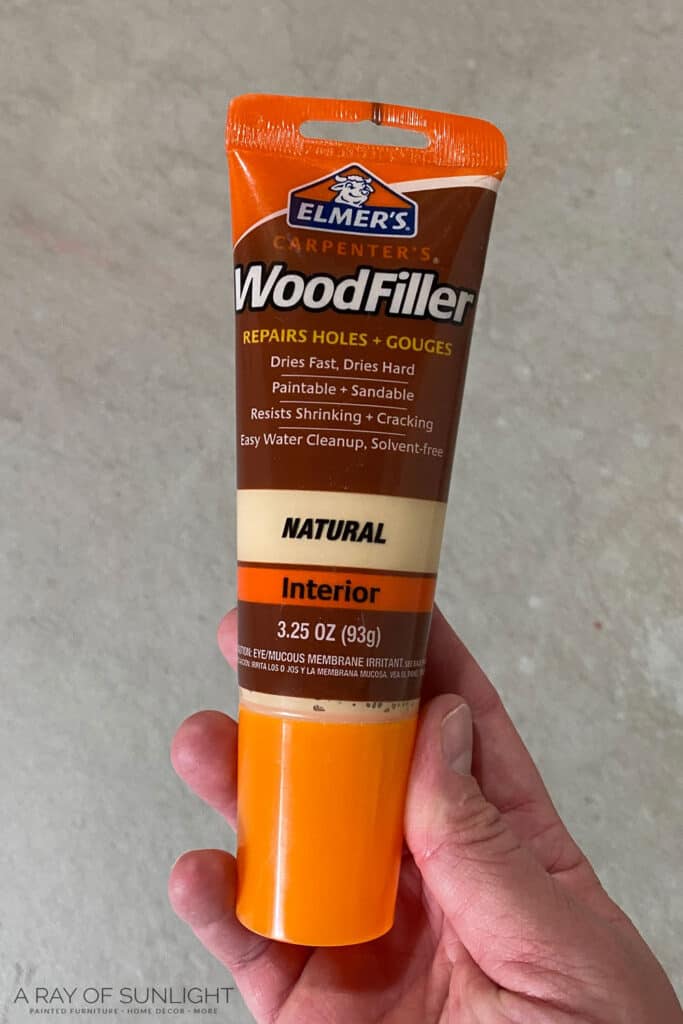
Wood Filler
And then there are usually some repairs to make. From broken corners, chipping veneer, or just filling in old hardware holes so you can put new hardware on. Or even just filling in the basic little scratches.
We have three types of wood filler on hand at all times for these repairs. The first is just the basic wood filler to fill in the little scratches and dings. Basically anything less than 1/8″ deep.
My second go-to wood filler is Bondo. It’s a bit stinky, but it is great for repairing veneer, fixing chipped wood corners, and a whole lot of other repairs.
It’s a thinner consistency that makes it really easy to spread. You can also put it in a mold to mold it into different shapes if needed. (Check out this tutorial on how to repair broken trim on furniture.)

It dries really hard in about 30 minutes so you can move on to the next part of your project (unlike wood filler which takes a really long time to dry if you use a lot of it). Check out my honest Bondo wood filler review here to learn more about this product.
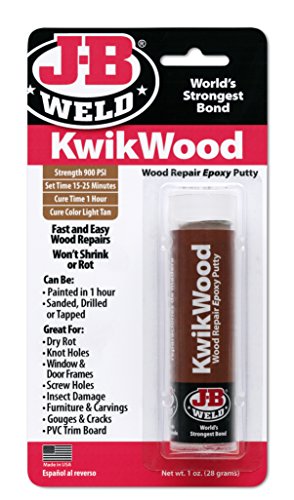
And then my favorite, filler that isn’t as well known is KwikWood. It’s thicker, kind of like clay.
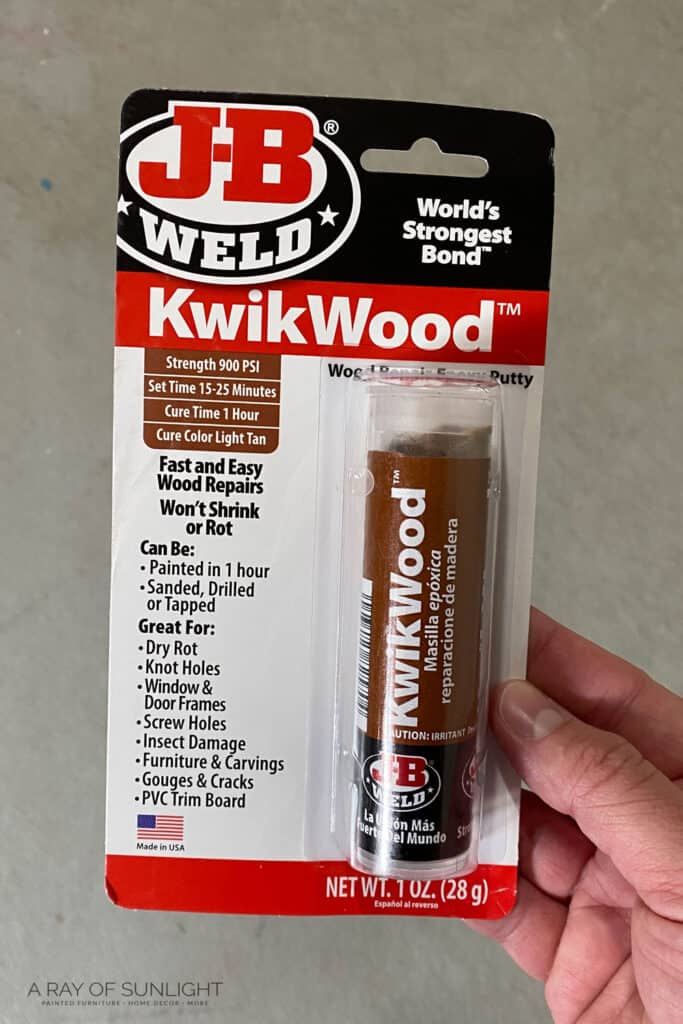
It dries hard in about an hour, it doesn’t stink like Bondo! And it’s my favorite way of filling holes when replacing cabinet or furniture hardware! Read more about how to use KwikWood here. Also, check out my list of the best wood fillers for furniture here for more options and tips.
Sandpaper
Yeah… you COULD get away with painting furniture without sandpaper… But you won’t ever find me doing it that way.
We use sandpaper to scuff sand the surface of the furniture. It’s what we call scuff sanding, and it really really helps the paint stick to furniture (especially slicker surfaces!) Learn more about the importance of sanding before painting furniture here!
But we also use sandpaper to sand in between coats of paint to make the paint really soft and smooth. And in between coats of polyurethane for the same reason. We also use sandpaper to sand down wood filler smooth, and to shape it if we need to.
And one last way we use sandpaper is to distress the paint for a farmhouse, distressed look. Here’s more on how to distress furniture with sandpaper, and learn more distressing furniture techniques in this post!
But all sandpaper is NOT created equal. We started out using the cheapest stuff we could find because I didn’t know any better. Annnd then I got sooo frustrated with the cheap stuff ripping and losing its roughness within a few seconds of using it.
So we tried a few other kinds, and landed on this kind of sandpaper being the very best! It lasts longer, so really you’re not spending any more money on it than the cheap stuff that doesn’t last very long.
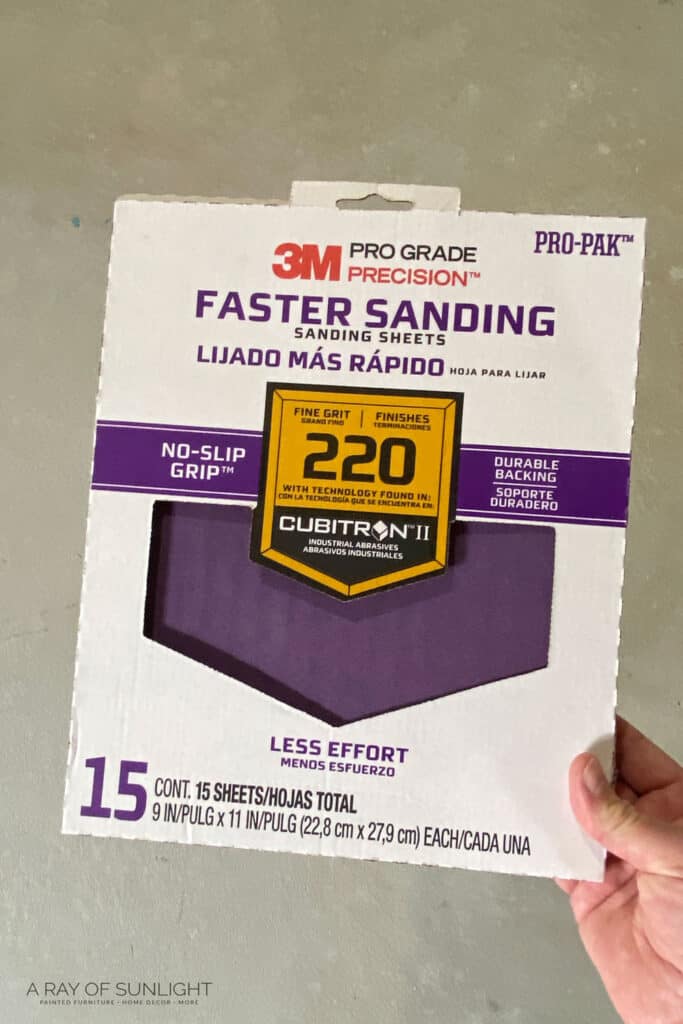
I personally use a lot of 220-grit and 400-grit sandpaper. I use 220 grit for scuff sanding, sanding down wood filler, and distressing. 400 grit sandpaper is great for in between coats of polyurethane because the 220 grit is a little too scratchy and rough.
I also like to have 100 grit and 150 grit on hand for when I sand furniture down to bare wood. It also comes in handy for sanding down wood filler too! Learn more about the best sandpaper for furniture painting here.
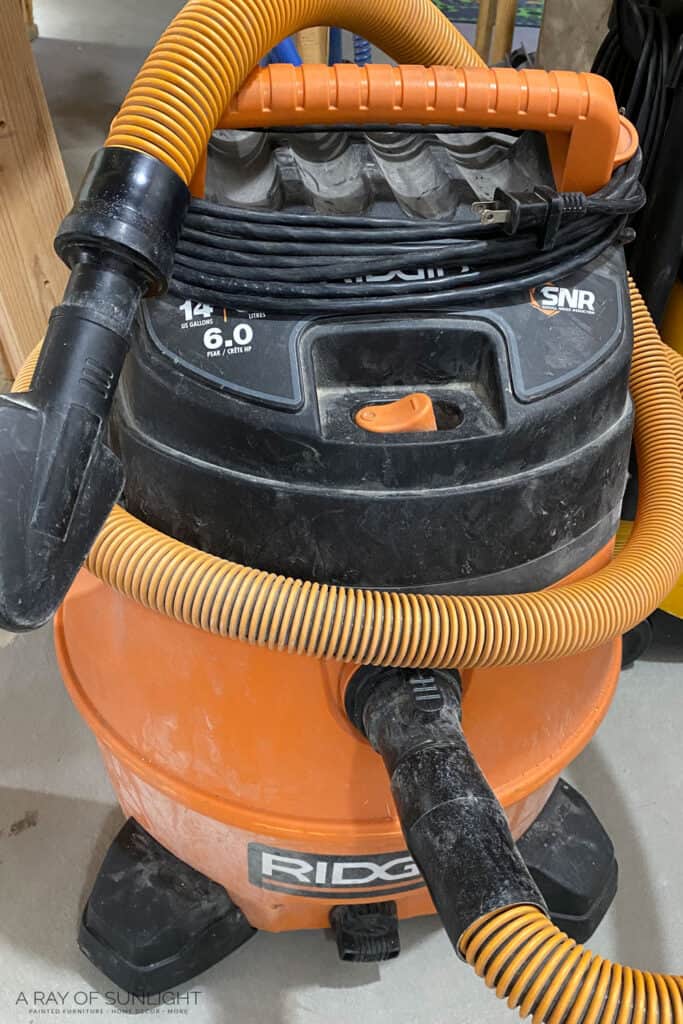
Vacuum with Hose and Brush Attachments
Why in the world do you need a vacuum for painting furniture?! To suck up all the dust of course! But seriously, after any sanding, it’s so nice to suck up the leftover dust instead of trying to wipe it off. I personally use my shop vac, but before I had a shop vac, I used my household vacuum that had a hose and brush attachment.
Tack Cloth
A tack cloth is basically a super sticky cheesecloth. It picks up the remaining dust (after you vacuum most of it up) so you’re left with a completely dust-free surface. And that’s a big deal if you want a professional-looking finish on your furniture.
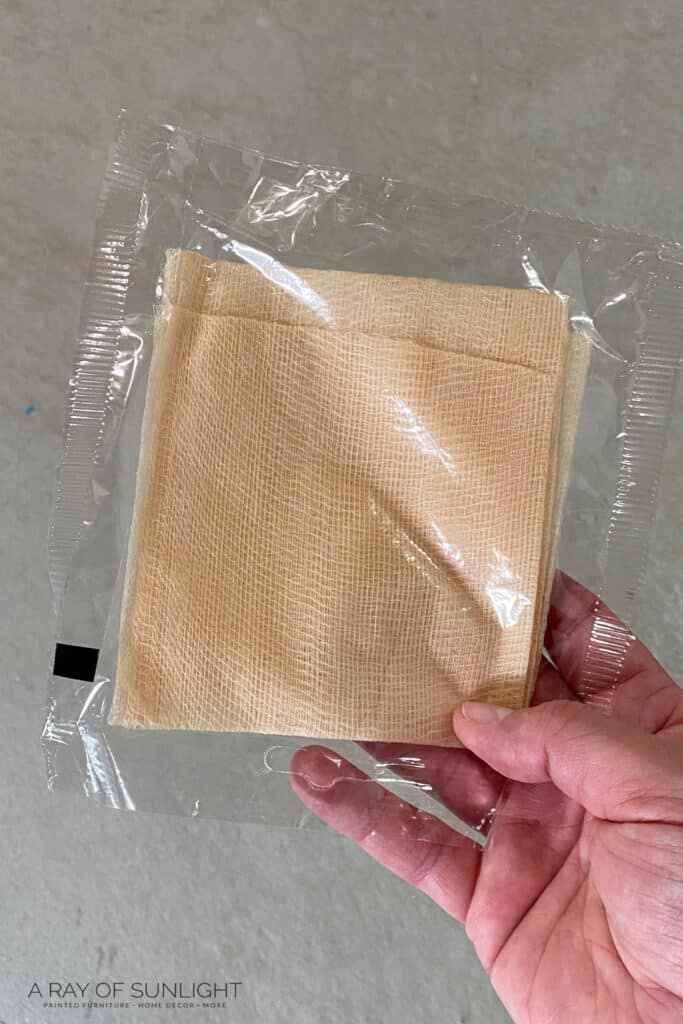
If you don’t get rid of the dust before you paint, you’ll end up with little specks and rough spots all over in your paint. Obviously, you can get away with not using a tack cloth, and you can use a lint-free rag instead. But they just don’t get rid of the dust like tack cloths do!
Quick Tip: I personally like to wear some disposable gloves when I use a tack cloth. Otherwise, my hands get all sticky and weird feeling from touching the tack cloth.
Primer
Not all primers are created equal. They aren’t made for the same things either. Some just help with coverage. These are the primers that are built into latex paint. Some help the paint to stick. And others are made to block things (like wood dye, wood stain, and wood tannins) from showing up in your paint.
A super common misconception is that chalk paint (and a lot of other paints) doesn’t need a primer. It’s partially true. Chalk paint has excellent adhesion and doesn’t always need a primer to help it stick. But that’s only part of the story.
Some furniture, like laminate (IKEA!) furniture is super slick, and chalk paint needs a primer below it, to help it stick. (Yep, I tried straight chalk paint on laminate before. Didn’t work out so well.)
BUT, you can paint laminate if you prime it with a good primer first! Read all about the best primer for laminate furniture here! Or watch this video below!
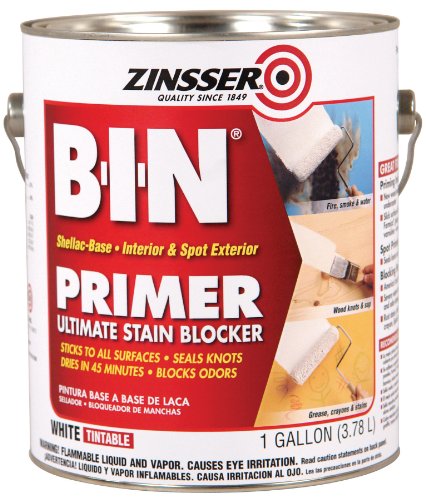
Mostly though, furniture painters fight against stains that bleed through the paint. It’s called bleed-through, and it’s a real pain. But you can get rid of bleedthrough from ruining your paint job by priming with a stain-blocking primer before you even paint.
My absolute favorite primer for blocking bleedthrough is this clear shellac. BIN shellac based (not synthetic!) primer is great at blocking bleed through too! Here are more tips on how to stop stains from coming through paint.
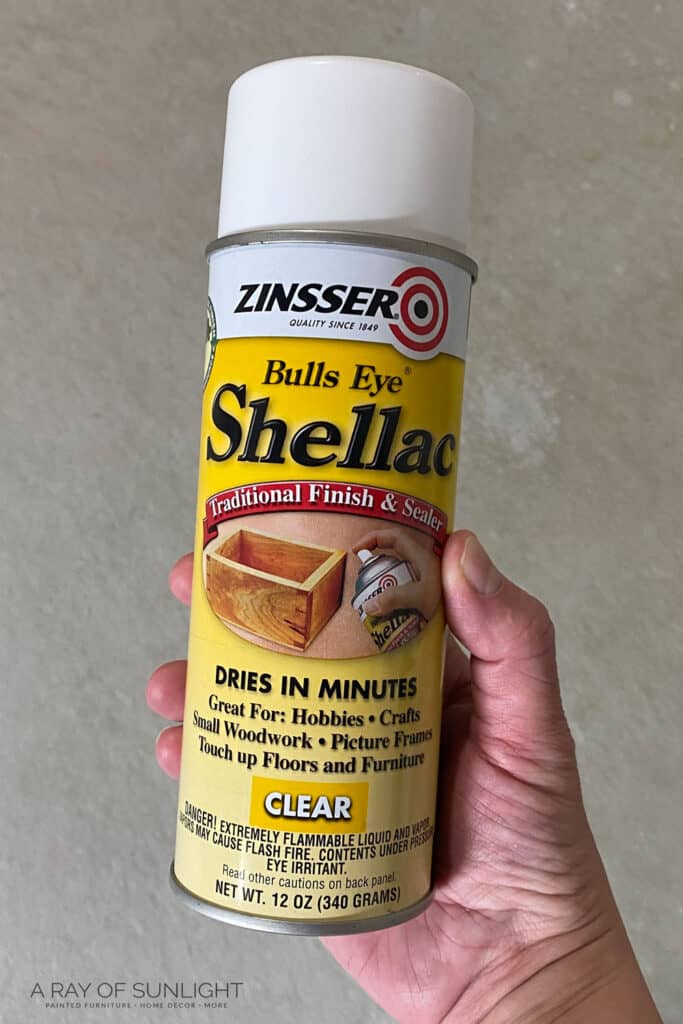
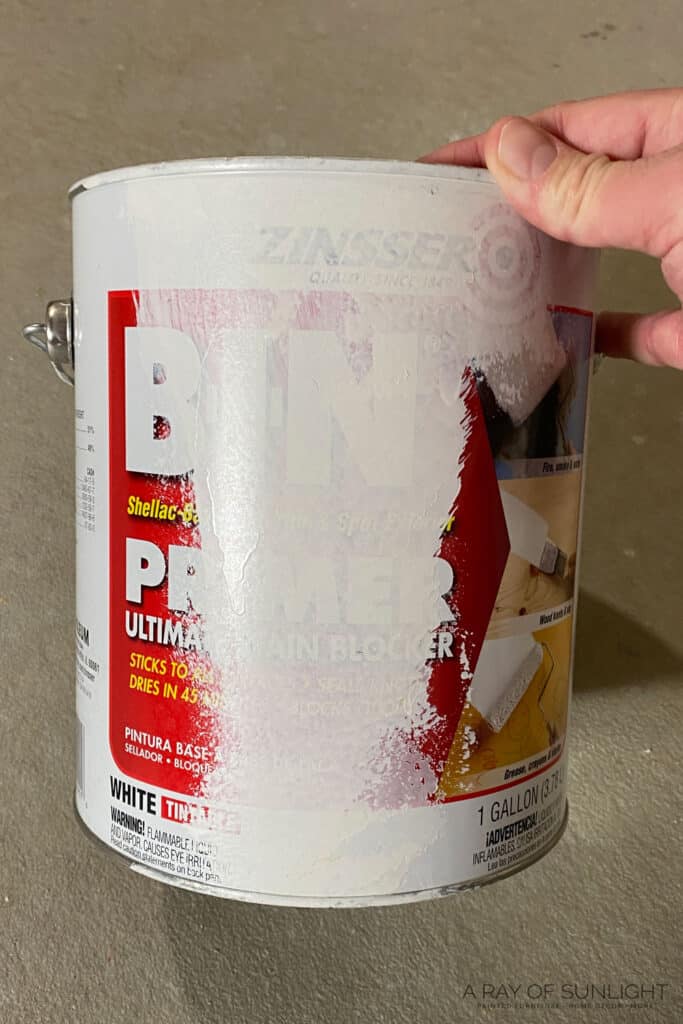
These primers both are amazing with adhesion too and work SO GOOD on laminate furniture! I use the clear shellac when I plan to distress the paint, and I use the BIN shellac primer when I don’t distress, or if I am painting white (like this post on painting furniture white).
You can use a water-based primer for laminate or stain blocking too, but honestly, they just aren’t going to be as good. Read more about the best primers for painting furniture here!

Paint
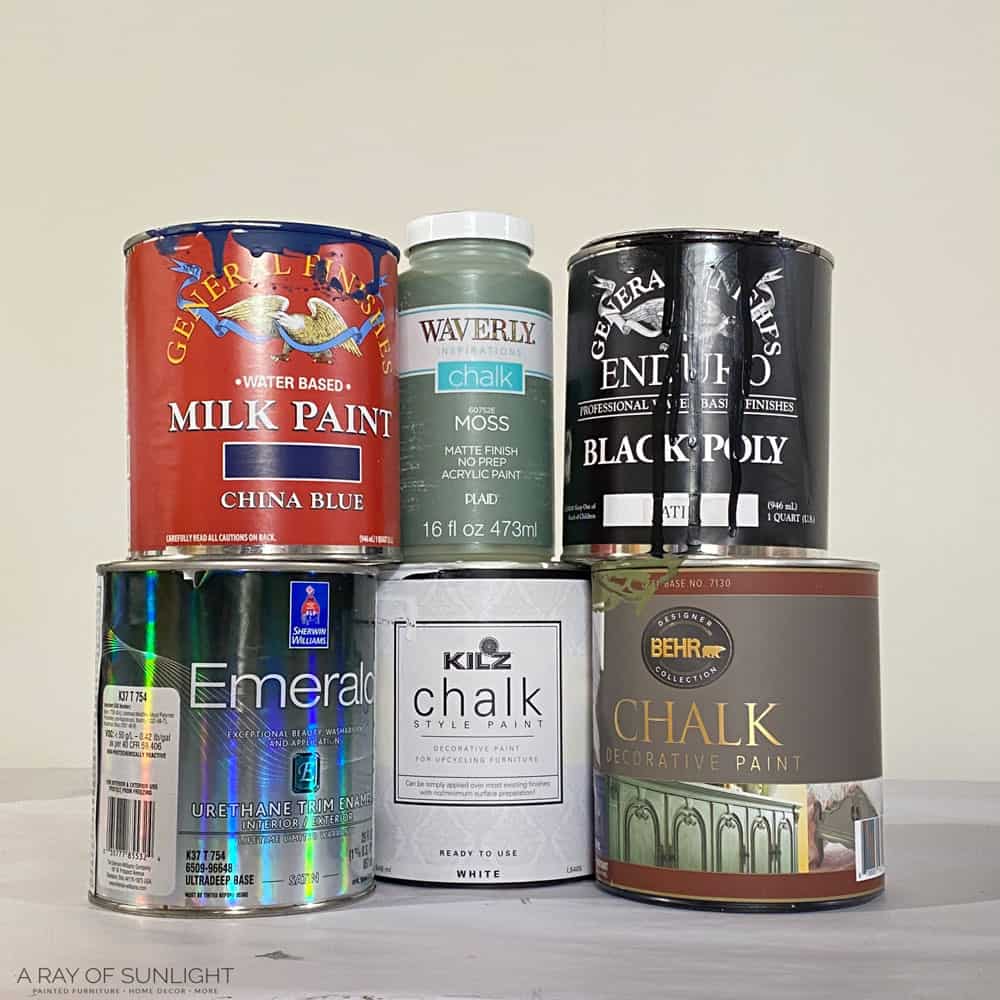
There are so many different types and brands of paint that it can easily be confusing! I totally get it! Honestly, most types of paint will get the job done. But, each type of paint can help you create the finish you’re looking for easier.
Chalk-style paints are best for distressed finishes. That doesn’t mean that you can’t get a super clean and modern finish with it. But an enamel paint will give you a non-distressed, super clean look easier.
Check out this post on the best paint for furniture to learn about the different types of paint we love, and which type of best for the finish you want.
Would you like to save this?
Paint Brush
As simple as it may seem, a paintbrush can actually make or break your painted finish. A really cheap paintbrush like a chip brush or a paintbrush from the dollar store will shed bristles in your paint. But they also will make it harder for the paint to not have brush marks in it.
So, instead of grabbing a dollar paintbrush, spending a few more dollars on a high quality paint brush will help you get the look you’re after! Learn the most common paint brush mistakes and how to avoid them here.
My favorite brand of paintbrush is hands down, the Zibra paint brushes. They come in all sorts of shapes and sizes (which is my personal favorite thing about them!) But they are also really good quality and they don’t break the bank!
(Yeah, I’ve also spent $40 on a super high-end paintbrush before. It was amazing, but man it hurts to spend that much on a paintbrush!)
My absolute favorite Zibra paintbrush is the round paintbrush.
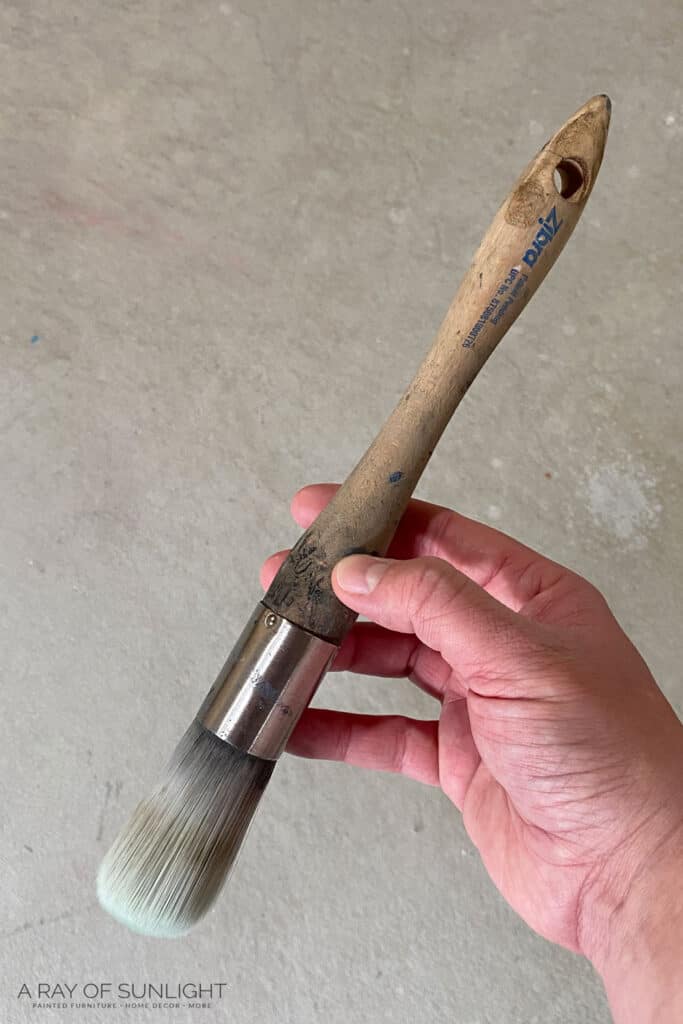
Since it’s round, it gets into details, trim, and spindles with ease. Seriously. If you test out a regular flat paintbrush against a round paintbrush, you’ll be amazed by how the round brush makes it easier to paint details.
It also works great on flat surfaces! So it’s my number one paintbrush for painting furniture. You can see how I used it in this painted cedar chest makeover.
My other faves are the triangle, fan, and chiseled wedge brushes. You can check out more of the best paint brushes for painting furniture in this post.
Topcoat
Most furniture paints (chalk, mineral, acrylic, and milk) really benefit and basically require a topcoat.
(Note: Enamel or alkyd paint doesn’t require a topcoat. Actually, you shouldn’t topcoat them. But they have a much longer dry time.)
Sure, you could just not seal the paint, and you might be okay. But the paint won’t end up being as durable or wipeable.
And then there are all of the topcoat options. You can choose from polyurethane, wax, or hemp oil. My absolute favorite topcoat is waterbased polyurethane. It’s the most durable option (besides oil-based polyurethane, but oil-based will amber, or turn your paint yellow.)
It lasts the longest, and I love that you can choose which sheen you want it. So you can choose a matte, satin, semi-gloss, or gloss sheen for your furniture. But not all polyurethane is created equal. My personal favorite is Varathane water-based polyurethane! Hands down, it’s the best one!

I’ve had problems with another brand yellowing my light paint. But Varathane is super easy to access at Home Depot or Amazon. I personally like to spray it on with my paint sprayer, but the next best way is to wipe it on with a damp sponge. Check out this post on how to spray polyurethane for more info!
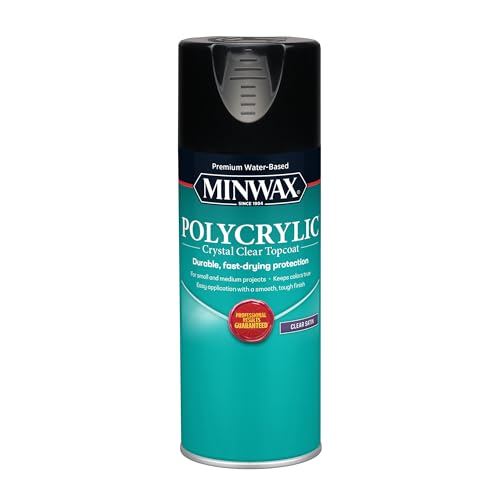
Another great option is to spray it from a spray can. But, I really don’t like Varathane’s version of polyurethane in a spray can. Minwax has the best spray poly in their spray cans (both oil-based and water-based poly).
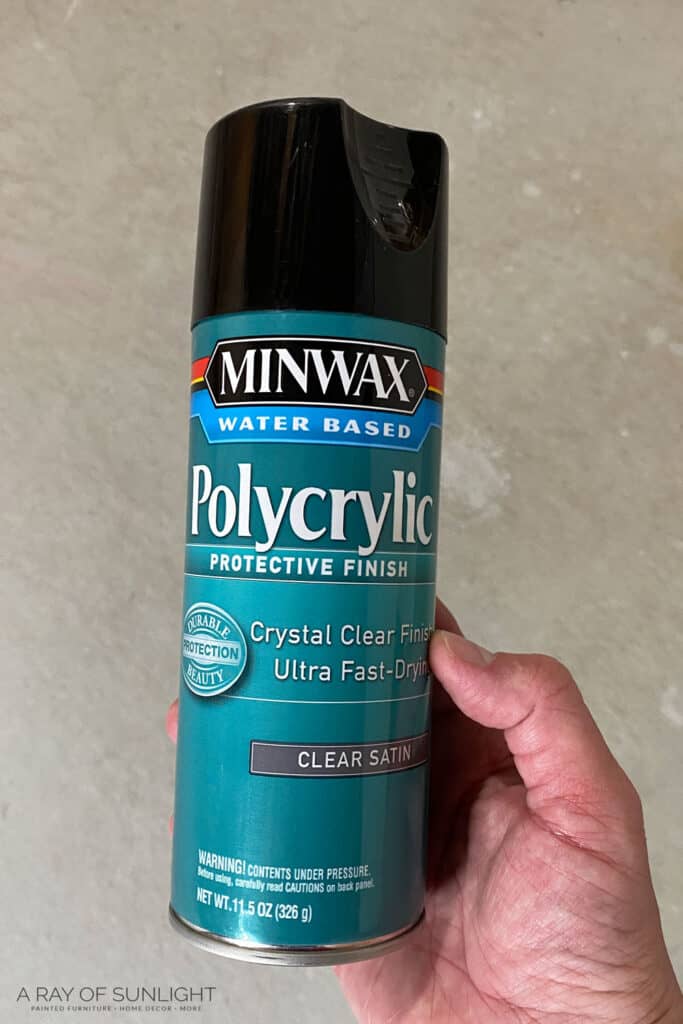
You can also check our list of the best clear coat spray paint for wood to learn more about high quality clear coat topcoats in spray can that you can use for your next project.
Read all about the different topcoats for painting furniture here! If you’re looking to seal your dining table, check out our comparison on polyurethane vs polycrylic for dining table to know which to use between the two.
Must-Have Painting Tools for Larger or Multiple Projects
If you’re working on a very large project or many projects, here are a few extras that really make the job so much easier!
Electric Screwdriver and/or Power Drill
The very first “big” investment I made for projects was a power drill. Power drills in general are such a good thing to have around for all DIY projects around the house.
A simple Black and Decker drill can work… but those aren’t very heavy duty, and they won’t last very long when you’re working on many projects all the time. So, I eventually upgraded to this power drill.
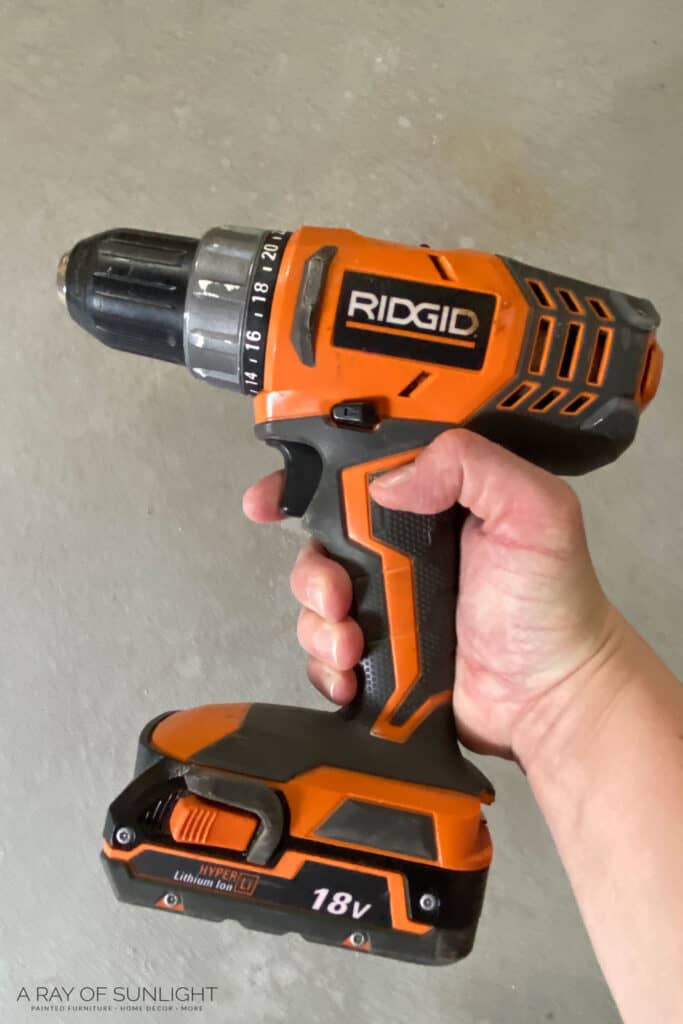
Honestly, there are so many brands to choose from with power tools, but I don’t think you can go wrong with Ridgid, Makita, Dewalt, or Milwaukee. Yeah, you’ll spend a little more on them upfront, but they will last through more projects, and have more power while working on those projects too!
After a few years, I was given an electric screwdriver, and man oh man, the game was changed!
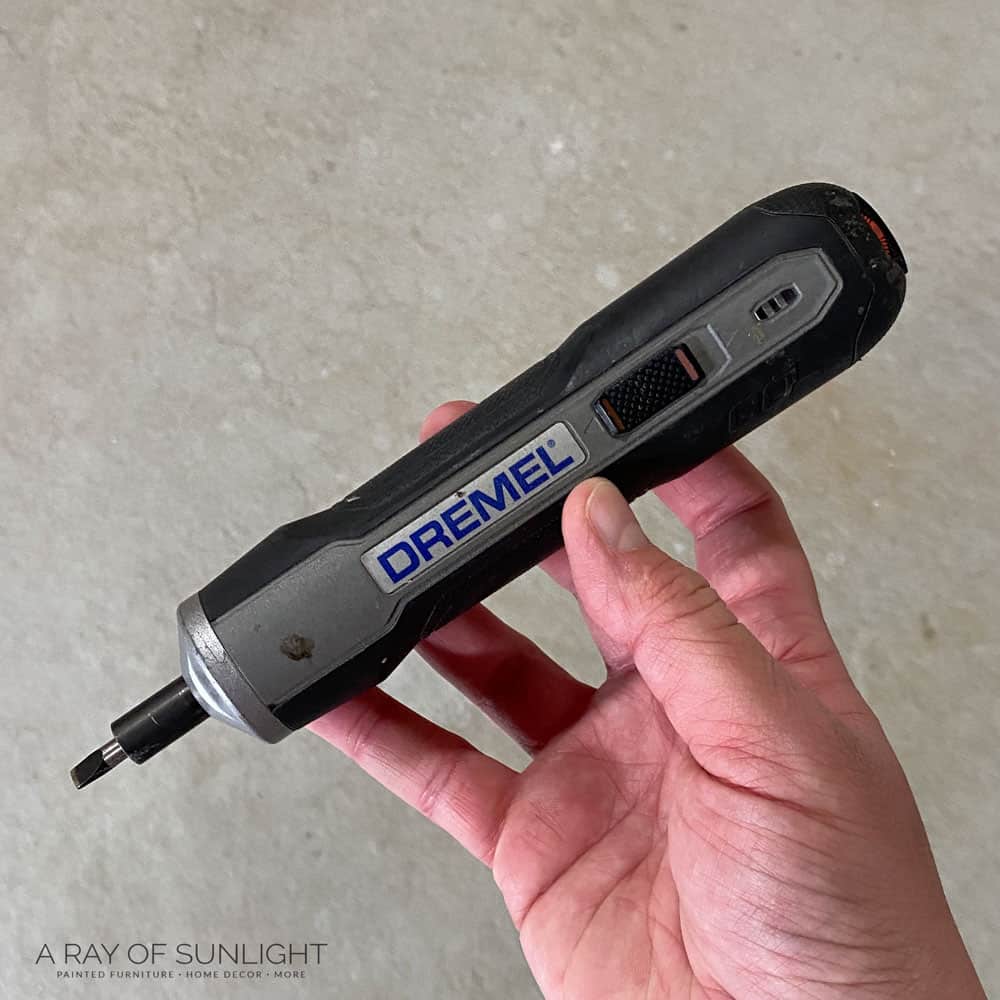
I love love love how lightweight and small it is to remove hardware. It makes the job go SO much faster too! Yeah, you can use the bulkier power drill to make removing and putting hardware back on easier. But a small electric screwdriver is SO NICE!
Check out our guide on how to drill new hardware holes here.
Power Sander
My next bigger investment was a power sander. It can make your project go so much faster, especially if you’re trying to sand something down to bare wood (like if you want to stain the wood, but you don’t need to sand things down to bare wood to paint them.)
I started out with this basic orbital sander.
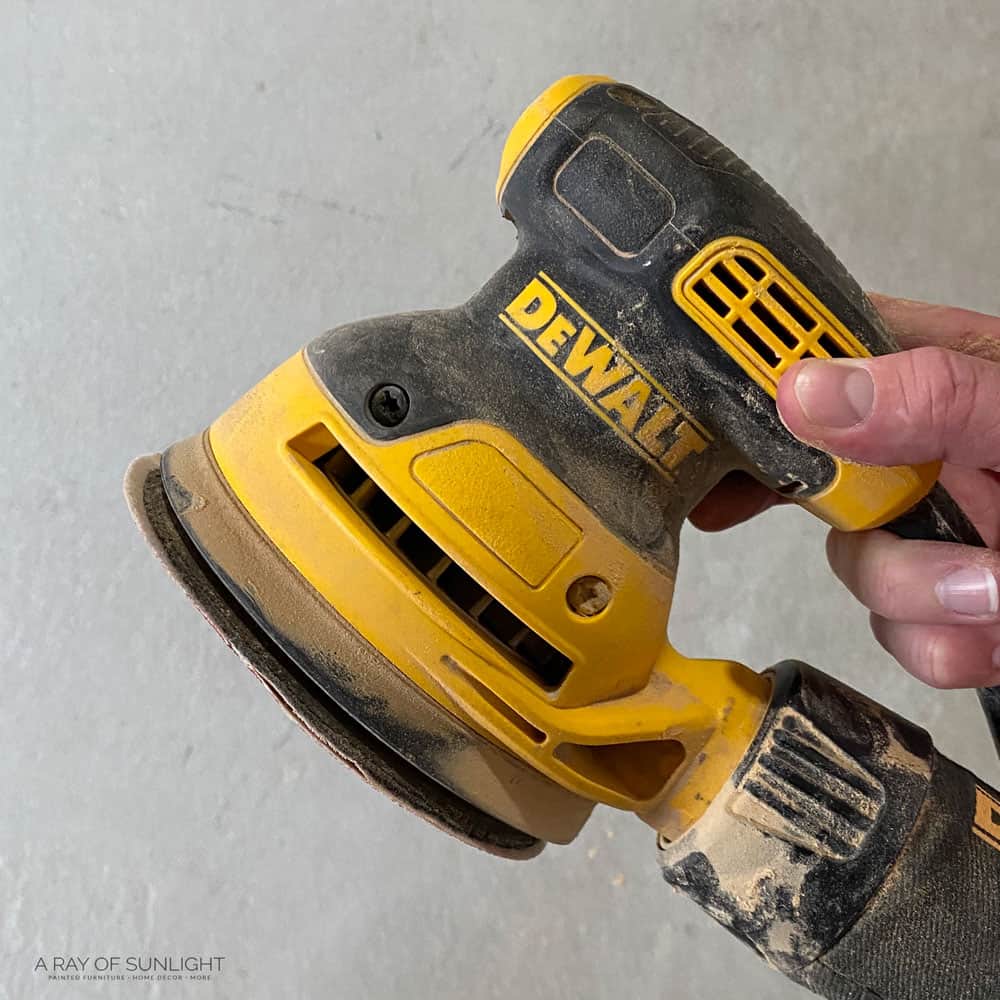
It worked great for flat surfaces! But they aren’t very good for getting into corners or sanding anything that isn’t flat. So, eventually, I upgraded to this SurfPrep sander. It’s an investment, but it’s been totally worth it because of all of the projects I’m constantly doing.
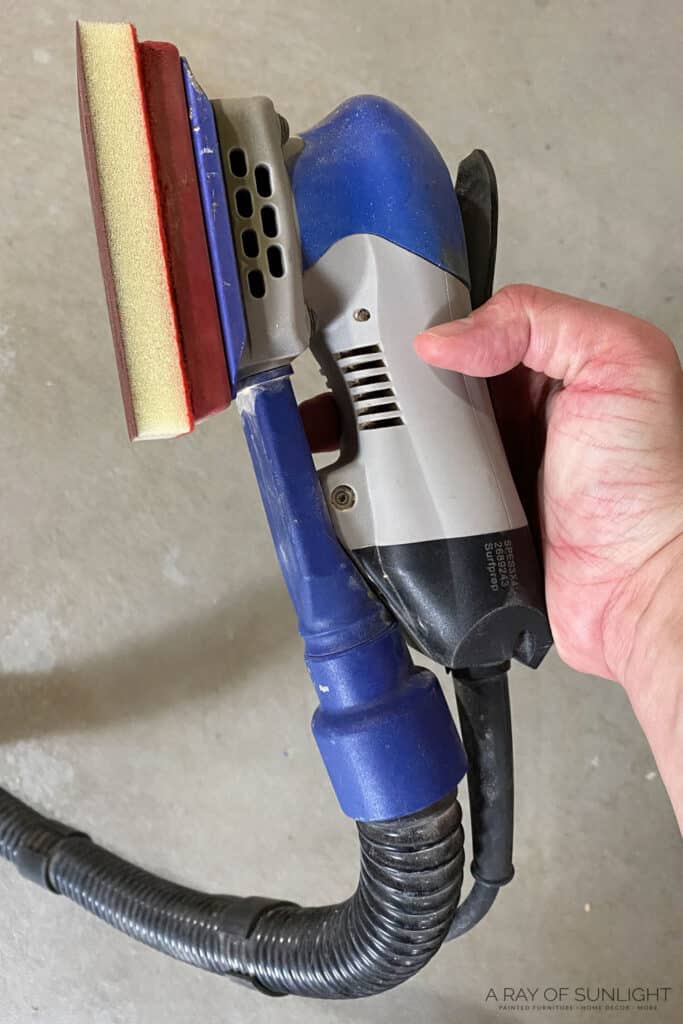
The SurfPrep is smaller, it’s a rectangle (so it fits in corners), and you can use foam pads with it so you can sand spindles and round things with it! It also easily connects to your shop vac system to suck up most of the dust!!
Check out these posts on my honest SurfPrep sander review, what happened in this Surfprep Sander test, and what you need to get started with a SurfPrep Sander.
If you aren’t ready to take a leap into the SurfPrep world, a mouse sander can help you get into corners too. SurfPrep also has foam pads that you can use with your orbital or mouse sanders! Check out the best sanders for furniture here, and the best sander for beginners options you can start with.
Paint Sprayer
And then when we moved out of our 2 bedroom, upstairs apartment, we invested in a cheaper paint sprayer to make painting go SO MUCH FASTER! It also doesn’t leave you with brush marks! (And I’m a huge fan of a perfectly fine finish, without brush marks!)
I started with this beginner paint sprayer. (The Double Duty sprayer has been discontinued, and the Wagner Control Spray 250 sprayer is its newer version.)
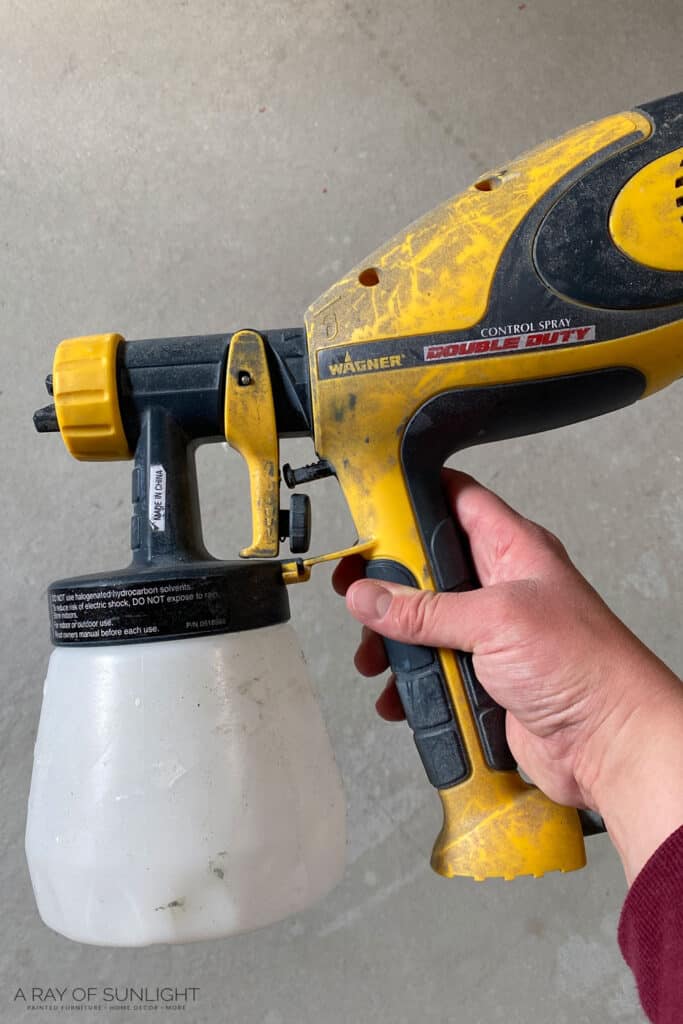
Annnnd I was terrified. I had no clue how to use it. How to thin paint for it, how to clean it, how to even just use the dang thing. But I went for it and I never looked back!
Check out these posts on how to use a Wagner Double Duty paint sprayer, how to thin paint for a Wagner sprayer, and how to clean a Wagner paint sprayer so you can make the most out of your paint sprayer.
I used that paint sprayer for 3 years. But I got frustrated after a while because I wanted a perfectly fine finish on my furniture without having to mess around with my paint sprayer every time.
So I did a ton of research and landed on this professional paint sprayer. Here’s my honest review and thoughts on the Fuji Q4 paint sprayer and guide on how to use the Fuji Q4 Platinum paint sprayer if you’re curious about this tool.
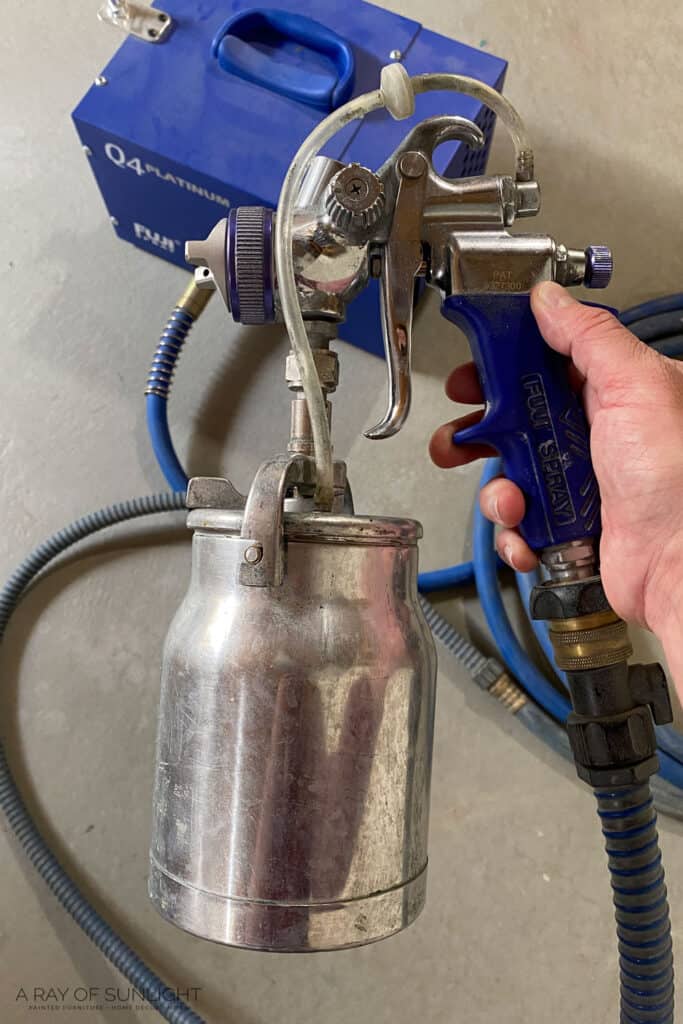
It’s powerful enough that I don’t have to thin paint (even chalk paint!), but I still do because it creates a better finish when I thin it a bit.
It was a pretty penny, but I can’t even recommend it enough if you want a really nice finish on your furniture (without the hassle!!). Read this post to discover more of the best HVLP paint sprayers for furniture.
Furniture Refinishing Supplies
When it comes to refinishing furniture, you’ll also need the right supplies. Sandpaper is a must have for any furniture refinishing project, as it helps you smooth out any imperfections in the wood and prepare it for the new finish.
If you’re dealing with an old piece of furniture that has layers of paint or stain, you may need a wood stain remover to fully strip off the old finish. These best wood stain removers will help you get the job done efficiently without damaging your furniture.
Once you’ve prepped your piece, it’s time to choose a wood stain. We have a list of the best wood stains for refinishing furniture here you can use. There are oil based and waterbased stains, and each one has its own pros and cons. Our post will help you choose the best one for your project.
You can also check out these best furniture refinishing tools to make your refinishing furniture project a success. From sanders to brushes and everything in between, having the right tools will make a huge difference in your refinished piece.

I hope these lists help you out! I honestly started with the very basics and bought a few things here and there as they fit into my budget. If you’re an Amazon shopper, head on over to the Best Amazon Deals to save big while getting topnotch products. With these supplies and tools, you can create incredible results like this before and after buffet makeover.
So if anything, that’s my advice. Start with what you can, and the most important things, and then build up your supplies and tools as you can!
More Resources on Painting Furniture Supplies
- Best Paint Brushes For Polyurethane
- Best Sanders to Remove Paint
- Best Rollers for Painting Furniture
- Oil Based Polyurethane Spray
- Spray Paint for Furniture
Learn the Art of Updating Furniture!
If painting furniture feels overwhelming or your past attempts didn’t go as planned, this course will guide you step by step.

Follow us on YouTube to get more tips for painting furniture. Or share your project with us on our Facebook Group and be part of our community. See you there!
Can this be in printed option without any of the ads? I’m old school and would rather have this great info in a notebook for quick reference than to try to find on this page.
Love all your makeovers and different painting techniques and all the wonderful treasures you find.
Thank you!
That’s a great idea, I’ll see what I can do.
I would love the above suggestion of being able to print it out less the advertisements.
Near the top there is a picture of all of the pages of the list. Click on that, put in your email, and we’ll email you an ad free copy of the list.
Thank you for the much-needed info! Love your painting!
Diane Myers
Happy you’re here! Thanks for the love!!
It is a lot of information to process. My one question is when do you sand down to bare wood and when is it not necessary?
I only sand down to bare wood when there are a lot of scratches in the finish and the wood, or if I want to stain the wood.
Otherwise I don’t sand down to bare wood.
I am also old school and would love to have an email copy of these suggestions even though I have already jotted down some notes from it lol.
Hey Wendy, just click the 2nd photo near the top of this post that says something about the supplies. You can put in your email info and it will send this list to your email.
Where can I find pre-taped plastic? TY