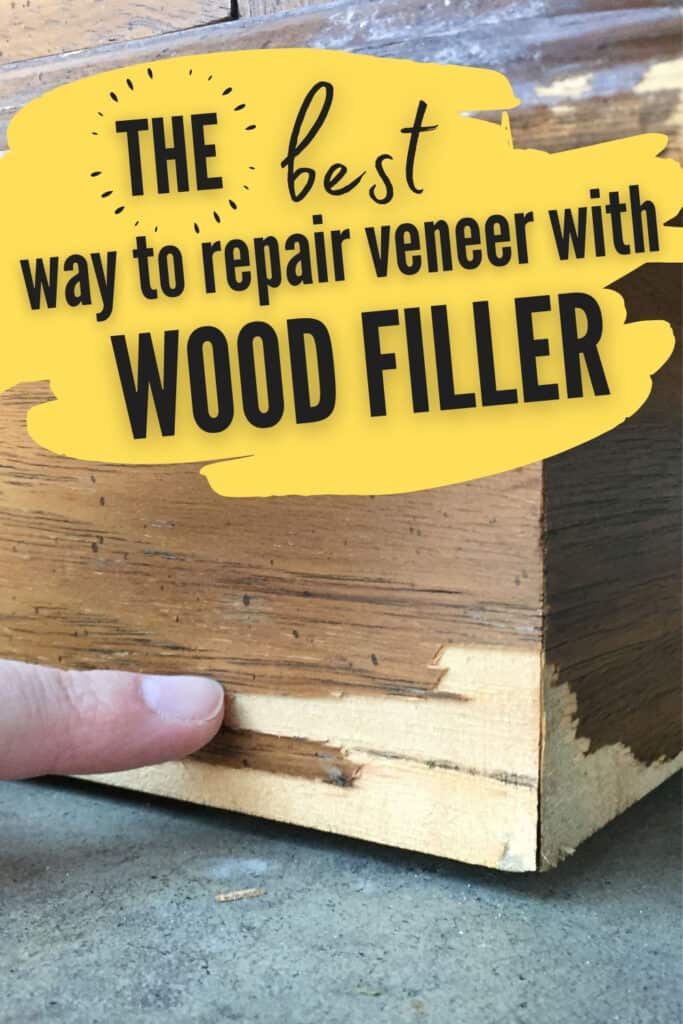
Repairing Veneer with Wood Filler


Are you tired of looking at a piece of furniture with chipped or cracked veneer? Have you been putting off repairing old furniture because you’re not sure how to fix the damage? Well, we will walk you through the process of repairing veneer with wood filler, and soon you’ll have your furniture looking like new.
You can easily fix your furniture with damaged or chipped veneer, yes YOU can!
Most old furniture from the thrift store comes with some sort of damage. The most common of all is damaged veneer!

A lot of furniture, even high quality furniture, was made with wood veneer over wood.
Over time that veneer gets snagged and chipped or the glue becomes loose, making it easy for the veneer to chip off.
The good news is… Anyone can fix chipped veneer!
It’s really easy, and it honestly doesn’t take very long to fix. PLUS, no one will ever know there was any damage there once you fix it and finish it!
Supplies Used for Repairing Veneer with Wood Filler
As an Amazon Associate, I earn from qualifying purchases. I also may earn from other qualifying purchases with other companies or get free product to review and use. All opinions are my own.
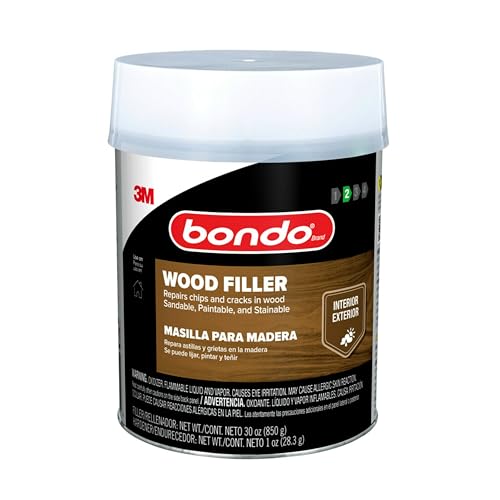
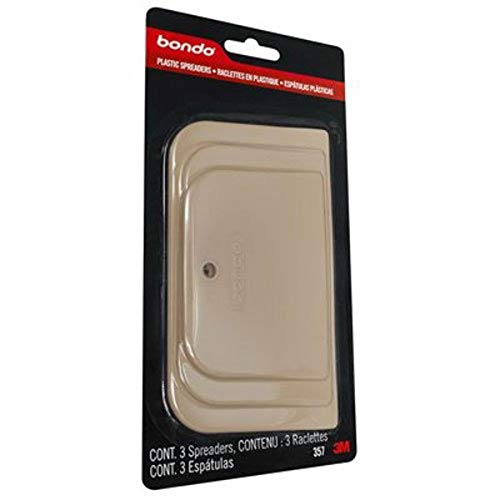
- Bondo Wood Filler
- Paint Stick
- Plastic Spreader
- Power Sander – I use this amazing 3×4 Vacuum Compatible SurfPrep Sander ((Use code RAY10 to get 10% off!))
- 220 Grit Sandpaper – (You can use more coarse sandpaper to sand through it faster too!)
How to Repair Veneer
Here’s the step-by-step tutorial for repairing veneer with wood filler.
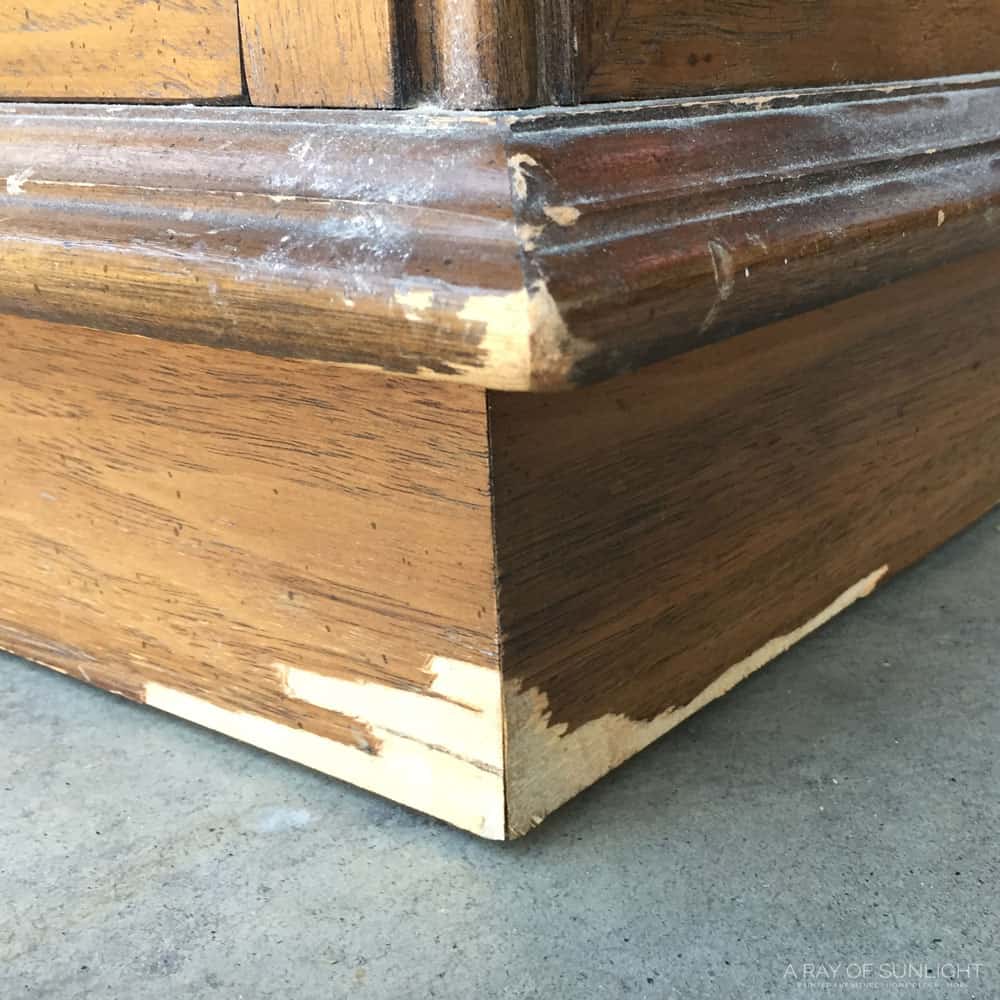
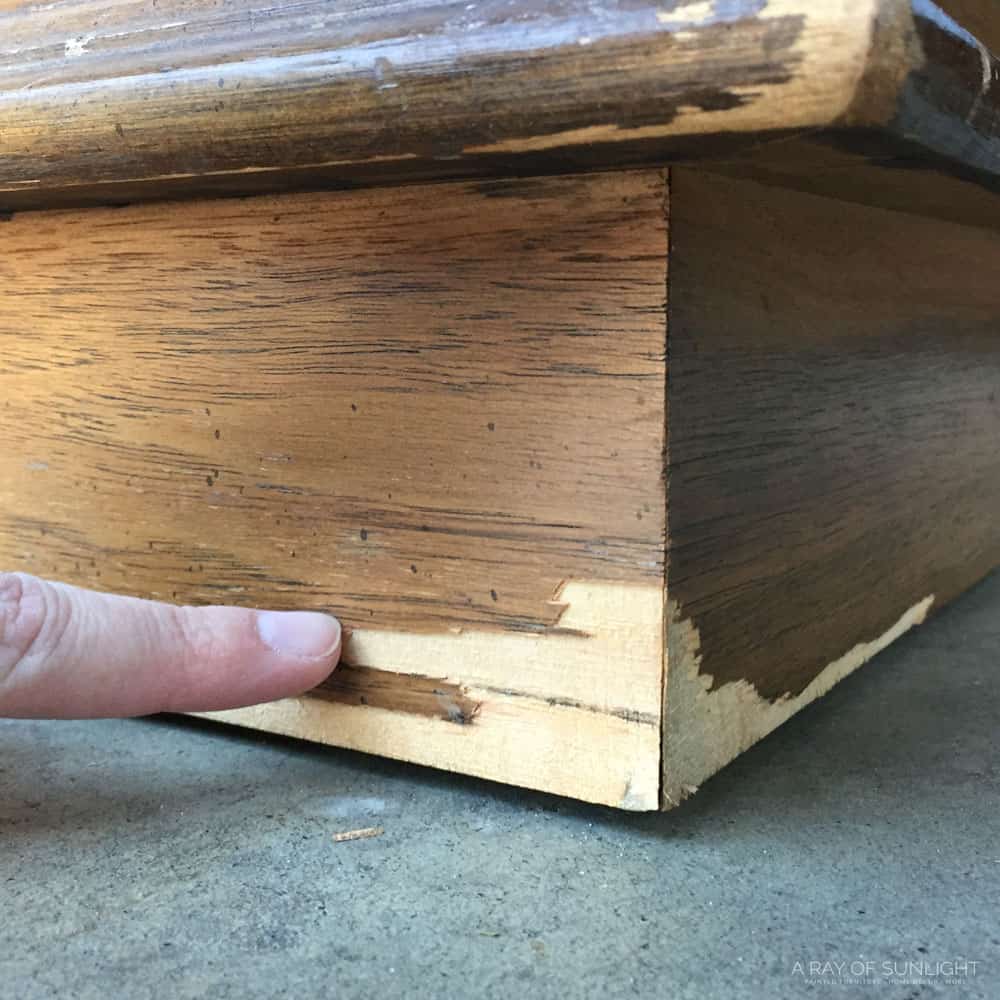
Remove Loose Veneer
First, remove the loose veneer. Typically if some of it is chipped, there is more loose veneer right around the chipped-off veneer.
I like to gently try to pull up the edge of the veneer with my fingertip, just to see if it is loose. If it comes up easily, then I lift the edge up and let it chip off.
You don’t want to skip this step, and find out after you repaired the chipped area, that more of the veneer is chipping off right where you repaired it!
**After you remove the loose veneer, give that area a little scuff sand with 220 grit sandpaper just to help the wood filler stick better.
Then just make sure the area is clean and dust/chip free!

Mix Wood Filler
Next, mix up the wood filler. Yeah, you have to mix it. But, honestly, this is the best kind of wood filler to fix chipped veneer. We aren’t using just any type of wood filler!
This wood filler is stronger, spreads out easier, and dries way faster than normal wood filler! So in a well-ventilated area, mix up the Bondo wood filler.
Check out my honest and detailed Bondo wood filler review here.
Mix the Bondo base and the included hardener together to make a wood filler that will start to harden within 5-10 minutes.
How to Mix Bondo Wood Filler
- Scoop the Bondo base onto a piece of cardboard or scrap piece of wood.
- Only mix up a small amount at a time – this stuff starts to harden FAST!
- Knead the hardening agent (included when you buy Bondo) and squirt a little bit onto the Bondo base. **Use about a 3-4″ long squeeze of hardener for a golf ball size of the base.
- Mix the base and the hardener together until it’s one color. (Work fast!)
Can You Use Different Types of Bondo?
Yes! You don’t have to use the wood filler version. You can use the all-purpose Bondo or this auto body Bondo! They all work the same! The only one that you can really stain though is the wood filler version.
Here’s our list of the best wood repair putty to learn more about the top options and discover which one will best suit your needs.

Would you like to save this?
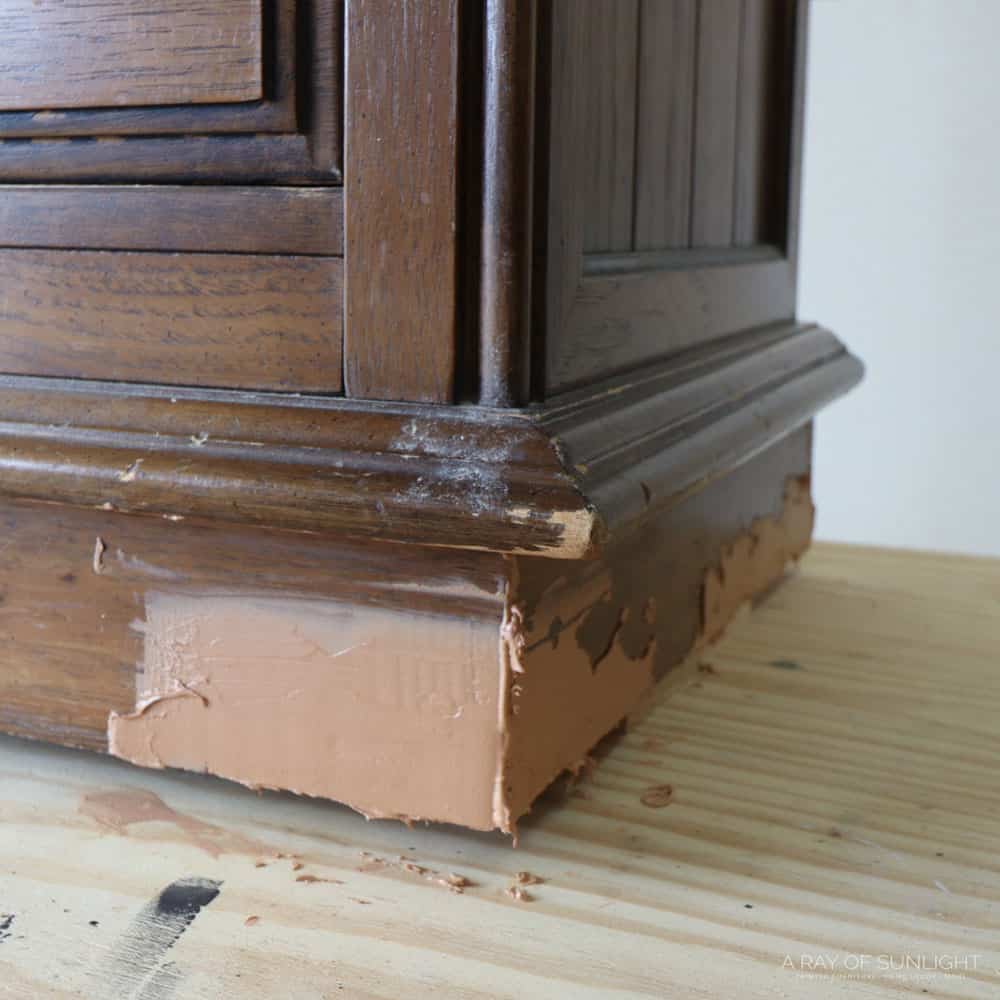
Spread Wood Filler Over the Chipped Veneer Area
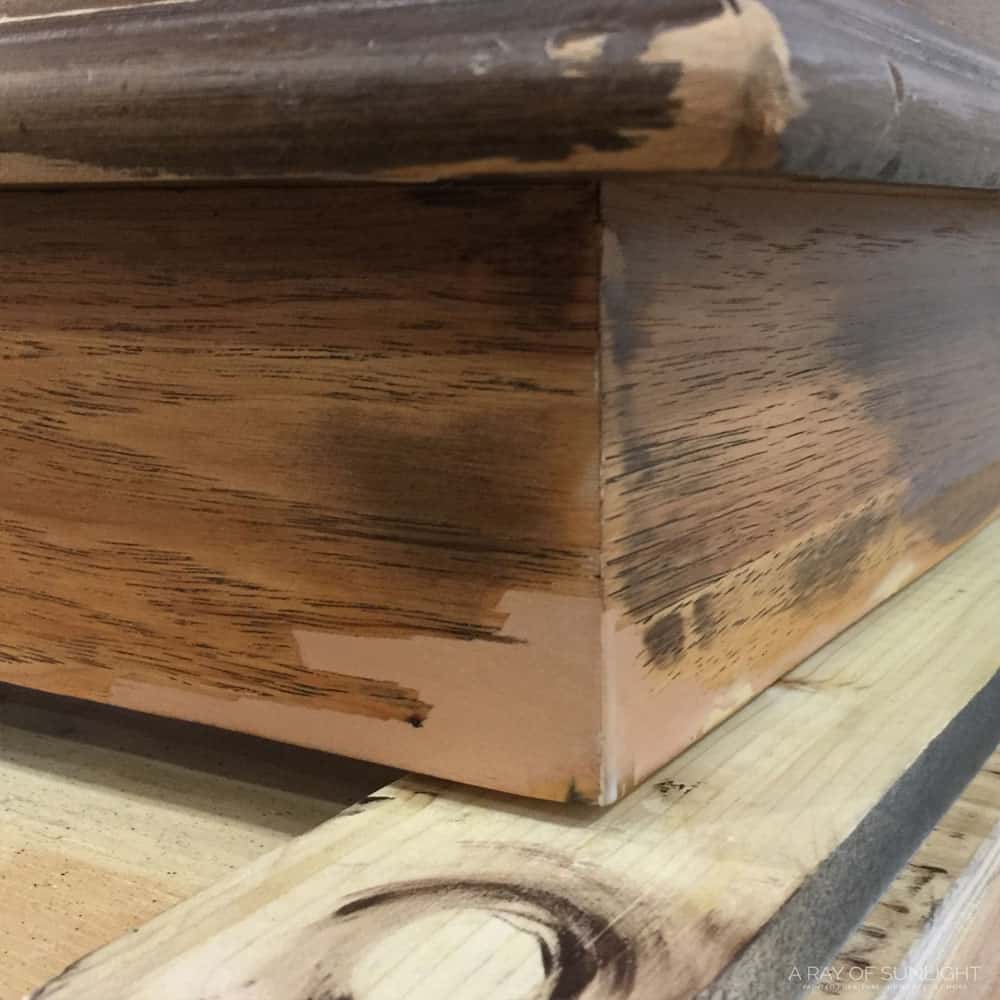
Working quickly, spread the mixed up Bondo wood filler over the damaged area.
You have about 5-10 minutes to work with the wood filler, depending on how much hardener to the base you mixed together.
Use a Bondo spreader, plastic scraper, or an old gift card to spread the Bondo around. I like to overfill the damaged area so then I can sand it down to flush to the wood around it.
If you don’t overfill the area, you’ll probably have to go back with a second layer of Bondo. Who wants to do that?!
Let Wood Filler Dry
After the wood filler is spread out all over the area that is damaged, it’s time to let it dry. It takes about 30 minutes for it to dry hard! It’s seriously so fast!
Sand Wood Filler Down
Once the Bondo is dry, bust out the power sander. (Yeah, you could sand it down by hand, but honestly, that will take a bit. Bondo is decently hard.)
Using 220 grit sandpaper, sand the Bondo wood filler down flush with the rest of the wood around it. It should only take a minute to get it sanded down smooth.
If you have a lot of it to sand off, you can use a more coarse grit of sandpaper, but then you’ll need to go back over it to smooth out the coarse texture that is left behind.
If you just use 220 grit sandpaper, you won’t have to sand back over it. And 220 grit will eat through it pretty well!
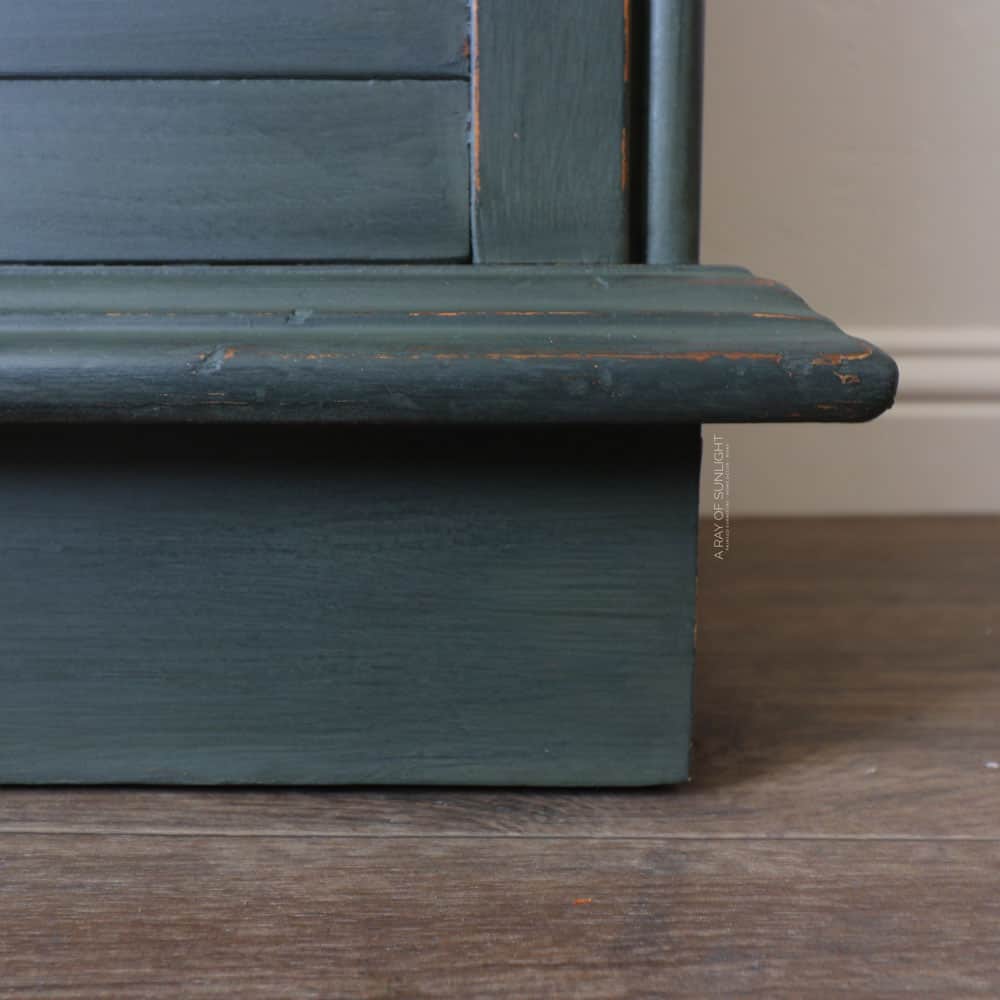
Paint or Stain Repaired Veneer
Next, you can paint it or stain it! Check out this wood stain repair tutorial to learn more. No one will ever know that there used to be damage in that spot!
Get Our Secrets!
Grab this super convenient How to Repair Furniture Ebook with all of our secrets on how to repair furniture for only $14.
You can print it out and have instant access whenever you come across damaged furniture, and know exactly how to fix it!
Click on the picture of the book to purchase!

How to Paint over Bondo
Make sure to prime the Bondo and your wood to get an even sheen with your paint finish. A good primer (this BIN shellac primer is the best!) will also prevent any bleedthrough issues you might have with the sanded wood.
Can You Stain Bondo?
As long as you use the wood filler Bondo (instead of the other kinds of Bondo), you can stain it! But, DON’T use regular wood stain!
Use a gel stain (General Finishes Java gel stain is my favorite!) to stain the Bondo wood filler and the rest of the wood.
Check out this post on how to repair (and stain) chipped wood furniture to see how to stain Bondo!
Here’s everything you need to know about Bondo wood repair for your furniture.
Watch this whole tutorial for fixing veneer here:

Repairing Veneer with Wood Filler
You can easily fix your furniture with damaged or chipped veneer, yes YOU can! Here’s how easy repairing veneer with wood filler can be!
Materials
- Bondo Wood Filler
- Paint Stick
- Plastic Spreader
- 220 Grit Sandpaper
Instructions
- First, gently remove the loose veneer. After you remove the loose veneer, give that area a little scuff sand with 220 grit sandpaper just to help the wood filler stick better. Then just make sure the area is clean and dust/chip free!
- Mix the Bondo base and the included hardener together to make a wood filler. Only mix up a small amount at a time as this stuff starts to harden FAST!
- Working quickly, spread the mixed up Bondo wood filler over the damaged area. You can overfill the damaged area so then you can sand it down to flush to the wood around it.
- Let the wood filler dry for about 30 minutes and sand the Bondo wood filler down smooth.
- Before painting or staining the repaired veneer, make sure to prime to get an even sheen with your paint finish.
Recommended Products
As an Amazon Associate and member of other affiliate programs, I earn from qualifying purchases.


More Repairing Veneer Resources
- How to Repair Bubbled Veneer
- Easiest Way to Remove Veneer
- Best Wood Fillers
- How To Fix Veneer That Is Lifting
Follow us on YouTube to get more tips for painting furniture. Or share your project with us on our Facebook Group and be part of our community. See you there!
What wood filler do you use. One more question, which Krud Kutter do you use also!!!
Hey Tammy, I use the wood fillers that are linked in this post. But I also use this, How to Use KwikWood. This post on How to Clean Furniture Before Painting links to the exact Krud Kutter that I use as well. Best of luck!
No matter what I do, I can see the seam where the woodfiller meets the original veneer. Any ideas? Thanks
Make sure you are overfilling it, then sanding it smooth and flush. But yes, in certain light you will be able to see where the wood filler meets the veneer. If it is really bothersome, you can remove all of the veneer to have 1 solid surface to work with.
You can also try to make faux wood grain texture in the wood filler to make it look more like the wood, and help disguise the wood filler.
In the Bondo wood filler yes, but I don’t think regular wood filler is strong enough for that. You could totally try it though! Let me know how it works!