Bondo Wood Repair
Are you tired of seeing that unsightly chip or crack in your beloved piece of furniture? Bondo wood repair is here to save the day! This versatile product has been used for decades in the automotive industry but has recently gained popularity for repairing old furniture.
In this blog post, we will cover all you need to know about using Bondo for wood repair. And if you’re wondering about painting or staining Bondo, we’ll cover that too!
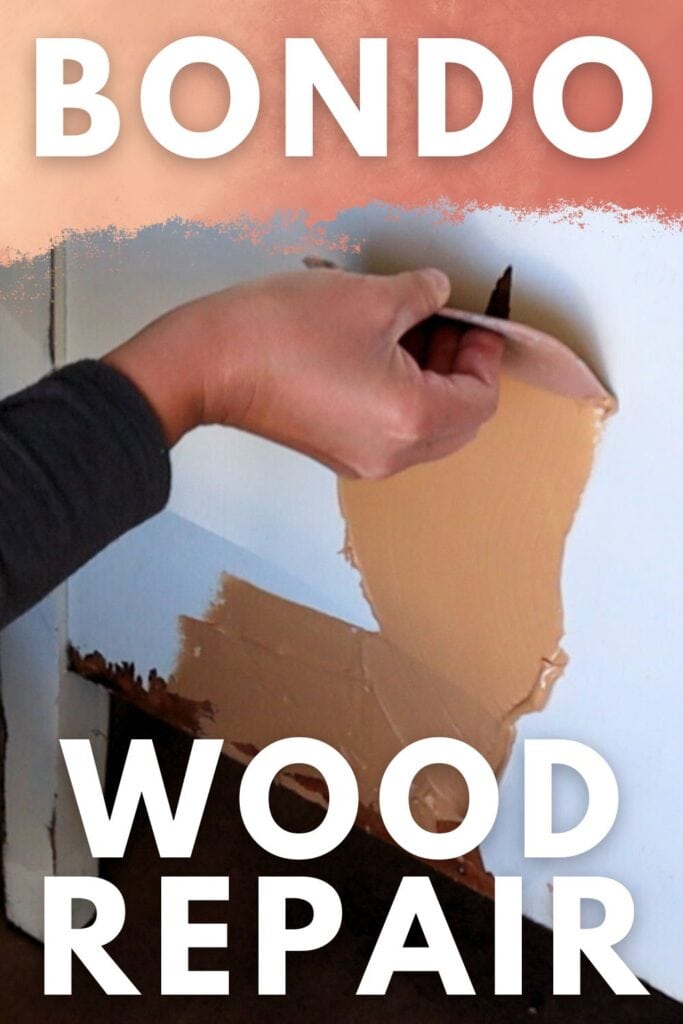
Fixing wooden furniture can feel overwhelming, especially if you’re not familiar with the right products and techniques.
But that’s where Bondo comes in! It’s super easy to use and gives you pro-looking results.
Bondo is a two-part putty that you mix and apply to damaged areas of wood furniture. It dries super fast and can be sanded down to make it all smooth. It’s perfect for fixing chips, cracks, and even holes!
Once you’ve properly applied and sanded Bondo, it’ll be ready for paint or stain, and no one will ever know there was damage in the first place.
As an Amazon Associate, I earn from qualifying purchases. I also may earn from other qualifying purchases with other companies or get free product to review and use. All opinions are my own.
How to Use Bondo
Using Bondo is a straightforward process that anyone can do with some practice. If you’re a beginner, don’t worry! We’ll walk you through the steps.
First off, you gotta make sure the furniture surface is clean and free from any dust or debris.
Cleaning furniture before painting is always a must! Any leftover residue or grime can compromise the strength of the Bondo.
Next, you’ll need to prepare the Bondo by mixing the putty and hardener on a scrap piece of cardboard, scrap wood, or plastic.
Refer to the back of the Bondo container for the exact measurements of each part to mix.
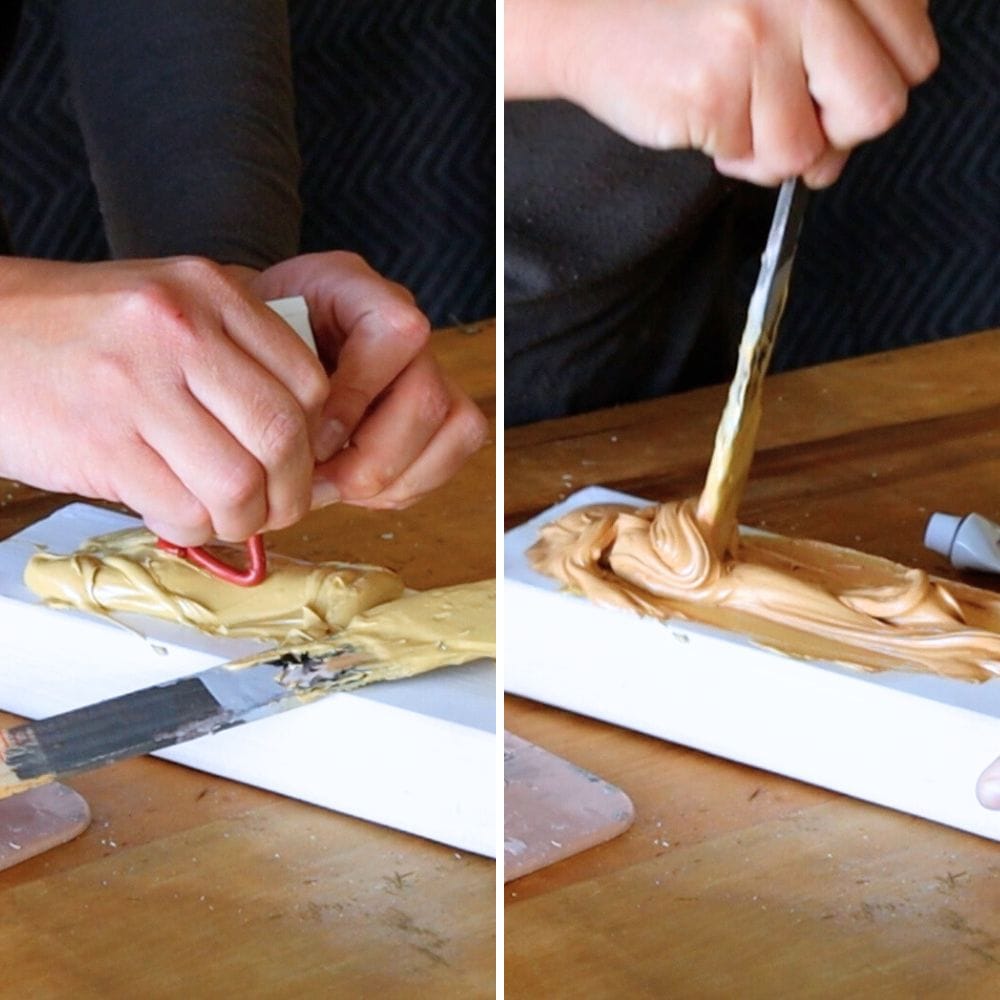
Typically, I mix a golf ball size of putty with a 2″ long line of the hardener.
Mix them together until they’re well combined. Make sure to only mix what you can use in about 5 minutes, as that’s how long it takes for the mixture to start drying.
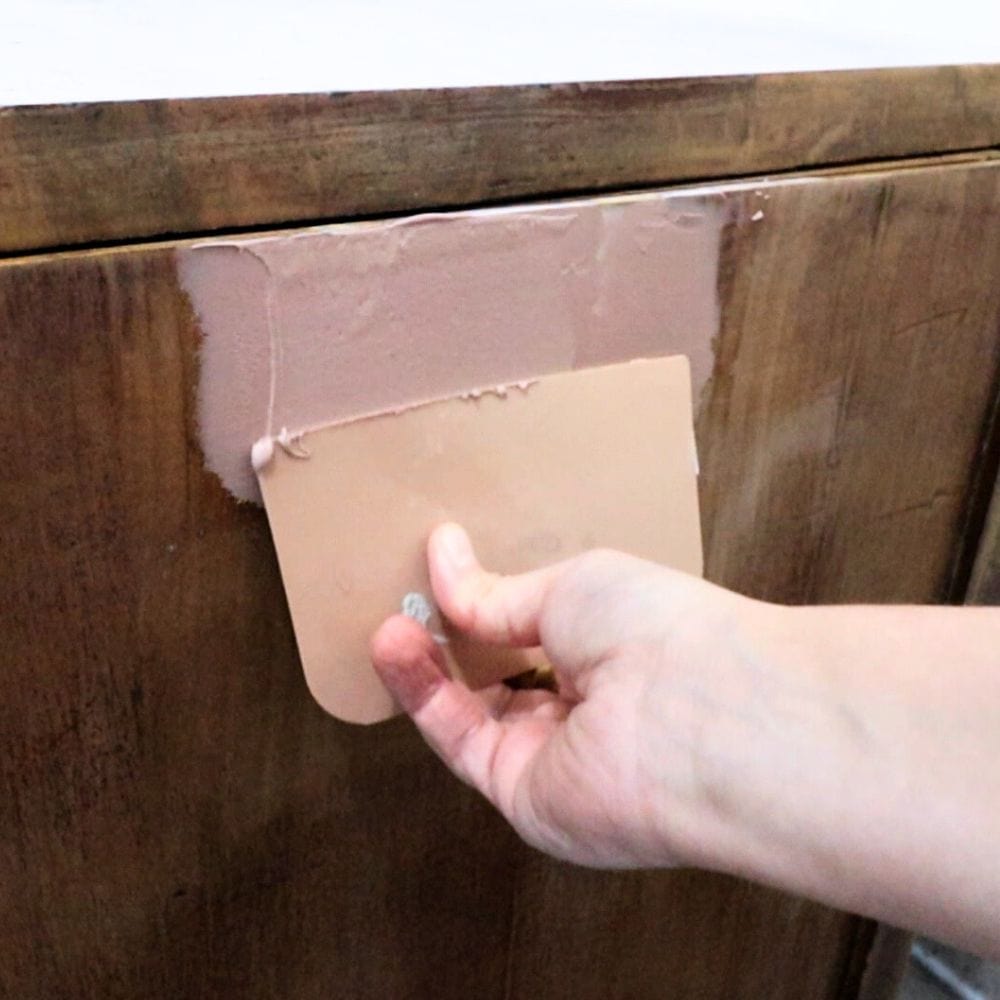
Next, apply the Bondo to the damaged area using a putty knife or spreader. Make sure to spread it nice and even, filling in any cracks or holes.
Overfill the area slightly so that you can sand it down to a smooth finish later.
Sanding Bondo
Once the Bondo has dried, it’s time to sand it down. This usually takes about 30 minutes, but it’s always best to check for any remaining soft spots. If you start sanding too early, it can ruin your repair.
It’s important to use the best sandpaper for furniture and techniques when sanding Bondo to avoid damaging the surrounding wood or leaving uneven patches.
Use medium or fine-grit sandpaper (anywhere between 100-220 grit) for a smooth finish. Sand in the direction of the wood grain to avoid creating any scratches or imperfections.
If you’re sanding a larger area, using a power sander with 220 grit sandpaper can save time and make the process easier. These best sanders for furniture will help you get the job done efficiently.
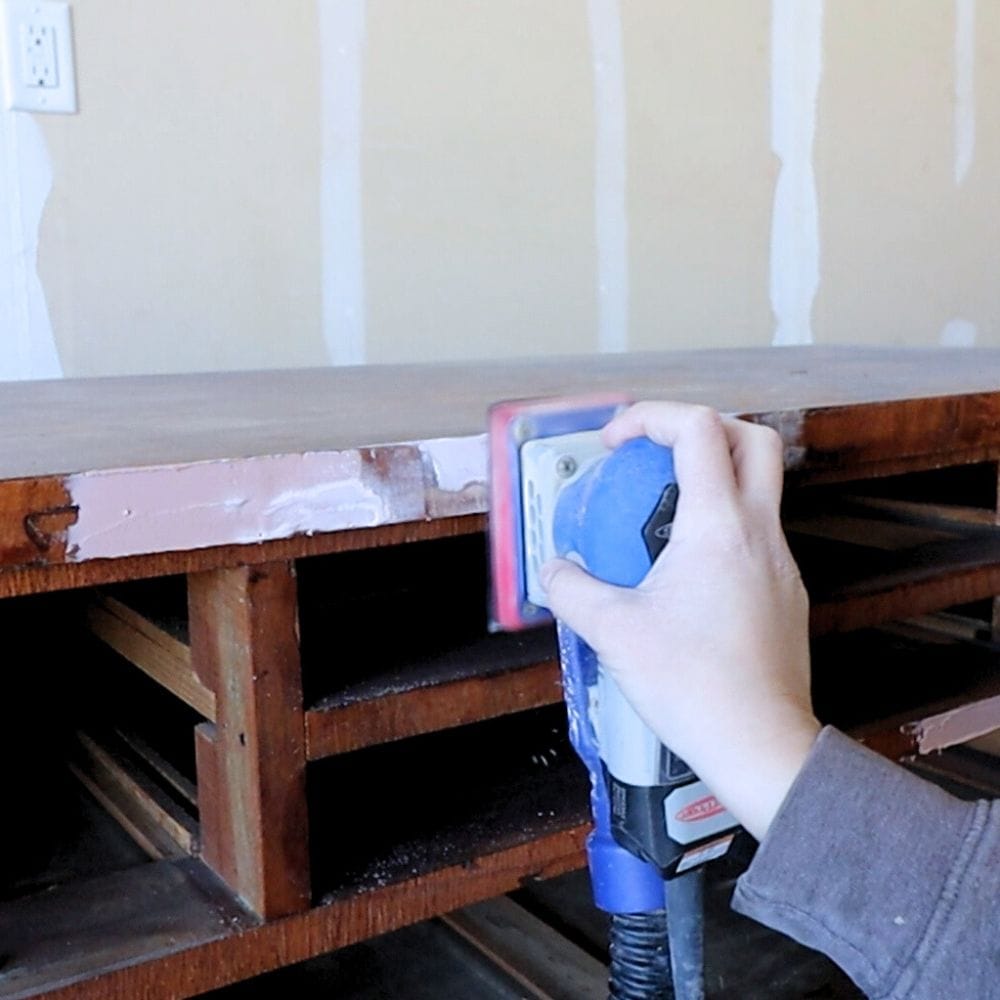
For smaller or detailed areas, a utility knife can be used to shave off excess Bondo after it has dried for about 5 minutes.
And once the Bondo is completely dry and hard, you can sand it down for a seamless finish.
Applying a Second Coat of Bondo
You may ask yourself if you need to apply a second coat of Bondo, and the answer is: it depends.
If your repair looks all nice and smooth after sanding, then one coat should do the trick. But if you still spot some noticeable dips or imperfections, it’s probably a good idea to put on a second coat.
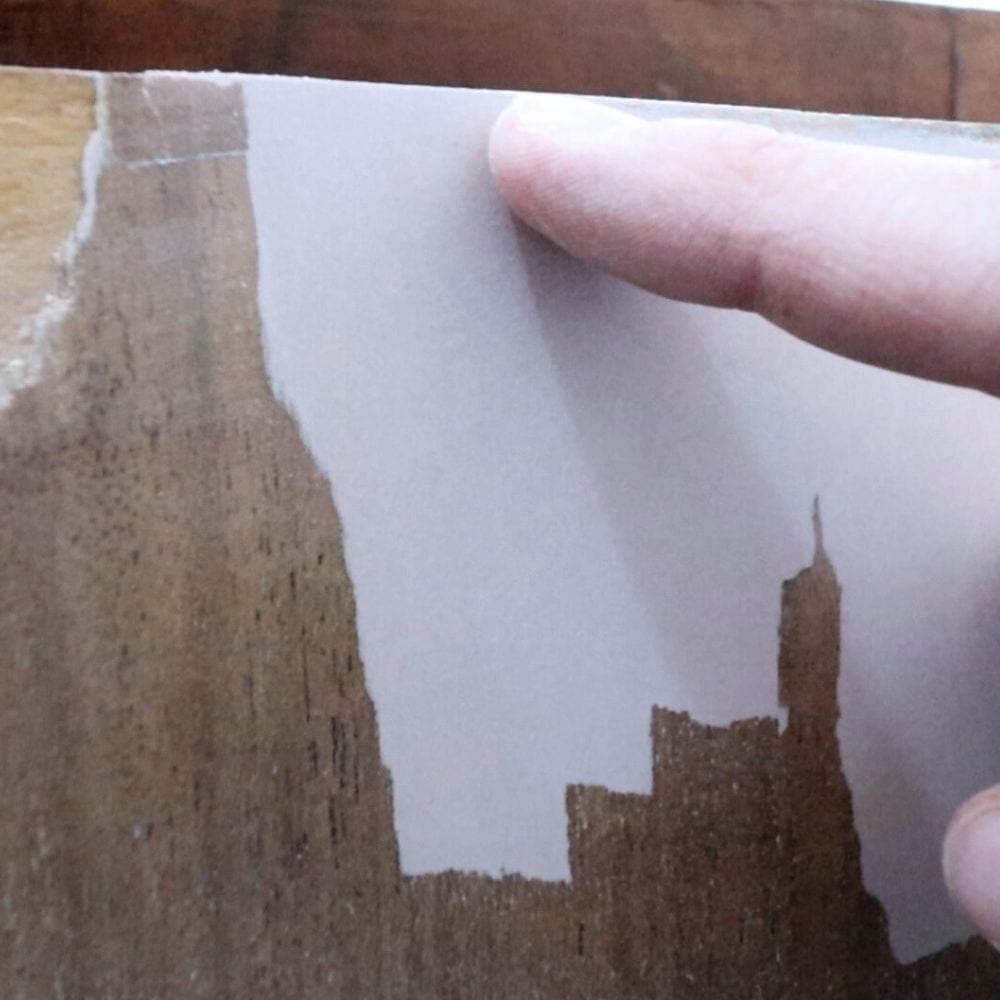
Spread a thin coat of Bondo over the initial layer, let it dry, and follow the same sanding process as before. Repeat until you get a smooth and even surface.
Painting Bondo
When it comes to painting Bondo, there are a few things you need to keep in mind for the best results.
First, make sure to properly prime your furniture before painting over Bondo. This will prevent uneven coverage of paint.
We personally recommend using shellac based primer like clear shellac or BIN shellac primer.
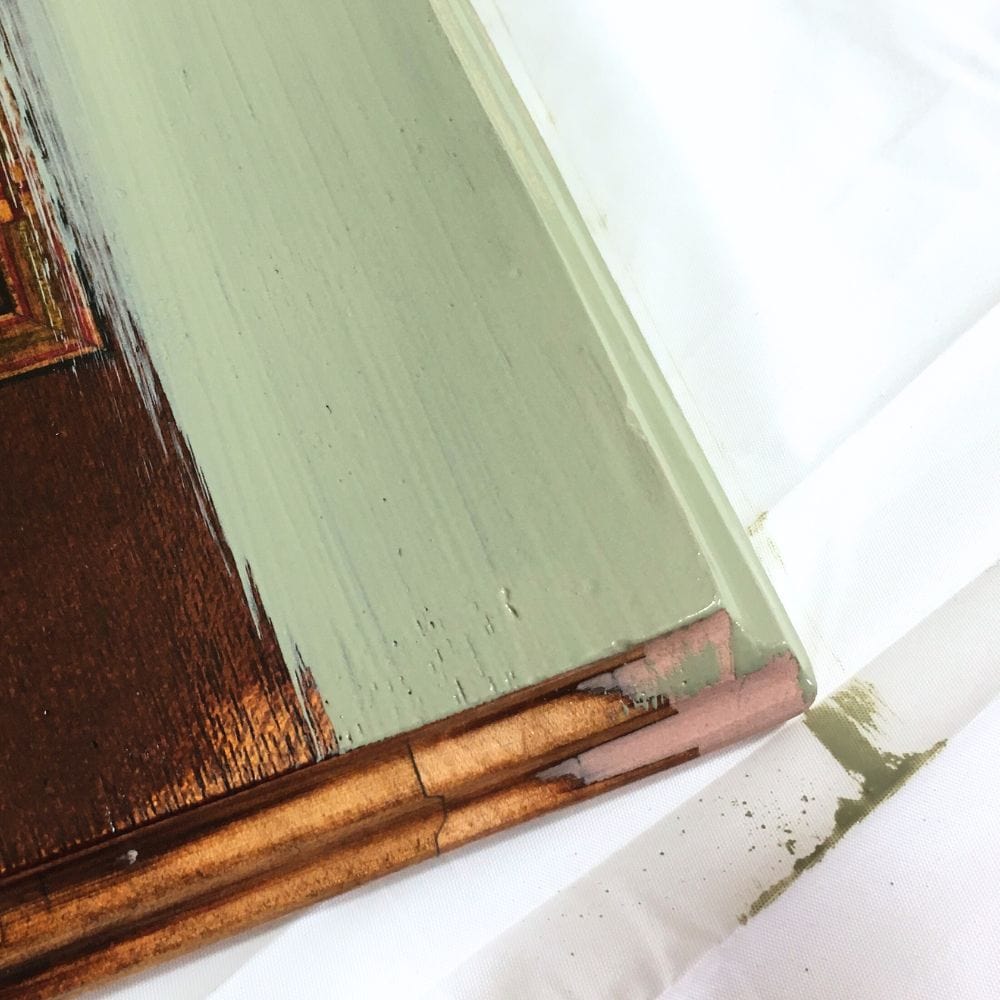
Another important factor to consider is the type of paint for furniture you are using.
While most paints can be applied directly over Bondo, powdered milk paint behaves differently and might need a coat of water-based poly on top.
This will prevent any cracking or revealing of the pink Bondo underneath.
Staining Bondo
Staining Bondo can be a tricky task, as it does not take stain like wood does. However, if you opt for the wood filler version of Bondo, you may have an easier time staining it.
Keep in mind that no wood filler will ever stain exactly like real wood though. But one tip is to use gel stain in layers to get your desired color.
Our post on how to repair chipped veneer furniture will show you how to stain Bondo and our post on how to stain furniture darker will guide you through the process of using gel stain.
Are there different types of Bondo?
Bondo has an auto version, a wood filler version, and a multi-purpose version. The auto version is great for repairing car dents and scratches, while the wood filler version is more suitable for interior furniture repairs.
The multi-purpose version can be used for a variety of projects both indoors and outdoors. We took a closer look at the wood filler version in our Bondo wood filler review.
Is there an alternative to using Bondo for wood repair?
While Bondo is a popular choice for repairing damaged wood furniture, there are other options.
You can check out the best wood fillers for furniture repairs here and choose one that fits your needs and preferences.
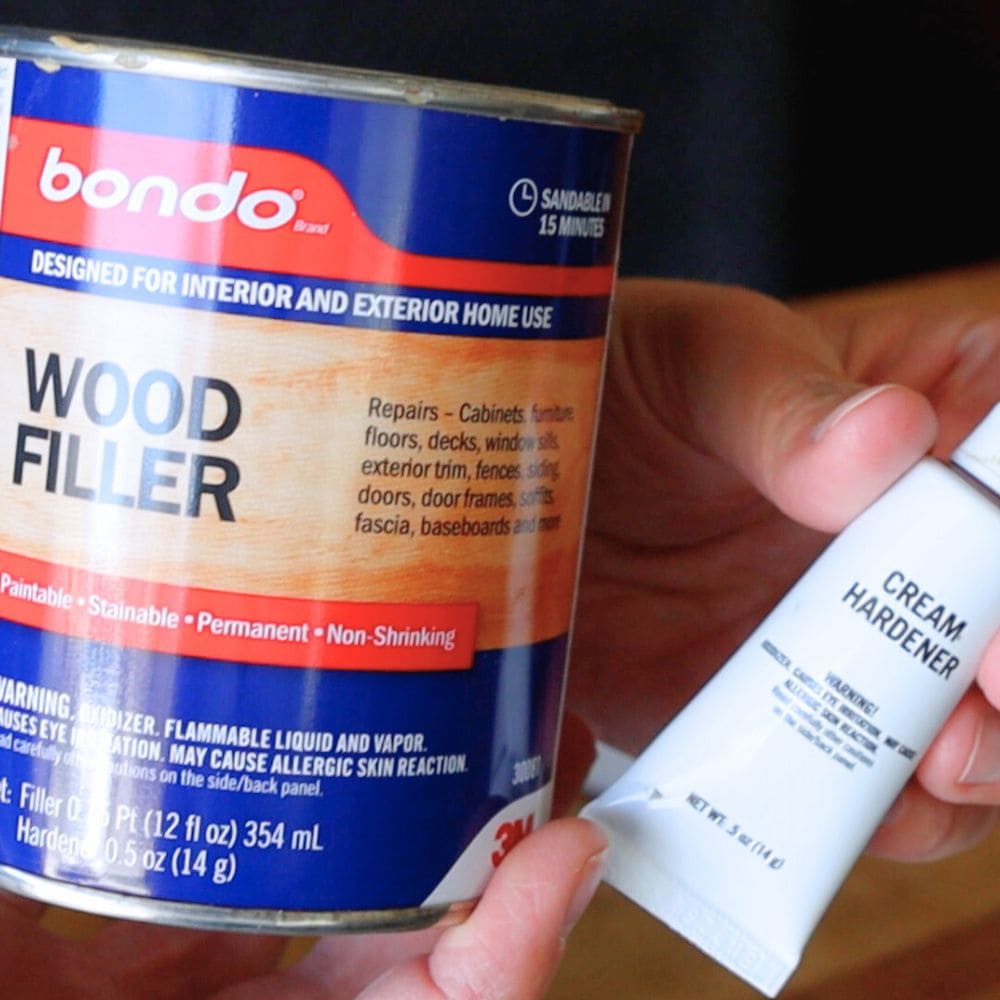
Bondo is a versatile and reliable product for repairing wood furniture. Its easy application and quick drying time make it a popular choice among DIY-ers.
With proper techniques and materials, Bondo can then be sanded and painted or stained to get professional-looking results.
Check out more tips and tricks on how to repair broken wood here.
So next time you come across damaged wooden furniture, don’t fret! With Bondo, you’ll have it looking good as new in no time.
More Furniture Repair resources
- Repairing Veneer With Wood Filler
- How to Fix Chipped Wood Furniture
- How to Use Wood Filler on Plywood Edges
- Repair Water Damaged Wood
- How To Repair Damaged Wood Finish
Follow us on YouTube to get more tips for painting furniture.
Or share your project with us on our Facebook Group and be part of our community. See you there!
