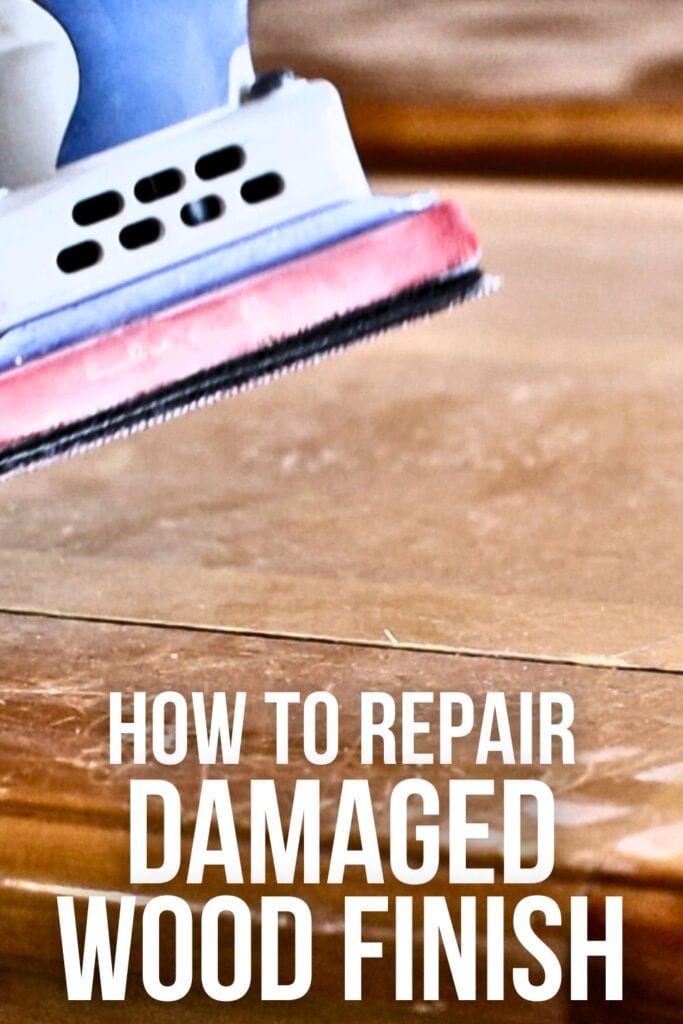
How To Repair Damaged Wood Finish
For repairing old furniture, one of the most common issues is damaged wood finish. Whether it’s from wear and tear over time or accidental damage, scratches and dings on the surface can be unsightly and make your furniture look old and worn out. But don’t worry, in this tutorial, we’ll show you how to repair damaged wood finish!
With a few simple steps, you can easily restore the beauty of your wood furniture and make it look as good as new again.
Damaged wood finish is a common issue for furniture, especially if it has been in use for a long time. These scratches, dings, and discoloration can all contribute to a worn out appearance.

And while some may fear that this damage is irreversible, you can actually successfully repair your furniture’s damaged wood finish with the right techniques.
Fixing damaged finish on wood furniture is important not only for aesthetic purposes but also to protect the wood underneath.
A damaged finish can leave the wood susceptible to further damage from moisture, heat, and other environmental factors.
Repairing it also helps to preserve and extend the life of your furniture. So don’t let that damaged wood finish linger, follow our guide to repair them in no time!
Supplies Used for Repairing Damaged Wood Finish
As an Amazon Associate, I earn from qualifying purchases. I also may earn from other qualifying purchases with other companies or get free product to review and use. All opinions are my own.
- Wood Filler
- Wood Glue
- Sandpaper
- Stain or Paint to match finish
- Small Brush or Cloth
- Old English
Just a few supplies are all you need to get started on tackling damaged wood finish. Most of these can be found at your local hardware store or online.
Assess Damage on Wood Furniture
Before you begin any repair, it’s important to assess the damage to your wood furniture. Take a close look at the scratches, dings, and discoloration on the surface. This will help you determine the extent of the damage and what steps you need to take for repair.
For chipped paint, here’s how to repair chipped paint on wood for the step by step process! If you found nicks and don’t have any idea how to fix them, check out our blog post on how to fix nicks in wood furniture. Check out my guide on how to repair deep scratches in wood furniture if you have them as well.
Don’t worry if you’re unsure about matching the color of your wood finish, as it can always be adjusted later. The most important thing is to fix the damage and restore the structural integrity of your furniture before worrying about aesthetics.
Fill in Wood Damage
After assessing and identifying any areas that need filling such as scratches, dings, or even gaps in the wood, it’s time to fill them in using a wood filler.
This will help create a smooth surface for the next step of repairing the finish. Make sure to choose a filler that works for the size and depth of the damage.
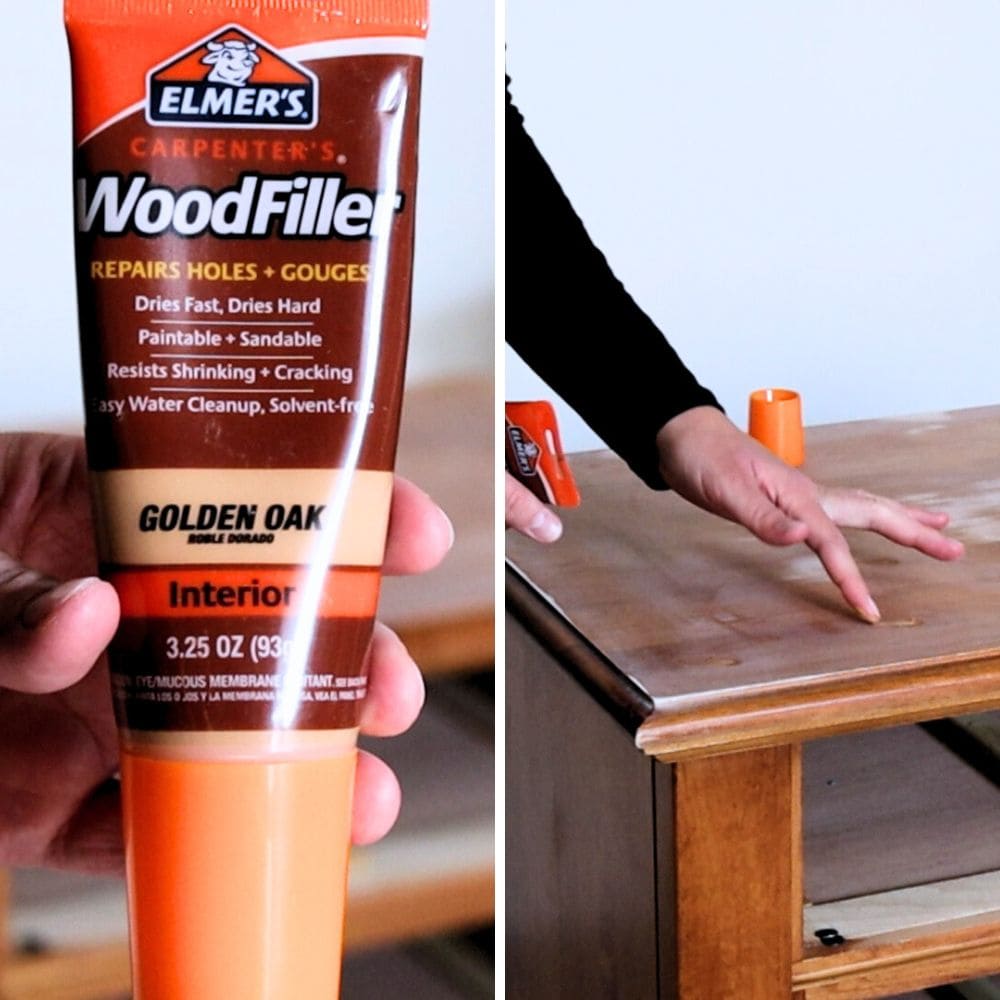
Use wood filler for scratches and dings. If you want more information on which one to use, here are your options for the best wood fillers for furniture.
Use wood glue for any areas where the wood may have come apart or cracked, and then clamp it together until dry. Check out the best glue for repairing wood furniture here.
Here’s our guide on how to repair cracks in wood furniture to help you with this process. Once dry, sand down the repaired area to make it flush with the rest of the wood furniture.
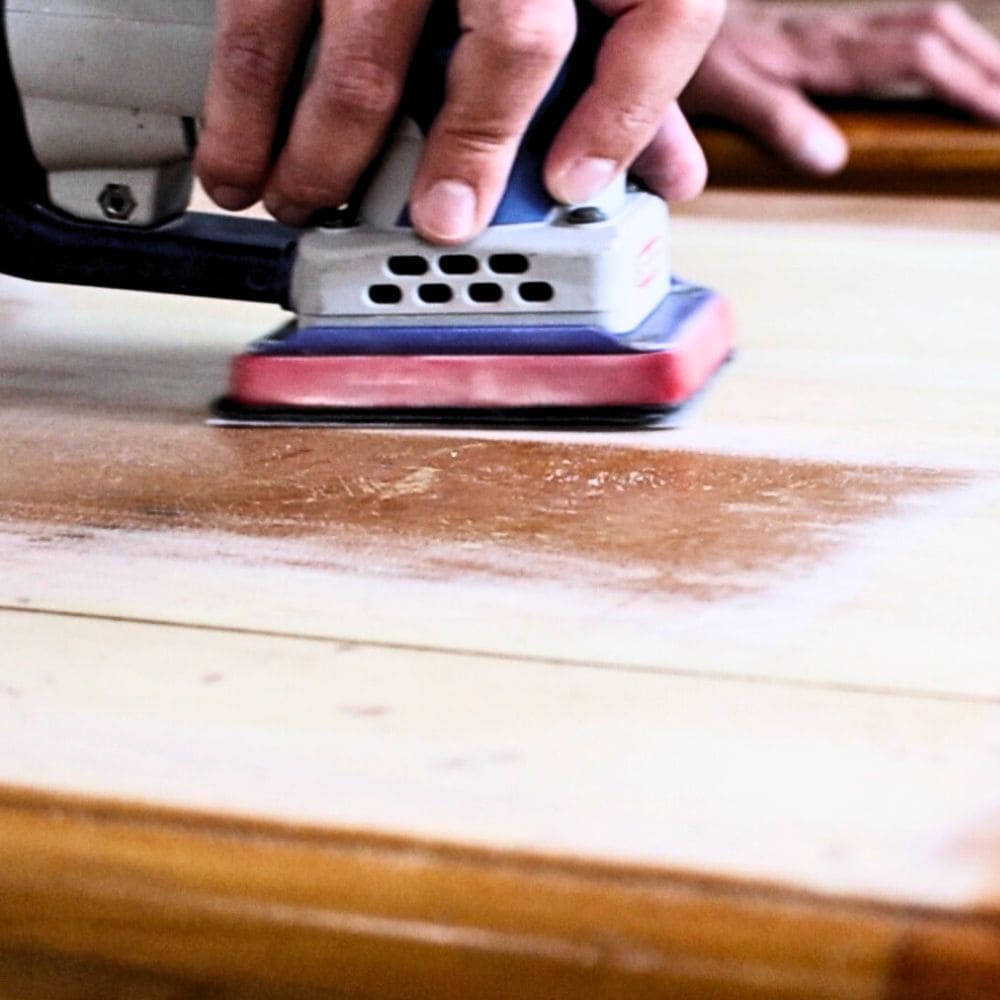
Remember to follow the directions on your chosen filler product and allow enough time for drying before moving on to the next step.
This will guarantee that your repairs are strong and long lasting. Here’s more on how to repair damaged furniture if you would like to explore other methods.
Match Repaired Wood Finish to Furniture
Now it’s important to match the color of the repaired area to the rest of your furniture.
This will guarantee a seamless and natural appearance. The best way to do this is by using a stain or paint that matches the existing finish.
Would you like to save this?
If needed, you can also use multiple stains or paints to create a custom color for your repair.
Just make sure to test it on a small, inconspicuous area first before applying it to the entire repaired surface. Do this for a more accurate match and to avoid any potential mistakes.
Here’s our how to stain wood with paint post to learn more about the process of staining wood with paint!
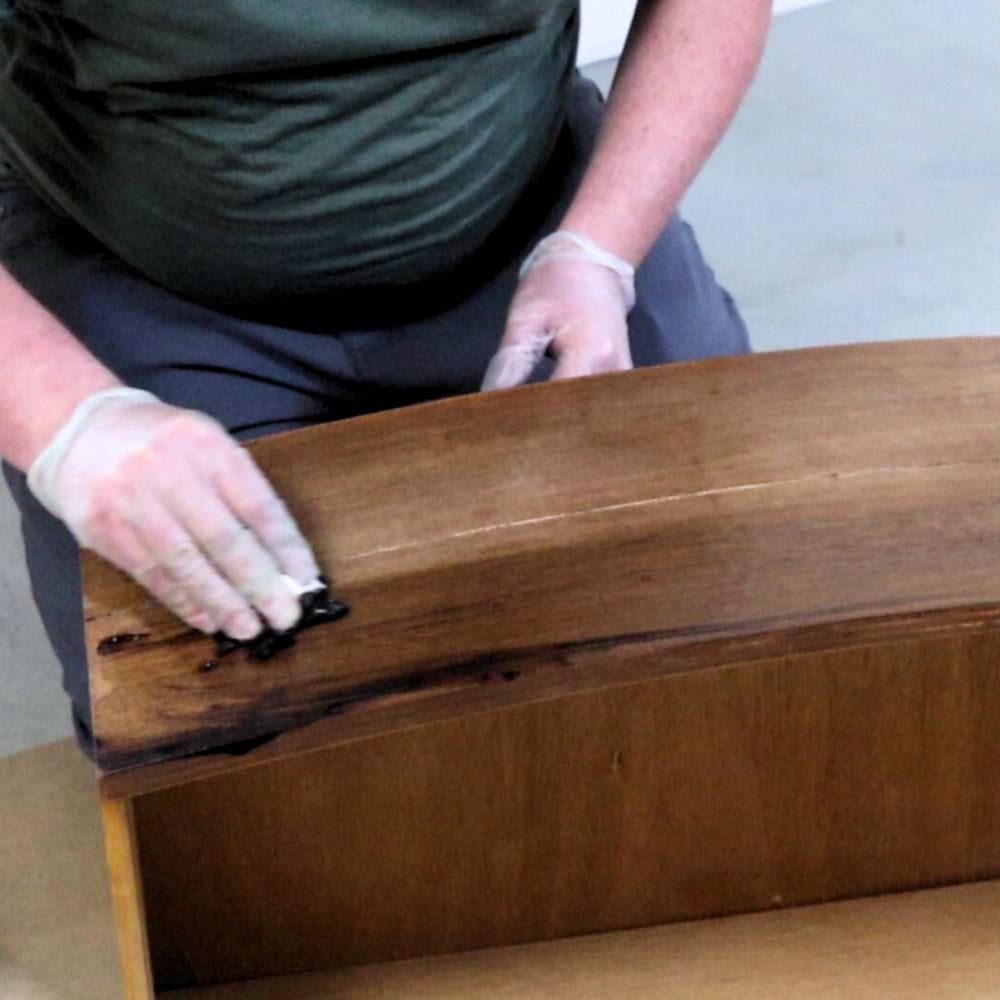
Once you are satisfied with the color match, apply the stain or paint carefully using a small brush or cloth going in the direction of the wood grain.
Make sure to blend it in with the surrounding area for a smooth and consistent finish. You may need to apply multiple coats until you reach the desired color and level of coverage.
You can also use Old English to help blend in the repaired area. This dark oil can be rubbed onto the wood to help hide scratches and dings, giving it a similar finish. Just make sure to use it sparingly and buff it out for a natural look. Check out this post for more on what does Old English do to wood!
Check out our post on wood stain repair for more tips on how to match the repair to the wood color and finish.
Tips for Preventing Damage on Wood Finish
Taking care of your furniture is key to preventing damage on the wood finish.
Regular cleaning and maintenance can go a long way in preserving its beauty and durability. Make sure to use gentle cleaners and avoid harsh chemicals that may strip away the finish.

Another great tip is to use coasters, placemats, and tablecloths on surfaces where items are placed frequently.
Also, avoid placing hot objects directly on the surface as it can leave burn marks. Taking these steps will help protect the wood finish from any potential damage.
Avoid placing wood furniture in direct sunlight, as it can cause the finish to fade and discolor over time. If possible, place furniture away from windows or use curtains or blinds to shield it from direct sunlight.
Make sure to regularly inspect your furniture for any signs of wear and tear. Catching small issues early on can prevent them from becoming major problems in the future.

And if you do notice any damage, don’t wait too long to repair it, as it may lead to more serious and costly repairs down the line.
So don’t fret if your wood furniture’s finish is damaged – with the right tools and techniques, you can easily repair it and have it looking as good as new in no time.
Again, just remember to regularly care for your furniture and address any issues promptly to keep it looking beautiful and well maintained.

How To Repair Damaged Wood Finish
With this how to repair damaged wood finish tutorial, learn the simple steps to easily restore the beauty of your wood furniture.
Materials
- Wood Filler
- Wood Glue
- Sandpaper
- Stain or Paint to match finish
- Old English
Tools
Instructions
- Assess the damage on your wood furniture by closely examining scratches, dings, and discoloration. Don't worry about matching the color of the finish at this point.
- Fill in any damaged areas with wood filler or wood glue and clamp together until dry. Sand down the repaired area to make it flush with the rest of the furniture.
- Match the repaired area to the existing finish by using a stain or paint that matches the color. Test it on a small area first and apply multiple coats if needed.
- You can use Old English to help blend in the repaired area for a more natural look. Apply sparingly and buff out for best results.
Recommended Products
As an Amazon Associate and member of other affiliate programs, I earn from qualifying purchases.


More Furniture Repair Tips
- How To Repair Cracks In Antique Wood Furniture
- Wood Furniture Repair Solution
- Wood Surface Repair
- How To Repair Broken Wood
- How To Repair Damaged Particle Board Furniture
Follow us on YouTube to get more tips for painting furniture. Or share your project with us on our Facebook Group and be part of our community. See you there!