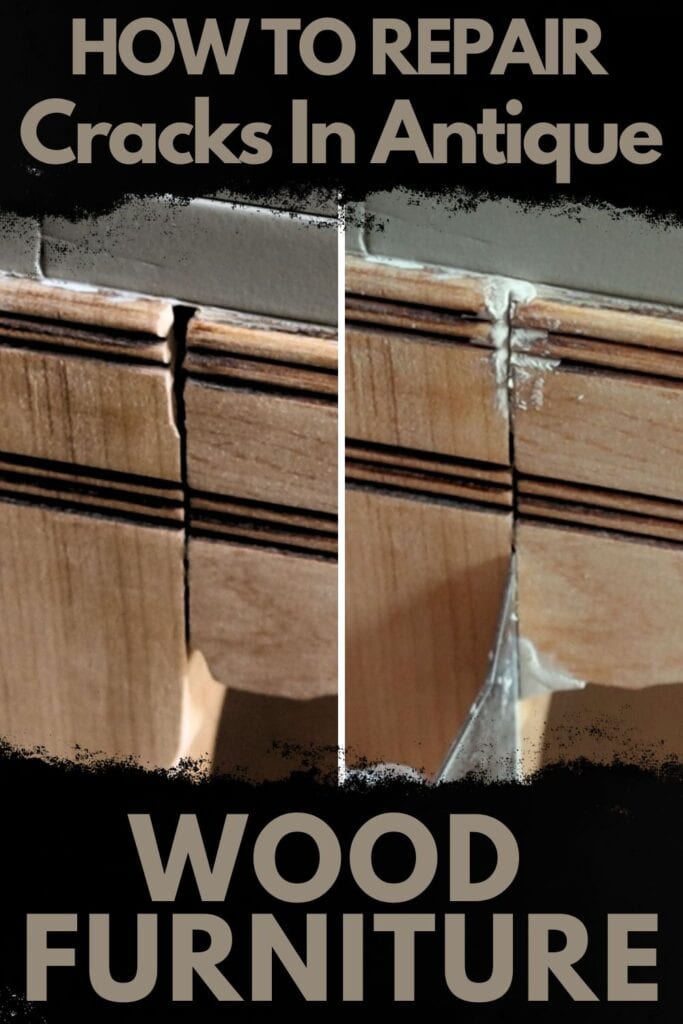
How To Repair Cracks In Antique Wood Furniture

Whether you have a cherished family heirloom or a flea market find, aging and wear on furniture can often result in cracks and damage. Repairing old furniture can be a bit daunting, especially for delicate antique pieces. But don’t worry, we’ll guide you through the process of how to repair cracks in antique wood furniture.
Whether you want a seamless fix or a creative touch, we have different methods for repairing that can help restore your beloved furniture piece.
Antique wood furniture is not only a functional piece but also a reflection of history and craftsmanship. However, over time, even the sturdiest pieces can develop cracks and damage due to natural aging or from improper care.

These imperfections may affect the overall appearance and stability of the furniture, so it’s important to tackle them as soon as possible.
In this blog post, we will discuss different methods for repairing cracks in antique wood furniture. We understand that every piece is unique, and the level of damage can vary, so we have included various techniques to cater to different needs and desired outcomes.
Let’s explore three different methods for repairing cracks in antique wood furniture.
Supplies Used for Repairing Cracks in Antique Wood Furniture
As an Amazon Associate, I earn from qualifying purchases. I also may earn from other qualifying purchases with other companies or get free product to review and use. All opinions are my own.
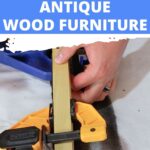
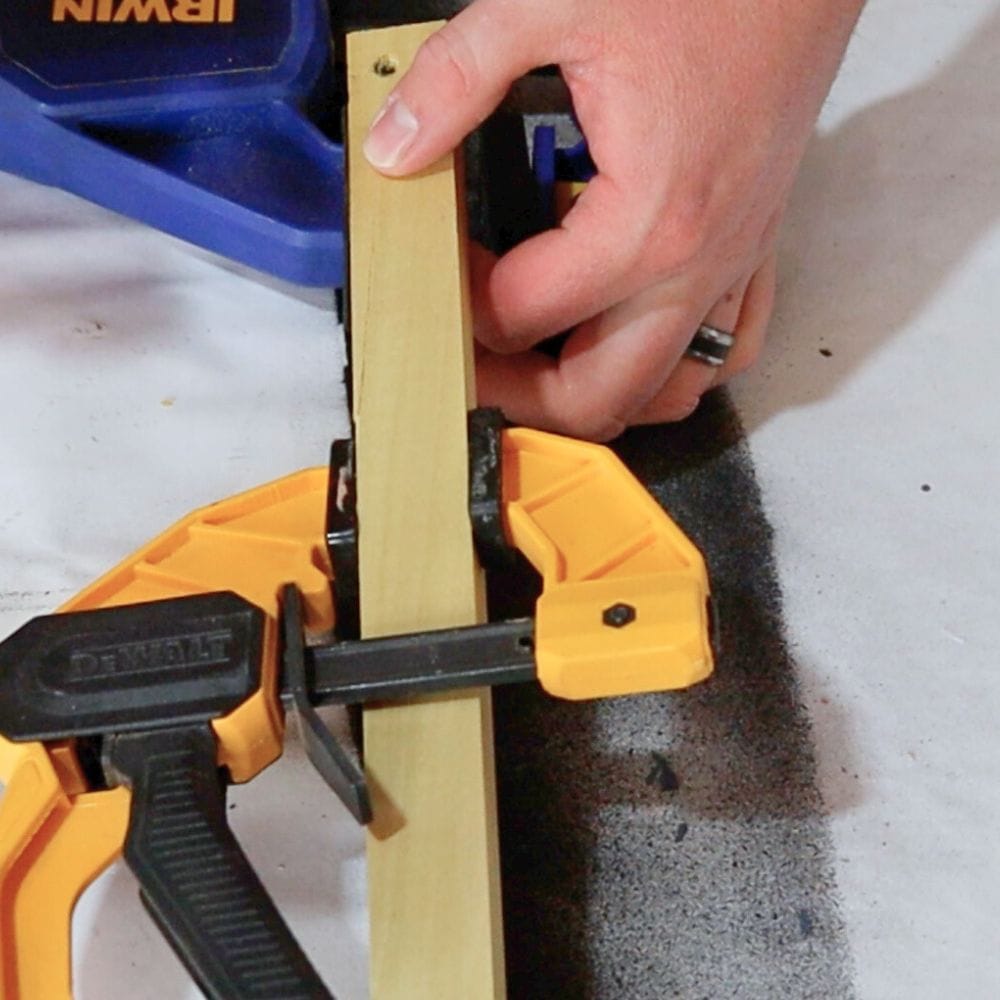
Using Glue and Clamps to Repair Cracks
One of the simplest and most common methods for repairing cracks in wood furniture is using glue and clamps. This method works best for clean cracks where the wood can still be pushed back together.
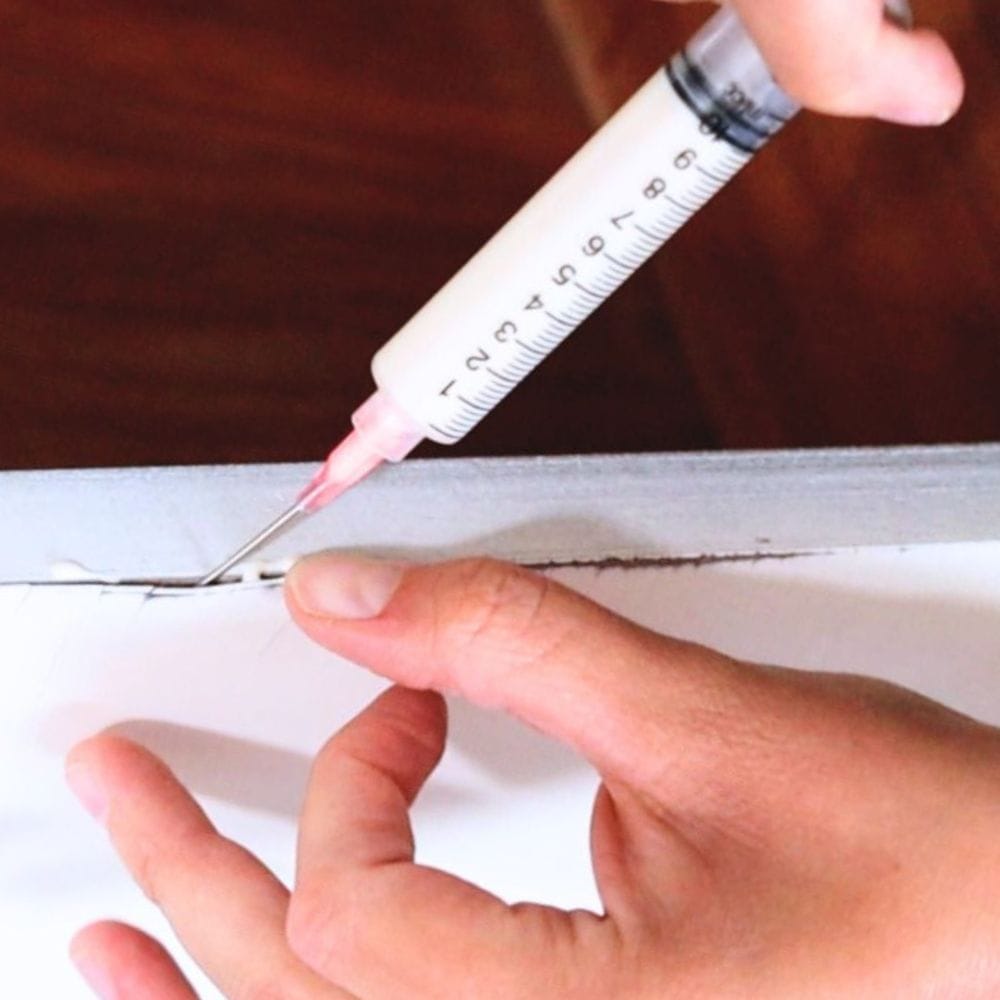
Start by applying wood glue into the crack. If the crack is very tight, use a glue syringe to inject the glue into the crack.
Next, get some wood clamps to hold the cracked pieces together while the glue dries. Check out the best glue for repairing wood furniture here.
It’s important to let the glue dry completely, usually for about 48 hours, before removing the clamps. This way, the glue will be completely dry and able to hold the crack in place.
Using Bondo Wood Filler to Repair Cracks
For cracks that are more severe or cannot be pushed back together with the clamps, using Bondo wood filler is a great option.
This wood filler is strong and durable, making it ideal for repairing antique furniture. Our Bondo wood filler review will give you more details on this product if you’ve yet to try it.
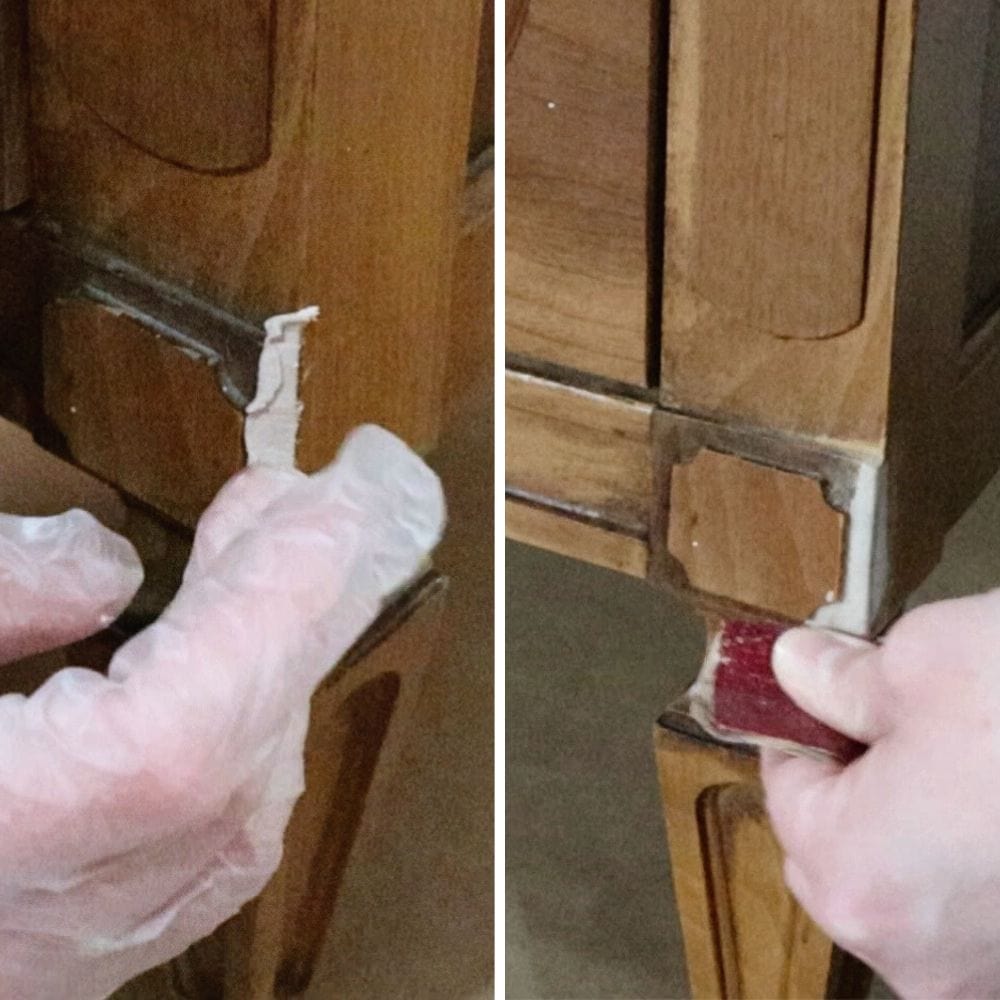
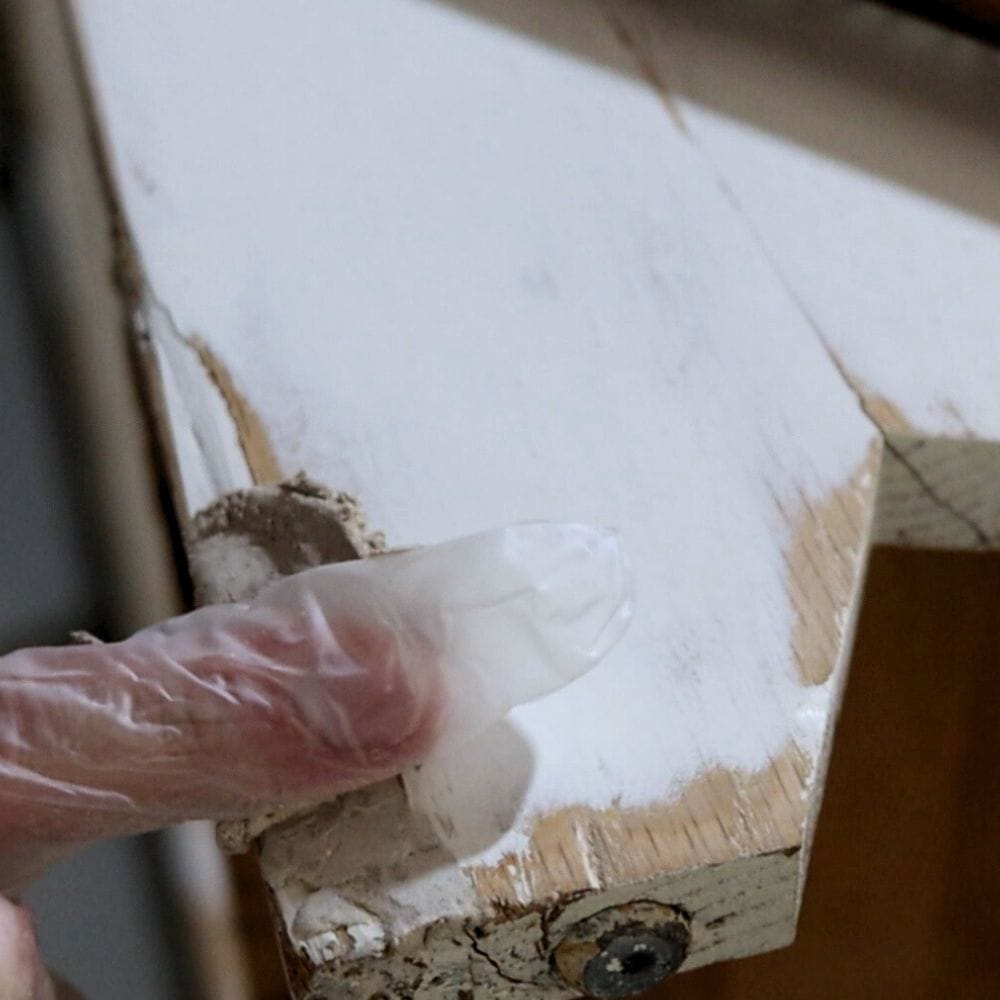
To use this method, place a scrap piece of wood on the underside of your crack if it is large enough to let the Bondo seep all the way through the crack. We need the Bondo to stay in place here to fill the crack. Then fill the crack with Bondo wood filler and make sure to slightly overfill it.
Once the filler is dry, sand it down to get a nice and smooth finish that blends seamlessly with the surrounding wood. Here’s everything you need to know about Bondo wood repair for your furniture.
Another great product to use in a larger crack is Kwikwood. It has a thicker consistency, almost like clay. If you think your project would benefit from a thicker wood filler, read our post on how to use Kwikwood.
Here are our posts of the best wood repair putty and the best wood fillers for furniture to learn more about the different options and help you decide which one is suitable for your project!
Either way, you will need to overfill the crack, let the filler dry completely, and then sand it down flush with the surface around the crack. I typically use 150 grit or 120 grit sandpaper for this.
Would you like to save this?
Please do not use regular wood filler to fill in large cracks. Wood filler should only be used on very small scratches, and tiny cracks because it will shrink and crack easily on its own.
If you’re planning to stain the furniture, check out our wood stain repair tutorial here, where we explain how to “stain” the wood filler to match the rest of the piece. You can also check this major patio table makeover, where we also did wood stain repair.
And if you’re painting furniture, don’t forget to prime the entire surface before applying the paint. Here’s a complete guide on how to paint wooden furniture from start to finish. For any leg damage, check out this guide on how to fix a broken table leg.
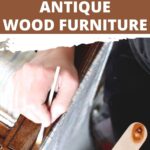
Getting Creative with Tinted Epoxy to Repair Cracks
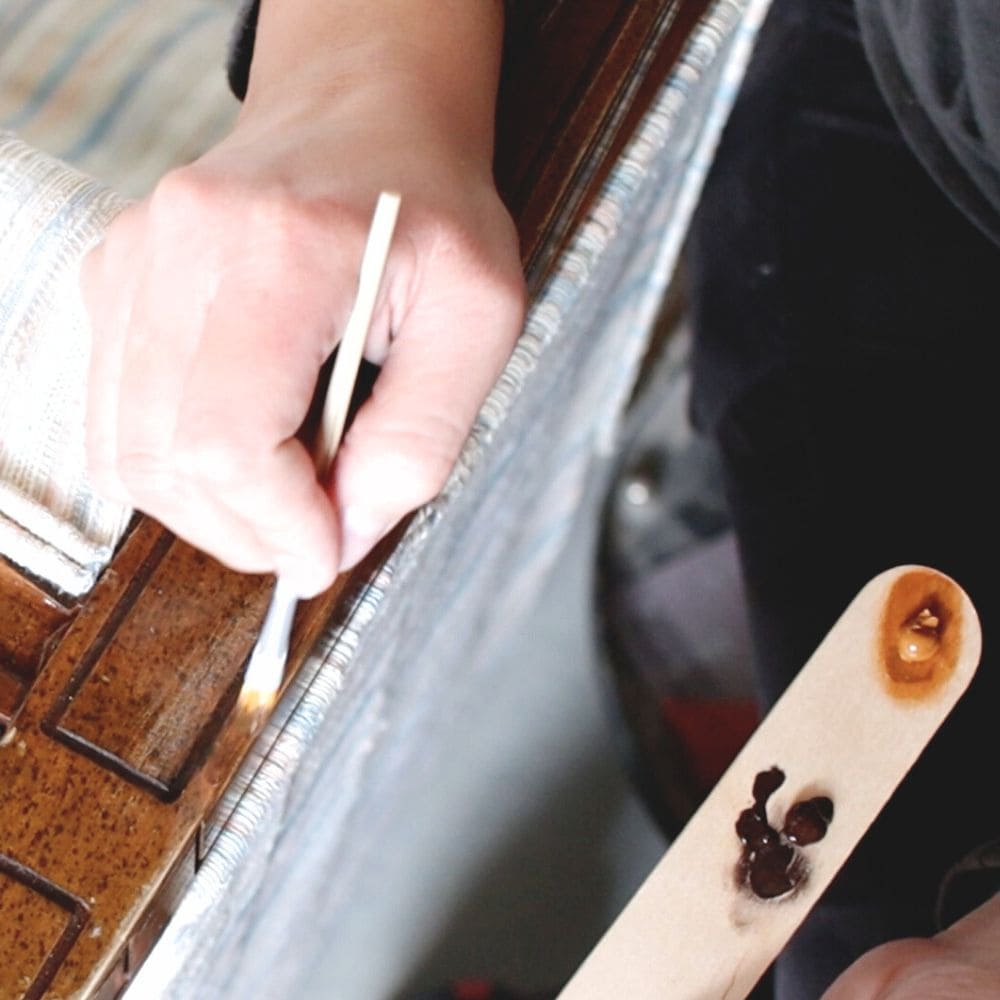
Another great solution for repairing cracks in wood furniture is using epoxy. Epoxy is a waterproof and strong material, making it ideal for filling small gaps and holes in wood.
You can go for tinted epoxy – just add some epoxy-safe colorants like mica powders, universal tints, alcohol inks, or pigment dispersions. It’s a fun way to get creative and give your furniture a unique look!
However, it’s important to choose a low-viscosity epoxy that can penetrate small spaces. You can use an epoxy syringe to make the filling process easier. This is the perfect way to give your antique a very unique look!
Here’s a blog post about repairing the easiest live edge river table using epoxy.


Can all types of wood cracks be fixed with glue and clamps?
Glue and clamps are great for fixing various types of cracks, but they work best on smaller cracks where you can still push the wood parts back together. If the crack is too big or irregular, it might be more suitable to use Bondo wood filler or tinted epoxy.
What if I don’t have clamps?
If you don’t have clamps, don’t worry! There are alternative ways to apply pressure while the glue dries. For instance, you can use heavy books or use ratchet tie down straps to push the wood back together. But using clamps is definitely the most secure and effective option!
Can I use these methods to repair newer wooden furniture?
Absolutely! These methods work wonders for antique wood furniture, but they’re just as applicable to newer pieces. The principles of wood repair stay the same, regardless of the age of the furniture.
So go ahead and give your newer wooden furniture some love and care with these techniques.
How do I know which method is best for my furniture?
The method you choose depends on factors like the size and depth of the crack, as well as the type and age of your furniture. For minor cracks, glue and clamps might be sufficient. But for bigger, deeper cracks, you might need Bondo wood filler or epoxy.
Cracks and damage in antique wood furniture can be easily repaired with the right methods. Whether you prefer a seamless fix or want to add a creative touch, there are various options available to suit your needs.
Get more tips and tricks on how to repair broken wood here.
We hope this guide has been helpful in guiding you through the different techniques for restoring your treasured furniture piece!

How To Repair Cracks In Antique Wood Furniture
Here are the best techniques on how to repair cracks in antique wood furniture, from using glue and clamps, wood filler to tinted epoxy.
Materials
Tools
Instructions
- Identify the type and severity of the crack in your antique wood furniture.. This will help determine which repair method is best suited for your specific situation.
- For tight cracks, apply high-quality wood glue into the crack and use clamps to hold the pieces together while it dries. Make sure to let the glue dry completely before removing the clamps.
- For larger or irregular cracks, use Bondo wood filler to fill and strengthen the damaged area. Sand down the filler once it has dried for a seamless finish.
Recommended Products
As an Amazon Associate and member of other affiliate programs, I earn from qualifying purchases.


More Furniture Repair Tips
- How to Repair Chipped Wood Furniture
- Best Way To Fix Chipped Wood Furniture
- Repair Water Damaged Wood
- How To Repair Damaged Wood Finish
- How To Repair Veneer Edging

Follow us on YouTube to get more tips for painting furniture. Or share your project with us on our Facebook Group and be part of our community. See you there!