How to Use KwikWood


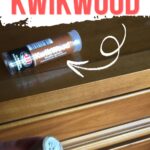
Repairing furniture is a breeze with the right products! KwikWood dries quickly into a hard type of wood filler. Plus, it shapes easily like clay, making it one of the best types of wood filler around. Here’s how to use KwikWood!
It’s one of the effective ways of repairing old furniture, so learning how to use it properly will come in handy. Keep reading for a step by step guide on using KwikWood for all your furniture repair needs.
I absolutely love KwikWood. Not only because of what I mentioned above, but the list goes on and on. It doesn’t shrink or crack like other wood filler is notorious for. It also doesn’t get air bubbles in it like Bondo does, so it’s my go to for filling in hardware holes when changing hardware. Check out how to change hardware on a dresser for a full guide.

Plus, it doesn’t stink like Bondo does! I can use it indoors without issues of a lot of fumes. (It does have a slight smell to it though. Just not anything super strong!) So, over time, KwikWood has become my #1 type of wood filler for furniture repairs!
Learn all about the best wood fillers for furniture here, and check out my honest Bondo wood filler review here if you’re curious about this other filler.
Supplies for Using Kwikwood Epoxy Putty Stick
As an Amazon Associate, I earn from qualifying purchases. I also may earn from other qualifying purchases with other companies or get free product to review and use. All opinions are my own.
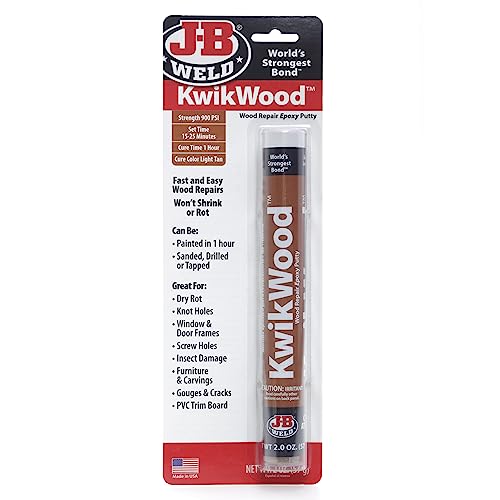
- KwikWood
- Utility Knife
- Disposable Gloves
- Sandpaper
- Molding Putty (for intricate details)
How to Use Kwik Wood
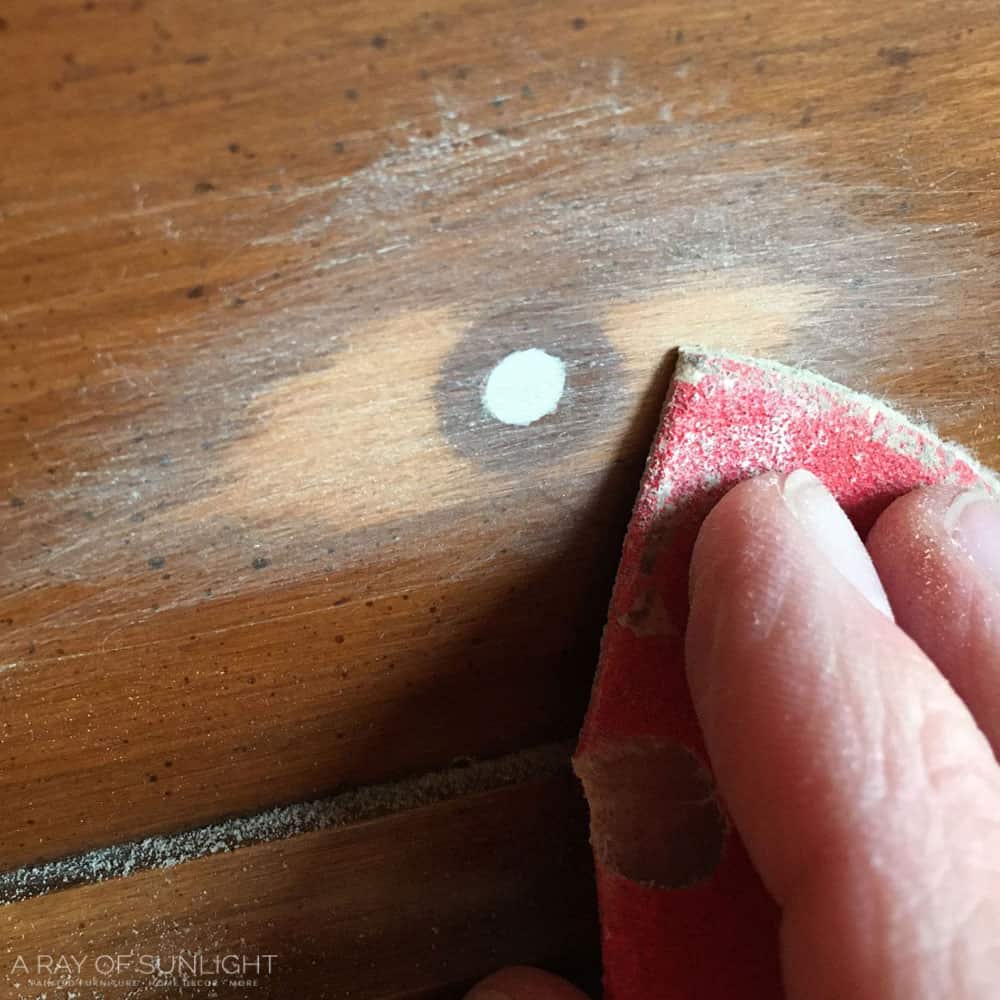
First, scuff sand around the damaged area. Scuff sanding with 220 grit sandpaper will help the KwikWood adhere better where it needs to adhere. If you put the KwikWood on a glossy surface, it most likely will fall off or chip away easily, so don’t skip this super easy step!
Learn more about why sanding before painting furniture is important here, and which is the best sandpaper for furniture painting here.
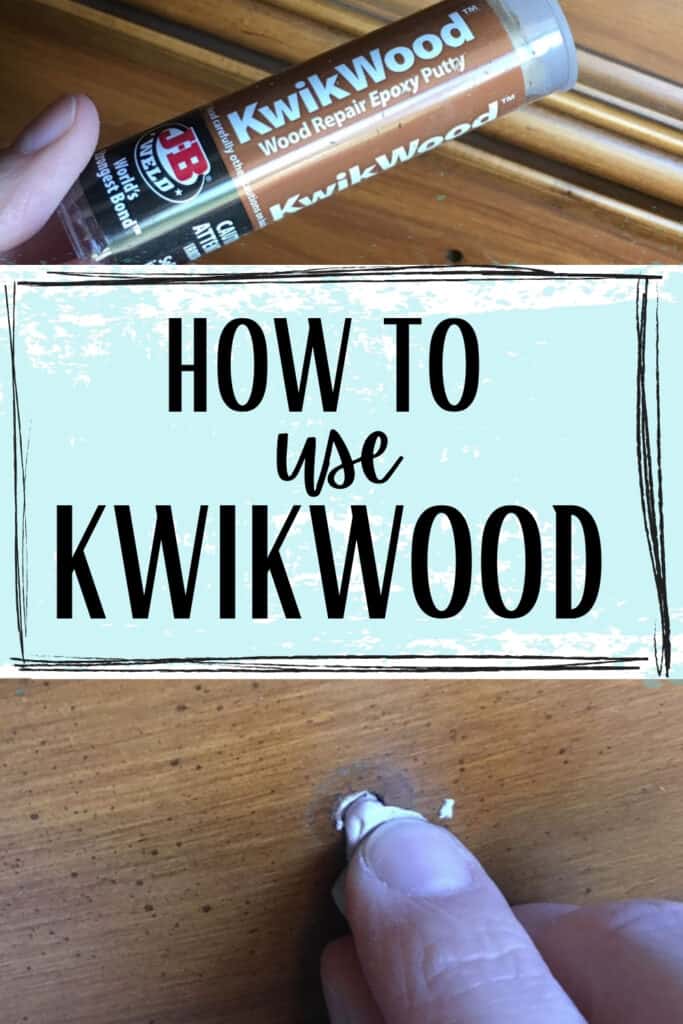
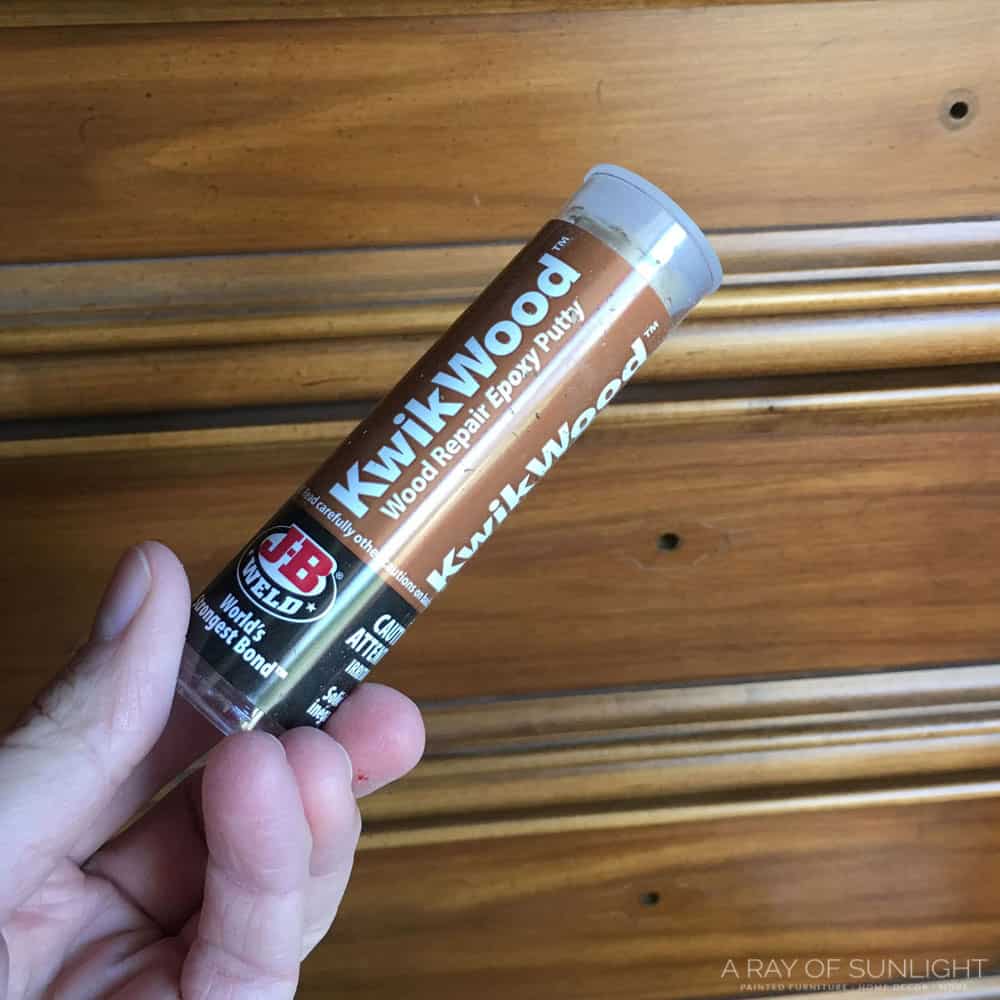
Put on a pair of disposable gloves then cut the amount that you need from the roll of KwikWood. It’s best to cut the amount you need with a utility knife so then the middle and the edge don’t get mixed together.
But let’s be honest, I seem to never have a utility knife around so I break it off.
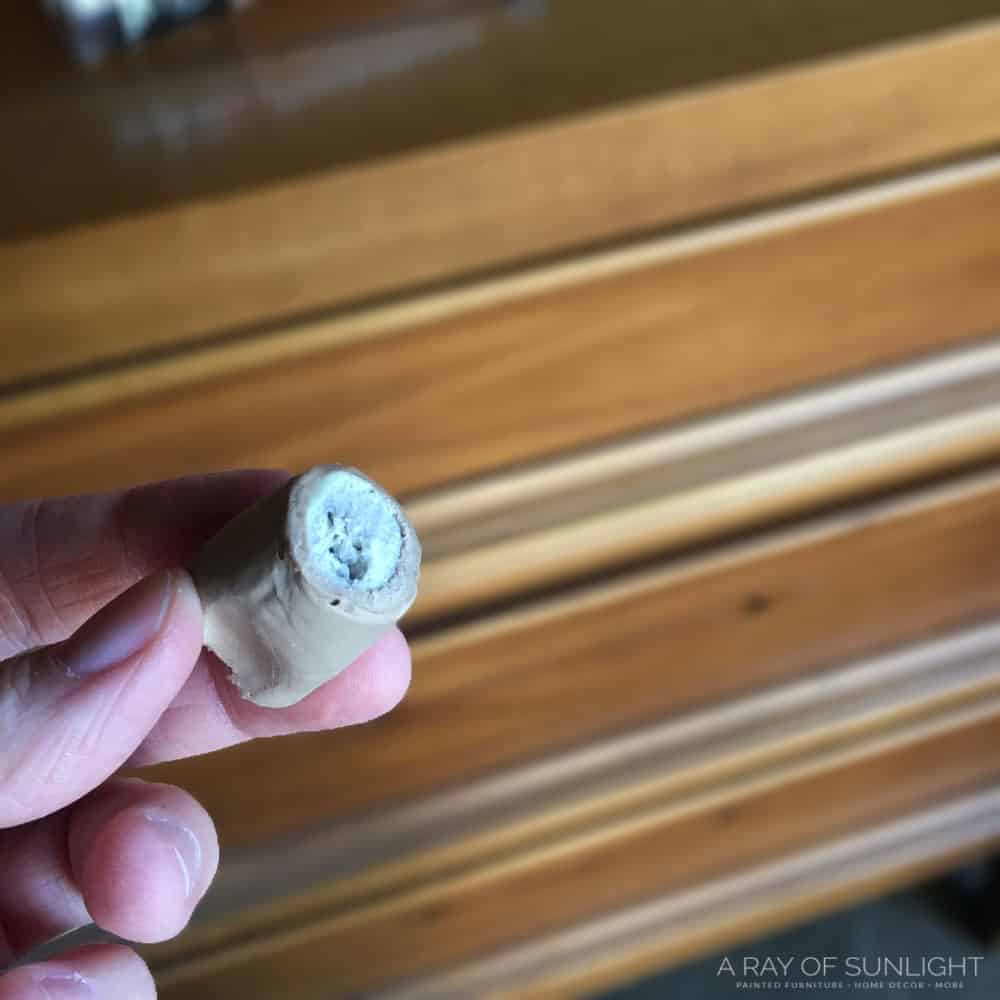
KwikWood starts to get hard about 15 minutes after you start kneading it, so you only want to use the amount you can work within that time. Simply knead the KwikWood with your fingers to mix the inside and outside layers together. Mix it until it’s all the same color.
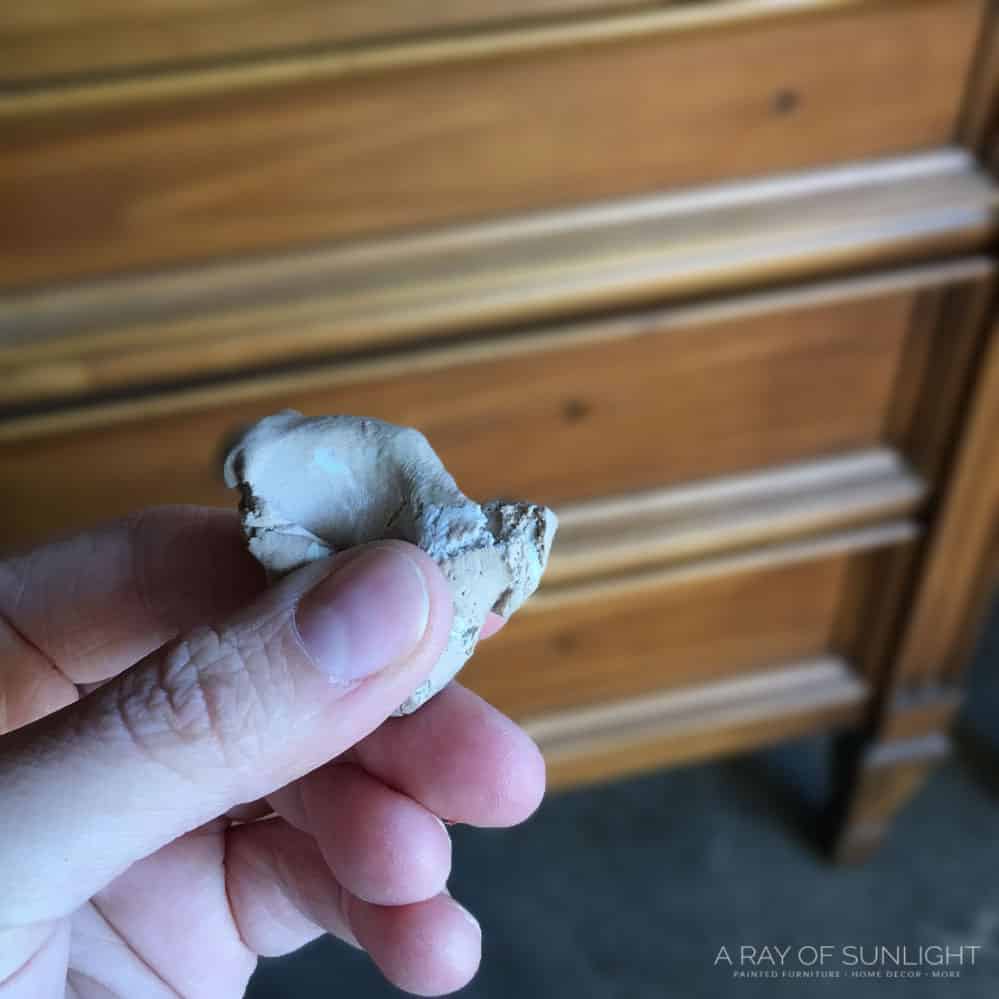
This should only take a minute to get the KwikWood to be completely uniform in color.
Kwikwood Wood Repair
Now you can repair your furniture! There are a few different ways to do this, depending on what you need to repair.
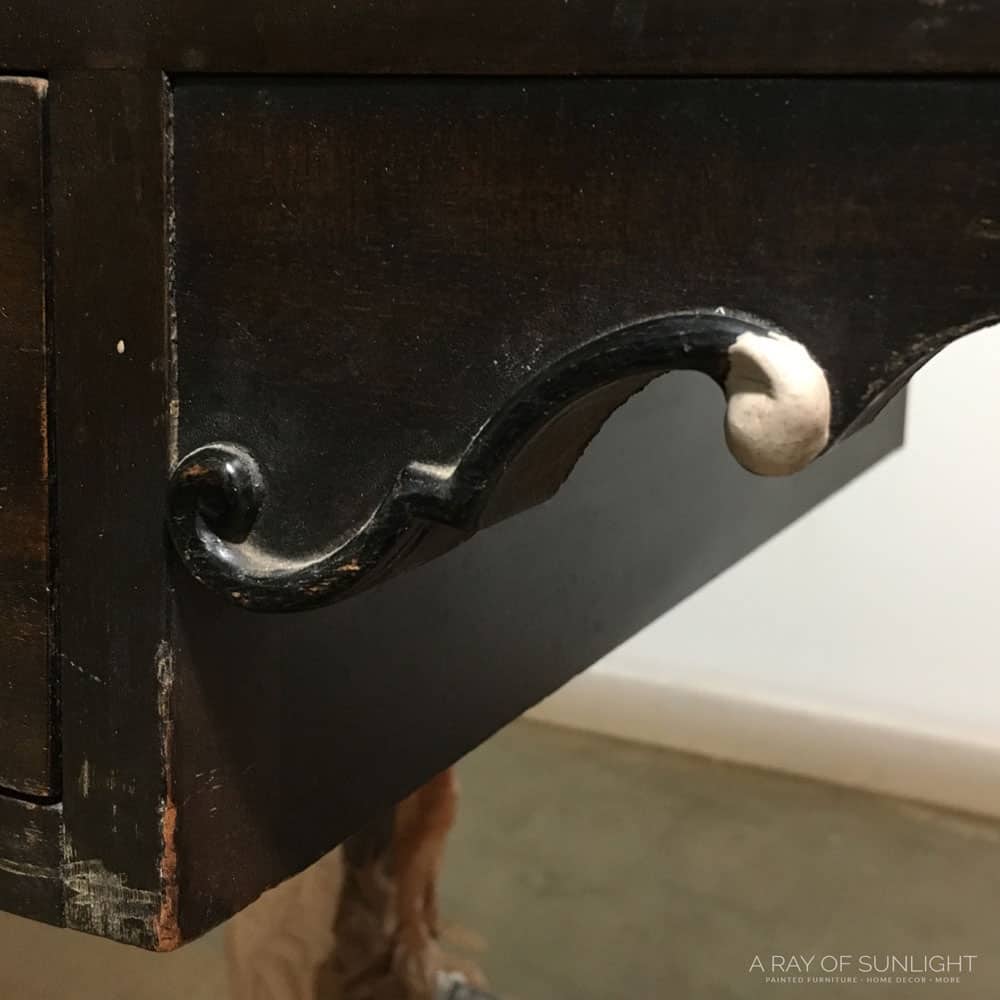
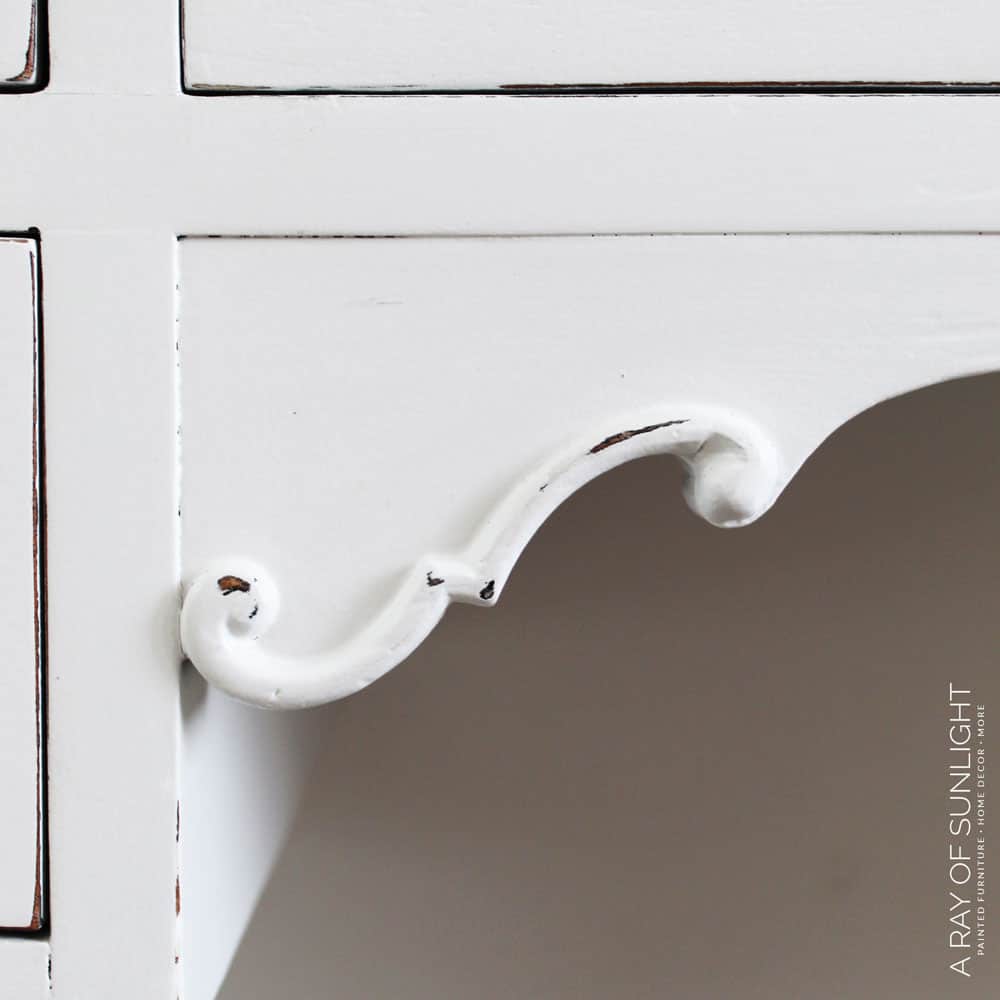
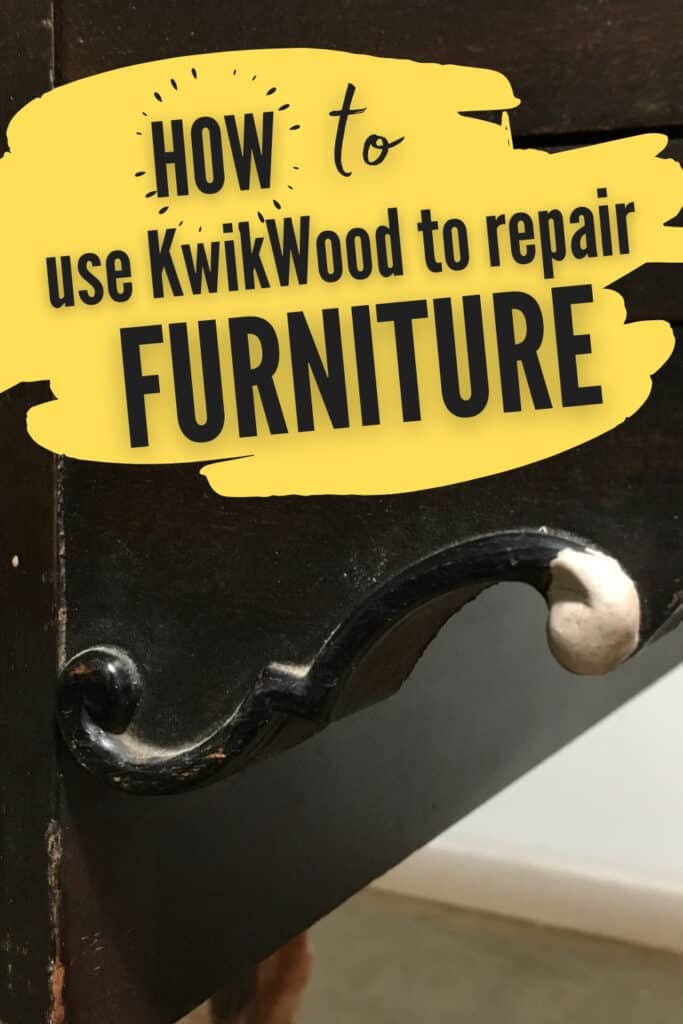
You can simply just shape the KwikWood with your hands and fingers to create the shape that you need. I was able to create this detail that I needed to replace on this chalk painted desk by just shaping the KwikWood with my fingers.
If the details are a bit more intricate, consider using a mold putty or hot glue to make a mold (see this post about how to repair broken trim on furniture) of the shape that you need to create. Then, you can put the KwikWood into the mold to create the intricate details.
If you need to use the KwikWood on a flat surface, you can use a putty knife or a straight edge to flatten and smooth the KwikWood.
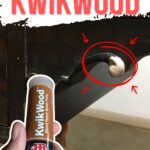
My favorite use for KwikWood is to fill in old hardware holes so I can put new hardware on furniture. You can also repurpose old hardware from another project by learning how to paint drawer pulls.
And since not all hardware holes are spaced the same, you can fill the existing holes with Kwikwood before adding the new or painted hardware.
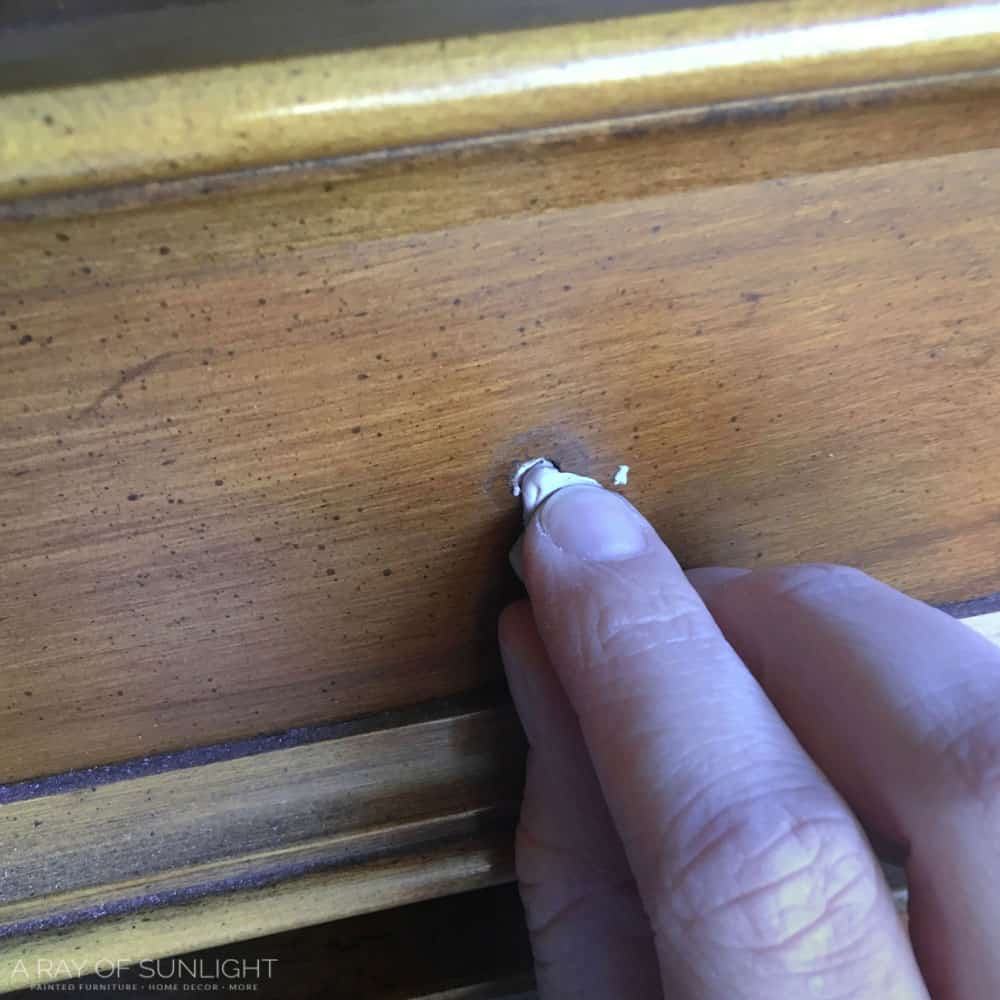
I just basically shove a little bit of the KwikWood into the holes, leaving a little bit of excess on the outside of the hole so I can sand it down perfectly flush with the surface of the drawer front. Here’s a comparison of Kwikwood VS other wood fillers in filling holes when replacing cabinet or furniture hardware!
Kwikwood Dry Time
After the KwikWood is where you want it (remember, you only have about 15 minutes to work with it!), let it dry. It usually takes about 1 hour for the KwikWood to dry completely hard.
Would you like to save this?
If you didn’t shape the KwikWood to the exact shape or smoothness that you want, you can use some 220 grit sandpaper to sand it smooth.
For flat surfaces, you can use a power sander with 150+ grit sandpaper to sand it smooth with your surface. Check out the best sanders for furniture here if you want to invest in one and need recommendations.
Now you can finish it how you desire! It dries into a natural wood / tan color when it’s dry. KwikWood can be drilled or screwed into!
KwikWood Not Drying or Curing
So, you’ve used KwikWood to fix your furniture and it’s not drying. There are many reasons why this might happen, but don’t worry – we’ve got some tips to help you troubleshoot and fix the issue.
First, make sure you have mixed the KwikWood correctly. Sometimes, the inside and outside layers can separate if not mixed thoroughly. Simply knead it with your fingers until it’s all the same color. It won’t dry completely if it isn’t properly mixed.
Temperature and humidity can also affect how quickly KwikWood dries. If it’s chilly or humid, it might take longer to cure. Try moving the filled piece to a warmer and drier location if possible.
Check if the KwikWood you’re using is expired or if it has been stored improperly. Old or expired products may not work as expected.
Also, make sure that your furniture surface is free from any oils or waxes before applying the filler. These can prevent proper adhesion and curing. Lastly, try not to apply the filler too thin – thicker layers are best for proper curing because of the chemical reaction.
You can try to remove the filler and reapply it if it’s still not drying. Mix a proper batch this time and apply it thicker so it dries and cures properly.
Can KwikWood be Painted?
You can also paint it with the rest of your furniture. Check out these furniture makeover ideas for some inspiration!
Before painting over the KwikWood, be sure to prime it and the furniture to make sure you get an even painted finish. My favorite primer is BIN shellac based primer because it is one of the few primers that actually blocks bleedthrough from the wood and stops stains from coming through paint!
Read this post to learn more about the best primers for painting furniture and how to choose the right one.
Can You Stain Kwikwood?
KwikWood can also be stained! But just like every other wood filler, it takes the stain differently than wood takes stain. I have had great success by staining KwikWood with gel stain since gel stain sits on top of the surface instead of soaking in.

You can also mix a little bit of gel stain with the wet KwikWood while you’re kneading it to make it darker right off the bat. Learn more about the different techniques of staining wood filler here and wood stain repair here.
Where to Buy KwikWood
You can buy a KwikWood Epoxy Putty Stick on Amazon, Home Depot, and probably even your local hardware store! It comes in either a 2oz or 4oz stick/roll.
KwikWood is a super handy and versatile product to have in your toolbox for all your furniture and wood repair needs. Whether you’re filling holes or repairing cracks on your pieces, knowing how to use KwikWood properly will help you get professional looking results on your furniture makeovers.
Get Our Secrets!
Grab this super convenient How to Repair Furniture Ebook with all of our secrets on how to repair furniture for only $14.
You can print it out and have instant access whenever you come across damaged furniture, and know exactly how to fix it!
Click on the picture of the book to purchase!


How to Use KwikWood
KwikWood is one of the best wood fillers to repair furniture. Here's how to use KwikWood.
Materials
Tools
Instructions
- Scuff sand the damaged area for KwikWood to adhere better.
- Cut the amount that you need from the roll of KwikWood.
- Knead the KwikWood with your fingers to mix the inside and outside layers together.
- Shape the KwikWood depending on the damage you need to repair.
- Let it dry, usually takes about 1 hour.
- Sand it smooth and finish it how you desire!
Recommended Products
As an Amazon Associate and member of other affiliate programs, I earn from qualifying purchases.


More Repairing Furniture Tutorials
- How to Fix Old Dresser Drawers that Stick
- How to Fix a Chipped Wood Corner
- How to Fix Chipped Wood Furniture
- How to Repair Chipped Veneer Furniture
- Old Dresser Drawers Hard to Open

Follow us on YouTube to get more tips for painting furniture. Or share your project with us on our Facebook Group and be part of our community. See you there!
excellent info – a great help – thanks