Staining Wood Filler


Wood filler is a great solution for fixing minor damages or imperfections in furniture. However, the challenge comes in when staining wood filler, trying to blend it with the surrounding wood to make it look seamless.
The good news is that there are multiple ways to do this. In this blog post, we’ll look at these four effective refinishing furniture techniques so that you can restore your wood furniture to its former glory.

Before we dive into the techniques, it’s important to understand that wood filler is designed to fill gaps and imperfections in wood, but it’s not meant to replace the wood itself. Keep in mind that any stain or paint you apply to it will look slightly different from the surrounding surface.

The key is to minimize the difference as much as possible so that your repair is not noticeable. You don’t want to end up with a patchy or uneven finish, and a piece of furniture that looks like it has been poorly repaired.
So, let’s explore the different techniques for staining wood filler and choose the best one for your project. They will require some patience and attention to detail, but the end result will be worth it. Let’s dive in!
Supplies used for staining wood filler
As an Amazon Associate, I earn from qualifying purchases. I also may earn from other qualifying purchases with other companies or get free product to review and use. All opinions are my own.
- Wood Stain Marker
- Gel Stain
- Bondo Wood Filler or KwikWood
- Chip Brush
- Waterbased Wood Filler
- Waterbased Stain
- Stain Repair Kit
- Wood Glue
Use a Wood Stain Marker
Using a wood stain marker is one of the simplest and quickest ways. It is especially useful for small spots that need touching up. They work like pens, making it easy to apply a stain directly to the filled area.
To use this method, allow the wood filler to dry completely and then sand it until it becomes smooth and flush with the surrounding area.
Choose a marker that matches your wood and apply it over the filler. Allow it to dry completely. While this technique doesn’t completely blend well with the surrounding surface, it does help to reduce the appearance of the repair.
However, keep in mind that the filler may not exactly match the original stain. For larger repairs or highly visible areas, other techniques may be necessary.
How to Stain Wood Filler
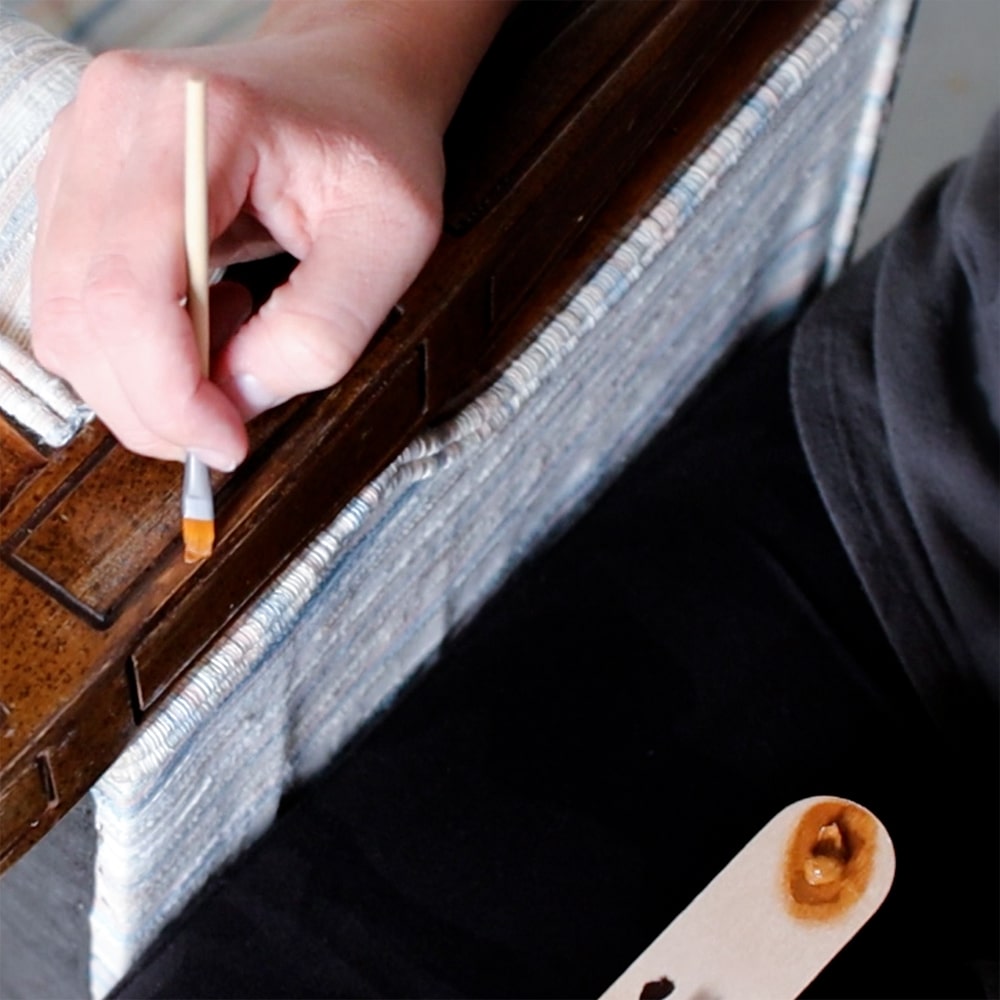
For this method, wait for the wood filler to dry completely, and sand it down so it is smooth and flush with the rest of the surface. Apply a matching coat of stain over it using a cloth or a brush. Here are the best brushes for staining wood you can use.
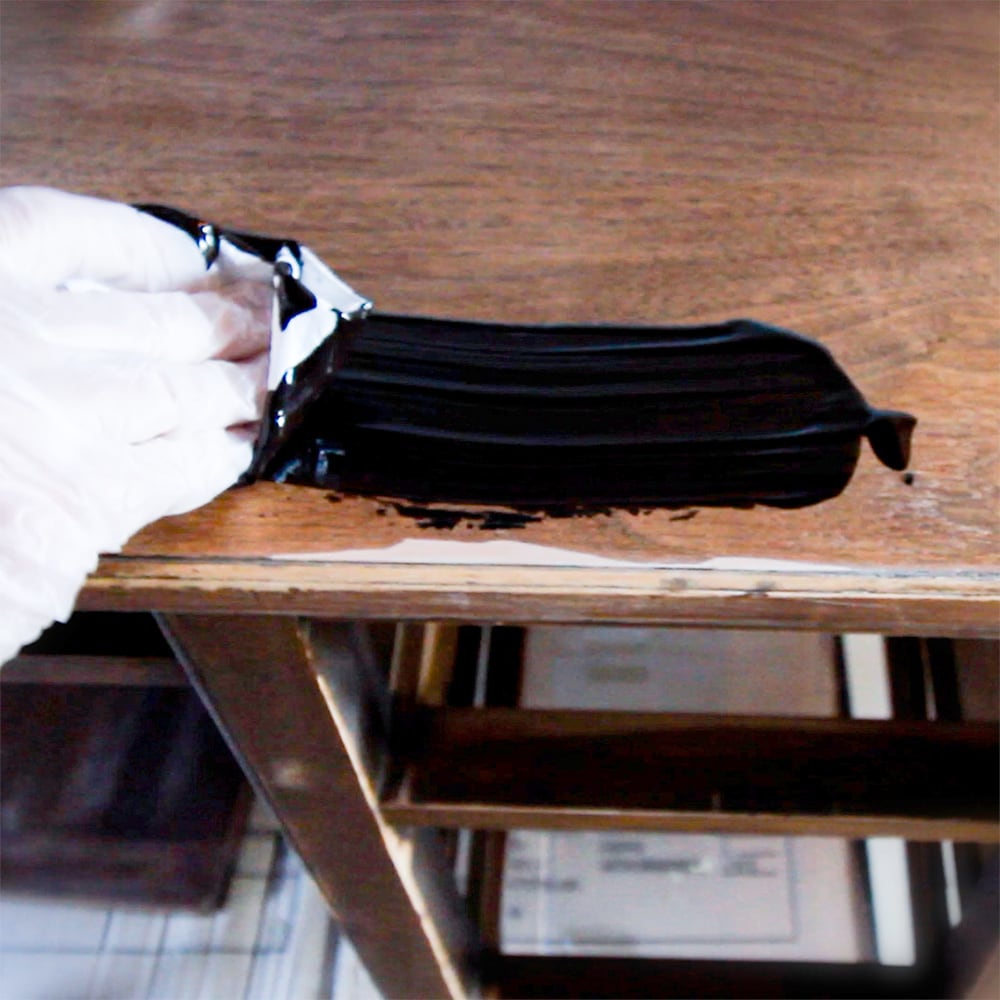
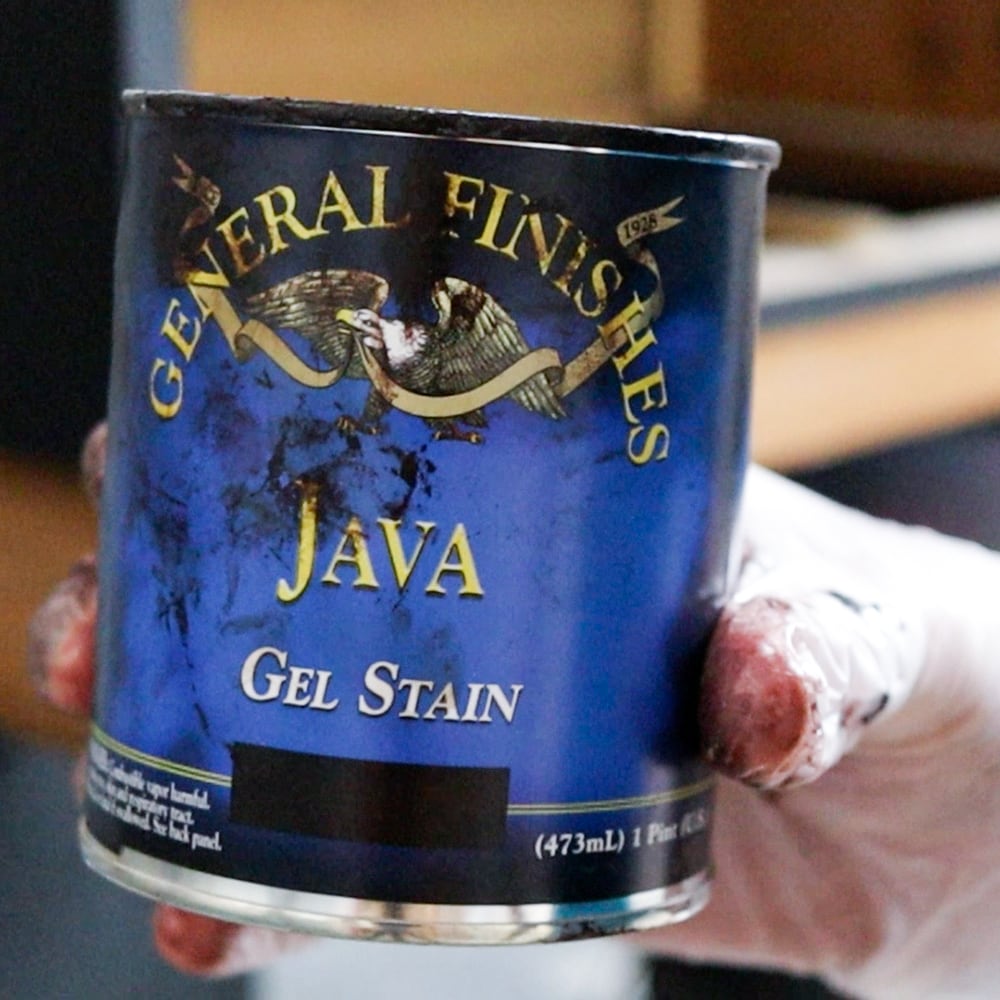
However, keep in mind that the filler may absorb the stain differently than the surrounding wood, resulting in a slightly different color. Applying a gel stain can help hide it more effectively than a traditional wood stain.
Gel stain has more body than regular liquid stain, so it doesn’t seep into the filler as much. Keep in mind that you may need to apply two or more coats to get the desired level of color and minimize the appearance of the filler.
Check out this blog post about how to repair (and stain) chipped veneer furniture using gel stain.
Check out this farmhouse cabinet makeover post, where we also used gel stain on the outside of this cabinet. But this method isn’t as easy for small touchups and works best when you are refinishing all of the wood.
Mix Stain Into the Wood Filler
Another effective way is to mix the stain into the filler itself. For this technique, mix a small amount of stain into Bondo Wood Filler or KwikWood as you’re mixing the hardener and filler together. Check out more best wood fillers for furniture here to know which one is right for your project.
This helps to change the color of the filler to match the color that you plan to stain the wood.
Learn how to use Bondo in this post on repairing veneer with wood filler and my Bondo wood filler review. For Kwikwood, learn how to use KwikWood here.
It’s important to test the coloring a few times before finally applying it to your project. Be mindful to use a small amount of the stain to avoid making the filler too dark, though be aware that it will also dry to a slightly different color.
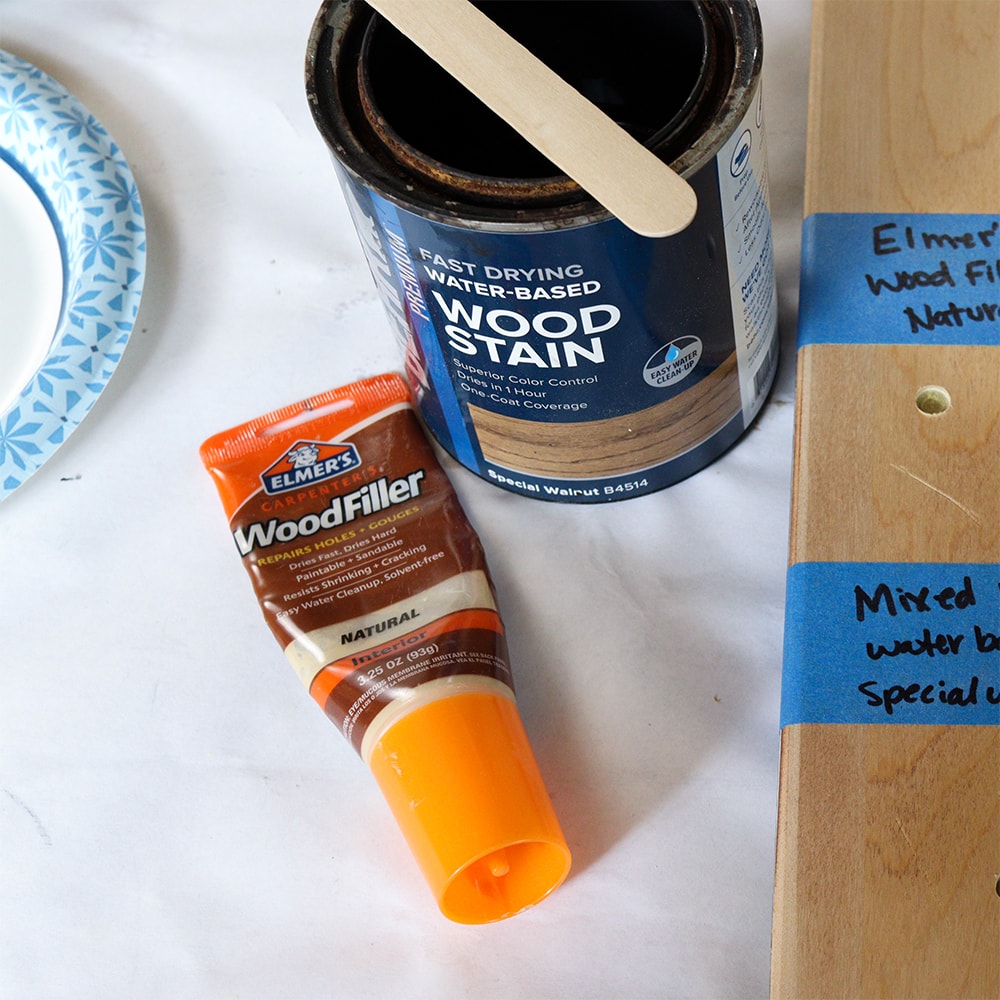
Also, you can mix a waterbased wood filler and a waterbased stain.
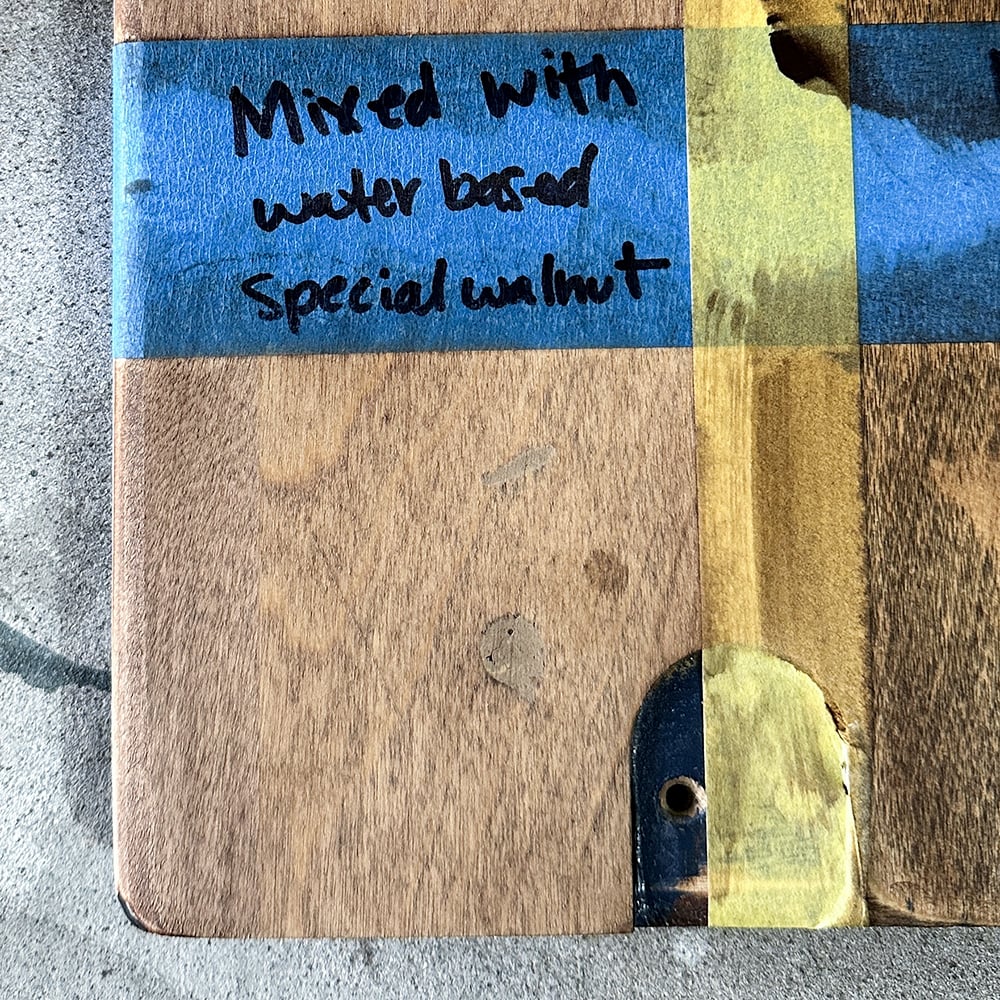
This mixing method works best when you are going to stain both the filler and the surrounding wood.
Use a Stain Repair Kit
A stain repair kit provides the best solution for restoring your piece. This specific repair kit comes with 20 different shades of resin repair compounds, so you can easily cover surface scratches and stains on any wood surface. This kit is suitable for both DIY enthusiasts and professional woodworkers.
Would you like to save this?
The compounds can be EASILY mixed, layered, and blended to create a custom color that matches the surrounding stained wood for a seamless repair that is almost invisible.
Unlike other techniques, this repair kit doesn’t require staining the entire surface, so you can focus only on the repaired area. Check out our wood stain repair blog post for more information on how this technique works! And this major patio table makeover, where we used this kit.
Learn more about the other methods of wood surface repair and how to properly take care of your furniture to avoid scratches and blemishes on your furniture’s surface.
Get Our Secrets!
Grab this super convenient How to Repair Furniture Ebook with all of our secrets on how to repair furniture for only $14.
You can print it out and have instant access whenever you come across damaged furniture, and know exactly how to fix it!
Click on the picture of the book to purchase!

DIY Wood Filler with Sawdust
If you’re looking for a low cost way to tackle the small gaps or cracks in your project, try mixing sawdust and wood glue to create your own filler that matches your wood.
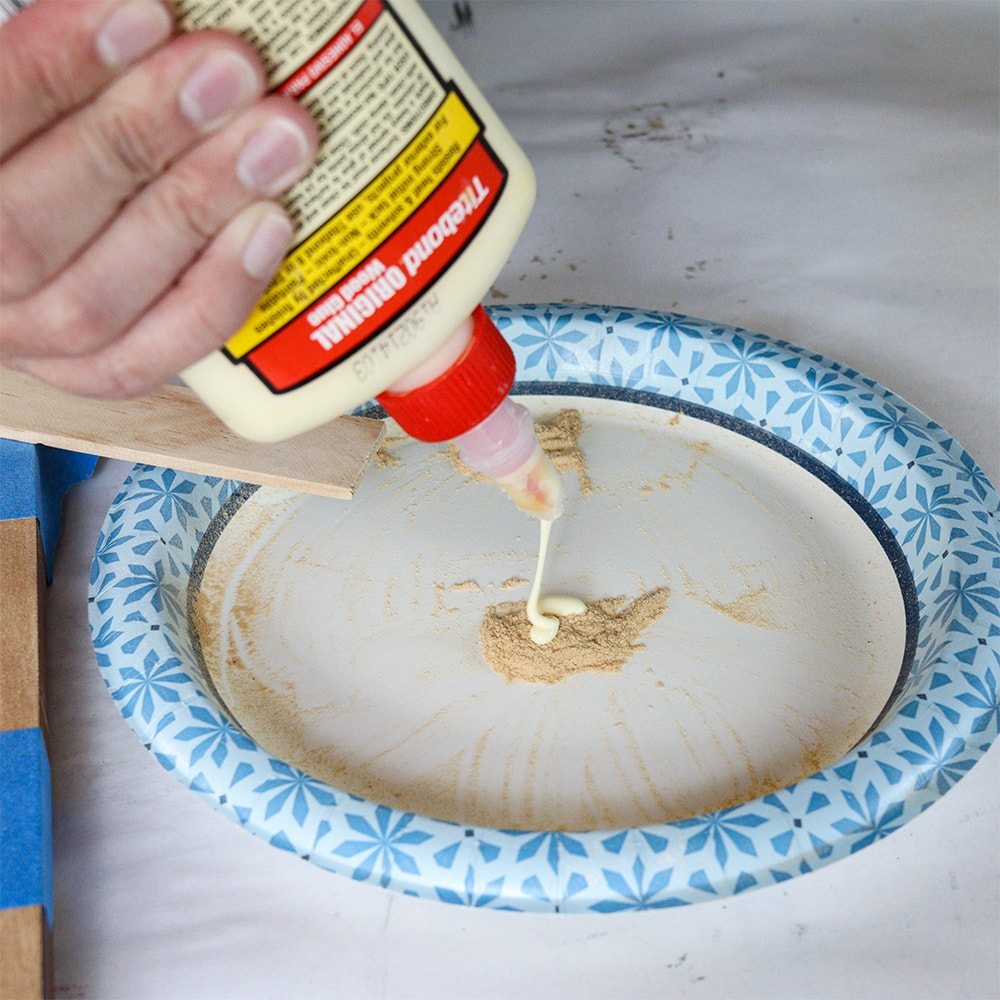
The process is simple. Sand your wood, then collect the sawdust from your sander’s dust collection bag, and mix it with a small amount of wood glue until it forms a thick paste. The amount of glue you use depends on how much sawdust you have. Make sure that the sawdust and glue are mixed thoroughly to create a smooth paste that is easy to apply.
Apply the paste, let it dry, and sand it smooth, just like with the other methods. This is much harder to sand than the other fillers, though. I think the glue makes it stick super well, making it hard to sand.
Then you can stain it. It will still slightly differ from the stained surface, and the type of glue you mix in will be what changes the color of the wood filler the most.
Check out these YouTube videos on homemade wood filler with sawdust and wood filler – buy it or make it? to see this DIY filler in action.
This technique works best when you are planning to stain all of the wood (because you have to sand it first!) or leave it in its natural color. This method is cost effective and can save you time and money on your project.
Can You Stain Wood Filler?
Yes, you can. It’s important to choose the right stain that matches the surrounding color, and some techniques work better than others. Learn more about the best wood stains for refinishing furniture here to get the best results for your project.
What’s the best way to stain wood filler?
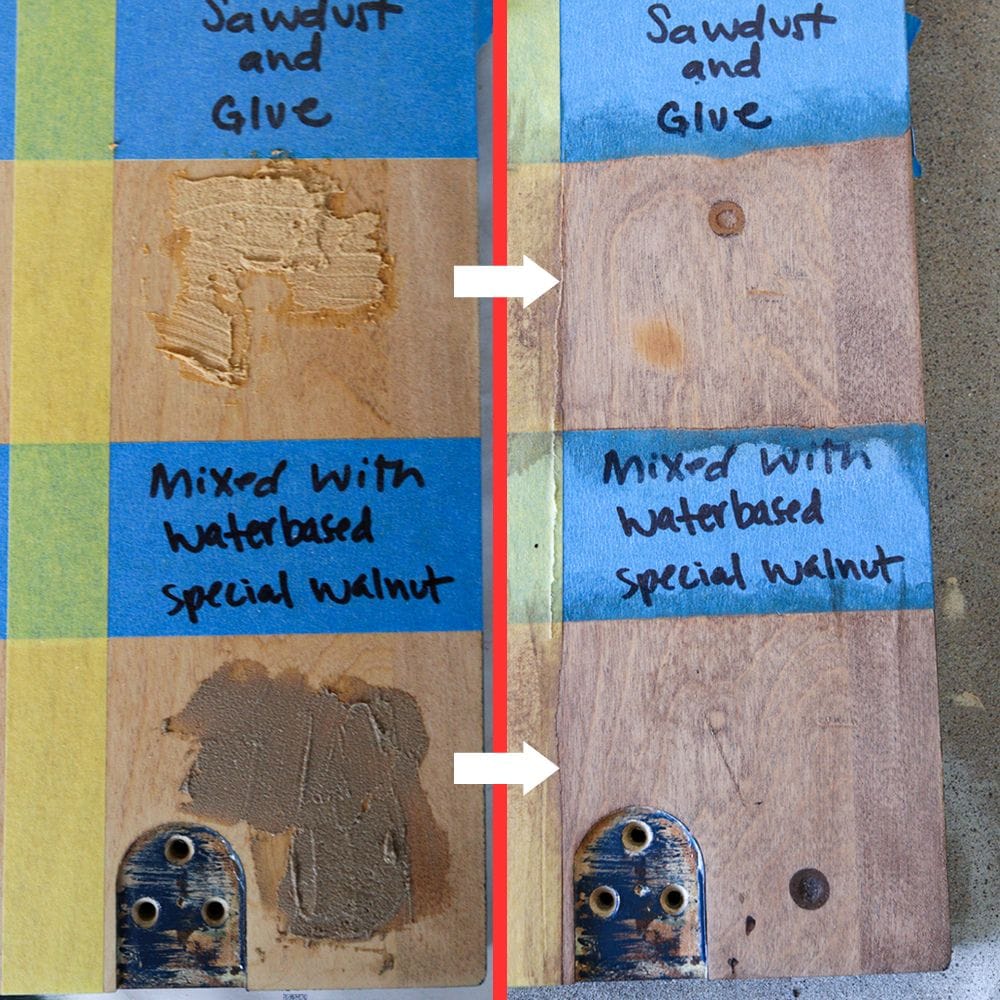
The best way depends on the size of the repair and the surrounding wood’s type and color. Here are the results from a comparison test that we did.
Each section had a drilled hole, a deep gouge, and a light scratch. The waterbased wood fillers were mixed with waterbased stain, and the others were mixed with oil based stain.
Which combination do you think hid the damage the best??
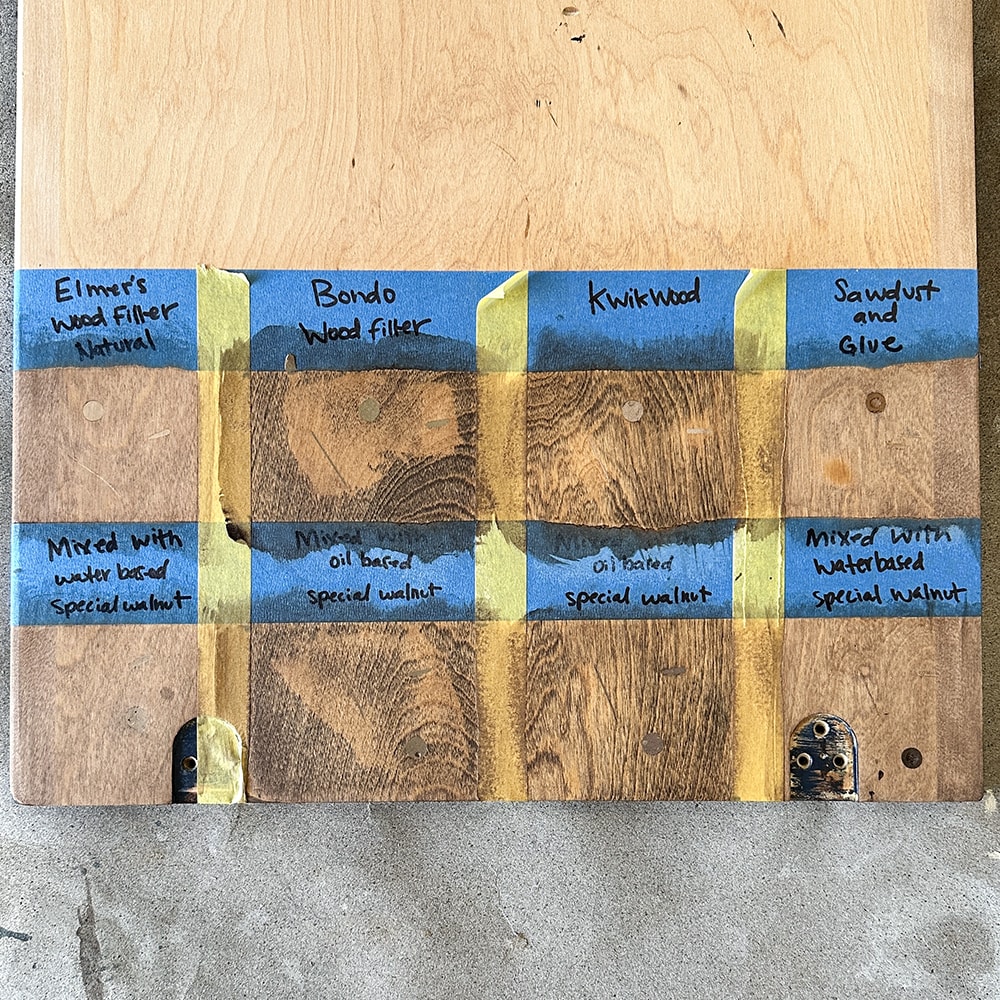
I think the Elmer’s wood filler mixed with waterbased wood stain blended in the best on this test.
Will wood filler soak up the stain like the wood surrounding it?
No, it doesn’t soak up stain like wood. It can result in a slightly different color than the surrounding surface, so it’s important to test your chosen technique on a small area before applying it to the whole project.
How do I choose the right stain for my wood filler?
Choosing the right one involves matching it with the type and color of the surrounding wood. Samples and swatches can help you identify the best match. It’s important to have patience throughout the process and experiment until you find the perfect color match.
Overall, staining wood filler can be a challenging task, especially if you’re looking for it to blend perfectly with the rest of the piece. However, choosing the proper technique and following the instructions for each method can help you create an almost invisible repair.

Whether it’s using a wood stain marker, applying a gel stain over the dry filler, mixing stain with your wood filler, or using a stain repair kit, selecting the right approach for your project can make all the difference.
By experimenting and having patience, you can restore and repair your wood furniture and have it looking as if it were brand new.

Staining Wood Filler
Do you want to repair the minor damage on your furniture using wood filler but don't know how to stain it? Here are some techniques for staining wood filler.
Materials
Tools
Instructions
Using a wood stain marker
- Allow the wood filler to completely dry before sanding it smooth and flush with the surrounding wood.
- Use the wood stain marker to stain the wood filler.
Applying Wood Stain To Dry Wood Filler
- Wait for the wood filler to dry completely, then sand it smooth and flush with the surrounding wood.
- Using a cloth or brush, apply a wood stain that matches the surrounding wood over the wood filler for the best results.
Mixing Stain Into the Wood Filler
- While combining the hardener and filler, add a little amount of oil based wood stain to Bondo Wood Filler or KwikWood. Add waterbased wood stain to regular wood fillers.
- Test the coloring a few times before finally applying it to your project.
- Let the wood filler dry and then sand and stain surrounding areas.
Using a Stain Repair Kit
- After the wood filler is dry and sanded smooth, use the compound to create a custom color that matches the surrounding stained wood. You can also brush on layers of multiple colors to create a better match of the surrounding stain.
DIY Wood Filler with Sawdust
- Sand the wood, collect the sawdust, and combine it with the wood glue to make a thick paste.
- Apply the DIY wood filler, let it dry, and sand smooth, like other methods.
- Apply wood stain.
Recommended Products
As an Amazon Associate and member of other affiliate programs, I earn from qualifying purchases.


More Wood Staining Tips and Ideas
- How to Stain Wood Darker
- How to Restain Wood Furniture
- Staining a Dresser Darker
- How To Stain Wood With Paint
- How to Stain Already Stained Wood

Follow us on YouTube to get more tips for painting furniture. Or share your project with us on our Facebook Group and be part of our community. See you there!