Wood Surface Repair
For anyone who owns wooden furniture, wood surface repair is an important skill to have. Over time, furniture can sustain scratches and blemishes, especially in the case of repairing old furniture. But with a little bit of know how and some simple techniques, you can easily revive your wood furniture!
In this blog post, we will cover everything you need to know about repairing wood surfaces, from basic scratch repair to more intensive refinishing.
As much as we love our wooden furniture for its timeless beauty and durability, it is no secret that it can easily get worn out over time.

Everyday use, spills, and even pets can leave scratches and marks on the surface of our beloved pieces. But that doesn’t mean you have to live with these unsightly scratches and blemishes.
Repairing wood surfaces is a simple task that can be done at home, without the need for expensive equipment or professional help. Not only does repairing wood surfaces improve aesthetics, but it also helps to maintain the integrity of your furniture.
Small surface damage can lead to deeper damage if left untreated, so it’s best to address them as soon as possible.
So let’s dive into the world of wood surface repair!
Supplies Used for Wood Surface Repair
As an Amazon Associate, I earn from qualifying purchases. I also may earn from other qualifying purchases with other companies or get free product to review and use. All opinions are my own.
- Old English
- Soft Cloth
- Gel Stain
- Sandpaper and Sander
- Chemical Stripper (Use code SUNLIGHT10 to get 10% off your order of Stripwell QCS!)
- Scraper (for refinishing)
- Stain or Paint of choice (for refinishing)
- Topcoat
The Basics of Wood Surface Repair
The first step in repairing wood surfaces is identifying the type and severity of the damage. Doing so will help determine the best approach for repair. The most common types of surface damage include scratches, watermarks, and worn finish.
Old English Method for Minor Scratches
If your wooden furniture has minimal scratches and blemishes, the Old English method is a quick and easy way to restore its appearance. This method works by filling in the scratches, making them less noticeable to the eye.
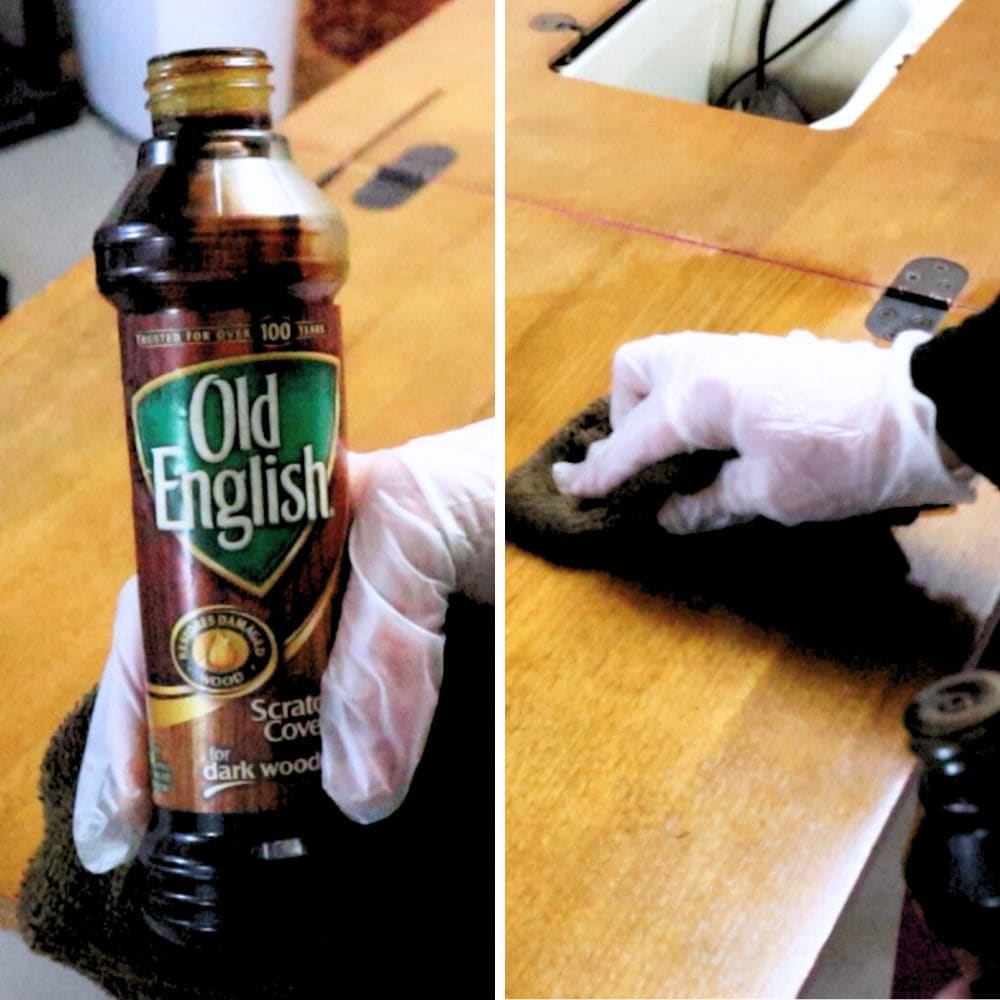
Old English is specifically designed for wood furniture and comes in formulas for both light and dark woods.
To use this method, simply apply a small amount of Old English to the damaged area using a soft cloth. Gently rub it into the scratches until they are filled.
Allow it to dry for a few minutes, then wipe away any excess residue. Voila! Your scratches are now almost invisible.
Old English is not only effective for minor scratches, but it also helps to restore the overall look of your wood furniture. It can hide nicks and other imperfections, making your furniture look like new again. Plus, with its easy application process, you can quickly touch up any scratches whenever needed!
For more details about this product, here’s what does Old English do to wood. And check out our wood stain repair tutorial where we also used it to blend repaired wood with stained wood. For any nicks on the wood surface, here’s how to fix nicks in wood furniture.
Gel Stain Method for Better Finish Repair
The gel stain method is a great option for repairing wood surfaces with more noticeable scratches and blemishes.
This technique involves using a pigmented gel to restain the damaged area, creating a consistent finish throughout the piece.
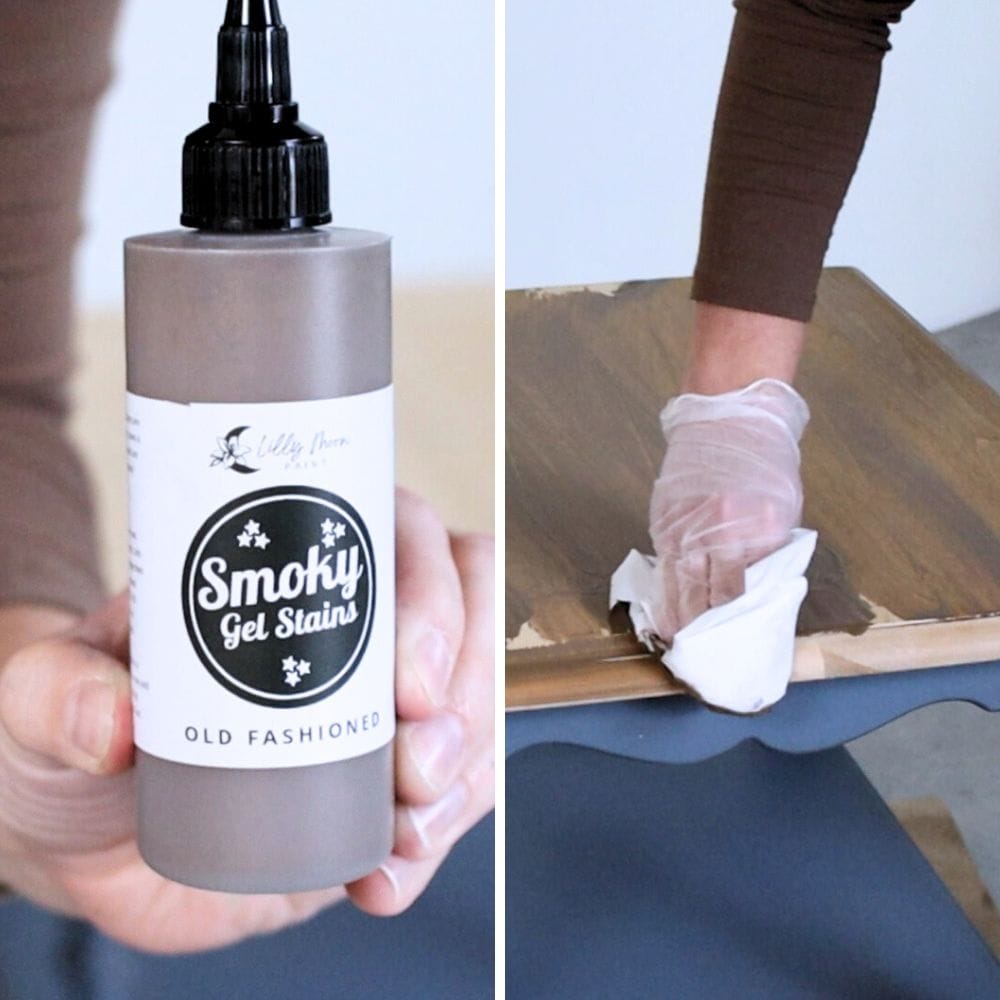
Gel stains come in various shades and can be matched to your specific wood color.
To use this method, start by sanding down the damaged area to smooth out any scratches or rough patches.
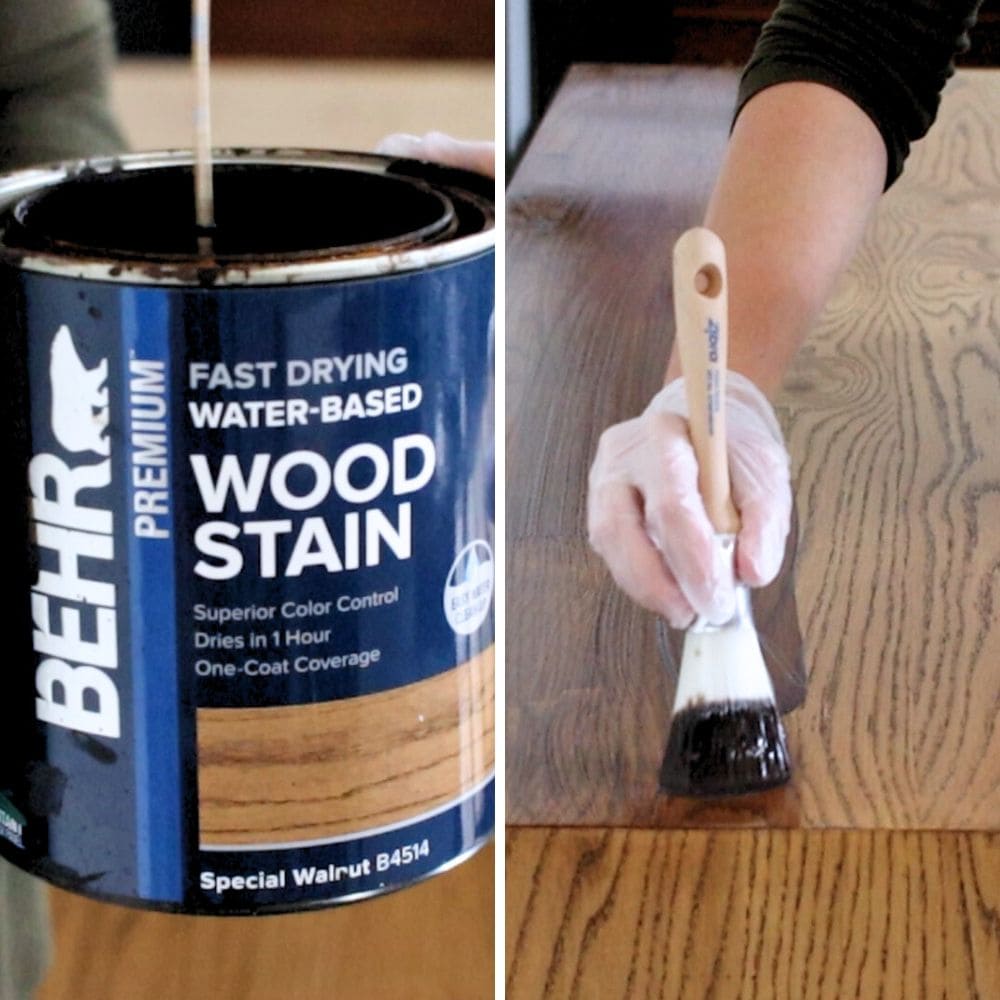
Then, apply a layer of the gel stain using a soft cloth or brush, following the direction of the wood grain.
Allow it to dry for at least 24 hours before adding another coat if necessary. Once you get your desired finish, seal it with a clear topcoat.
The gel stain method not only helps to fill in scratches, but it also creates a beautiful finish that blends seamlessly with the rest of the wood.
Plus, it is a more permanent solution compared to Old English and can last for years with proper care.
Would you like to save this?
Check out this blog post about how to apply gel stain to finished wood to learn more about this process!
But if you want to know about other types of wood stains, here’s our list of best wood stains for refinishing furniture!
Make sure to test the gel stain on a small inconspicuous area first before applying it to the damaged surface.
This is to make sure that you have chosen the correct color so the application process also goes smoothly.


You can check out our posts on how to repair chipped veneer furniture and staining a dresser darker to see and learn how to use gel stain on furniture.
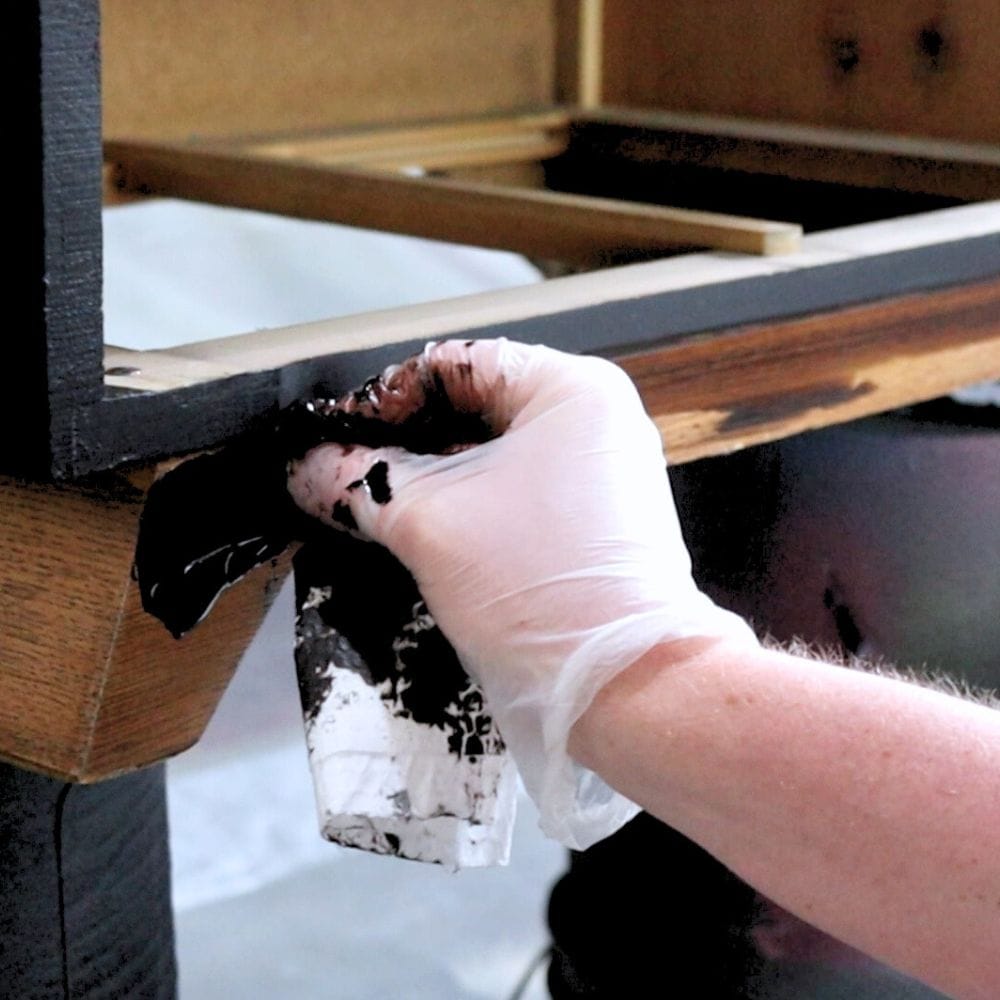
Refinishing for Intense Wood Surface Repair
Refinishing furniture is a more intensive approach to repairing wood surfaces. It involves completely stripping off the old finish and starting fresh.
This method is best for deep scratches, watermarks, and worn out finishes that cannot be easily fixed by other methods.
To refinish your wooden furniture, start by removing the existing finish using a chemical stripper. This will dissolve the old finish, making it easier to remove with a scraper or sandpaper.
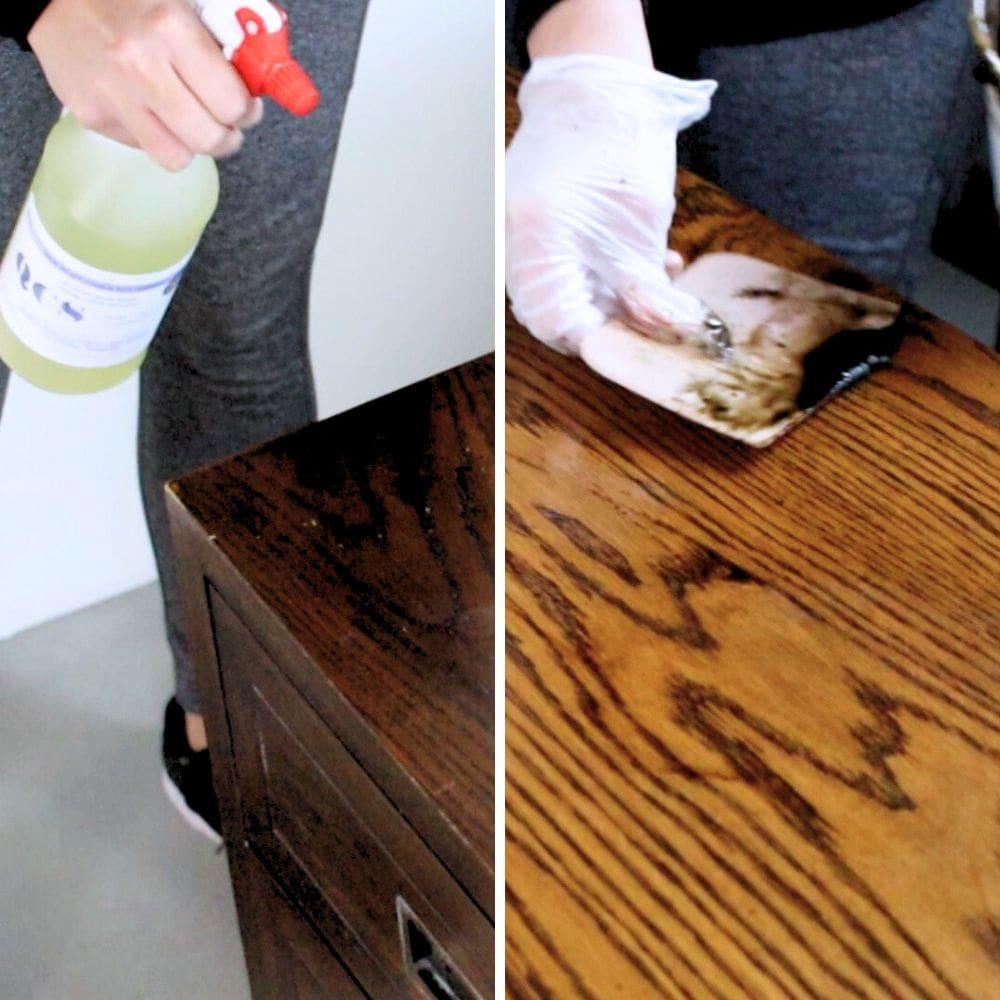
Next, sand the surface thoroughly to remove any remaining residue and smooth out scratches. Sanding before painting furniture (or staining) also guarantees better adhesion of the new finish.
Once the surface is clean and smooth, you can apply a new stain or paint color of your choice. Make sure to follow the instructions on the product carefully for the best results.
If you’re staining, here’s how to stain wood furniture. Check out more tips on how to repair deep scratches in wood furniture in this post.
Lastly, add a protective topcoat to seal the new finish and give your furniture a shiny, polished look. Our post on topcoats for painting furniture can help you decide which type is best for your project.
Refinishing may take more time and effort compared to other methods, but it is the most effective way to restore severely damaged wood surfaces.
But for any chipped paint on furniture, here’s how to repair chipped paint on wood for the step by step process! And for fixing cracks in wood, here’s how to fix cracks in wood before painting.
Keeping Your Wood Surfaces Beautiful and Durable
Taking care of your wooden furniture is important to maintain its beauty and longevity.
After repairing any surface damage, you can keep your wood surfaces looking their best by regularly dusting and cleaning them with a mild cleaner.
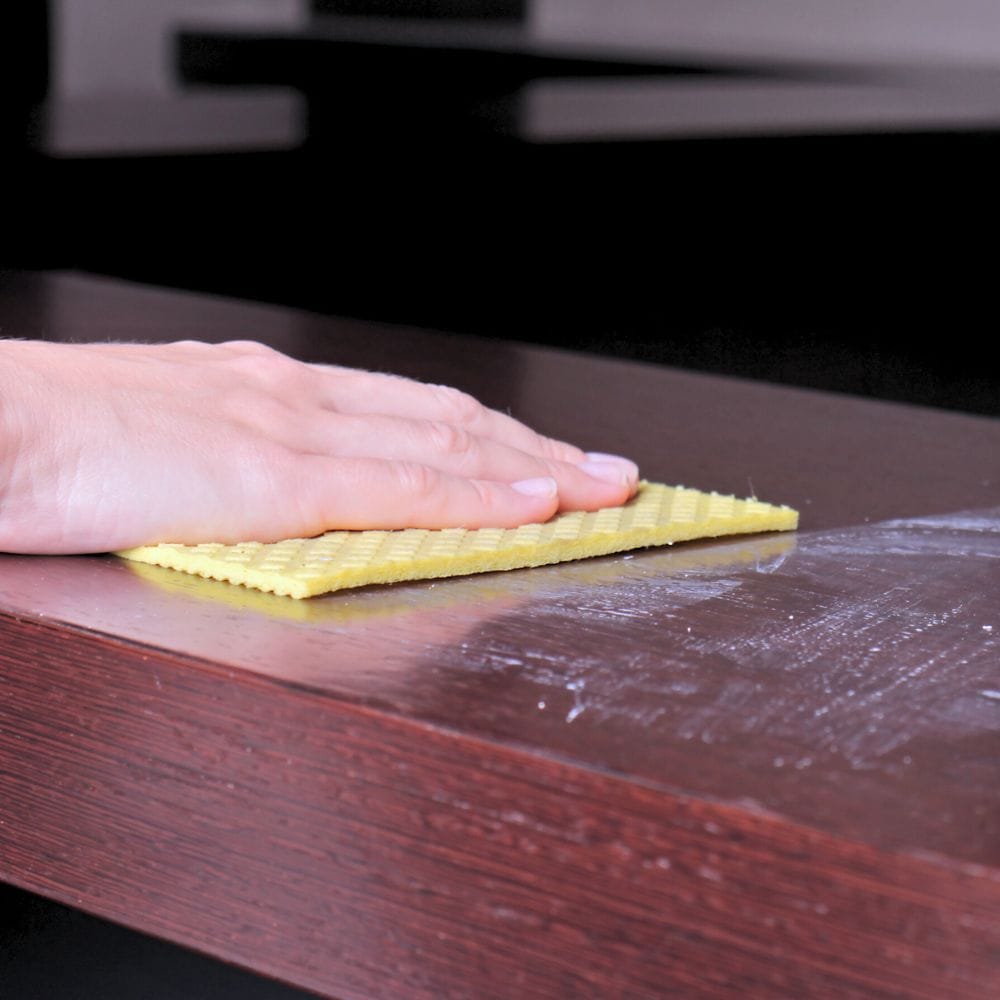
Avoid using harsh chemicals or abrasive cleaners that can damage the finish.
In addition, it’s also important to protect your wood surfaces from excessive heat and moisture. Avoid placing hot or wet objects directly on the surface, use coasters and tablecloths, and wipe up spills immediately to prevent water damage.
And if possible, keep your furniture away from direct sunlight as it can fade the wood color over time.
Remember that prevention is key when it comes to maintaining wood surfaces. By following these simple tips and regularly checking for any signs of damage, you can keep your wooden furniture looking beautiful and durable for years to come.
Now you know the best techniques for wood surface repair! Repairing wood surfaces doesn’t have to be a daunting task. Give your wooden furniture some well deserved TLC!

Wood Surface Repair
Wood surface repair is an important skill to have for anyone who owns wooden furniture.
Materials
- Old English
- Soft Cloth
- Gel Stain
- Sandpaper
- Chemical Stripper (Use code SUNLIGHT10 to get 10% off your order of Stripwell QCS!)
- Stain or Paint of choice (for refinishing)
- Topcoat
Instructions
- Start by assessing the damage to your wood surface. Determine if it's a minor scratch or a more noticeable blemish that requires a different repair method.
- If the scratches are shallow, try using Old English to fill them in and restore the appearance of your furniture. This method is quick and easy, making it perfect for small touch-ups.
- For deeper scratches and imperfections, the gel stain method is a great option. Sand down the damaged area and apply a pigmented gel to create a consistent finish that blends seamlessly with the rest of the wood.
- If your wood surface has extensive damage, refinishing may be necessary. This involves completely stripping off the old finish and starting fresh with a new stain or paint color.
- Once you have repaired the surface, make sure to regularly dust and clean your wooden furniture to maintain its beauty. Avoid using harsh chemicals and protect it from excessive heat and moisture to prevent further damage.
Recommended Products
As an Amazon Associate and member of other affiliate programs, I earn from qualifying purchases.


More Furniture Repair Tips
- Repair Water Damaged Wood
- How To Repair Damaged Furniture
- Repairing Veneer With Wood Filler
- How To Repair Broken Wood
- How To Repair Damaged Particle Board Furniture

Follow us on YouTube to get more tips for painting furniture. Or share your project with us on our Facebook Group and be part of our community. See you there!