How To Repair Damaged Particle Board Furniture
Are you struggling to find ways on how to repair damaged particle board furniture? This post is for you! Even if you have little to no experience in repairing old furniture, you can easily tackle this DIY project and save your particle board furniture.
No need to fret or spend a fortune, just follow these simple steps to bring your damaged particle board furniture back to life. Let’s dive in!
Particle board furniture has become increasingly popular in recent years for its affordable price point and versatile designs. However, it’s inevitable that over time, these pieces may become damaged.

But don’t worry – with the right techniques, you can repair these damages and extend the lifespan of your furniture.
Some common types of damage that can occur with particle board furniture include scratches, dents, water damage, and even peeling or chipping of the outer layer.
These issues can not only be unsightly but also weaken the overall structure and stability of the furniture.
It’s important to deal with these issues as soon as possible to prevent further damage and potential hazards.
So before you toss out that damaged piece, try out these repair methods.
Supplies Used to Repair Damaged Particle Board Furniture
As an Amazon Associate, I earn from qualifying purchases. I also may earn from other qualifying purchases with other companies or get free product to review and use. All opinions are my own.
- Disposable Gloves
- Utility Knife
- KwikWood or Bondo
- Spreader/Scraper
- Sandpaper
- Wood Filler
- Paintbrush/Roller/Paint Sprayer
- Primer
- Paint
Gluing Damaged Particle Board Back Together
Particle board is made up of small wood particles that are compressed and held together with adhesive.
This makes it prone to damage, especially around the edges where the layers can easily separate.
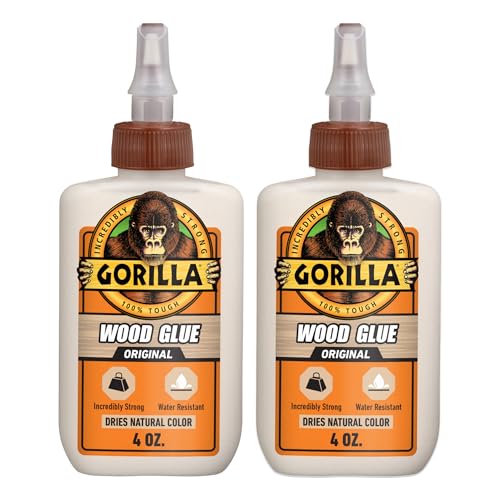
To repair these types of damages, you will need a strong wood glue that can bond the particles back together.
If your particle board furniture has cracked or split into separate pieces, it can be easily fixed with some wood glue. Start by cleaning the damaged area and removing any loose or excess pieces.
Our post on how to clean furniture before painting has useful tips on proper cleaning techniques.
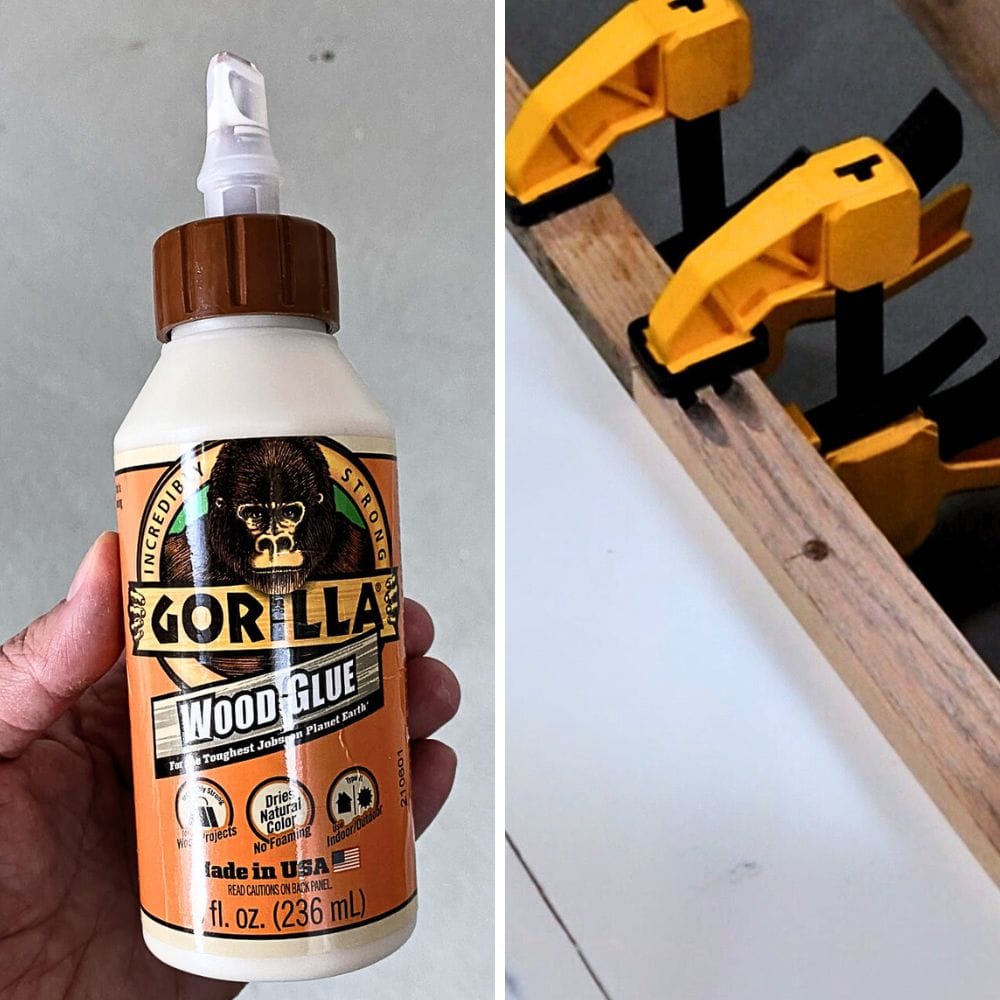
Then apply a generous amount of wood glue to both surfaces and press them firmly together. Check out the best glue for repairing wood furniture here.
Hold in place with clamps for 48 hours until the glue has fully dried. If you don’t have clamps, you can use books or heavy objects to hold the pieces together.
Fill In Damaged Particle Board
When dealing with scratches, dents, or even larger holes in your particle board furniture, filling them in is a quick and easy fix.
There are various ways to do this, but the most common method is by using a filler. Bondo, Kwikwood, and wood filler are all great options that can be found at your local hardware store or online.
Here’s our list of the best wood repair putty to learn more about different types of wood repair putty and help you decide which one will best suit your next project.
How to Fill In Damaged Areas with Bondo
Bondo Wood Filler is a versatile and cost-effective solution for fixing scratches, dents, or holes in your furniture. It has a fast drying time and is durable, making it a perfect choice for quick repairs that last.
However, it does have a strong odor and you have to mix it before using it, so be prepared to act fast.
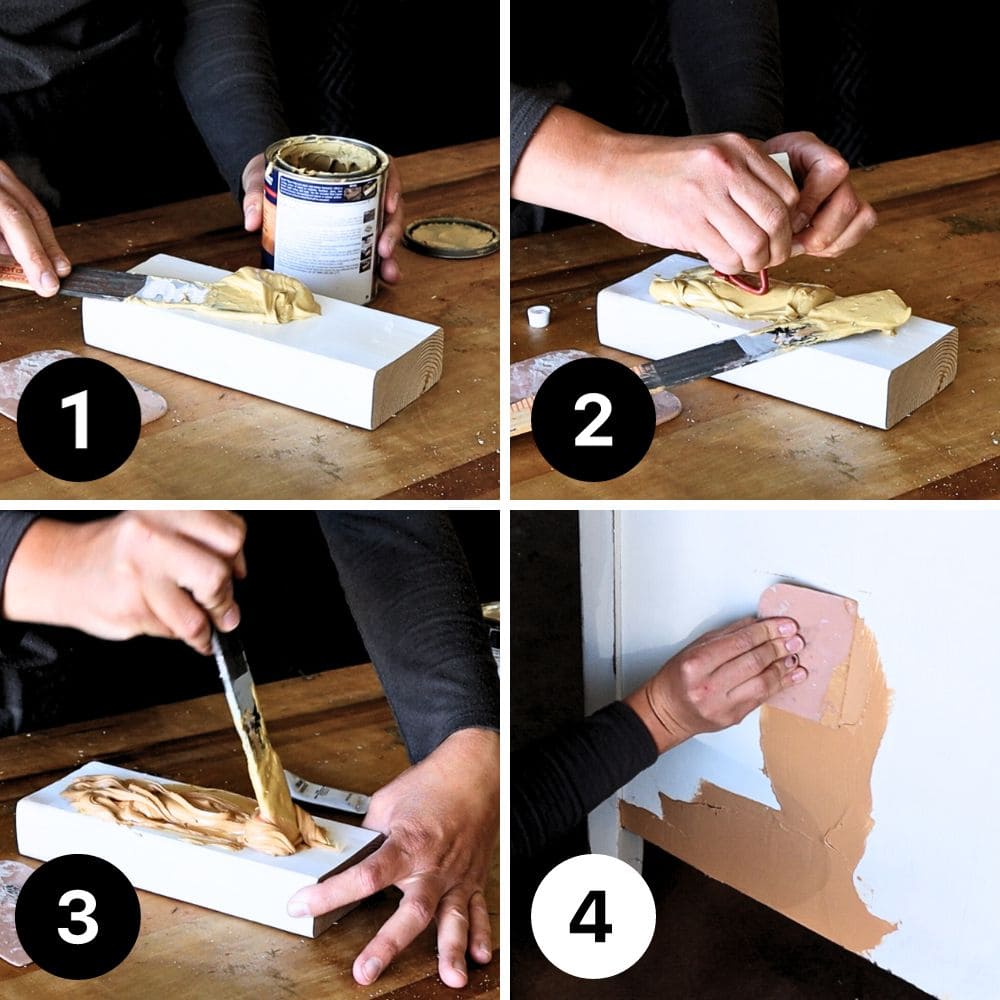
To begin filling in damaged areas with Bondo, make sure the furniture surface is clean. Sand the area to be repaired, mix the Bondo by adding a hardener to the base, and then apply it using a spreader or scraper.
Once dry, sand down the surface until it is smooth and flush with the surrounding wood for a seamless repair. You can check out a more detailed guide on our Bondo wood filler review.
How to Fill In Damaged Areas with Kwikwood
KwikWood is another quick and easy solution for filling in damaged areas on furniture. It can adhere to most surfaces and provides a strong hold once dry.
But for the best results, it’s important to clean and sand the area before applying KwikWood.
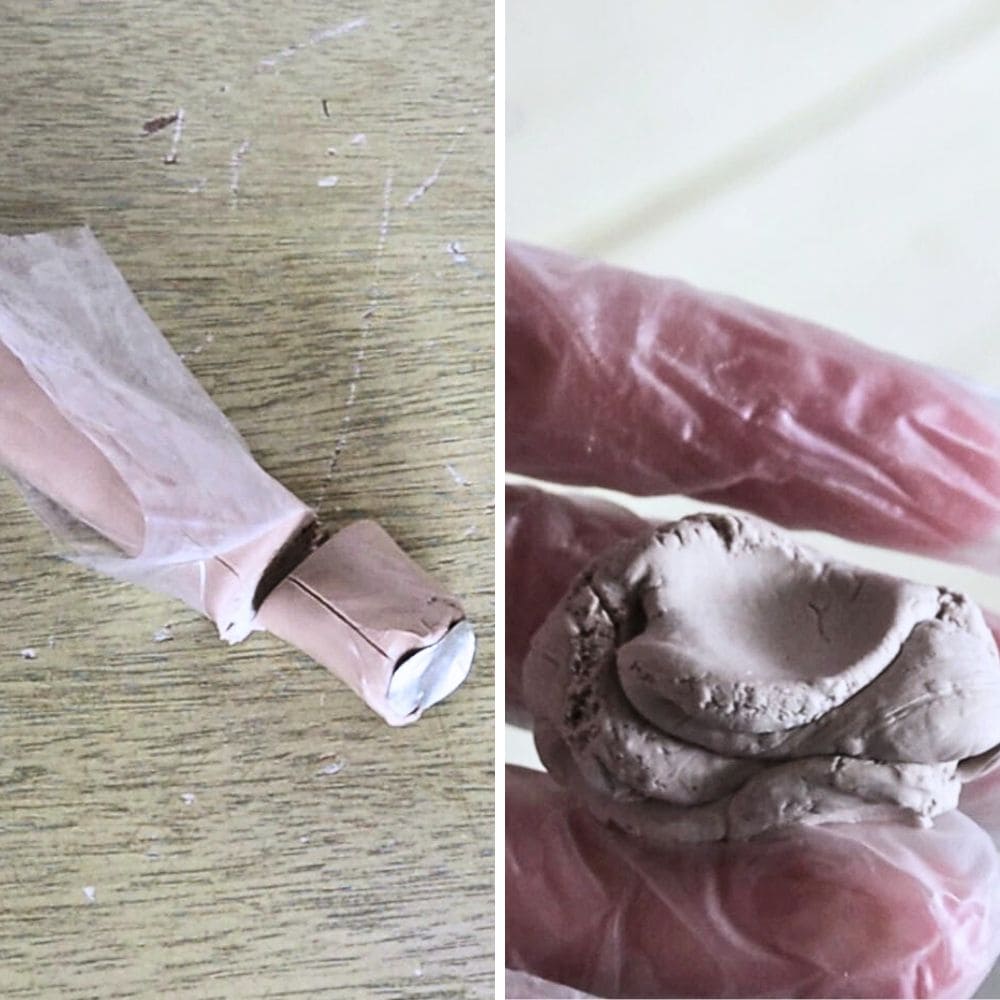
To begin, put on a pair of disposable gloves to avoid getting the epoxy putty stick on your hands. Cut off the amount of KwikWood needed from the roll using a utility knife or by breaking it off with your hands.
Make sure to mix the inside and outside layers together until it is all one uniform color.
Would you like to save this?
Next, use your fingers to shape the KwikWood into the areas that need filling in your particle board furniture. Leave some excess on the outside of the hole so you can sand it down later.
Once it is in place, let it dry for about an hour before sanding and finishing as desired. Here are more tips and tricks on how to use Kwikwood for furniture repairs.
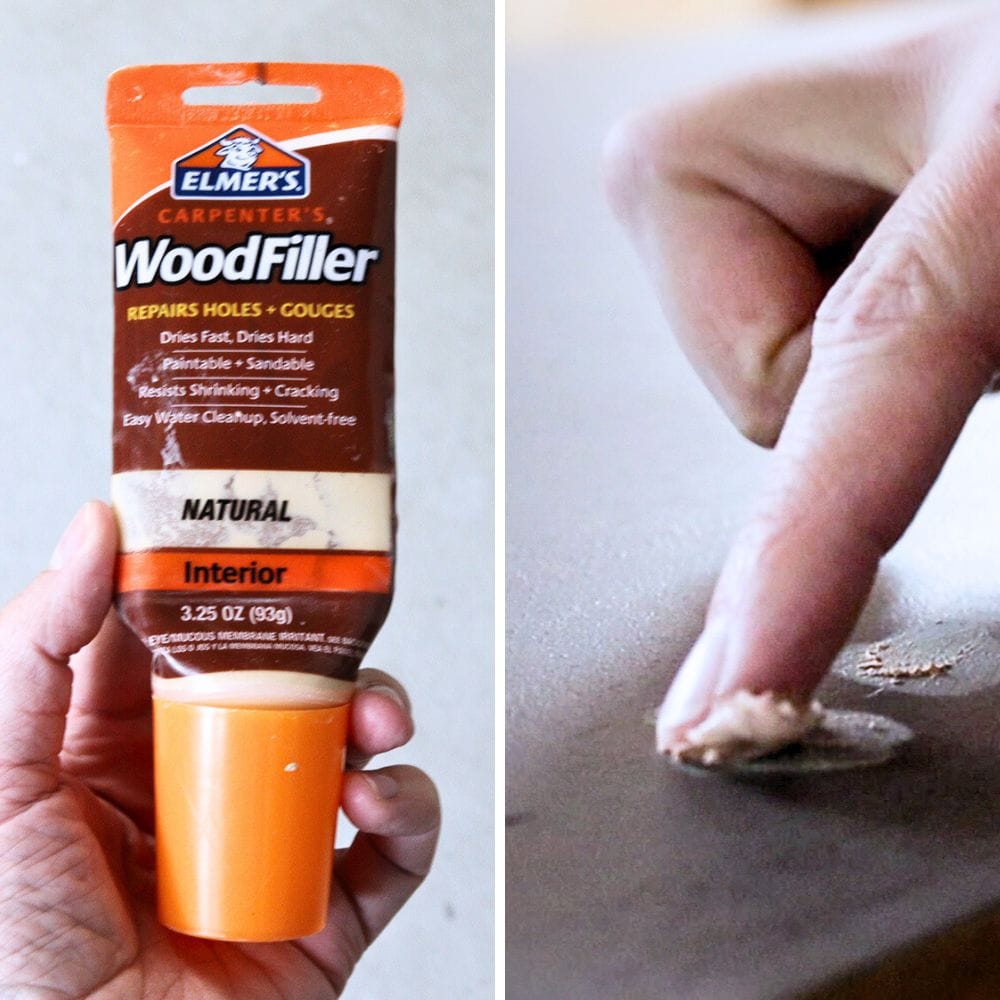
How to Fill In Damaged Areas with Wood Filler
For small repairs on particle board furniture, regular wood filler can be a great option.
You don’t have to mix anything and it’s easy to work with. Simply apply the filler, let it dry, and then sand down for a smooth finish.
However, keep in mind that regular wood filler is best for small scratches or dings on furniture. It’s not as durable as other options and may shrink or crack over time.
For larger repairs, it’s best to use a stronger filler like Bondo or KwikWood. Check out your options for the best wood fillers for furniture here.
Paint Particle Board Furniture After Repair
Once you have successfully repaired your particle board furniture, it’s time to give it a fresh coat of paint.
Painting after repairs not only restores the look of your furniture but also adds extra protection against wear and tear.
And the best part is, it’s an easy and cost-effective way to transform your old furniture into something new and beautiful.
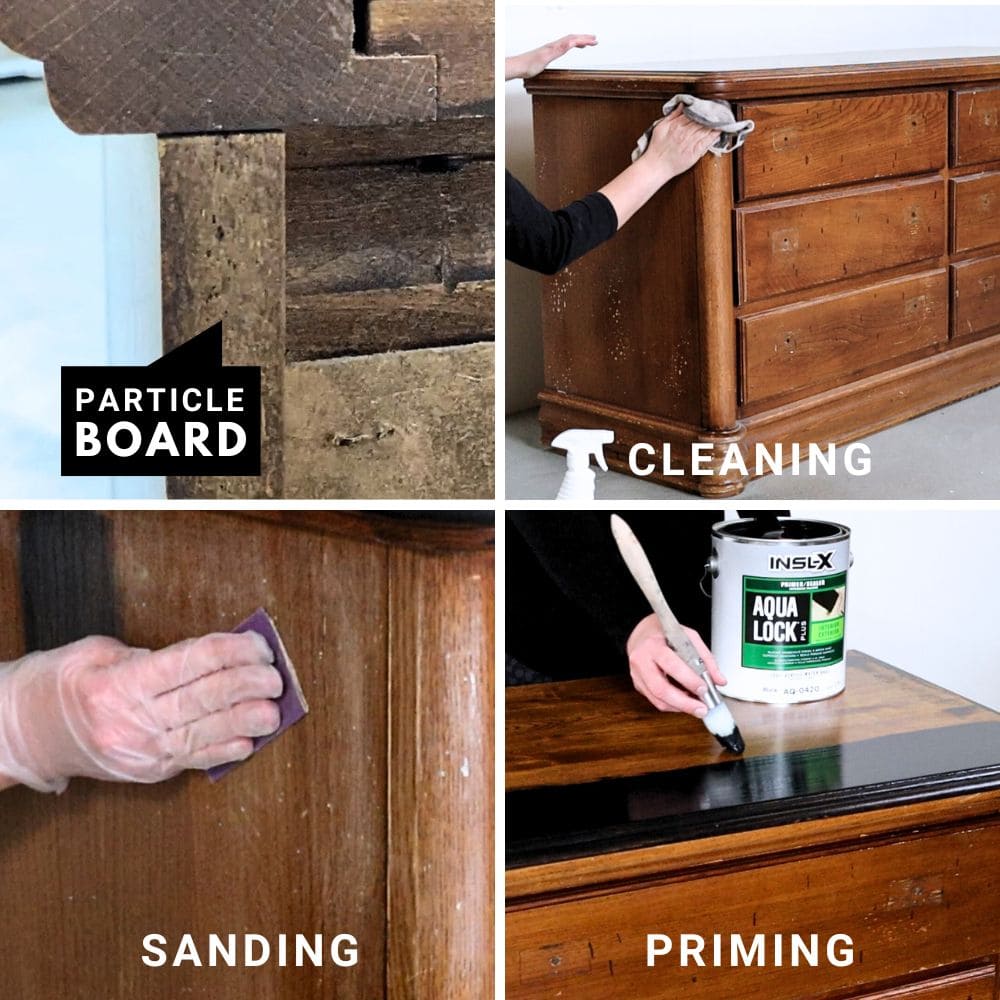
But before you start, it’s important to properly prepare furniture before painting.
This includes thoroughly cleaning the furniture, sanding it to create a smooth surface, and priming it so you can be sure the paint adheres well.
Skipping any of these steps may result in a poor finish or even damage to your particle board furniture.
Here’s our posts on cleaning furniture before painting and sanding before painting furniture to learn more about the importance and proper way of doing these processes. But if you want to skip sanding before painting particle board, here’s how to paint particle board furniture without sanding!
Note that you have to use an oil-based or shellac-based primer before painting particle board furniture.
This will prevent the water in water-based paints from seeping into the particle board and causing it to swell. You can then proceed with painting using your desired paint and application method.
With so many types of paint for furniture, consider using an oil-based or enamel paint. These types of paints provide a durable finish that can withstand everyday use and are less likely to cause the particle board to expand.
Plus, they come in a variety of colors and finishes, allowing you to choose the perfect look for your furniture. Here’s more about painting furniture with enamel paint to guide you.
If you prefer using water-based paints like chalk paint or acrylic paint, again, make sure to prime the particle board first with an oil-based or shellac-based primer. This will help prevent any water damage and guarantee that the paint adheres well.
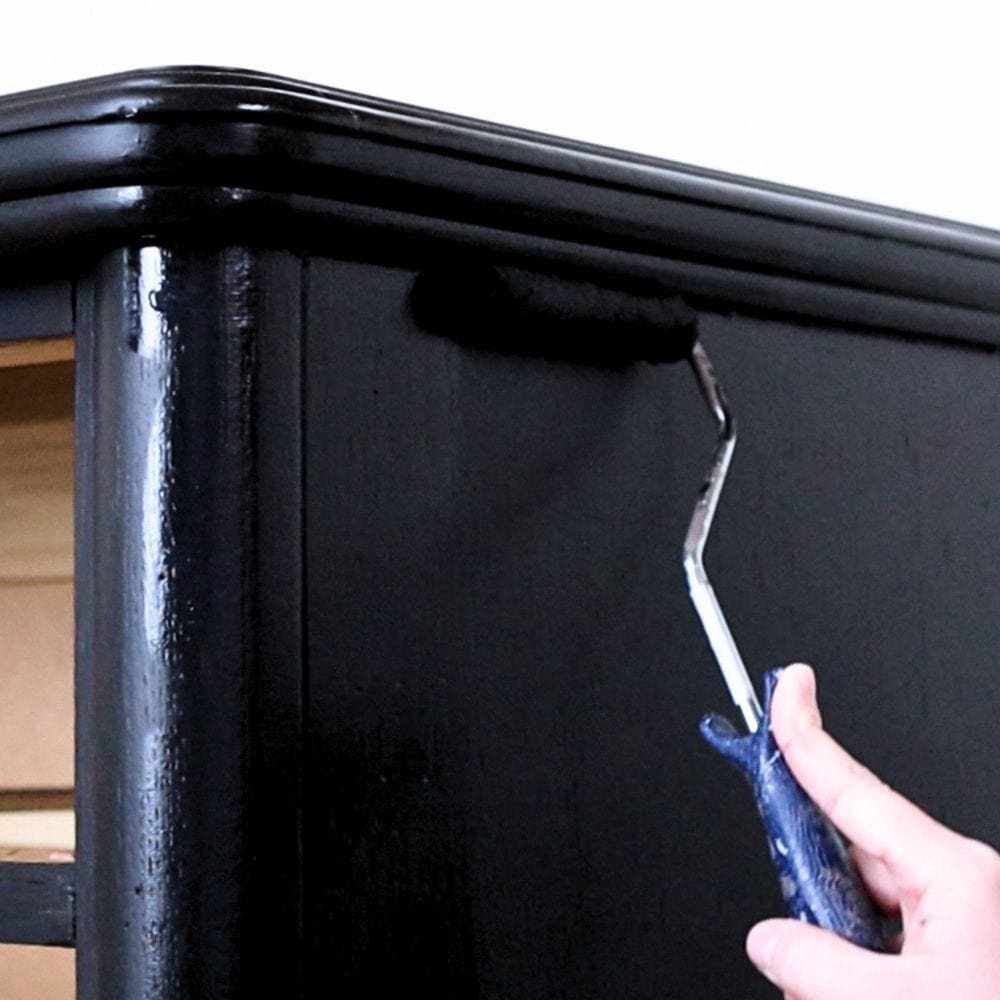
Apply thin coats of paint on your particle board furniture, allowing each coat to dry completely before applying another for a smoother finish.
But can you spray paint particle board? Well, for a professional looking finish without brush marks, you can use a paint sprayer instead of a brush. Check out our list of the best HVLP paint sprayers for furniture to find the perfect one for your project.
If you’re not ready to invest in an HVLP gun and you prefer traditional methods, using a high-quality paintbrush or roller will also do the trick. Here are the best paint brushes for painting furniture and the best rollers for painting furniture to help you.
If you’re considering staining your particle board furniture, you might want to reconsider your options. Particle board isn’t actual wood, so it can’t be stained like real wood.
Since particle board lacks a natural grain or texture for the stain to stick to, the end result will be uneven and unsatisfactory. It’s best to stick with painting for a more successful and durable finish. Here’s more on can you refinish particle board furniture!
If you’re worried about your particle board furniture looking shabby and damaged, we hope this tutorial has helped ease your concerns.
With a little effort and the right products, you can easily repair and repaint your particle board furniture and get it looking fresh and new again

How To Repair Damaged Particle Board Furniture
With this how to repair damaged particle board furniture tutorial, you can tackle the damage and paint your furniture to give it a fresh and new look.
Materials
Instructions
- Determine the extent of damage on your particle board furniture and gather the necessary tools and materials for repair.
- Clean the damaged area to remove any debris or dust. Sand the area down to create a smooth surface, remove any rough edges, and help the filler adhere better.
- If using Bondo or KwikWood, mix its components and work fast to fill in the damaged area, using a putty knife or your fingers. For regular wood filler, simply apply it directly onto the damaged area.
- Let the filler dry completely before sanding it down for a smooth finish and flush with the surrounding area. Repeat the process until you get a level and uniform surface.
- Prime the particle board furniture with an oil-based or shellac-based primer before painting, to prevent water damage and guarantee proper adhesion of paint.
- Choose your desired paint and application method, such as using a brush, roller, or paint sprayer. Apply thin coats of paint for a smoother finish, letting each coat dry completely before applying the next.
Recommended Products
As an Amazon Associate and member of other affiliate programs, I earn from qualifying purchases.


More Furniture Repair Tips
- Repair Water Damaged Wood
- Repairing Veneer with Wood Filler
- How to Paint Damaged MDF Furniture
- Wood Surface Repair
- How To Repair Broken Wood

Follow us on YouTube to get more tips for painting furniture. Or share your project with us on our Facebook Group and be part of our community. See you there!