Wood Stain Repair
What do you do when you need to repair damaged wood, but you don’t want to paint the wood?? Here’s a great wood stain repair tutorial!
Get more repairing old furniture tips and ideas here.
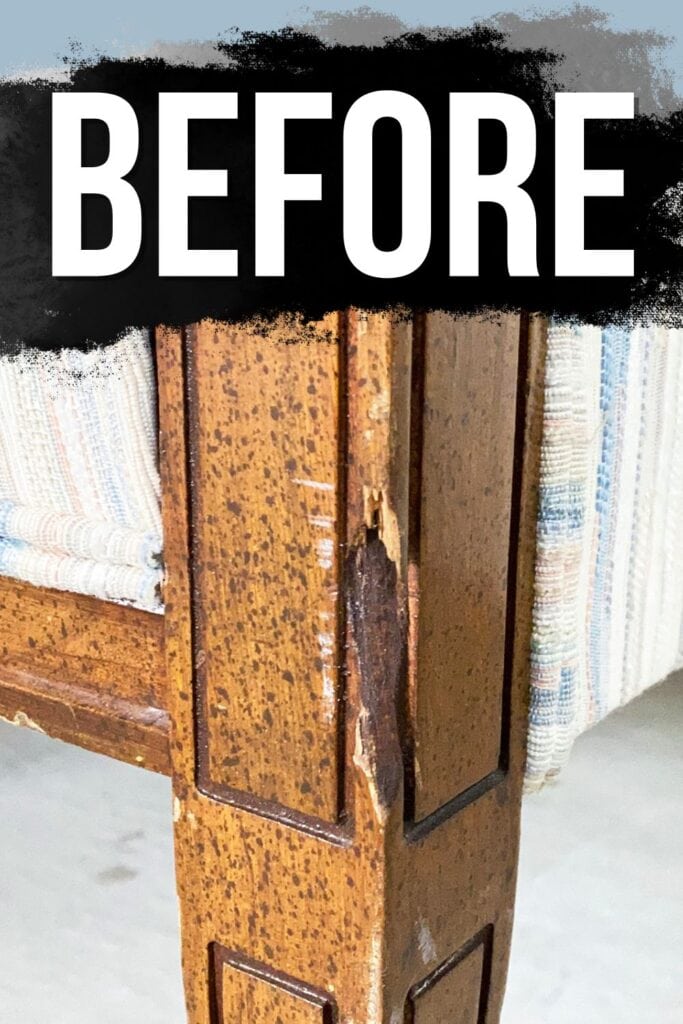
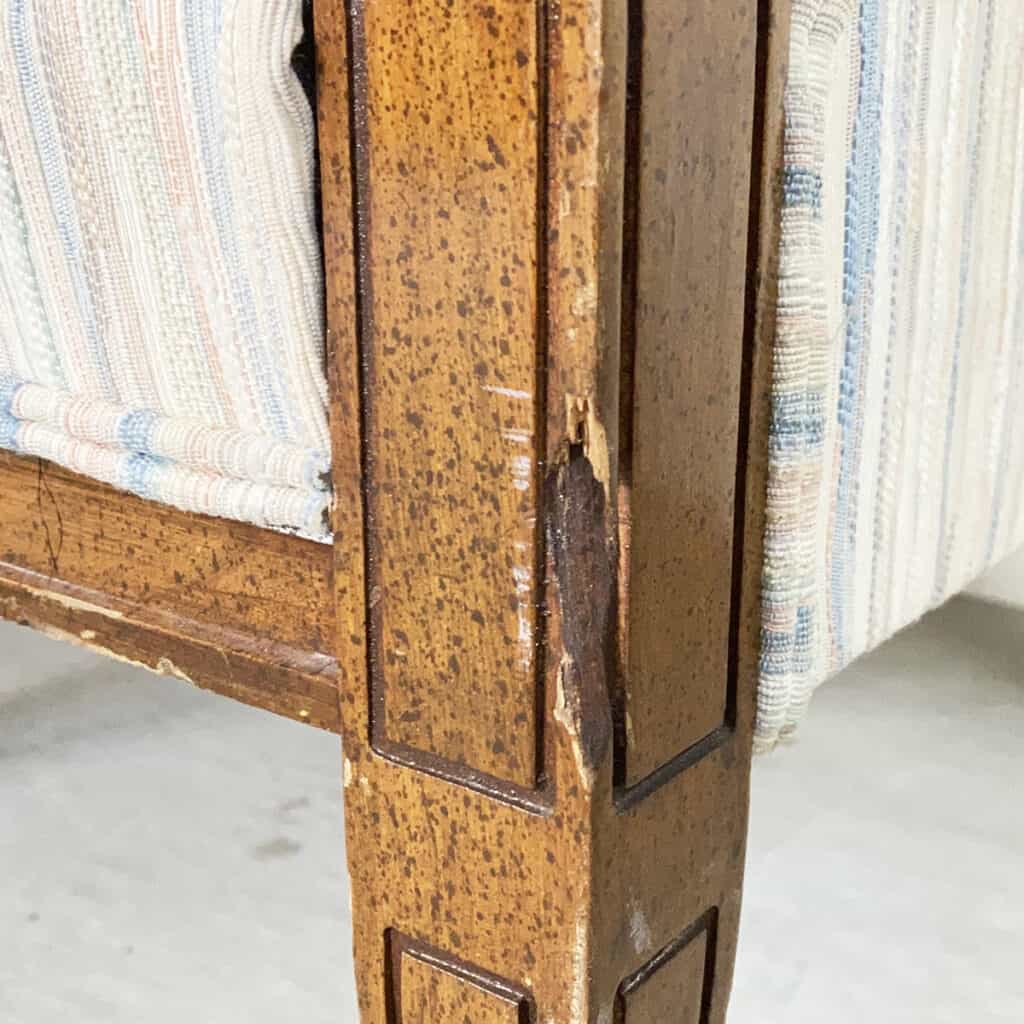
This method works to repair a chewed wood corner, chipped veneer, and scratches in wood furniture.
I was really nervous about this project. I know how to repair damaged wood, but I haven’t ever successfully repaired and made it look like the original wood stain.
But, I’m here to tell you that it’s possible, even if you don’t have experience! You can do it too!
Supplies Used for Repairing and Staining Damaged Wood
As an Amazon Associate, I earn from qualifying purchases. I also may earn from other qualifying purchases with other companies or get free product to review and use. All opinions are my own.
- KwikWood
- Gloves
- Metal Scraper
- Razor Blade
- 120 and 220 Grit Sandpaper
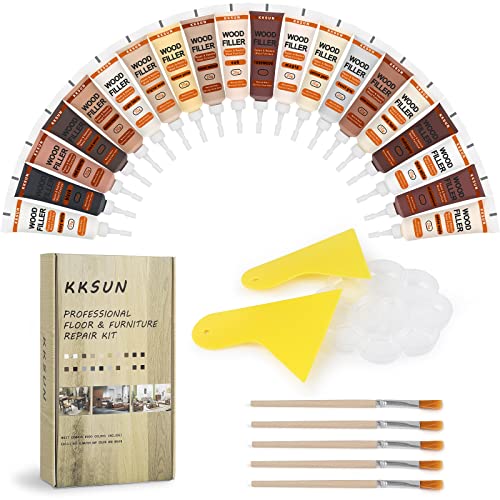
- Wood Repair Kit
- Old English
- An Old Rag
How to Repair Damaged Wood Furniture
First, I mixed up some KwikWood and filled in the damage on the wood.
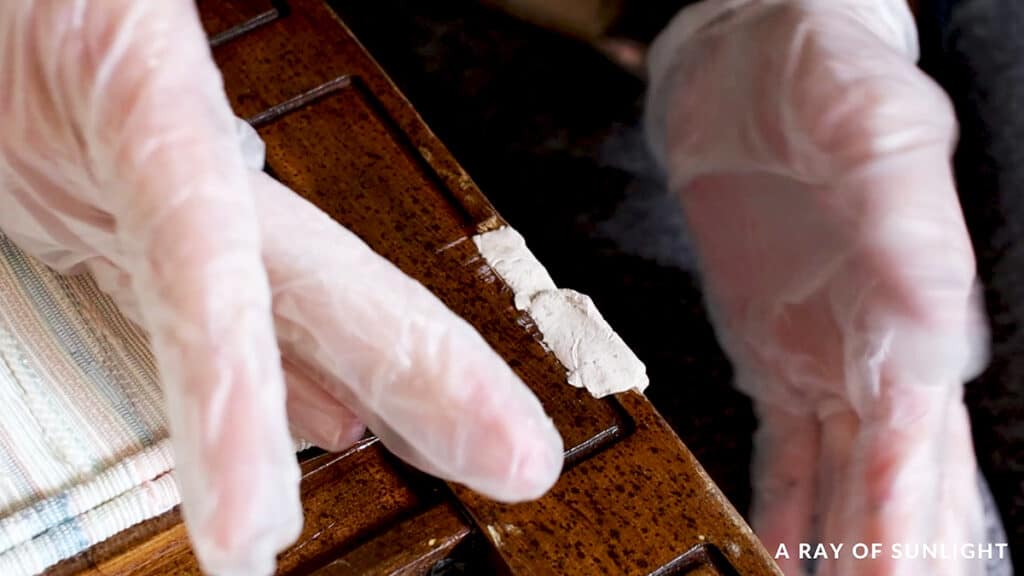
KwikWood is a 2 part epoxy wood filler that you just cut the amount you want, and then knead it together until it’s one color. Then you have about 15 minutes to work with it.
Learn more about how to use KwikWood here.
You could also use Bondo like I did in this tutorial on how to fix a chipped wood corner. This KwikWood method is easier though in my opinion.
Get the Secrets!
Grab this super convenient How to Repair Furniture Ebook with all of our secrets on how to repair furniture for only $14.
You can print it out and have instant access whenever you come across damaged furniture, and know exactly how to fix it!
Click on the picture of the book to purchase!
I sanded the damage a little bit to help the Kwikwood stick, and then I pushed the KwikWood into the damage. Then I used a metal scraper and some water to get it shaped.
It took about 15 minutes to get it just right, and then to make some wood grain marks in it with a razor blade.
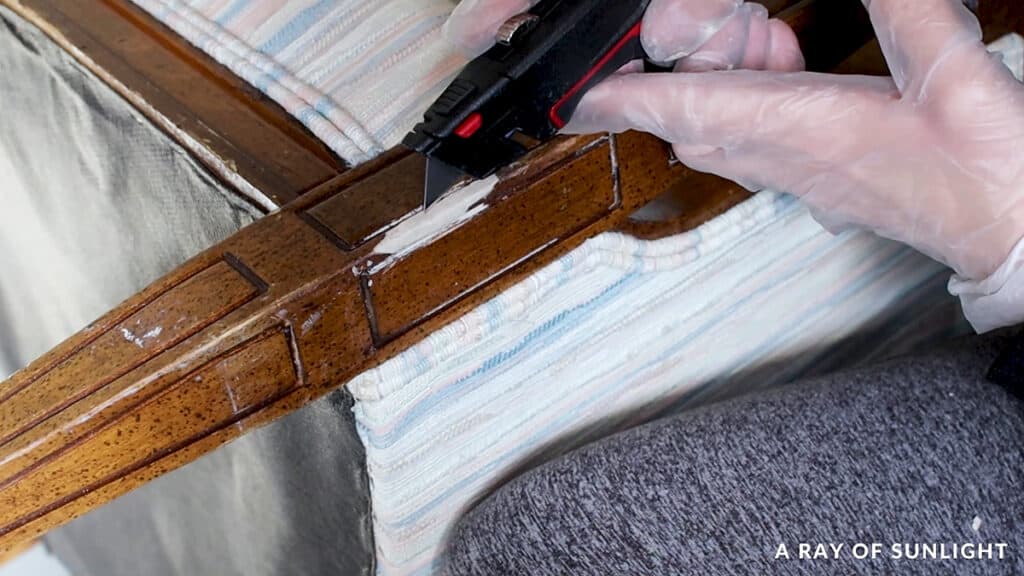
Then I let it dry completely.
Can you Stain KwikWood?
Technically yes, you can stain it. But, if you use the same stain that you are staining wood with, the stain will soak into the KwikWood differently than it will the wood.
Check out this makeover on how to repair chipped veneer furniture to see what that looks like.
Instead of using wood stain, it’s best to use paint that is the color of wood stain to make the KwikWood repair look like wood stain.
So, while the KwikWood dried, I tested the wood repair kit that I bought, which has a bunch of paint in different wood colors.
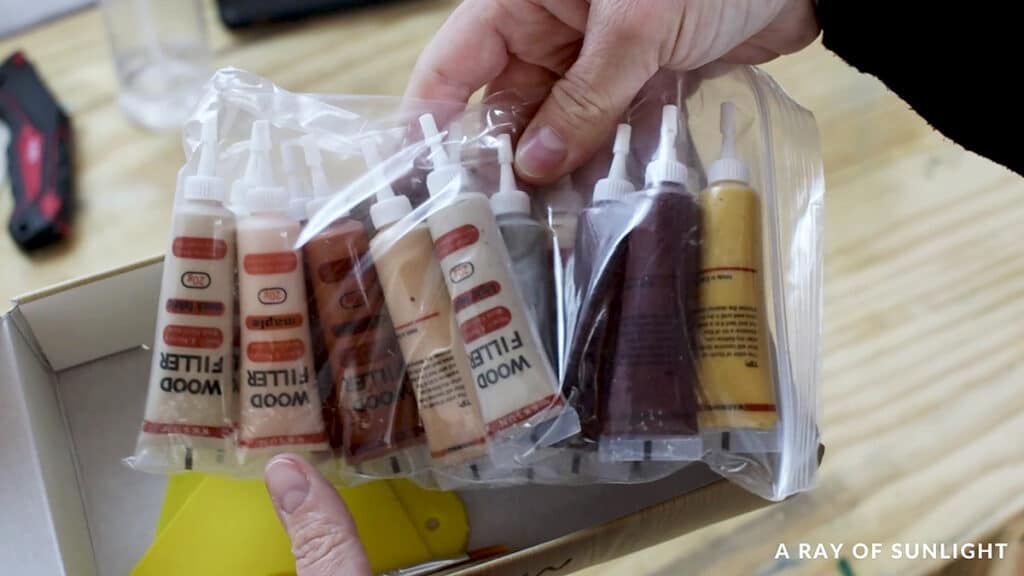
I was super nervous about this particular part. How in the world can I get it to look like the real wood?? I don’t know… but I was willing to try it!
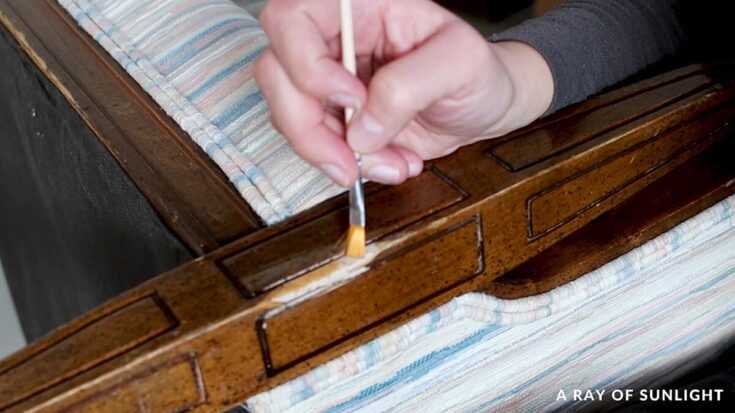
I picked some colors that I thought might be similar to what is in the finish already. Then I blended some of them on a popsicle stick to see what would happen.
The instructions from the kit say to start with the lighter colors and then layer in the darker colors. So that’s what I tried to do.
Check out our blog post about staining wood filler to learn more about the different techniques to stain wood filler.
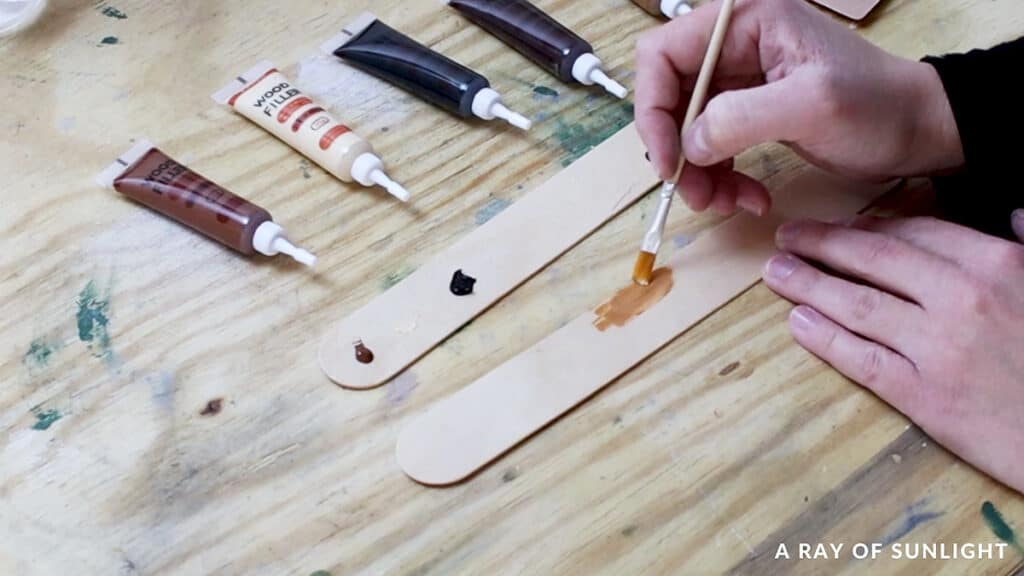
And I used the brushes that came in the kit to blend the colors together. I thought they looked kind of close to the original wood color, but not exact.
Then I walked away from the project for a day to let everything dry completely.
Sanding Kwikwood
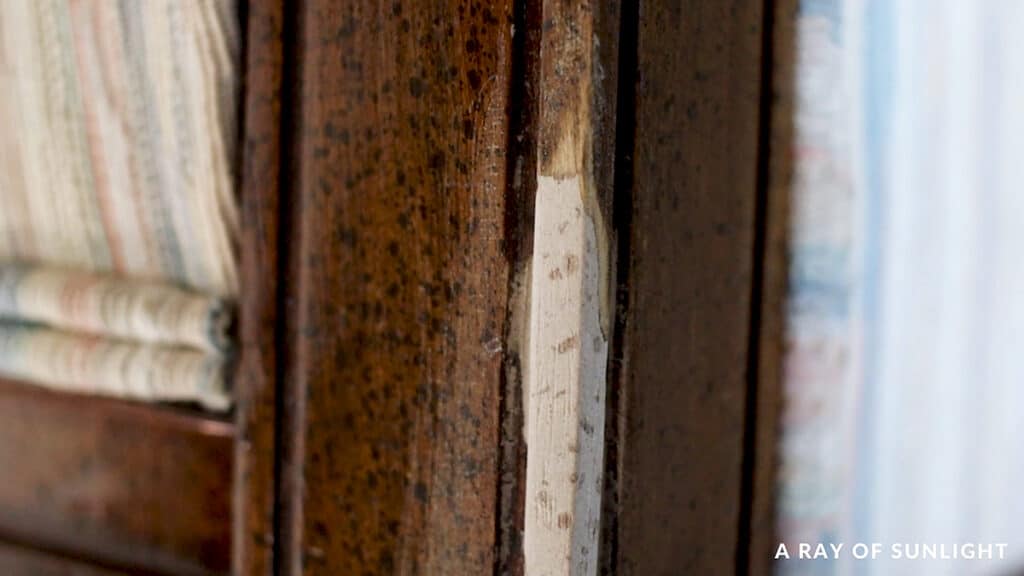
The next day I sanded the Kwikwood lightly with 120 grit sandpaper to smooth it out and make it flush with the wood around it. Then I sanded it with 220 grit sandpaper to finish it up.
Learn more about sandpaper for furniture painting here.
And of course, I used my shop vac to suck up the dust. Here’s what it looked like close up.
How to Stain Repaired Wood
And then I mustered up the courage to try matching the repair to the wood color. I started by blending the Original Wood and Bamboo Yellow colors.
If you look closely at the wood finish, there is some yellow under all of the brown, and these looked the closest to that.
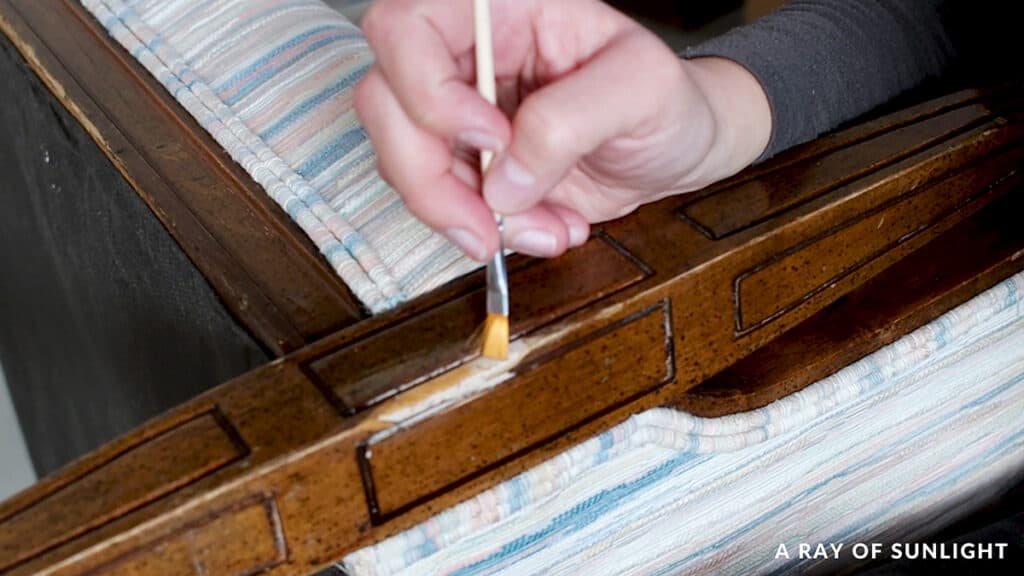
I just painted the Kwikwood and the wood that I sanded to bare wood… If I got paint on any of the wood I wiped it off. Then I let it dry for an hour or so.
Then I grabbed a few more colors to try. Yellow Sandalwood, Black Walnut, and Brown Walnut. I brushed the lighter colors on first and then I brushed on the darker color.
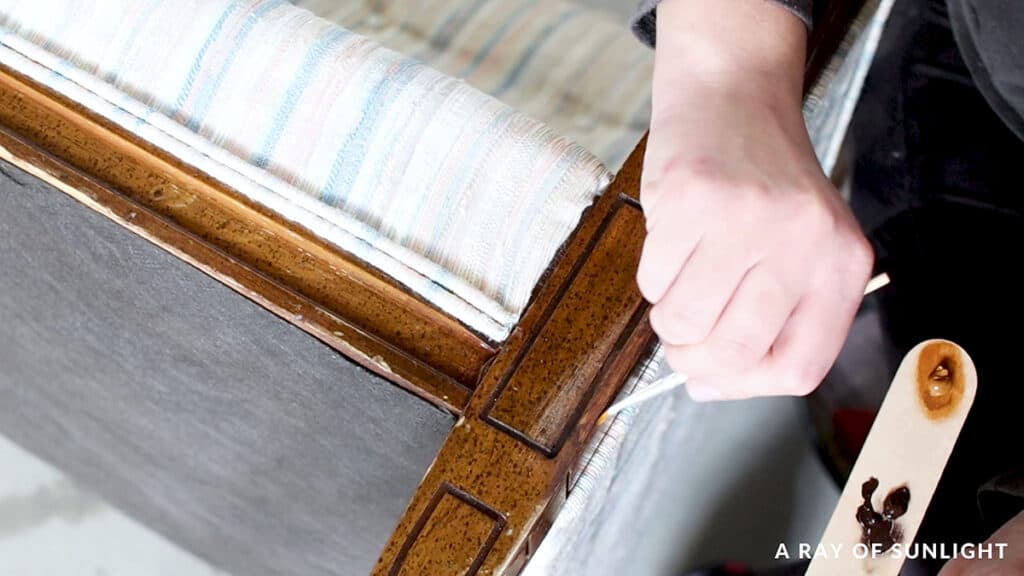
It still didn’t look great, but hey, it was getting there, right? I let that dry while I ate lunch, and then I came back down and brushed on another layer of those same colors.
And then, if you look closely at the finish, there are those infamous black speckles in the finish.
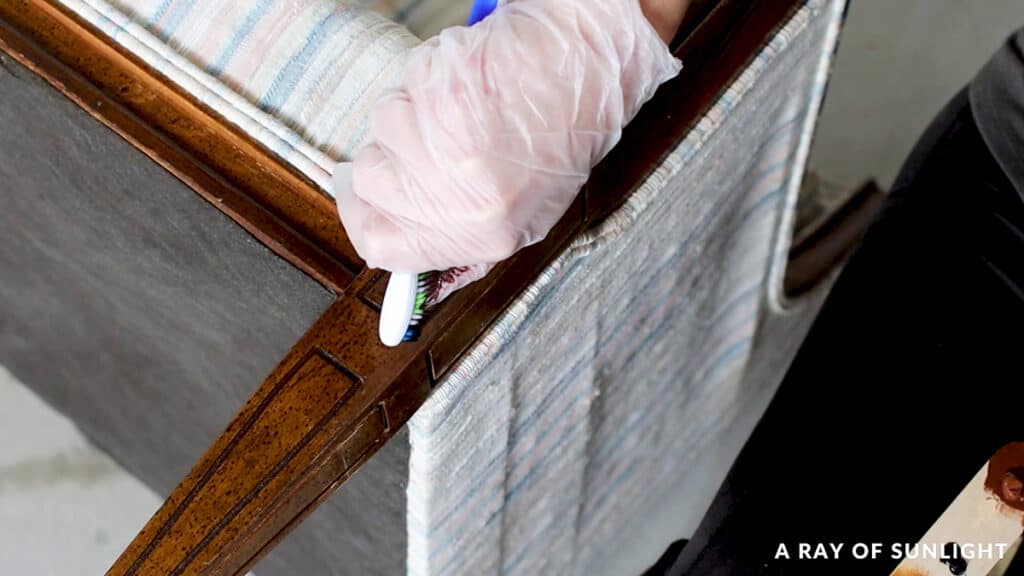
So I used the black paint and a toothbrush to create some speckles. The toothbrush didn’t work like I remember it working when I was younger haha but eventually I got it to work.
I let all of that dry while I went and ran some errands, but when I got back, I thought it looked pretty good. It just needed one more thing…
How to Blend Repaired Wood with Stained Wood
Have you ever heard of Old English??
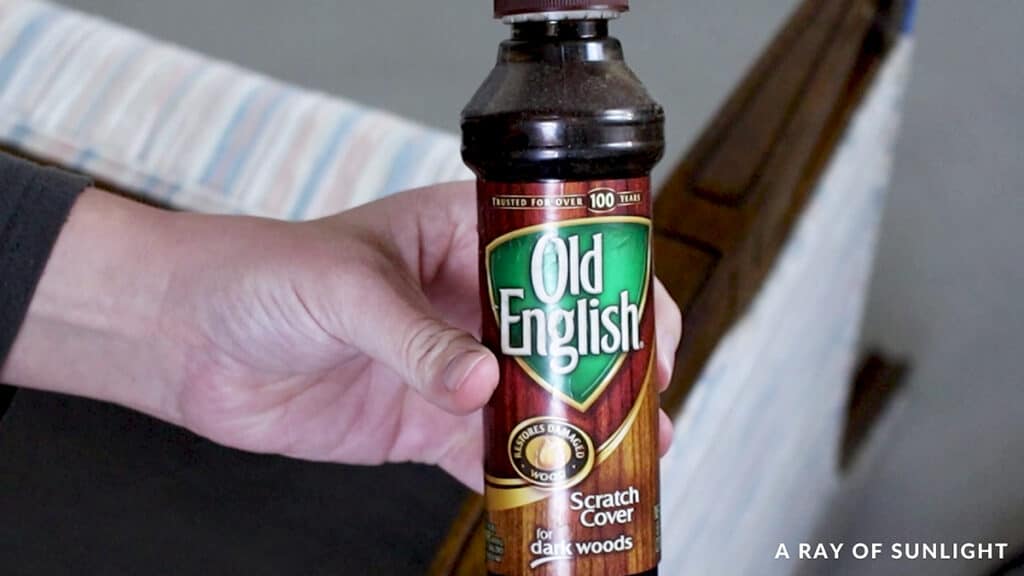
It’s a dark oil that you rub onto the wood that has scratches and dings, and it hides the scratches by staining them dark. So, I wiped that over the repair… and voila!
Learn more about how to repair damaged wood finish to restore the natural beauty of your furniture.
More Before And After Makeovers
Click any of these “before” photos below to view the “after” of that makeover.
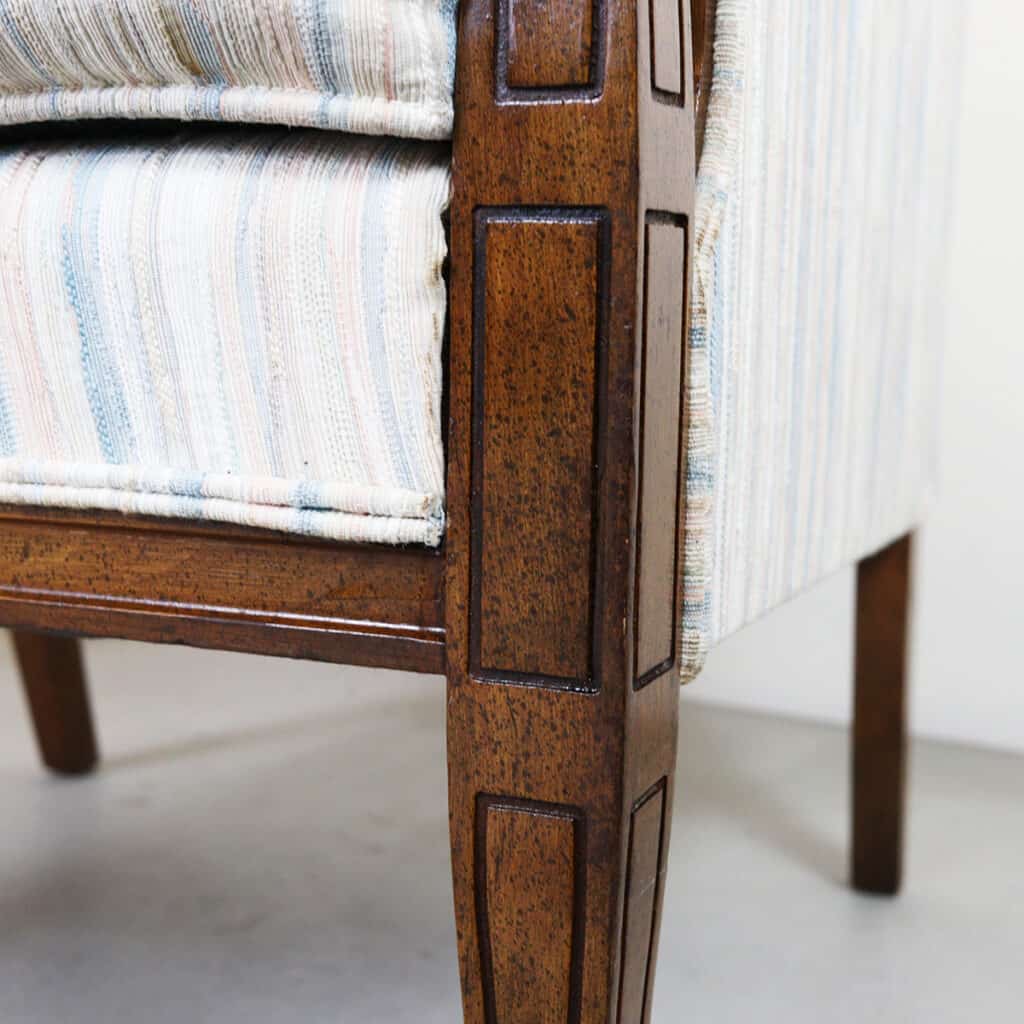
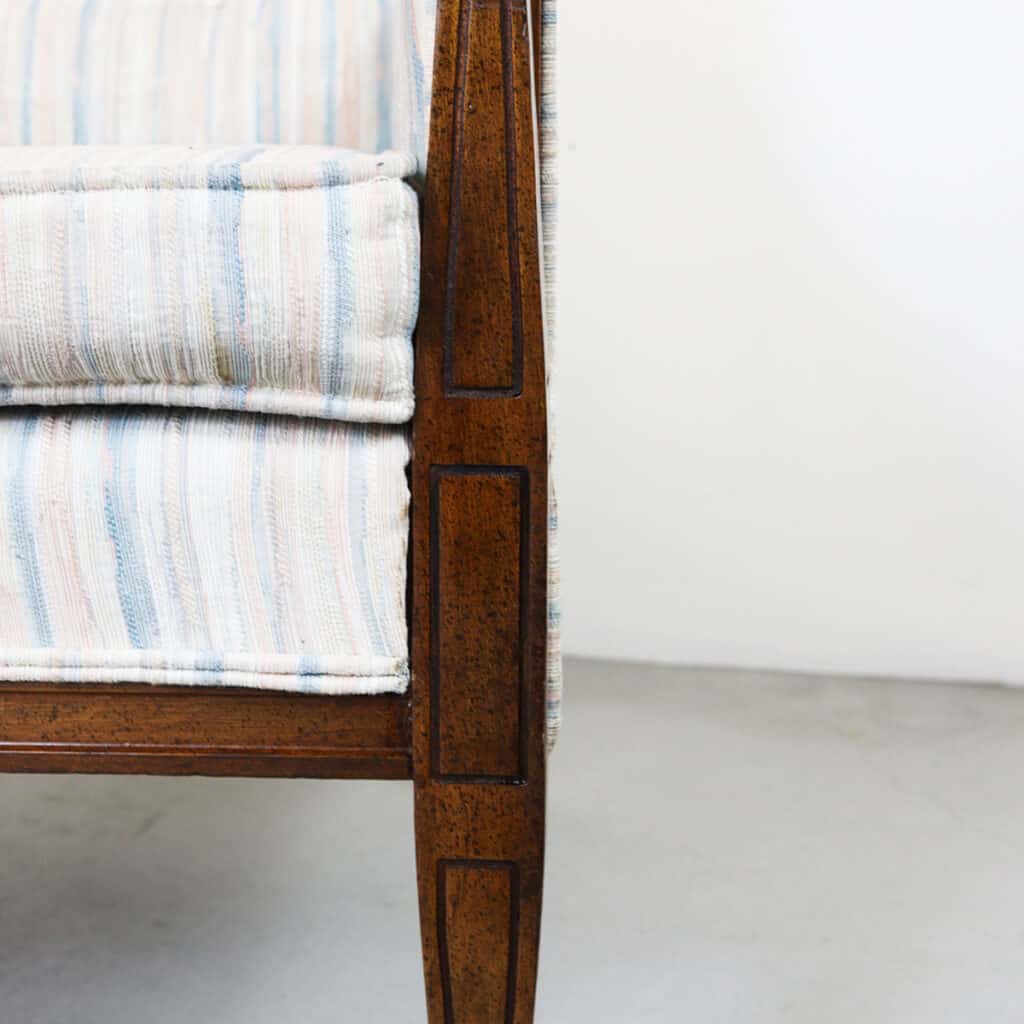
It blended it all in and gave it the same finish. I have to get really close to the repair now to see where it’s at. I can’t believe that I did it!! Seriously! It wasn’t as bad as I thought it would be.
Learn more about wood surface repair and how to take care of your furniture to lessen the scratches and blemishes on your furniture’s surface.
What do you think of the repair? Do you have the courage to try repairing wood stain like this? Let me know in the comments!
Check out the rest of this painted fabric chair makeover here.
More Refinishing Furniture Resources
- How to Restain Wood
- Best Wood Fillers
- Best Wood Stains
- Best Brushes For Staining Wood
- How To Stain Wood With Paint
Follow us on YouTube to get more tips for painting furniture.
Or share your project with us on our Facebook Group and be part of our community. See you there!


