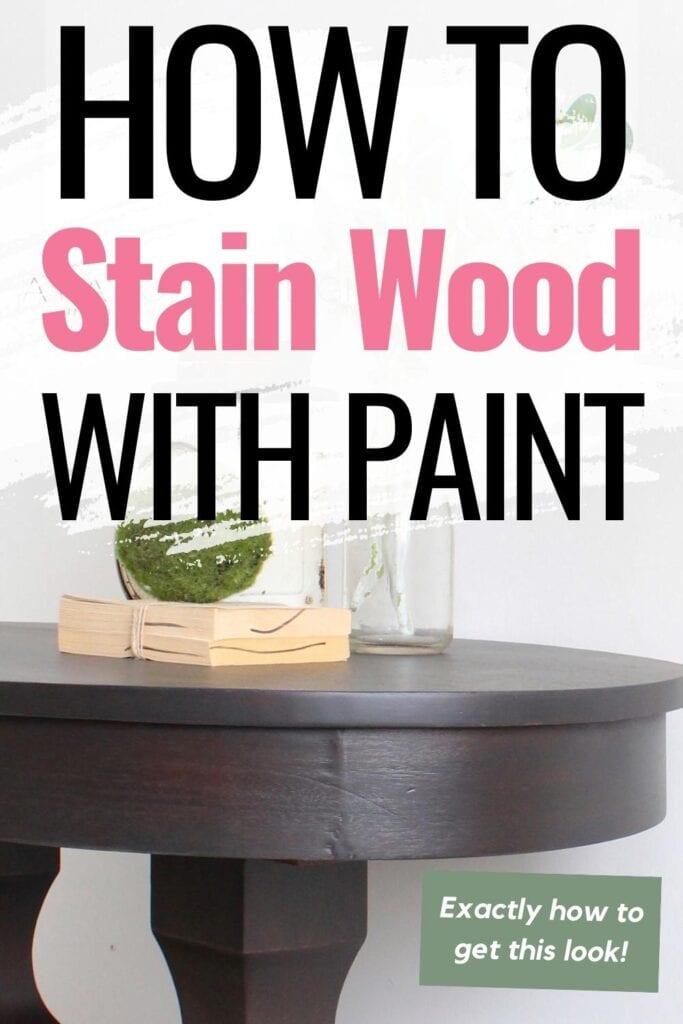
How To Stain Wood With Paint


Are you bored with the finish of your wooden furniture? Do you want to add some color and personality to your furniture? One way to do this is refinishing furniture. However, if you don’t like using traditional wood stains, consider using paint, but not in the typical way! In this step-by-step guide, I’ll explain how to stain wood with paint to create a beautiful and long-lasting finish that will enhance your furniture.
Staining wood with paint is a creative alternative that allows you to customize the finish to your liking, without hiding the wood grain. So, let’s dive in and learn one of these refinishing furniture techniques!
Staining wood with paint is a fun and inexpensive way to refresh the look of your furniture, without hiding the beauty of the wood. Not only does it give a new life to old pieces, but it also opens up an endless range of creative possibilities.
Plus, you don’t have to deal with strong fumes that traditional wood stains have! Whether you want to add a pop of color to a plain wooden chair or give a vintage dresser a shabby-chic look, turning paint into stain will do the trick to update your old furniture.

You can use any color of paint that you want, and adjust how many coats of paint you use to change the opacity, and how much you can see the natural wood under the paint.
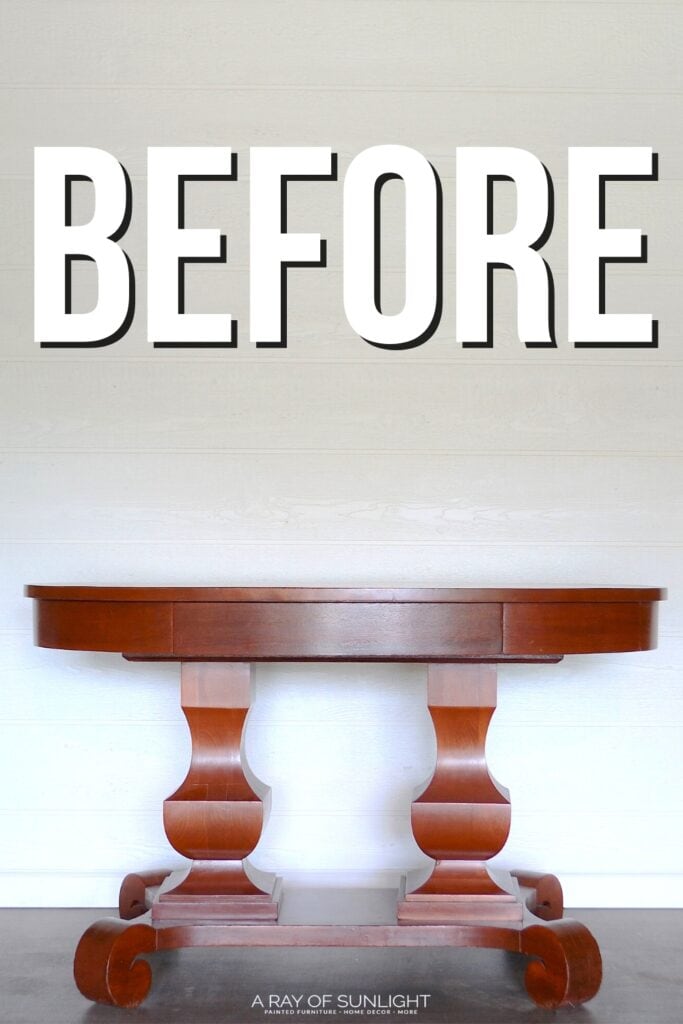
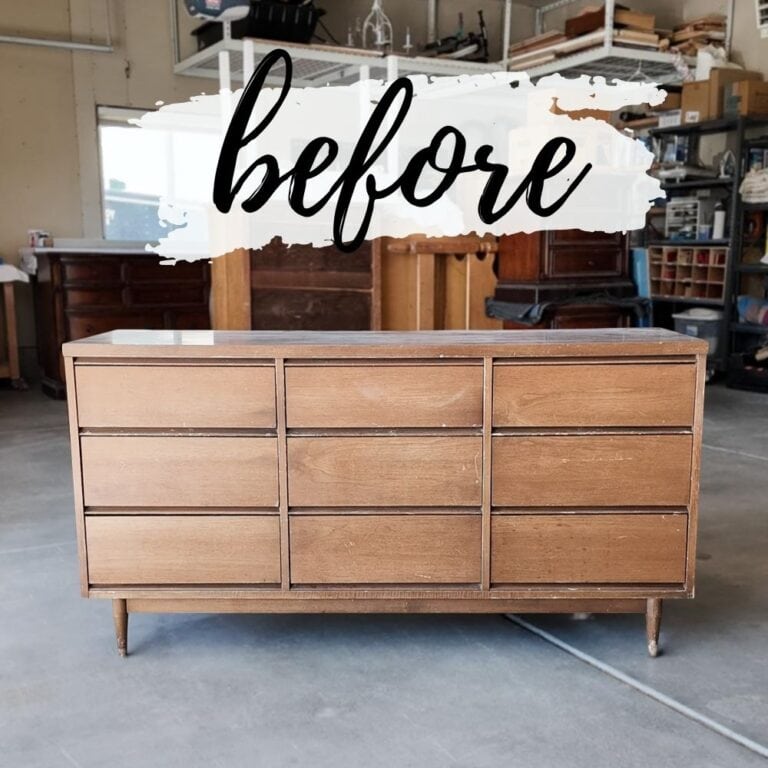
For a traditional look, you can use white, black, grey, or brown paint in this process. Let’s walk through the process, with a makeover of this table. Here’s what it looked like before.
How to Stain Wood with Paint
As an Amazon Associate, I earn from qualifying purchases. I also may earn from other qualifying purchases with other companies or get free product to review and use. All opinions are my own.
The first step in staining wood with paint is to start with bare wood that doesn’t have any finish on it. If your wood has a stained or painted finish on it, you’ll need to sand or strip the wood to bare wood.
This helps make sure that the paint adhesion is strong and will last for years to come, but it also helps the paint to seep into the wood like stain would.
But, if you don’t want to strip off the old wood stained finish, you can get by without stripping your furniture down to bare wood.
Your paint won’t stick or soak into the wood as much, so each coat will not cover the wood as much as it would if you stripped off the old finish. If your piece of furniture is already painted, you’ll need to remove it with a paint stripper or sandpaper.
Here’s step by step how to strip paint from wood furniture. This method also works for removing wood stains as well!
But, honestly, I have a new favorite wood stain stripper called Stripwell QCS (Use code SUNLIGHT10 to get 10% off your order of Stripwell QCS!).
Check out this makeover on refinishing an old dresser to see how it works. And check out our Stripwell QCS review to see why it’s my new favorite!
Here are my tips and tricks on how to remove stain from wood without sanding. If you’re sanding the old finish off, here are the best sanders to remove paint. Using a power sander will help the project go faster.
When stripping or sanding, make sure to wear protective gear such as gloves, goggles, and a respirator to avoid inhaling the dust and fumes that come from this process.
After you’ve stripped or sanded the wood, wipe it down with a damp cloth to remove any dust or debris. Now that you have a clean slate, you can move on to the next step in the process.
How to Turn Paint Into Wood Stain
Now, pick the paint that you want to use. A chalk paint or mineral type paint is the best for this because they can be thinned out a lot without messing with how they work. Learn more about what is chalk paint? here.
Certain paints cannot be thinned out very much. So, I stick to chalk paint or mineral type paint. Here is our list of the top chalk paint brands to make choosing the paint easier for you!
Now, pour some of your paint into a cup or a container with a lid and mix your paint with about 50% water. So 1 part paint to 1 part water. Stir the paint and water together very well.
You want your paint to be pretty thin, and similar to the consistency of regular wood stain. The more water you add, the less potent the color will be. Make sure you mix up enough paint for your entire project so you don’t run out halfway through and end up with an uneven finish.
For a more detailed guide, here’s how to make paint look like stain!
Stain Wood with Paint
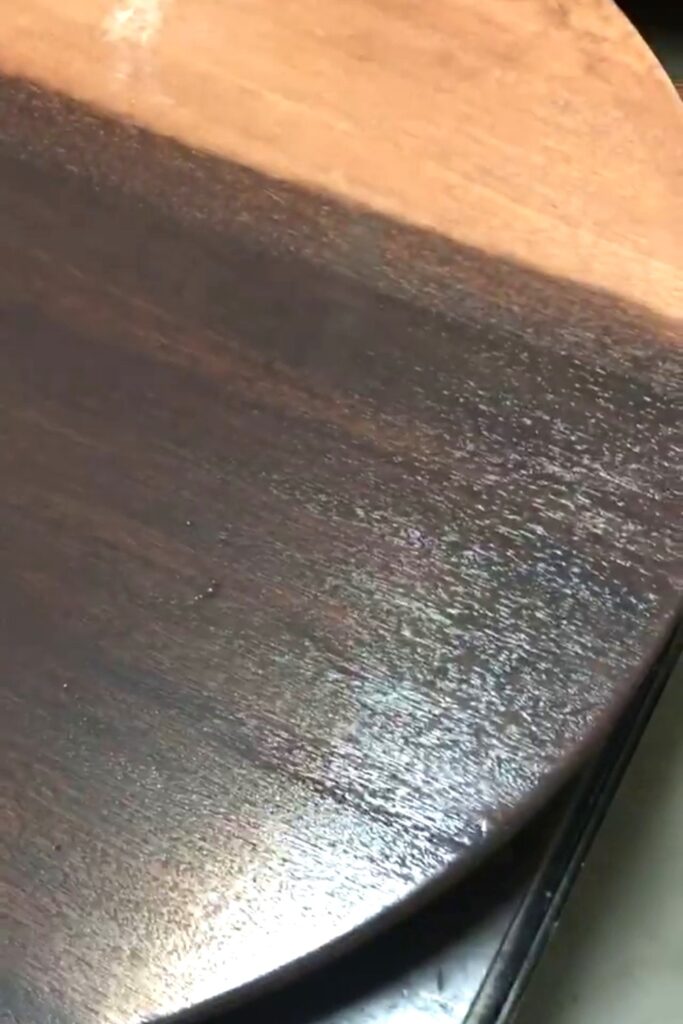
Now, it’s time to stain! Brush or wipe your DIY stain onto the wood. Here are the best brushes for staining. For this project, I used this painting sponge and wiped the paint on in thin layers.
Since this stain is waterbased, you’ll need to work quickly to keep it from soaking in too fast and looking splotchy. Work in small sections, and then with a clean lint free rag, wipe off the excess within a minute of wiping it on.
You can put a coat of waterbased polyurethane or clear shellac on the raw wood to help prevent the DIY stain from soaking in too much.
1 coat of polyurethane or clear shellac on raw wood will not keep the paint from soaking in, but it will help it not soak in as fast as it would if it was just raw wood.
Would you like to save this?
Let the stain dry, and then layer on as many coats of your stain onto your wood until you reach the desired coverage. This is a very similar process to our whitewashing wood process. Check out how to whitewash wood for more details! The only difference is the color of the paint that you use.
If you’re curious can you stain over paint, check this blog post to know the answer.
Topcoat Stained Wood
Once your stain looks how you want it to and is completely dry, you’ll need to topcoat the painted wood to protect the wood and paint from getting damaged. The topcoat will also help you clean off the wood if it gets dirty.
Apply 3 coats of waterbased polyurethane to your stained wood. For dark colors, you can use oil based polyurethane, but for light colors, use waterbased polyurethane that won’t turn your paint yellow.
Learn how to apply polycryclic by hand (waterbased polyurethane) here, and learn how to spray polyurethane for a flawless finish!
And learn about the best topcoats for painted furniture if you’re not sure what topcoat to use.
Staining wood with paint is a great way to add color and character to your furniture pieces. The process may seem intimidating at first, but it’s really quite simple – just mix the paint and water together, apply the mixture onto the wood, then topcoat for protection.
Make sure you wear protective gear when sanding or stripping old finishes off of wood surfaces as well. With these steps in mind, you can create beautiful stained wood pieces without spending too much money or time!
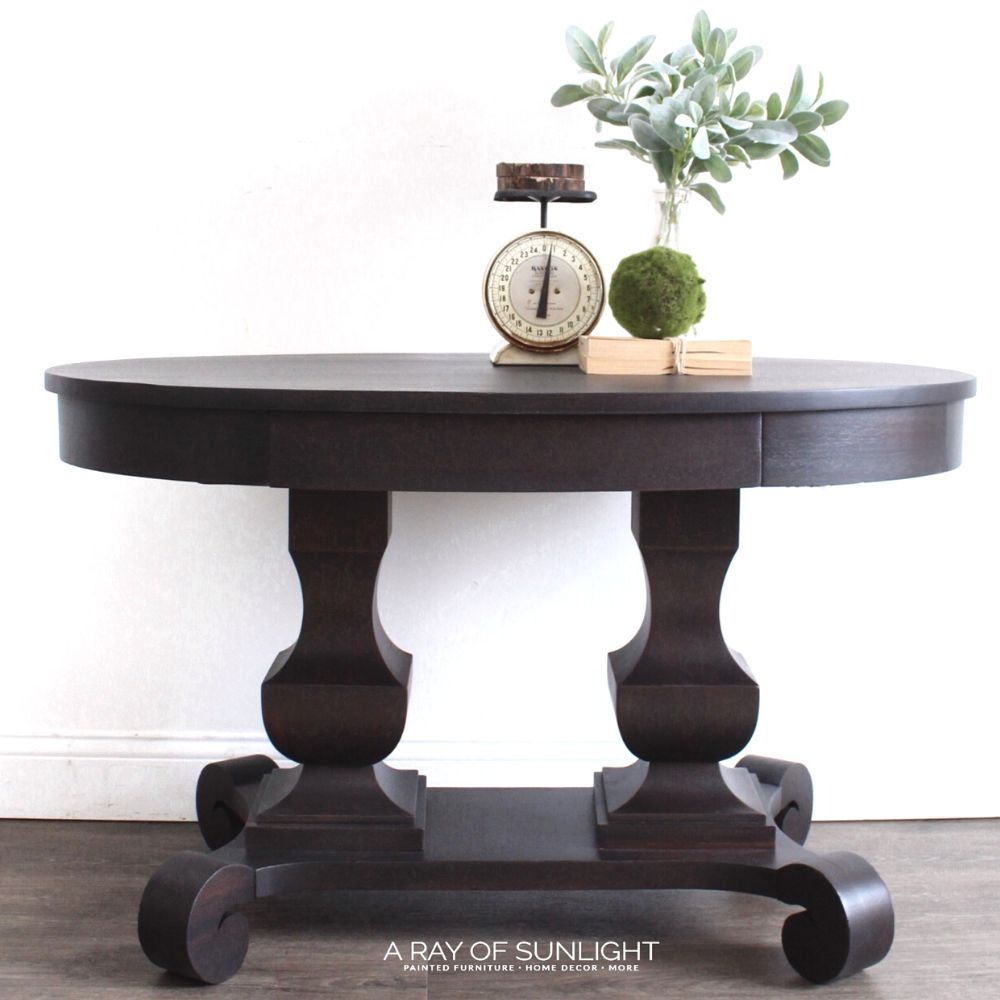
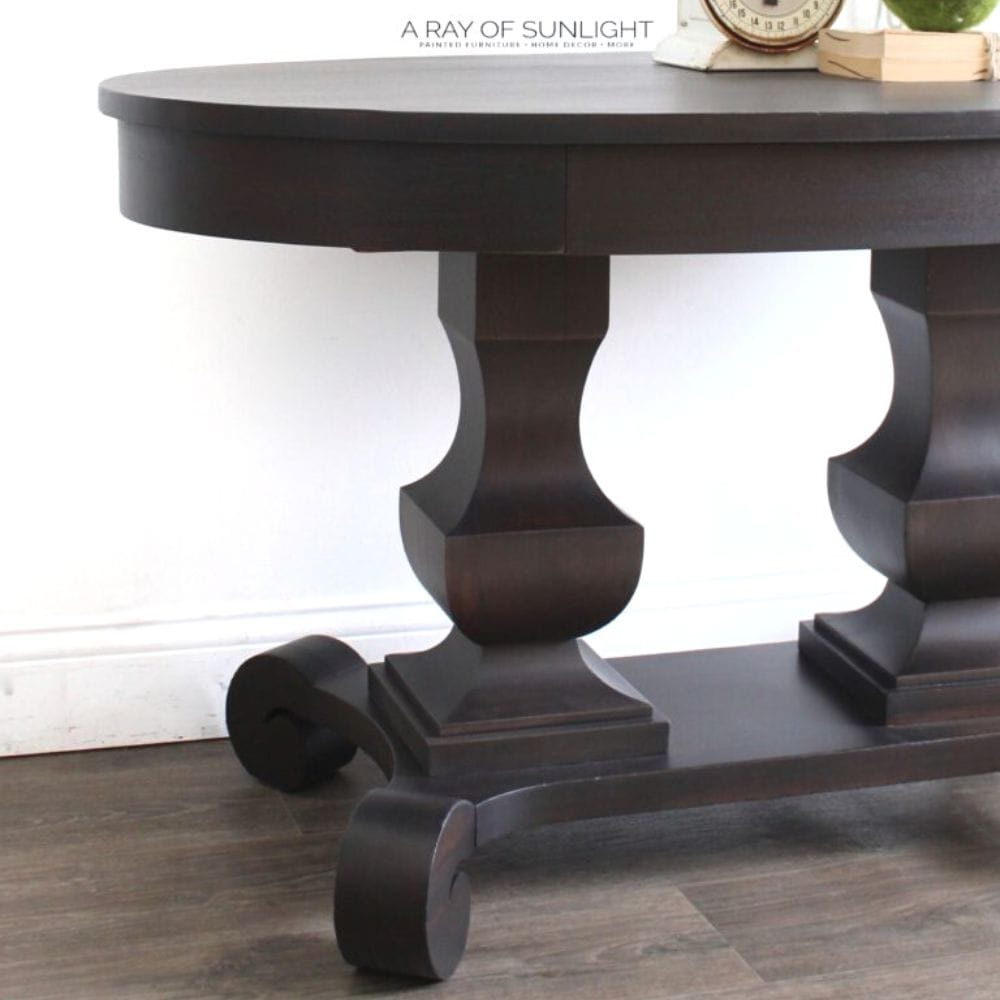
Here’s what this table looks like now!

More Before and After Makeovers
See All >
Click any of these “before” photos below to view the “after” of that makeover.


How do you apply stain evenly?
When staining, you want to make sure you apply the stain evenly to get a smooth, consistent finish.
So after you’ve mixed your paint and water together, the key is to work in small sections. This will help you control the application better and prevent any spots from drying before you can wipe them off.
You may also want to use a painting sponge or a rag to apply the stain instead of a brush, as these tools tend to give a more even finish. Here’s how to stain wood with a rag if you need some guidance on this method.

As you’re applying the stain, make sure to wipe off any excess within a minute of applying it. This will prevent the stain from getting too dark or blotchy in some areas. You can use a clean lint-free rag for this step.
If you do end up with some uneven spots, don’t worry! You can always go back over them with a second coat of stain once the first one has dried. Just remember to wipe off any excess before it dries completely.
And if all else fails, you can always sand or strip off the stain and start over. With a little practice, you’ll be able to apply stain evenly like a pro!


How to Stain Wood with Paint
Staining wood with paint is a great way to add color and character to your furniture pieces. You can also create beautiful stained wood pieces without spending too much money or time.
Materials
Instructions
- Make sure there is no previous finish on the wood. If your furniture is already painted, remove it with a paint stripper or sandpaper. Always wear protective gear such as a respirator, gloves, and goggles to avoid inhaling dust and fumes.
- After you've stripped or sanded the wood, wipe it down with a damp cloth to remove any dust or debris.
- Put a coat of waterbased polyurethane or clear shellac on the raw wood to help prevent the DIY stain from soaking in too much.
- Pick the paint that you want to use. Chalk paint is the best for this because it can be thinned out a lot without messing with how they work. Pour some of your paint into a cup or a container with a lid and mix your paint with about 50% water. So 1 part paint to 1 part water. Stir the paint and water together very well.
- Brush or wipe your DIY stain onto the wood. Work in small sections, and then with a clean lint free rag, wipe off the excess within a minute of wiping it on.
- Let the stain dry, and then layer on as many coats of your stain onto your wood until you reach the desired coverage.
- Once your stain looks how you want it to and is completely dry, apply 3 coats of waterbased polyurethane to your stained wood.
Recommended Products
As an Amazon Associate and member of other affiliate programs, I earn from qualifying purchases.


More Wood Staining Tips
- How to Restain Wood Furniture without removing the old finish
- Wood Stain Repair
- Staining A Dresser Darker
- Best Brushes For Staining Wood
- Restaining Furniture with regular wood stain
Follow us on YouTube to get more tips for painting furniture. Or share your project with us on our Facebook Group and be part of our community. See you there!