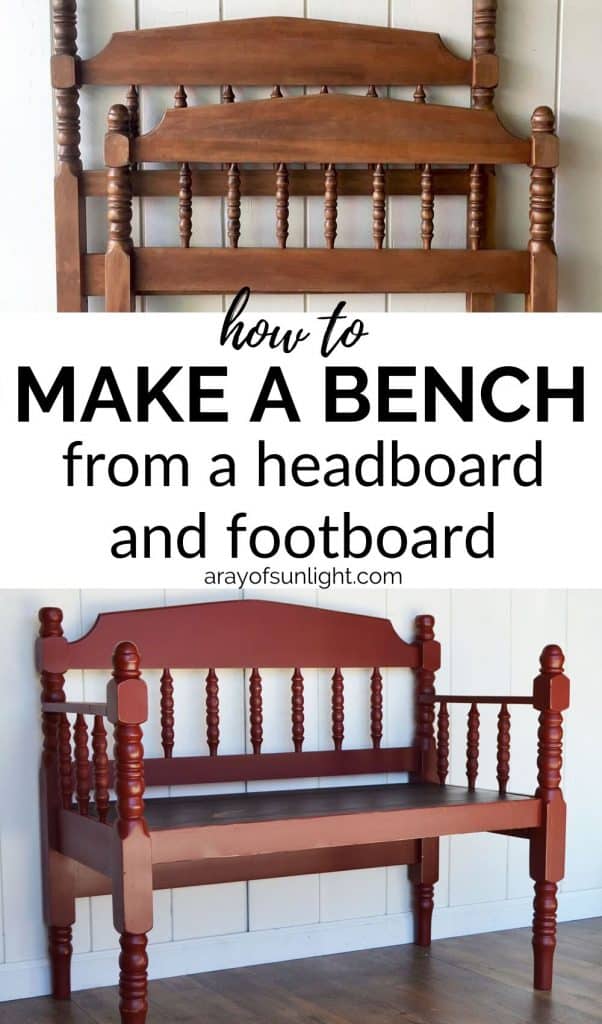
How to Make a Bench from a Headboard and Footboard


If you’re looking for some furniture makeover ideas, why not try turning an old headboard and footboard into a beautiful bench? We’re going to show you how to make a bench from a headboard and footboard in just a few simple steps.
This is a great way to repurpose pieces of furniture that may no longer serve their original purpose, and it’s also a fun weekend project you can do with friends or family. So grab those old headboard and footboard pieces and let’s get started!
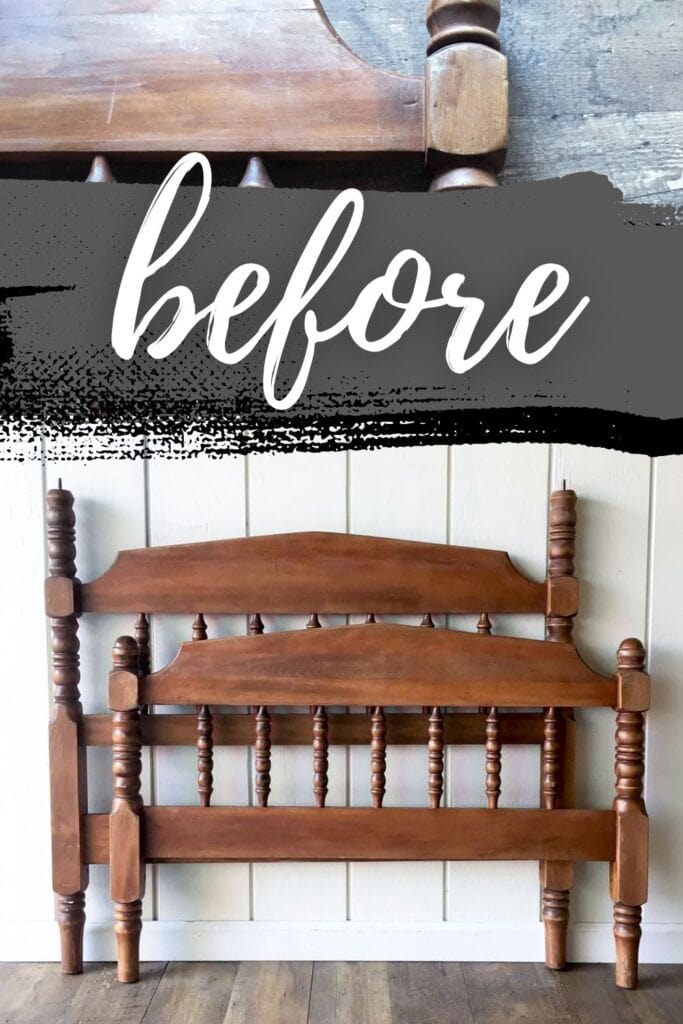
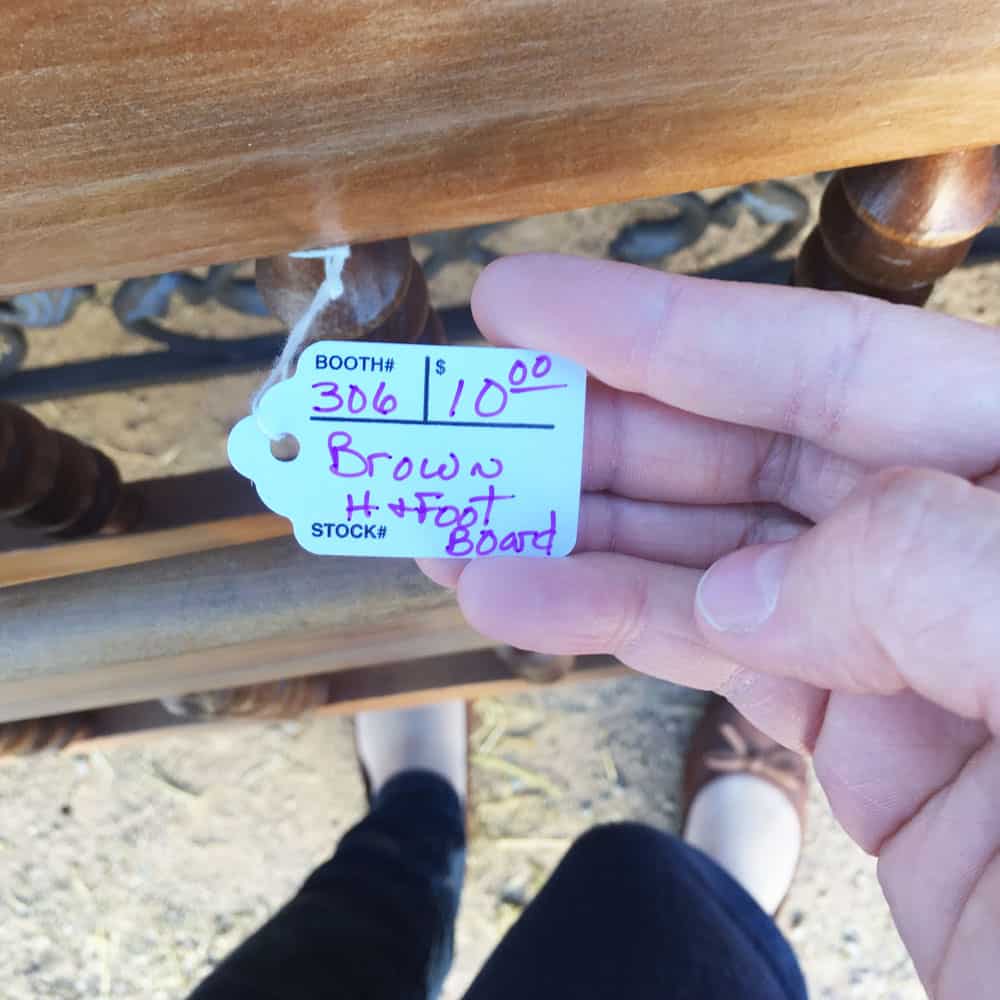
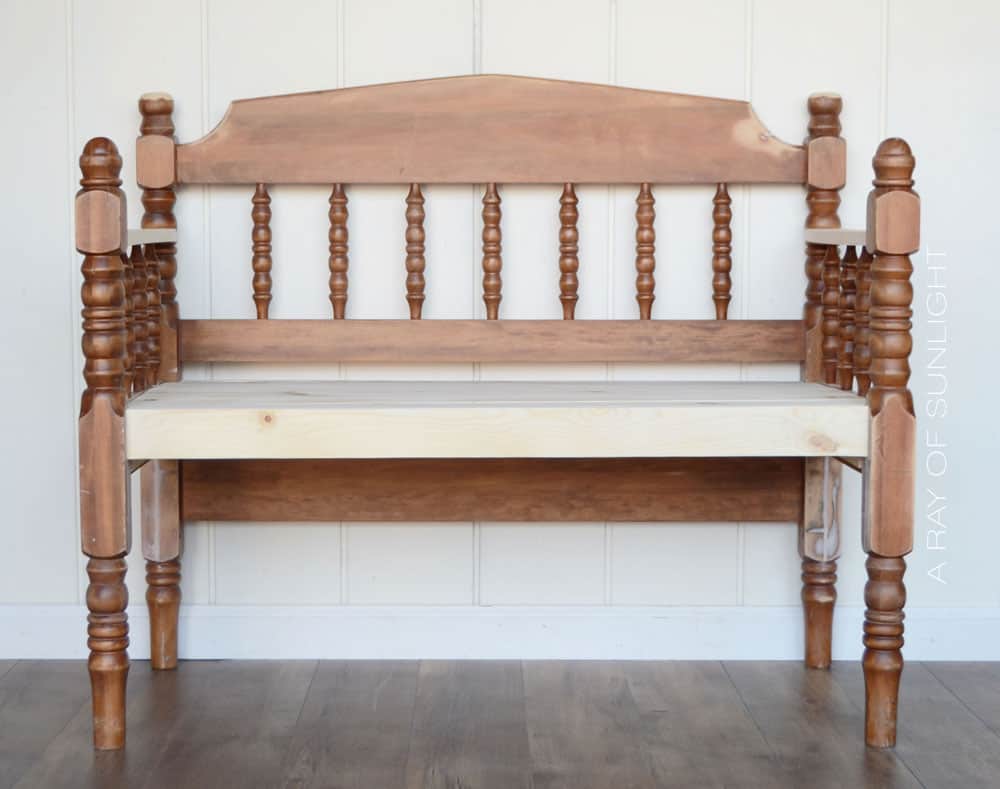
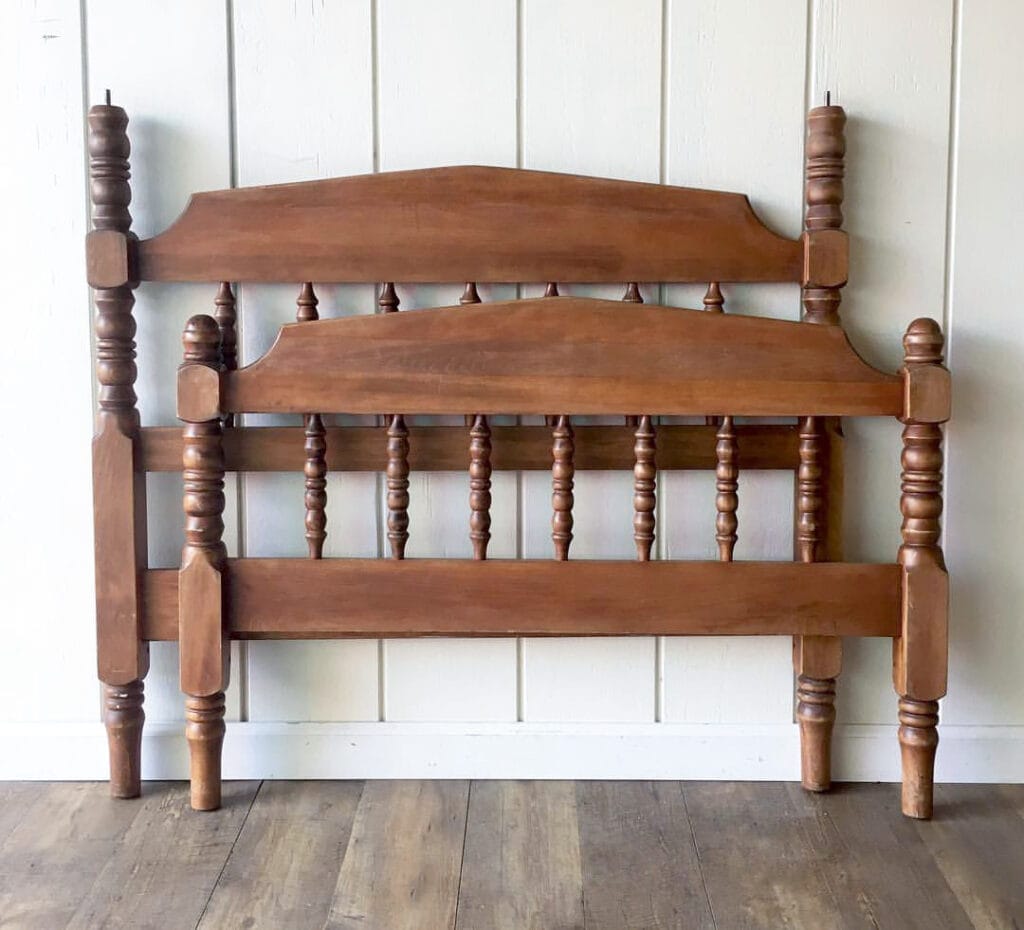
I had been looking for the perfect twin headboard and footboard to upcycle into an adorable bench and we finally found the perfect set! I spotted them at a fun little vintage market for only $10! They were missing the side rails, so I didn’t feel one bit guilty about my plans to transform them into a DIY headboard bench.
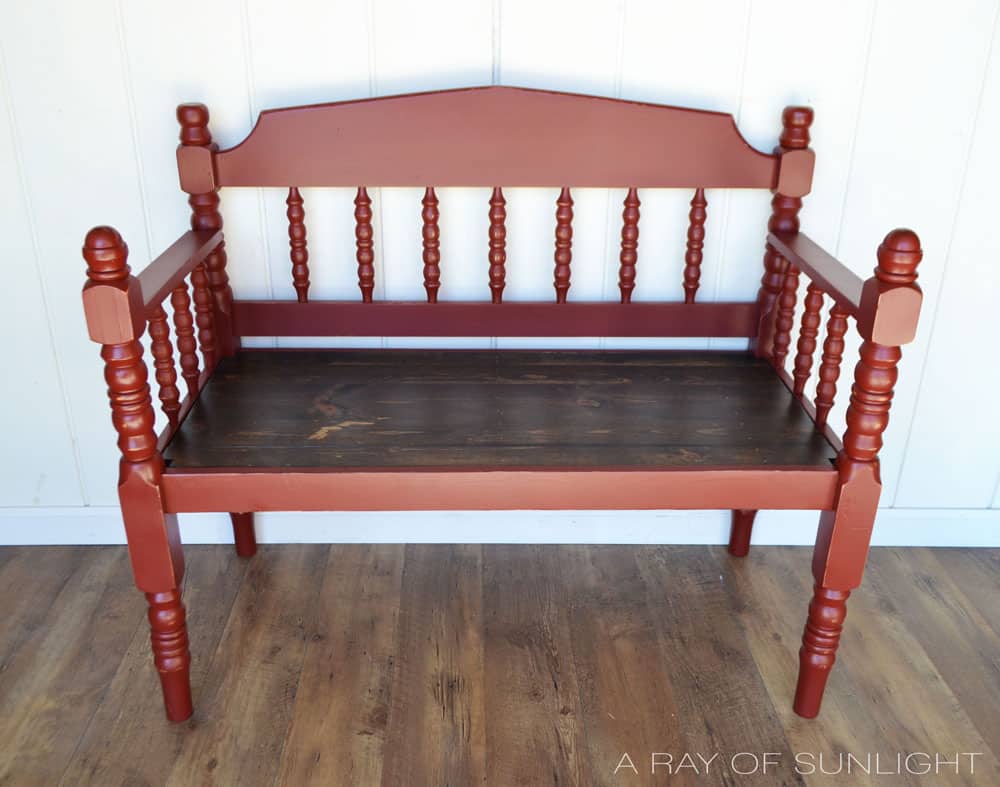
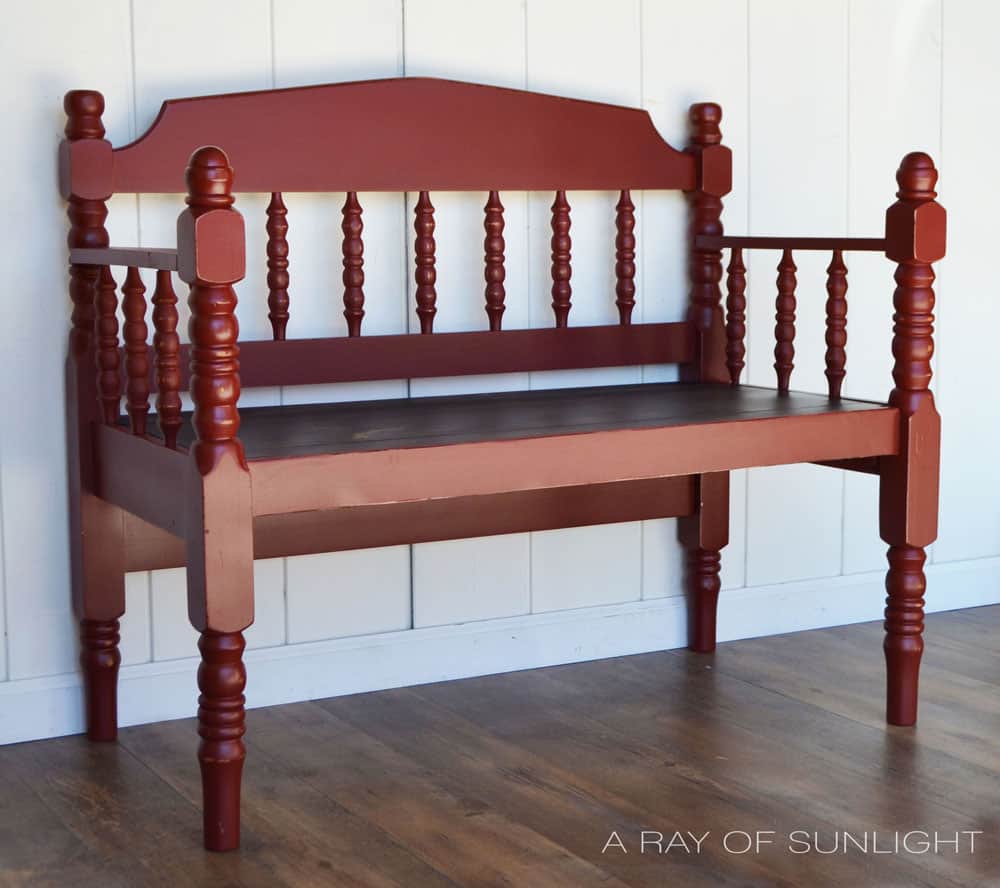
They are perfect as a porch bench, or as an entryway bench. This one, in particular, was made into the perfect red porch bench. And you can totally do it too!

You’ll be amazed at what you can create with just an old headboard and footboard. This DIY headboard bench is a perfect example of that. It’s not only a great way to repurpose old furniture, but you’ll be able to add a unique piece to your home that you can proudly say you made yourself.
How to Make a Bench from a Headboard and Footboard
I’ve made a few headboard benches, and every single time they are a little bit different. But the overall build is very similar with all of them.
- First, you need to make sure that the headboard and footboard have a place to attach a seat to. The seat needs to be about 18″ from the ground.
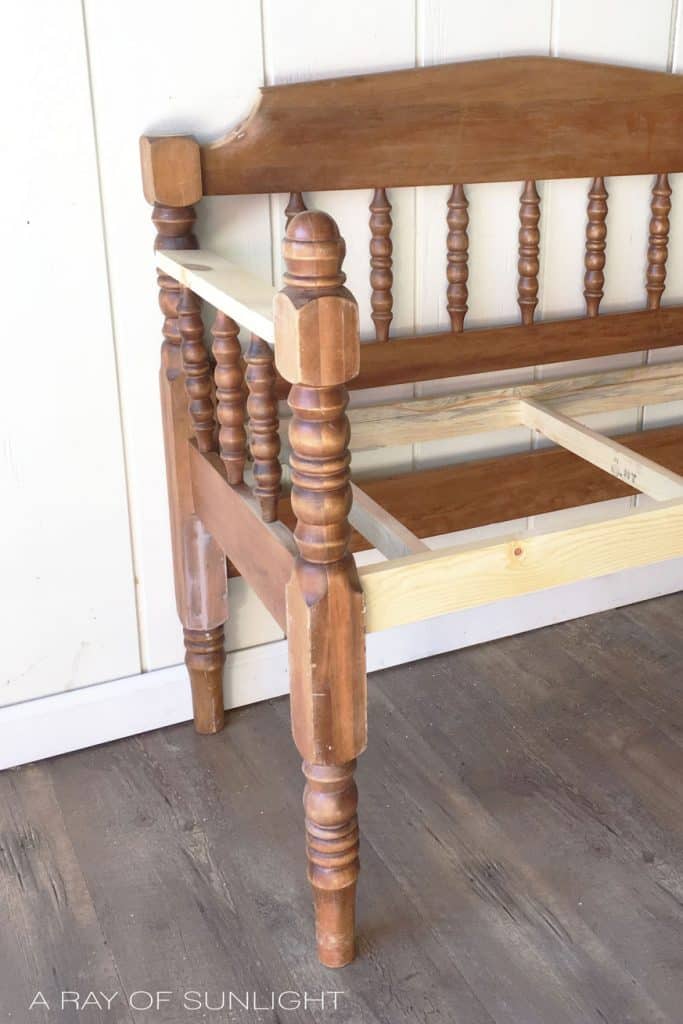
- Then the footboard needs to be cut in half to become the armrests and front legs. The footboards then need to be connected to the headboard.
- Finally, the support for the seat of the bench needs to be made, and the top of the seat put together.
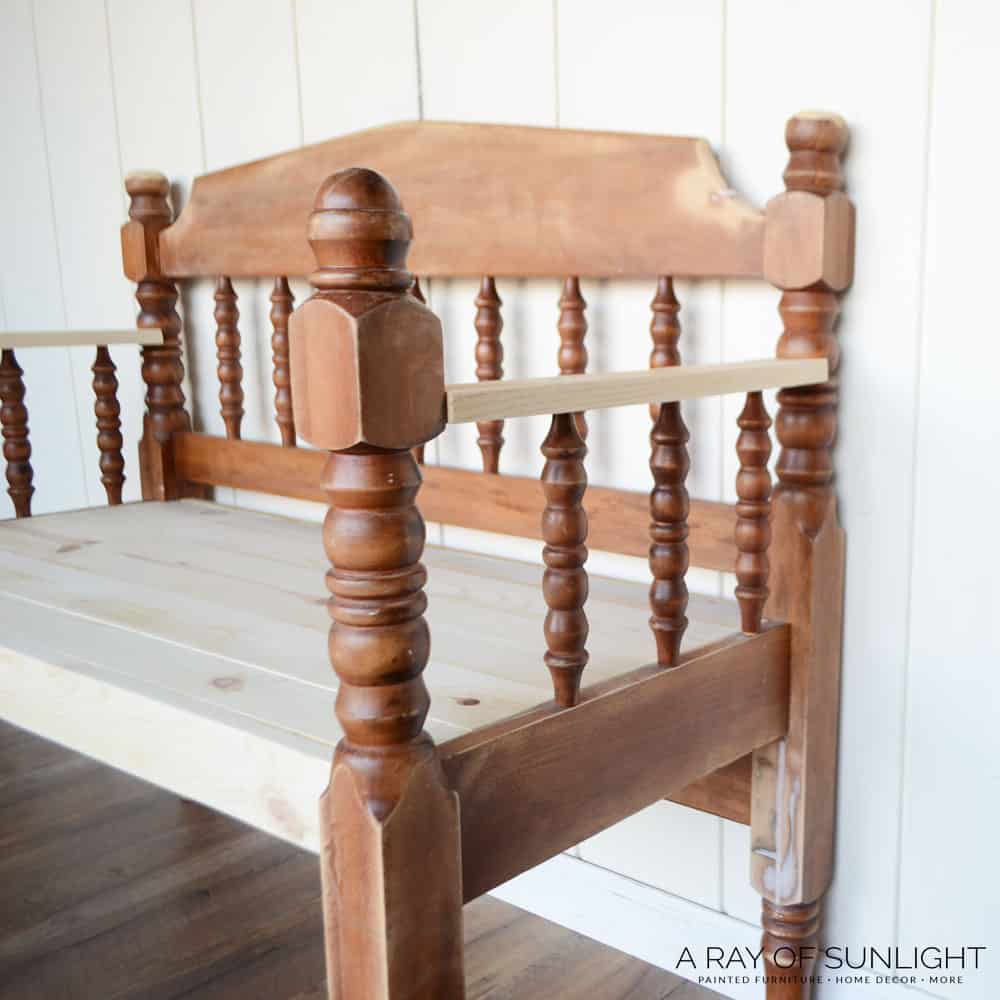
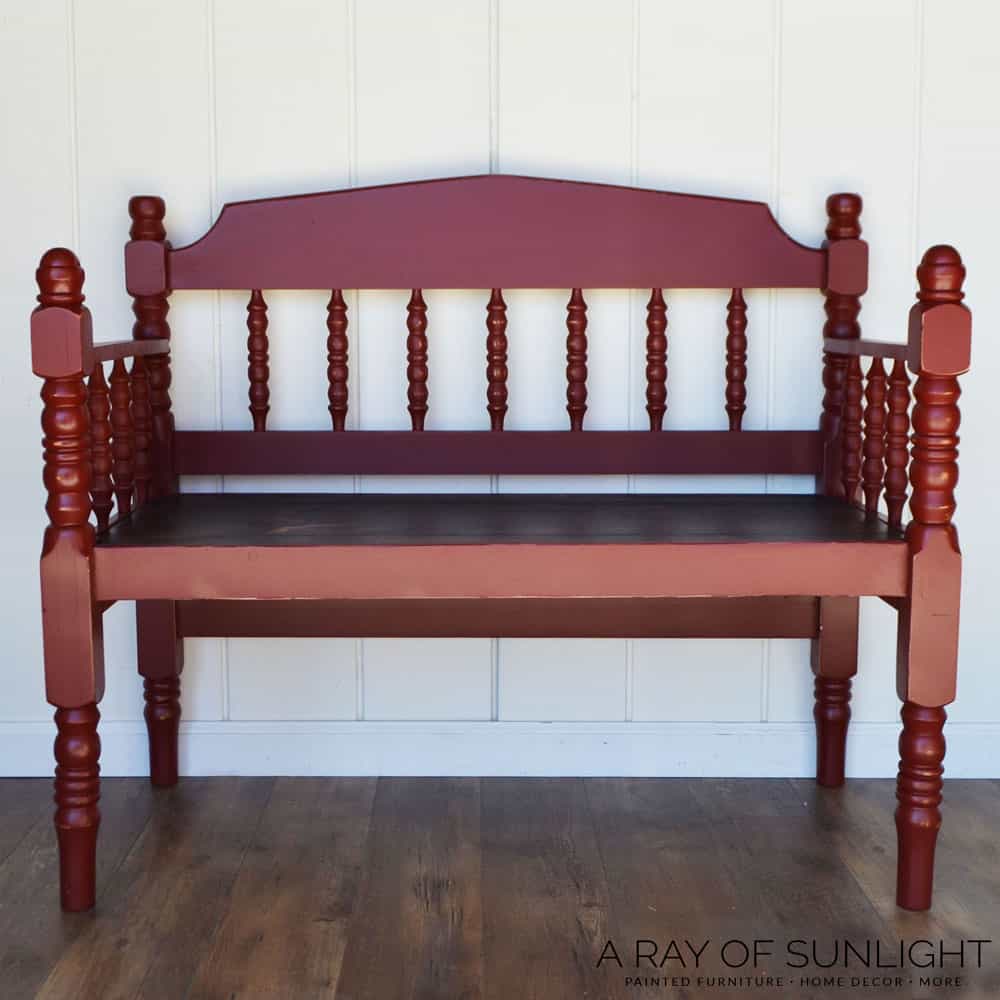
It was quite the labor of love, but the finished product was totally worth it! It’s now the perfect spot to just sit or read a book. And I love knowing that it started as just an old headboard and footboard! So let me guide you through the steps to create your own bench.

Supplies Used to Make a Bench from a Headboard and Footboard
As an Amazon Associate, I earn from qualifying purchases. I also may earn from other qualifying purchases with other companies or get free product to review and use. All opinions are my own.
- Old Twin Headboard and Footboard
- Chop Saw
- Jig Saw
- Hanger Bolts
- Wood Glue
- Power Sander
- Kreg Jig and Screws
- Brad Nail Gun
- Drill
- Red Chalk Paint
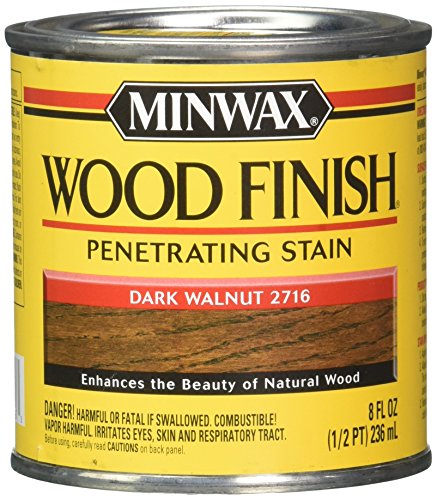
- Dark Walnut Wood Stain
- Exterior 450 Topcoat
Grab my list of the 10 best painting furniture supplies here to make sure you have everything you need for any furniture makeover.
Adding Height to the Footboard
First, we cut the finials from the headboard (with a chop saw) to add to the legs of the footboard. We needed to add height to the footboard so the seat wouldn’t be right in the middle of the side spindles. We cut the legs off the bottom of the footboard too, and cut the finials from the headboard in half.
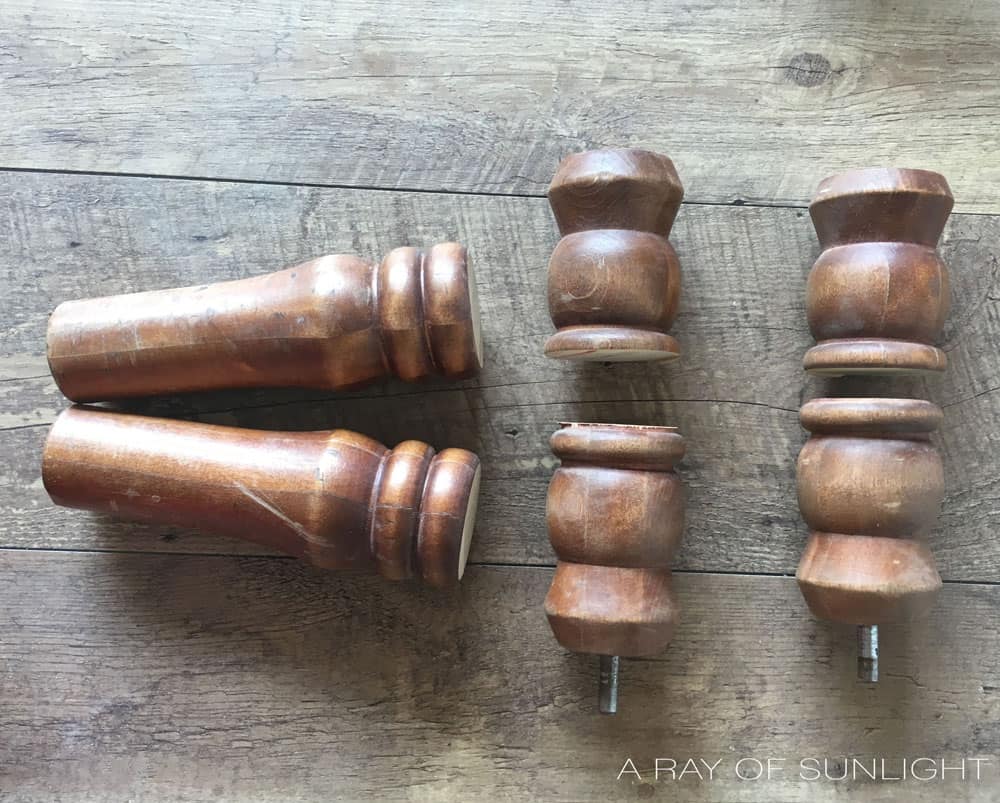

We used glue and hanger bolts to attach part of the finials with the legs. Then we attached the new legs onto the footboard with more hanger bolts and wood glue.
The leftovers of the finals were put back onto the headboard to be finials again. (We sanded them down with a power sander to round them out a bit too.) Check out the best sanders for furniture here to find the sanding tool that works best for you and your project.
Attaching the Footboard to the Headboard
We cut the footboard in half with the chop saw and then removed the top part of the footboard from the spindles. We attached the sides of the bench (the footboards) with pocket screws and glue.
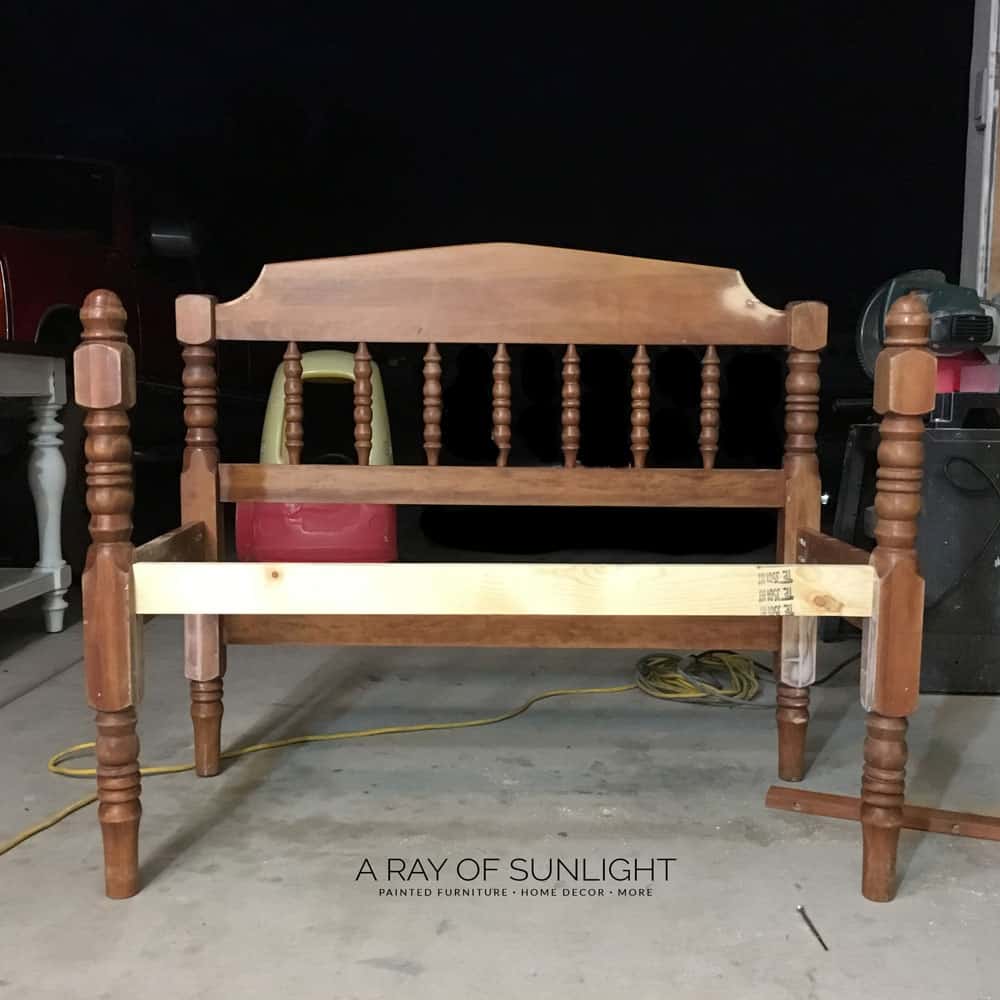
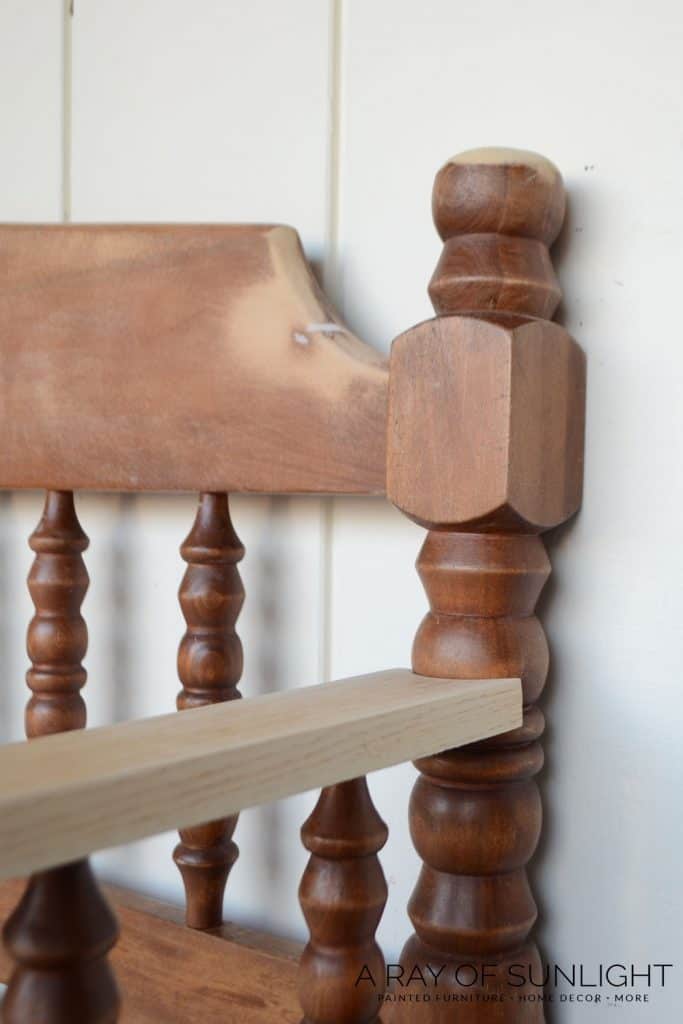
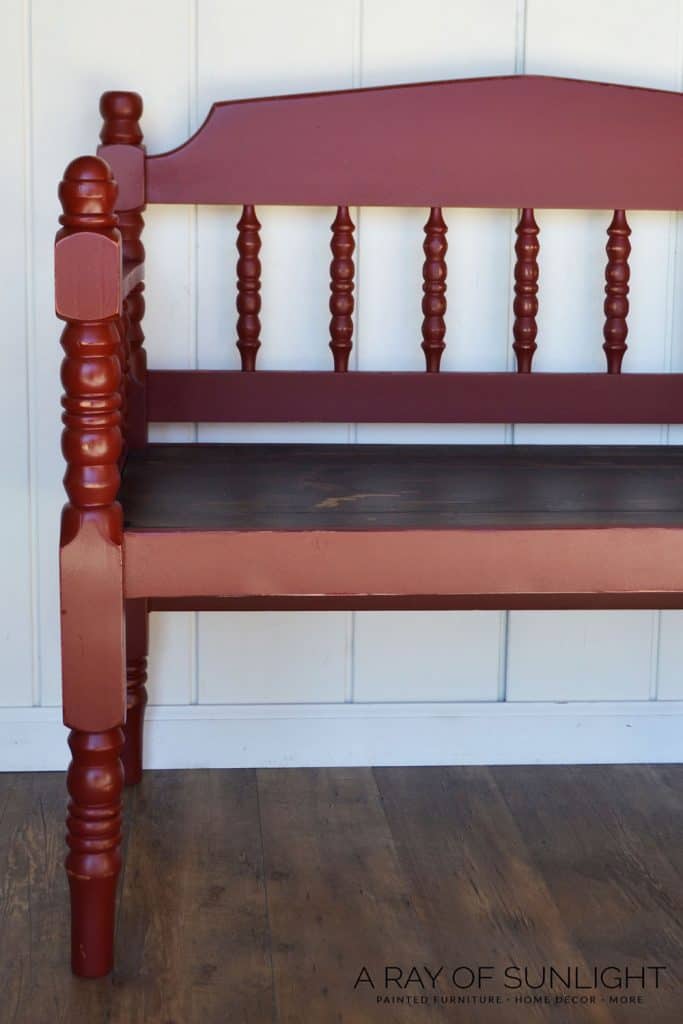
We cut out new armrests, drilled holes to connect with the spindles, and then attached the arms to the headboard and footboard with the nail gun.
Building the Bench Seat
We built the support for the bench seat out of 1″x3″ boards and 1″x2″ boards. We attached them together and to the frame of the bench with Kreg Jig pocket holes and screws.
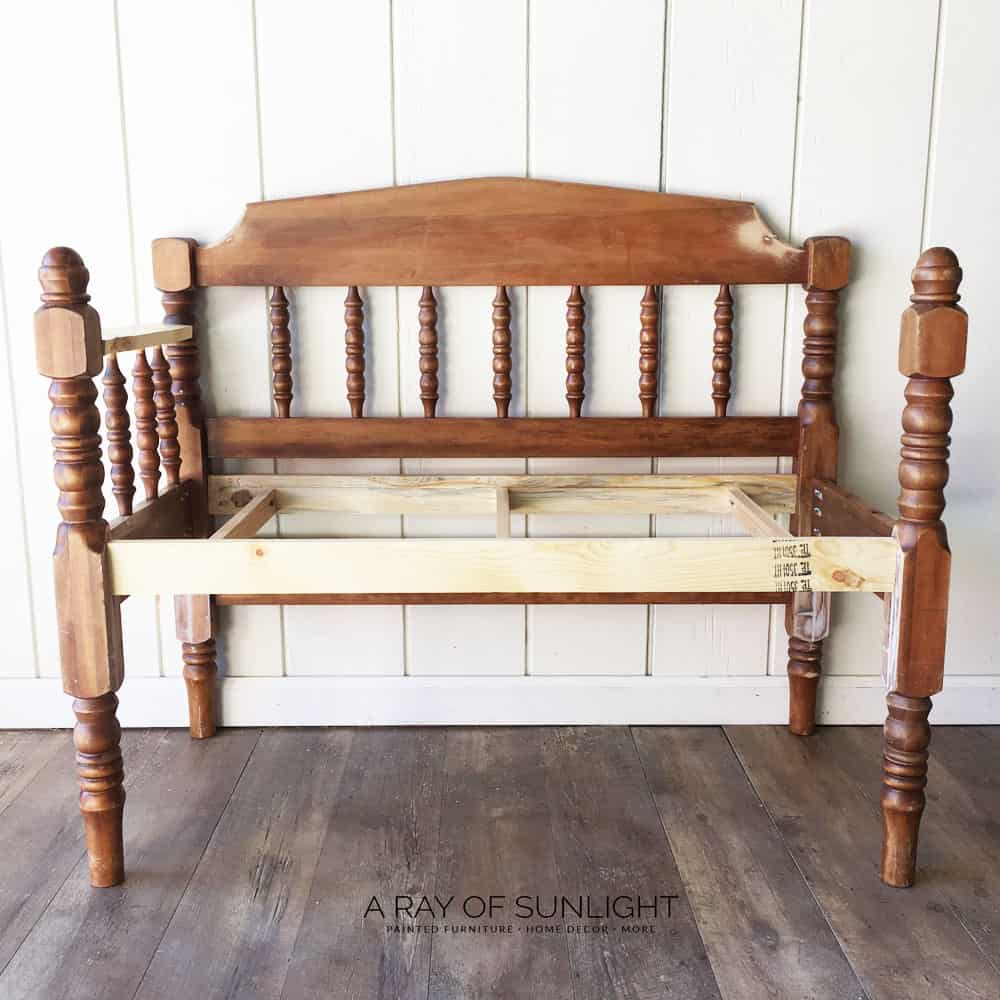
And then we used more 1″ boards to make the bench seat. We attached the boards to the supports with more brad nails.
Would you like to save this?

Filling in Headboard and Footboard Holes
There were large holes and slots from when the headboard and footboard were hooked to bed rails. I filled the holes with Bondo filler. Bondo dries hard and is easy to paint, so it was a no-brainer to use!
You can learn more about the best wood fillers for furniture here and how to repair damaged furniture using Bondo here. You should also check out my Bondo wood filler review here to learn more about this wood filler.
Painting the Porch Bench Red
Our client asked for this bench to be painted for outdoor use. So we painted it in red chalk paint that she picked out and then sealed the chalk paint with an exterior-rated topcoat. You can read all about the best topcoats for painting furniture here for more tips and recommendations. The seat was stained in dark walnut. Here’s how to stain wood furniture if you need a tutorial.
How to Chalk Paint Outdoor Furniture
You can use chalk paint outdoors! The secret is to topcoat it with an exterior-rated top coat instead of the regular interior-rated top coat.
We used a custom paint color from the local hardware store and mixed it into chalk paint with this homemade chalk paint recipe. Then I sprayed the finish on for a brush-free finish. Learn more about how to paint furniture with chalk paint here! And learn about the best Wagner paint sprayers for furniture that you can use here (they are budget-friendly!).
Then I sprayed multiple coats of General Finishes Exterior 450 topcoat in Satin. It is a water-based topcoat that is rated for exterior use, and General Finishes creates high-quality products that I trust. Learn more about the General Finishes Exterior 450 here especially if you haven’t used it before.
*Do not use this topcoat over light colors as yellowing may occur.
Who doesn’t love these little upcycled benches made out of old vintage beds? I absolutely love that we were able to bring this old bed back to life and give it a new purpose! Check out these red painted furniture ideas and painted benches ideas for similar projects.
More Before and After Makeovers
See All >
Click any of these “before” photos below to view the “after” of that makeover.


Can I use different colors or finishes for the bench?
You sure can! The beauty of DIY projects is that you have the freedom to customize it to your liking. You can definitely use different colors or finishes for the bench, depending on your personal style and preferences.
For example, if you want a more rustic look, you can try using a distressed wood finish or a weathered paint technique. Here’s how to create a weathered wood gray finish, and here are distressing furniture techniques you can try.
If you prefer a more modern look, you can opt for a sleek, solid color or a metallic finish. You can check out the best painted furniture colors here for some ideas. And we have metallic painted furniture ideas here too to inspire you if you want this shine and finish on your bench.
For more makeovers using this type of coating, check out these chalk painted chair ideas and yellow chalk painted furniture.


Is it possible to make the bench larger or smaller?
Yes, it is possible to make the bench larger or smaller depending on your needs and the size of the headboard and footboard you are using. If you want a larger bench, you can try finding a full, queen or king size bed frame or even combining two sets to create a longer bench. If you prefer a smaller bench, look for smaller sized headboards and footboards or cut down the pieces to your desired size.
But keep in mind that resizing the actual headboard and footboard you have may require additional tools and skills, such as sawing and drilling. And you need to be able to measure properly and commit to the changes you’ll make. If you’re unsure, it may be best to stick with the original size or ask for assistance from a professional.


How to Make a Bench from a Headboard and Footboard
Upcycle your old vintage bed into a new piece. Here's how to make a bench from a headboard and footboard.
Materials
- Old Twin Headboard and Footboard
- Wood Glue
- Screws
- Red Chalk Paint
- Dark Walnut Wood Stain
- Exterior 450 Topcoat
Instructions
- Add height to the footboard by cutting the finials from the headboard with a chop saw. This is so the seat wouldn’t be right in the middle of the side spindles. Cut the legs off the bottom of the footboard too, and cut the finials from the headboard in half. Attach part of the finials with the legs then attach the new legs onto the footboard with hanger bolts and wood glue.
- Cut the footboard in half to make the sides of the bench then remove the top part of the footboard from the spindles. Attach the sides of the bench (the footboards) with pocket screws and glue.
- Cut out new armrests, drill holes to connect with the spindles, and then attach the arms to the headboard and footboard with the nail gun.
- Build the support for the bench seat out of 1″x3″ boards and 1″x2″ wood boards. Then attach them together and to the frame of the bench with Kreg Jig pocket holes and screws.
- For holes and slots from when the headboard and footboard were hooked to bed rails, fill them with Bondo filler.
- Paint the bench with chalk paint then seal with an exterior-rated topcoat for outdoor use. Stain with the dark walnut wood stain.
Recommended Products
As an Amazon Associate and member of other affiliate programs, I earn from qualifying purchases.


More Repurposing Furniture Ideas
- How to Upcycle a Desk into a Pair of Nightstands
- Repurpose a Desk into Nightstands
- Repurposed Sewing Machine Tables
- How to Repurpose Desks
- How to Paint a Wooden Bench
Learn the Art of Updating Furniture!
If painting furniture feels overwhelming or your past attempts didn’t go as planned, this course will guide you step by step.

Follow us on YouTube to get more tips for painting furniture. Or share your project with us on our Facebook Group and be part of our community. See you there!
Great idea!
Thanks for the clear instructions. We recently brought home a bed from my husband’s parent’s house. It’s been quite used up as a bed, but I think it will make a lovely bench.
Awesome! I love it.
I should have. This was way back when I didn’t know what I know now.
Very impressive repurpose project – I love the end result!
Ahh thanks so much! So glad you love it!
That is a beautiful bench!
Aww thanks Joanne!
I have wanted to remake my old childhood headboard and footboard into a bench for some time, but just needed clear instructions and inspirations. Thanks for providing both in this post. The post will be a feature this week. #HomeMattersParty
I’m so thrilled to know this blog was helpful for you! Thanks for the feature Donna!