How to Paint Furniture with Chalk Paint
Ready to give your tired old furniture a fresh new look? We’ve got just the thing for you – chalk paint! It’s like magic in a can, transforming even the dullest pieces into a brand new masterpiece. In our latest blog post, how to paint furniture with chalk paint, we’re sharing all the tips and tricks you need to create these chalk paint furniture ideas.
From prepping to creating a professional look, we’ve got you covered. So grab your brushes and get ready to create some serious furniture envy!
Painting furniture is an awesome way to breathe new life into your old pieces. And using this paint is super popular for these projects since it’s so easy to use – apparently, you can skip the sanding and priming, too!

In this blog post, we’ll cover everything you need to know about using chalk paint, including application techniques, distressing options, and sealing the finish to create professional results.
No matter your skill level or budget, this guide will give you all the information you need for a successful project. Another great resource is these five biggest furniture painting mistakes you need to avoid! Now, let’s get started!

Supplies Used to Paint Furniture with Chalk Paint
As an Amazon Associate, I earn from qualifying purchases. I also may earn from other qualifying purchases with other companies or get free product to review and use. All opinions are my own.
- Screwdriver
- Krud Kutter and a Damp Rag
- Wood Filler
- 220 Grit Sandpaper
- Tack Cloth
- Painters Tape
- Paint Brush
- Primer (for very slick and shiny surfaces)
- Chalk Paint
- Paint Sprayer
- Painting Sponge
- Varathane Polyurethane
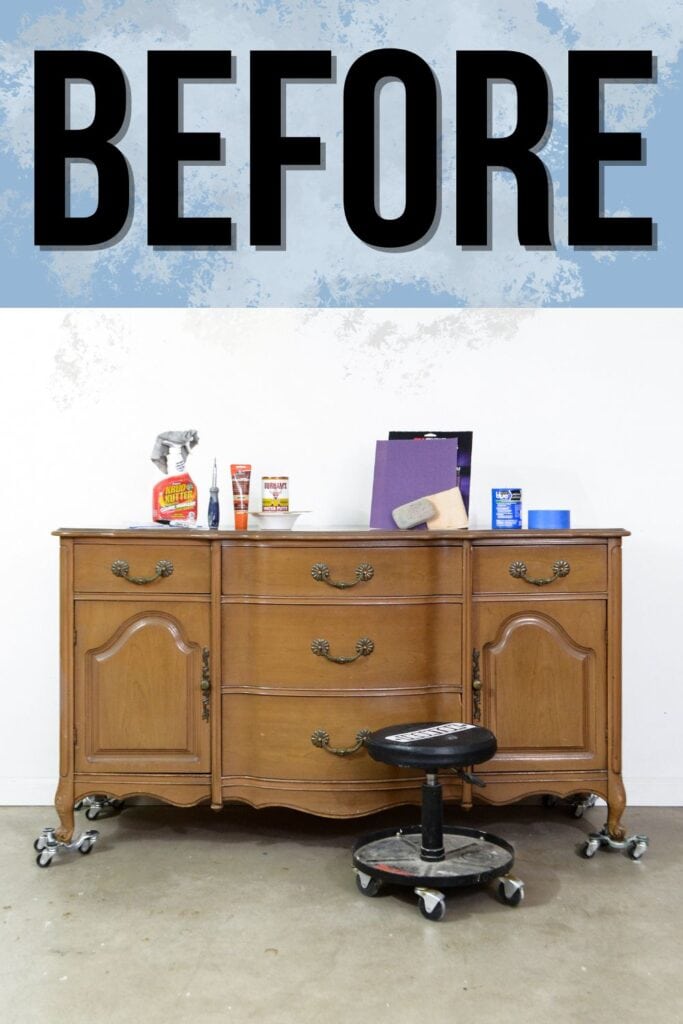
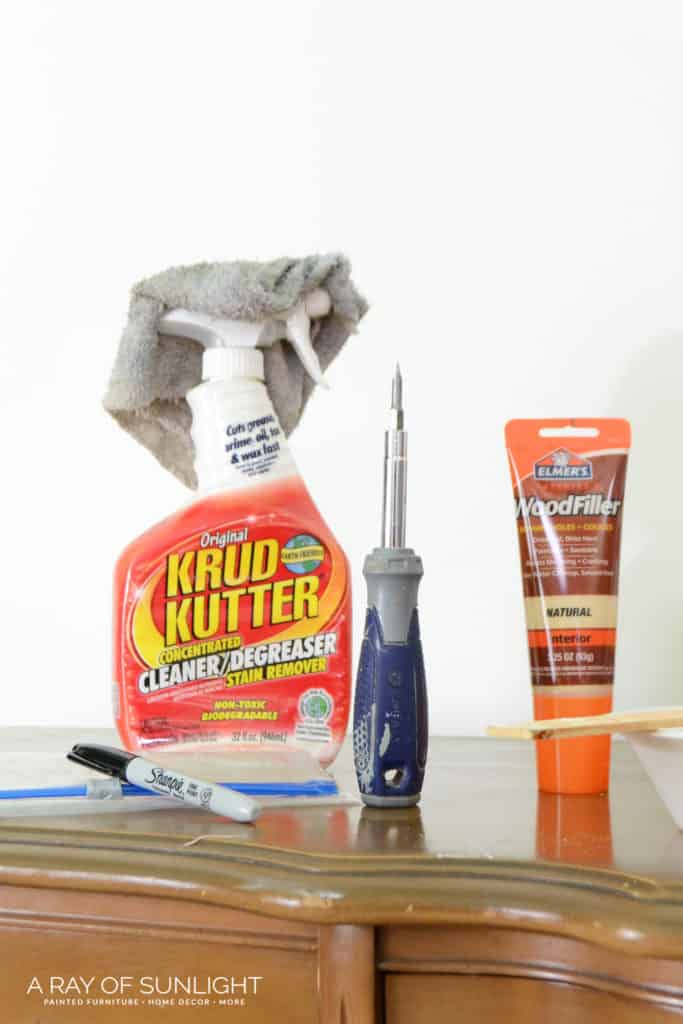
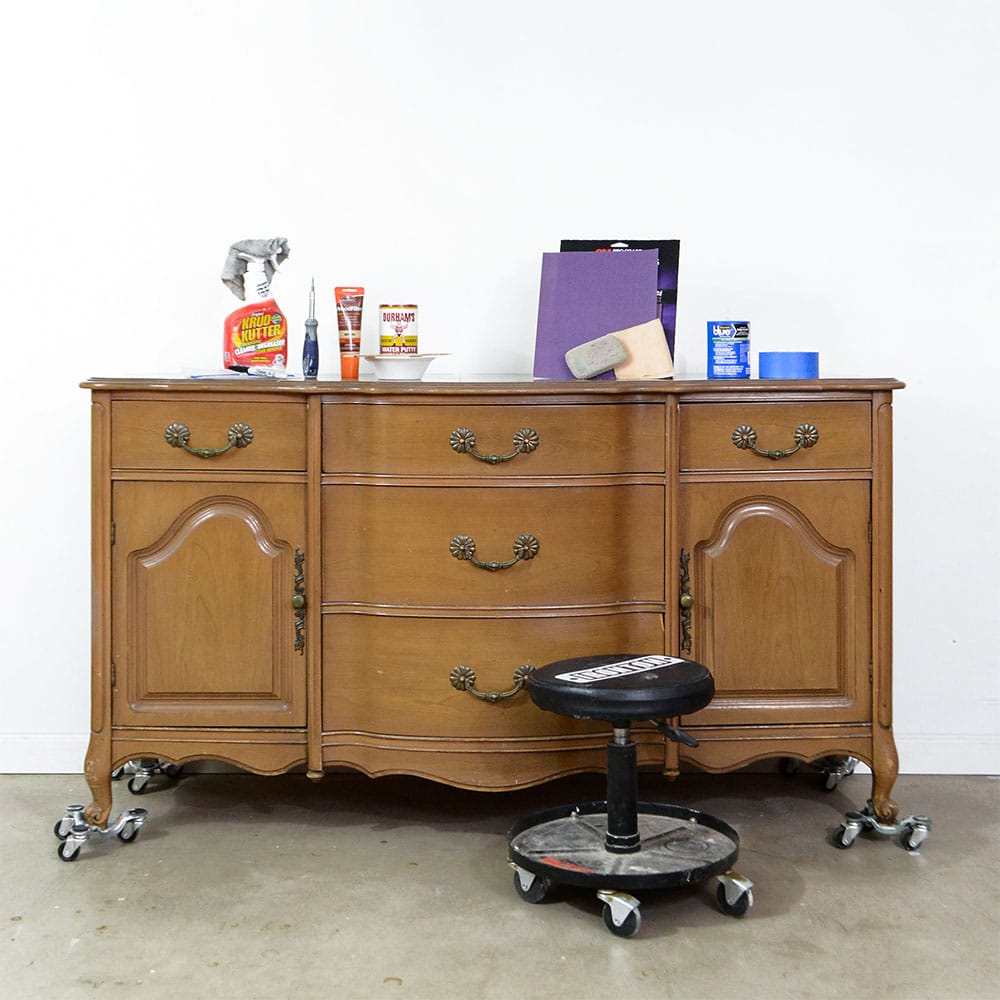
These are the tools and supplies that we used for this wooden buffet. You may need all of these or just a couple of them for your project. Here are more must have best painting furniture supplies!
Prep Before Chalk Painting
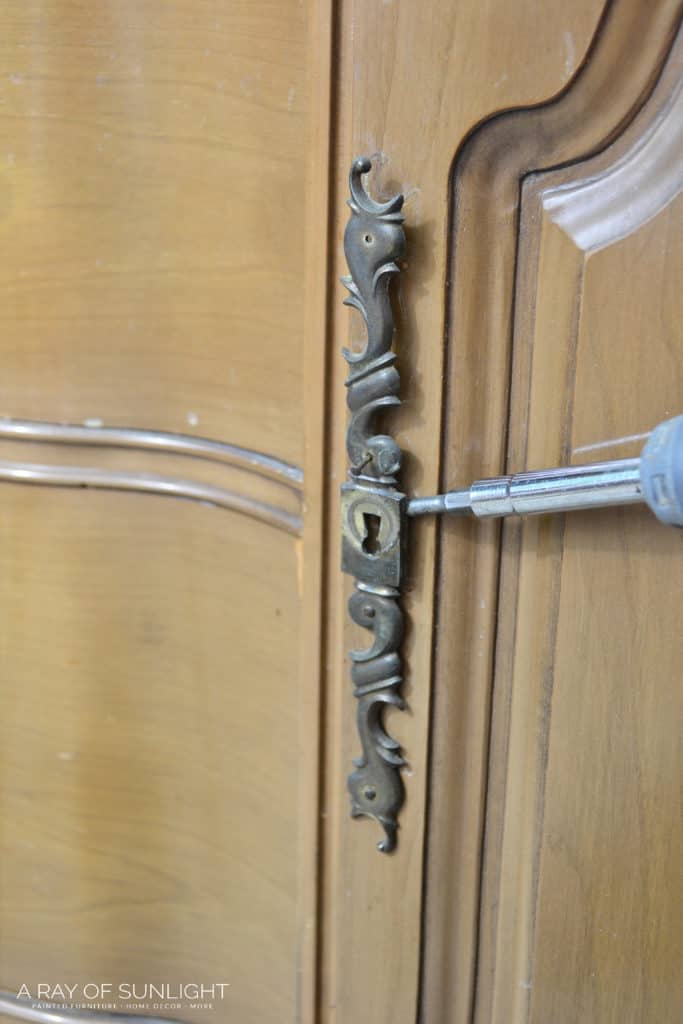
Most pieces will have hardware. Everything needs to be removed for a clean finish. If you want to change out the hardware, here’s how to change hardware on furniture so you can get some updated hardware.
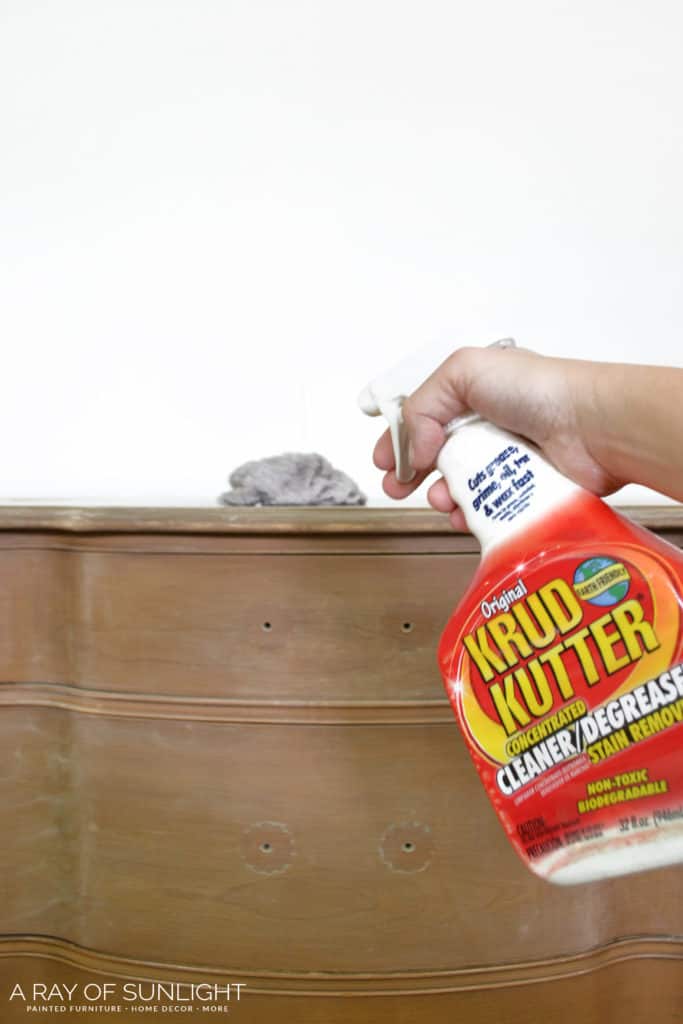
What do dust, dirt, oil, wax, and grime have in common?? They mess up your finish! So, we need to get them removed before we go any further.
So grab some Krud Kutter. This stuff is so amazing that I use it on every one of my furniture makeover ideas. Then let everything dry. Learn more about how to clean furniture before painting here.
The next step is to fill in any imperfections that you don’t want to show anymore. I use this wood filler to fill the small scratches. For smaller scratches, be generous with the wood filler and fill the damage completely.
Wood fillers aren’t all made the same, though; some are for small scratches, while others are best for large chunks of missing wood. Here’s my list of the best wood fillers for furniture to help you know which one is best for your project.
One of the wood fillers you can use is Bondo – learn how to repair damaged furniture with Bondo in this post, and check out my Bondo wood filler review to learn more about this product.
Get Our Secrets!
Grab this super convenient How to Repair Furniture Ebook with all of our secrets on how to repair furniture for only $14.
You can print it out and have instant access whenever you come across damaged furniture, and know exactly how to fix it!
Click on the picture of the book to purchase!

How to Make Paint Stick to Furniture
If you skip over one step, please don’t skip over this one. This is the most important step in making sure that your paint will actually stick to your piece.
You can scuff sand or use a mixture of both scuff sanding and adhesive primer for this step. If you feel like skipping the sanding step, you need to read our posts on the importance of sanding before painting furniture and what happens if you don’t sand before painting first, so you know what you are in for.
Scuff sanding is a light sanding with 220 grit sandpaper that really only takes a few minutes. The goal is to make the old finish a bit rough so the new coats have something to hold on to.
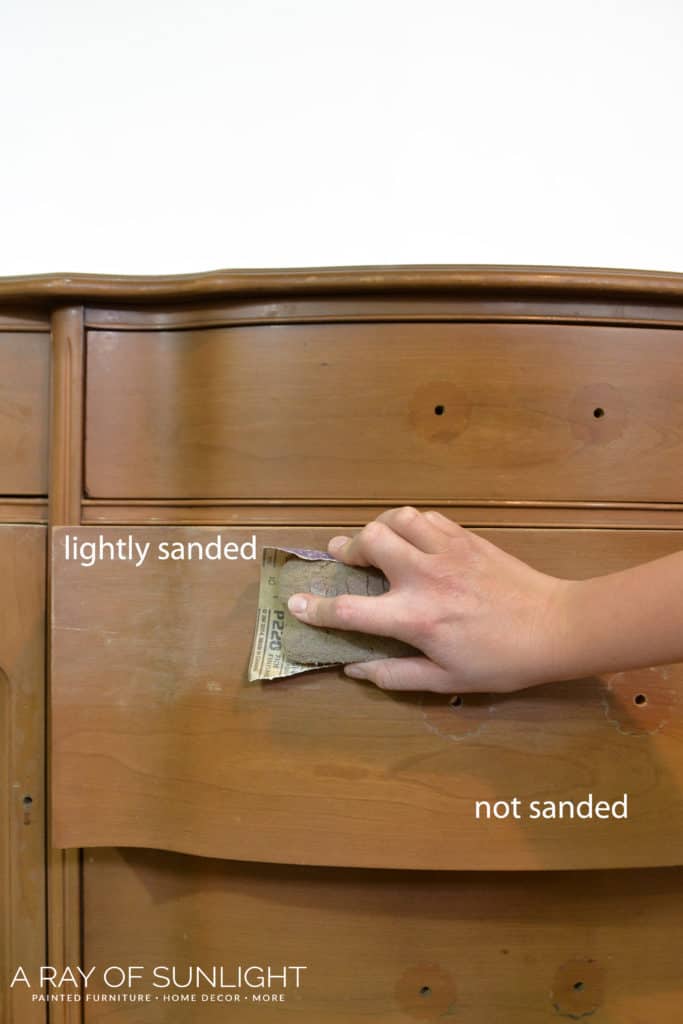
Just grab 220 grit sandpaper and lightly sand everything down. Just a couple of passes over everything should do.
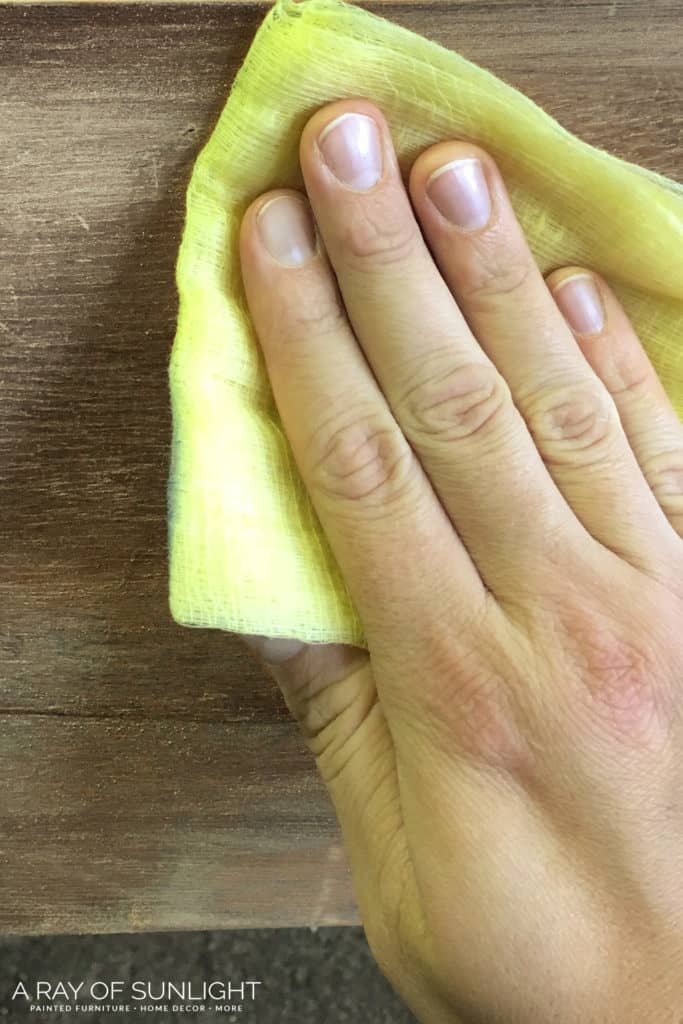
Once you’ve sanded everywhere, you’ll want to remove the dust. I like to use a shop vacuum with a brush attachment to get most of the dust off and then wipe everything down with a tack cloth to get all of the dust off. If dust is left behind, the finish will look at feel gritty where the dust is left under it.
Priming After Sanding
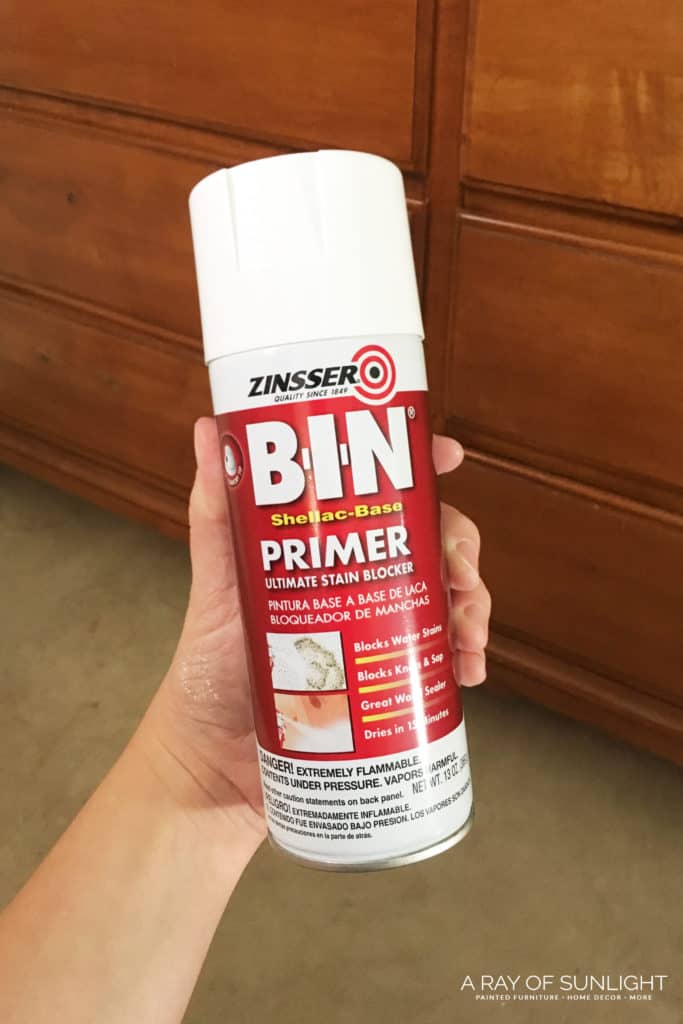
If the old finish is super slick and shiny, you really need to prime after you scuff sand. There are a few really good primers out there you can choose from.
This BIN shellac primer is the best! It’s one of the best spray primer for wood options! Learn more about the best primers for painting furniture if you aren’t sure if BIN shellac primer is what you want to use. You can also check out my list of the best water based primers for more options.
Either way, give your furniture one or two coats of primer, letting it dry between coats.
Not only does the primer help the coating stick to the wood surface, the primer will also prevent stains, which is a common occurrence with waterbased finishes. Get more tips on how to stop stains from coming through paint here!
Chalk paint usually “doesn’t require a primer,” and most say that you don’t need to sand either. Both are true to some degree.
Chalk and clay based coatings are super flat, and they have an additive in them that helps them stick to a lot of surfaces. They usually won’t stick to super slick or shiny surfaces on their own, though. My favorite brand is Country Chic Paint.
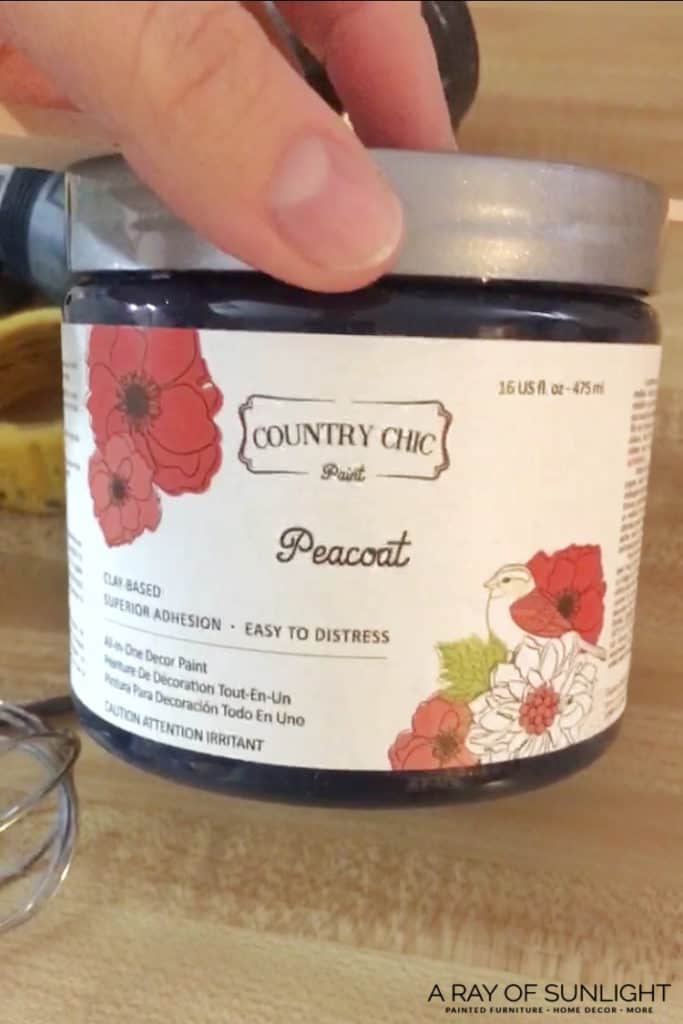
It sticks very well, is easy to use, and they have so many good colors. Their customer service is amazing, and they are also super environmentally friendly! Check out my honest and detailed Country Chic Paint review here.
But even chalk paint struggles to stick to all surfaces, so if you want it to stick really well, it’s best to prime first. If you’re working with laminate pieces, learn how to paint laminate furniture here. And if you’re wondering will chalk paint stick to laminate – get answers here!
The best part is how well it distresses. If you’re looking for a worn feel, it’s the way to go. Latex paint doesn’t like to distress, it just gums up. Learn more what is the difference between chalk paint and regular paint here! And check out this post if you’re curious about what is chalk paint exactly.
You can also make homemade chalk paint with latex if you’re on a budget. Here are more chalk paint recipes you can follow for future projects. If you have a specific shade in mind, here’s how to mix different colors of paint.
How to Paint Furniture with Chalk Paint
You can either brush, roll, or spray it on. Either way, thin coats are always better than thick coats.
Would you like to save this?
I also personally like to add some water to thin it out a little. The water helps you get no brush marks, and it helps the finish to go on in thinner coats, which is better for adhesion. Learn more tips on how to paint furniture without brush marks in this post!
Be sure to let the first coat dry completely before applying another. You’ll need at least 2 coats for full coverage. Light colors need 3-4 or even 5 coats sometimes to get full coverage. That’s just the way it is with light colors. But a white primer can be one or two of those coats!
How to Use a Brush
Brushing is pretty straight forward. A nicer brush (like this Country Chic Oval Paint Brush) will also help eliminate pesky marks.
I also love Zibra Paint brushes because they’re in different shapes. Their round brush is my favorite to help get into details. Their square and triangle ones are amazing as well! Read through this post to learn more about the best paint brushes for painting furniture and choose the right one for you and your project!
How to Use a Sprayer (My favorite way!)
If you have a large project(s), want a smooth finish, or want to get the project done quickly, use a paint sprayer! Check out the difference between spray paint vs brush paint furniture here to help you decide between the two methods.
This sprayer
- doesn’t need an air compressor
- easy to set up and clean up
- you can put any paint in it
- I even use it for my topcoats
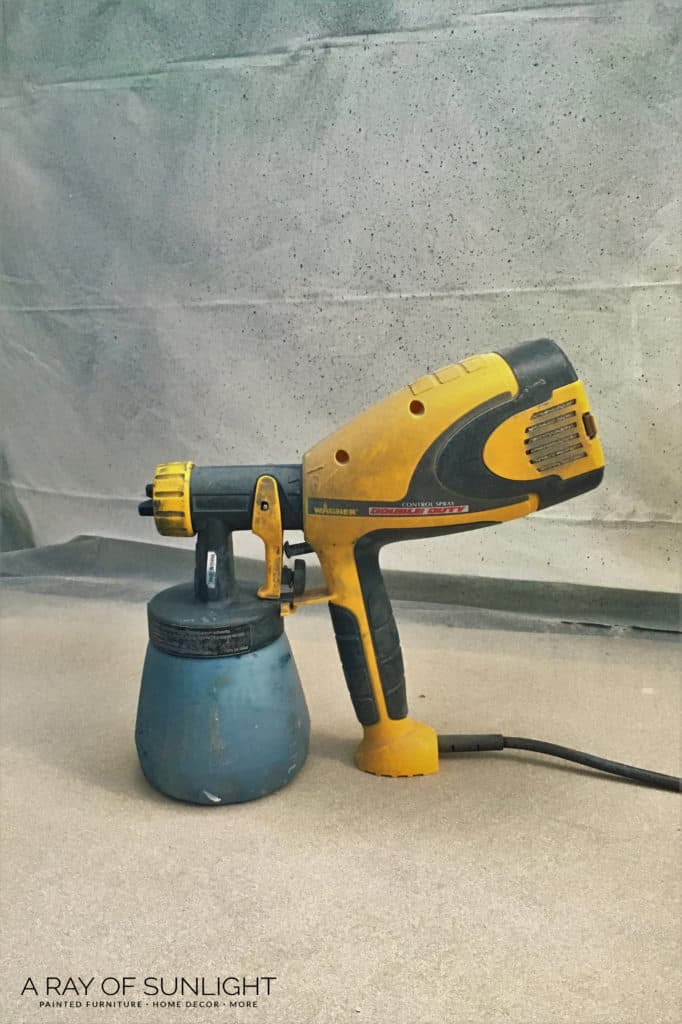
Painting is so fast with a sprayer, and it doesn’t leave brush marks! So it’s my go-to. For recommendations, check out our list of the best paint sprayer for chalk paint options here.
If you want more details on the best (budget-friendly) options, head over to this post on the best HVLP paint sprayers for furniture. If you’re new to using one, here are the best paint sprayers for beginners you can invest in.
No matter your method, you’ll want to apply at least 2 coats for complete coverage. Here’s how to use a paint sprayer and how to use a Wagner Double Duty Paint Sprayer, if you have this model.
How To Distress Painted Furniture
If you want a worn farmhouse or shabby chic look, you’ll want to distress the edges of your finish just a bit. There are a few ways to distress, but my favorite is to use 220 grit sandpaper. Just make sure the finish is fully dry, and then lightly rub the sandpaper over the edges of your piece.
Learn more tips on how to distress chalk paint in this post! Here are other best distressing furniture techniques if you don’t want to use sandpaper and get dust all over! And check out distressed painted furniture ideas here for more inspiration if you love the distressed look.
How to Seal Painted Furniture
Finally, you’re onto the last step! This one is very important – chalk or clay based finishes are super porous and will attract dust like none other. It also isn’t very easy to wipe down if something gets on it. So we always topcoat with Varathane Polyurethane Interior in Satin.
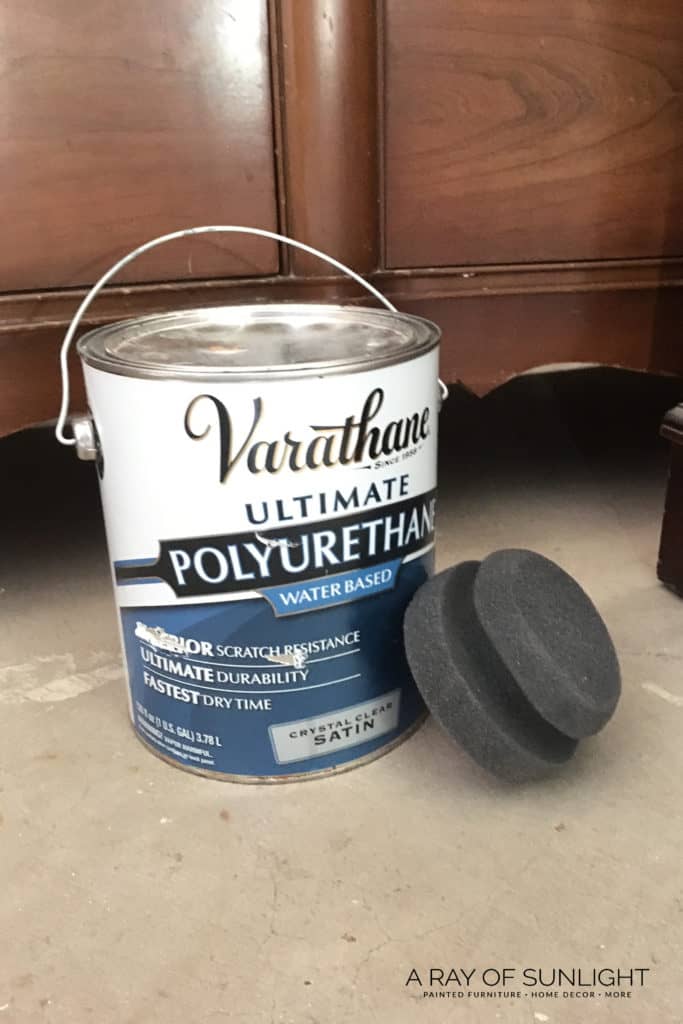
This poly is the best! It is sooo durable, it doesn’t yellow, and it makes the finish feel super professional and smooth. Check out my comparison between polycrylic vs polyurethane to learn about which topcoat is right for your project.
I’ve found that using a sponge like this really helps the application go on smoothly and better than a brush! Learn more about how to apply polycrylic to painted furniture with a sponge here.
But I personally like to spray the polyurethane, especially when topcoating dark colors. Learn ALL of my tips and tricks on how to spray polyurethane with a sprayer here!


3 coats of poly are recommended for the best durability, but even more important on high traffic surfaces like dressers, tables, and cabinets. Here’s how to seal chalk paint for a more detailed guide. Learn more about sealing painted furniture and what sealant to use in this post.
Oh, and if you’ve heard of using wax as a topcoat, read our wax vs polyurethane to learn why I prefer polyurethane instead of wax.
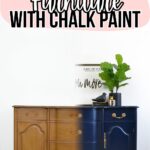
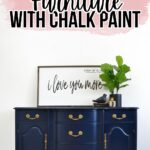
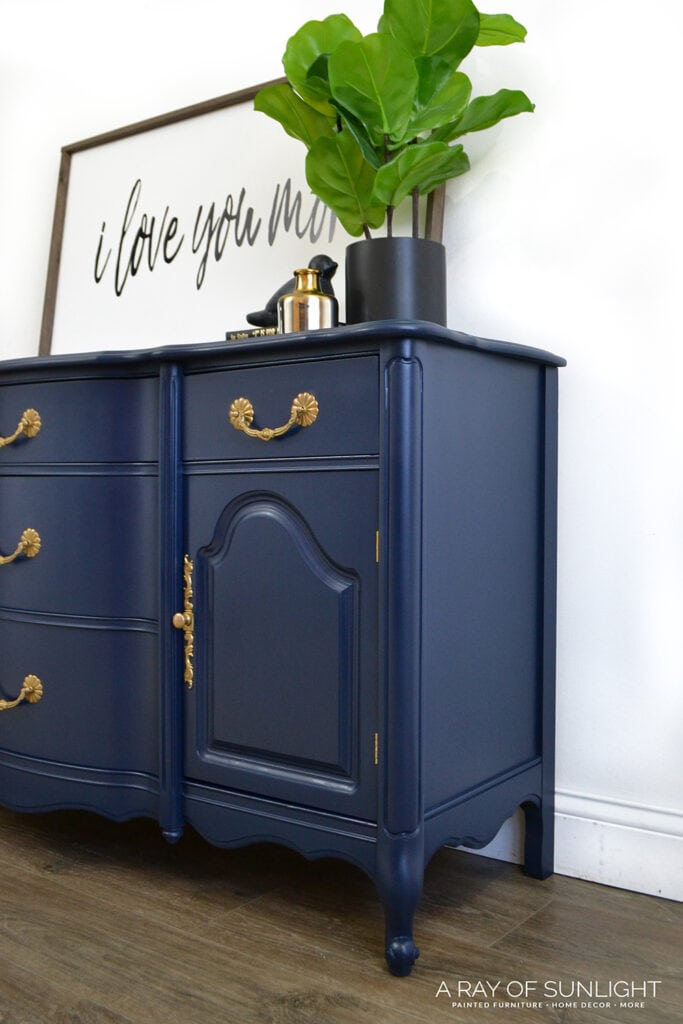
Now that you’ve learned how to paint furniture with chalk paint, you’re ready to rock! Your old ugly or outdated piece is going to look so good with a new color!
Here is what the buffet looks like now that it has a beautiful navy blue finish on it! Check out more best blue paint for furniture options here for your next DIY project.

More Before and After Makeovers
See All >
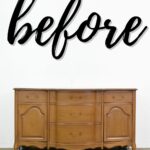
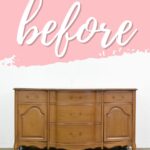
Click any of these “before” photos below to view the “after” of that makeover.


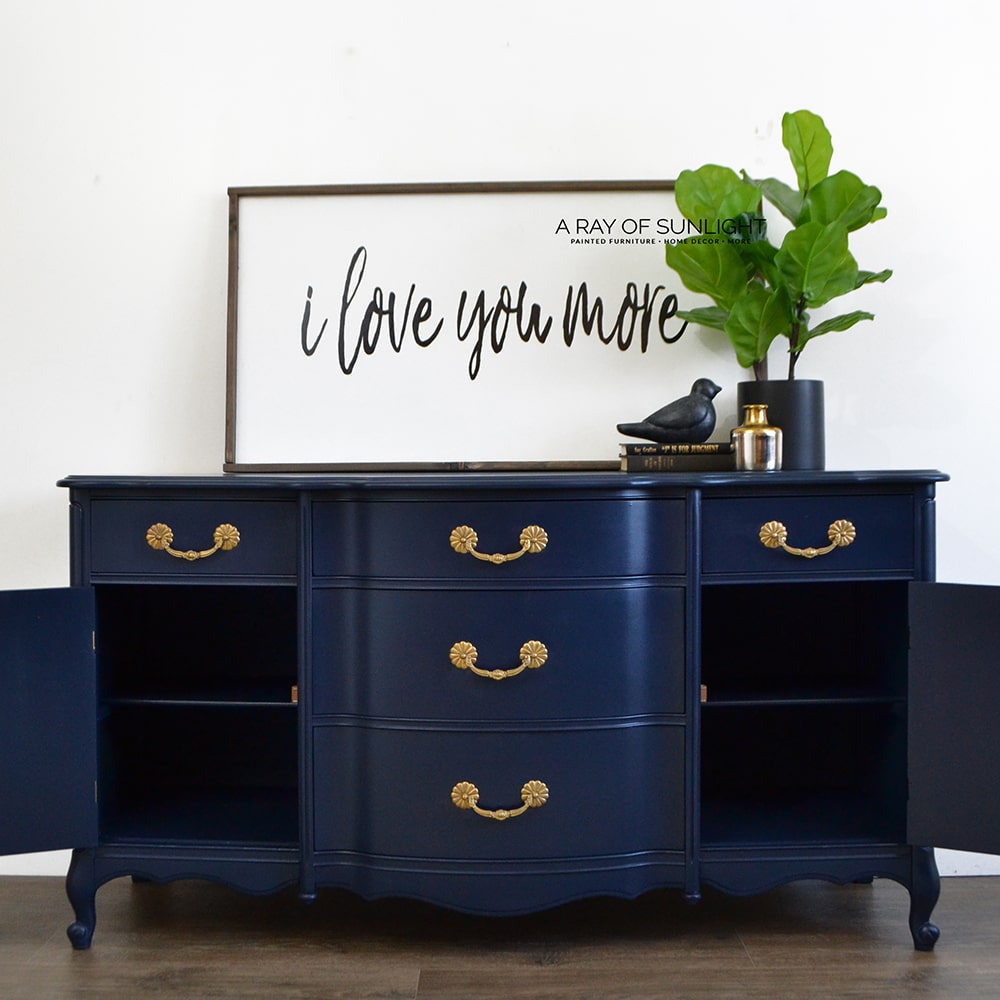
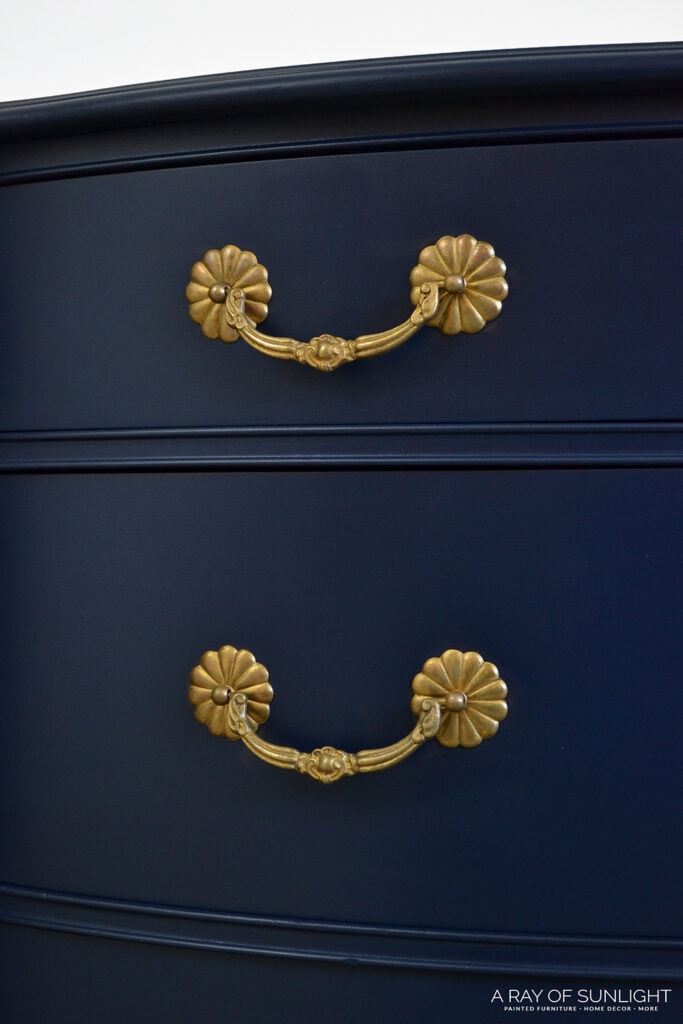
We reused the old hardware and just updated it with gold coating. If you want to do this, too, here is how to paint drawer pulls. Learn more about the finishing touches of painting furniture here.


How to Paint Furniture
Ready to update your old furniture? Here's how to paint furniture with chalk paint to give it a new life.
Materials
Instructions
- For a clean paint finish, hardware needs to be removed. Remove the hardware with a screwdriver.
- Clean any dirt, grime, oils or wax off of the furniture with Krud Kutter then let dry.
- Fill in scratches, dings and holes with wood filler.
- Tape off drawers with painters tape.
- To make sure paint sticks to furniture, scuff sand your furniture with 220 grit sandpaper. If the old finish on your furniture is super slick and shiny, use primer after scuff sanding.
- Brush or spray paint at least 2 coats for complete coverage.
- If you’re wanting a worn farmhouse or shabby chic look, distress the edges of your finish just a bit.
- Seal the paint with waterbased polyurethane. 3 coats of poly is recommended.
- Re-attach or change the hardware.
Recommended Products
As an Amazon Associate and member of other affiliate programs, I earn from qualifying purchases.


More Painting Furniture Resources
- What Paint to Use on a Dresser
- How to Chalk Paint Laminate Furniture
- Painting Furniture with Latex Paint
- How to Chalk Paint Furniture White
- How to Paint Wooden Furniture
Follow us on YouTube to get more tips for painting furniture. Or share your project with us on our Facebook Group and be part of our community. See you there!

Amazing! This has helped me out so much!
I’ve painted a couple of pieces of furniture and they came out satisfactory. I want to paint 2 dressers and will follow your technique and use your checklist this time as I want them to come out flawless. Wish me luck!
Bin shellac based primer or an oil based primer, or doing both (letting each dry completely before applying the next) should work. Sorry you’re having troubles!
I love how you’ve upcycled this piece of furniture! I recently painted some wardrobe doors in a similar shade and it didn’t go all that well – there are some drip marks and it was hard to cover the white. I don’t think I sanded enough and I didn’t use a primer because it said on the paint pot that it wasn’t needed. In hindsight I wish I’d used some!
Emma