Finishing Touches of Painting Furniture – Video Series
Painting furniture is more than just slapping on some paint and calling it good. Since chalk paint has a matte porous surface, it has to be sealed with a topcoat. And then how do you update the hardware as well? Here are the finishing touches of painting furniture including distressing chalk paint, the best topcoat for painted furniture and how to update hardware.
Get more DIY dresser makeovers here!

We did a 3 part Facebook LIVE video series on how to paint a dresser from start to finish. But if you missed them, we’ve compiled them all right here for you!
This is video 3, all about finishing your painted furniture. Scroll down to see part 1 (How to Prep Furniture for Painting) and part 2 (Using a Paint Sprayer to Paint a Dresser).
This one was a quick 8 minute video on how to distress furniture with sandpaper, using a paint sprayer to spray your topcoat, and using rub n buff to paint hardware.
Here are all of my favorite supplies that I use for almost every makeover, including this one! Here are some extra tips and tricks!
As an Amazon Associate, I earn from qualifying purchases. I also may earn from other qualifying purchases with other companies or get free product to review and use. All opinions are my own.
How to Distress Furniture with Sandpaper
Distressing chalk paint with sandpaper is easy peasy and the best way to distress furniture. The sandpaper only takes a little bit of paint away, and it also makes chalk paint more smooth!
To distress chalk paint, just fold the sandpaper in half and then rub it along the raised edges and details of the dresser.
You can also rub the sandpaper all over the chalk paint to make it smoother and create distressing all over. Learn more about distressing furniture techniques here.
After distressing, a vacuum with the hose attachment is the perfect tool to suck up all of the dust that has gotten into the corners. Just like we did in video one!
What Grit for Sanding Distressed Furniture?
The best sandpaper grit is 220. This is a fine grit sandpaper. It will easily remove paint on details and raised edges, but it doesn’t remove paint on flat surfaces (unless you put a lot of pressure on the sandpaper).
400 grit sandpaper is really nice to distress chalk paint as well! It doesn’t remove as much as 220 grit, but you can also use it to smooth the flat surfaces as well, without getting faint sanding marks in your paint.
If you have really hard paint, you can distress the edges with 150-180 grit sandpaper. Don’t sand the flat surfaces with anything lower than 220, or else you will get scratches in your paint finish.
Learn more about sandpaper for furniture here.
What Kind of Paint do you use to Distress Furniture?
Chalk paint is the best paint to use when you want distressed furniture. It has a matte porous surface that sands away easily.
Can you Distress Latex Paint?
You can! But it’s not as easy as chalk paint. Latex paint will ball up and gum up your sandpaper quickly.
But it’s still possible to distress latex paint. As you are sanding with one hand, use the other hand to wipe away the paint dust.
The Best Topcoat for Painted Furniture
Chalk paint has to be sealed with a topcoat because it is a porous paint.
The topcoat will give it added durability, but it will also make it so you can wipe off the chalk paint if you spill your drink or anything gets onto the chalk painted furniture.
When chalk paint first came out, wax was the preferred topcoat. But wax is hard to apply, (wax on, wax off!) and on dark colors, it usually ends up with streaks and a hazy finish.
Instead I use water based polyurethane!
Polyurethane is more durable than wax, it dries faster and you can paint over it if need be (yep, I’ve had to repaint many pieces of furniture and touch up boo boos within a week of painting said furniture.. painting over wax is a major no-no, so using poly is the best way to avoid issues.)
Learn more about topcoats for painting furniture here.
Can you Spray Polyurethane with a Paint Sprayer?
Yes! In fact, spraying poly is the very best way to topcoat painted furniture!
The sprayer sprays a thin even coat that can dry quickly. It also is super fast to spray poly, compared to brushing it on!
But my favorite reason for using a paint sprayer is that it prevents any streaks and brush marks that come from brushing or wiping on poly.
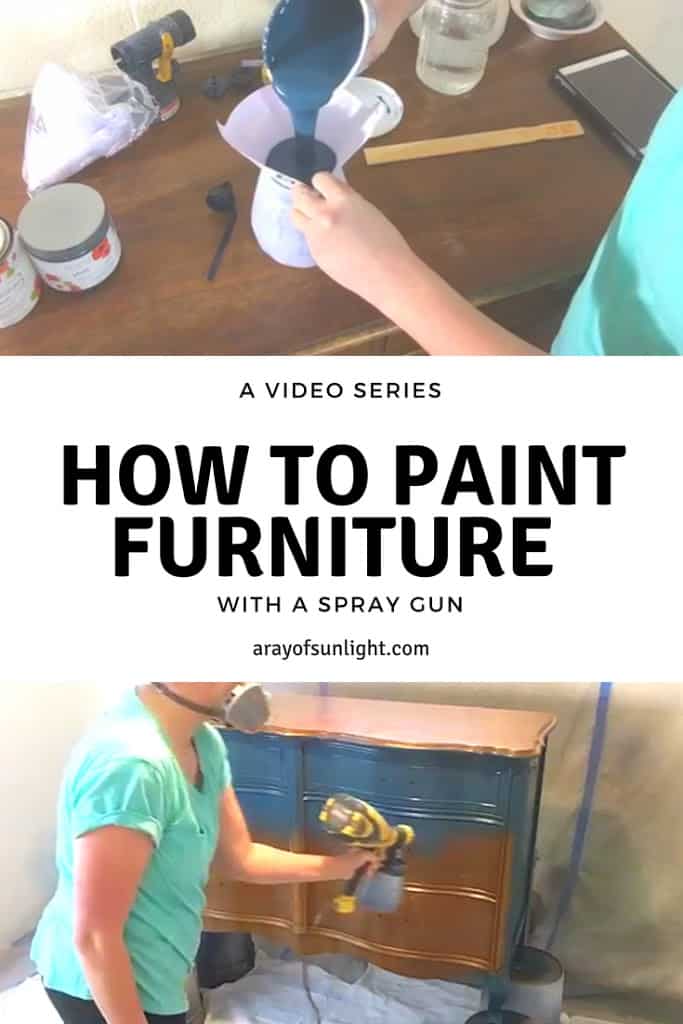
When you spray it on, spray a thinner coat that won’t drip. This Wagner paint sprayer is a great beginning paint sprayer for furniture!
**Wear a respirator mask when using your paint sprayer. I was in a rush and totally forgot to. But I usually wear one.
How to Thin Polyurethane for Spraying
Poly doesn’t have to be thinned out for a paint sprayer, but thinning it out just a bit will help the poly level out and feel smoother.
Put a couple of splashes of water into your container of polyurethane to thin it out just a bit. I know that’s not very specific, but I honestly never measure how much water to polyurethane.
You can use your viscosity cup to make sure the poly isn’t too thin! Here is more about how to use the viscosity cup to thin paint for your paint sprayer.
How to Paint Furniture Hardware
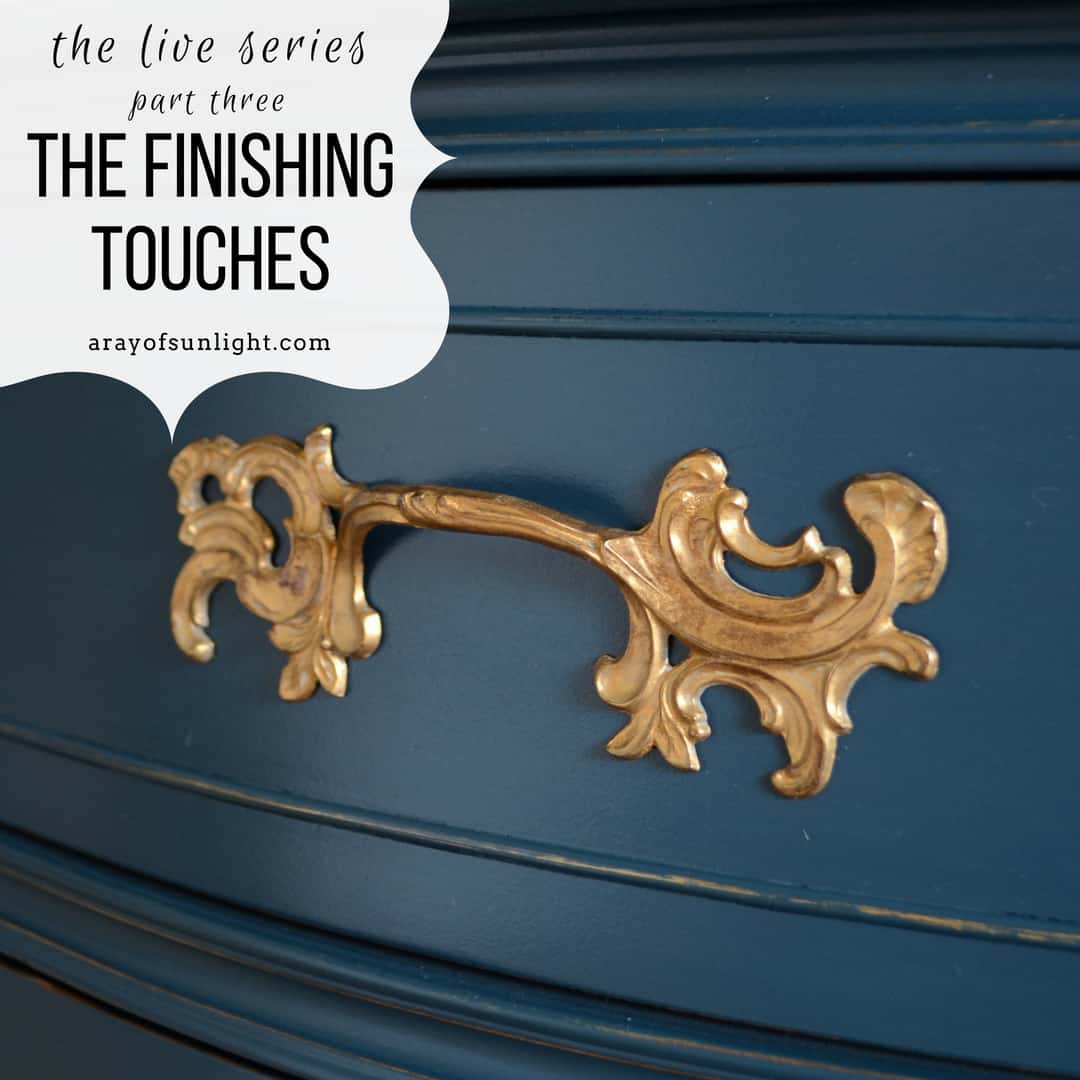
Last but not least is updating the old hardware! I wanted to keep the old hardware on this dresser, but I wanted to add a little big of glamour to it!
One of my favorite products to add a quick little gold shine to old hardware is Rub N Buff! Simply rub it onto your cleaned hardware!
I like to wear a glove on my hand so the rub n buff doesn’t get on my finger. Then I put a little bit of Rub N Buff onto my finger, and rub it onto the hardware.
If you missed or need a refresher on how to prep furniture for painting or using a paint sprayer to paint a dresser, click on the images below!
More Painting Furniture Resources
- What is the Difference Between Chalk Paint and Regular Paint
- Spray Painted Furniture
- Furniture Painting Tools And Supplies
- Chalk Painting Furniture
- Repainting Furniture
Follow us on YouTube to get more tips for painting furniture.
Or share your project with us on our Facebook Group and be part of our community. See you there!


Hi Natalie, I love your dark blue double dresser with the fancy gold handles. What is that color and where can I get the handles? Thank you
Beth
Thank you Beth!
All of the painting details are shown here: https://arayofsunlight.com/live-series-part-two-painting/