Repainting Furniture


Our painted furniture tends to lose its luster over time. Trends change, it gets damaged, or kids decide that it’s a great place to draw on. Aside from that, it might not suit the interior design of our home anymore. So, giving it a revamp is the key to bringing back its old self and giving it a new look. But how do you do it? Here are the steps for repainting furniture!
In this post, we will walk you through the step by step process of painting old furniture again.
If you want to update your furniture with the latest trends, you can simply do it by repainting and changing the old hardware. It’ll save you money, plus you get to save the value of that piece.

However, when repainting furniture, we don’t just coat it with new paint, and that’s it. There are certain processes of how to properly do it to make it pretty again.
So today we are walking you through the do’s and don’ts of repainting furniture and what to look out for on your project because every piece of furniture is different. By the time you’re done with your project, it will be something you can be proud of!

Supplies Used for Repainting Furniture
As an Amazon Associate, I earn from qualifying purchases. I also may earn from other qualifying purchases with other companies or get free product to review and use. All opinions are my own.
- Krud Kutter
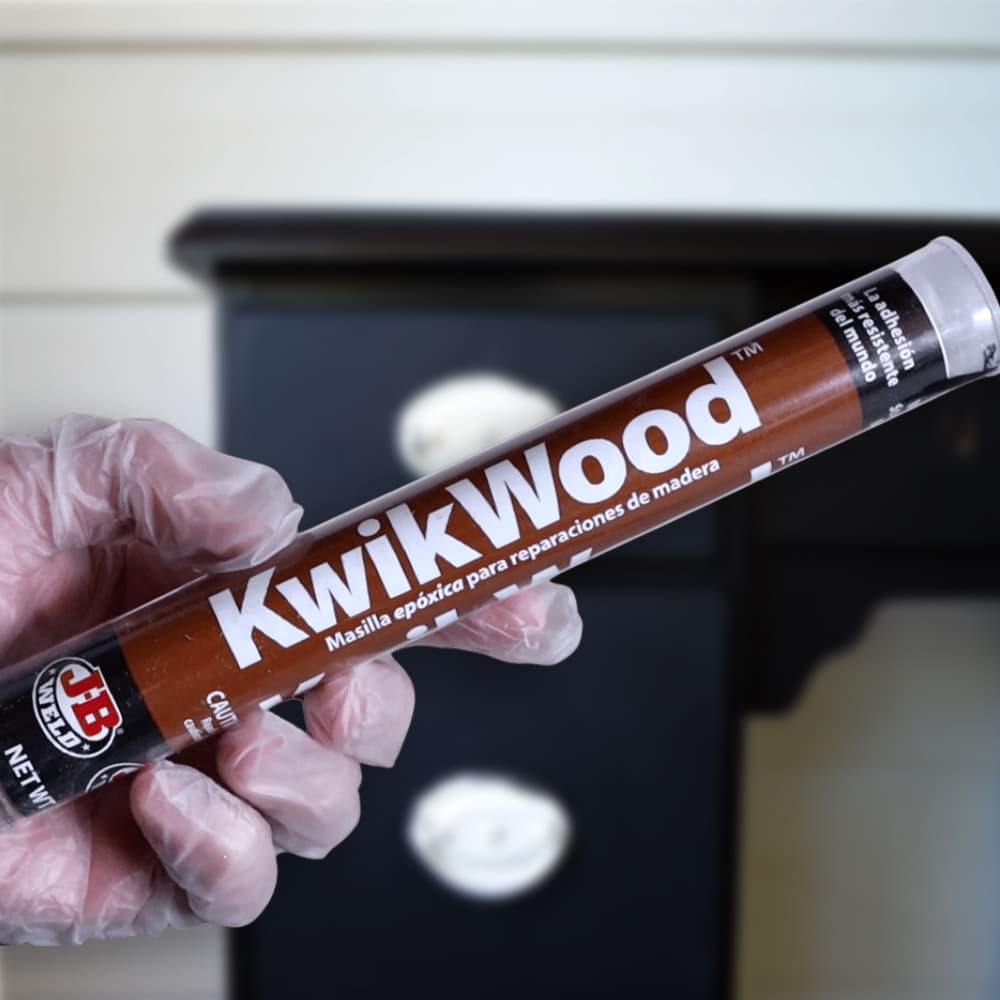
- KwikWood
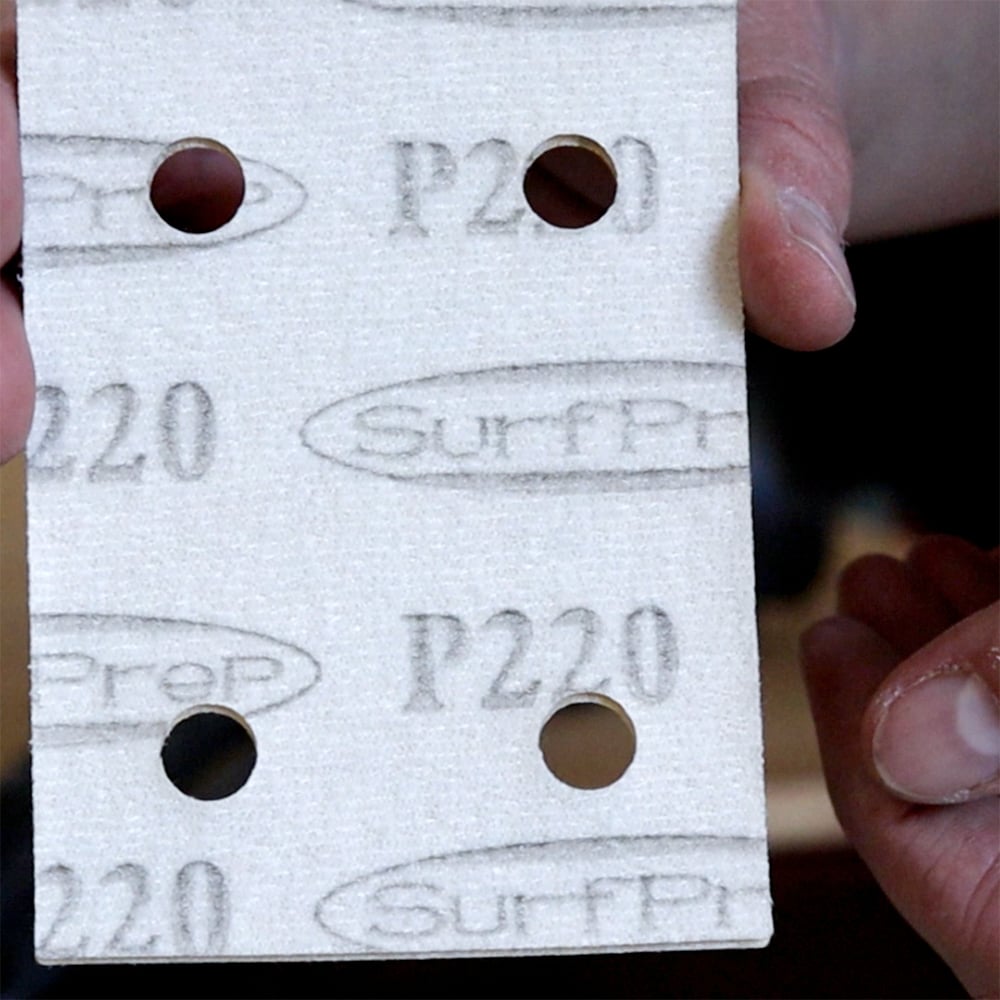
- 220 Grit Sandpaper
- Shop Vacuum
- Tack Cloth
- Clear Shellac
- Behr Latex Paint
- Calcium Carbonate Powder
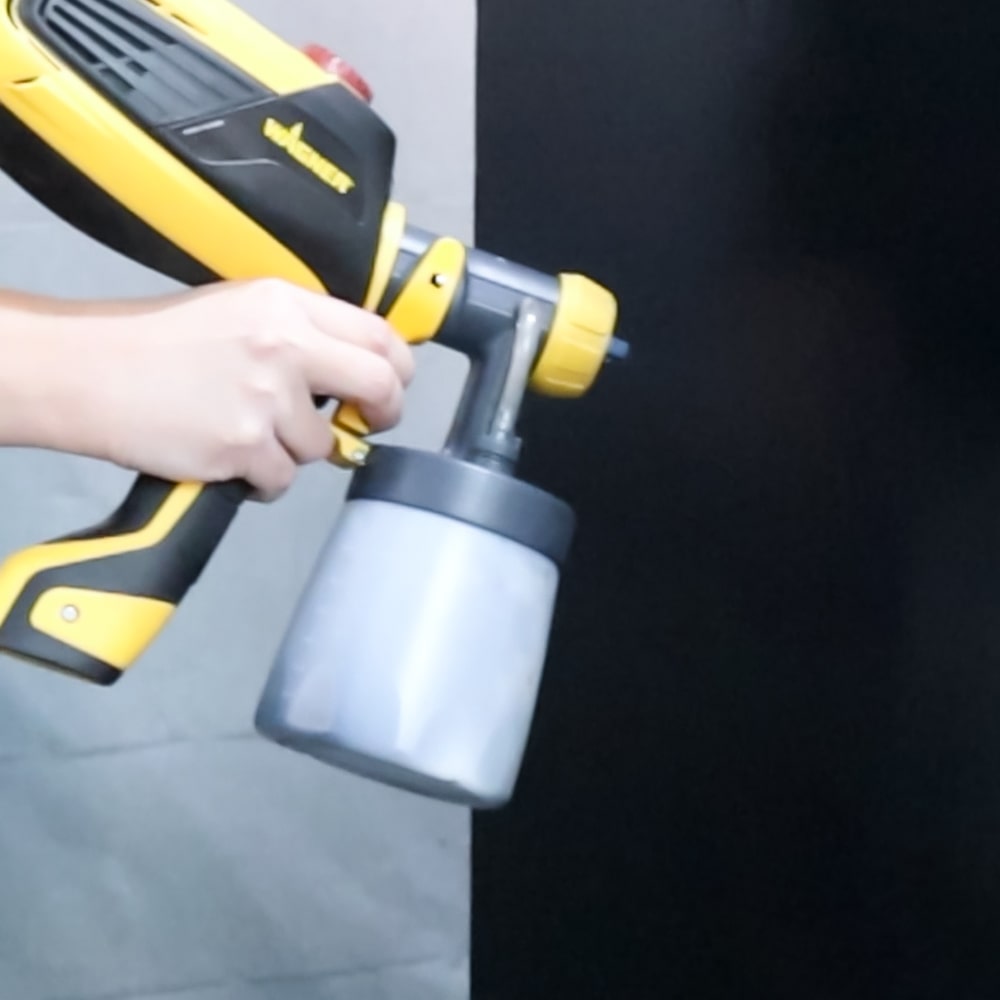
- Wagner Paint Sprayer
- Waterbased Polyurethane
- Gold Hexagon Knobs
Do you need to remove paint from furniture before repainting?
Not always. It depends on the condition of your furniture. Imagine painting over paint that is already peeling, the new coat of paint will peel off soon too. That’s why it is important to remove the old paint before repainting your furniture.
If the old paint scratches easily, it should be removed as well.
We remove it to get the best results, so the paint will stick better and produce a nice and smooth finish. Who wouldn’t want that, right?
If the paint is in good condition, you can just lightly sand it with 220 grit sandpaper before repainting.
Can you just paint over painted furniture?
Sometimes! But as I mentioned above, you need to make sure the old paint is in good condition. Meaning that it doesn’t scratch or easily peel off easily. If it does scratch or peel or chip easily, then it needs to be removed before you paint over it. Or else your new paint will fail as well.
You don’t have to use a chemical stripper though! Here are the best tools for removing paint from furniture.
How to prepare painted furniture for repainting
To start off, preparing furniture before painting is a must, especially in this case, where there is old paint that you want to be updated. Here are the steps to follow.
First, remove all the hardware on your furniture like knobs or handles.
Then remove the old paint if needed. Here is our post that walks you through how to remove paint from furniture.
If you don’t need to remove the paint, now is the best time to clean the furniture. I use Krud Kutter for this, and here is our guide on how to clean furniture before painting.
If there is damage, repair the damage so then your furniture will look high end… and like it was never broken! haha Here are our repairing old furniture tutorials to help you with your specific repairing furniture needs.
Get Our Secrets!
Grab this super convenient How to Repair Furniture Ebook with all of our secrets on how to repair furniture for only $14.
You can print it out and have instant access whenever you come across damaged furniture, and know exactly how to fix it!
Click on the picture of the book to purchase!

If you want to change out the hardware, fill in the old hardware holes with KwikWood. Here is our how to change hardware post to help you with this.
Then lightly sand the old paint or the freshly stripped surface with 220 grit sandpaper to smooth out the surface and help the paint stick. Here is more about the importance of sanding before painting furniture.
Before moving onto the next step, clean off the dust from sanding. I like to use a shop vacuum with a hose and brush attachment, and then wipe everything down with a sticky tack cloth to make sure the dust is all gone. Any dust left behind will make the paint feel rough.
Last but not least, prime the furniture to help your paint stick and stop stains from coming through the paint! Here are the best primers for painting furniture.
Yes, priming is a very important step and it should not be skipped, no matter if you’re painting over the old paint or painting a freshly stripped surface.
For this specific project, I used clear shellac as my primer.
Would you like to save this?
Best Paint for Repainting Furniture
There are various paints for repainting furniture. Depending on the look that you want to create, the availability, and the colors that are available for that specific paint, it’s up to you to choose the best furniture paint for you!
You may try latex paint, chalk paint, acrylic, or milk paint. For beginners, it is good to start with chalk paint as it is easy to paint, and the result is great! I also LOVE all in one paints because you don’t have to topcoat the paint! Here are the best all in one paints for furniture.
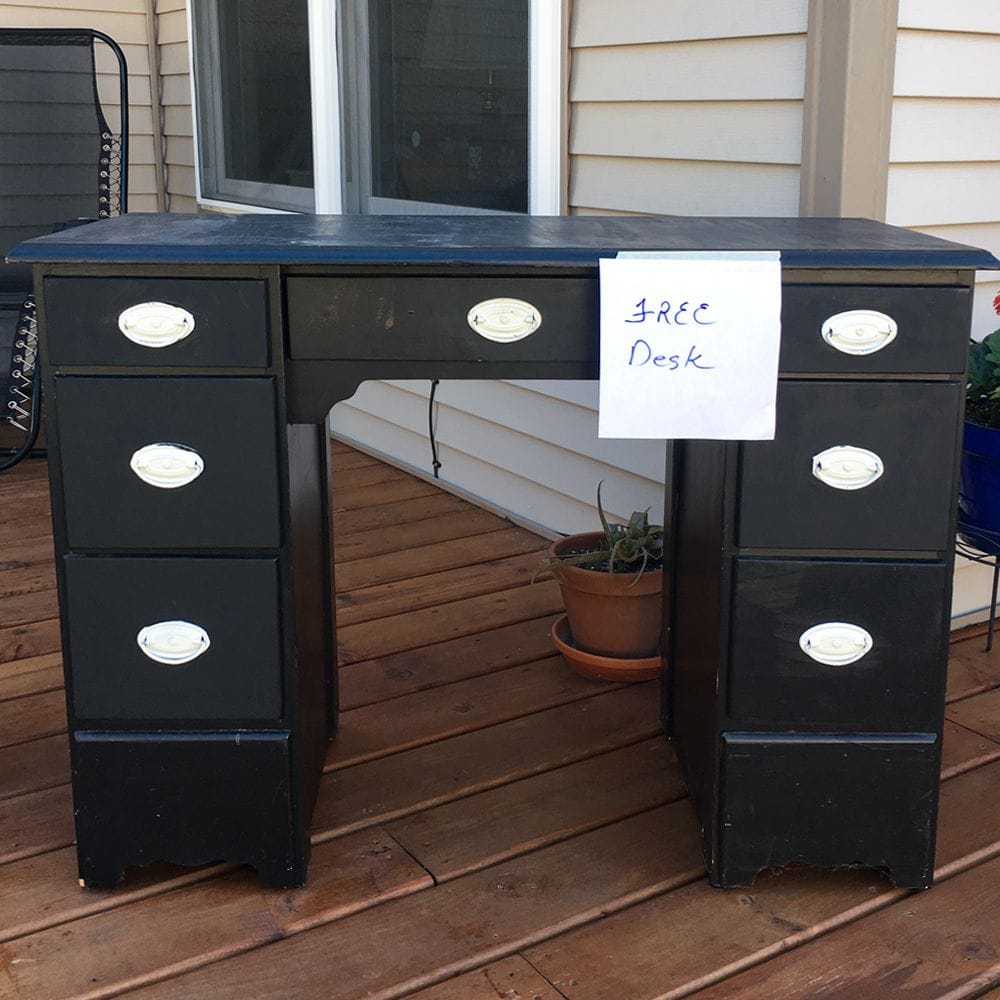
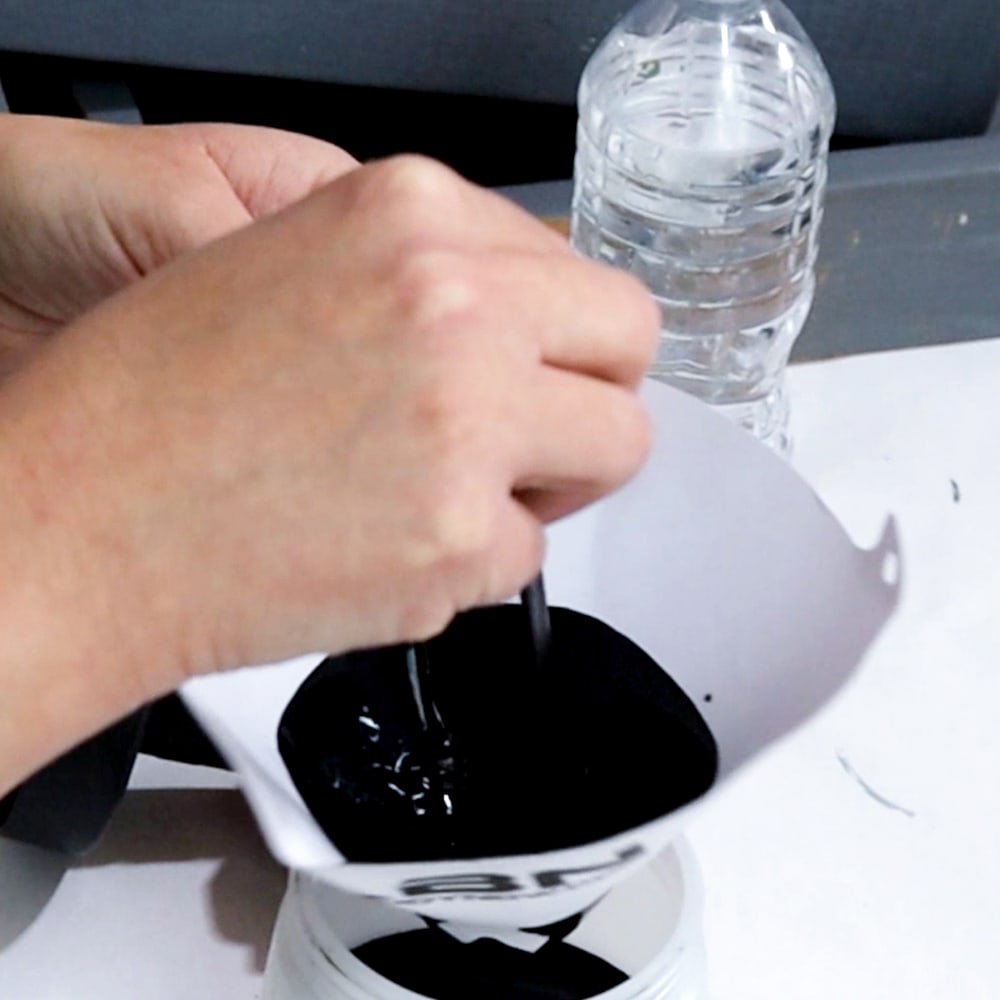
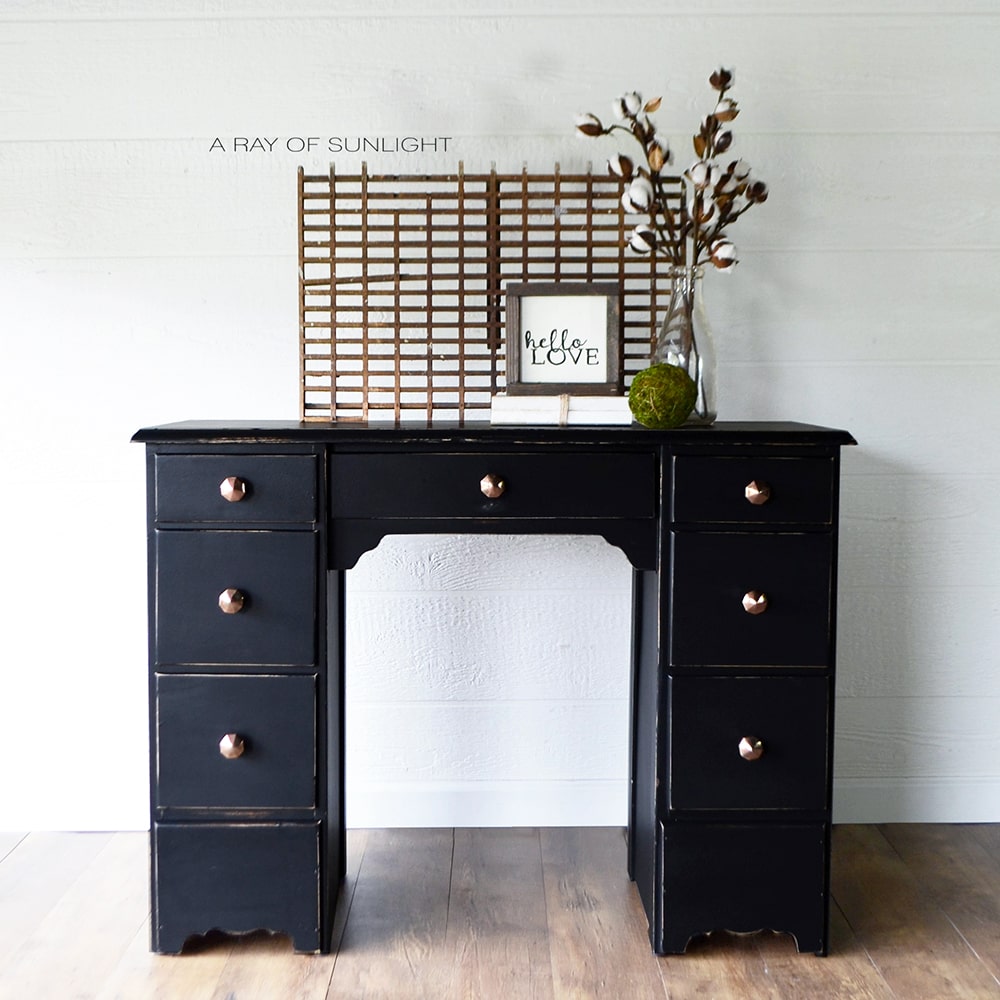
For this black desk, I used my homemade chalk paint recipe to make homemade black chalk paint. It’s a budget friendly version of chalk paint that works just as well as name brand chalk paints. And you can make it in any color!
For more color inspiration for your desk, check out these desk paint color ideas here. You can also check out these chalk paint recipes for more ways to make homemade chalk paint for your future projects.
For specific information on how to use chalk paint on furniture, here is my how to chalk paint furniture guide that will walk you through the exact process you need to follow.
Repainting Furniture
When repainting furniture, you can use whatever tool you want. Most paints work very well with brushes, rollers, and/or sprayers. If a paint can’t be used with a specific tool, they usually will let you know not to do it.
Here are our lists of the best paint brushes, the best rollers, and the best sprayers for painting furniture to help you decide which one to use. You can also check out our post on spray paint vs brush paint to help you decide if brushing or spraying is the best for you.
I used a Wagner Paint sprayer on this project, and here is how to use a Wagner double duty paint sprayer.
Expect to paint on 2-4 coats of paint. If you are painting white over an originally black painted piece, then you may even need 6 coats of white paint to cover the black paint. But, like with this desk, if you do a similar color, you may get away with as little as 1 coat of paint.
Let each coat of paint dry before painting the next coat. Each paint is different, but read the back of the paint container for specific instructions for that paint.
After the chalk painting was done, I distressed the edges a little so you could see the wood underneath. This works best if the color you are repainting it is the same color it was before. Here is how to distress furniture.


If you use a chalk paint, mineral paint, or acrylic paint, you’ll need to topcoat the paint. (Do not topcoat enamel or alkyd paints!) Here is how to apply polyacrylic to painted furniture, and here is our post on the great debate… wax vs polyurethane for topcoating paint.
I sprayed my favorite waterbased polyurethane onto this desk for the topcoat, applying 3 coats and letting it dry completely before applying the next coat.
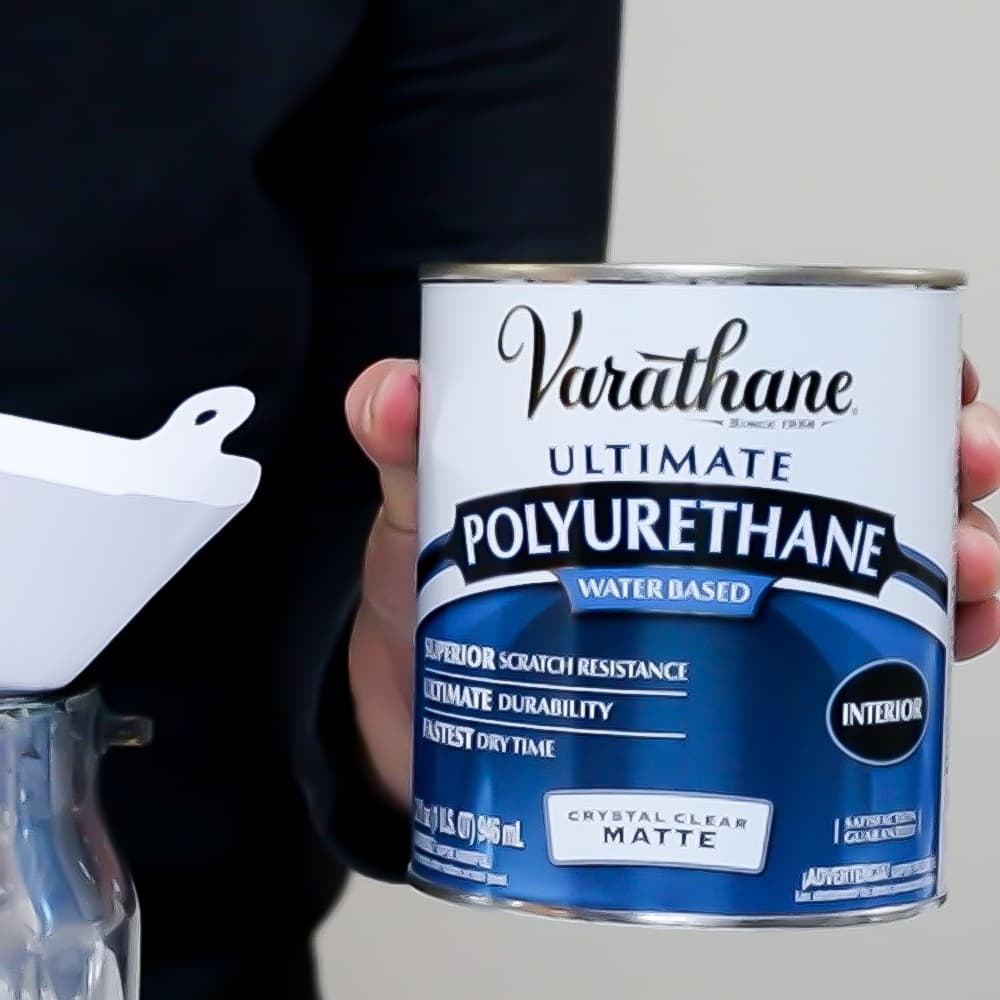
Using a paint sprayer to apply the topcoat is the easiest and best looking way to apply topcoat to dark painted furniture! Here is how to spray polyurethane.
Then I put on new knobs. I bought these from TJ Maxx I think, years ago. But here are some similar gold hexagon knobs.

Here is what it looks like now! It doesn’t look too much different, but it looks so fresh and like it doesn’t belong in the trash anymore! Get more ideas for your next DIY project with our list of repainting dresser ideas.

More Before and After Makeovers
See All >
Click any of these “before” photos below to view the “after” of that makeover.


Repainting Furniture
We will walk you through the step by step process of repainting furniture to give your old painted piece a new look.
Materials
Instructions
- Remove old hardware from furniture.
- Remove old paint if needed, or if you don't need to remove the old paint, just clean the surface. Repair any damage if needed, fill in the old hardware holes, and drill new holes for new hardware.
- Lightly sand with 220 grit sandpaper to smooth the surface and help the paint stick. Then vacuum up the dust and wipe down the surface with a tack cloth to remove all of the dust.
- Prime the furniture to help the paint stick and prevent stains from coming through the paint.
- Paint 2-4 coats of paint onto the furniture letting the paint dry between coats.
- When the paint is dry, distress the edges with 220 grit sandpaper.
- Apply 3 coats of waterbased polyurethane to protect the paint.
- Install new knobs/hardware.
Recommended Products
As an Amazon Associate and member of other affiliate programs, I earn from qualifying purchases.


More painted furniture makeovers
- Painting A Bed Frame Black
- How To Chalk Paint Furniture White
- Antique Pie Crust Table Makeover
- DIY Farmhouse Dresser in Black
- How to Paint Cheap Furniture
Follow us on YouTube to get more tips for painting furniture. Or share your project with us on our Facebook Group and be part of our community. See you there!