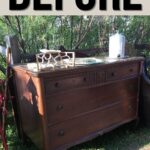
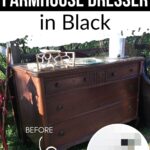
DIY Farmhouse Dresser in Black

Are you looking for a way to give your bedroom furniture an updated distressed farmhouse look? If so, this DIY farmhouse dresser in black project is perfect for you. With just a few simple steps and materials, you can transform an ordinary dresser into black painted furniture with a chippy farmhouse black finish that will be the envy of your friends!
In this blog post, we’ll show you how to paint and distress a dresser with milk paint. Get ready to upgrade your bedroom style – let’s get started!
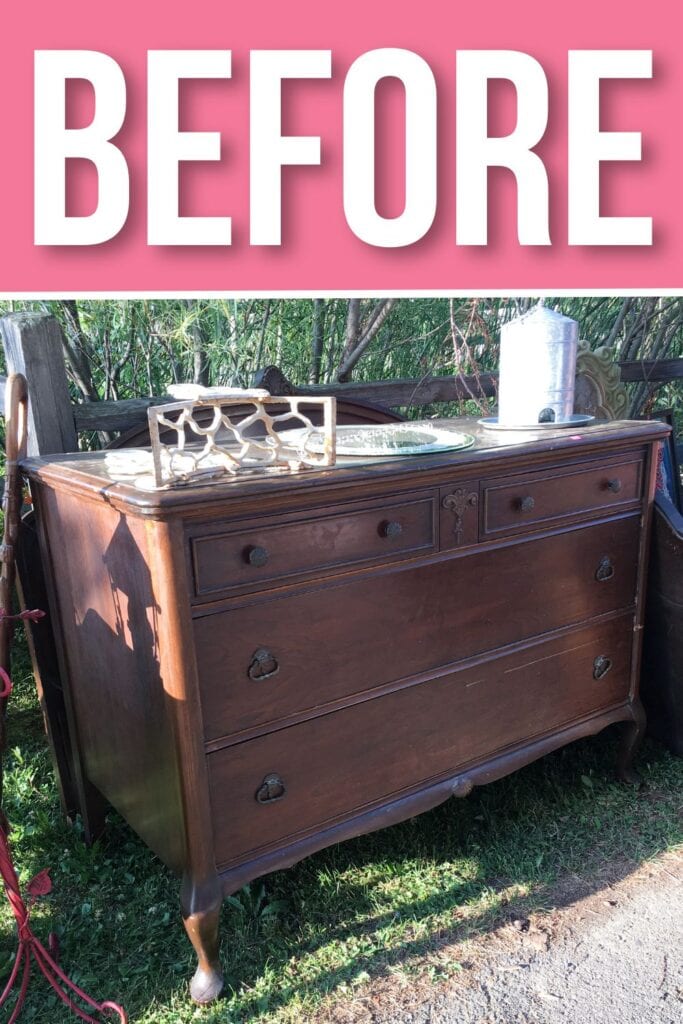
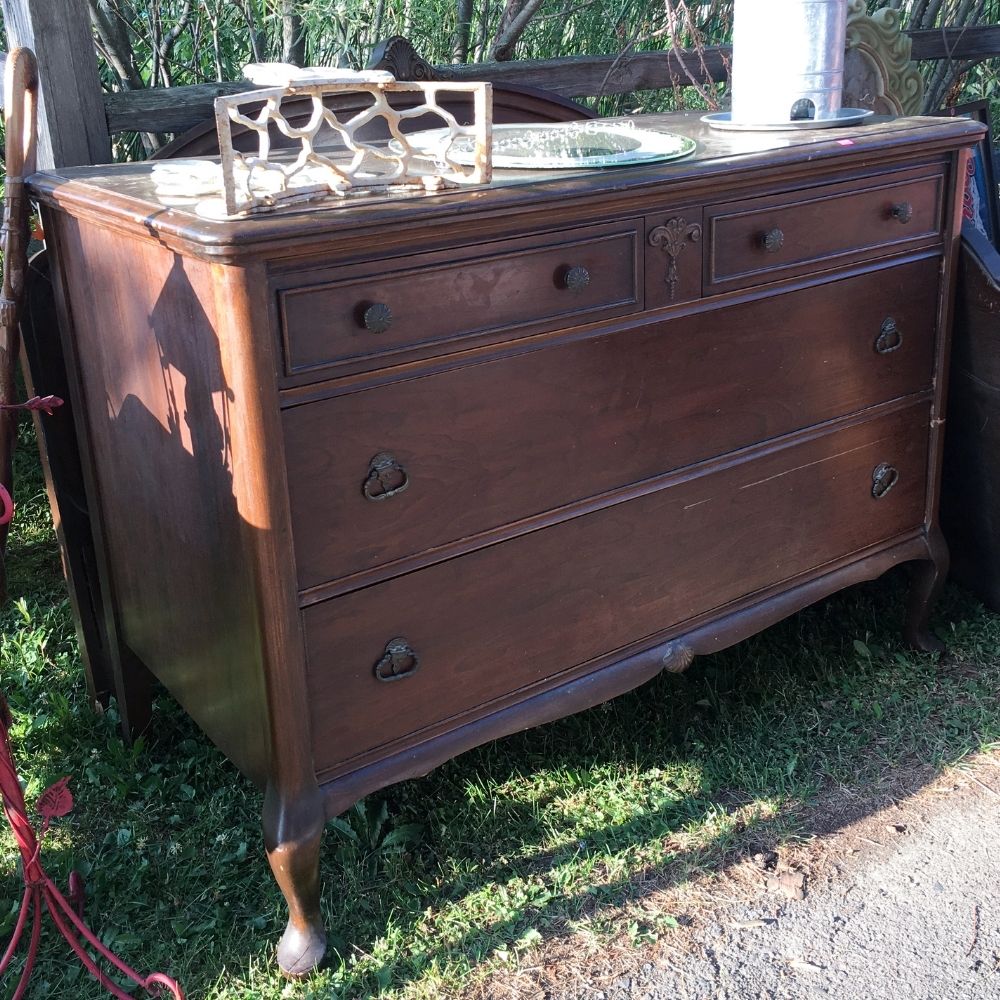
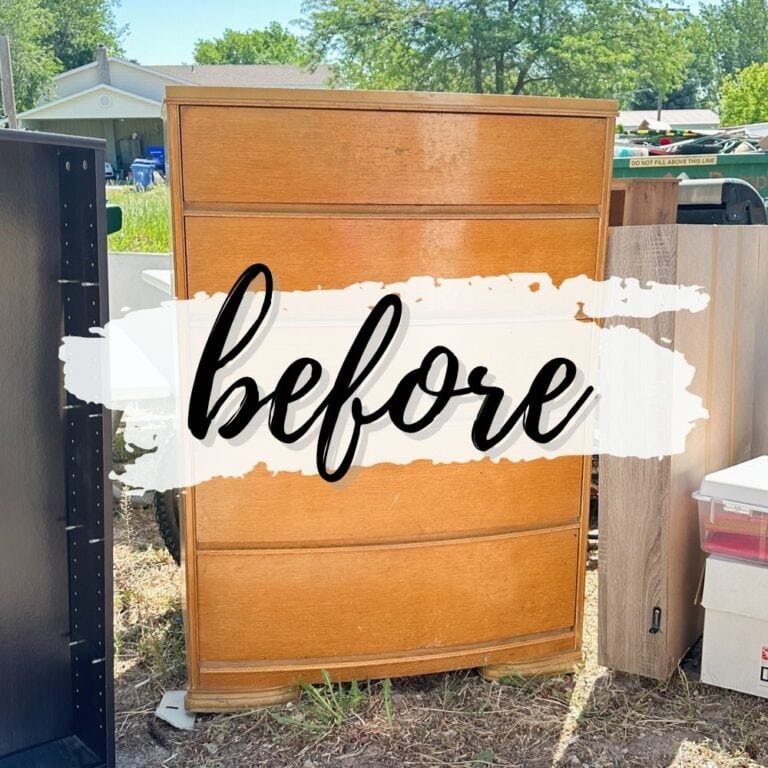
We bought this dresser at a swap meet in Minnesota for cheap. It was in great condition overall with only a few minor repairs, it has 4 drawers and a solid wood build. It sat in our workshop for a few months before I got around to doing anything with it, I had a hard time deciding what to do for sure.
And then it hit me. So I gathered up the supplies and got to work. If you also don’t know what to do with your dresser, check out our post on how to get rid of a dresser practically and creatively.

Supplies for DIY Farmhouse Dresser in Black
As an Amazon Associate, I earn from qualifying purchases. I also may earn from other qualifying purchases with other companies or get free product to review and use. All opinions are my own.
- Electric Screwdriver
- KwikWood Filler
- Krud Kutter Cleaner
- Damp Rag
- Tack Cloth
- 150 Grit Sandpaper
- Dixie Belle Boss Primer
- Shackteau Interiors Milk Paint in Black Beach Color
- Zibra Round Paint Brush
- 220 Grit Sandpaper
- Vacuum
- Waterbased Polyurethane
- Wagner FLEXiO 3500 Sprayer
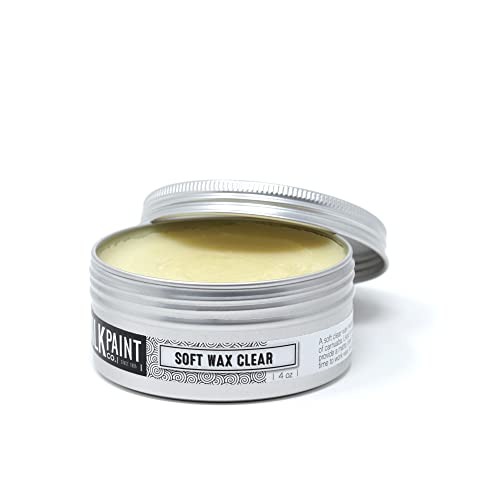
- Real Milk Paint Soft Wax
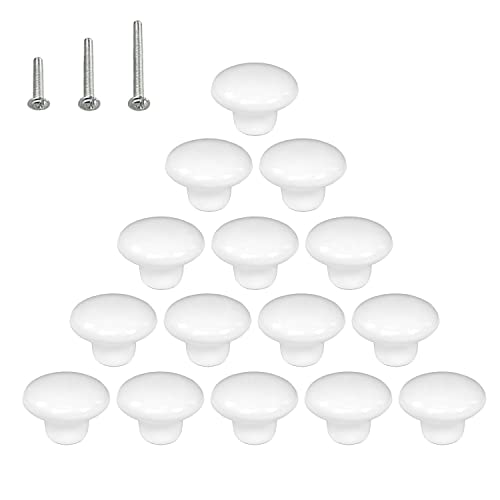
- White Knobs
Prep for Milk Paint
First, we had to get the dresser ready for paint. I used my electric screwdriver to remove the old hardware, and then I filled in the holes on the top 2 drawers with KwikWood so I could change the hardware out and not have the same spacing.
I’m just not a fan of having 2 knobs on the top 2 drawers, I would rather have 1 knob in the middle of each of the top drawers.
Learn more about how to use KwikWood and our comparison of the best fillers for filling hardware holes to learn more about how to do this step. You should also fix falling out drawer bottoms – if there are any, follow our guide on how to fix a drawer bottom that falls out!
While I waited for the KwikWood to dry, I cleaned the dresser with Krud Kutter and a damp rag to clean off all of the dirt, grease, and grime on the surface.
These types of things can prevent the paint from sticking well, so we have to remove them before we can paint, if we want the paint to last a long time.
Read our cleaning before painting furniture post to learn exactly how to clean your furniture before painting.
When the KwikWood was dry, I sanded it flush to the surface with 150 grit sandpaper by hand so it wouldn’t sand all of the wood around the KwikWood.
Learn about the best sandpaper for furniture if you’re wondering what sandpaper brand to buy.
And then I rubbed a tack cloth over the drawers to remove the dust leftover. Tack cloths pick up all the little particles of dust and work way better than any other type of rag to remove the dust on your furniture.
Priming Before Painting with Milk Paint
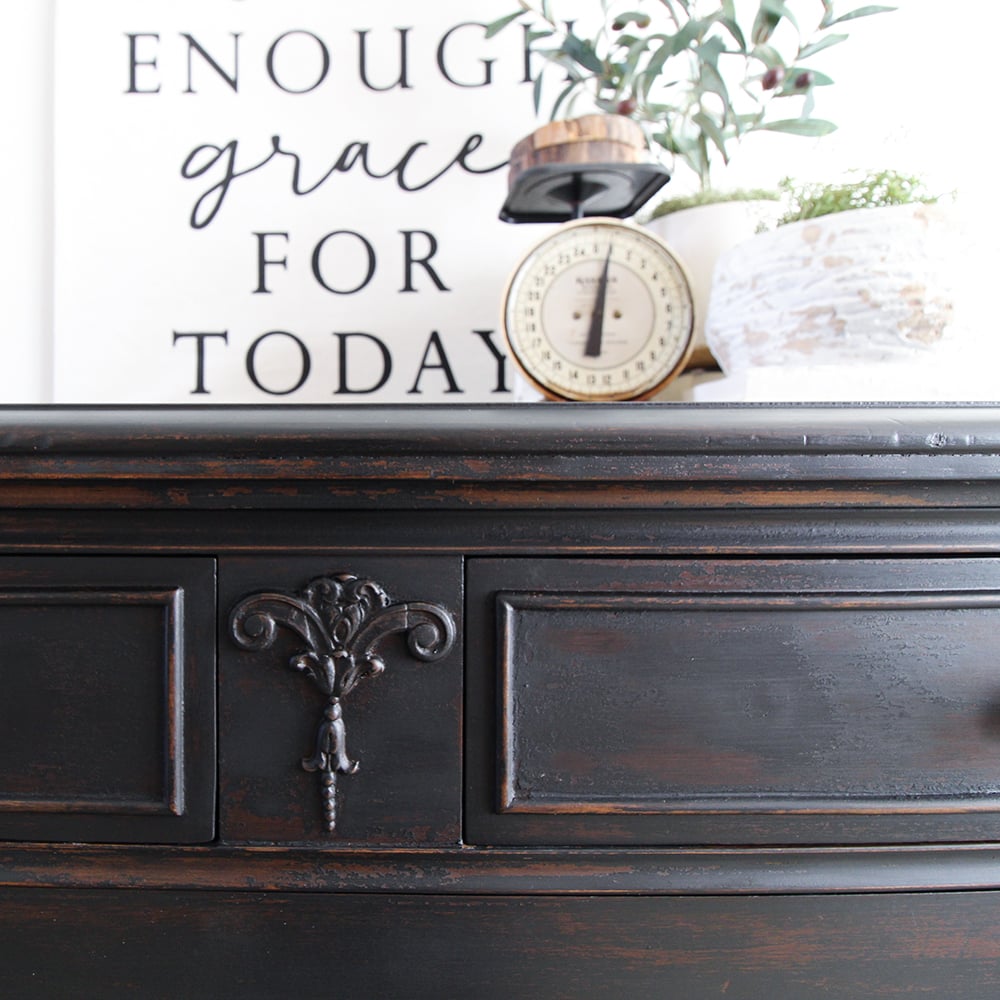
I wanted to create a chippy look on this dresser, so I applied a coat of Dixie Belle Boss primer in clear to all of the dresser. I just brushed it on with a Zibra round brush and then I let it dry overnight.
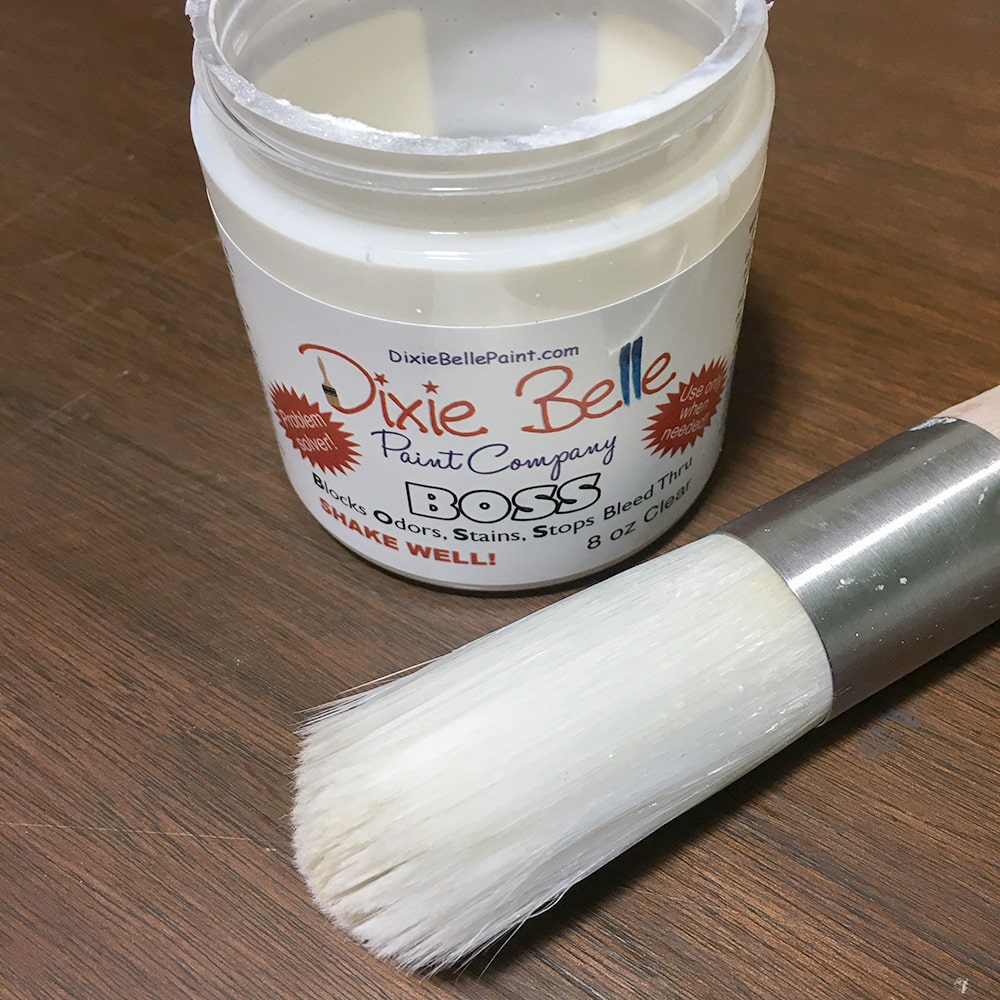
For some reason, Dixie Belle Boss helps milk paint chip the perfect amount.
I found this out by mistake and wrote a whole post on how to create a chippy finish with milk paint everytime, because milk paint doesn’t always chip, or it chips too much. This Dixie Belle Boss primer helps it to chip just right.
Of course, if you don’t want a chippy finish, you can always sand the wood with 220 grit sandpaper and mix some bonding primer into the milk paint to help it stick all over.
If you don’t want a chippy painted finish, visit our painting a dresser black post to learn how to paint a solid color finish easily.
Or, create a distressed look on your black painted dresser with our step by step DIY distressed painted dresser tutorial.
Painting Furniture with Milk Paint
The next day I mixed up Shackteau Interiors Milk Paint in Black Beach. For information on how to mix milk paint, visit our how to mix milk paint blog post.
It’s really easy, you just need an empty container with a lid, some water, and about 20 minutes.
Milk paint is nontoxic and natural though, so it’s worth it to be able to use a paint that creates a fun finish and is not harmful to us.
I brushed on a coat and a half of the milk paint with a Zibra round paint brush, letting it dry between coats. This black paint covers so well, you almost don’t need a 2nd coat of paint.
It dries quickly, and I actually used a hair dryer to help it to dry faster, which sometimes helps create a chippy finish.
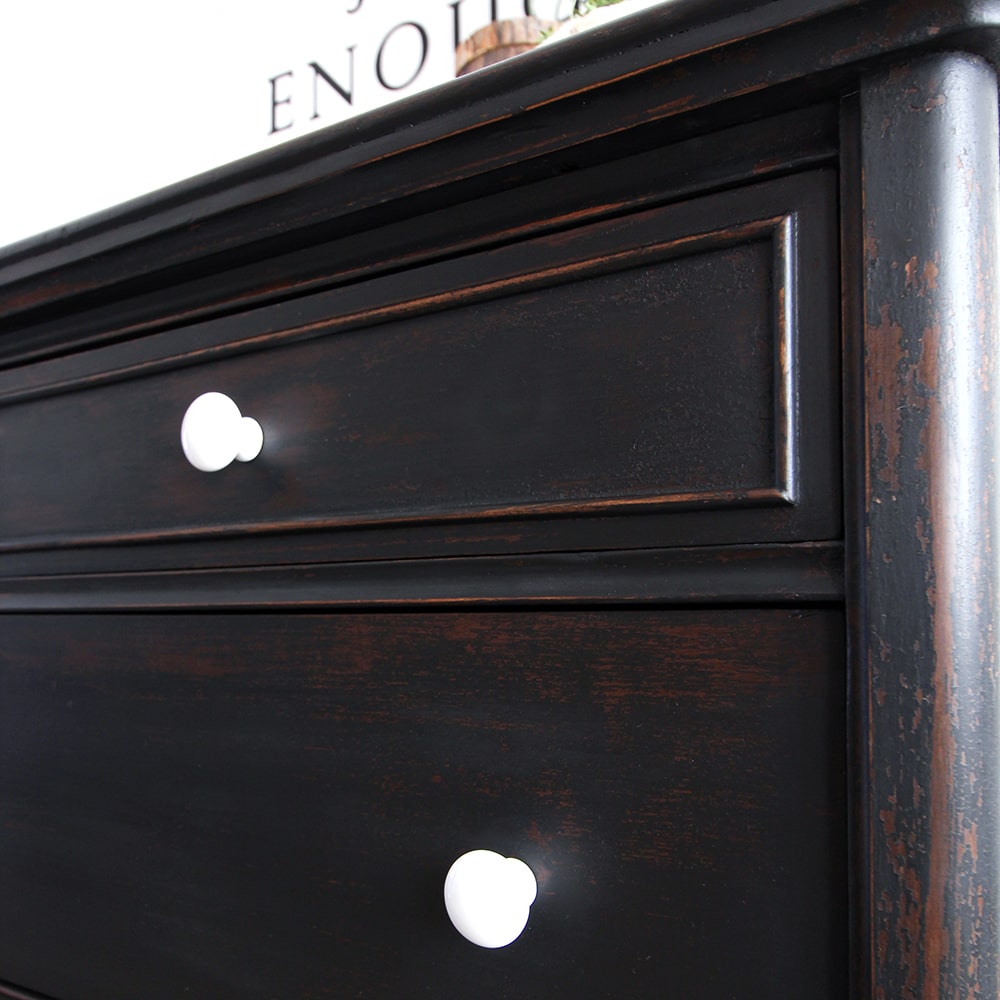
Once dry, I used 220 grit sandpaper to distress the paint and help it chip more. I focused on the edges and the details where things would naturally wear down over time. And then I sanded all over to smooth the paint out.
Would you like to save this?
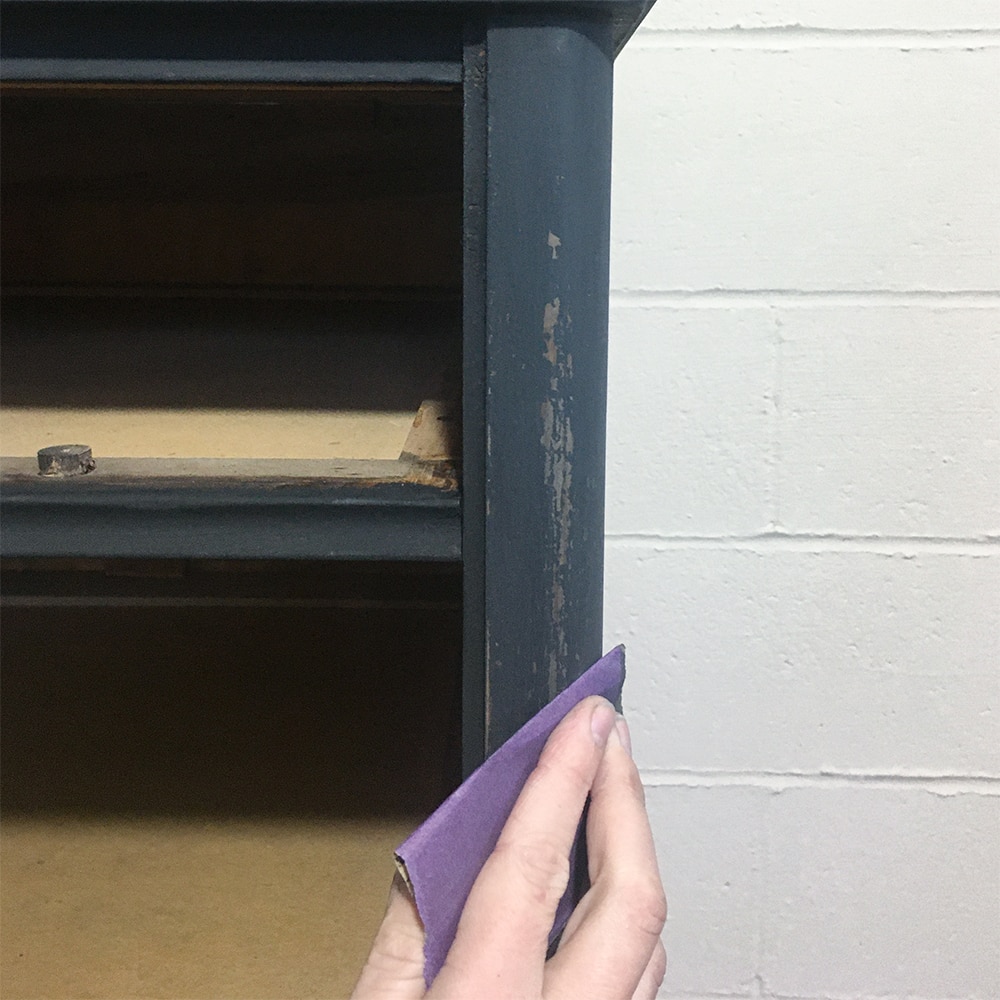
Learn more about how to distress painted furniture in our distressing furniture post.
Then I removed the dust with our vacuum and then wiped everything with a tack cloth to remove the remaining dust.
Sealing Milk Painted Furniture
Last, I sealed the milk paint with some waterbased polyurethane in my paint sprayer. I love spraying on polyurethane to protect my paint, but with milk paint, I don’t mind using wax as a topcoat.
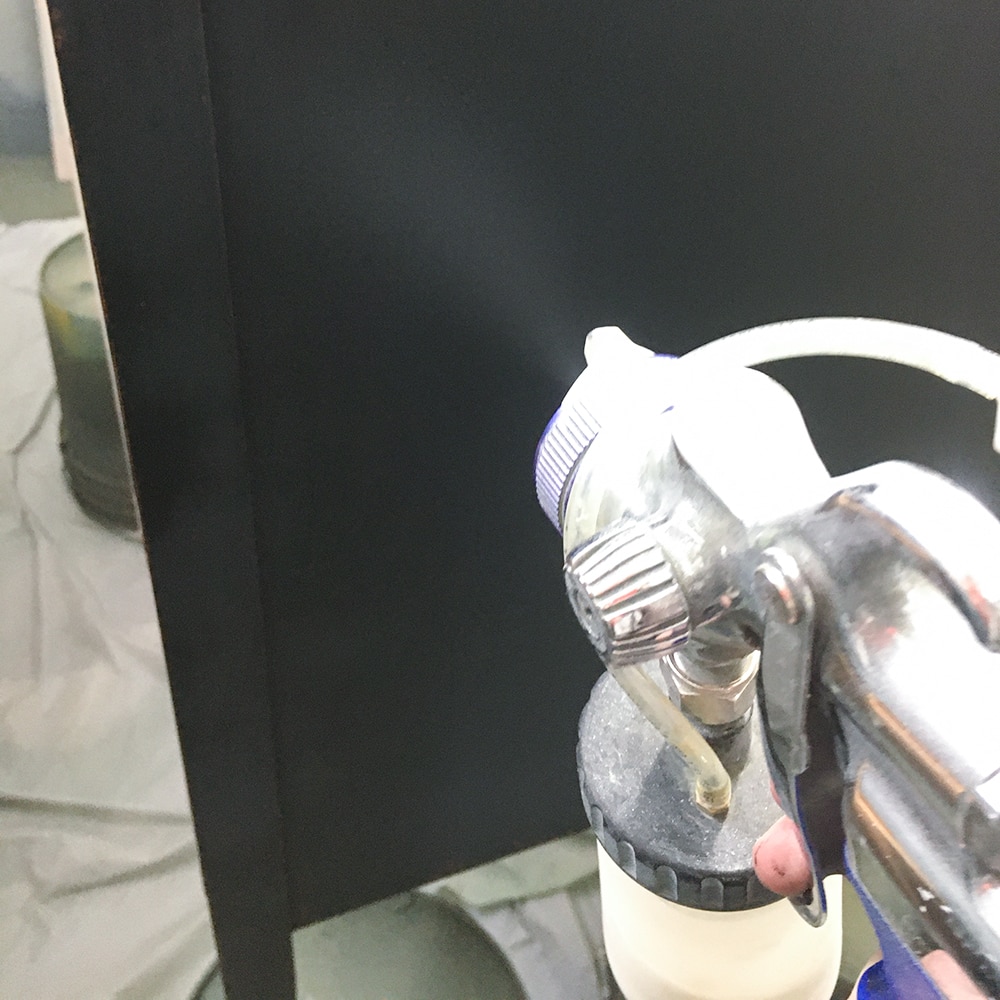
Wax is perfect for milk painted furniture. Check out our wax vs polyurethane post for more information about the differences and when to use what.
We also have a guide for sealing painted furniture here and what sealant to use for different types of paint.
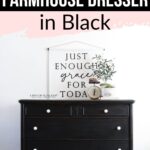
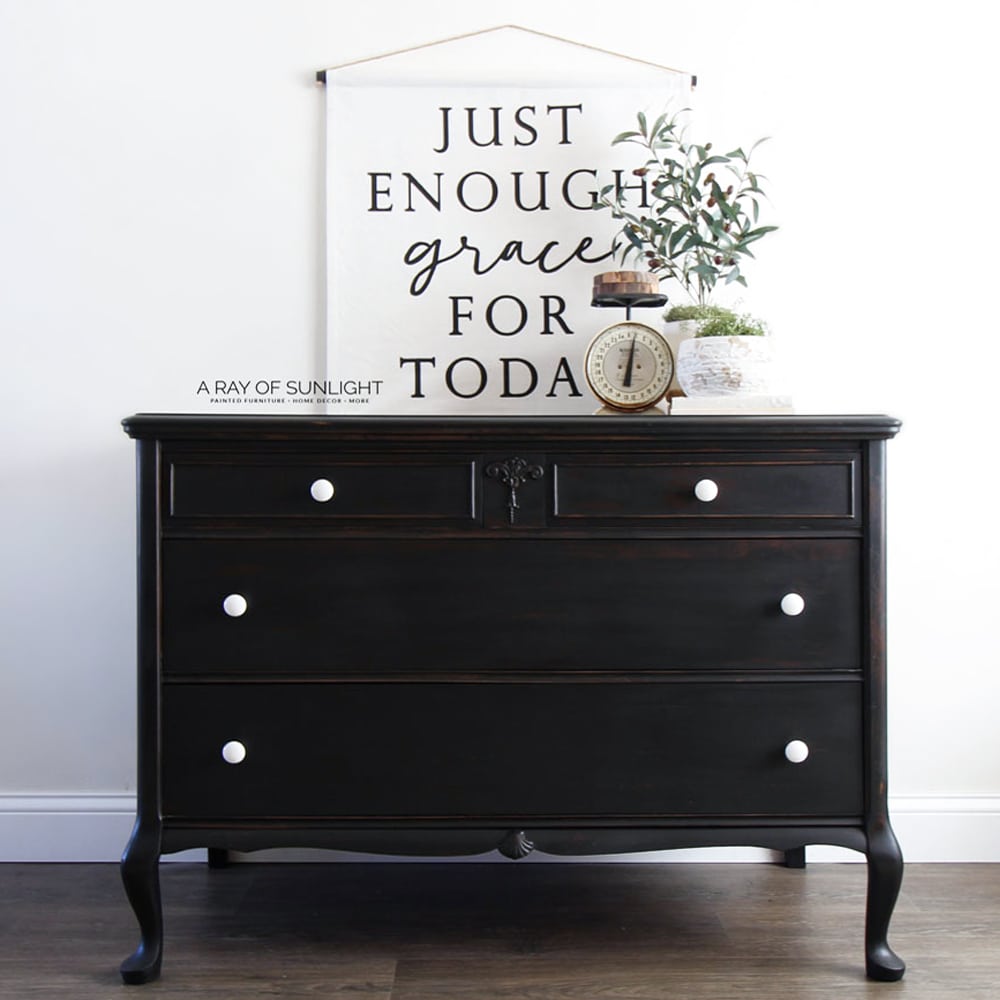
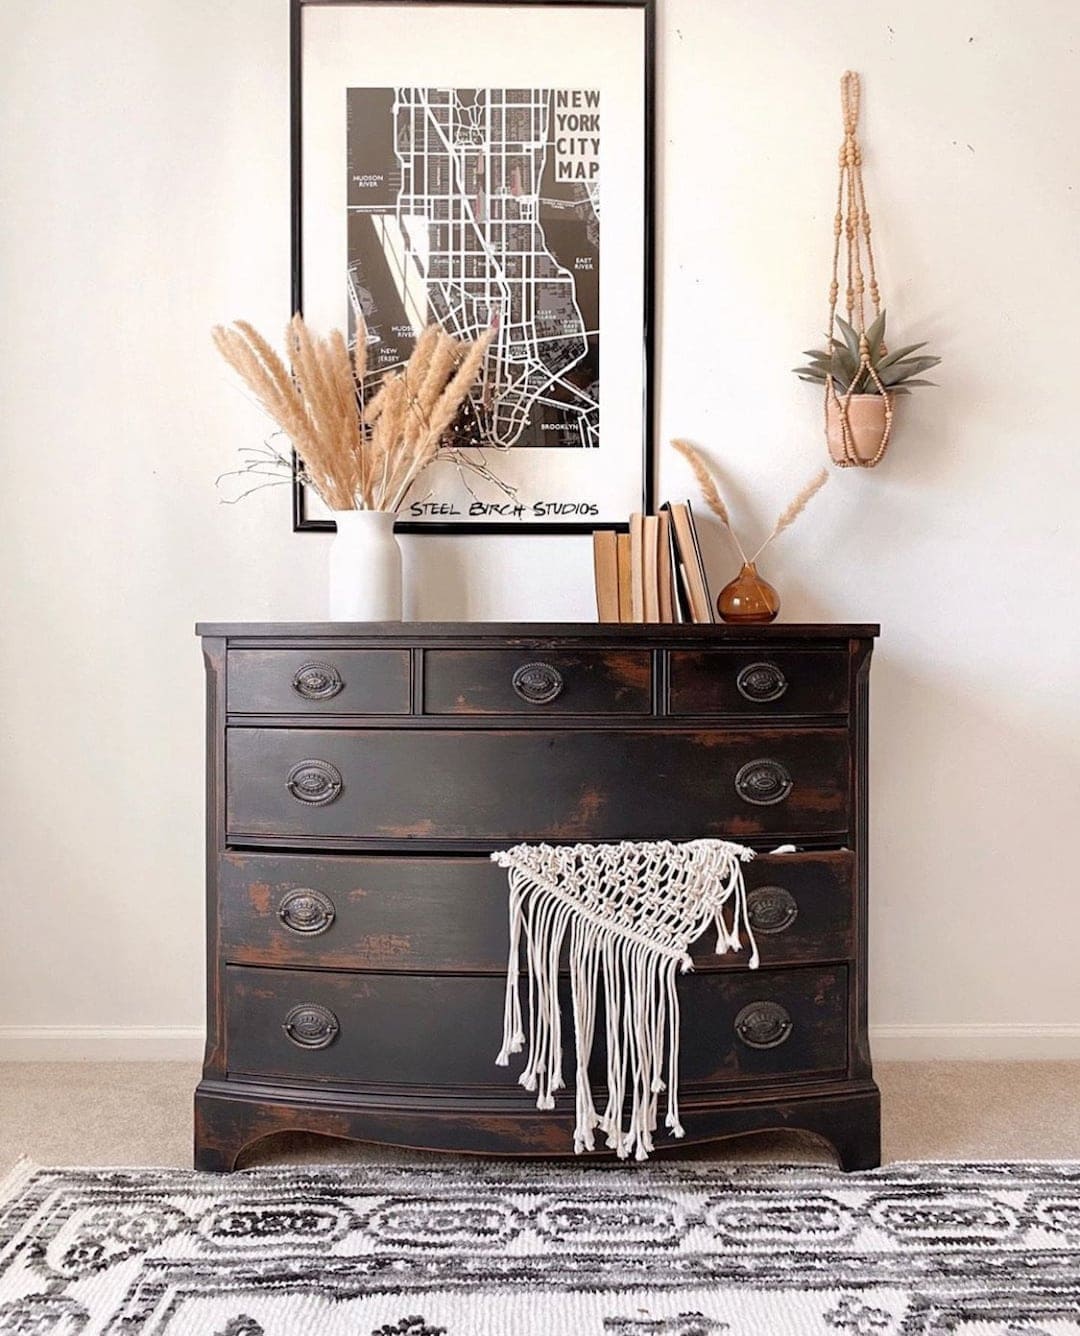
To finish it off, I added some plain but bold white knobs, similar to these white knobs on Amazon, on the drawers, and here is what it looks like now. I love the contrast between the knobs and the dresser!
For more black furniture makeovers, check out these black painted dresser ideas. Here are black and white painted furniture ideas and black and white dresser ideas for more classic colors on furniture. If you’re into the cozy vibe and farmhouse style, check out these painted antique dresser ideas.
More Before and After Makeovers
See All >
Click any of these “before” photos below to view the “after” of that makeover.


What are the differences between wax and polyurethane as a topcoat for milk painted furniture?
There are 3 ways of sealing milk paint and 2 of them are using polyurethane and wax. So, what’s the difference between these topcoats?
Well, for one, polyurethane is super easy to apply, especially if you have a paint sprayer. It also dries the quickest and is the most durable option out there.
On the other hand, wax can provide a pretty sheen on milk painted furniture and can even be tinted with paint for a colored finish.
However, it’s not as durable as polyurethane and takes more time to apply and buff out. Plus, wax must always be the last step in finishing a piece of furniture, so it can’t be painted over without removing it first.
In the end, whether you choose to use polyurethane or wax as a topcoat for milk painted furniture will depend on your preference and needs.
If you want a quick and durable finish, go with poly. But if you’re willing to spend more time and effort for a unique sheen, wax may be the way to go.


Can you control the amount of chipping with milk paint?
Yes, you can control the amount of chipping with milk paint. The key is in how you prepare the surface before painting.
If you want a less to no chipping finish, you should sand the surface thoroughly and use a bonding primer. This will help the milk paint adhere better and create a smoother finish.
Furthermore, you can also control chipping by how much you distress the painted furniture after it has dried.
If you want a more chippy finish, then distress the edges and details more with sandpaper. If you prefer less chipping, then lightly sand all over to smooth out the paint.
Milk paint is known to be chippy, so it’s important to keep in mind that some level of chipping is likely to occur no matter what you do.


DIY Farmhouse Dresser in Black
Create your own DIY farmhouse dresser in black with this step by step tutorial for updating thrifted furniture.
Materials
Instructions
- Use the electric screwdriver to remove old hardware and fill hardware holes with Kwikwood to change the placement of the hardware.
- Clean the dresser with Krud Kutter cleaner and a damp rag.
- Sand the KwikWood flush with the wood around it using 150 grit sandpaper.
- Wipe down with tack cloth to remove dust.
- Apply coat of Dixie Belle Boss Primer in Clear using a Zibra round brush. Let dry overnight
- Mix up Shackteau Interiors Milk Paint in Black Beach color. Brush on 1-2 coats of paint using a zibra round brush. Let dry between coats.
- Sand with 220 grit sandpaper to distress the milk paint and make it feel smooth. Vacuum up the dust and wipe down with a tack cloth.
- Seal with waterbased polyurethane or wax. We used waterbased polyurethane for this project.
Recommended Products
As an Amazon Associate and member of other affiliate programs, I earn from qualifying purchases.

more black painted furniture makeovers
- Painting Oak Furniture Black
- Painting a Bed Frame Black
- Painting a Desk Black
- Antique Pie Crust Table Makeover
- DIY Black French Provincial Dresser
Follow us on YouTube to get more tips for painting furniture. Or share your project with us on our Facebook Group and be part of our community. See you there!