3 Ways to Seal Milk Paint
If you’re looking for an authentic old looking finish, milk paint is where it’s at! But to get the most durability, it has to be top coated. It doesn’t have to be time consuming or complicated. Here are the top 3 ways to seal milk paint!
These painting furniture ideas with milk paint can give you a beautiful, rustic finish that will make any piece stand out. You’ll want to make sure your hard work is protected so it lasts for years to come.
Milk paint is perfect to use if you’re going for a shabby chic or farmhouse style decor. Its unique finish and natural chippy, distressed look make it a popular choice for DIY furniture projects. However, the key to maintaining its beautiful aged look is properly sealing it.

It’s super porous, meaning that it will soak up anything and everything in its path. It also means that it isn’t easy to wipe off the surface, and it collects dust like crazy. But it doesn’t have to stay that way.
Simply add a topcoat to give your milk finish the best durability, and so you can wipe any spills away! But which topcoat should you choose? You have a few different options, and we’re going to break them down for you.
How to Seal Milk Paint
Here are the top 3 ways professionals do it. I promise that this last step of painting furniture can be super painless!
As an Amazon Associate, I earn from qualifying purchases. I also may earn from other qualifying purchases with other companies or get free product to review and use. All opinions are my own.
Waterbased Polyurethane
Let’s start out with my very favorite topcoat. Why not? If you’ve been around my stuff for a hot minute, you know that I LOVE this waterbased poly. I use it on basically everything.
Out of these 3 ways, it’s the most durable option. AND, in my opinion, it’s the very fastest option! Especially if you have a sprayer (even a cheap hobby paint sprayer like this one that I used for over 3 years).
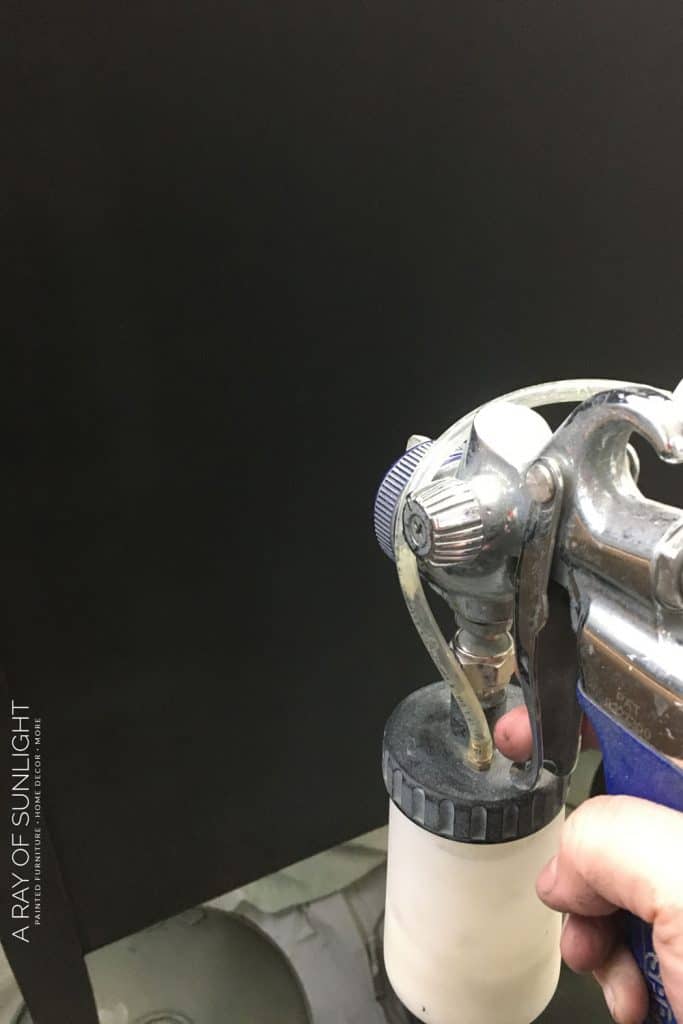
It sprays on like a dream, dries quickly, and creates a beautiful and durable sheen. You can even choose from any sheen from matte to gloss (though my favorite is a mix of matte and satin). Learn ALL of my tips and tricks on how to spray polyurethane here!
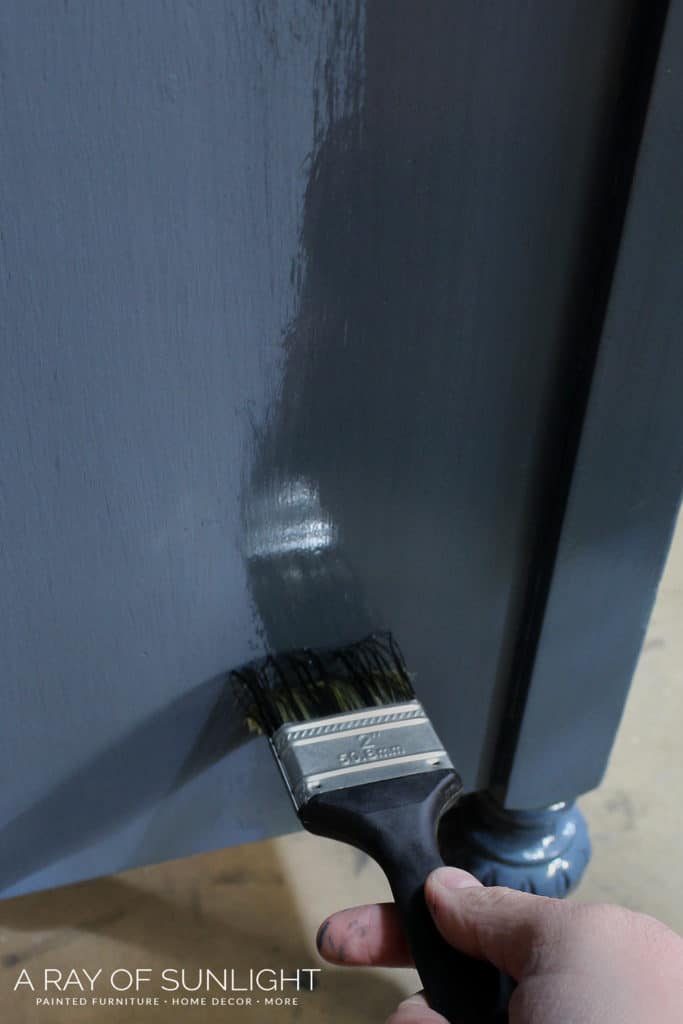
You can also brush it on, or an even better option is to use one of these super handy painting sponges to apply it. I love to get the sponge a little damp before using it. If I didn’t have my sprayer, I would choose to use these sponges the most! They help reduce brush strokes and create a seamless finish.
Pros:
- Super easy to apply with a sprayer!
- The most durable finish
- Available in multiple different sheens
- Dries the quickest
Cons:
- If you’re brushing it on, you can get foggy areas or see brush marks in the finish
Hemp Oil
Hemp oil is my next favorite product to use. It’s a natural oil that looks so good on the milk finish. It soaks into the porous coating and down into the wood and then cures hard.
But, it takes at least 30 days to cure, and the process is a bit longer than using the waterbased poly. You can brush it or wipe it on with a lint free rag. And then you let it sit for a few hours to really soak in. Then you wipe off the excess with a few more lint free rags and wait for the oil to completely dry.
It works the very best with raw wood and porous coating because it has to soak in to become durable.
Would you like to save this?
But the beautiful matte sheen looks so good once dry! If you’re using a dark color and you only have a brush to apply poly, this would be the best looking option! Poly can be hard to get just right with a brush, and dark colors make it even more difficult. So in certain situations, hemp oil is the product I reach for.
Pros:
- Easy to apply
- It dries to the perfect even sheen without brush strokes and haziness
Cons:
- Hemp oil takes a long time to dry, and you might have to keep going back to wipe off excess oil
- It’s not as durable as poly
Wax
Last but not least is furniture wax. I swear every single paint company has its own line of wax, and honestly, some are definitely better than others!
This is usually my last resort option. It doesn’t cure as hard as poly does, and it’s way more time consuming to apply (wax on, wax off). Plus, if you’re working with a dark color, it is just as hard to get right as poly is!
A wax brush makes it so much easier to apply it (but seriously, once I got this brush, I didn’t hate waxing quite as much!) But you can wipe it on with a lint free rag, too. Then you wipe it off with another lint free rag until it’s nice and smooth.
If you’re going to use this, get ready for a nice arm workout and spend some time doing it. No matter what, the most important thing to know about it is that wax is always last. Do not try to put poly over it or paint over fresh wax. The wax will repel whatever you try to put over it, and it will create a mess.
Pros:
- Wax can create a really pretty sheen
- You can tint it with paint to create a colored wax
Cons:
- Not as durable as poly
- Takes a long time to apply and buff out
- It has to be last, so you can’t paint over it without removing it
- Over dark colors, you can see every single mark of the wax
Learn more about sealing painted furniture here for all your future projects. You’ll also need to know what to use to seal wood before painting here.
How to Mix Milk Paint
So you’ve decided to try out milk paint – you’ll want to learn about mixing it properly for the best results! It comes in a powdered form and and you’ll need to mix it with water to turn it into a liquid coating.
The general rule is to mix equal parts of powder and water. My favorite method is to mix half a cup of powder with half a cup of water at a time. Seal the container good and tight, then shake it for 1-2 minutes. Next, open it and give the mixture a stir with a plastic fork. Let it sit for about 10-15 minutes and then mix again before using.
If you don’t want any chipping, add a bonding agent to help the paint stick. This is added to the already mixed milk coating at a 1:1 ratio. Learn more on how to mix milk paint and how to mix milk paint colors in these posts.
Head on over to our milk painted furniture ideas to get inspired for your next project. Plus, get all the tips and tricks for painting furniture with milk paint here! Including how to use milk paint and the secret to getting a chippy paint finish every time. If you’re wondering, “Can you spray milk paint?” – get answers here.


More Milk Painted Furniture Makeovers
- Blue DIY Dresser Makeover
- Chippy Gray Milk Paint Dresser
- Dark Green Buffet Makeover
- Painted Display Cabinet
- DIY Blue China Hutch

Follow us on YouTube to get more tips for painting furniture. Or share your project with us on our Facebook Group and be part of our community. See you there!