Navy Blue DIY Dresser Makeover
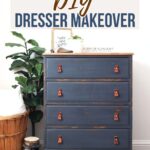
If you love chippy farmhouse furniture, this tutorial is for you. Transform your old piece with this chippy navy blue DIY dresser makeover using some milk paint! Get ready to revamp your bedroom and living space with this fun project.
It’s DIY dresser makeover ideas like this that make decorating your home on a budget so much easier. And what better color to use than navy blue? It’s classy and elegant while still giving off that cozy, rustic vibe. Keep reading to see how to create this look!
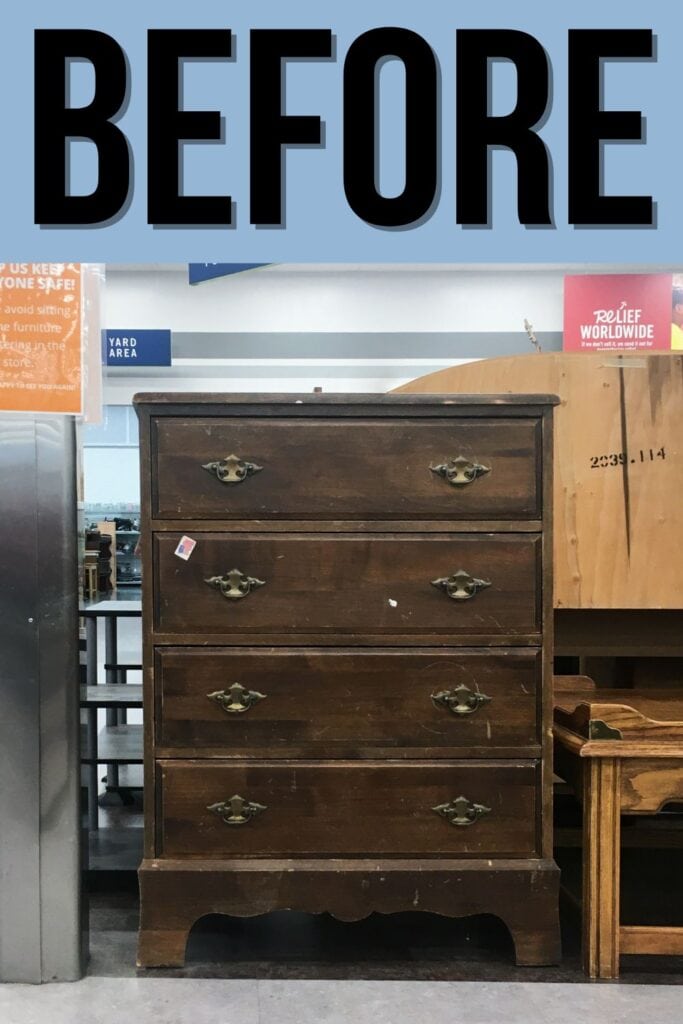
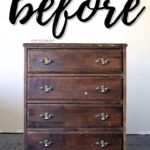
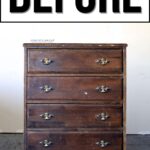
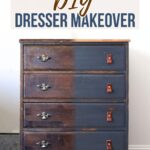
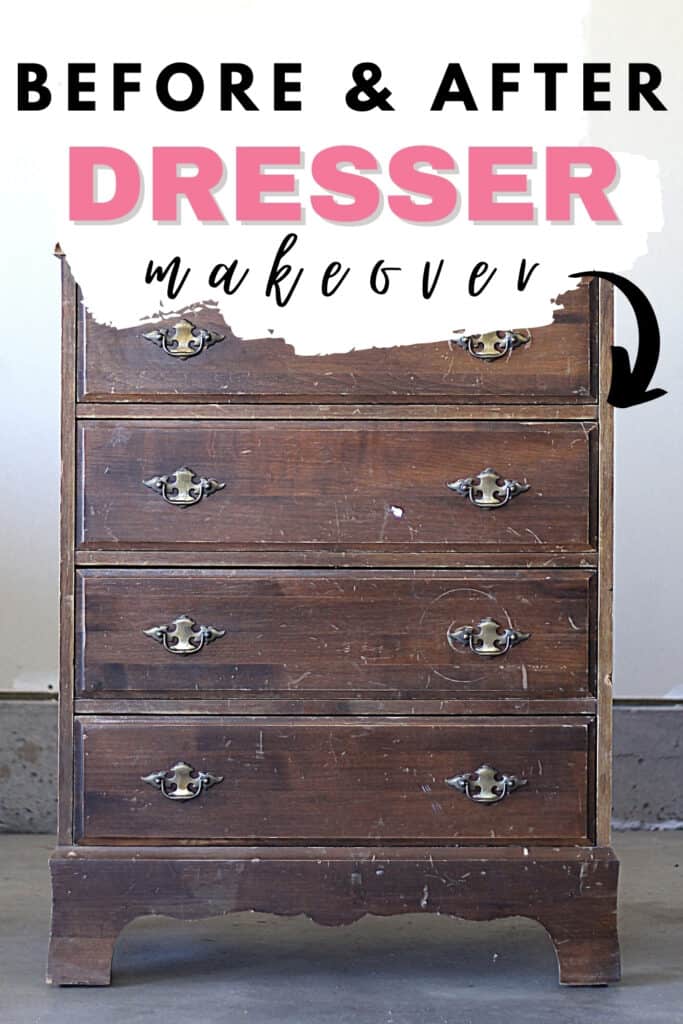
Above is what the dresser looked like before. Man, I hate that style of hardware! But I thought the rest of it was super cute! So, I decided to pick it up from the thrift store and give it a beautiful update. You can see which color won!

Navy blue is stunning and super versatile – it works for both modern and vintage styles. It’s a bold color, but add a chippy milk finish and a bit of distressing, and you’ve got the perfect farmhouse vibe for your piece!
If you want the same look, follow these easy steps for this navy blue DIY dresser makeover. You’ll see how easy it is to recreate, and you can even get tips and tricks along the way. So, let’s get started and give your old piece a new life!

Supplies Used for Navy Blue DIY Dresser Makeover
As an Amazon Associate, I earn from qualifying purchases. I also may earn from other qualifying purchases with other companies or get free product to review and use. All opinions are my own.
- Krud Kutter
- KwikWood
- 100 – 220 Grit Sandpaper (Use code RAY10 to get 10% off your order)
- Sander (Use code RAY10 to get 10% off your order)
- Varathane Polyurethane
- Lint Free Rags – for the wood stain and conditioner
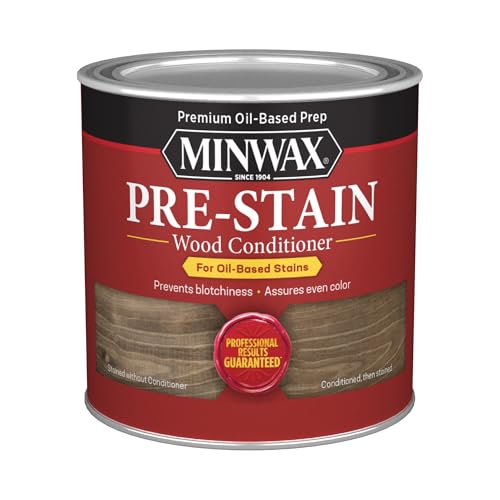
- Wood Conditioner
- Wood Stain
- Containers with Lids
- Milk Paint
- Zibra Brush
- Extra Bond
- 220 Grit Sandpaper
- Wax
- Disposable Gloves and an Old Sock
Check out our list of the best painting furniture supplies you must have!
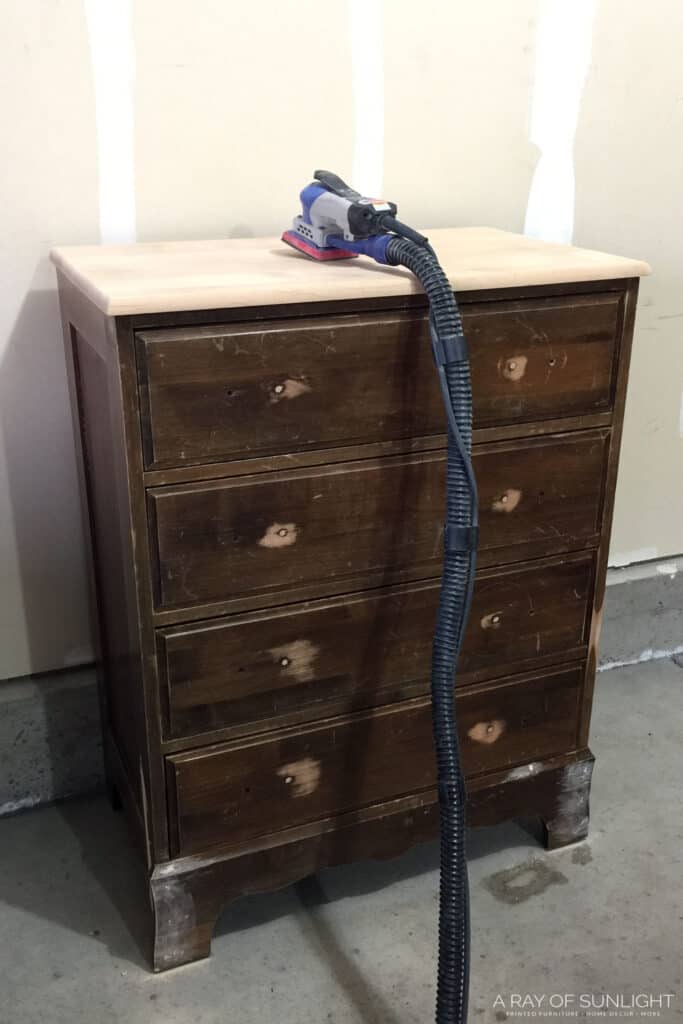
Remove Hardware and Fill in Old Holes
Switching out the hardware is the easiest way to update an old, worn out piece.
I started by unscrewing the old hardware off of the drawers. Learn more about how to change hardware on a dresser in this post. Then I grabbed some KwikWood (my favorite product for filling in old hardware holes!) and shoved it in the holes.
Seriously, this Kwikwood is amazing. It dries hard, dries quickly (in an hour), and doesn’t shrink, crack or have air bubbles in it like wood filler and Bondo! And here’s a comparison of ways of filling holes when replacing cabinet or furniture hardware. Mind blown!
NOTE: KwikWood will make milk paint chip, so I seal it with a coat of waterbased poly to keep the milk paint from chipping over it (I didn’t want to be able to see the KwikWood!)
Sand Top Before Staining
Next, I sanded the top to prepare it for stain. If you check out the video, you can see how many scratches were on it! So it was much easier just to sand it down to stain than to get it smooth for paint. Plus, I just love the look of a stained top.
I sanded it down with 100 grit, then 150 grit, and then 220 grit sandpaper on my favorite sander, the 3×4 vacuum compatible SurfPrep sander. (Use code RAY10 to get 10% off your order.)
It’s pricey… so check out my review detailing what you need to get started with a SurfPrep sander before you think about buying one! Or you can see how the SurfPrep compares to cheaper alternatives in our review of the best sanders for furniture here!
When I sand down to bare wood, I like to slowly go through the different grits of sandpaper to help minimize those pesky marks that power sanders create.
After I sanded it all down nice and smooth, I got it nice and wet and then let it dry. Getting it wet made the grain stand up, so then I could go back with 220 grit again and get it even more smooth! Learn more about the importance of sanding before painting furniture here!
Prep Dresser for Makeover
Prepping for milk paint is a little bit different than most furniture paint. If I want a chippy-painted look, I don’t sand the piece beforehand! This is a huge difference from any other kind of paint that I use (even chalk style) because I always sand to help with adhesion. But in this case, I don’t want it to stick as well.
Don’t worry, though; where milk paint sticks, it STICKS! So it’s just fine not to sand the wood beforehand. (Unless it’s really slick or shiny.)
I just cleaned it with Krud Kutter (my fav cleaner!) and an old damp rag (the best cleaner to remove any grease, grime, or oils!) and taped off the drawers with some painters tape. Get tips and tricks on how to prevent paint bleed through painter’s tape here.
Here’s more on how to clean furniture before painting. And here’s our more detailed guide on how to prepare furniture for painting.
How to Mix Milk Paint
While the piece was drying from being scrubbed, I moved on to mixing the milk paint. It comes in a powder that has to be mixed with equal parts of water. And then it needs to sit for about 10-15 minutes before you can use it (it will get thicker and dissolve in that little bit of time).
Seriously, mixing is super simple. Really, you just put equal parts water and powder in a container that has a lid. Then, you shake it up for a minute or two. Here’s our full tutorial on how to mix milk paint.
How long is the shelf life of milk paint?
Just be sure to mix it in small batches (1/2 cup powder and 1/2 cup water are perfect!) because it doesn’t last very long once it’s mixed up. It’ll only last around a day or so, so make sure to use it within that time frame.
But if you need to use the mixed color the next day, just put it in the fridge! Keep it from drying out by adding a little bit of water on top and storing it in an airtight container.
In its powdered form, it can have a pretty long shelf life if you store it in an airtight bag. This way, you can always have your favorite colors on hand for your next project! So remember to mix only what you need and keep it stored properly for future use.
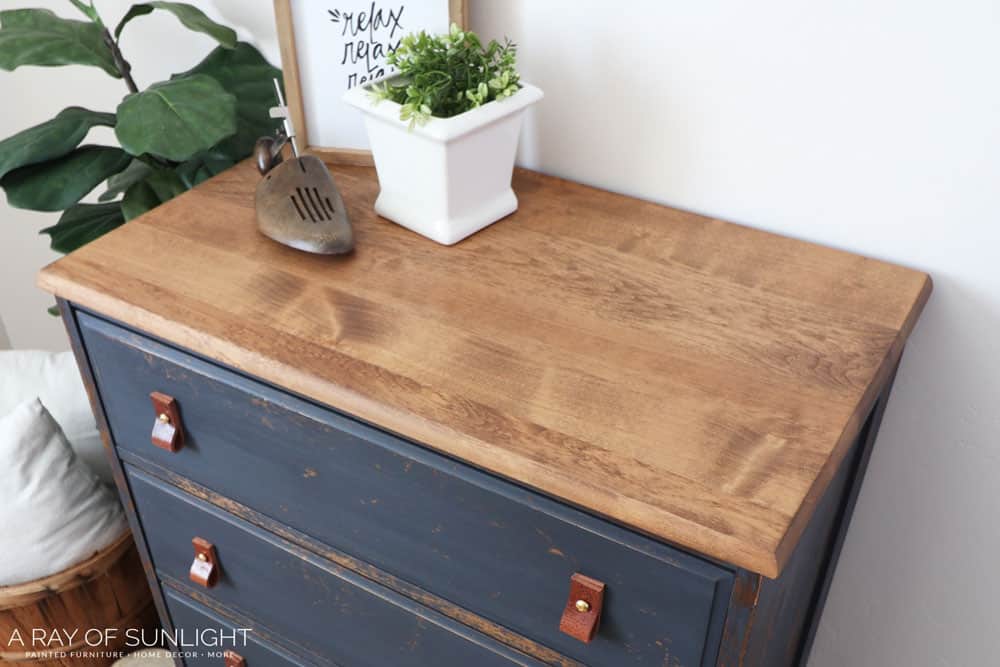
Staining Wood Top
I like to start with wood conditioner before I stain anything. This product just makes it so the wood soaks in the stain evenly. Just wipe it all over and let it sit for 5 minutes, then wipe off any excess. Then, I stained the top with Special Walnut wood stain, making sure to wipe it on evenly and with the grain.
Learn more about how to stain wood darker in this post!
Would you like to save this?
DIY Dresser Makeover with Milk Paint
Next, I started on the piece with my freshly mixed navy blue color. I used my round Zibra paint brush, but if you have a sprayer, you can also spray it! Learn more about this method in this can you spray milk paint? post.
Check out these posts for the best paint brushes for painting furniture and the best HVLP paint sprayers for furniture.
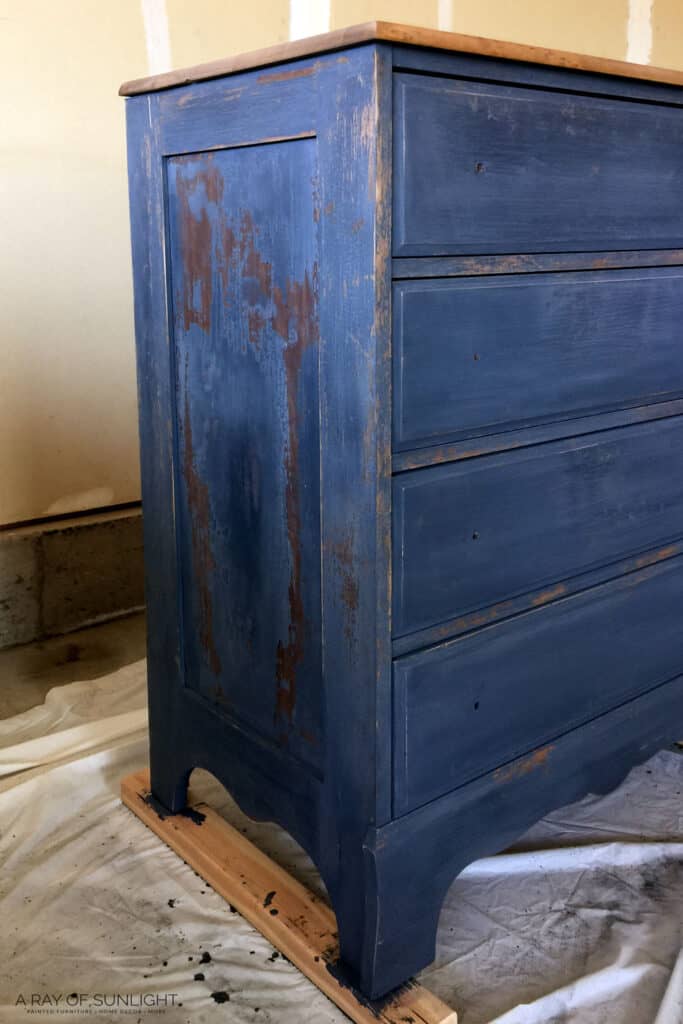
I applied the first coat, let it dry, and then added the second coat. Two coats are usually perfect! But this piece had a little bit of laminate/particle board on its sides. And milk paint and laminate don’t work very well together.
Working on particle board can be a bit tricky, so learn more about how to paint particle board furniture here. If there’s any damage, it’s also important to address this issue as soon as possible to prevent any further issues. Learn more about how to repair damaged particle board furniture here.
Since I knew they didn’t work too well together, I made sure to sand that part with 220 grit beforehand, but the milk paint still chipped more than I wanted it to.
So I sanded those areas down really well and then applied a coat of Extra Bond (primer for milk paint) over the areas that chipped too much. Then I went back and applied 2 more coats over the Extra Bond.
(Typically, Extra Bond gets added after the milk paint is mixed. It just makes the milk paint stick better. But since I didn’t have any more of the milk paint, I put the Extra Bond straight on.)
Sanding Milk Paint for A Chippy Look
Finally, when the milk paint was dry, I sanded the the surface down with 220 grit sandpaper to reveal all of the chippy milk paint finish!!
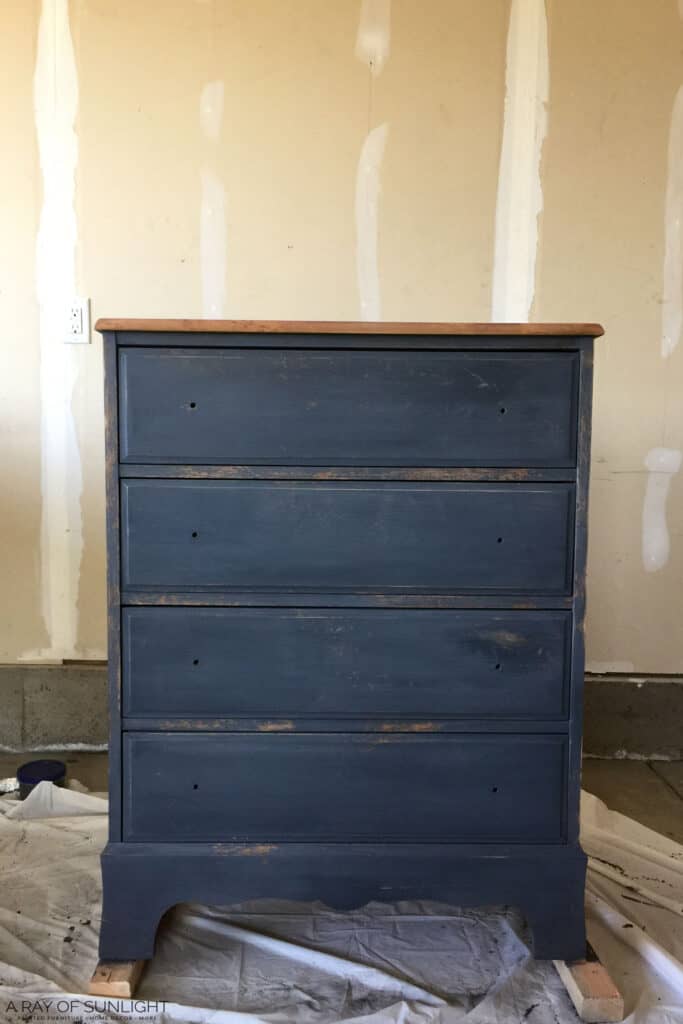
You could get away with not sanding, but it really makes any finish that might chip off come off. Check out these other distressing furniture techniques! Then I vacuumed up all the dust and wiped it all down with a lint free rag.
How to Seal Milk Paint
Since the laminate areas were chipping too much, I didn’t want to seal the finish with waterbased poly like I usually do. I usually spray polyurethane on, too – here’s how to spray polyurethane!
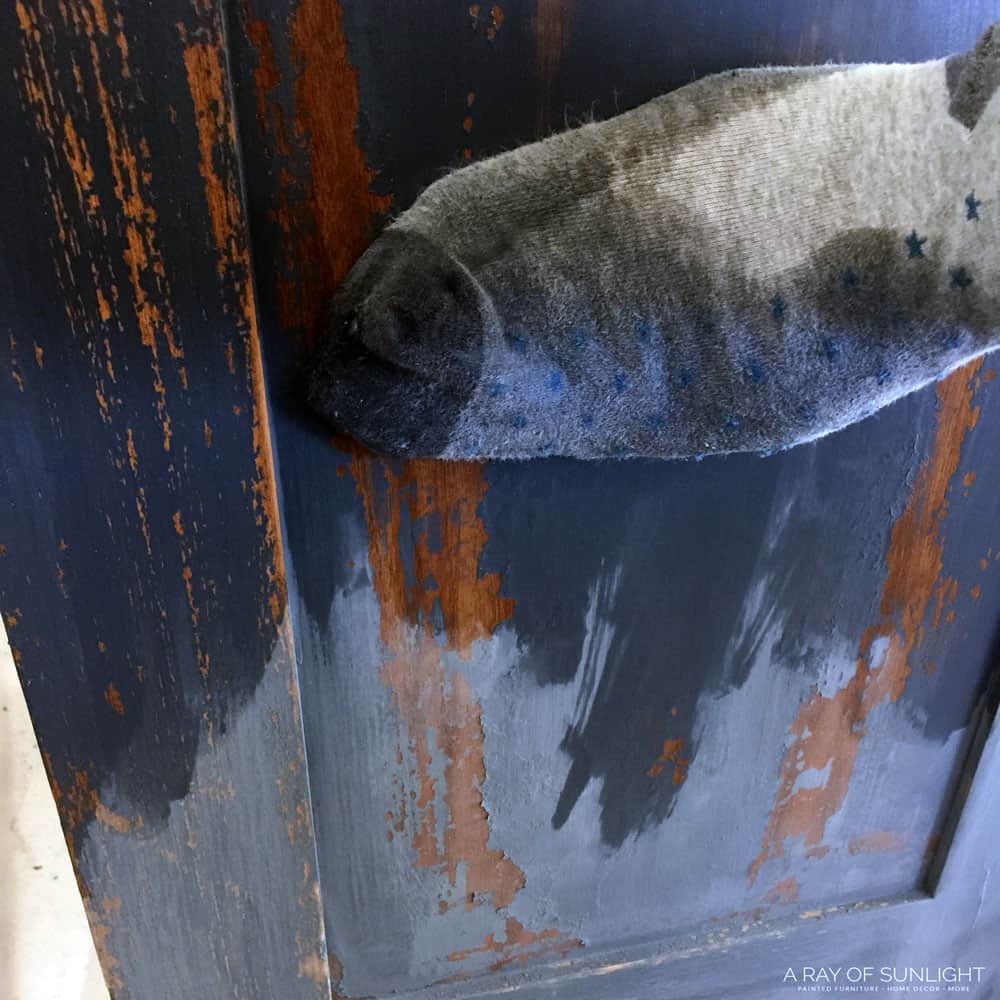
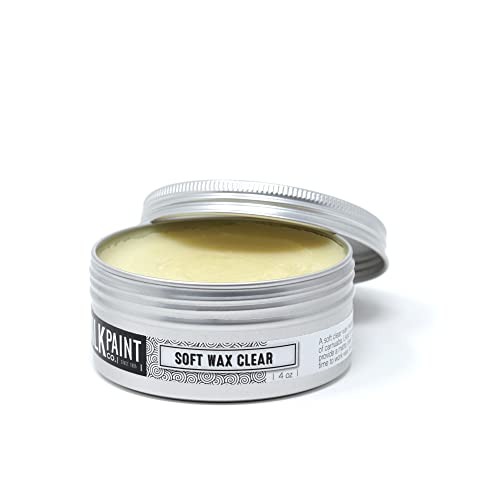
Instead, I applied a couple of coats of Real Milk Paint Company wax with a latex glove and then an old sock over the glove. Holy moly that wax went on SO SMOOTH!! It soaked into the finish like a dream, and then it dried pretty quickly. I also sealed the stained wood top with wax!
You can see how we also used this soft wax in this guide and makeover on how to chalk paint furniture.
After that experience, I’m sure I’m going to use wax over milk paint more often! If you’re not sure about what sealer to use, check out this post about different ways of sealing milk paint.
Add New Hardware
I finished off by adding some DIY leather pulls that I made. All of the materials only cost $24ish for 8 pulls. So they were right around $3 each! Not bad for super cute hardware!
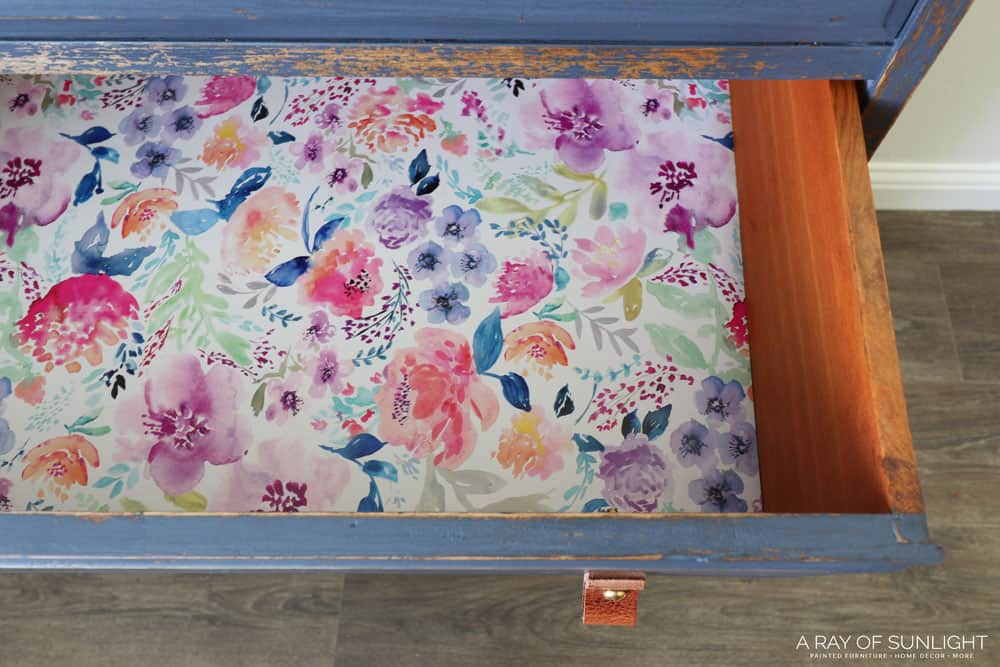
I also lined the drawers with some super cute floral paper. Learn how to line your drawers yourself and find out the best material to line dresser drawers here. If you need to update or replace your liner, we have a guide on how to remove contact paper from wood here.
Before you use your piece, be sure to let the wax dry for a couple of days. Then, be really careful with it for at least 30 days while the wax cures. Check out these tips and tricks for finishing touches of painting furniture.
Watch the full makeover on our YouTube video below, and keep scrolling for the after photos!
More Before and After Makeovers
See All >
Click any of these “before” photos below to view the “after” of that makeover.


Check out more painted dresser ideas and dark blue painted furniture here. For other colors, we have these dresser paint color ideas. And these boys dresser ideas and rustic dresser ideas are also great for any bedroom.

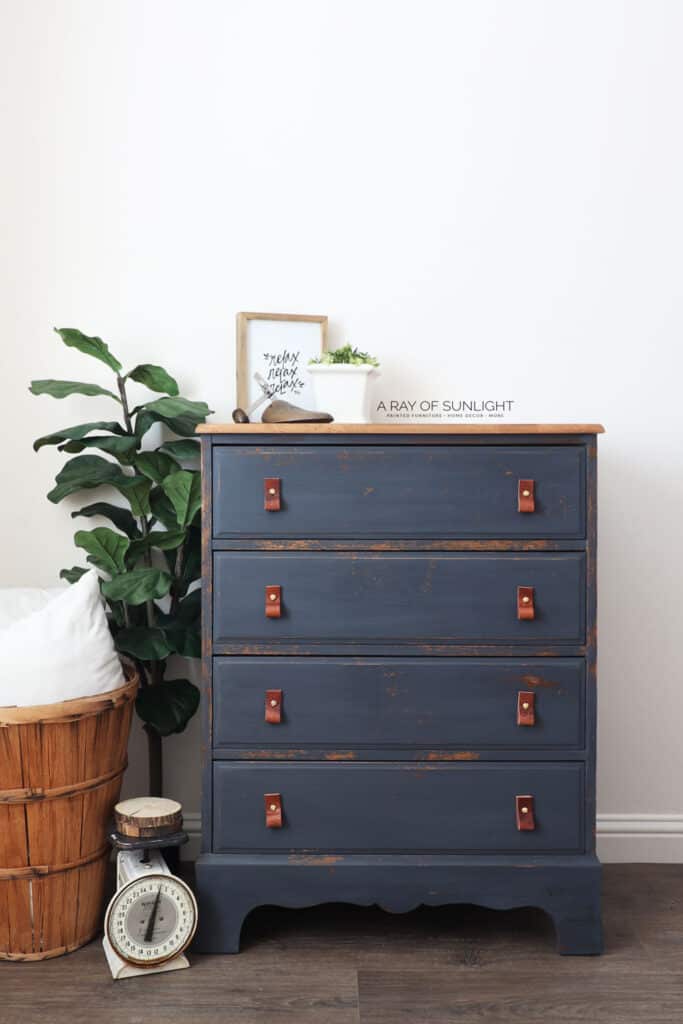
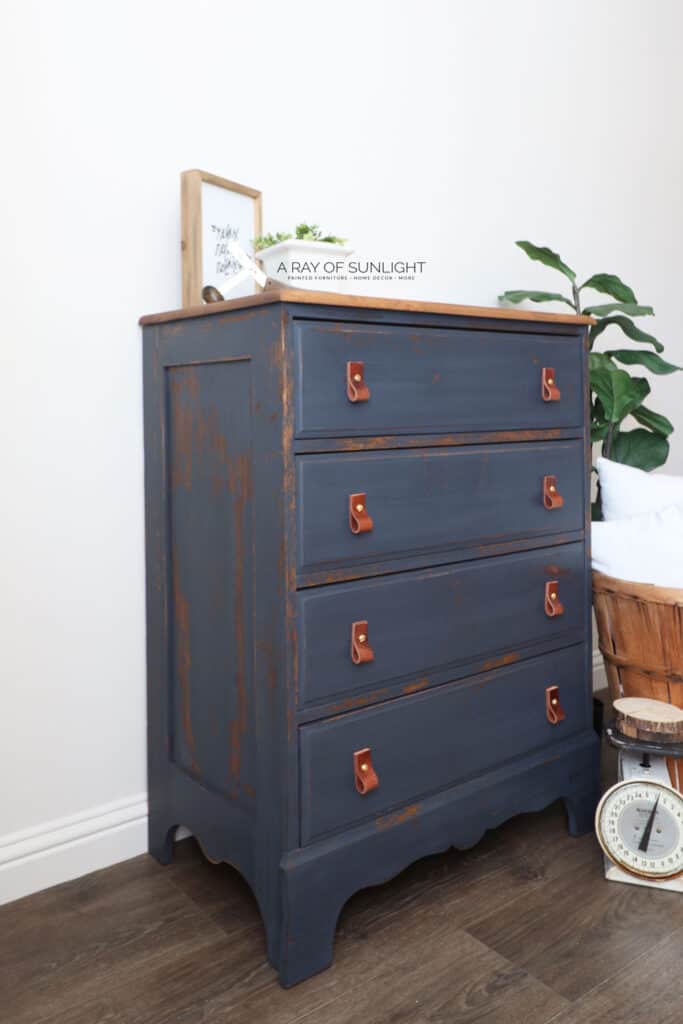
By following these tips and techniques, you, too, can create a gorgeous chippy finish on your piece – just like this navy blue DIY dresser makeover. Try adding a stained top for a nice contrast with the base, and throw in some leather hardware pulls for a cool, rustic vibe.


Navy Blue DIY Dresser Makeover
Transform your old dresser using milk paint in this chippy navy blue DIY dresser makeover with a stained top.
Materials
Instructions
- Start by removing hardware from the dresser then fill in the old hardware holes with KwikWood.
- Next, sand the top of the dresser to prepare it for stain.
- Clean the dresser with Krud Kutter and an old damp rag and let dry.
- Now, mix milk paint powder with equal parts water. Mix it in small batches, (1/2 cup powder and 1/2 cup water are perfect!) and let it sit for about 10-15 minutes before you paint with it.
- While the milk paint mix sits, stain the top of the dresser. Wipe with wood conditioner first and leave it for 5 minutes. Wipe excess then wipe the wood stain onto the top evenly and with the grain.
- Apply the first coat of milk paint, let it dry and then paint the second coat. Two coats of milk paint is usually perfect!
- For areas that chipped too much, apply a coat of Extra Bond over them. Paint 2 more coats of milk paint over the extra bond.
- Sand the dry milk-painted dresser down with 220 grit sandpaper for the chippy look.
- To seal the milk paint, apply a couple coats of wax using a latex glove and then an old sock over the glove. Seal the stained wood top with wax as well.
- Finish the dresser by attaching hardware.
- And before you use your dresser, be sure to let the wax dry for a couple of days. Then be really careful with it for at least 30 days while the wax cures.
Recommended Products
As an Amazon Associate and member of other affiliate programs, I earn from qualifying purchases.


More Chippy Painted Furniture Makeovers
- Chippy Paint Finish
- Black Milk Painted Dresser
- Repurposed Sewing Table
- Painted Display Cabinet
- Corner Cabinet Makeover
Follow us on YouTube to get more tips for painting furniture. Or share your project with us on our Facebook Group and be part of our community. See you there!

Awesome! An amazing transformation!
Great makeover! Love the drawer liners too.
Yay! Thanks Penny! Thrilled you love our dresser makeover!!