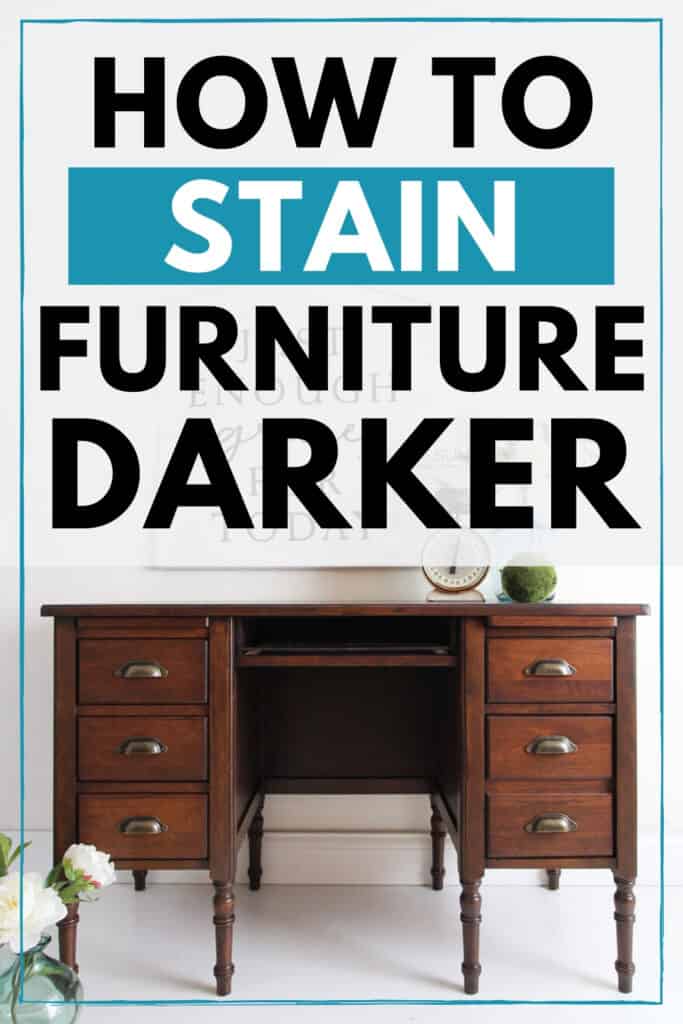
How to Stain Wood Darker


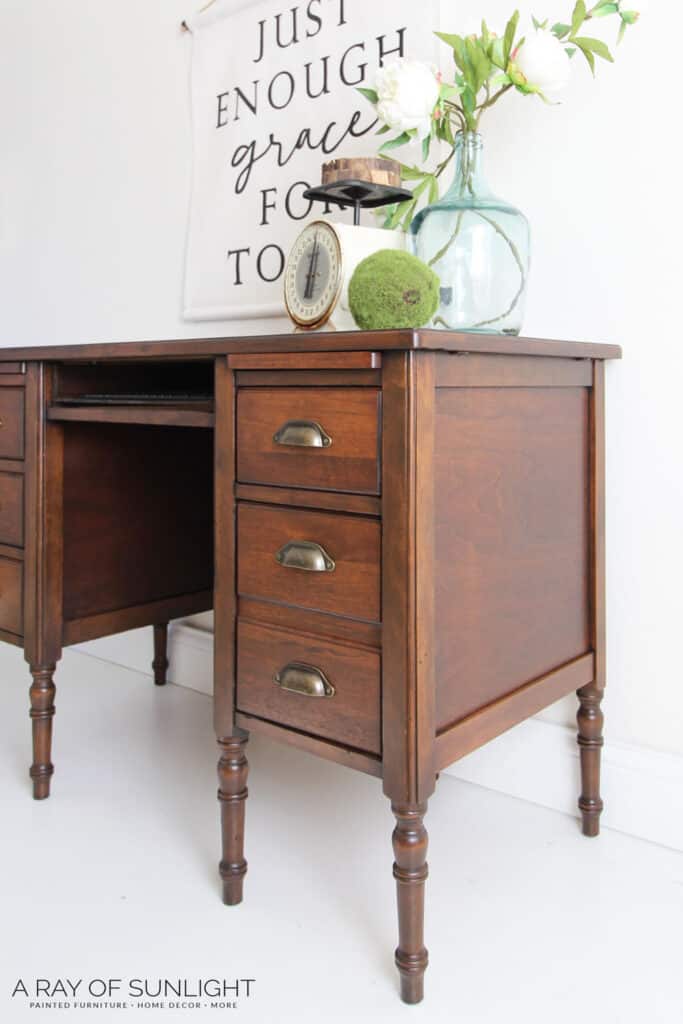
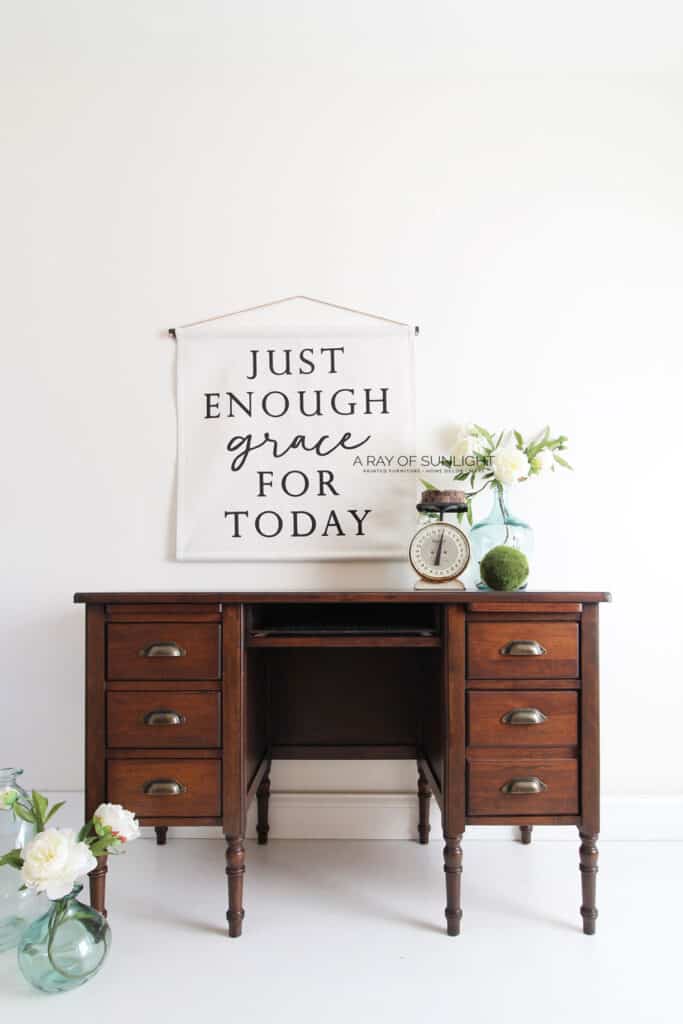
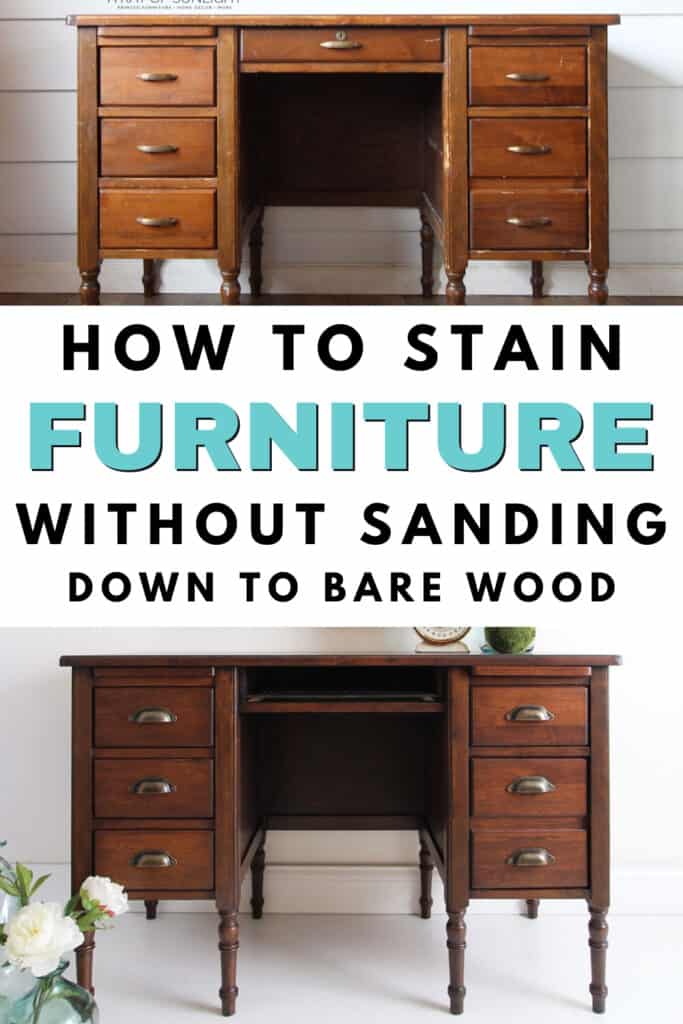
Are you tired of the light color of your wood furniture? Do you want a darker, more dramatic look for your home decor? Staining wood is one of the most popular ways to change the color of wood and here’s how to stain wood darker with this old antique desk as a great example! And you don’t even have to sand down to bare wood!
We’ll share with you some tips and tricks on staining wood darker and refinishing furniture techniques that will give your furniture a beautiful, rich look.

Staining wood furniture darker doesn’t have to be a huge project. It can actually be pretty simple! Stain typically needs to be able to soak into the wood to be able to stain it. If you put wood stain on something that isn’t porous, it will just rub off, leaving only a small trace of some stain.

Since wood furniture has been sealed with lacquer or polyurethane, the wood isn’t very porous, making it hard for any wood stain to soak into the wood.
Enter gel stain. Gel stain is a stain that can stain without having to soak into the wood. It basically sits on the top of the sealed wood, making the wood darker. But you can also still see the wood grain, just like traditionally stained wood!

sSupplies Used to Stain Wood Darker
As an Amazon Associate, I earn from qualifying purchases. I also may earn from other qualifying purchases with other companies or get free product to review and use. All opinions are my own.
- Krud Kutter
- 220 Grit Sandpaper (this is the best and my favorite sandpaper)
- Vacuum with Hose Attachment & Tack Cloth
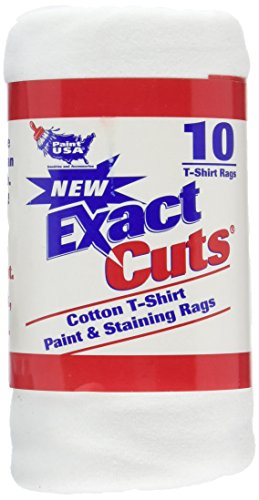
- Lint Free Rag
- Gloves
- Gel Stain (this Java Gel Stain by General Finishes is my favorite and what I used)
- Minwax Oil Based Poly (This is my favorite spray version! The spray is the best I’ve found! I don’t recommend Varathane oil-based in the spray can. With two different cans, it kept spitting large drops of polyurethane all over. It was a disaster.)
Check out the top furniture refinishing tools that will make your project perfect here.
Clean Furniture
First, clean your furniture with a grease / oil cutting cleaner. I like to use Krud Kutter. The surface needs to be free from any grease, oil, or gunk. Krud Kutter is a safe cleaner that really cuts through all of those things! Here’s more about how to clean furniture to guide you on this step.
Scuff Sand Furniture for Dark Wood Stain
You’re gonna want to skip this step. But don’t. Scuff sanding gives the gel stain something to grab onto (think about how hard it is to hold onto something slick. You can hold on for a bit, but if anything started to pull you away, you wouldn’t be able to hold on anymore.)
Trust me. My very first piece I gel stained, I skipped the scuff sanding step. A couple of months later I ruined my freshly stained dresser by sliding something on the top of it. Now it has a big ole scratch in it (only in the gel stain, the wood didn’t get scratched!)


Simply scuff sand with 220 grit sandpaper(this sandpaper is the BEST kind!). Rub it all over the dresser, making sure that it removes all of the shine.
Then remove the dust with a vacuum hose attachment and / or a damp lint free rag. For the best dust removal, I like to use these tack cloths! They pick up all the dust and don’t leave any lint behind!
How to Stain Wood Furniture Darker with Gel Stain
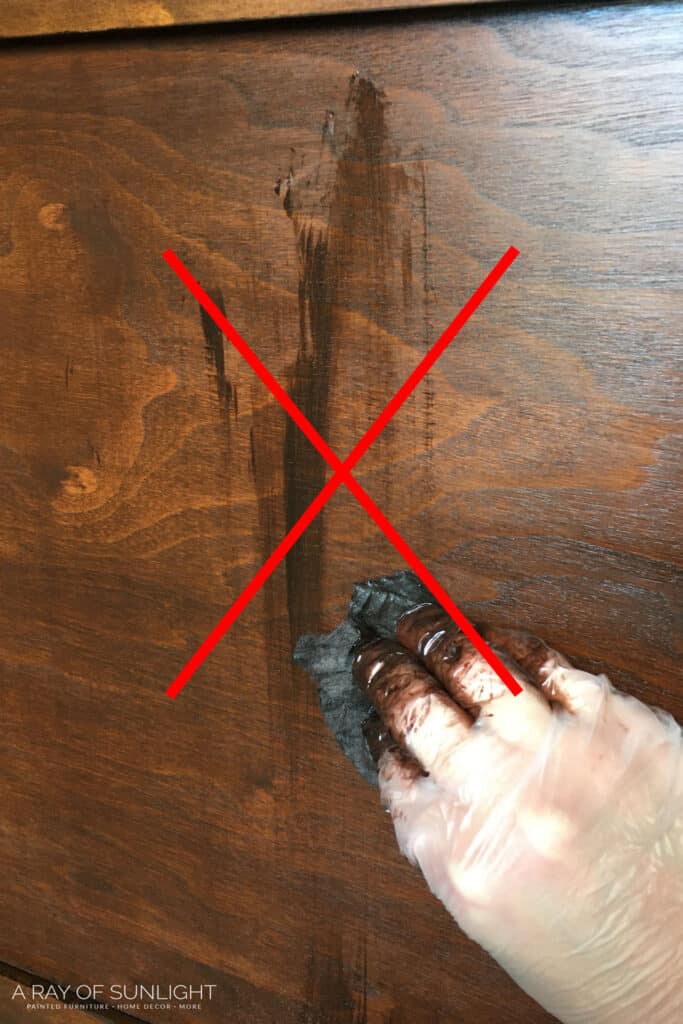
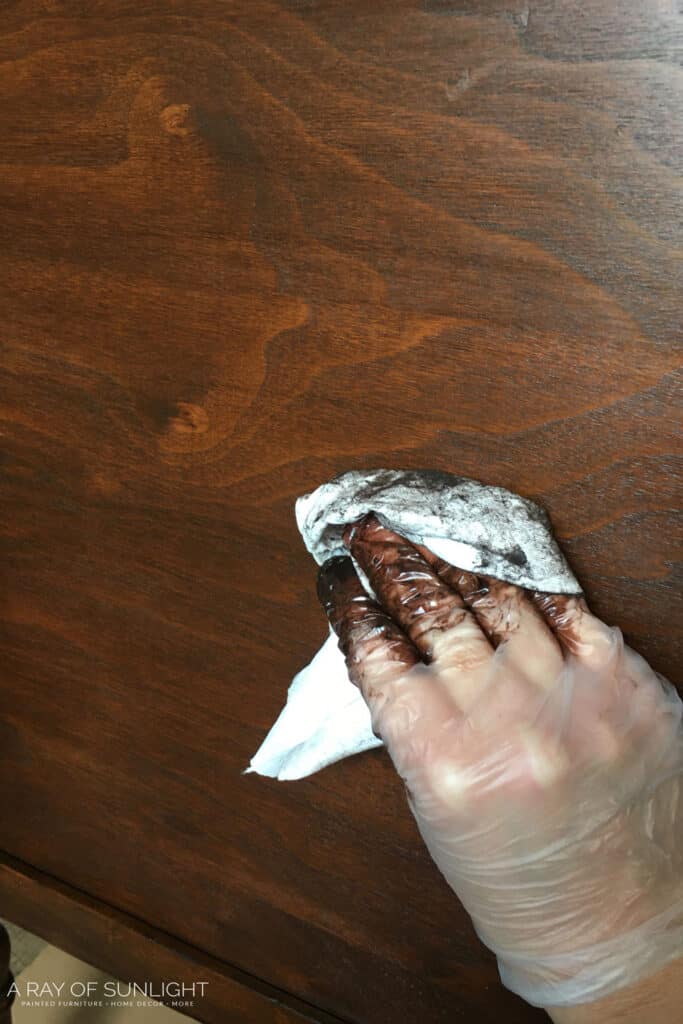
With a lint free rag (and gloves on your hands) wipe the gel stain onto your wood. Within about 20 or so seconds, wipe the gel stain back off with a clean lint free rag.
Most will advise you to brush or wipe it on and then leave it to dry. And then you build up layers until you have a super dark colored stain.
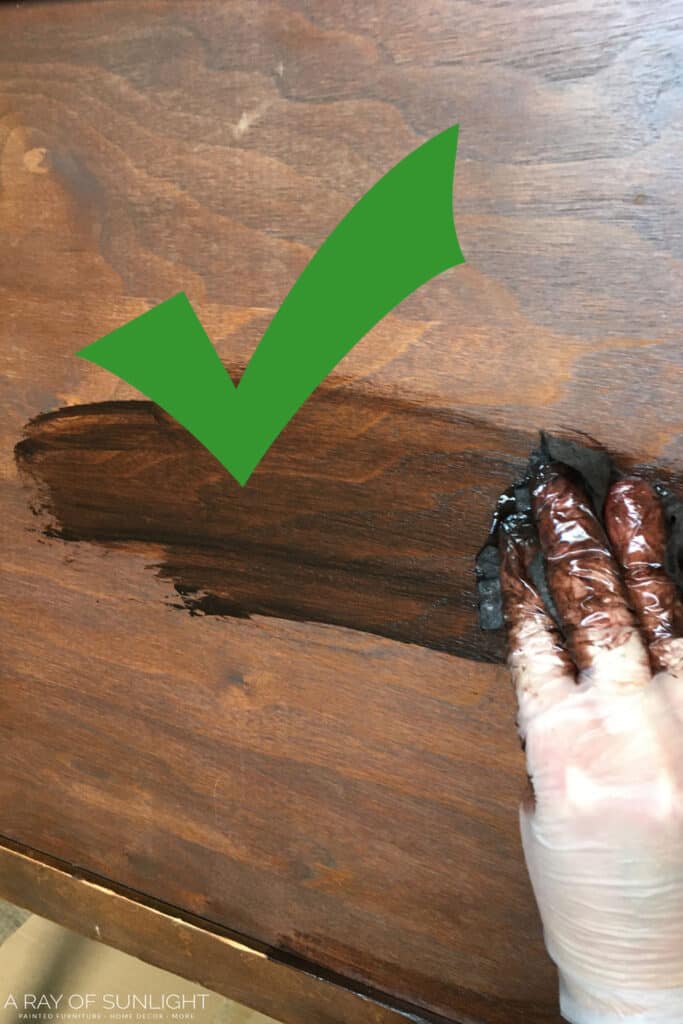
I personally don’t like the stain to be too dark, and I don’t want there to be streaks in the gel stain. So, by wiping it on, letting it start to set up a bit, and then wiping the excess away, you end up with a slightly darker stain and no streaks or brush marks.
If you’re wanting a drastic change in the color of your stain, you may want to put it on thicker and not wipe it back off. (See how to gel stain cabinets without wiping it back off here). Or, you’ll need to add multiple thin coats. (This desk got 2 thin coats of gel stain.)
Remember to wipe stain on with the grain. That way if you get any streaks, it will look like it’s wood grain. Learn more about how to stain wood with a rag here.
Apply Gel Stain in Small Areas
Gel stain gets tacky quickly, which means that if it sits long, you won’t be able to wipe it back off. So, work in small areas – wipe on, wipe off – and then move to the next area. I consider each drawer an area, each side of the desk an area, and the back I split into 3 areas.
Gel Stain Over Gel Stain
You might end up with a spot that is lighter than you want it to be, so you think that you will just go back over it with another quick round of gel stain – before the first gel stain completely dries.
You’re probably going to regret it. If you wipe a glob of gel stain over an area that has fresh gel stain, you’ll reactivate the gel stain and end up wiping it away. Putting gel stain on top of fresh gel stain removes some of the fresh gel stain.
If you accidentally left too much gel stain on an area and it’s too hard to wipe away, putting some more gel stain on top of it will make it easier to wipe the first round of gel stain away. Hopefully that makes sense!
If you need to remove your old finish and start fresh, here’s restaining furniture and how to restain wood to get more information about that technique. Here’s can you stain over paint for a more detailed guide on staining over paint.
Check out my list of the best wood stains for refinishing furniture you can use here. You can also use Retique It to stain furniture – here’s how to use Retique It to learn about this product and how to apply it.
Dispose Stained Rags Properly
Dispose of your rags properly! Do not throw wet stained rags into the trash, as they could combust. I personally like to hang mine up outside on the clothesline to dry completely before disposing of them. Here’s more on how oily paint rags can spontaneously combust.
Let Gel Stain Dry for 24 Hours
Before you add another coat of gel stain, you want the gel stain to dry for 24 hours. If you don’t let it dry completely you will wipe away the 1st coat of gel stain. So just be patient while it dries.
How to Make Stain Darker
If you want it darker, you’ll need to do another coat (or 2 or 3 or 4 coats haha) until you reach how dark you want the stain to be. Then be sure to wait 24 hours before you move onto the next step.
Protect Dark Stain with Polyurethane
Finally! If you want all of your hard work to last a long time, you will need to put a few coats of polyurethane over the gel stain. The polyurethane will protect your stained surface from getting easily scratched! This step goes a lot faster though, promise!
Would you like to save this?
I personally like to use this Minwax oil based poly in the spray can. It sprays beautifully and is really easy to use! It also is a quick process since it’s the fast drying formula. Be sure to shake the can very well for 2 minutes before spraying.
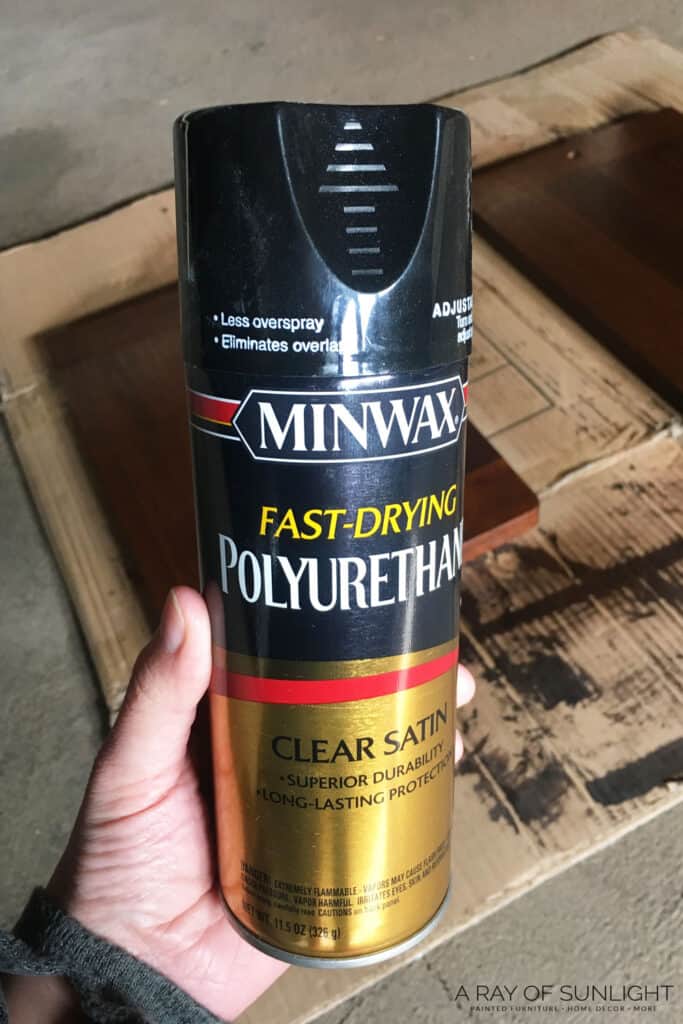
Spray your first coat (be sure to spray it thin), and then let it start to dry. You want to spray another coat on within 2 hours. Learn more about the features, pros and cons, and how-to’s of Minwax polyurethane spray here.
**In a pinch, I tried the Varathane brand of oil based poly in the spray can and it spit and sputtered all over. (I tried two separate spray cans and both spit large drops of poly all over). Despite shaking them very well before spraying and shaking the can a lot while I was spraying.
So I switched back to the Minwax brand and I was reminded by how well the Minwax oil based poly sprays from the spray can!
If you don’t want to spray, this Minwax wipe on poly is my next favorite way to seal gel stain. I wipe it on with a lint free rag, laying it on thick and only wiping it on (and not touching it anymore than when I wipe it on).
Step back and admire your creation! Let your poly dry for at least 24 hours before setting anything on it. Then make sure to be very careful with your fresh new stained finish for about a month. It takes about a month for the products to cure (dry into the most durable surface).
Check out more ways how to change wood color without sanding off the old finish here and make decor changes whenever you want.
More Before and After Makeovers
See All >
Click any of these “before” photos below to view the “after” of that makeover.


How Much Gel Stain Do I Need?
I have a pint sized can of gel stain that I’ve used for many many many projects. This desk used only 1/8 of the can probably. A little bit goes a long long way! I used one can of spray polyurethane on this desk.
How to Change Dark Wood Stain to Light
If you’ve ever stained wood and ended up with a color that was too dark for your liking, you can easily change it to a lighter shade. To lighten dark wood stain, you’ll need to use a chemical stripper to remove as much of the existing stain as possible.
After stripping off the old stain, sanding down the surface can also help remove any remaining traces of dark color. This will also help even out the wood’s surface and prepare it for a new coat of stain.
You can also bleach the wood instead of using a stripper. This involves applying a chemical bleach solution to the wood and letting it dry under the sun. We have a more detailed guide on how to bleach wood here you can follow.
Whichever method you use, once you’ve removed the old stain, it’s time to apply a new, lighter shade. Start light and if you want it a bit darker, you can always add more coats until you reach the color you want. Here’s more on how to change dark wood stain to light if you’re looking to lighten up your furniture.
So there you have it, a simple and easy way how to darken wood furniture without the hassle of sanding or stripping off the old finish. And if you find that the color is now too dark, you can always lighten it up.


How To Stain Wood Darker
Here is how to stain wood darker with this old antique desk as a great example! And you don’t even have to sand down to bare wood!
Materials
Instructions
- First, clean your furniture with a grease / oil cutting cleaner for the surface to be free from any grease, oil, or gunk.
- Scuff sand the furniture to give the gel stain something to grab onto. Rub sandpaper all over the dresser, making sure that it removes all of the shine. Then remove the dust with a vacuum hose attachment and / or a damp lint free rag.
- Working in a small area and with a lint free rag (and gloves on your hands) wipe the gel stain onto your wood. Within about 20 or so seconds, wipe the gel stain back off with a clean lint free rag. Wipe stain on with the grain. Before you add another coat of gel stain, you want the gel stain to dry for 24 hours.
- Repeat until you reach your desired stain darkness.
- Protect your new stained finish with a few coats of polyurethane. Spray your first coat (be sure to spray it thin), and then let it start to dry. Spray another coat on within 2 hours. Let your poly dry for at least 24 hours before setting anything on it.
Recommended Products
As an Amazon Associate and member of other affiliate programs, I earn from qualifying purchases.


More Refinishing Furniture Resources
- How To Repair (And Stain) Chipped Veneer Furniture
- Refinishing an Old Dresser
- How to Remove Stain from Wood
- How to Remove Paint from Wood Furniture
- Painting Furniture Gold
Follow us on YouTube to get more tips for painting furniture. Or share your project with us on our Facebook Group and be part of our community. See you there!
Can you use one color of gel stain to stain different woods to make them match? I have some oak, some maple, & some laminate and want them to go together.
.
If you use more coats of gel stain it can help the different woods match better than traditional wood stain.