How to Remove Old Stain from Detailed Wood
Have a piece of furniture that is just screaming to be refinished? But you don’t know how to remove stain from wood? You’re in the right place! I wanted to strip the stain from at least part of this buffet! I mean those curves, those amazing details! Ah!
Learn more about refinishing furniture here!
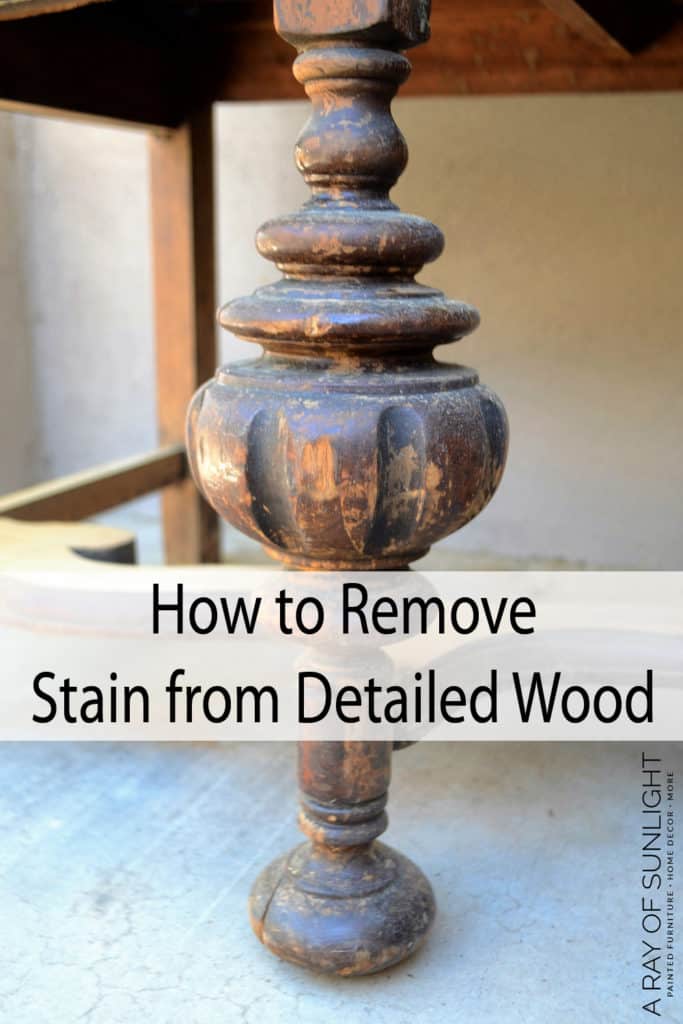
But, what about getting into all of those details to get all of the old finish off? What a pain!!
It’s actually not THAT bad. Let me show you!
I found this old buffet with these amazing turned legs this week. When I saw it I just knew I wanted those pretty legs to come back to life with fresh stain.
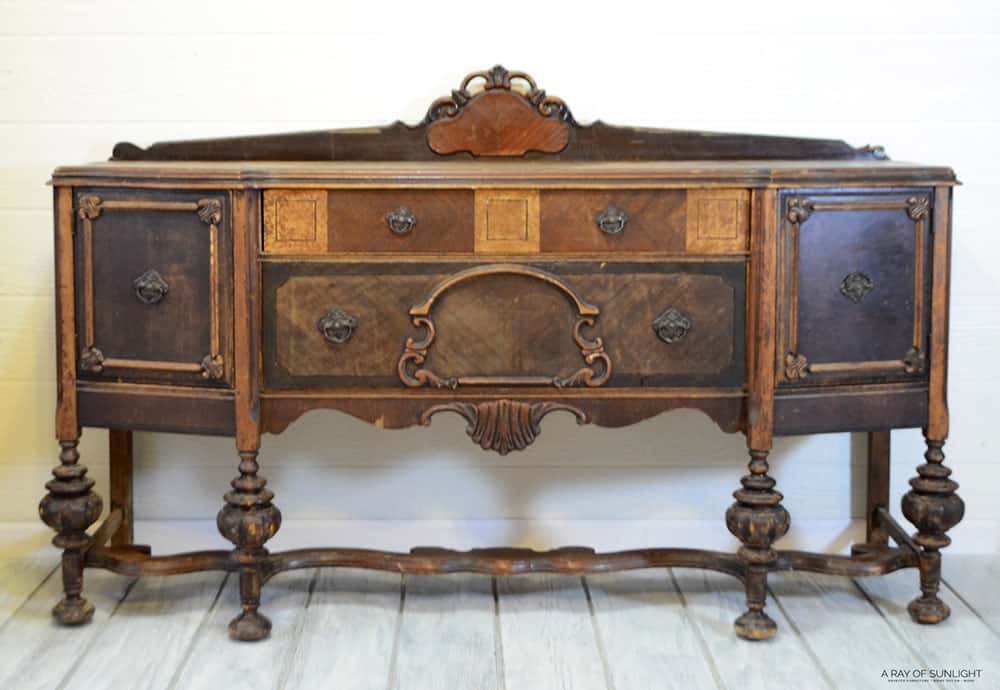
I definitely didn’t want to cover them up with the same old chalk paint we always do.
At this time, I hadn’t spent too much time removing an old finish from detailed wood so I was a bit nervous to go for it on such an amazing piece.
So I searched and searched for guidance on how to strip stain from wood.
I found a couple of written out tutorials on stripping detailed wood, but mostly I found tutorials on stripping stain from a flat surface. UGH! I needed something MORE.
And when I couldn’t find what I was looking for, I decided I needed to change that. So without further ado…
How to Strip Wood Stain from Detailed Furniture
**Update** Since I wrote this tutorial, I have used this exact method many times with great results. I added more photos of the process from another buffet that I removed the stain from.
Well, I’m not going to lie. It CAN be a pain. But once you make these products do the heavy work for you, it’s really not so bad.
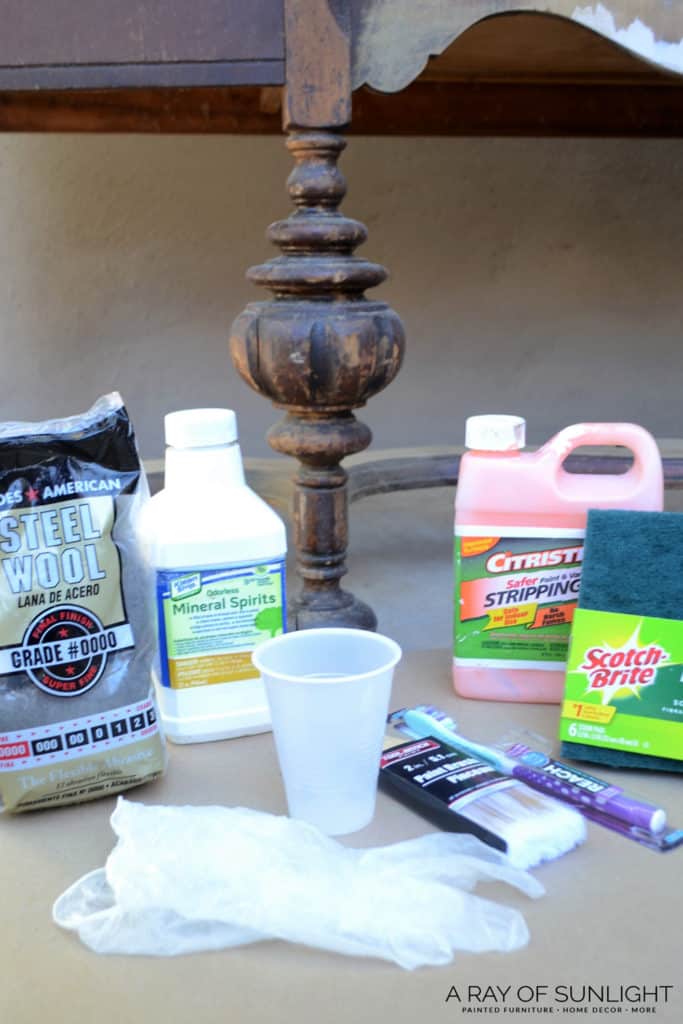
Supplies Used to Remove Old Stain from Detailed Wood
As an Amazon Associate, I earn from qualifying purchases. I also may earn from other qualifying purchases with other companies or get free product to review and use. All opinions are my own.
- Citristrip
- Cheap Paint Brush
- Gloves
- Cardboard Box or Dropcloth
- Scotch Brite Pads
- Steel Wool
- Toothbrush
- Mineral Spirits
- Plastic Cup
The trick is to choose the right wood stripper and use the right process!
Does Citristrip Remove Stain?
But will Citristrip remove stain? YES! It can and will remove old stain. It can even remove paint from wood furniture! Will it even work??
Citristrip is the best stripper out there because it doesn’t have a harsh smell like most of the other strippers out there which is so much better for our health. And it actually works!
How to Use Citristrip
First, take your piece out to a well-ventilated area. Citristrip says it is safe for indoor use, but between Citristrip and Mineral Spirits, you’ll want to get fresh air while you work.
Make sure to lay a drop cloth, a piece of plastic, or a cardboard box under your piece if you don’t want the ground to get messy.
How to Apply Citristrip
After pouring a bit of Citristrip into a metal bowl, brush on the stripper, being very generous as you go. Brush the Citristrip on THICK. The thicker it is, the less it will dry out. So get it as thick as you can without it running down the sides.
I recently tried a new chemical stripper that I love even more than this method. Check out my Stripwell QCS review to see why I like it!
Then cover it with some plastic wrap. Make sure the Citristrip stays wet. Once it dries up it won’t work.
If you’re in a hot/dry climate, wrap your wood with plastic wrap or plastic bags. Any brand is fine! The important thing is to make sure the Citristrip stays wet.
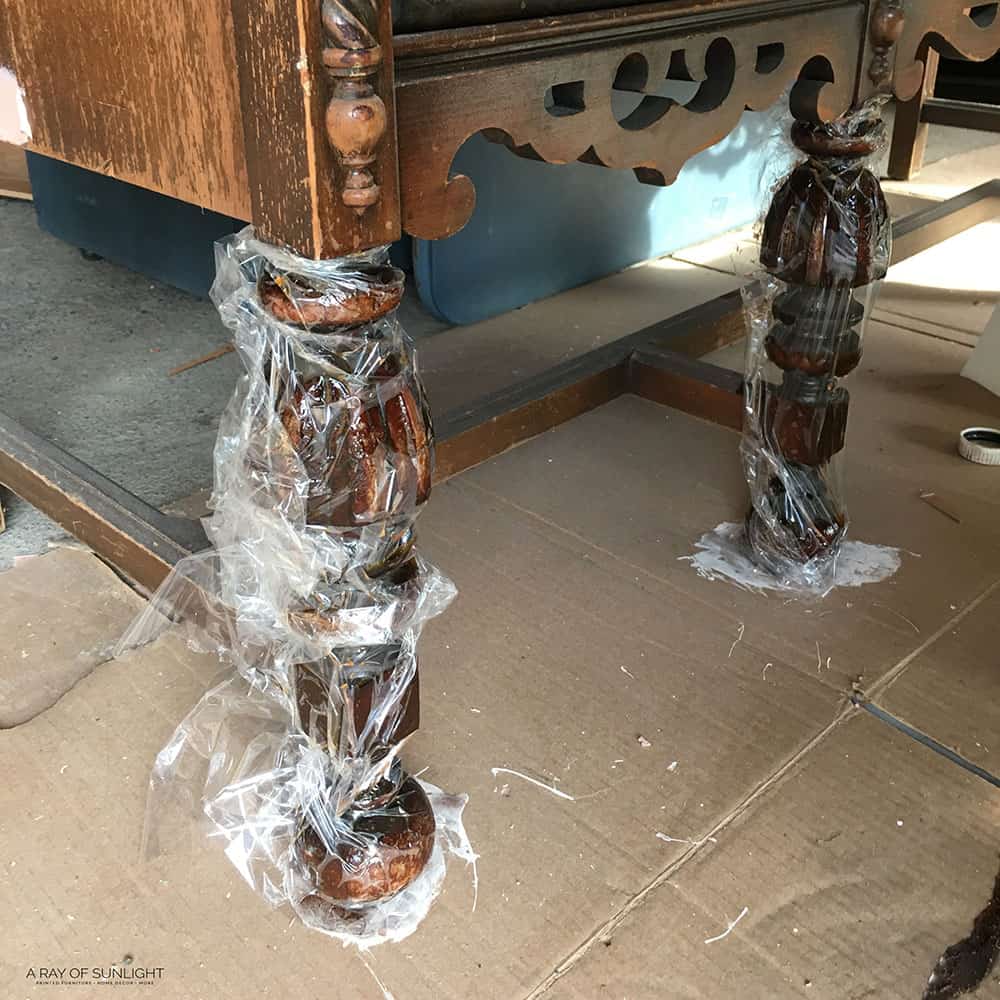
Citristrip needs some time to work. The bottle says that it works after 30 minutes. But I personally like to leave the Citristrip on overnight.
And honestly, from my experience, you can’t have Citristrip left on too long. (If you leave it on too long, it will just dry up. You can apply more Citristrip over it to reactivate it.)
I’ve left it on for a few days, and it hasn’t damaged the wood, but it has still taken off the old stain. Not that I would recommend it, but if time gets away from you, it is possible to leave it on without damaging the wood.
You can brush on the Citristrip in the morning and start stripping it off in the evening, just make sure your piece isn’t in direct sunlight, or a very warm area so the stripper doesn’t dry prematurely.
I left mine overnight, for about 13 hours. Test a small area to make sure the finish is coming off fairly easily before proceeding.
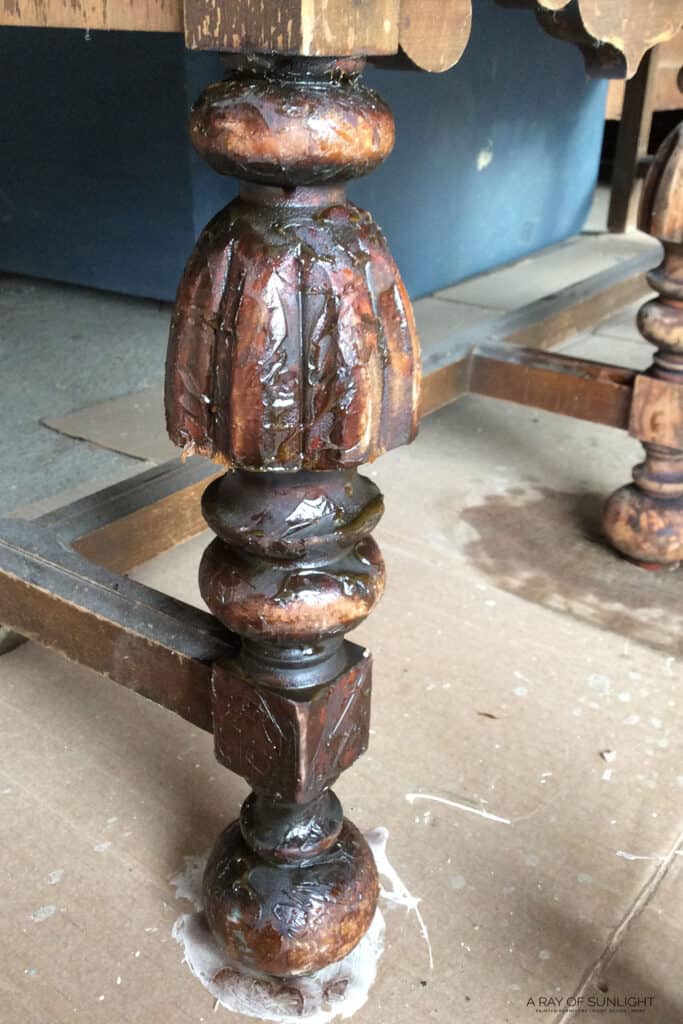
How to Remove Citristrip
Before removing the Citristrip and the stain, test a small area to make sure the old stain (or paint) is easily coming off. If it isn’t easily coming off, leave the stripper on longer.
Pour some mineral spirits into a cup and get out all your scrubbers. Make sure you put your gloves on for this, or your skin will be on fire afterward.
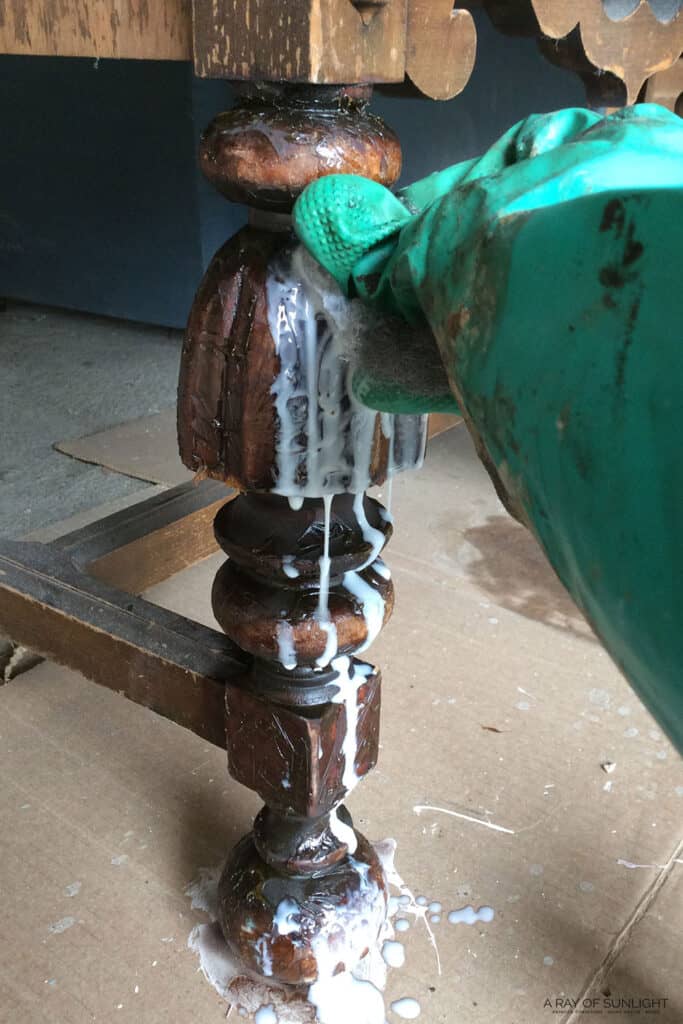
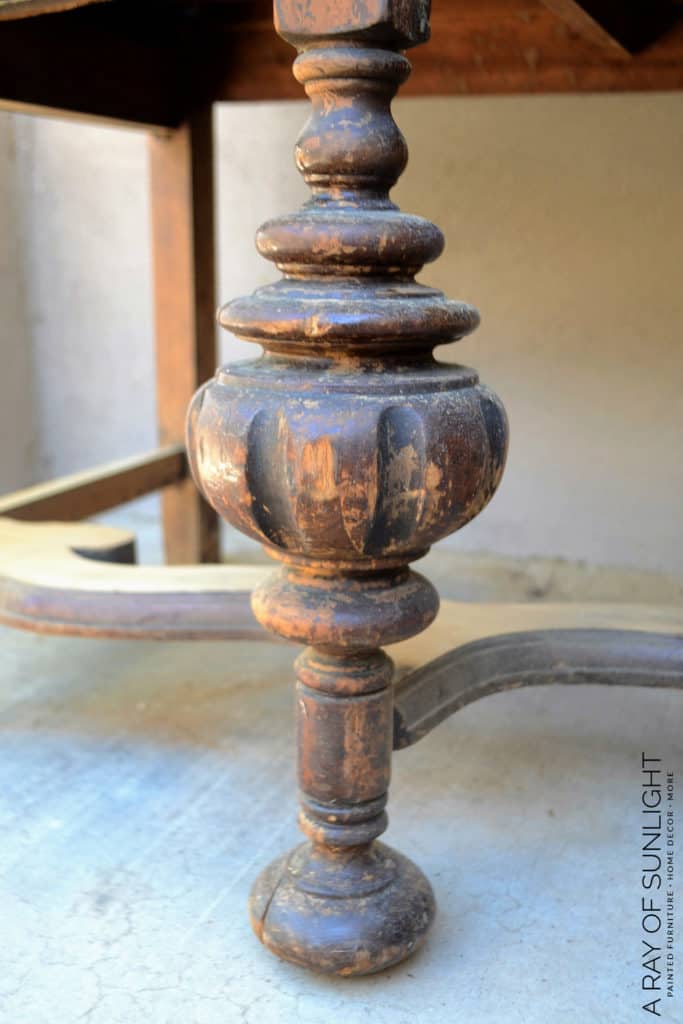
Dip your preferred scrubber into mineral spirits and start scrubbing away. Each leg took me about 15-20 minutes to scrub down. I probably could have spent even more time than that!
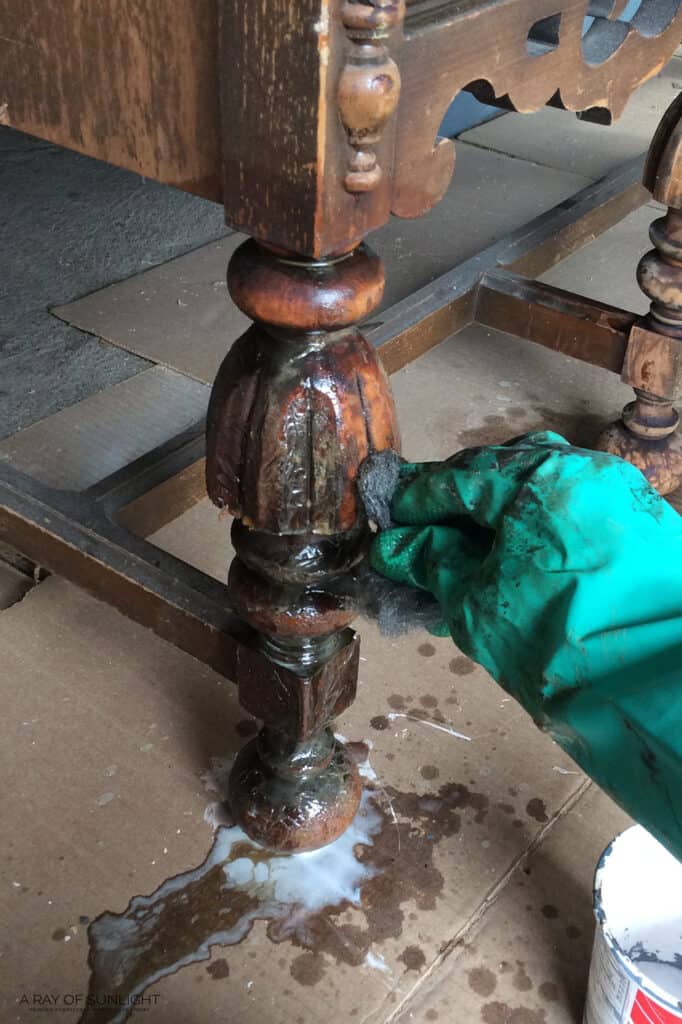
Be as thorough with it as possible so your new finish will look polished and not splotchy.
If there is any sticky residue left behind, scrub it off with some more mineral spirits. The mineral spirits will break up the gunk and remove it from the surface.
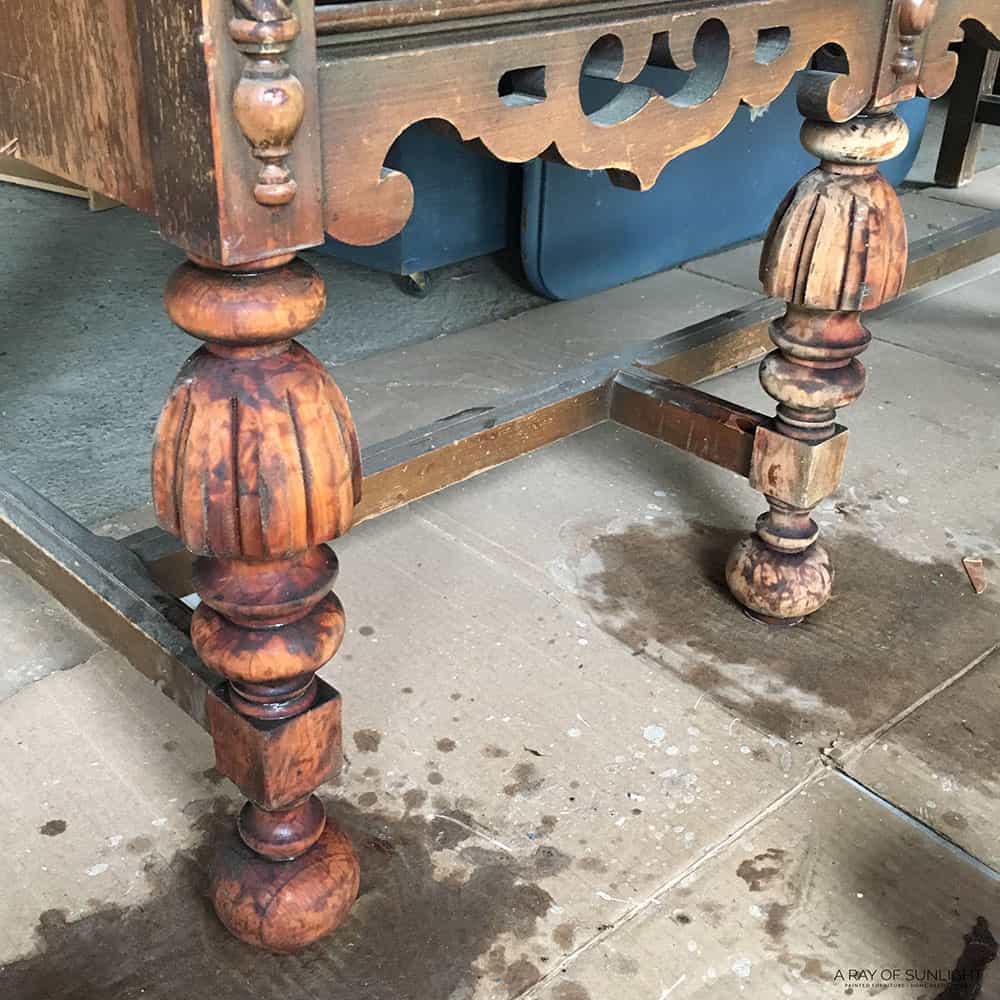
Then let the wood dry for a day or two. (Depending on the weather.) Once it’s dry, you’ll be able to see what it truly looks like.
More Citristrip Tips
Use the toothbrush to get into tight areas. If you have even tighter areas than me, a toothpick and Q-tips will help you immensely.
Go over the bigger areas with a Scotch Brite pad or steel wool. Whichever you prefer. I seem to like to go between the two.
Scrub the entire area until the finish is completely removed. If it is particularly tough in an area, brush on some more Citristrip, let it do its thing for an hour or so, and try again.
Check out some more tips and tricks on how to remove stain from wood without sanding here.
Remember, wood sometimes can have funky grain. It may look like leftover finish, but it may just be the crazy grain of the wood. Here is a video of the process!
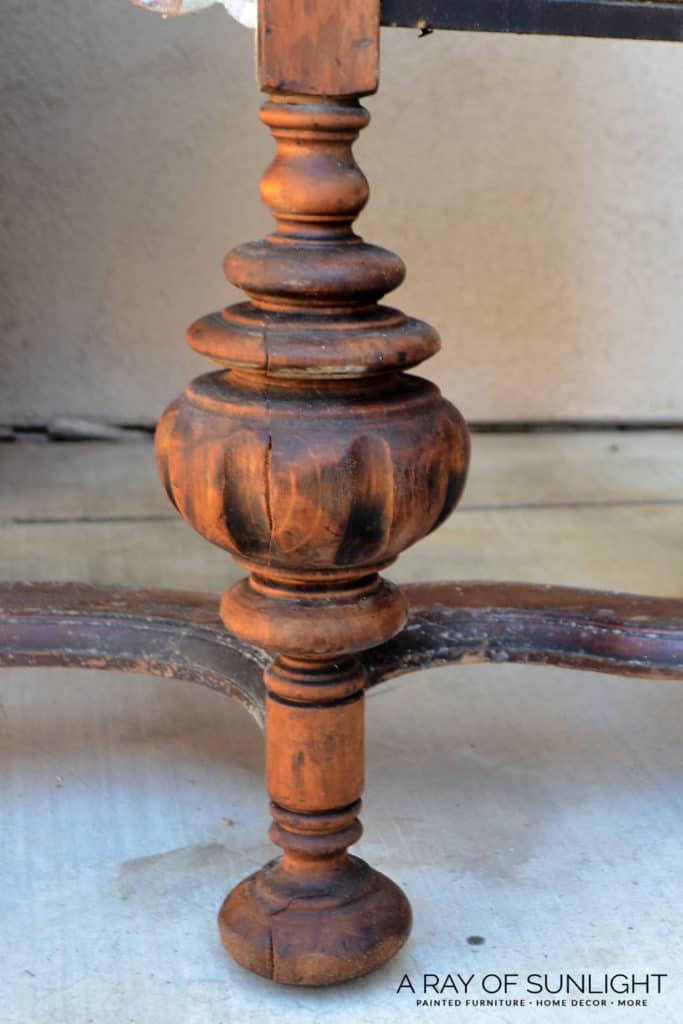
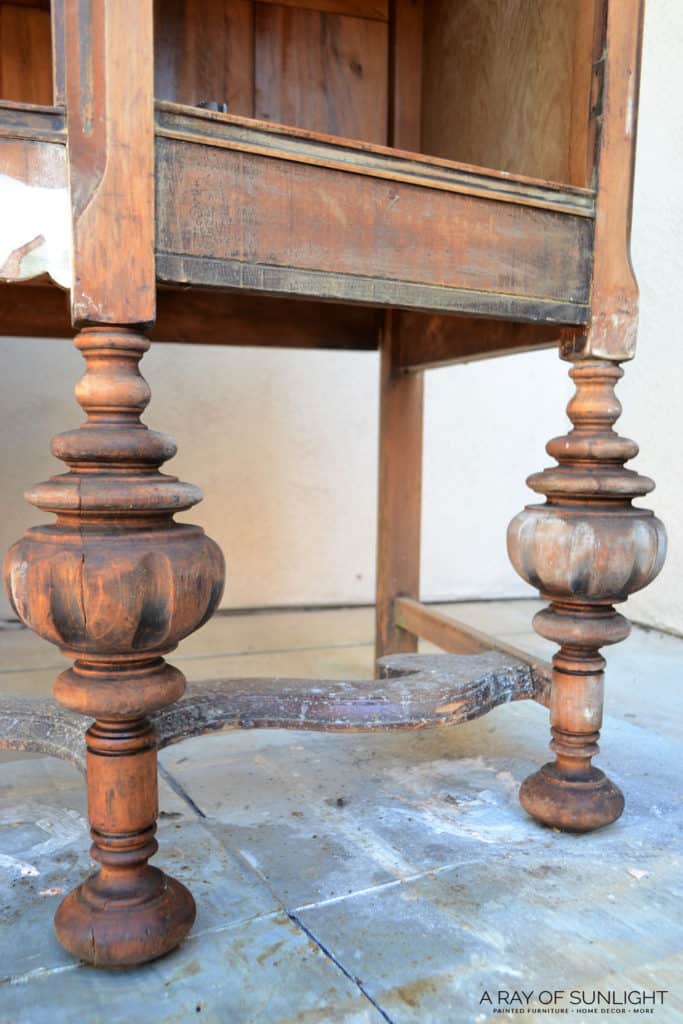
More Before And After Makeovers
Click any of these “before” photos below to view the “after” of that makeover.
How to Refinish Stripped Wood
When the stain or paint is removed, let the wood dry completely. Depending on your climate, this could take a day or more.
Then you can go over everything lightly with some fine-grit 220 sandpaper to make sure the wood is uniform, neat and smooth.
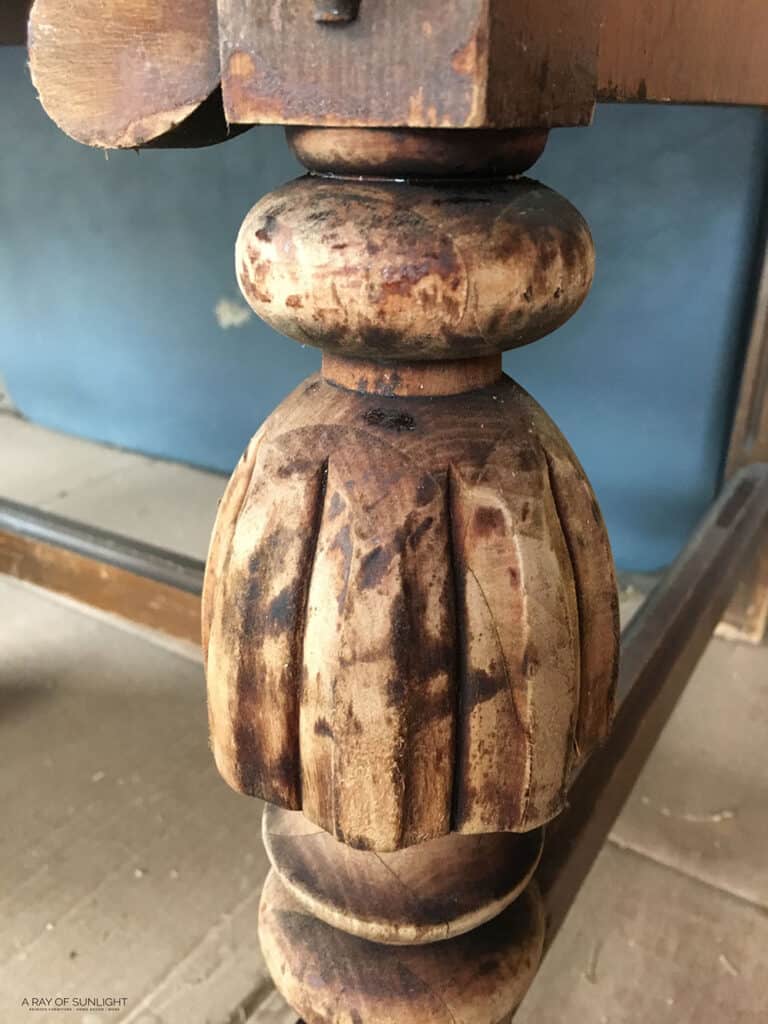
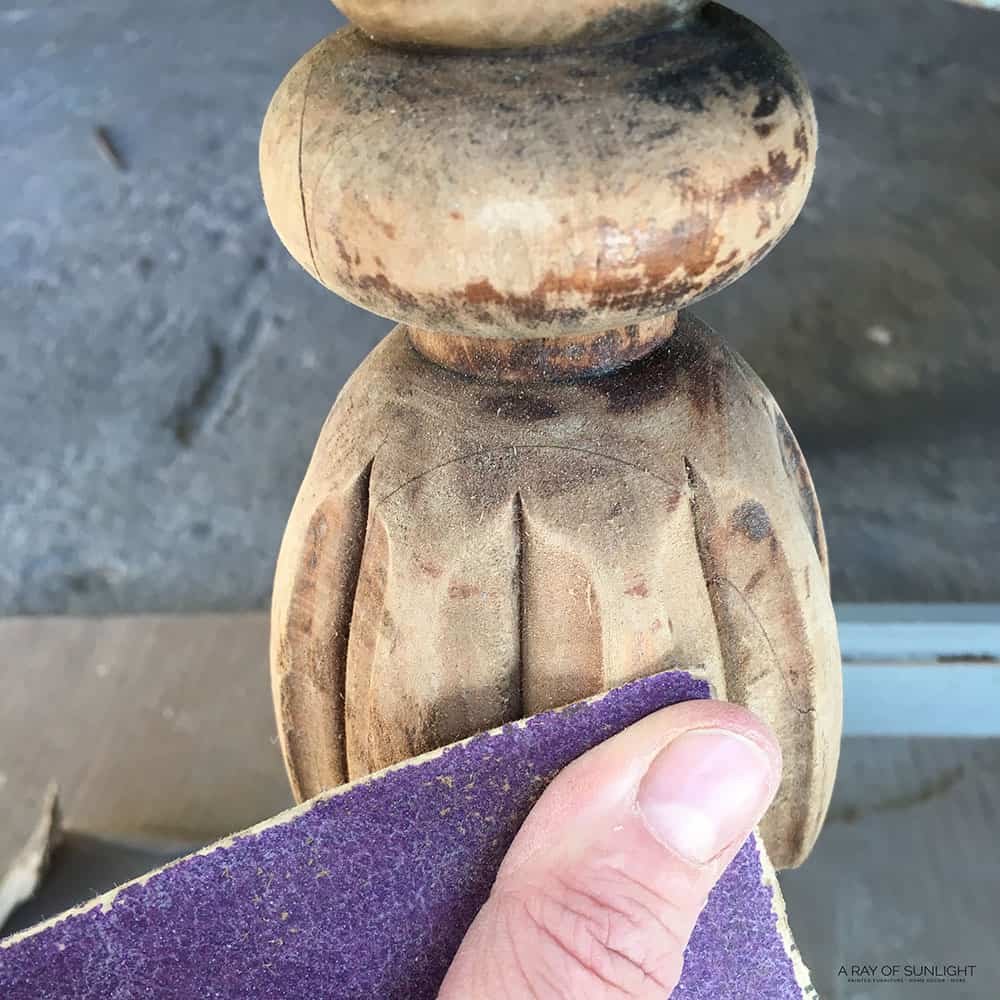
This is where a SurfPrep sander with foam pads will come in handy now that I have it. Once all the dust is wiped down with a vacuum and tack cloth, it is ready for its new finish!
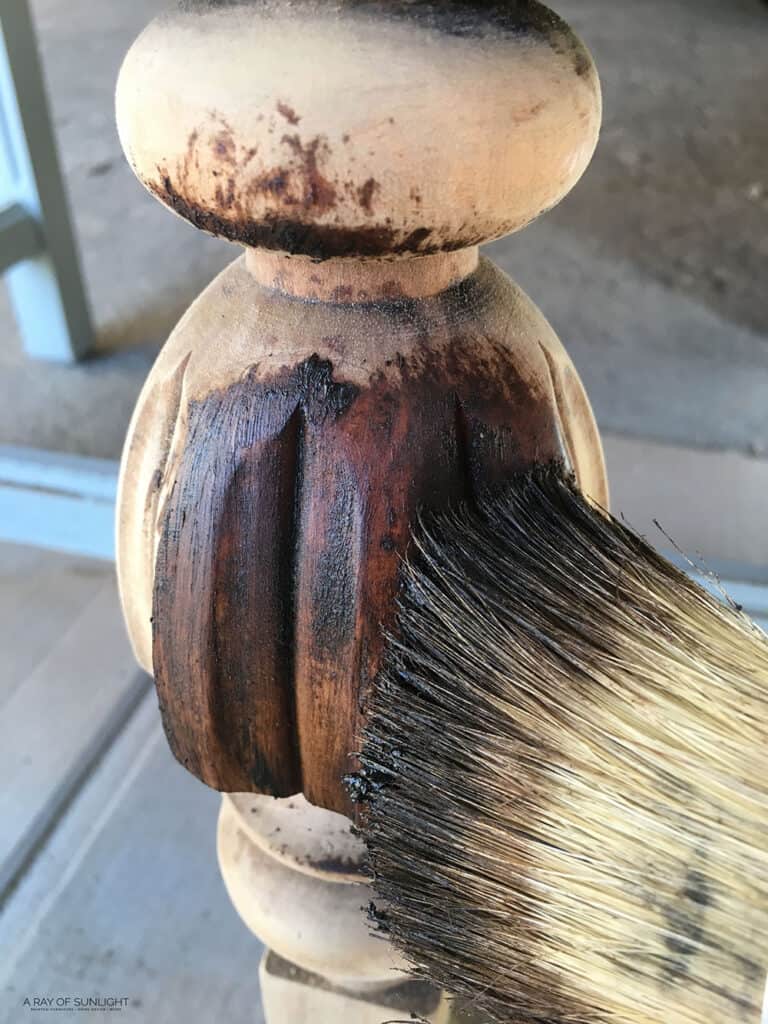
On this other buffet’s legs, I applied a coat of dark wax to stain them and seal them at the same time. Check out the top furniture refinishing tools that will make your project perfect here.
See how this antique buffet turned out painted and refinished!
How to Bleach Wood
If the wood is still not very light, you can bleach the wood to make it lighter! Check out this post on how to bleach wood, to see how homemade bleach can make wood lighter!
Also, learn how to refinish a dresser where I stained the furniture lighter.
See, it wasn’t that bad once you turn your favorite jams on! Now, what project can you tackle that you didn’t think you could before? I would love to hear from you below in the comments!
Get the Secrets!
Grab this super convenient How to Repair Furniture Ebook with all of our secrets on how to repair furniture for only $14.
You can print it out and have instant access whenever you come across damaged furniture, and know exactly how to fix it!
Click on the picture of the book to purchase!
more Furniture Staining Resources
- How to Restain Wood
- How to Refinish Wood Furniture Legs
- How To Stain Wood With Paint
- Best Wood Stain Removers
- Best Brushes For Staining Wood
Follow us on YouTube to get more tips for painting furniture.
Or share your project with us on our Facebook Group and be part of our community. See you there!


Omg.. I have the matching table and four chairs. I just bought them at a junk store. Thank you.. thank you for this posting. You really, really helped me. I will be referring to this post very, very frequently lol.
Great job!
Come over to my house to help with my bathroom vanity I will provide subs and beer or wine, whatever.
Thank you for this info. I have some pieces I need to try it on. This is really helpful. I just wish you would have showed a pic of what you did afterwards to this beautiful piece You left us hanging. 🙂
Hey Charlene!
The very first link in this post will take you to the post with photos and details on how we finished this buffet! Best of luck on your projects!
Natalie
If I bleach the furniture after removing the stain, can I restain a lighter color or will it react to the bleach absorbed into wood?
Hey Shelly!
Honestly, I’ve never actually tried staining after bleaching. But from what I’ve seen from others, you can do it without it reacting weird with the bleach. I would try to stop the bleaching reaction first though.
Brush on only as much stripper as you have the time to scrape after the paint loosens. If the stripper dries before you scrape it away, you ll have to reapply it.
That’s so true. Thanks for pointing that out.
Can you do this technique on flat surfaces?
Yep!
I have a beautiful four poster bed and it has some fancy work on it. I have been worrying about how to do this exact thing. Thank you. Now I can start my project. I want to as light as I can and whitewash it, very lightly . I am so excited now. Than you so much.
Thank you for the post. i know nothing about this and am currently stripping a table and chairs my cousin gave me. The chair seats and table top are like a reddish color with black distressed legs. I want the table top to be brown and have white legs. So I used the citristrip and cleaned up with mineral spirits. I can still see the reddish stain left over. I plan to sand the wood so that i can stain it the brown- but do i need to keep using the mineral spirits until all the color is gone? Thank you for your time.
Without being there, it is hard to say.
You might still get some residue when you wipe the wet wood, but I’m afraid that you haven’t stripped off all the finish yet if you are getting a lot of the reddish stain when you wipe.
You can let it all dry if you think you have most everything off and then finish it off when it is all dry.
Thank you for sharing. This is truly a masterpiece, beautiful finishing. I’m far away from receiving that stage but you are great inspiration.