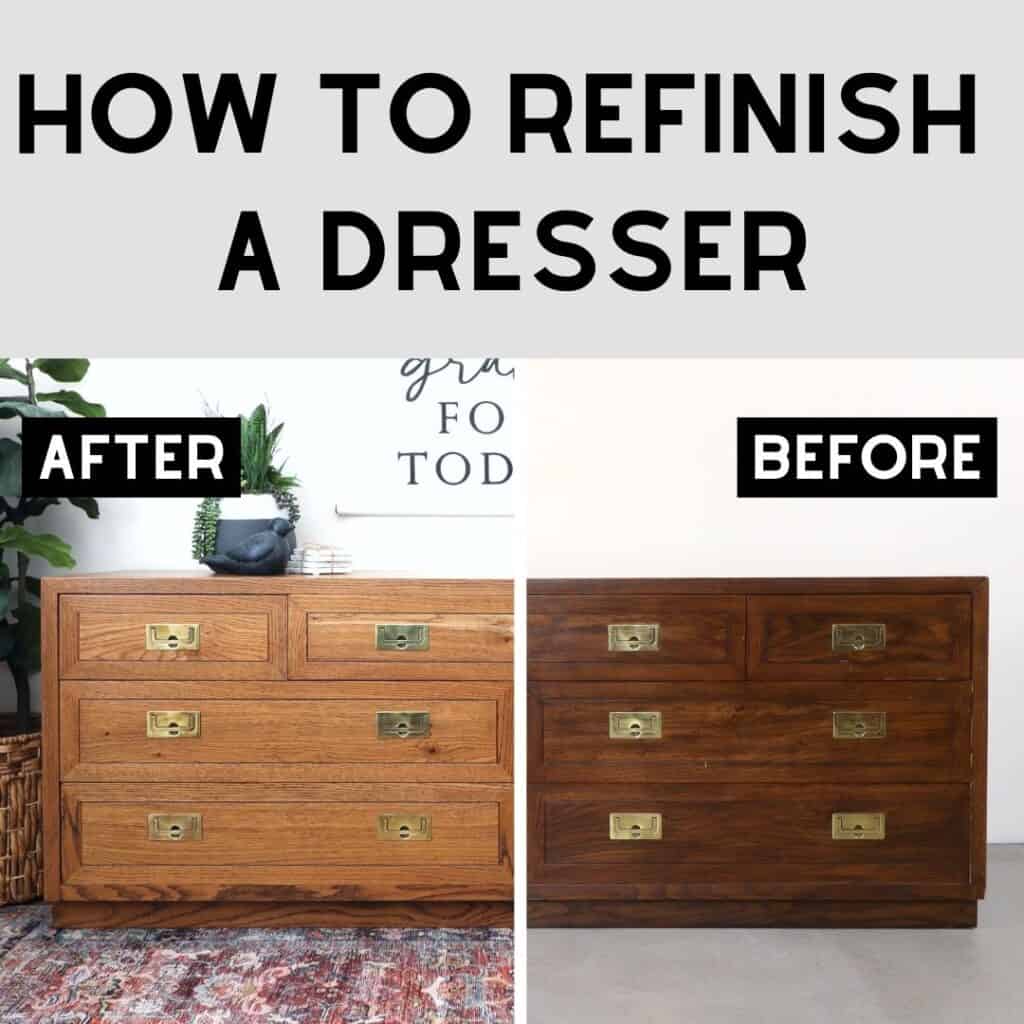
How to Refinish a Dresser


Refinishing a dresser is a great way to bring new life back into an old piece of furniture. With some time, patience and the right supplies, you can give your dresser a beautiful makeover. In this blog post, we’ll look at how to refinish a dresser using low VOC products that won’t harm the environment or your health.
There are countless refinishing furniture techniques, but for those looking for an eco-friendly option, using low VOC products is the way to go.
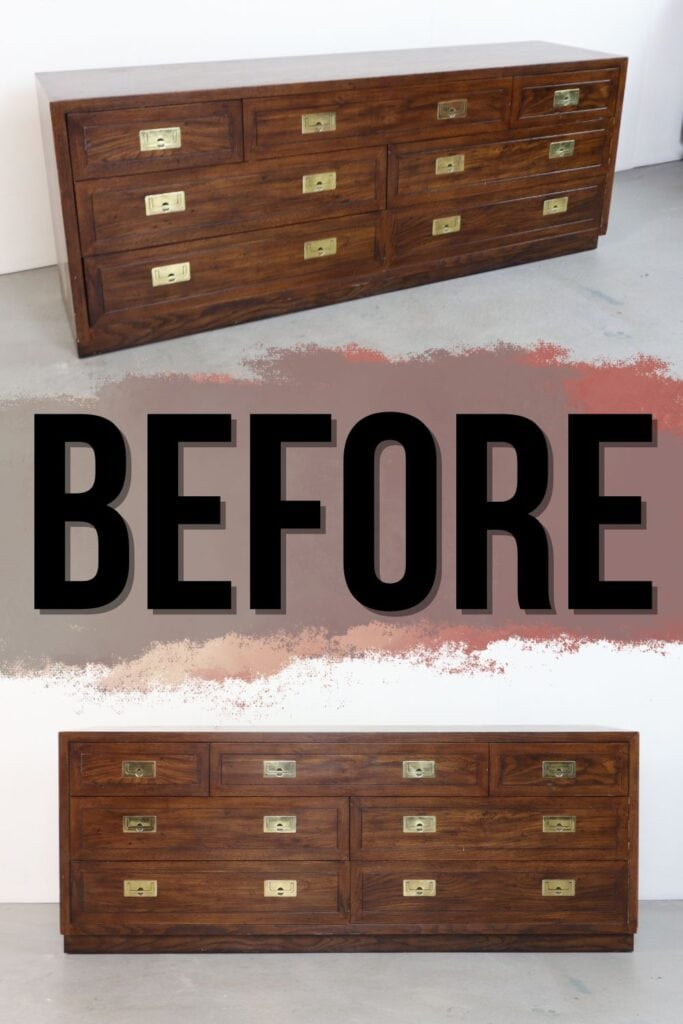
This Henredon, high end dresser needed an update. It had scratches on the finish, and I just wanted a lighter look. But it’s freezing outside, so I wanted to stick to only low VOC products that I could use indoors.

One of the biggest benefits of refinishing a dresser with low VOC products is that they are much less toxic than conventional finishes.
Low VOC (Volatile Organic Compounds) products are safer for people and pets since they don’t emit noxious odors or dangerous fumes. Low VOC products are also better for the environment since they contain fewer harmful compounds that can end up in our waterways.

Supplies Used for Refinishing a Dresser
As an Amazon Associate, I earn from qualifying purchases. I also may earn from other qualifying purchases with other companies or get free product to review and use. All opinions are my own.
- Screwdriver
- Stripwell QCS (Use code SUNLIGHT10 to get 10% off your order of Stripwell QCS!)
- Plastic Scraper
- 0000 Steel Wool
- Gloves
- Paper Towels
- 220 Grit Sandpaper (Use code RAY10 to get 10% off your order)
- Power Sander (Use code RAY10 to get 10% off your order)
- Shop Vacuum
- Tack Cloth
- Waterbased Pre-Stain
- Waterbased Wood Stain
- Zibra Fan Paint Brush
- Lint Free Rags
- Varathane Polyurethane
- Zibra Topcoat Brush
- 400 Grit Sandpaper
For must have refinishing tools and their uses, check out this post on essential furniture refinishing tools. Grab our list of 10 must have painting furniture supplies, too!
Refinishing Dresser
Instead of buying a new piece, refinishing allows you to transform your outdated or worn out dresser into a stylish and functional addition to your home. While it may seem like a daunting task, it’s actually a simple process that can be completed with just a few basic tools and materials.
First, we removed the old hardware with a screwdriver and then dove right into the process of lightening up this dresser.
Removing Wood Stain on Dresser
I tested a product new to me to remove the finish on the top. It’s called Stripwell QCS, and it’s a simple and safe, but effective stripper.
My goal with this makeover was to use safe products that wouldn’t stink up my house or harm me. And that’s exactly what Stripwell’s QCS is. They advertise that it is great for vintage furniture… and I wasn’t sure that this dresser really qualified. So I wanted to test it out first.
Sure enough, it worked just as advertised. Check out my Stripwell QCS review to learn more. (Use code SUNLIGHT10 to get 10% off your order of Stripwell QCS!)
Check out the best wood stain removers to learn more about the features and benefits of each product, including Stripwell QCS.
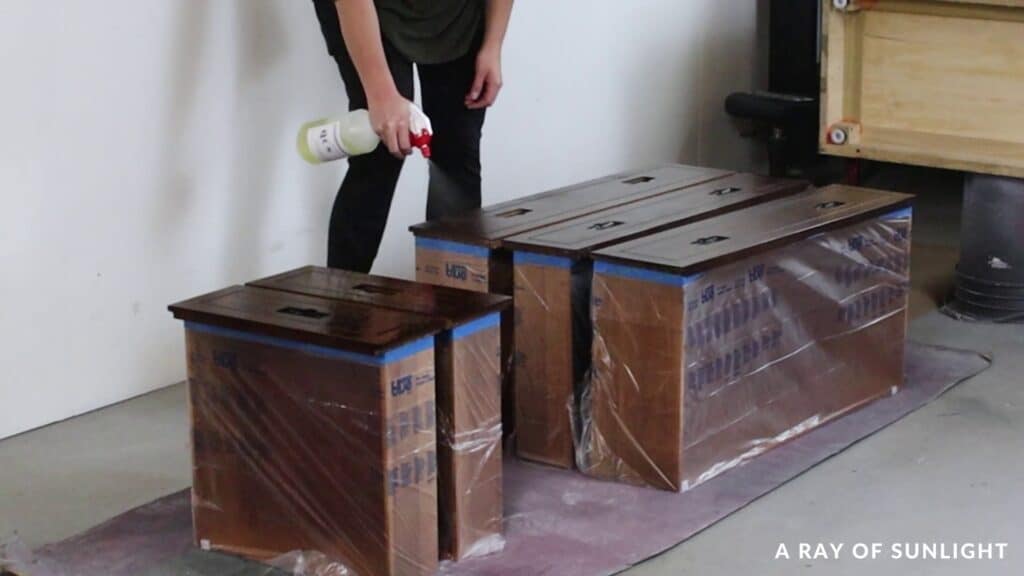
So, I continued on with the project and wrapped all of the drawers in plastic to keep the wood stain and stripper from getting all over them. And we laid the dresser on some buckets so I could work on it easier.
How to Use Stripwell QCS
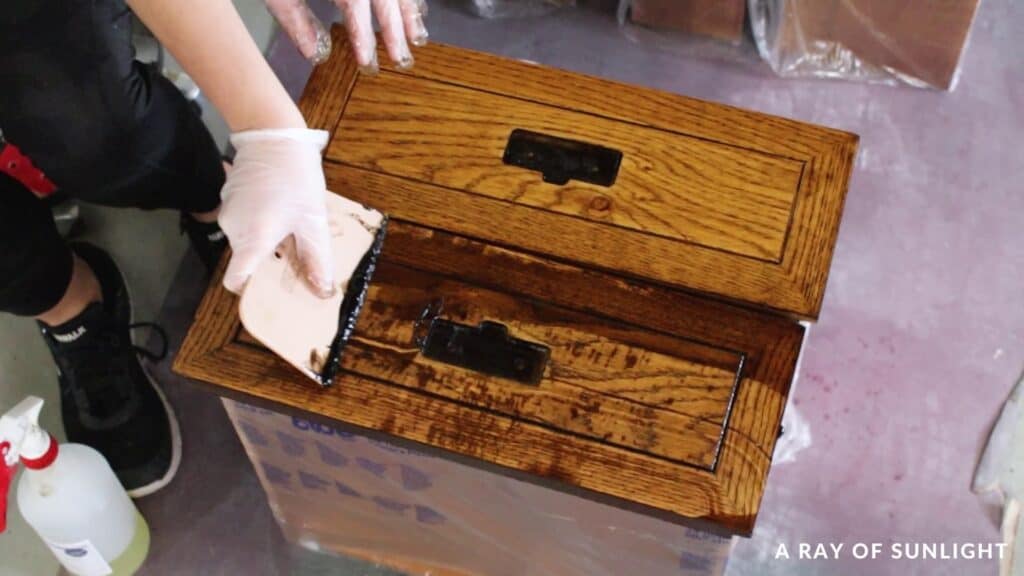
I sprayed a coat of stripper all over the dresser… in hindsight, I should have worked in sections instead of taking on the whole thing at once… but it ended up alright. I waited 15 minutes, and then sprayed on another coat and waited another 15 minutes.

And then I used a plastic scraper to remove the stain. I was so happy with how easily most of it came off! Then I used 0000 grit steel wool with some QCS on it to scrub off the stubborn spots and clean it all off.
I’ve used other chemical strippers in the past, and this stuff did just as well as the others! Check out this other post on how to remove wood stain to see another option.
The vertical surfaces were a little bit more of a challenge. I had put plastic on them to keep the stripper from running off, but I think the plastic wrap in this case made it worse. I had to spray another coat of stripper on these sides before I could get most of the stain off. So in the future, I would just skip the plastic wrap.
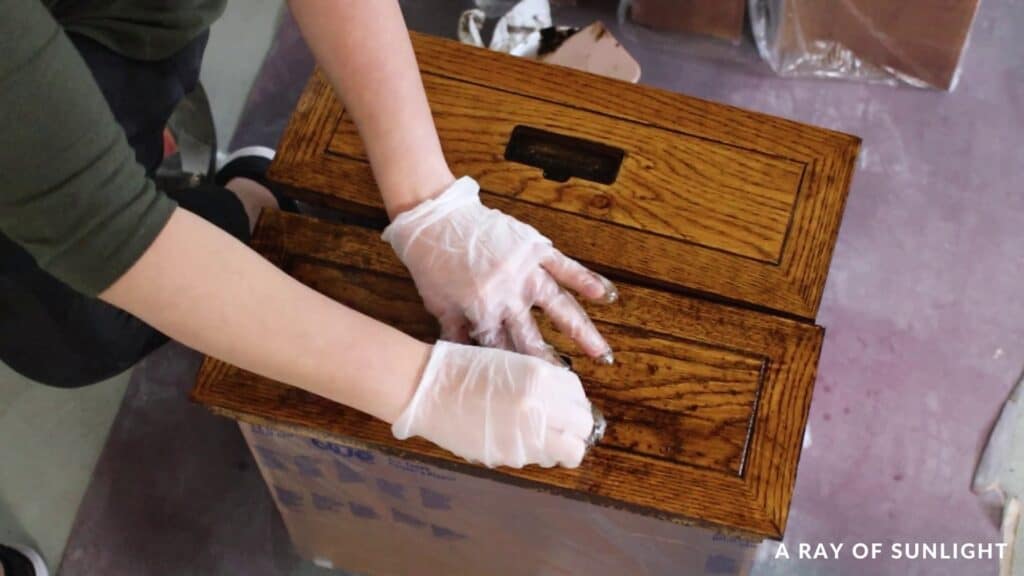
I repeated my process for each section. Scrape, spray some 0000 steel wool with the Stripwell QCS so I could scrub any remaining gunk off, spray a little more QCS on, and then wipe it all down with paper towels.
That’s it. This stuff isn’t flammable, and it’s almost completely non-toxic.
It took me 3 hours to remove all of the wood stain from this dresser, and I barely had a tiny bit of the stripper left when I was done. Not going to lie, I was worried that I was going to run out.
Can Stripwell QCS be used on all surfaces?
Yes, Stripwell QCS can be used on a variety of surfaces including wood and metal. Its liquid formula allows for easy application and is great for those hard to reach areas.
Unlike messy gels or pastes, Stripwell QCS leaves no residue behind and has no harmful odors. This makes it perfect for indoor use, where ventilation may be limited. Simply spray on and wipe away for a hassle free finish removal process.
Not only is Stripwell QCS easy to use, but it also does not contain any harsh chemicals such as Methylene Chloride or NMP. It’s a more natural, yet effective finish remover that’s safer for both the user and the environment.
Sanding After Stripping Wood
Then I let the dresser dry. The next day it was completely dry.
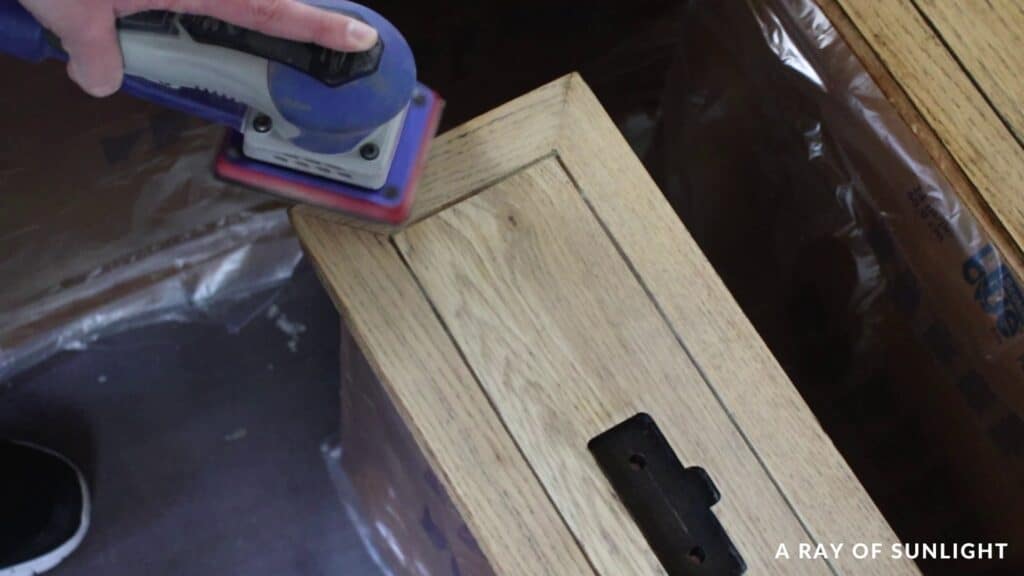
Then I sanded the dresser with 220 grit sandpaper and my SurfPrep sander, being careful, especially on the edges to not sand too much. Read this post to learn more about the best sanders for furniture and best sandpaper for refinishing furniture!
I didn’t know if this dresser was made with wood veneer, and I didn’t want to chance it. I also sanded with the wood grain. So, see all those lines in the wood? I stayed in line with those.
Would you like to save this?
Staining Dresser with Waterbased Stain
Sticking with the safe, low VOC theme of this project, I chose to stain it with waterbased wood stain.
First I wiped the dresser down with a tack cloth to remove all of the dust. Then I removed all of the drawers again and wiped on some water based pre-stain.

This stuff helps the wood absorb the stain more evenly. I followed the instructions on the can, wiping off the excess after a few minutes and then waiting for it to fully dry.
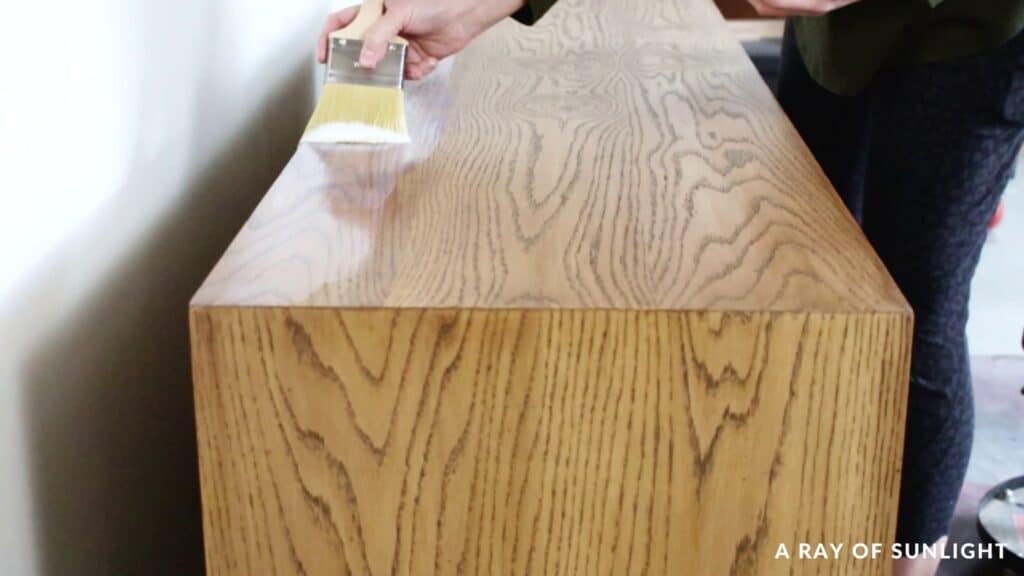
Then I used a Zibra fan brush to brush on the wood stain. I brushed it on thick and quickly, and in the direction of the wood grain. Waterbased wood stain starts drying quickly, so I like to apply it only with the direction of the wood grain if it dries too fast.
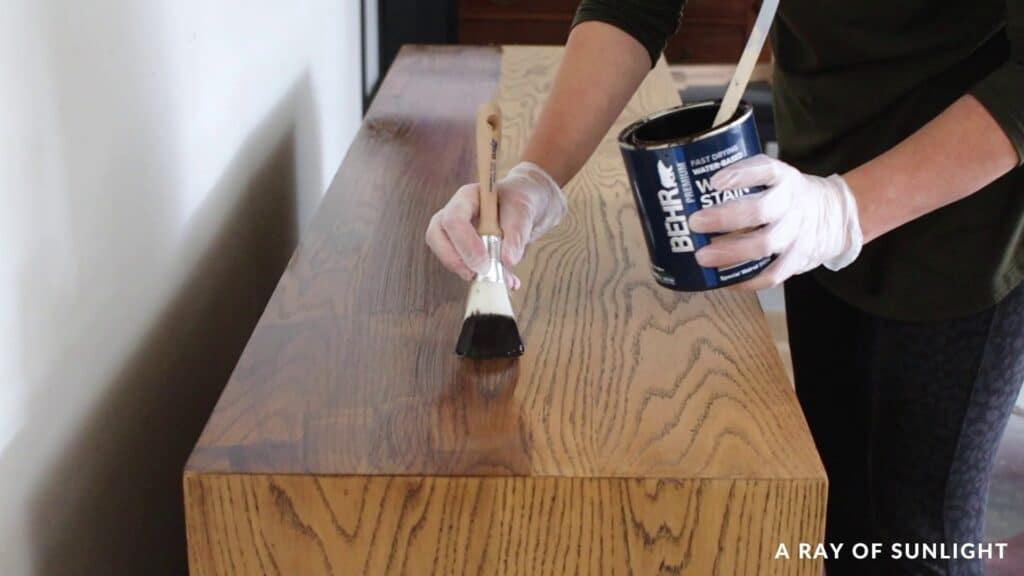
After it was on one section, I immediately wiped off the excess with lint free rags until the stain looked even. I let it dry for 3 hours. If you want a darker finish, learn from these guides on how to stain wood furniture darker and how to stain wood darker.
How does waterbased stain differ from oil based stain?
Waterbased stain and oil based stain are two popular options for staining wood furniture. While both provide a beautiful finish, there are some key differences between the two.
One main difference is their drying times. Waterbased stain dries much faster than oil based stain, making it a quicker option for a project. This can be helpful if you are on a time crunch or don’t want to wait long periods between coats.
Waterbased stain is also known for its low odor, while oil based stain has a strong and sometimes unpleasant smell. This makes waterbased stain a more appealing option for indoor projects, as it won’t stink up your home. It also makes it a safer option for those with sensitivities to strong smells.
Another difference to note is that waterbased stain is more environmentally friendly than oil based stain, which is why we used it in this makeover.


Topcoating Stained Dresser
And then I top coated the stain. I used my favorite waterbased polyurethane and a Zibra topcoat paint brush. I could have also used a foam sponge to apply the polyurethane.
And then, I brushed the polyurethane on in long brush strokes, trying not to go over it much at all. This stuff dries fast, so if you go back over it 30 seconds later, it can make it look streaky and foggy.
If you want to use a sprayer when applying polyurethane, you can check out the comparison of spray polyurethane vs brush on polyurethane here.
Here are some more tips for how to apply polycrylic to painted furniture. We needed 3 coats of polyurethane to protect our dresser as much as possible. Check out my comparison between polycrylic vs polyurethane here.
I’m assuming that it will get a lot of use, and without the topcoat, it would easily get scratched… and it would be hard to clean.
Do you Need to Sand Between Coats of Polyurethane?
I let the polyurethane dry for a couple of hours between coats, and then before the last coat, I felt the surface, and it was slightly rough.
Waterbased products raise wood grain, making it feel slightly rough, so I sanded everything with 400 grit sandpaper to make it all feel smooth. Then, I applied a last coat of polyurethane. I let it dry overnight, and then I put the hardware back on…
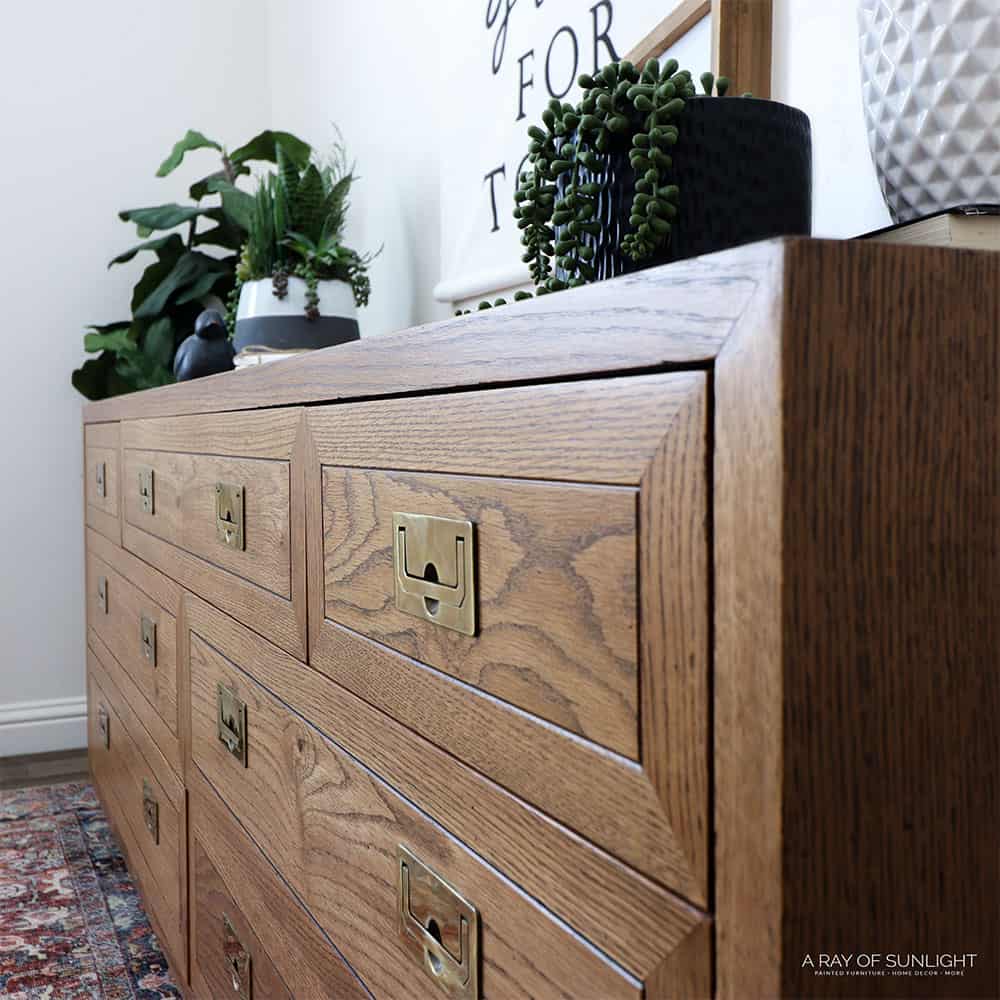
And here’s what it looks like now! You can learn more about how to refinish wood furniture in detail here. For antique pieces, here’s how to refinish antique furniture, and for veneer furniture, here’s how to refinish veneer to guide you.

More Before and After Makeovers
See All >
Click any of these “before” photos below to view the “after” of that makeover.


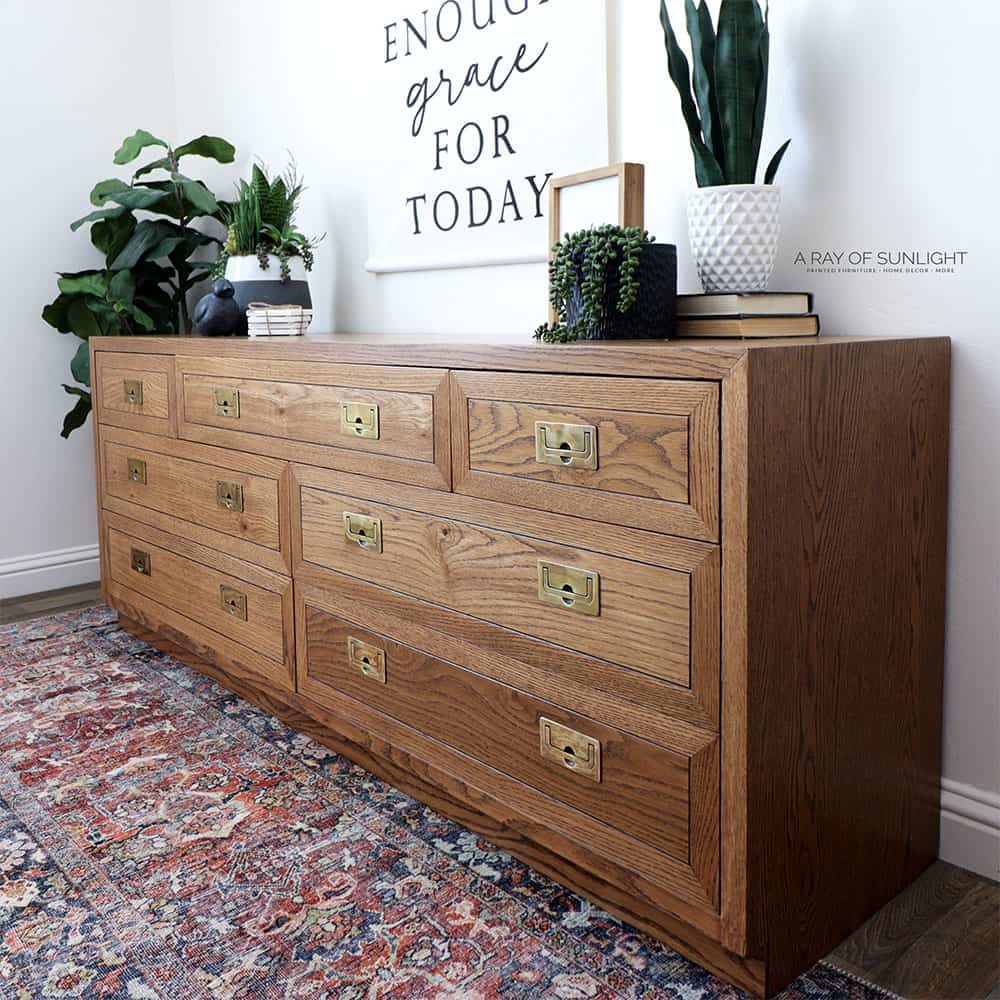
It’s so fresh and looks completely new again! Yes, that drawer on the bottom is a little darker… that’s because the wood was a slightly different shade.
In real life, you don’t notice it as much as in the photos. And I might be tempted to fix it. But right now, I just don’t have it in me. No more scratches, and no more super dark stain! For more inspiration, here are refurbished dresser ideas and refinished dining table ideas.
If you want to refresh finished pieces, check out our guide on refinishing painted furniture. Since wood furniture can still get blemishes and scratches over time, it’s also important to learn about wood surface repair.

Oh, and I loved being able to do all of this in my home without stinking it up with oil based, nasty products. What do you think of the new look? Let me know in the comments!!


How to Refinish a Dresser
Refinish furniture without using harmful, stinky products. Here's how to refinish a dresser with low-VOC products.
Materials
Tools
Instructions
- Remove the hardware from the dresser.
- Remove the finish on the dresser top using Stripwell QCS. Spray it on, and wait 15 minutes. Repeat until the wood stain is loose.
- Remove the wood stain using a plastic scraper. For stubborn spots, remove them using QCS and 0000 steel wool. Wipe it all down with paper towels.
- Let stripped dresser dry then sand with the wood grain with 220 grit sandpaper and power sander to smooth out the wood and finish removing any stubborn stains.
- Remove dust then apply a coat of water based pre-stain onto the dresser. Wipe off the excess after a few minutes and then wait for it to fully dry.
- Apply waterbased wood stain in the direction of the wood grain. Immediately wipe off the excess with lint free rags until the stain looks even. Let it dry for 3 hours.
- Topcoat the stain with 3 coats of water based polyurethane. Brush the polyurethane on in long brush strokes and let the polyurethane dry for a couple of hours between coats.
- Let the stained and topcoated dresser dry completely and for at least 24 hours before putting the hardware back on.
Recommended Products
As an Amazon Associate and member of other affiliate programs, I earn from qualifying purchases.


More Refinishing Furniture Resources
- Best Wood Stains
- How to Restain Wood
- Furniture Refinishing Ideas
- Furniture Refinishing Tools
- How to Refinish Wood Furniture Legs
Follow us on YouTube to get more tips for painting furniture. Or share your project with us on our Facebook Group and be part of our community. See you there!

You have said not to use a topcoat with the Sherwin Williams Emerald, but can you use a colored wax treatment over it. I want to use brown wax to highlight some details.
I probably would not. The manufacturer says not to use a topcoat so it’s probably best not to use any type of topcoat on that paint. But if you do try it out, I would love to hear how it goes! That is a pretty great question, I’m just not quite sure if wax would be okay on that or not, and would love to know the answer too!
Yes,
I used brown wax over the Emerald after letting it dry for a couple of days, and it did fine.
That’s awesome!
Gorgeous! Thanks for the tips. What color of stain did you use? Thanks
Ahh thanks so much! I believe we used Special Walnut for this one (Aff): https://homedepot.sjv.io/LP5vGY