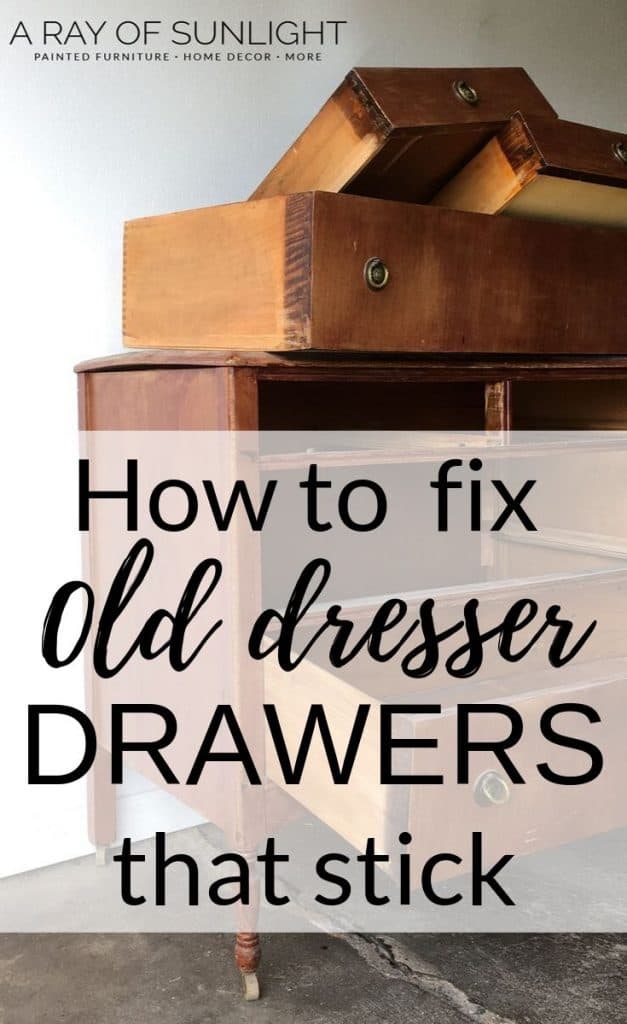
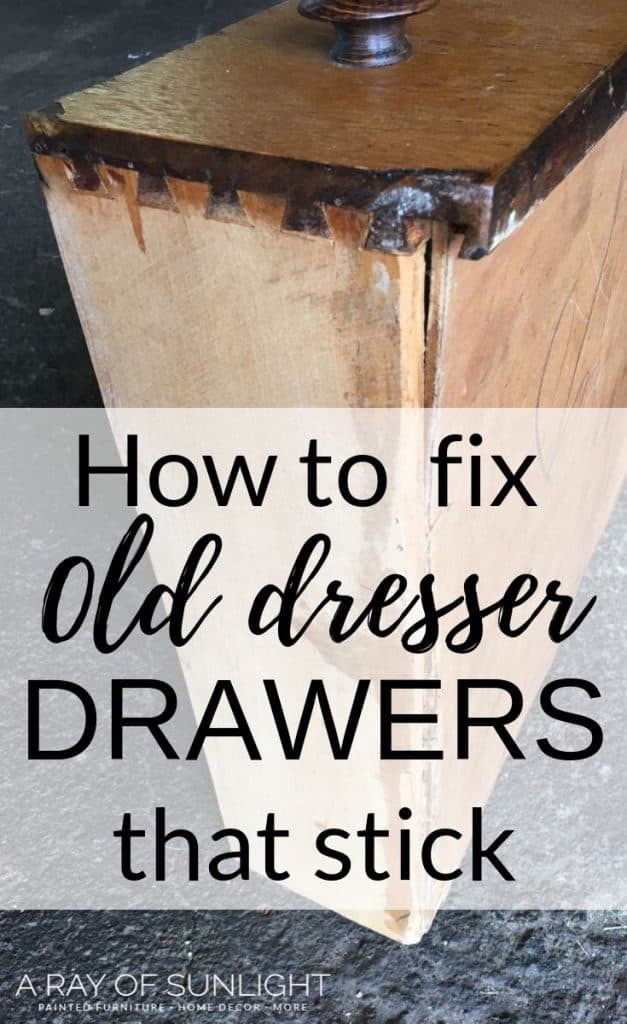
How to Fix Old Dresser Drawers that Stick


So you’ve found a really cool old dresser, but the drawers don’t work well? What a pain! This is a common problem though. Before you paint that dresser (or not), here’s how to fix old dresser drawers that stick. Repairing old furniture isn’t as hard as it may seem!
Old dressers are notorious for having broken drawers of some sort. They have been around for longer than many of us have, so there is a good reason why they come with broken pieces.
That doesn’t mean that you need to put up with sticky dresser drawers, broken vintage dresser drawers, or even drawers that are hard to open and/or close.

So here’s how to fix dresser drawers that stick. But we aren’t stopping there.
We’ll also cover how to fix broken drawers, how to make old dresser drawers slide better, how to repair dresser drawers, and even how to remove dresser drawers.
First things first, before you can fix old dresser drawers, you need to learn how to remove drawers from a dresser. It might be straight forward, and it might not be.
And then we will start at the easiest way to fix drawers and move onto more advanced ways if the drawer is really broken.
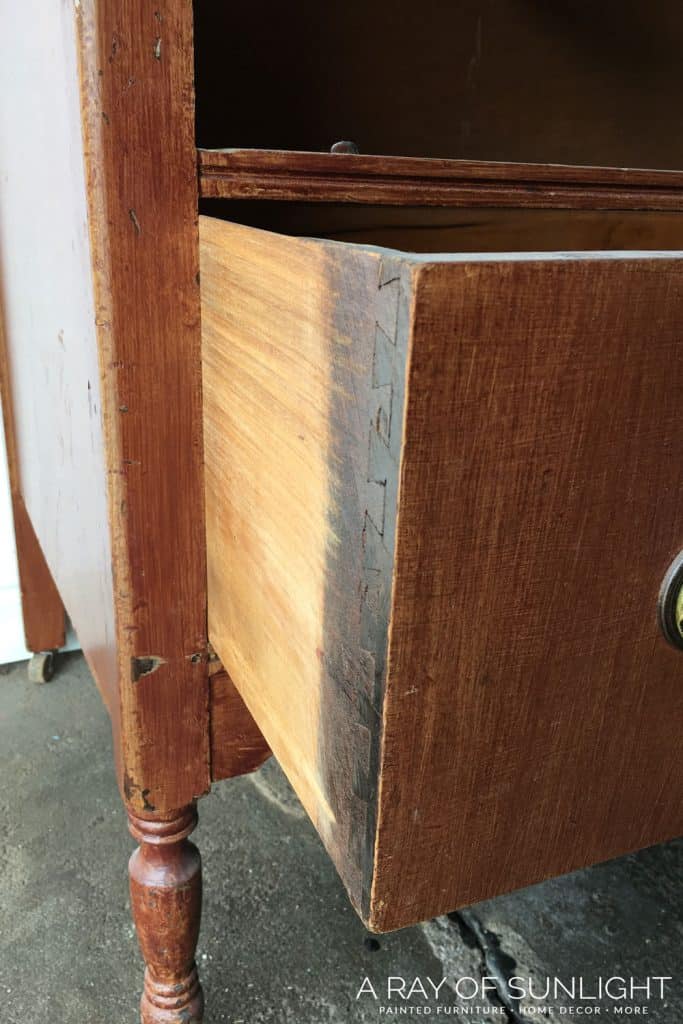
How to Remove Dresser Drawers
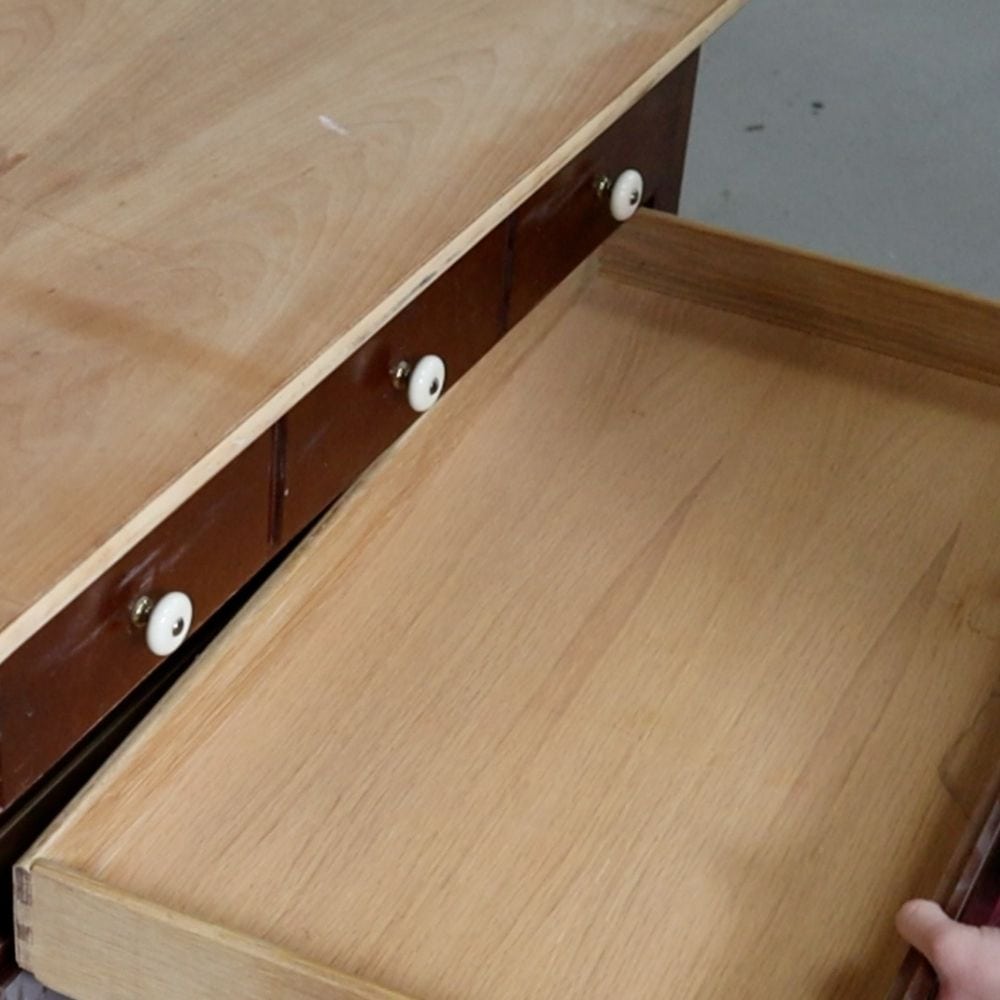
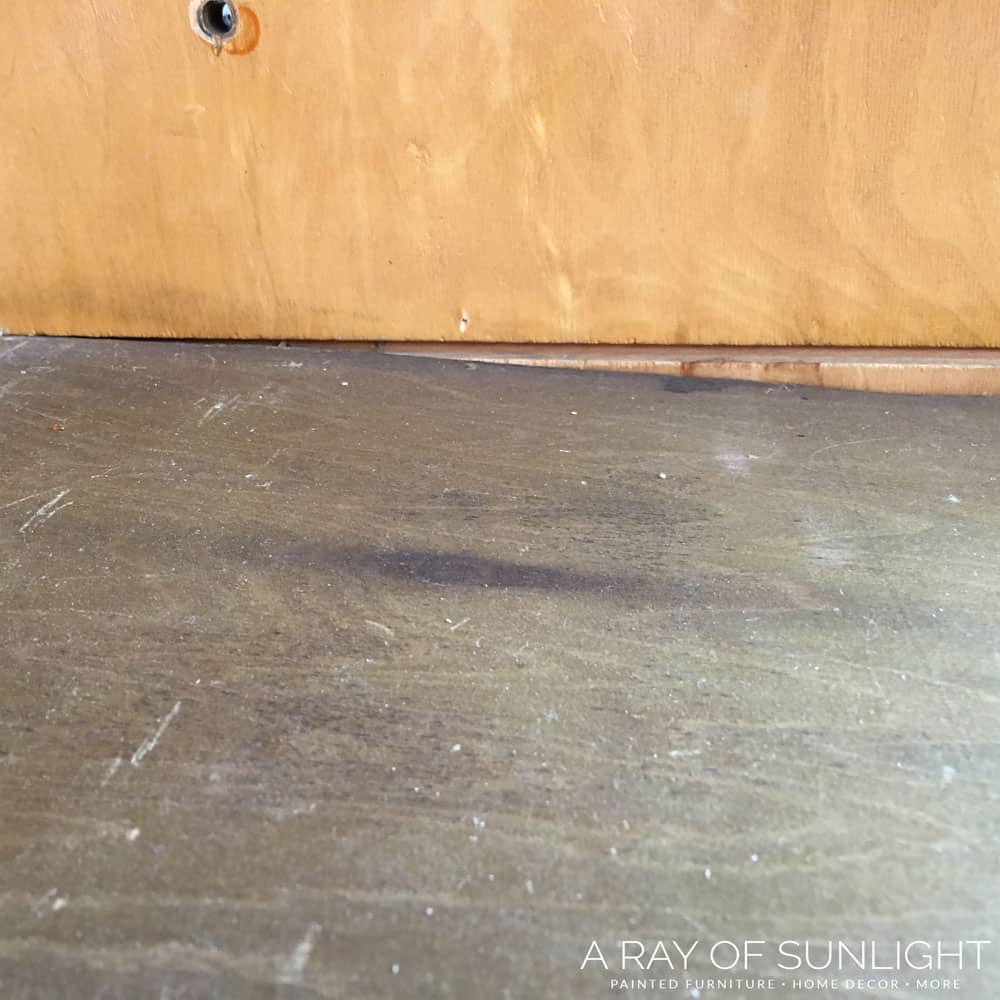
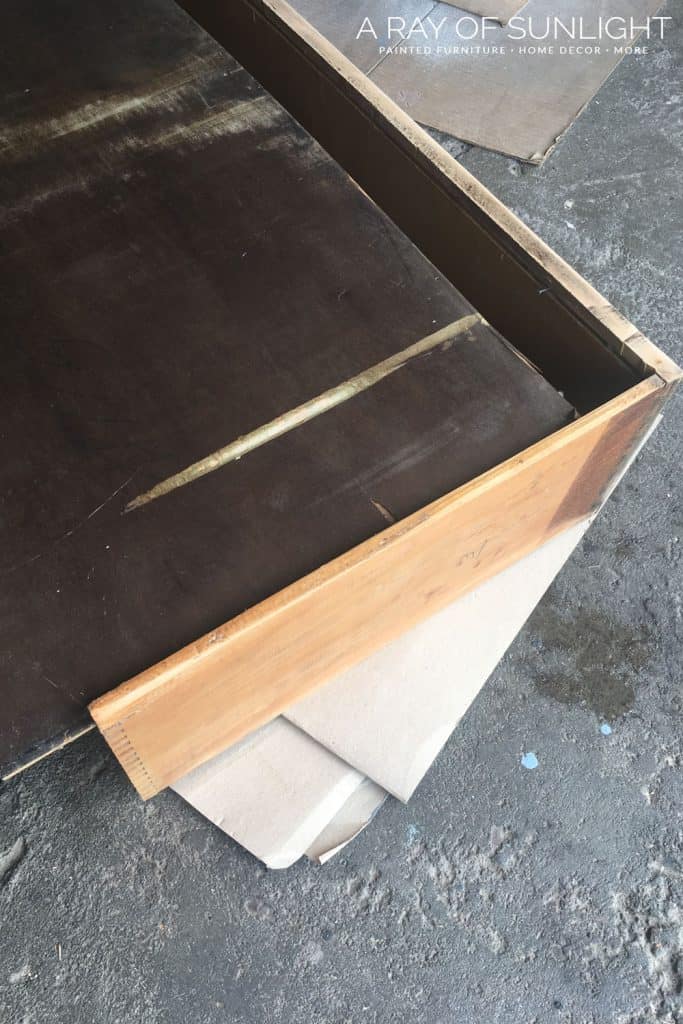
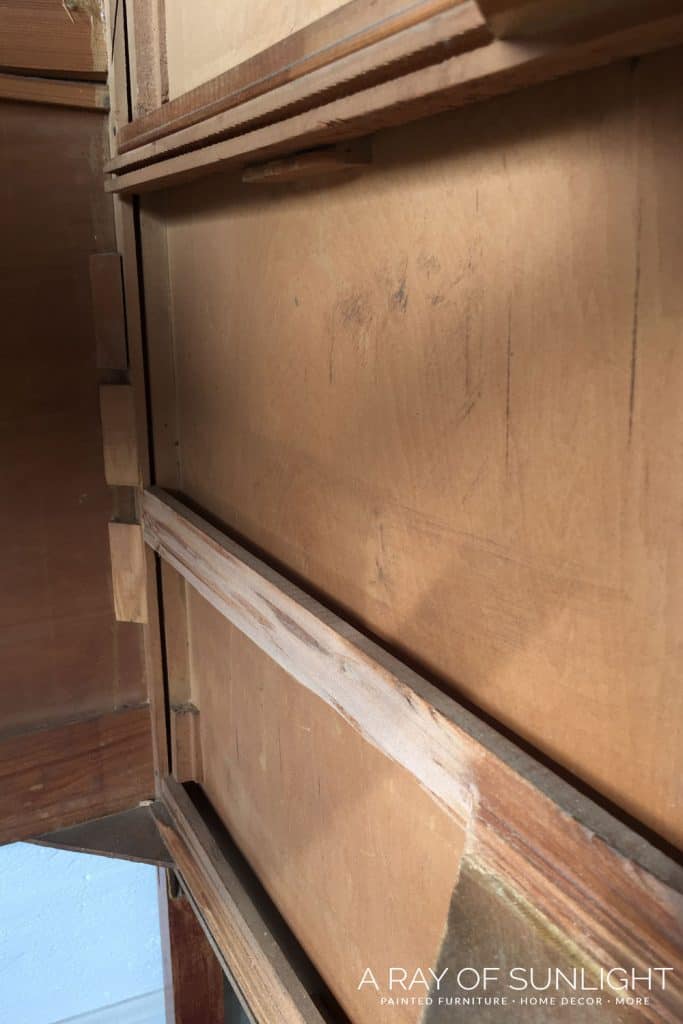
Most of these really old dressers don’t have a track system at all, and they are super simple to remove. You just slide them out.
But newer dressers usually come with a track system on the bottom or the sides of the drawers. Most of the time a simple, strong tug will get the drawers unstuck.
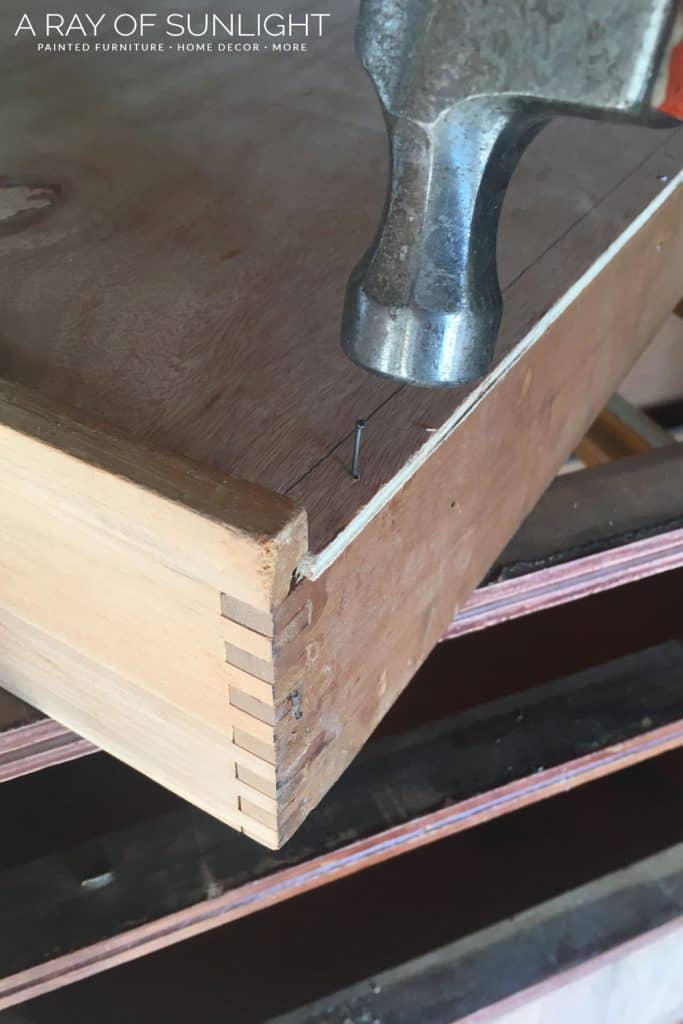
**Before you give the drawer a good tug though, pull the drawer out as far as it will go, and then take a look under the drawer.
There may be a little latch or lever that needs to be pushed towards the bottom of the drawer to release the drawer.
If the track system is on the side of the dresser drawers, pull the drawer out as far as it will go, and then look in the track for a plastic lever.
If you find a little lever, push it up or down on both sides of the drawer, and then give the drawer a little tug. It should easily come out of the dresser.
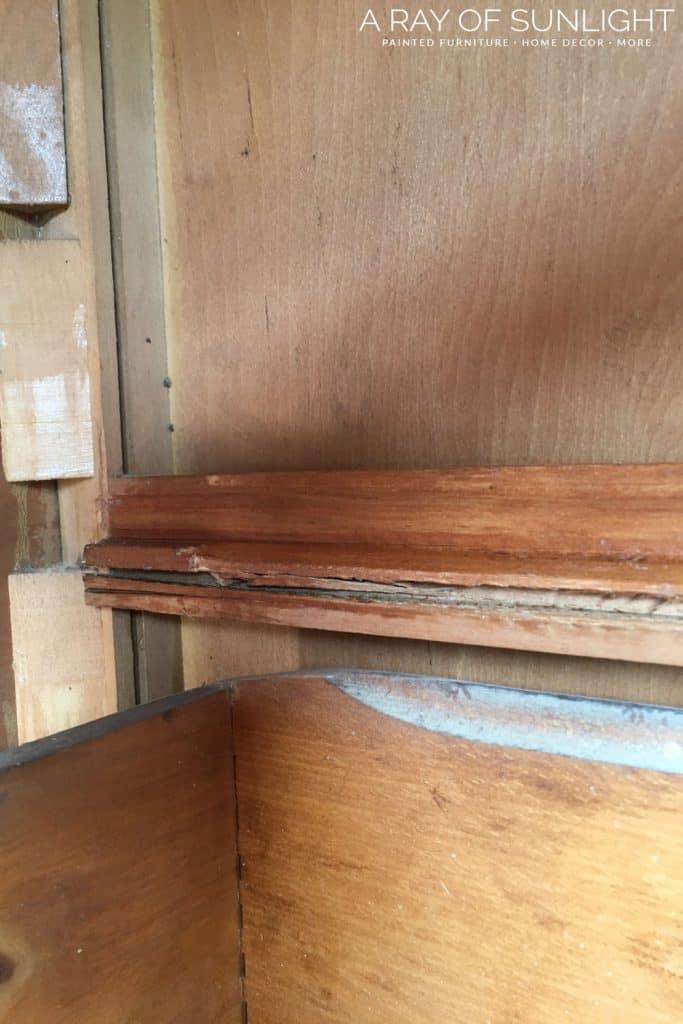
How to Fix Drawer Slides
Have you ever tried to open an old dresser drawer, only to find that it’s stuck or difficult to open? It can be frustrating and even prevent you from using the dresser at all.
But don’t worry – there are some simple solutions for these drawers.
In this section, we’ll cover common issues such as drawers that won’t slide, drawers that are hard to open, and ways to make old dresser drawers slide better.
These tips will help you get your dresser drawers back in working order so you can enjoy your piece without any hassle.
- Old Dresser Drawers Hard to Open
- Old Dresser Drawers Won’t Slide
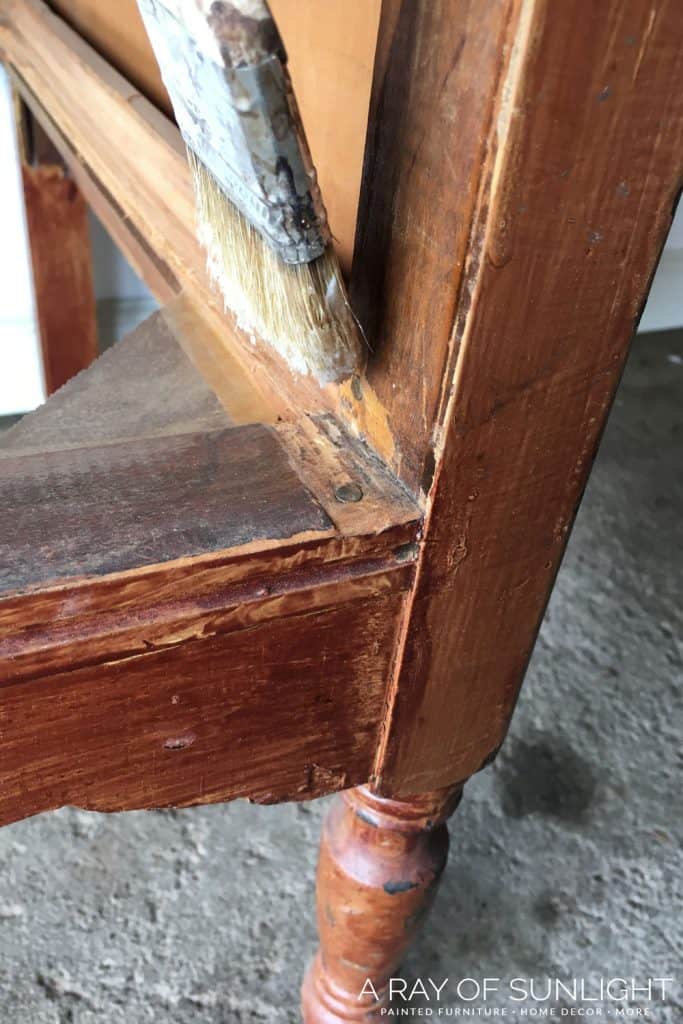
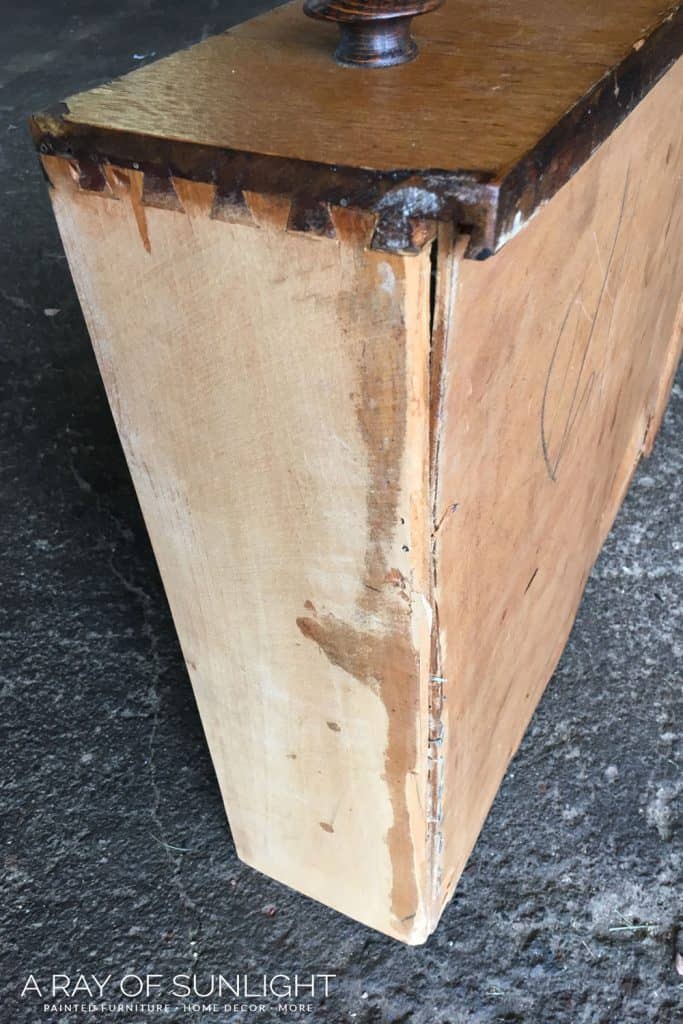
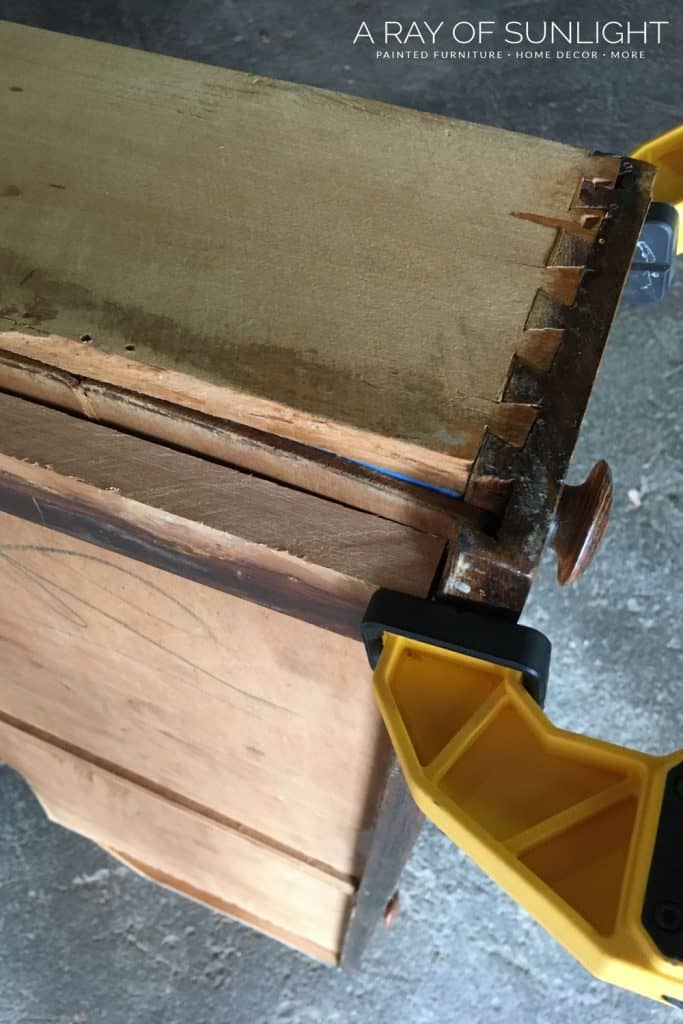
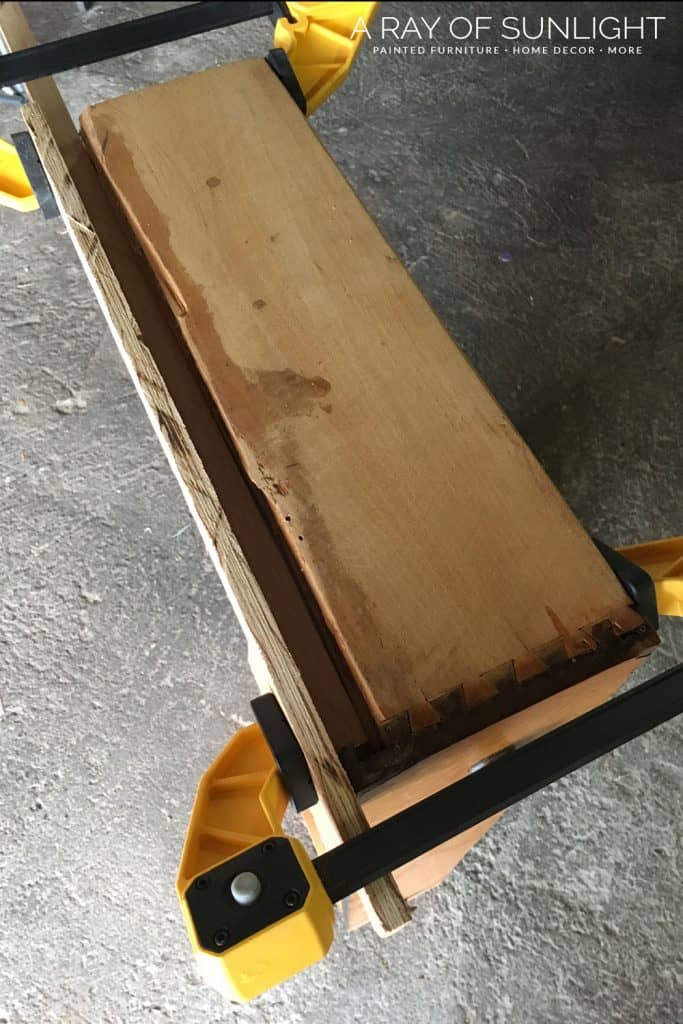
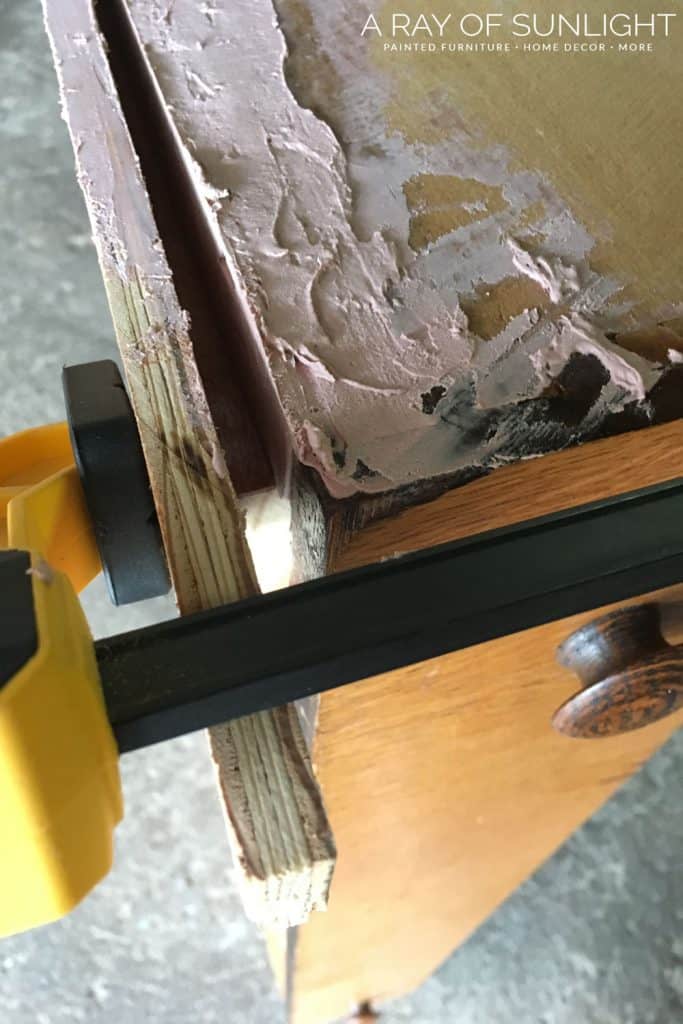
- How To Fix a Dresser Drawer Side
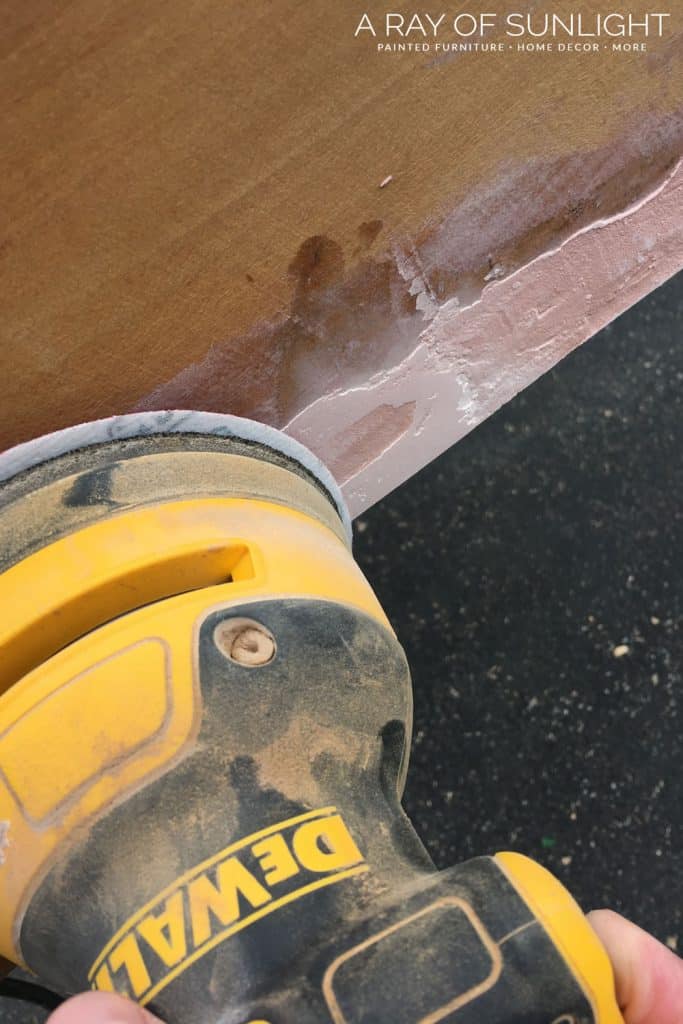
- How to Repair Worn Drawer Runners
- How To Fix Broken Dresser Drawer Tracks

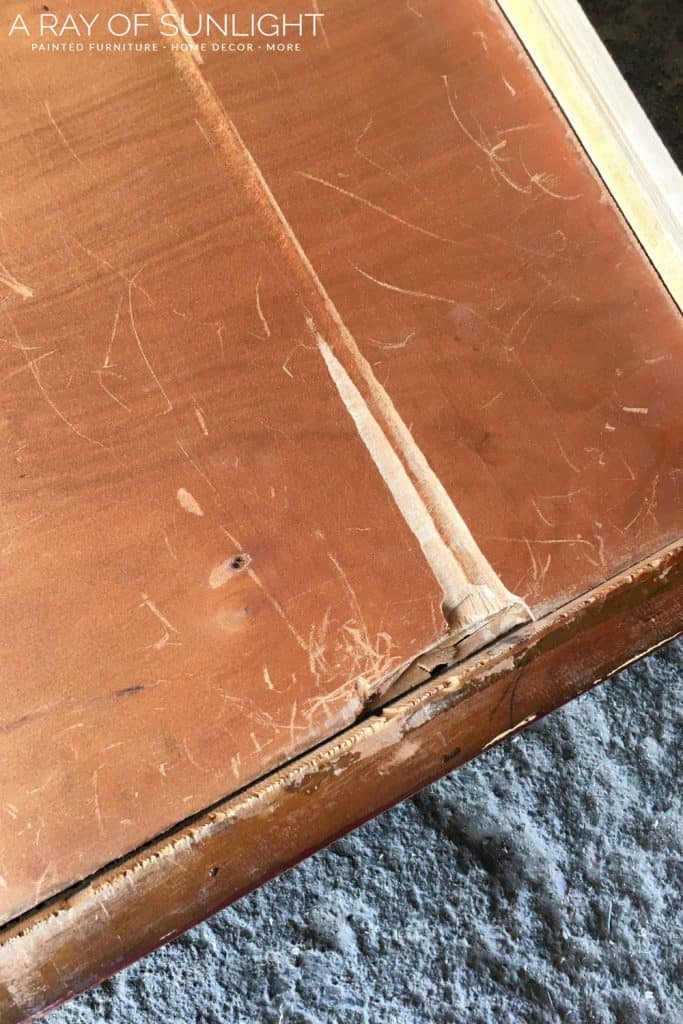
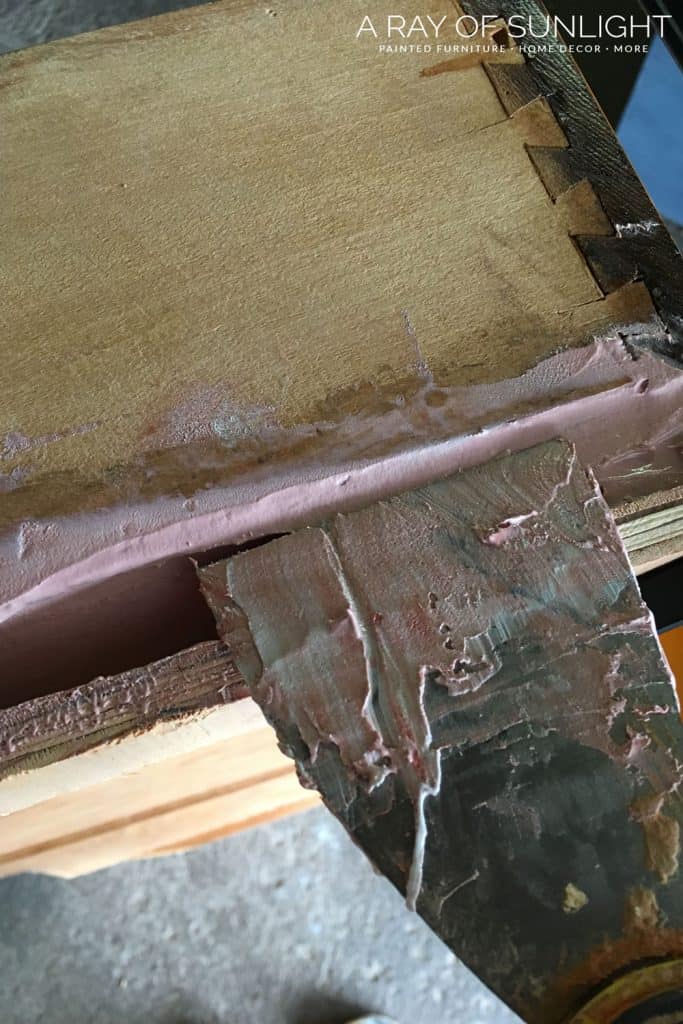
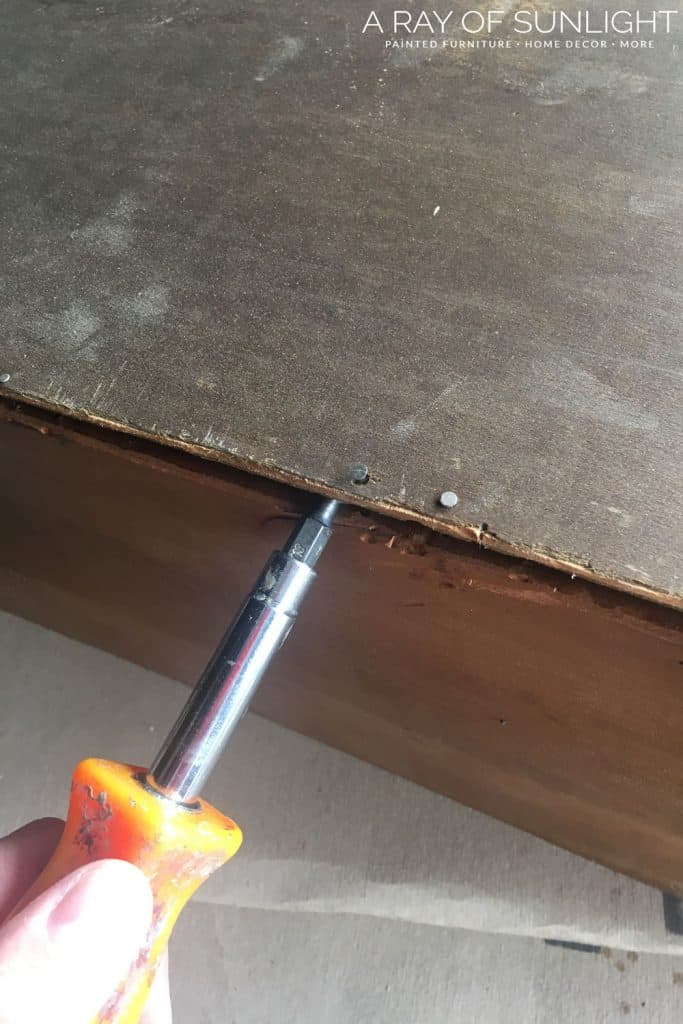
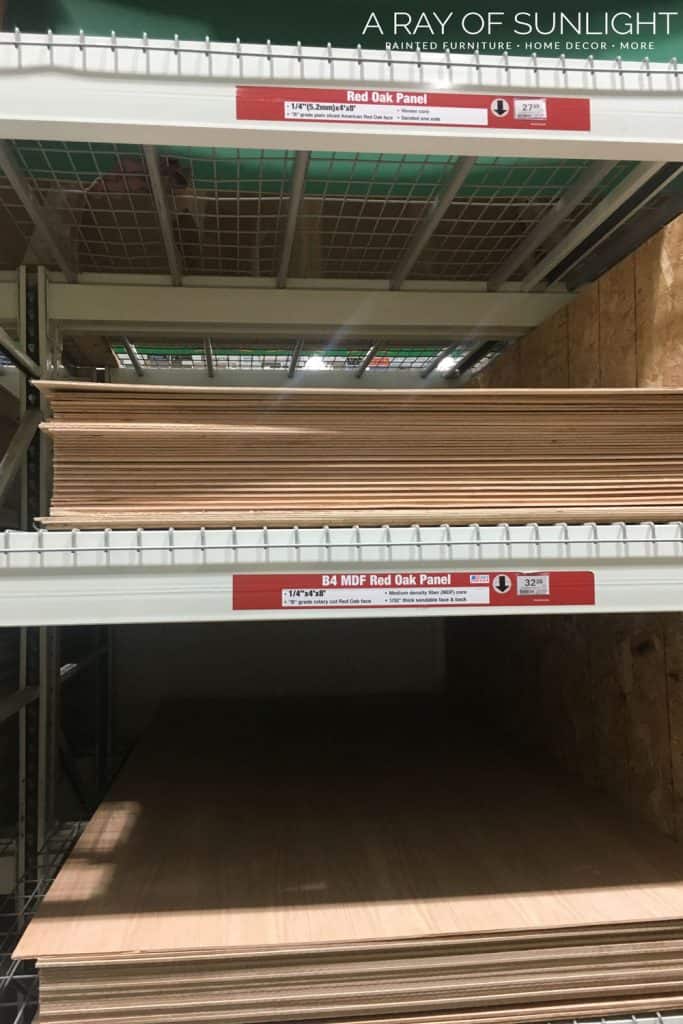
How to Repair Drawer Bottom
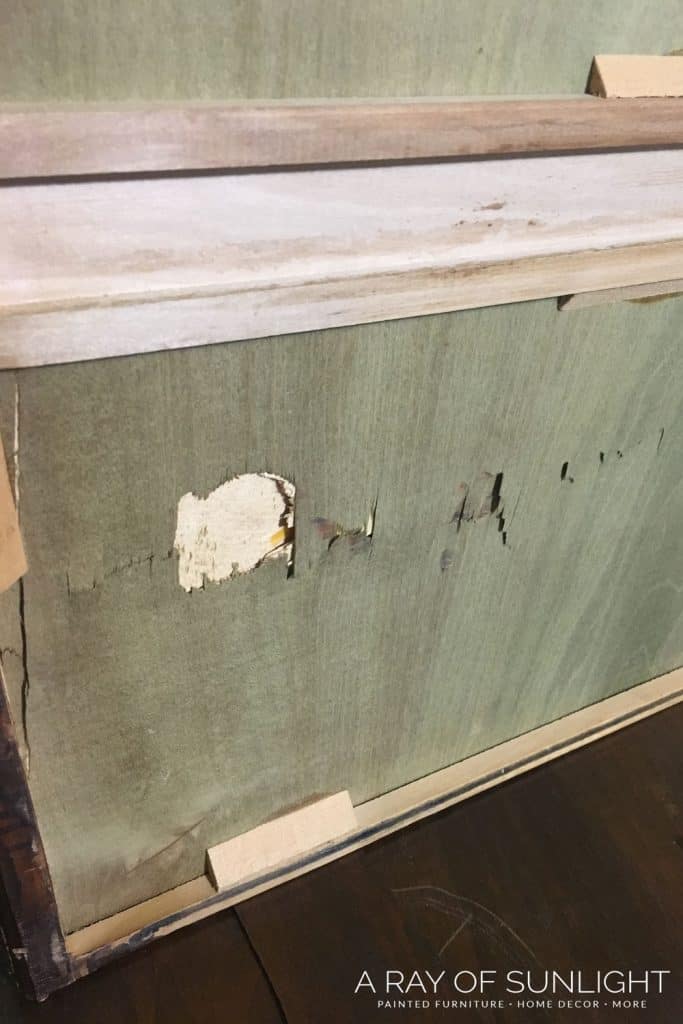
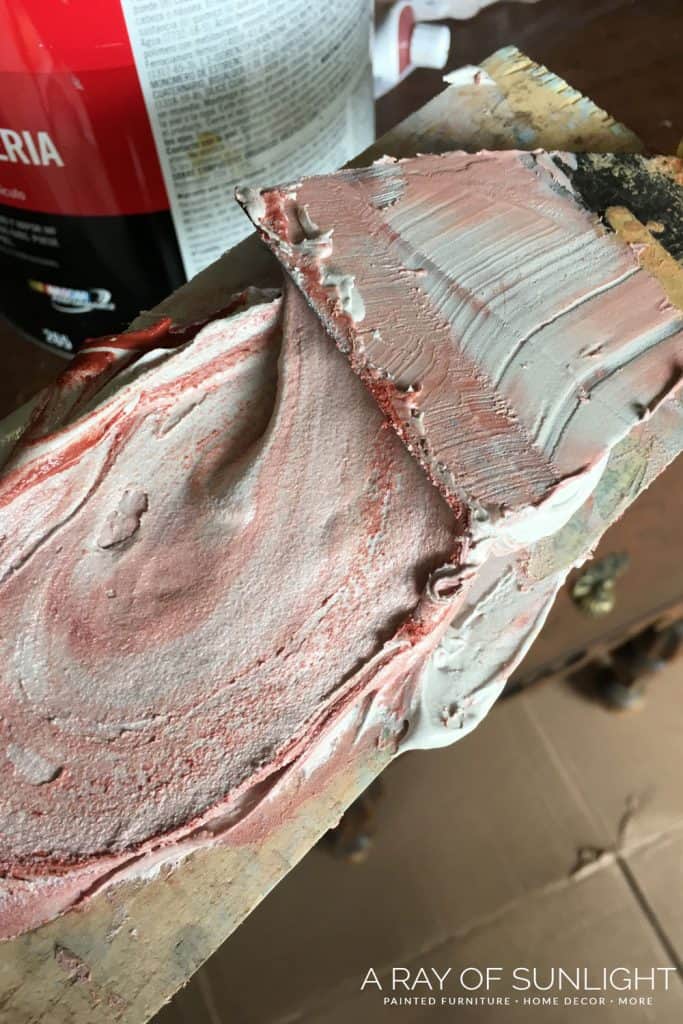
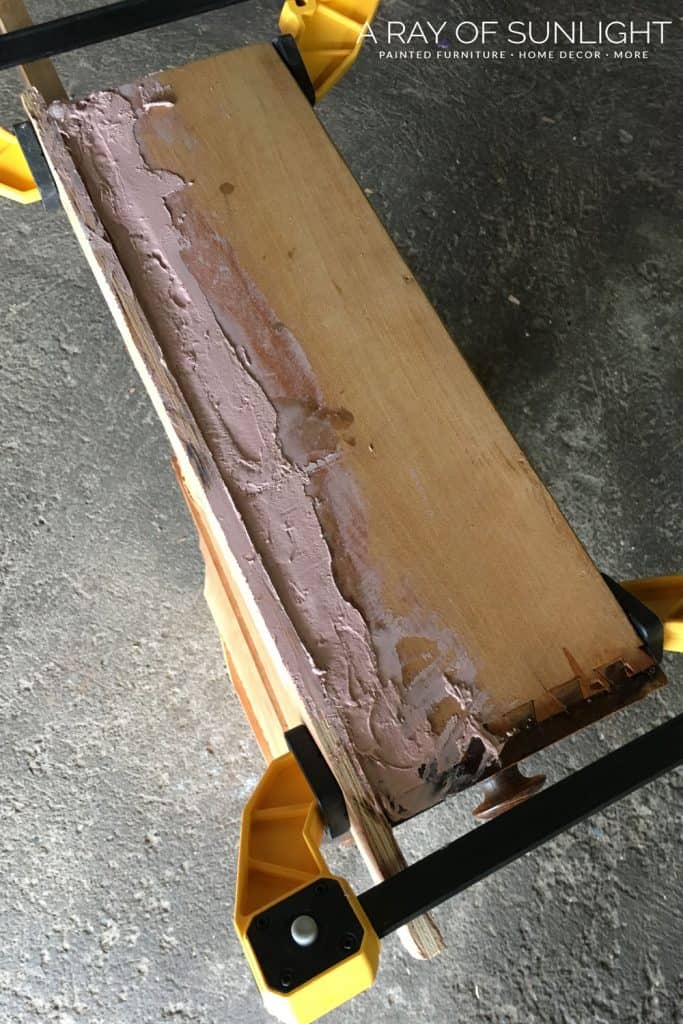
Now let’s dive into the nitty-gritty: fixing broken drawer bottoms. You may be dealing with a sagging dresser drawer or perhaps the drawer’s bottom is simply worn out.
But no need to worry if you come across any of these! Each of these issues can be tackled with a little patience and know-how.
- Dresser Drawer Bottom Replacement
- How To Fix Sagging Dresser Drawers
- How to Fix Dresser Drawers Bottom
- How To Fix A Drawer Bottom That Falls Out
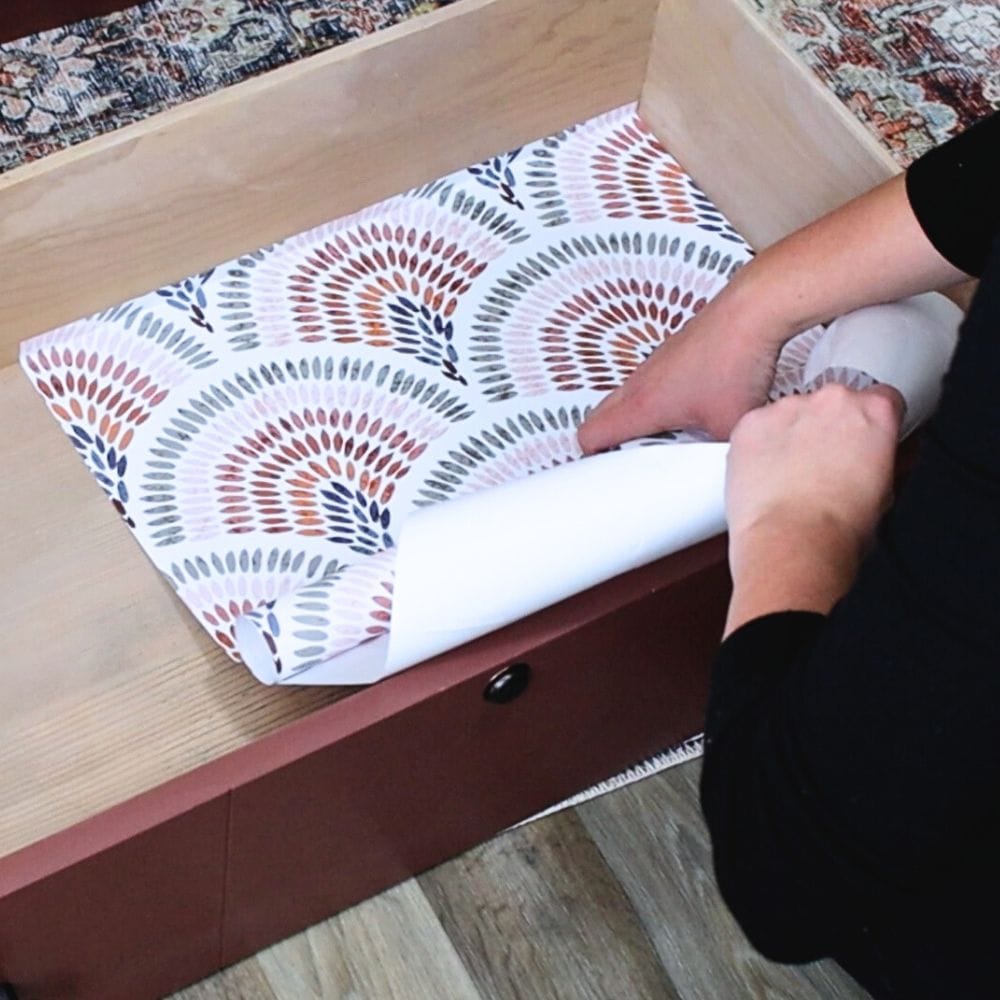
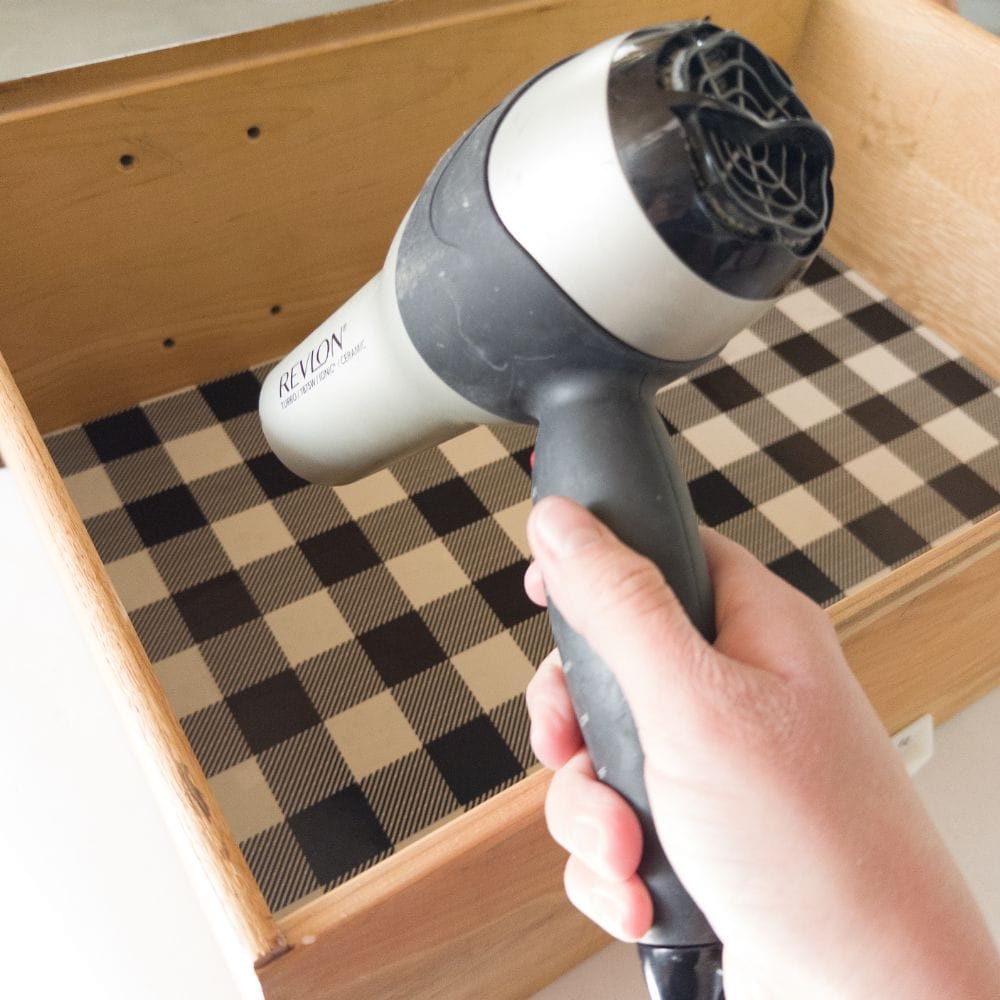
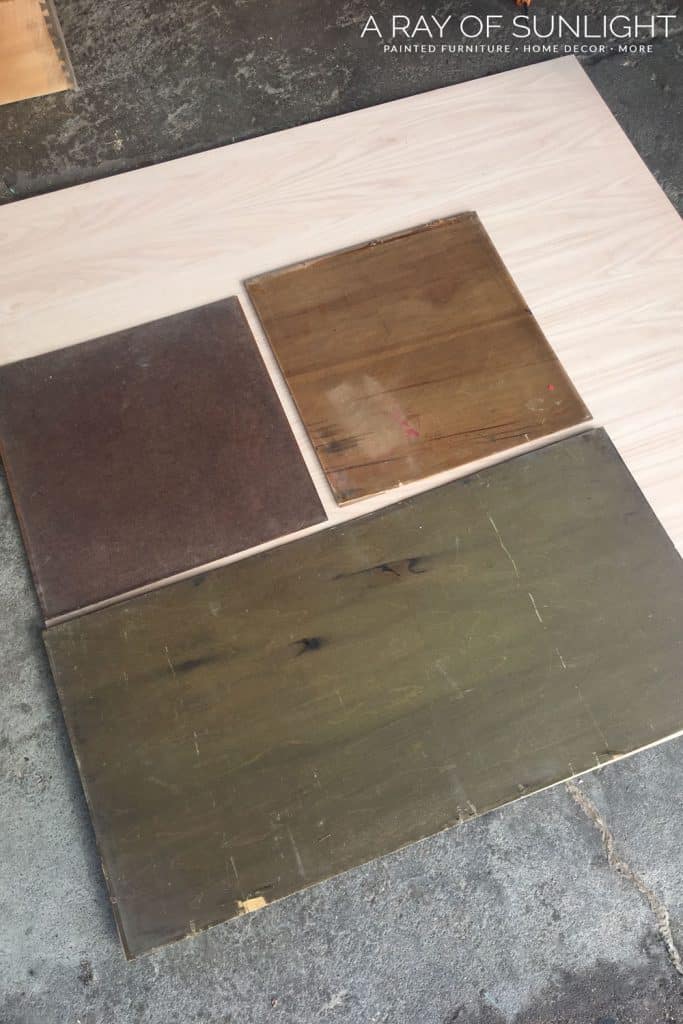
Dresser Drawer Liners
Now that we’ve made sure our drawers are in tip-top shape, let’s give them a little personal touch by lining them.
Not only does this add a pop of color or pattern, but lining your dresser drawers can also help protect the wood from scratches and spills.
Removing existing liners and felt from drawers might seem daunting but fear not! We’ve got you covered with easy step-by-step tutorials.
- Best Material to Line Dresser Drawers
- How to Remove Contact Paper from Wood
- How To Remove Felt From Wood Drawers
- Dresser Drawer Liner Ideas
How much time should I set aside for fixing dresser drawers?
The amount of time needed to fix dresser drawers can vary depending on the severity of the issue and your level of experience with furniture repair.
On average, it can take anywhere from 30 minutes to a few hours per drawer. If you are new to furniture repair, it may take longer as you familiarize yourself with the process and tools needed.
However, if you have experience with furniture repair and the issue is minor, you may be able to fix a drawer in as little as 15 minutes.
It’s always a good idea to set aside more time than you think you will need, just in case there are any unexpected challenges along the way.
Take your time and follow the steps carefully for the best results. And if you find yourself getting frustrated or stuck, don’t hesitate to take a break and come back to it later with fresh eyes.
Would you like to save this?
How often should I check and maintain my dresser drawers?
Regular maintenance of your dresser drawers is important to prevent any issues from arising.
It’s recommended to check and maintain your dresser drawers every 6 months or so, especially if you use them frequently.
It’s a good idea to regularly clean the inside of your dresser drawers, removing any dust or debris that may have accumulated.


Another tip is to avoid overstuffing drawers as it can strain components and cause faster wear. Address minor issues promptly to prevent them from becoming bigger problems.
When drawers don’t work on a dresser, it can be super frustrating! But now you know how to fix old dresser drawers that stick… and then some more!
Find more inspiration and learn how to upcycle old furniture with these DIY dresser makeovers.
More Repairing Furniture Resources
- How to Fix Damaged Wood Furniture Before Painting
- How to Repair Rattan Furniture
- How to Fix a Chipped Wood Corner
- How To Fix A Missing Chunk Of Wood
- How To Fix Dog Chewed Wood Trim
Follow us on YouTube to get more tips for painting furniture. Or share your project with us on our Facebook Group and be part of our community. See you there!

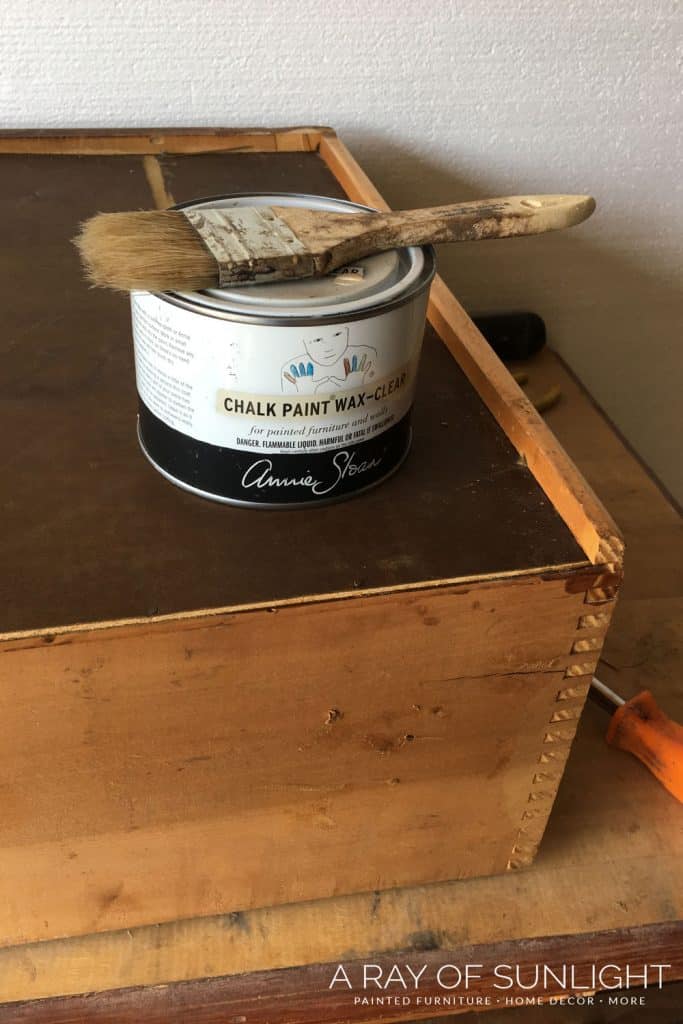


Any advice on getting a drawer out that is completely stuck? I’m pretty sure it swelled up and is now stuck in. I can get it out to the 3/4 point but not any further than that. Its an old solid oak with no tracks. I’ve tried waxing and gradually getting it further out but not all the way. Any tips?
Oh no!! I haven’t ever come across a drawer that is that bad! Have you tried putting it in a climate controlled room with a dehumidifier? That might help the swelling. How long have you had the piece?
Have you tried flipping the whole thing over and letting it sit for awhile? Sometimes being upside down loosens the drawers.
Oh, we’ve never tried that before. That is an interesting concept. We might have to try that out sometime. Thanks for sharing!
The drawers on the armoire that I was refinishing for my daughter actually had wooden grooves on the sides, and the weight of clothing in the drawers, dropped the drawer down below the grooves and got the drawers stuck in place if you can see what I mean? and actually I had to, with my feet underneath it and my hands pull it straight up first to get it back on the tracks on the sides before I could slide it out. That’s what I’ve been looking for on this site, how to build up or replace the wooden tracks that the drawer slides on. Good luck to you
Natalie, great primer on fixing drawers! These skills are awesome!
Thank you so much Lorin!
I have an old oak dresser with 2 smaller draws and then two that are the full length of the piece. There are no runners, but little tabs that have dug grooves in the bottom. Your tutorial will be very helpful in repairing them, but I’m thinking of converting the piece into a bathroom vanity so I need the drawers strong as well as easy to use. Have you ever added under the drawer runners? There isn’t room on the sides.
I have this conundrum too. What did you do?
Great info on this blog. Great job!
Thank you so much Do!
It still sat in the groove on the sides
Natalie and Taylor,
I just purchased a Dixie Mahogany 1940’s dresser and had it refinished. He did a great job. BUT, the drawers all drop a bit when opened and they have a bead of trim under each drawer. The run is in the center and they are all in really good shape, they are set back about 1.5″ from the front of the dresser. It seems to be original, but wondering if this is why they drop? The only solutions I see are online when a drawer is pulled out all the way. These drop even when opened a bit. I worry the trim will be damaged because all the drawers drop as soon as they are opened. Would you have a fix?
Hey, that sounds like a super cool piece. Glad you got it refinished. Sorry to hear about your drawers dropping when they open. I’m not exactly sure what the best fix for that would be, but we do have this awesome Facebook group with fellow furniture flippers in it. In that group, people love to talk all things furniture, and they might have some good advice for you, I would recommend you post some pictures of your project in our group and ask them this question and see what kind of advice you get in that group. Painted Furniture Ideas – Before & After – Questions – Community