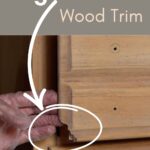
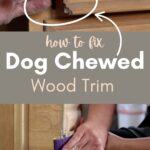
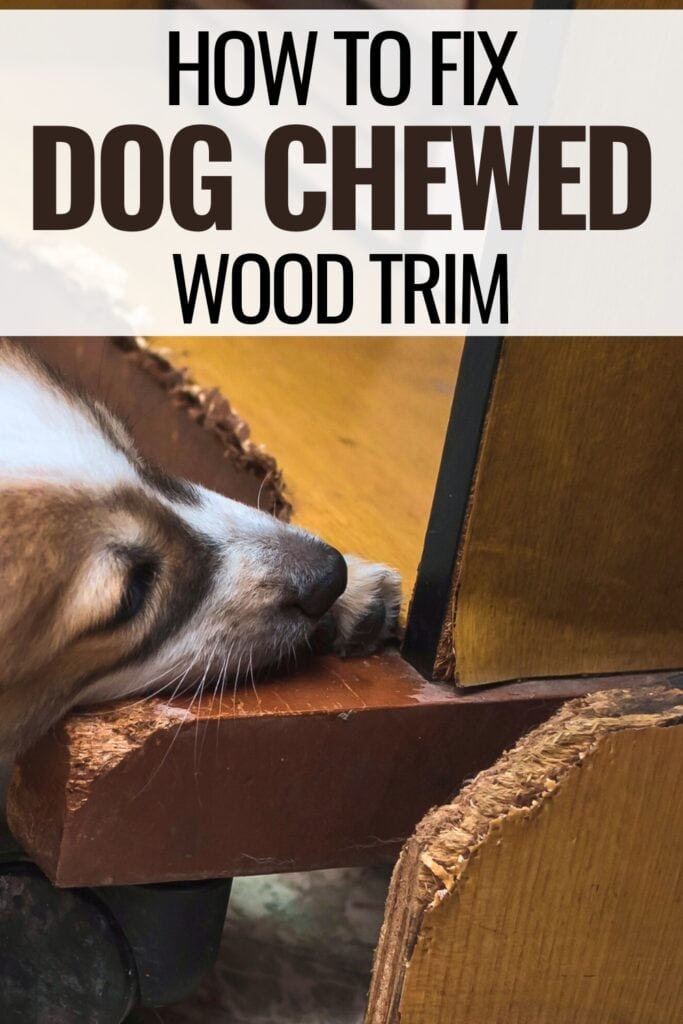
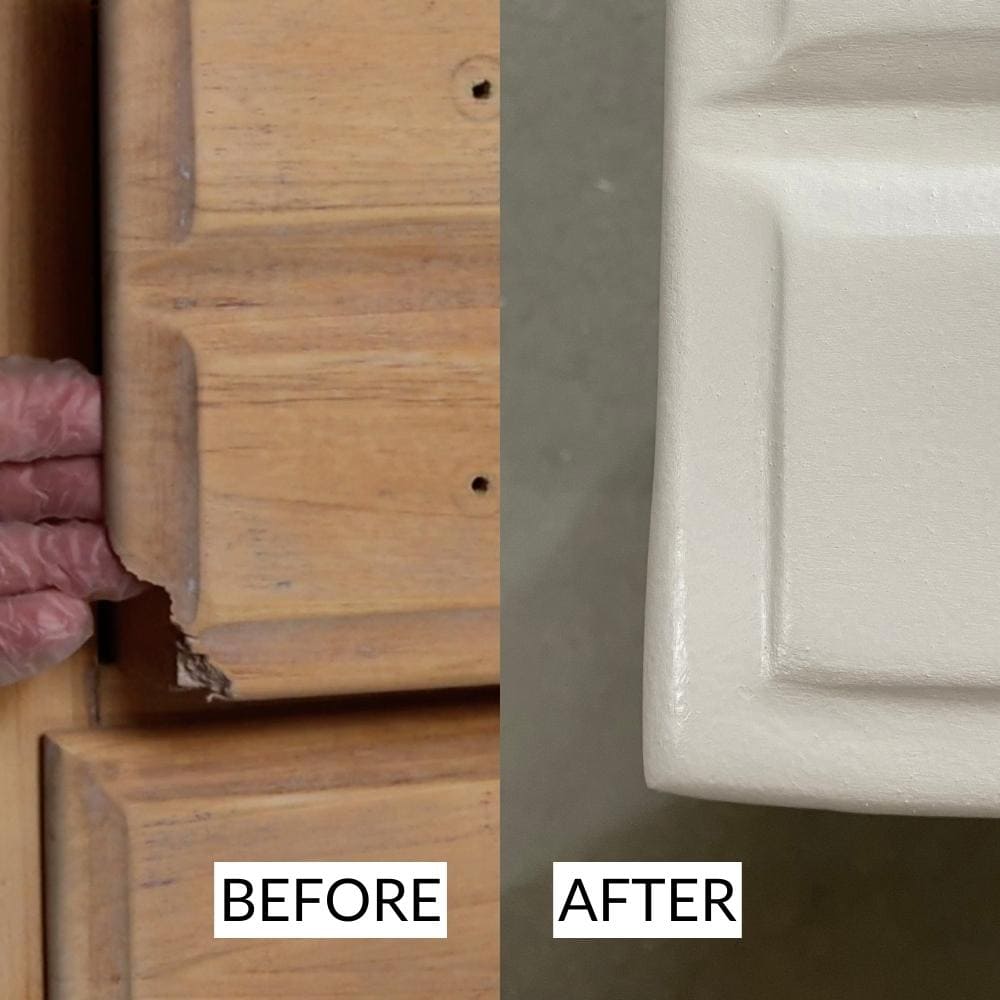
How To Fix Dog Chewed Wood Trim
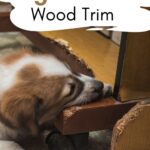
Our buddies can be quite playful, and sometimes their games can wreak havoc on our beloved household items. It seems like wooden trim is a favorite chew toy for many dogs. But don’t worry! Here is how to fix dog chewed wood trim! No need to panic or spend a fortune on replacements.
This post is here to guide you through a simple yet effective process of repairing old furniture or trim and maintaining your chewed-up wood trim. So let’s dive in and discover the easy steps to not only fix the trim but also enhance its durability, breathing new life into your home’s aesthetics while preserving the charm of your home and furniture.
We all know that dogs are man’s best friend, but sometimes they can also be our furniture’s worst enemy. From gnawing on table legs to demolishing door frames, our four-legged friends don’t quite understand the value of our household. It’s not their fault, really.

They’re just so full of energy and curiosity! Luckily for us, there’s a treasure trove of easy repair methods that can make even the most chewed-up wood trim look like new.
Let’s roll up our sleeves and learn how to turn the tides on this all too common problem.
Supplies Used for Fixing Dog Chewed Wood Trim
As an Amazon Associate, I earn from qualifying purchases. I also may earn from other qualifying purchases with other companies or get free product to review and use. All opinions are my own.
- 220 Grit Sandpaper
- Vaseline
- Hot Glue or Amazing Mold Putty for mold making
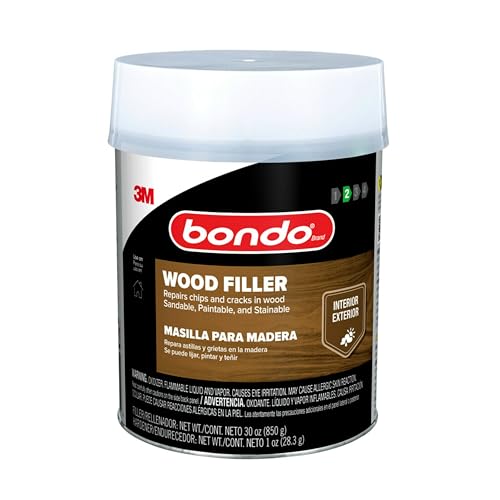
- Bondo (or KwikWood)
- Stir Stick
- Utility Knife
- Wood Filler
- Primer
- Paint (Check out our best paint for furniture post)
- Paintbrush or roller
Make a Mold for the Repair
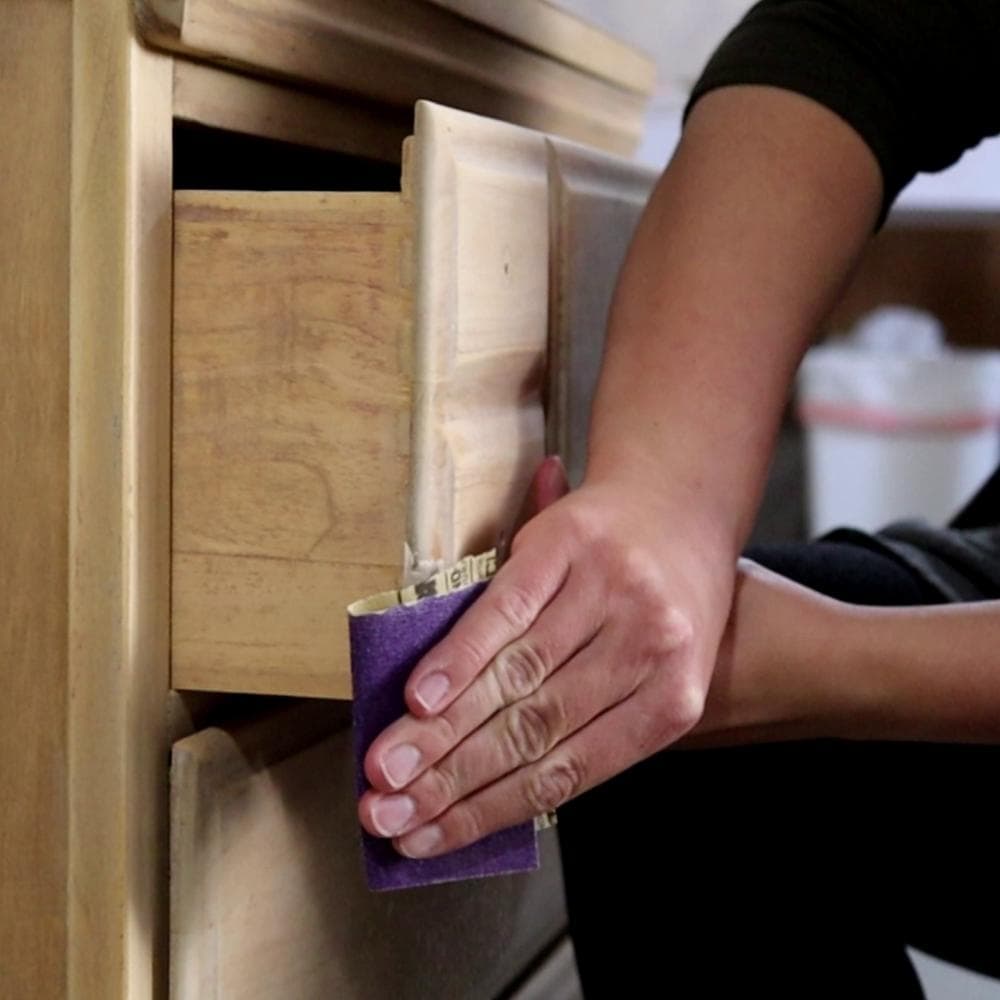
First thing’s first, before we jump into repairing that wood trim, make sure the damaged surface is prepped. Lightly sand it with 220 grit sandpaper, creating a rough surface for the Bondo to cling onto.
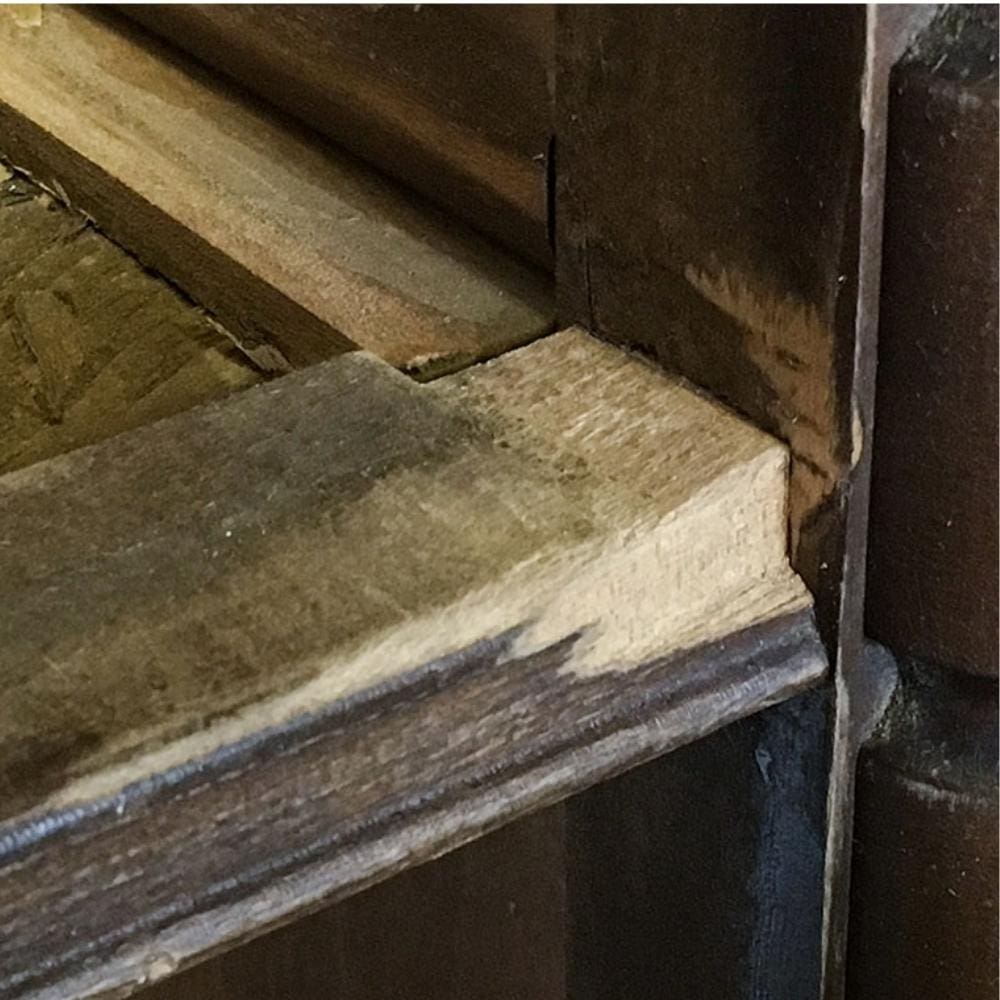
The next step is making a mold of the repair, if it has deep damage or a major break. If the damage is just some teeth marks, you can skip this part.
If you’ve got a similar undamaged part, it’s the perfect candidate. Apply a little Vaseline to it, then create the mold using hot glue or amazing mold putty.

You can learn more about this process in our how to repair broken trim on furniture post (for the hot glue method), or our how to fix a missing chunk of wood post (for the Amazing mold putty)
Get Our Secrets!
Grab this super convenient How to Repair Furniture Ebook with all of our secrets on how to repair furniture for only $14.
You can print it out and have instant access whenever you come across damaged furniture, and know exactly how to fix it!
Click on the picture of the book to purchase!

Once your mold is set, it’s Bondo time!
Fixing Dog Chewed Trim
To avoid the Bondo sticking to the mold, apply some more Vaseline inside the mold.
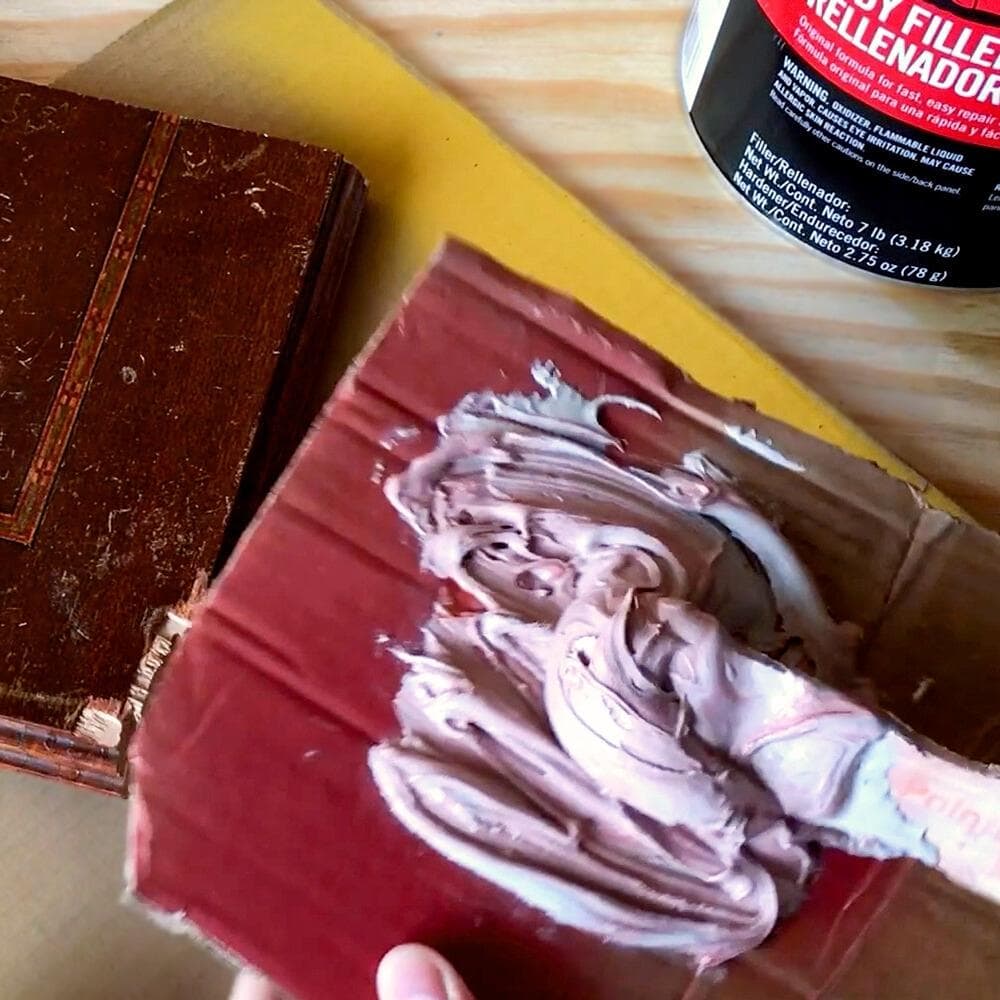
Then mix the Bondo. I like to mix my Bondo on a piece of cardboard, and with a paint stir stick. Put a blob of the Bondo base onto the cardboard. Then squeeze some hardener on the Bondo. Then mix it together really well, but also very quickly because Bondo dries fast!
Make sure the Bondo is a pink or blue color. If there is not enough hardener in the Bondo, it will not cure correctly. Here’s our Bondo Wood Filler review to learn more about the pros and cons of using this wood filler.
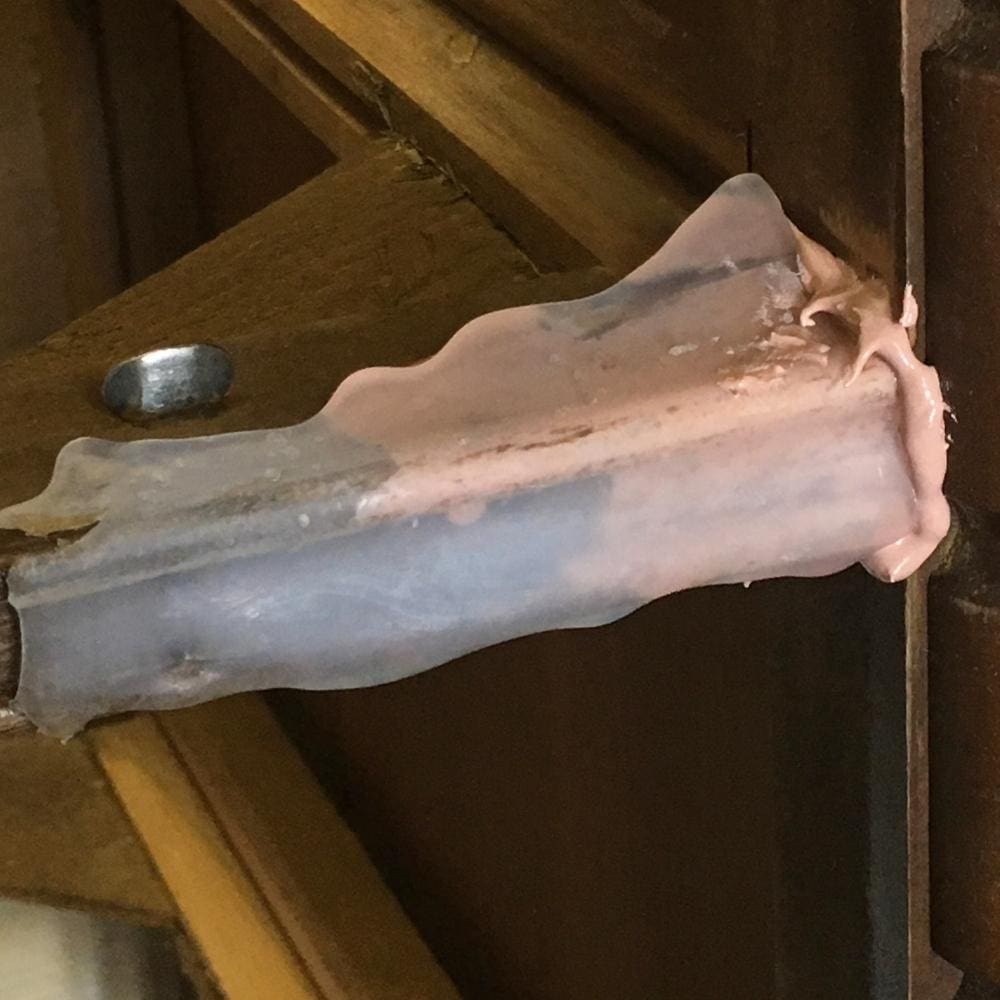
Then fill the mold up with the Bondo. While the Bondo is still wet, press the mold onto the damaged surface. Hold it in place until the Bondo starts to harden. You don’t want it to harden all of the way though, so this should only take about 5 minutes max. Then carefully remove the mold from the Bondo.
Would you like to save this?
If you notice any major excess Bondo, get rid of it quickly with a utility knife before it hardens completely. Allow the Bondo to dry for about an hour and then sand it with 100–220 grit sandpaper to shape it to your satisfaction.
You might find small holes or gaps in your repair. That’s where some regular wood filler comes in handy! Wood filler is not strong enough for a large repair, but it is great for tiny holes or cracks. Fill them up and let dry. Then sand the wood filler smooth again.
For fixing cracks in wood, here’s our detailed guide on how to fix cracks in wood before painting. Check out this post for everything you need to know about Bondo wood repair.
And here’s our list of other best wood fillers for furniture so you can decide which one is right for your project. We also listed the best wood repair putty that we have personally tried and tested.
Using KwikWood to Repair Dog Chewed Trim
For those who prefer a simpler solution, KwikWood is a great alternative. KwikWood is kind of like playdough for adults (and super handy for DIYers). It has a clay-like consistency that makes it easy to shape and mold into any form you need.
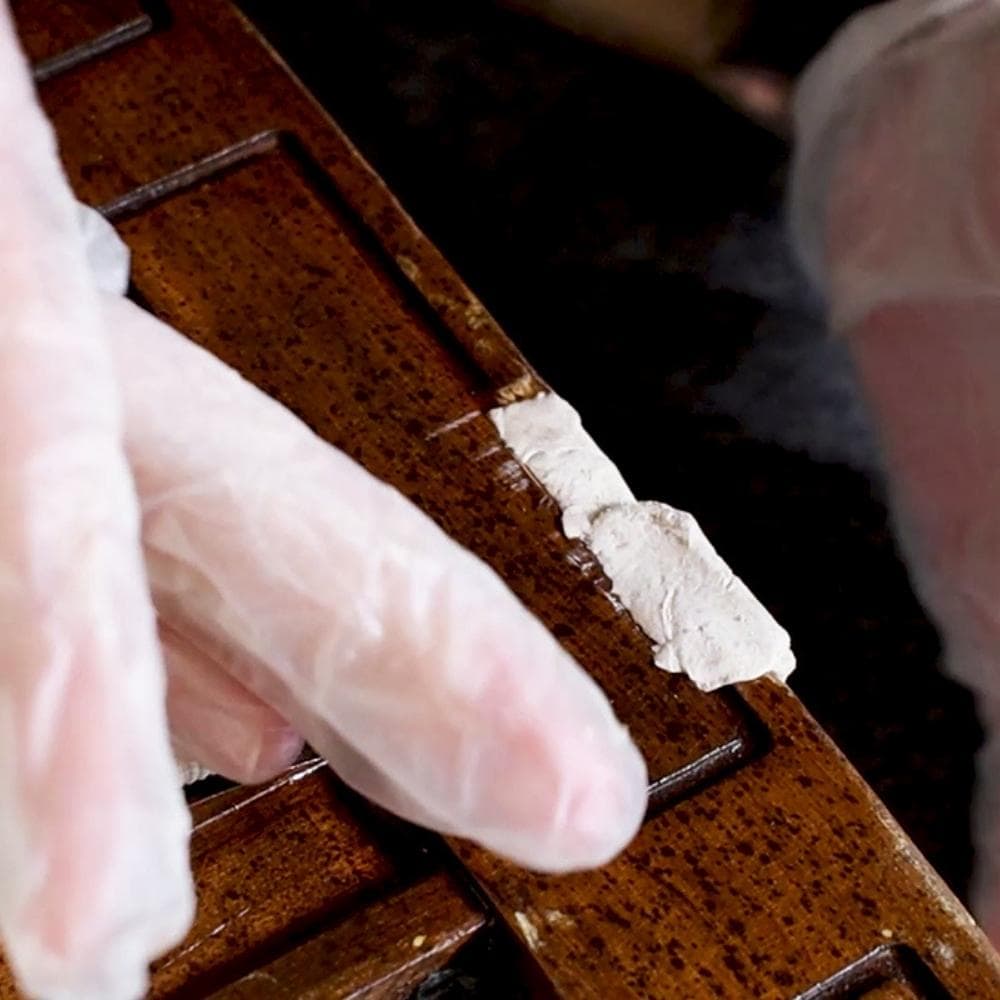
To use KwikWood, you’ll need to cut off how much you want from the stick of Kwikwood, then mix the two parts together until they’re completely blended. Make sure to wear disposable gloves to protect your hands here.
Once you’ve done that, you’ll shape it to fit the damaged area of your trim. Unlike Bondo, KwikWood gives you a little more time to work, around 10-15 minutes, so you can really make sure you have the shape just right.
After you’ve got your KwikWood shaped and molded, you’ll need to let it dry for an hour or overnight. Patience is key here! Once it’s completely dry, you can shape and smooth it out with 100-220 grit sandpaper.
If you find any small holes, just fill them up with a bit of wood filler and sand it smooth again. Learn more about how to use KwikWood here.
Painting or Staining the Repair
Finally, it’s time to paint or stain your repair!
When painting the repair, make sure to prime the repaired area before painting to create the best results. It is super important to prime before painting because it helps make the application smoother and improves how well it sticks.
Here is our list of the best primers for painting furniture so you can choose the best one for your project. Once the primer is dry, you can paint over the primer with the original paint if you have it on hand.
You can also color match paint at a hardware store to match it to the original color. If you aren’t sure what paint to use, here is our list of the types of paint for furniture.
If your repair is on raw or stained wood, you can stain the repair to match!


Just use this wood stain repair kit to apply layers of the same tones in your wood to make it look like the wood. It’s easier than you might think honestly. Here is our wood stain repair guide to help you with staining your repaired wood. You can also check this major atio table makeover where we used this wood stain repair.
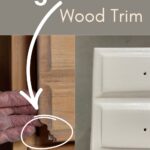
And there you have it – an easy and effective method to repair any dog-chewed wood trim, making sure your home stays looking its best for years to come. Remember, with the right tools and a bit of patience, there’s no scratch, nibble, or chew that can’t be fixed.
So, keep this guide handy for those little accidents, and continue to enjoy every moment of life with your four-legged companion.

How To Fix Dog Chewed Wood Trim
Use this step by step guide to fix dog chewed wood trim and furniture around your home.
Materials
Tools
Instructions
- Lightly sand the surface with 220 grit sandpaper to help the filler stick.
- Make a mold of the repair with either hot glue or Amazing Mold Putty. Apply vaseline to an undamaged part that looks like the damaged area, then make the mold. Remove the mold when the mold has set.
- Apply vaseline into the mold so the Bondo doesn't stick to the mold.
- Mix Bondo and fill the mold with Bondo. Press the mold onto the damaged surface, hold in place until the Bondo starts to harden (about 5 minutes). Remove the mold.
- If needed, cut off excess Bondo with a utility knife before the Bondo hardens. Let the Bondo dry completely. Then sand with 100-220 grit sandpaper to shape the Bondo.
- Fill small holes if any, with wood filler.
- You can also use KwikWood to fill the chewed wood instead of using Bondo and the homemade mold.
- Prime and paint the repair, or stain the repair to finish the repair.
Recommended Products
As an Amazon Associate and member of other affiliate programs, I earn from qualifying purchases.


more furniture repair tips
- Repairing Veneer With Wood Filler
- Best Way To Fix Chipped Wood Furniture
- Cane Furniture Repair
- How To Repair Damaged Wood Finish
- How To Repair Broken Wood

Follow us on YouTube to get more tips for painting furniture. Or share your project with us on our Facebook Group and be part of our community. See you there!