Cane Furniture Repair
If you have a piece of old furniture with damaged cane, don’t throw it away just yet! With a little bit of time and effort, you can easily do cane furniture repair and restore your old piece to its former glory. Repairing old furniture like this is not only cost-effective but also environmentally friendly as it reduces the need for purchasing new furniture.
In this guide, we will cover everything you need to know about repairing cane furniture, and you can learn how you can save it with just a few simple steps.
Cane furniture has been around for centuries and is a popular choice for its natural beauty, durability, and comfort. However, as with any type of furniture, wear and tear can occur over time. This is especially true for cane furniture where the weaving or reeding can become damaged or worn out.

Whether it’s an antique chair that has been passed down through generations or a modern piece that has seen better days, repairing the cane can bring back its charm and add character to any space.
With the following DIY know-how, you can transform your old and damaged cane furniture into a beautiful and functional piece once again.
Supplies Used for Cane Furniture Repair
As an Amazon Associate, I earn from qualifying purchases. I also may earn from other qualifying purchases with other companies or get free product to review and use. All opinions are my own.
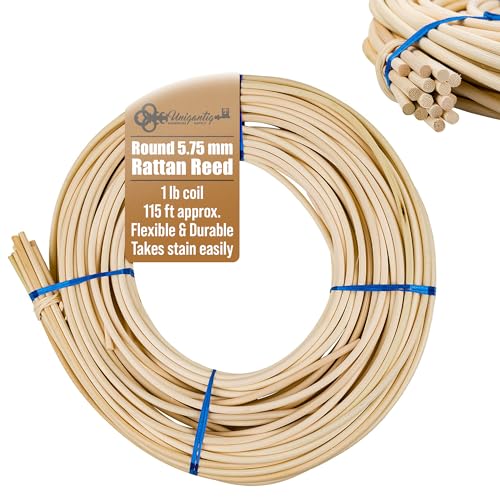
- Cane Pieces or Reeding
- Utility Knife
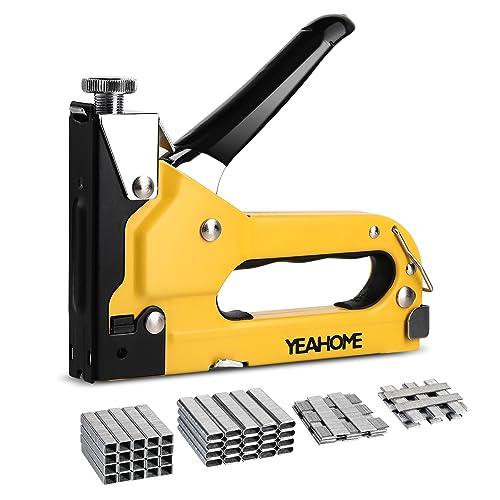
- Staple Gun
- Staples
- Warm Water
- Towel
- Rubber Mallet
How to Repair Cane Furniture
Now let’s get started with the repair process for cane furniture. Depending on the type of damage, there are two main methods: repairing the webbing or reeding.
Removing Old Cane from Furniture
Before you can begin repairing your cane, you’ll need to remove the old pieces if there is a hole or break in the cane. Same goes if the border of the cane is missing or damaged. Just remove the border, also known as rattan reeding, and then get on repairing it.
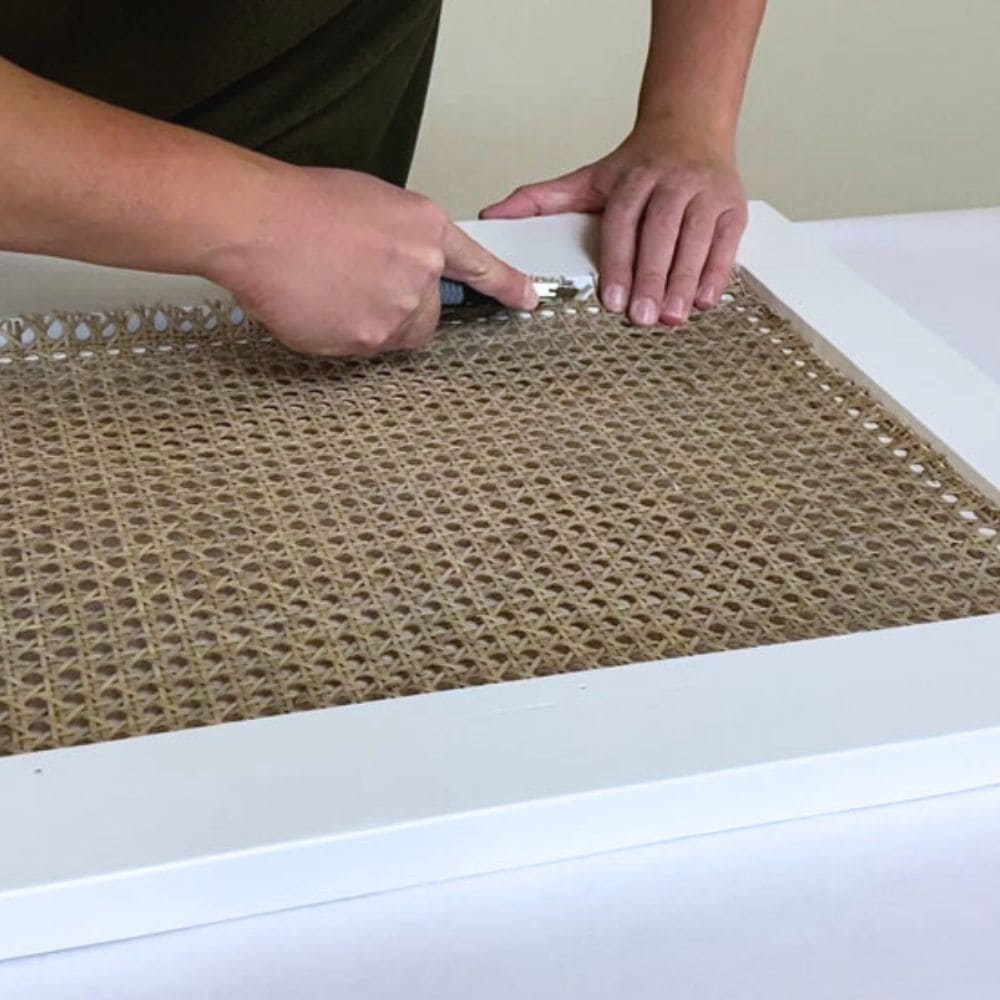
How to Remove Cane from Furniture
To remove the cane, use a utility knife to cut along the edges of the cane, where it is attached to the frame. Carefully pull up on the edge of the cane until it pops out of place. Repeat this process for all sides until all of the cane is removed.
If cane is stapled into the frame, remove all staples before pulling up on the cane. You can use a pair of pliers to help pull out stubborn staples. Once all the cane is removed, move on to repairing.
Repairing Cane Webbing
For damaged cane webbing, here’s what you’ll need to do. Keep in mind that soaking the cane webbing in warm water is an important step for both methods, as it makes the cane more pliable and easier to work with.
Soaking the Cane
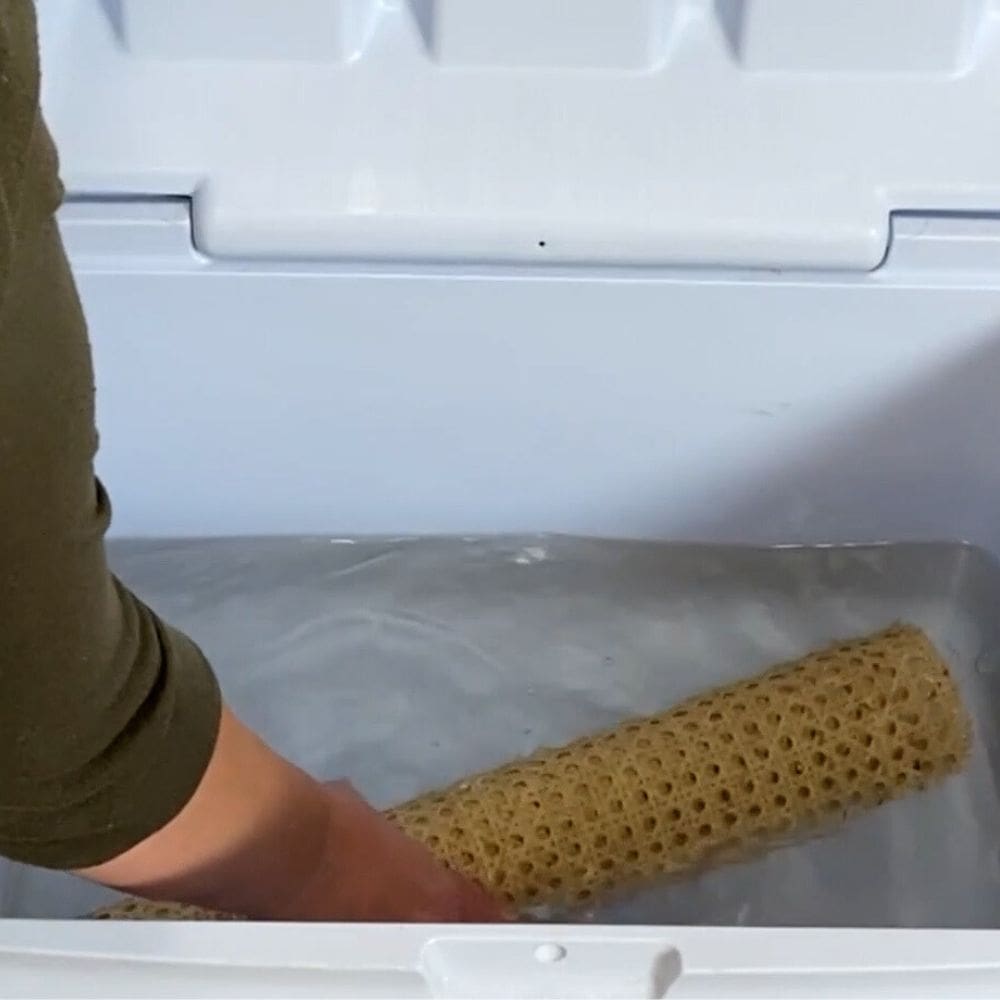
Soak your new cane pieces in warm water for at least 30 minutes. You can use a bathtub or a cooler for this step.
Once again, by soaking the cane, it becomes more flexible and easier to handle, especially when cutting it to the desired size. As it dries, it will also shrink slightly and tighten the cane. Dry your cane off with a towel.
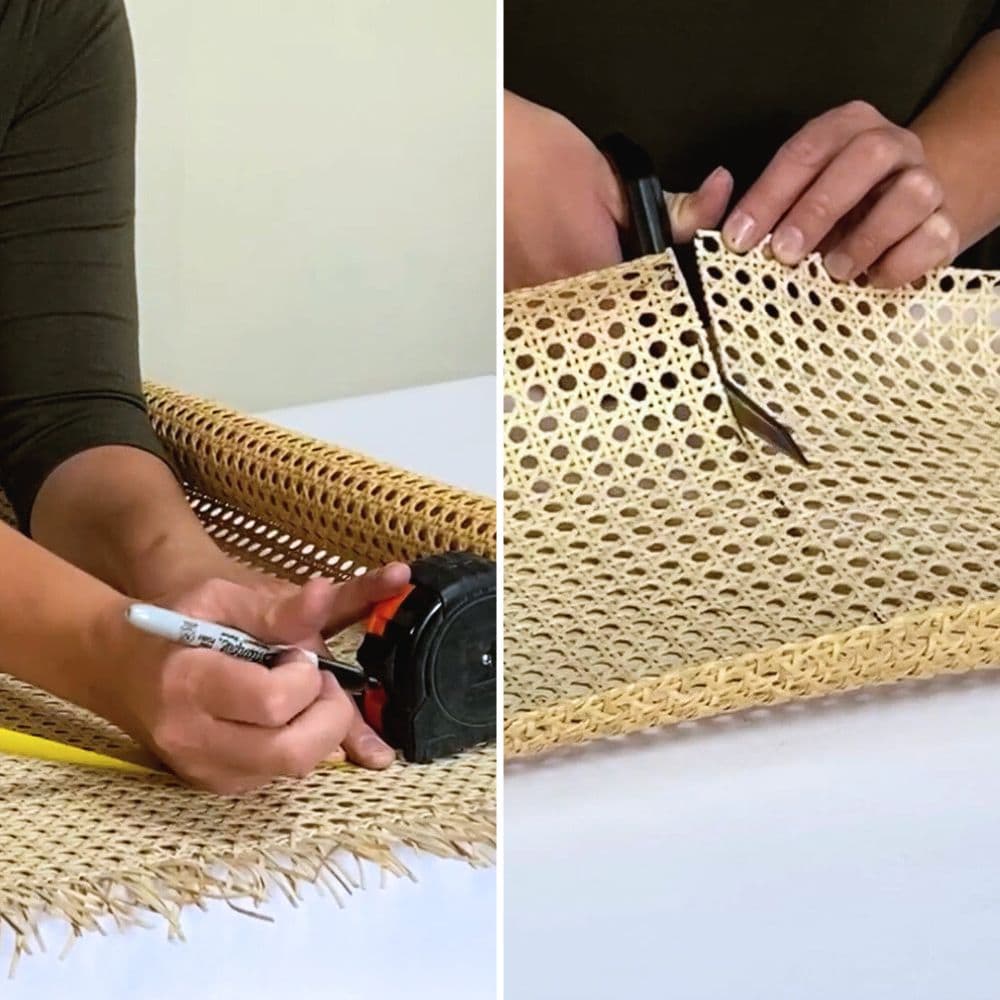
Cutting the Cane to Size
Using a sharp utility knife, cut the cane webbing to a slightly larger size than what you need for repair. We recommend cutting at least 2 inches of extra length on all sides. It’s always better to have extra material on hand in case of any mistakes or additional repairs needed.
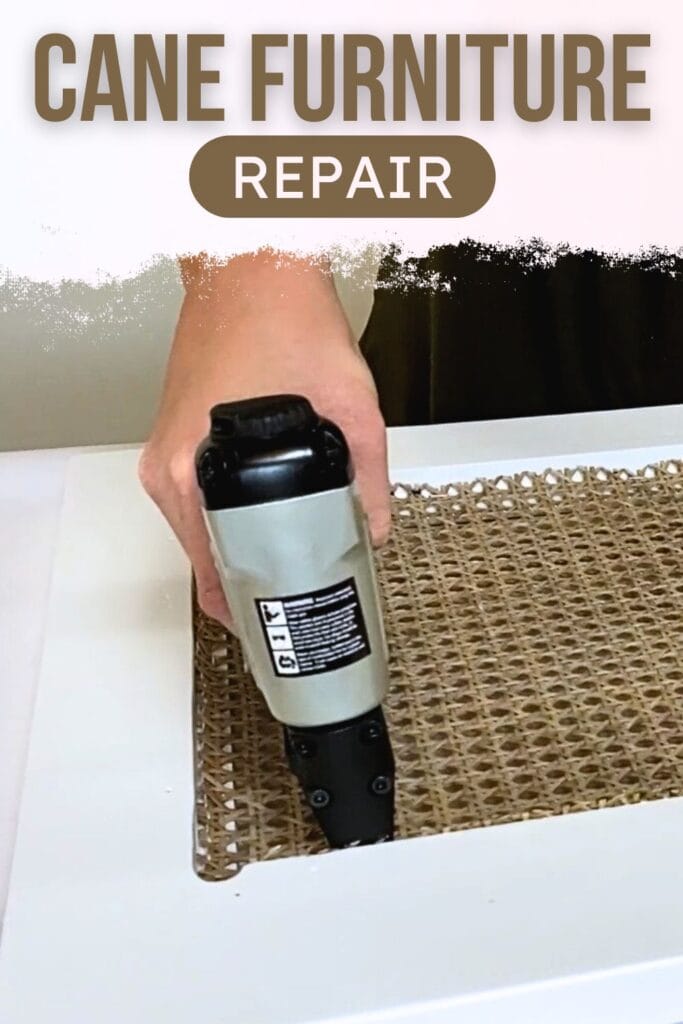
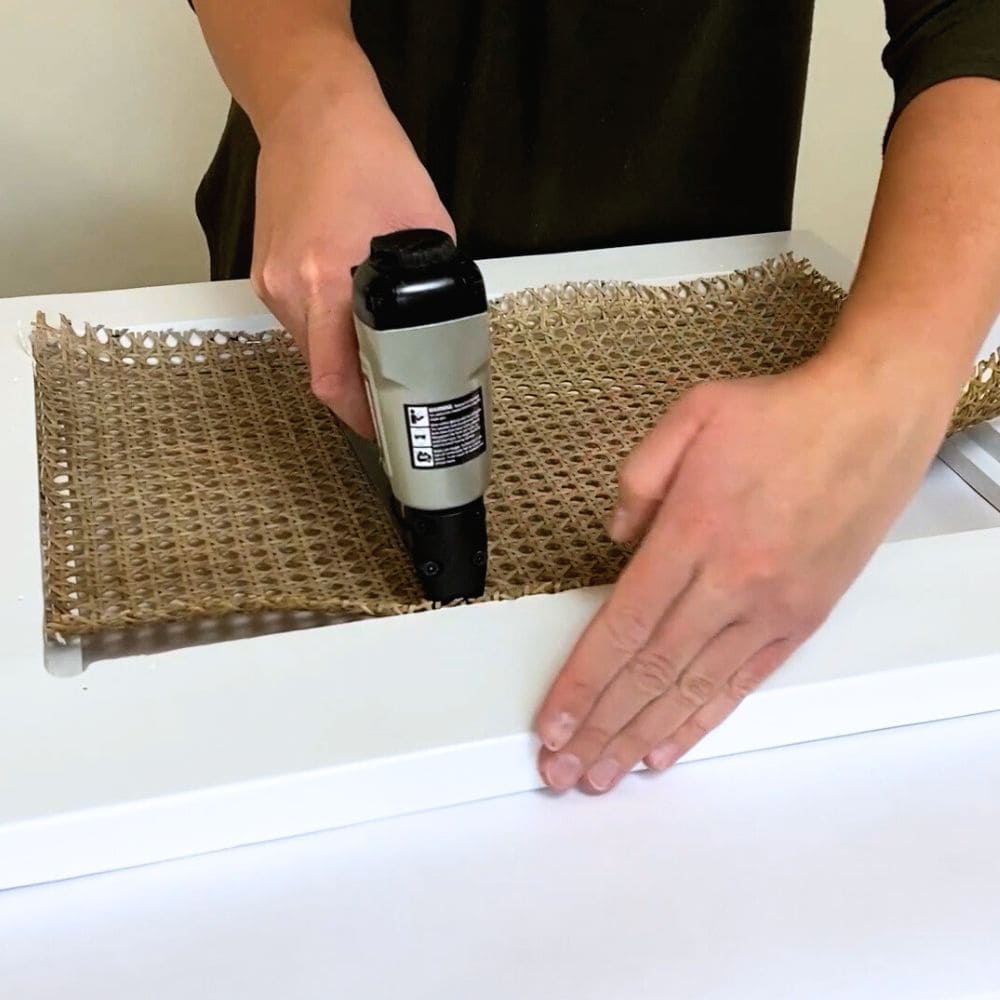
Stapling the Cane into Place
Lay the cane in place on your furniture and staple it once on one side, then once on the opposite side. Make sure to pull the cane tight before stapling it a second time to avoid any slack in the weave. Continue working around the edges of the furniture, stapling every 1-2 inches until all sides are secure.
Would you like to save this?
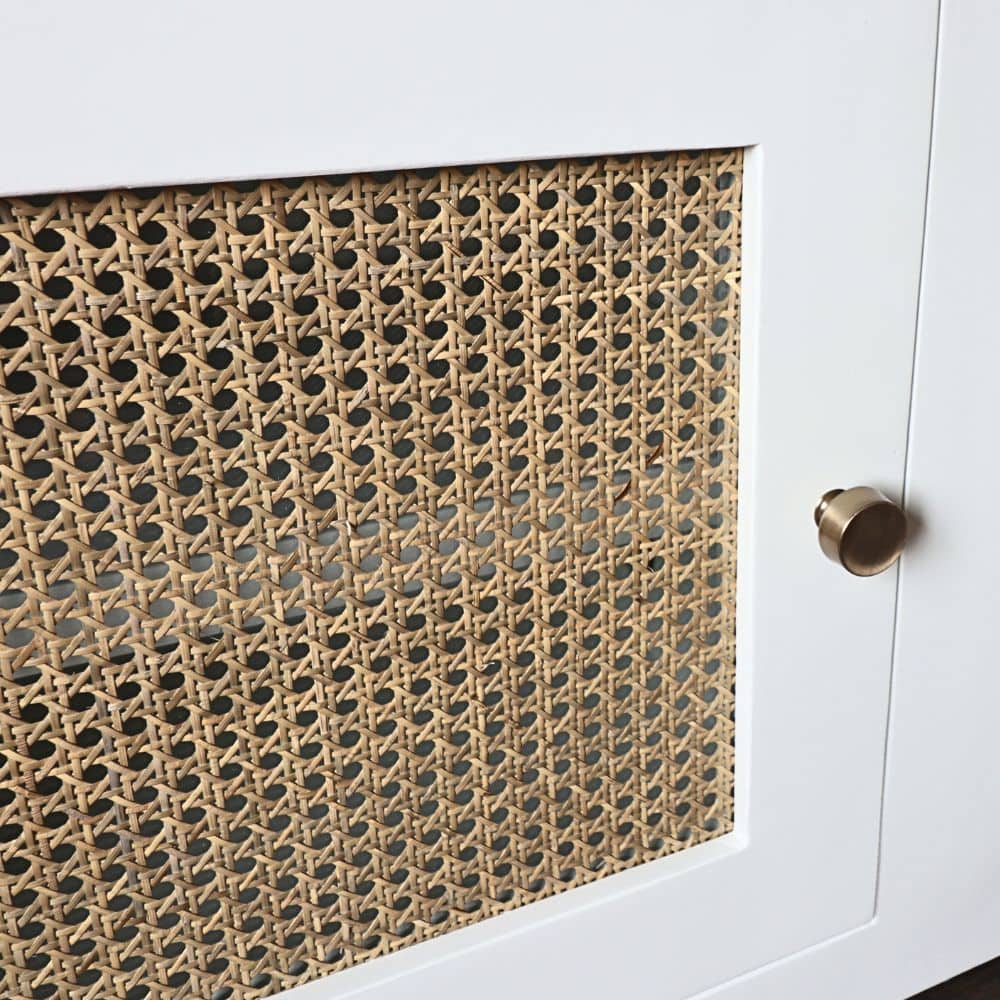
Once the cane is stapled into place, use a sharp utility knife to carefully trim any excess material on the outside of the staples. This will give your furniture a neat and clean final look. You can check out our post on how to install cane webbing to a door to see this whole process in action.
Repairing Cane Reeding
If the border of your cane is damaged, follow these steps to repair it.

As mentioned above, you also have to soak the new reeding in warm water for at least 30 minutes. Dry it off with a towel before working with it. Hide the end of the reed by cutting it at a 45 degree angle.
This will make it less noticeable once it is placed in the groove. Gently pound the reeding into the groove using a rubber mallet. Work your way around the groove until you make it back to where you started. Make sure to line up the end with the beginning of the reeding for a seamless finish. We also have a more detailed guide on how to repair rattan wrapping here.
Can I use any type of cane for repairs?
It’s best to use the same type of cane that was originally used on your furniture for the most seamless repair. But if you can’t find the exact match, you can definitely go for a similar cane that will match in terms of color and texture.
You can also change the color of your furniture with cane after repair – here’s a guide from my friend on how to paint cane webbing furniture. And if you want to give your cane a new look, here’s how to lighten cane furniture!
How often should I repair my cane furniture?
The frequency of repairs will depend on several factors such as the quality of the cane, how it is used, and how well it is maintained. With proper care and maintenance, repaired cane furniture can last for many years without needing further repairs.
It’s also a good idea to regularly inspect your furniture for any signs of wear and tear, so you can address them before they become major issues. And if your furniture is frequently used or exposed to harsh conditions, it may require more frequent repairs.
Tips for Maintaining Cane Furniture
So you’ve successfully repaired your cane furniture and now you want to make sure it stays in tip top shape? Well, cleaning cane furniture is an important step in maintaining its overall condition. Whether you’re dealing with old or new pieces, regular cleaning can help prevent damage and keep them looking great for years to come.
How to Clean Cane Furniture
First things first, always start by dusting off your cane furniture using a soft cloth or brush. This will remove any loose dirt or debris that could potentially cause scratches when cleaning. For tougher spots or stains, mix mild soap with warm water and use a soft cloth to gently scrub the surface. Avoid using harsh chemicals or abrasive cleaners as they can damage the cane.
Once you’ve cleaned your furniture, rinse it off with a clean damp cloth and then dry it with a towel. Be sure to wipe off any excess water to prevent damage or warping of the cane.
To maintain your freshly cleaned cane furniture, regularly dust and clean it at least once every few weeks. If there are any spills or stains, make sure to clean them up immediately before they have a chance to set in.
Also, try to keep your furniture out of direct sunlight as this can cause fading and drying out over time. Be mindful of placing heavy objects on cane furniture as this can cause pressure and lead to sagging and damage over time.
And in case of any minor damage or breakage, make repairs as soon as possible to avoid further damage.

With proper care and maintenance, your repaired cane furniture will continue to look beautiful and last for years to come. We hope this how to fix cane furniture guide has given you the skills, knowledge and confidence to do it yourself!

Cane Furniture Repair
Here's an easy cane furniture repair tutorial for fixing damaged webbing or reeding, including tips for cane furniture maintenance.
Materials
- Cane Pieces
- Reeding
- Warm Water
- Towel
Instructions
- Start by removing old cane from the furniture using a utility knife to carefully cut along the edges and pull up on the cane. If there are staples, remove them before pulling out the cane.
- Soak the new cane webbing in warm water for at least 30 minutes to make it more flexible and easier to work with. Dry it off before cutting it to size.
- Cut the cane webbing to a slightly larger size than needed, leaving at least 2 inches of extra length on all sides. This allows for any mistakes or additional repairs.
- Lay the cane in place and staple it down on opposite sides, pulling tightly to avoid slack in the weave. Secure the remaining edges with staples every 1-2 inches.
- Once the cane is stapled into place, use a utility knife to trim any excess material around the staples for a clean finish.
- To repair damaged cane reeding, soak it in warm water and then hide the end by cutting at a 45 degree angle before gently pounding it into the groove with a rubber mallet.
Recommended Products
As an Amazon Associate and member of other affiliate programs, I earn from qualifying purchases.


More Furniture Repair Tips
- How To Repair Rattan Furniture
- How To Repair Broken Trim On Furniture
- How To Repair Damaged Furniture
- How To Repair Cracks In Antique Wood Furniture
- Repair Water Damaged Wood

Follow us on YouTube to get more tips for painting furniture. Or share your project with us on our Facebook Group and be part of our community. See you there!