How to Install Cane Webbing to a Door
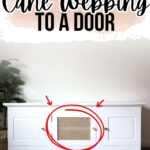
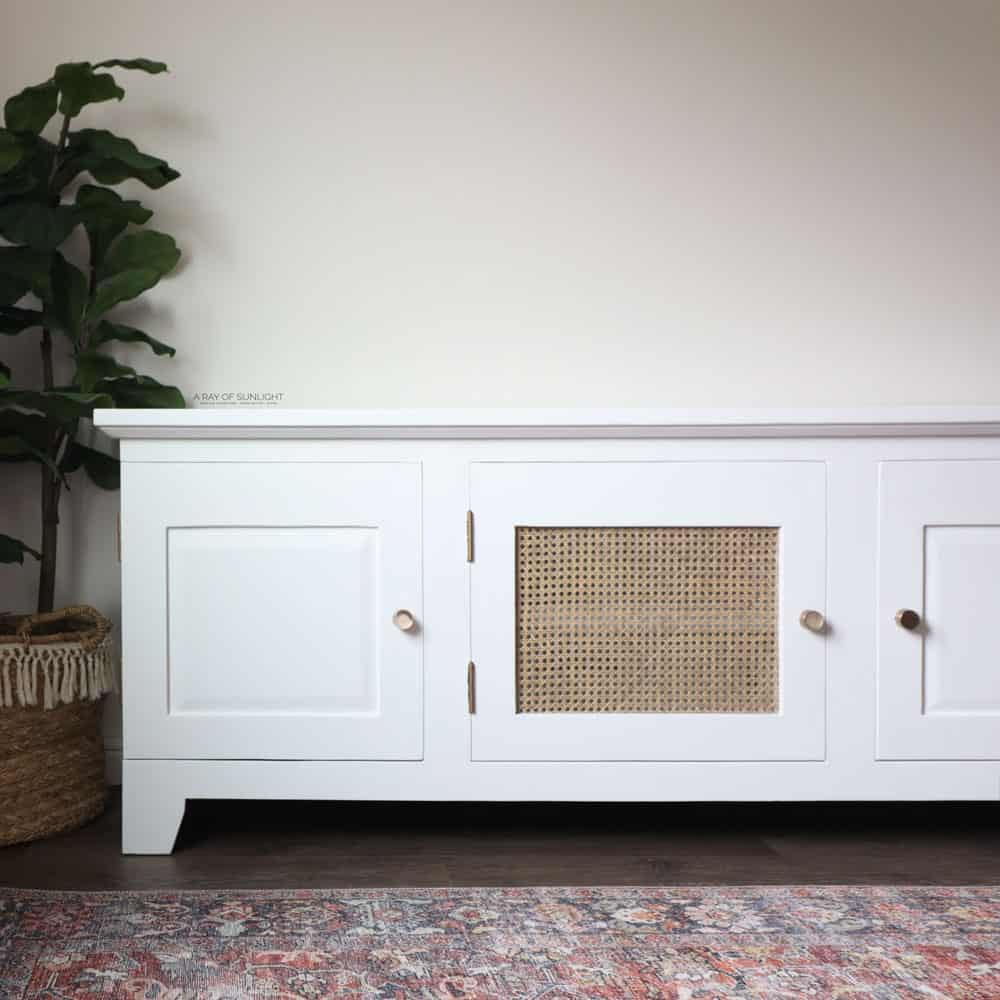
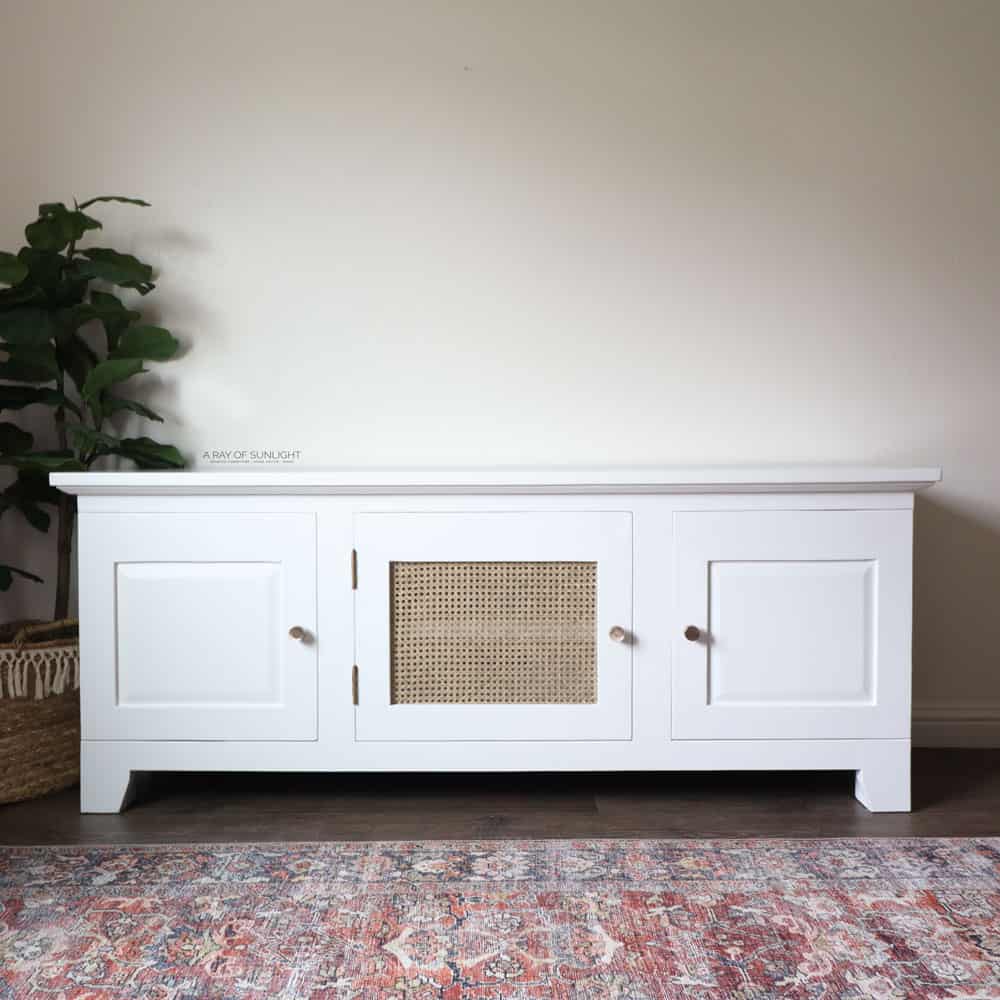
Cane webbing is super trendy right now! So I added some to a TV stand makeover! If you’ve been wondering how to jump on the cane webbing bandwagon, you’re in luck! Here’s how to install cane webbing to a door.
This classic material has made its way into modern home decor, adding a touch of natural texture and giving furniture pieces a fresh new look. It’s a furniture makeover idea that is easy to do yourself!
Lately, cane webbing has made a comeback in popularity. It fits perfectly with the current trend of incorporating natural elements into home decor.

It’s also a great way to add texture and interest to a plain piece of furniture without having to spend a lot of money.
One of the great things about cane webbing is its versatility. It comes in a variety of styles and patterns, making it easy to find one that suits your personal taste and aesthetic, from traditional square weaves to more modern diamond or hexagon patterns.
Cane webbing is also a lightweight material, making it easy to work with. It can be applied to almost any flat surface, including doors and cabinets.
Now let’s get to the installation process!
Supplies Used to Install Cane Webbing to a Door
As an Amazon Associate, I earn from qualifying purchases. I also may earn from other qualifying purchases with other companies or get free product to review and use. All opinions are my own.
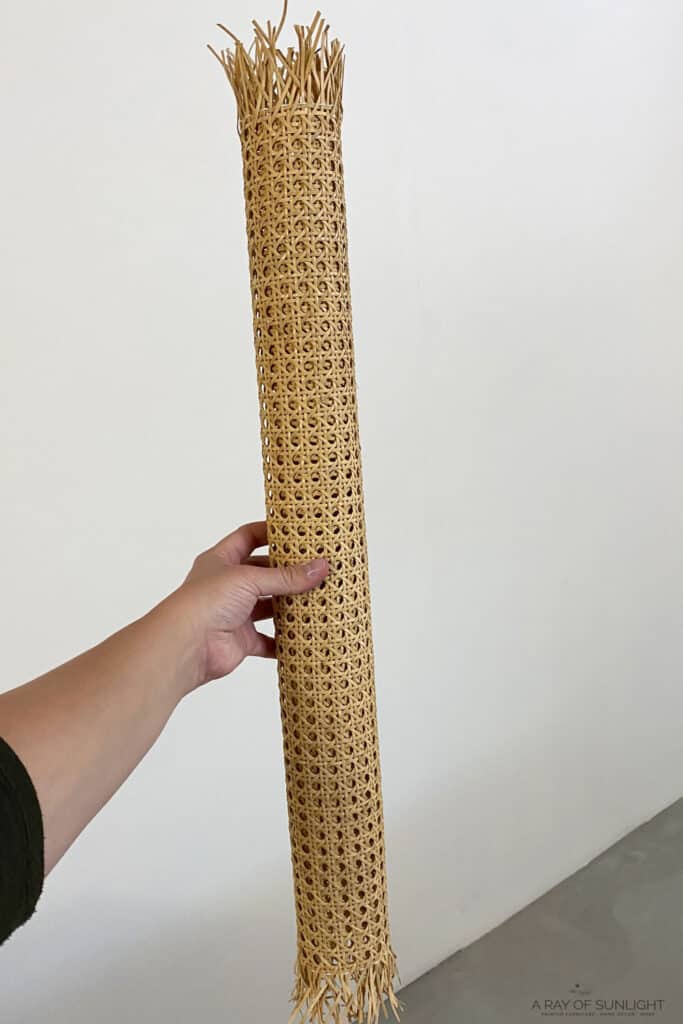
- Cane Webbing (I got the W901U – Unbleached)
- Tub of Water
- Scissors
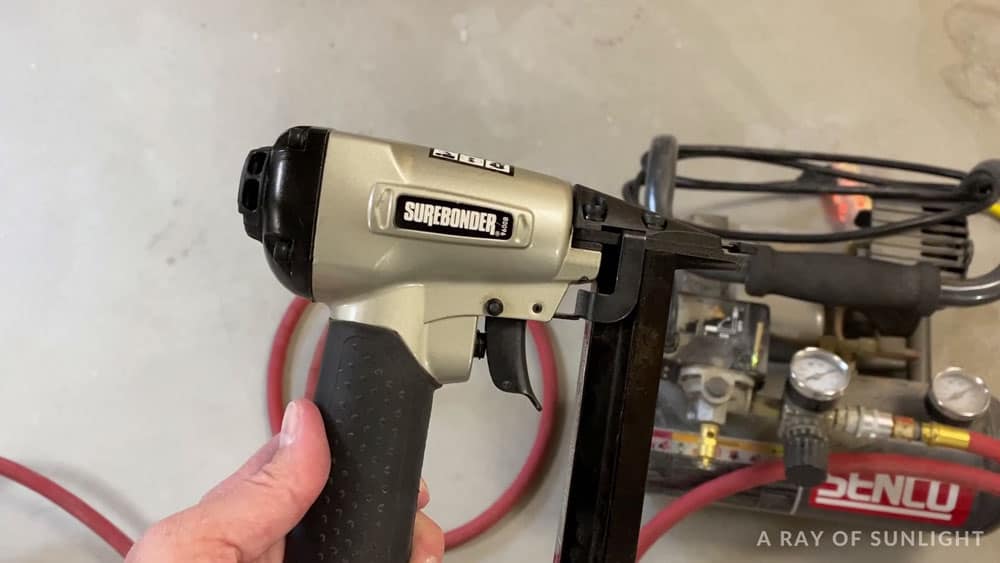
- Stapler (OR this Stapler doesn’t need an air compressor)
- Air Compressor
- Sharp Utility Knife
- Measuring Tape
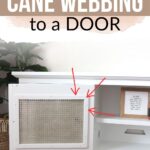
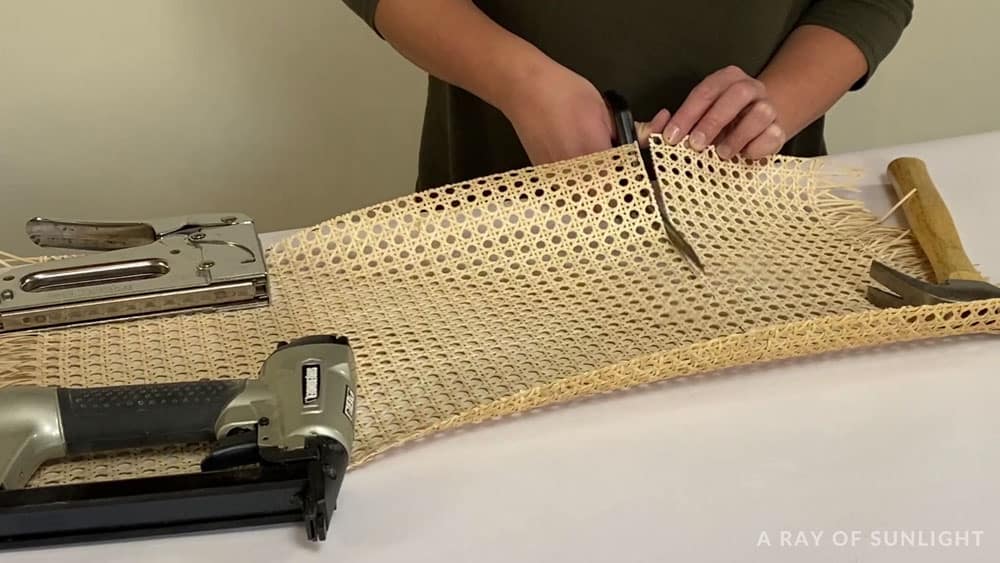
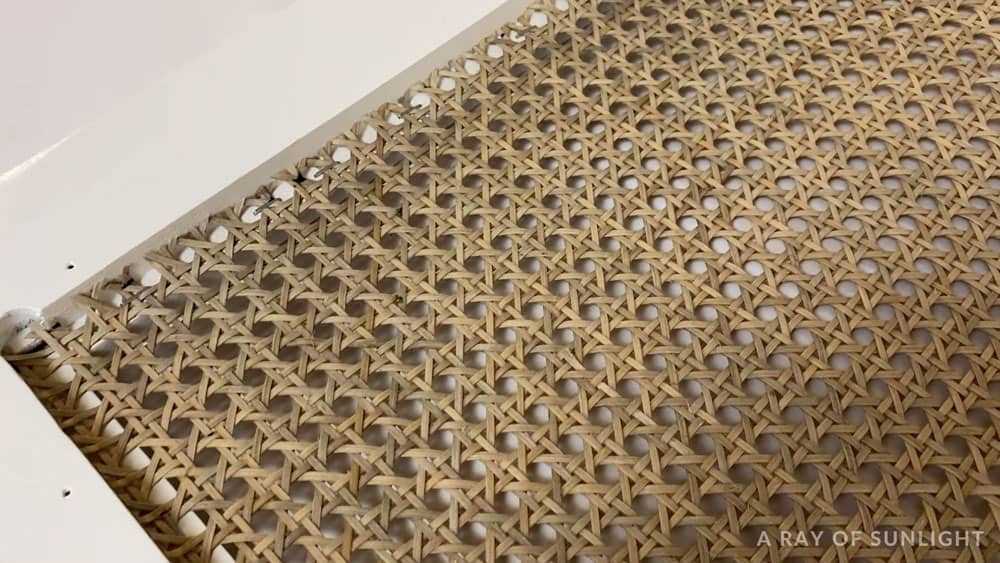
Cut Cane Webbing to Size
First, cut the cane webbing to size. I had to use some heavy objects around to help weigh the edges down while I cut.
I also cut the webbing just a little bit larger than the opening so I wouldn’t accidentally cut it too small. It’s better to do this and trim later than to cut it too small and have to start all over again.
You also don’t want to waste any webbing that you’ll end up not using. The extra area is also room on each side for stapling.
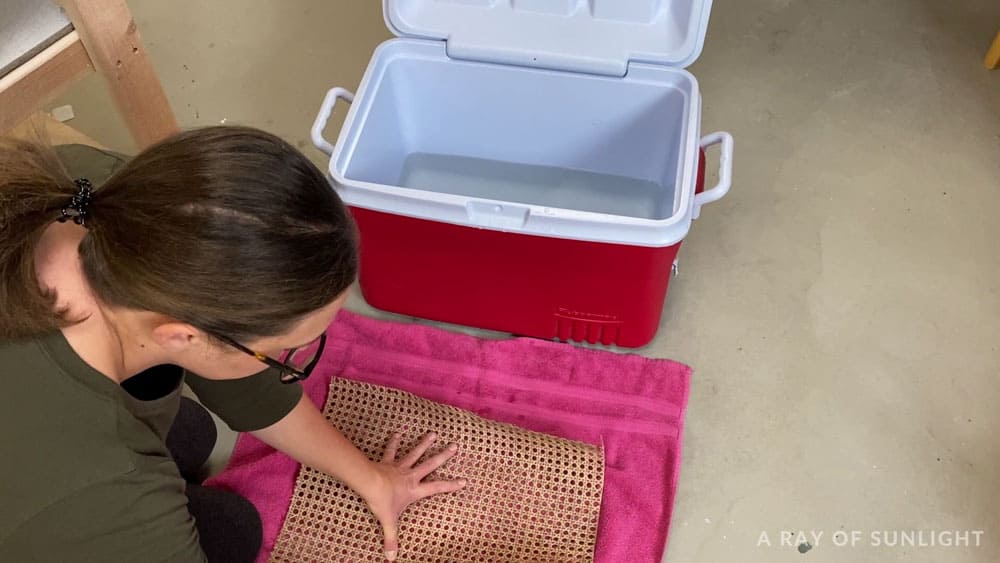
Soak Cane Webbing in Warm Water
Then soak the cane webbing in some warm water for at least 30 minutes. Soaking the cane webbing makes it more pliable and easier to work with.
Make sure to use enough water so that the webbing is fully submerged.
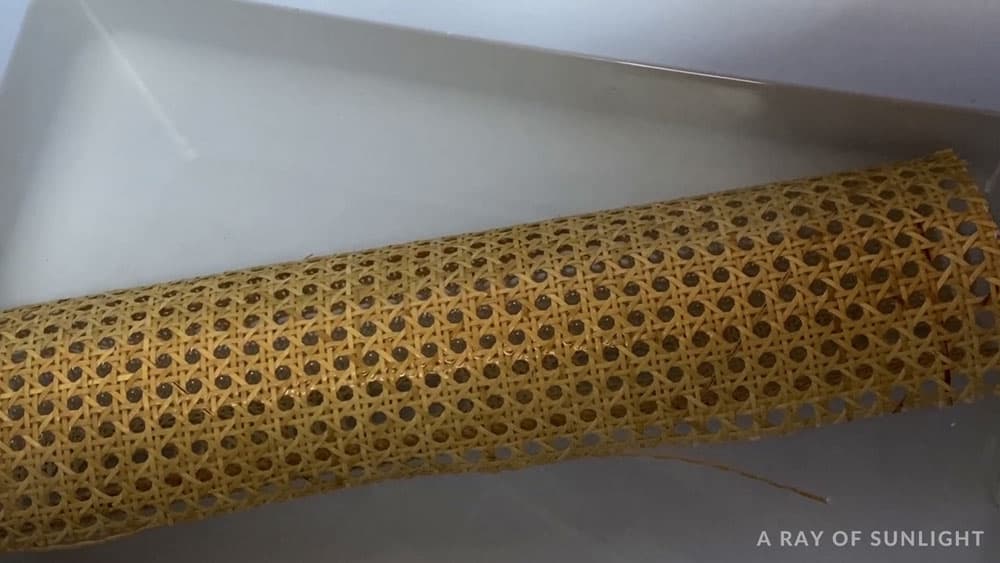
It also stretches it out more, so when it dries again it dries tighter than when it’s wet. After I soaked it for half an hour, I dried it off a little with a towel.
Of course, you don’t want the water to drip everywhere when you’re working with it.
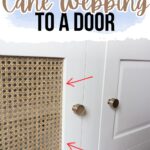
Staple Cane Webbing to Wood
Then I used a stapler that uses T50 staples to staple the cane to the wood. I started in the middle on one side, and then I stapled it again in the middle on the other side.
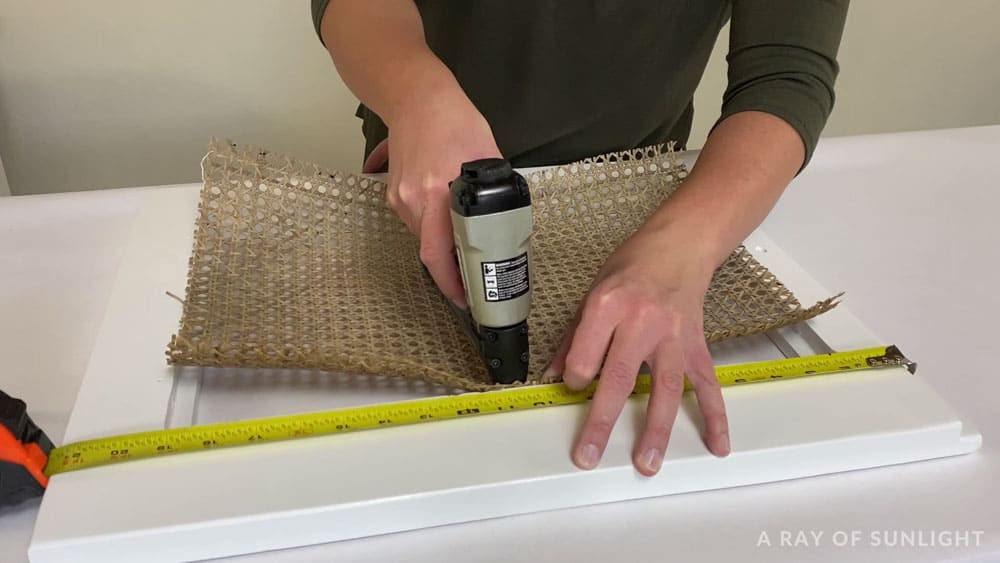
And then I stapled it on the other 2 sides. Then I worked my way around the rest of the edges, pulling the cane webbing tight and trying to line it up before stapling it in place.
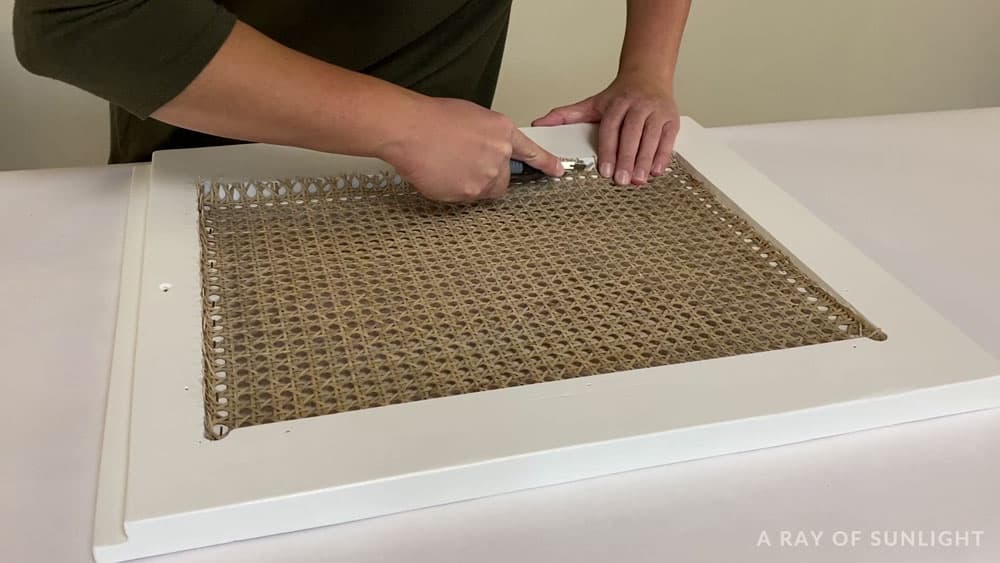
Cut Cane Webbing Excess with Utility Knife
Then I cut the excess with a utility knife. The sharper, the better for this job. But I was able to make a dull utility knife work. haha
Would you like to save this?
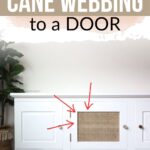
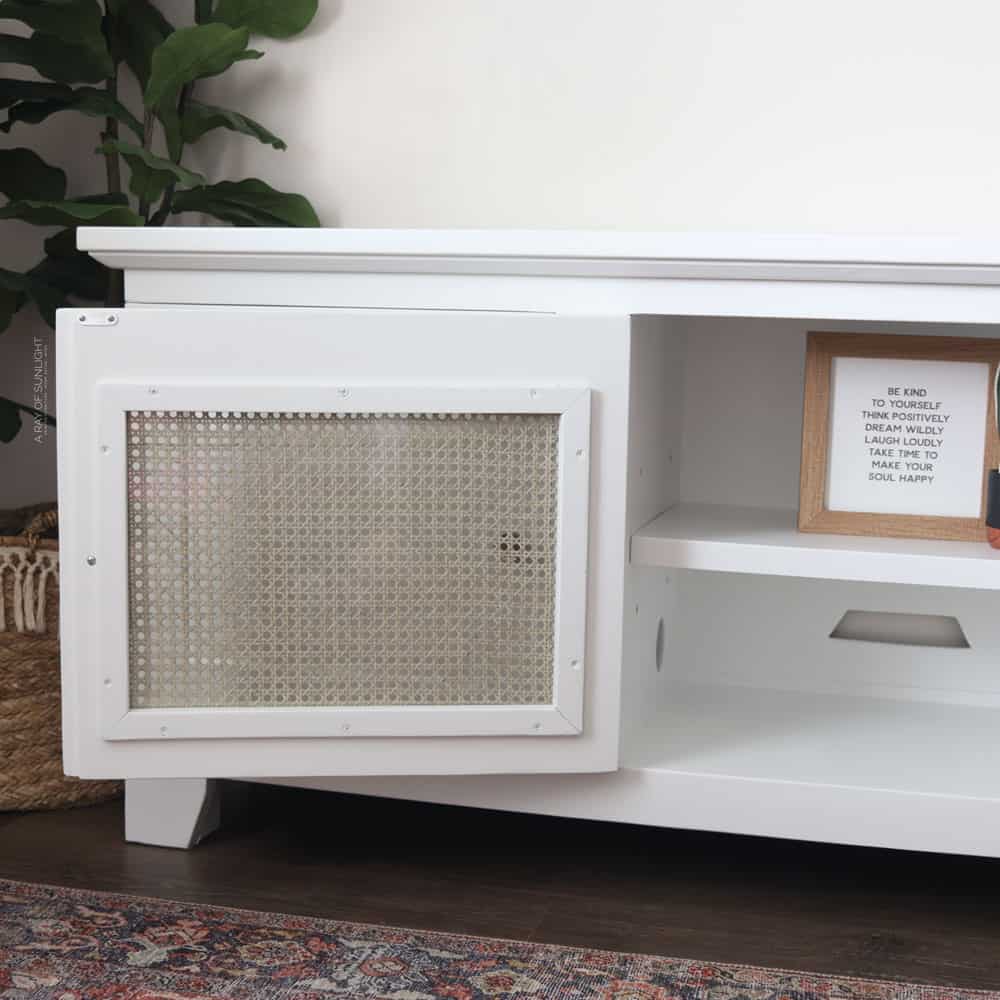
Cover Edges with Wood
Then I put the glass that was originally in the opening back. And I screwed in the wood that held the glass in place, back in their spots.
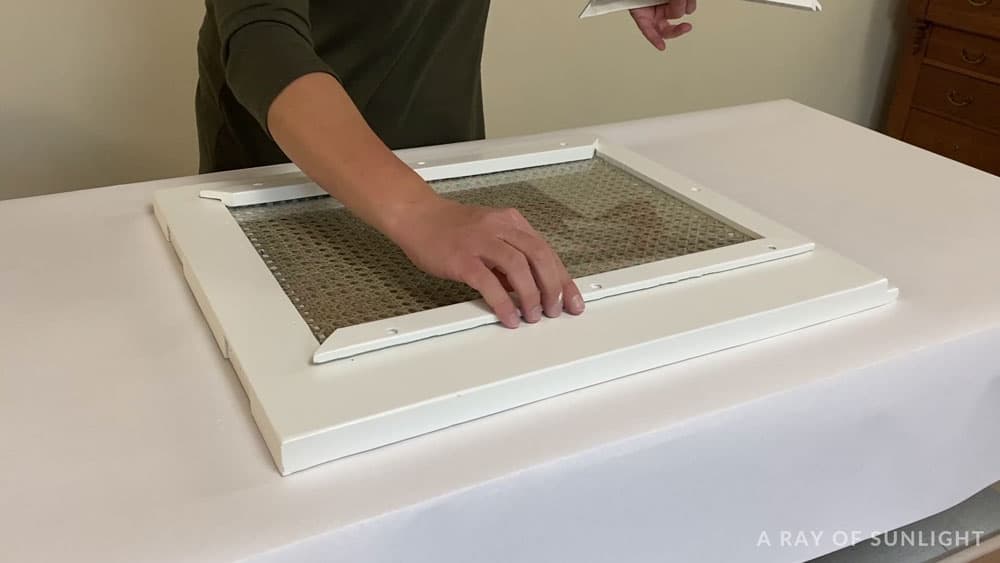
If you don’t have wood that covers it already, you could glue or nail some thin wood trim over the edges.
If your furniture’s cane is damaged, check out this post about cane furniture repair to bring back its charm and character. And for broken and damaged rattan wrapping, here’s how to repair rattan wrapping. You can also give your cane furniture a fresh look – here’s how to lighten cane furniture.
Let Cane Webbing Dry
Then let the cane dry. Once it’s dry it should be tight and not flimsy. Watch how I installed cane webbing to a door below.
Check out the rest of this TV stand makeover in this post about painting furniture white. For a similar project, here’s my DIY TV stand.
How do I know what size of cane webbing to get?
When choosing the right size of cane webbing for your furniture, it’s important to consider the dimensions of the opening you are looking to fill.
Measure the width and length of the area where you want to install cane webbing and add a few inches on each side to account for any trimming or stapling needed. It’s better to have extra than not enough, as you can always trim it down later.
Once you have your measurements, you can get the size of cane webbing you need. Most cane webbing comes in standard roll widths of 18″, 24″ or 36″.
You’ll want to choose a size that is larger than your opening, so you have enough webbing to pull tight and staple around the edges.
If you’re still unsure about what size cane webbing to get, it’s always best to err on the side of caution and go with a larger size. Or you can reach out to the company you are ordering from, and ask for their professional opinion.
Another size option to consider is the size of the circle pattern. For small projects, a smaller diameter is better, but for large projects, you might be able to go for a bigger diameter. It all just depends on what look you are aiming for.


And don’t worry about not using all of the webbing – you can always save any leftover pieces for future projects or repairs.
Cane webbing is a versatile material that can be used for many different DIY projects, so it’s good to have some on hand.

How to Install Cane Webbing to a Door
Adding a cane webbing to your furniture is pretty easy. Here's how to install cane webbing to a door.
Materials
- Cane Webbing
- Tub of Water
Tools
- Scissors
- Stapler
- Air Compressor
- Sharp Utility Knife
- Measuring Tape
Instructions
- Cut the cane webbing to size. Cut the webbing just a little bit larger than the opening so you wouldn’t accidentally cut it too small.
- Then soak the cane webbing in warm water for 30+ minutes. Soaking the cane webbing makes it more pliable and easier to work with. After soaking it for half an hour, dry it off a little with a towel.
- Staple the cane to the wood. Start in the middle on one side, and then staple it again in the middle on the other side. And then I staple it on the other 2 sides. Then work your way around the rest of the edges, pulling the cane webbing tight and trying to line it up before stapling it in place.
- Cut the cane webbing excess with a utility knife.
- Cover the edges of the cane with wood.
- Then let the cane dry. Once it’s dry it should be tight and not flimsy.
Recommended Products
As an Amazon Associate and member of other affiliate programs, I earn from qualifying purchases.


More Furniture Makeovers
- Painted Hutch Makeover
- Blue Painted Furniture Makeovers
- Painted China Cabinet Ideas
- Painting Cane Furniture

Follow us on YouTube to get more tips for painting furniture. Or share your project with us on our Facebook Group and be part of our community. See you there!