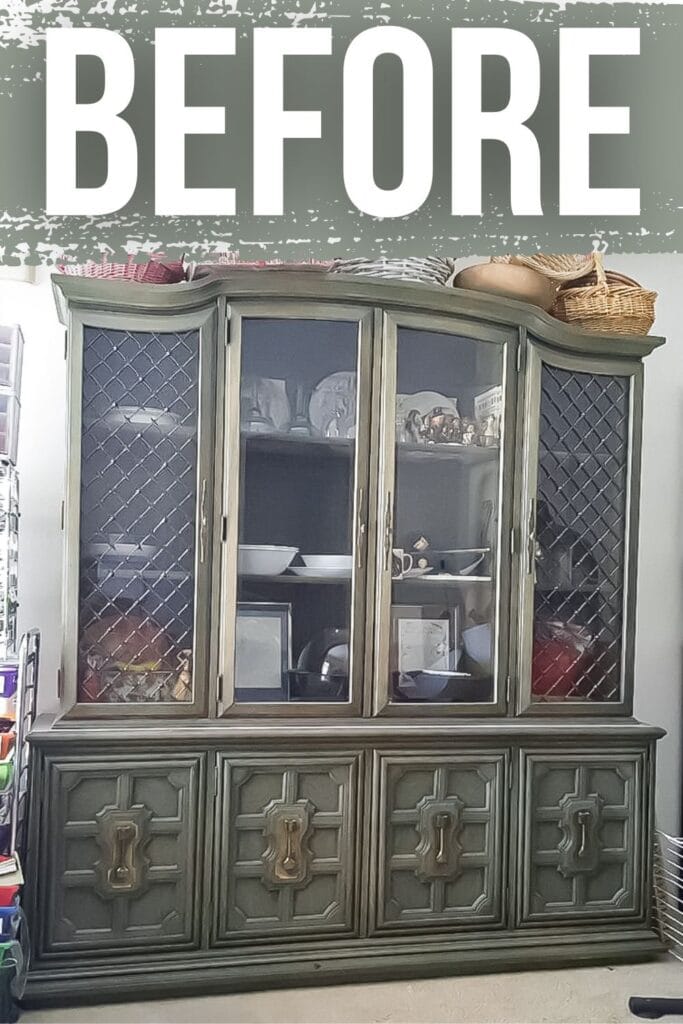
Painted Hutch Makeover
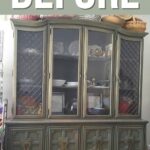
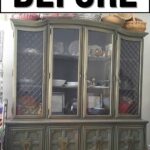
Are you looking for a fun and unique way to transform your vintage furniture? Look no further than this painted hutch makeover with a green vintage Stanley china cabinet. We’ll take you through the step-by-step process of how we transformed this piece into a modern and sleek showstopper.
Also, check out our list of gray painted furniture to get more ideas! With our easy-to-follow guides and expert tips, you’ll be painting your own furniture in no time.
You don’t have to spend a fortune on new pieces when you can paint and revive old pieces of furniture by painting or refinishing them. In this guide, we’ll show you how to paint furniture to get a professional level finish.

We’ll cover everything from preparing your furniture properly to the extra details that will make your furniture extra special. So, let’s get started on your journey to create a beautiful and unique piece of furniture that you can be proud of!
Supplies Used for the Painted Hutch Makeover
As an Amazon Associate, I earn from qualifying purchases. I also may earn from other qualifying purchases with other companies or get free product to review and use. All opinions are my own.
- Screwdriver for Removing Hardware
- Degreasing Cleaner
- 220 Grit Sandpaper
- Clear Primer
- Behr Latex Paint in your chosen color (Gray Tabby from Glidden and Creamy from SW)
- Calcium Carbonate Powder
- Paint Sprayer
- Paint Filter
- Varathane Waterbased Polyurethane
- Bar Keeper’s Friend to clean the old hardware
Painted Hutch Makeover
The first step in any furniture painting project is to remove any hardware and clean the piece thoroughly.
For this vintage china cabinet makeover, we used a screwdriver to carefully remove the old metal hardware and then we set it aside.
Then, we very carefully removed the glass from the cabinet doors. Fun fact: I actually broke 1 piece of glass when installing it because I wasn’t being careful. It snapped right in half. So be super careful when removing glass.
Wrap it in some towels or blankets to keep it protected while it is out. Then I carefully took off the metal detail that was in front of the glass. Removing it made such a difference in the new look! Once the hardware and metal details were removed, we cleaned the china cabinet with a degreasing cleaner, Krud Kutter.
This step is very important to make sure that the paint will adhere properly to the surface without any dirt or grime getting in the way. Learn more about cleaning and exactly how, in our post about how to clean furniture before painting furniture.
If your worried about bacteria, germs or musty orders in the nooks and crannies of your piece, here’s how to disinfect wood dresser or any other furniture.
After cleaning, we scuff sanded the entire surface with 220 grit sandpaper to help the paint stick even better. I know this is a step that most of us want to skip, but it really does make a difference.
If you skip this step, your paint will most likely scratch or chip off very easily anytime that it is touched. Learn more in our post about the importance of sanding before painting furniture.
Priming Before Painting
As someone who has painted their fair share of furniture, I know that there are always things we could have done better. One thing I regret not doing when painting this cabinet was priming before painting.
Priming would have helped the chalk paint stick better and prevented any bleed-through stains from showing through paint. If I were to do this piece over, I would have used 2 coats of clear shellac here.
If you’re new to furniture painting, don’t worry! Our blog post on the best primers for painting furniture offers expert advice on choosing the right primer for your project. It’s also important to know how to avoid the common problems that arise when using chalk paint.
Our blog post on 5 chalk paint problems and how to fix them covers issues like when chalk paint doesn’t stick, brush strokes, uneven coverage, and a streaky finish.
So, check out that post before you start painting your furniture so you can avoid the typical problems people run into.
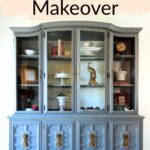
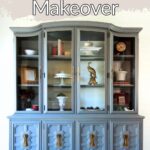
Painting the China Hutch
Then we mixed Behr Premium Plus latex paint into a color called “Gray Tabby” from Glidden and made our own homemade chalk paint.
Check out this post on our homemade chalk paint recipe to learn how to turn latex paint into chalk paint.
Check out this post if you’re wondering what is the difference between chalk paint and regular paint.
To make the job faster and look better, we used a Wagner Double Duty sprayer. We painted on 2 or 3 coats of paint, letting it dry between coats.
Learn how to use a Wagner Double Duty paint sprayer and how to prevent overspray when painting furniture here. Also, check out how to thin paint for Wagner sprayer here.
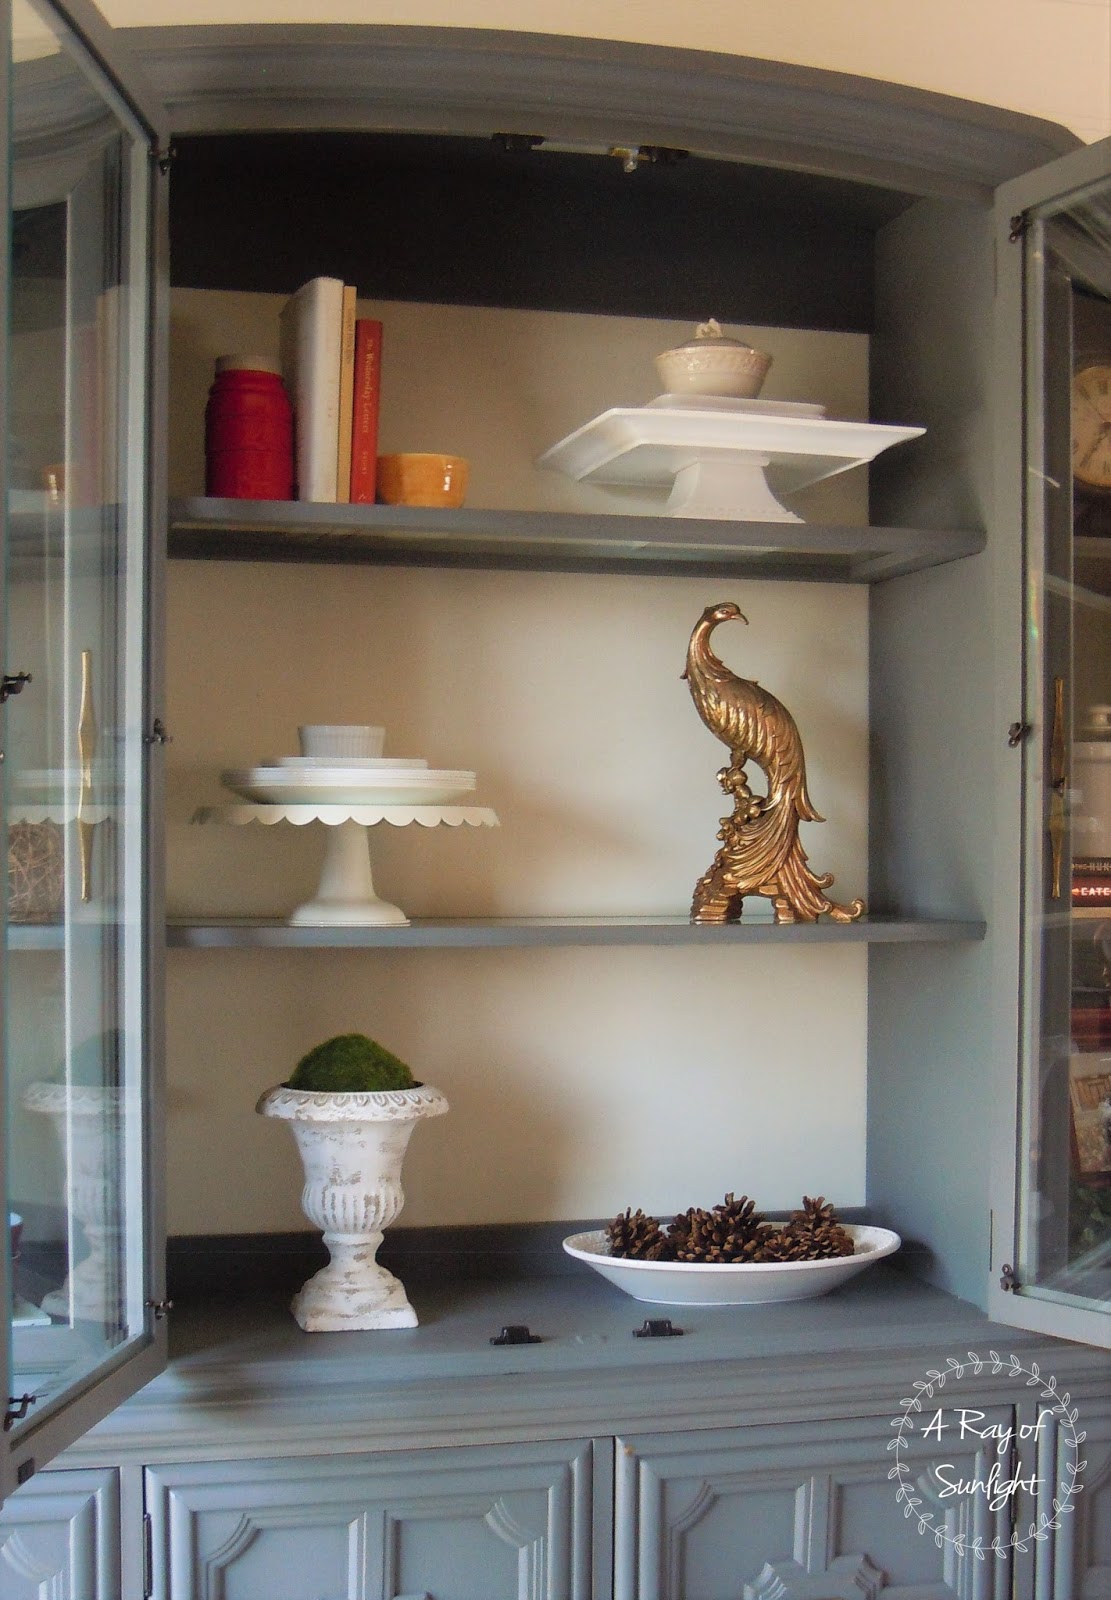
For the back of the cabinet, we used more Behr Premium Plus latex paint, but in the Sherwin Williams’ Creamy color.
I wanted the inside to be light and bright so you could see whatever was displayed on the shelves better.
Would you like to save this?
Topcoating Chalk Paint
Once the paint was dry, I lightly distressed the whole thing with 220 grit sandpaper. It is so light that you can’t really see it in the photos. Check out our blog post about distressing furniture techniques here. Feel free to skip this part if you aren’t into distressed furniture.
But, be aware that if you sand the paint before you topcoat it, it will feel and look so much smoother in the end!
Then I sealed the chalk paint with 3 coats of waterbased polyurethane. The polyurethane makes the chalk paint more durable and makes it easy to clean if something gets spilled on it, so this is a super important step when painting with chalk paint!
Here’s how to spray polyurethane and how to apply polycrylic to painted furniture. Check out the best paint brushes for polyurethane here.
You could also use a wax topcoat, but wax isn’t as durable or easy to use as polyurethane. Check out our post on wax vs polyurethane to see what the differences are.
Here’s our post on the best topcoats for painting furniture for more tips and tricks on what to use to seal your furniture.
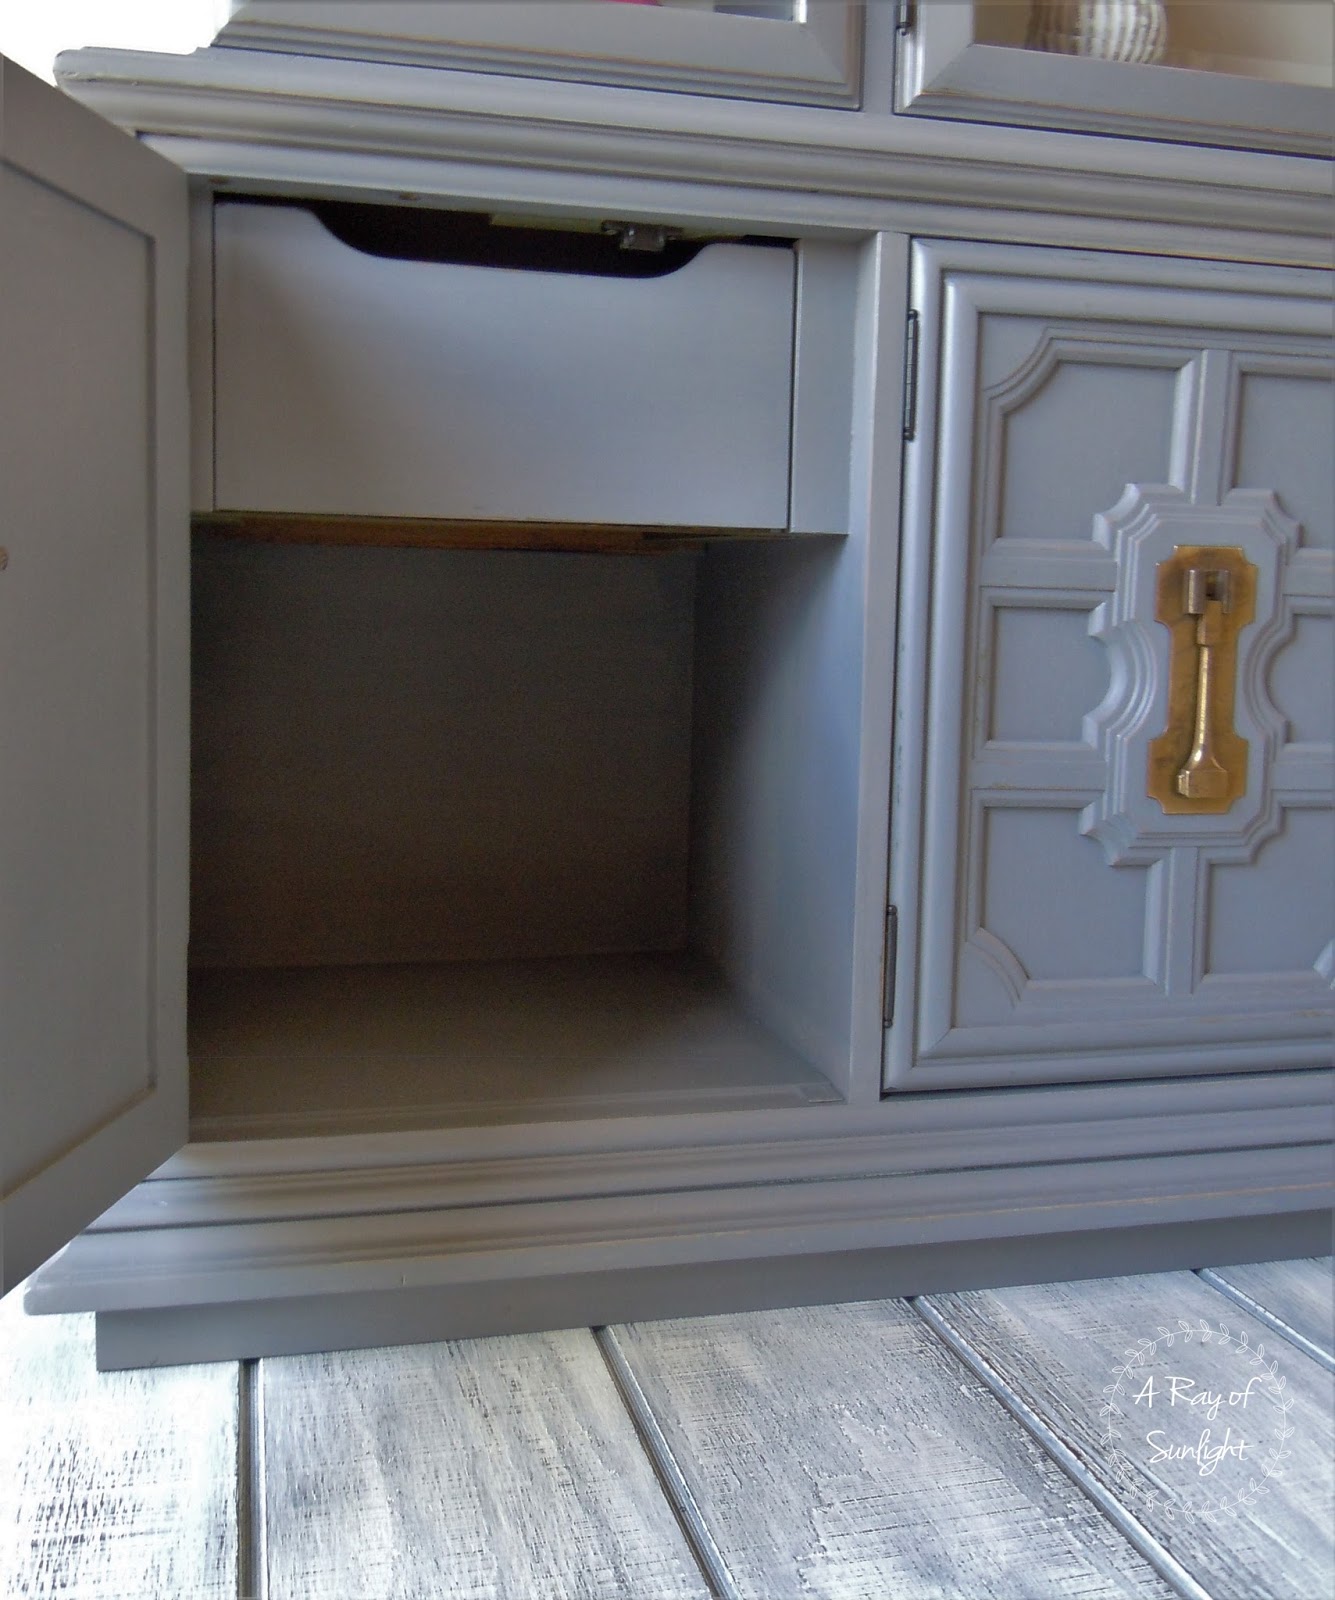
Cleaning the Old Hardware
While my paint was drying I scrubbed the hardware with Bar Keepers Friend. It’s amazing how much shine comes back to them.
I wanted some of the patina left on, but I wanted the hardware to look fresh Here is the easiest way to clean old hardware to make it shine again.
How often should I clean my old furniture hardware?
When dealing with cleaning old furniture hardware, how often you do it depends on how worn it is and how much it’s used.
A good rule of thumb is to wipe them up every few months or when they start losing their shine. And if you spot any grime buildup, give them a quick clean ASAP before it gets tough to scrub off. If you spot any discoloration or corrosion, clean them right away to prevent any more damage.
And don’t forget to dust or wipe down your furniture hardware regularly as part of your cleaning routine to keep them looking their best.
For more similar makeovers, here are chalk painted hutch ideas and gray chalk painted furniture ideas! Check out these painted hutch ideas for more inspiration. Get more ideas for your next DIY project with these painted corner cabinet ideas.
More Before and After Makeovers
See All >
Click any of these “before” photos below to view the “after” of that makeover.


What is the difference between homemade chalk paint and store-bought chalk paint?
Making your own chalk paint at home is a fun DIY project using basic ingredients like latex paint and calcium carbonate.
It’s a budget-friendly alternative to buying it from the store, plus you can play around with colors and finishes. However, the consistency may not be as smooth and it requires some trial and error to get the desired results.
On the other hand, store-bought chalk paint is premixed and offers a consistent texture and finish. It can be more expensive than homemade chalk paint but it saves time and effort in the mixing process.


Some DIY-ers prefer homemade chalk paint for its affordability and customizable options, while others prefer the convenience and consistency of store bought chalk paint. Ultimately, it comes down to personal preference and budget.


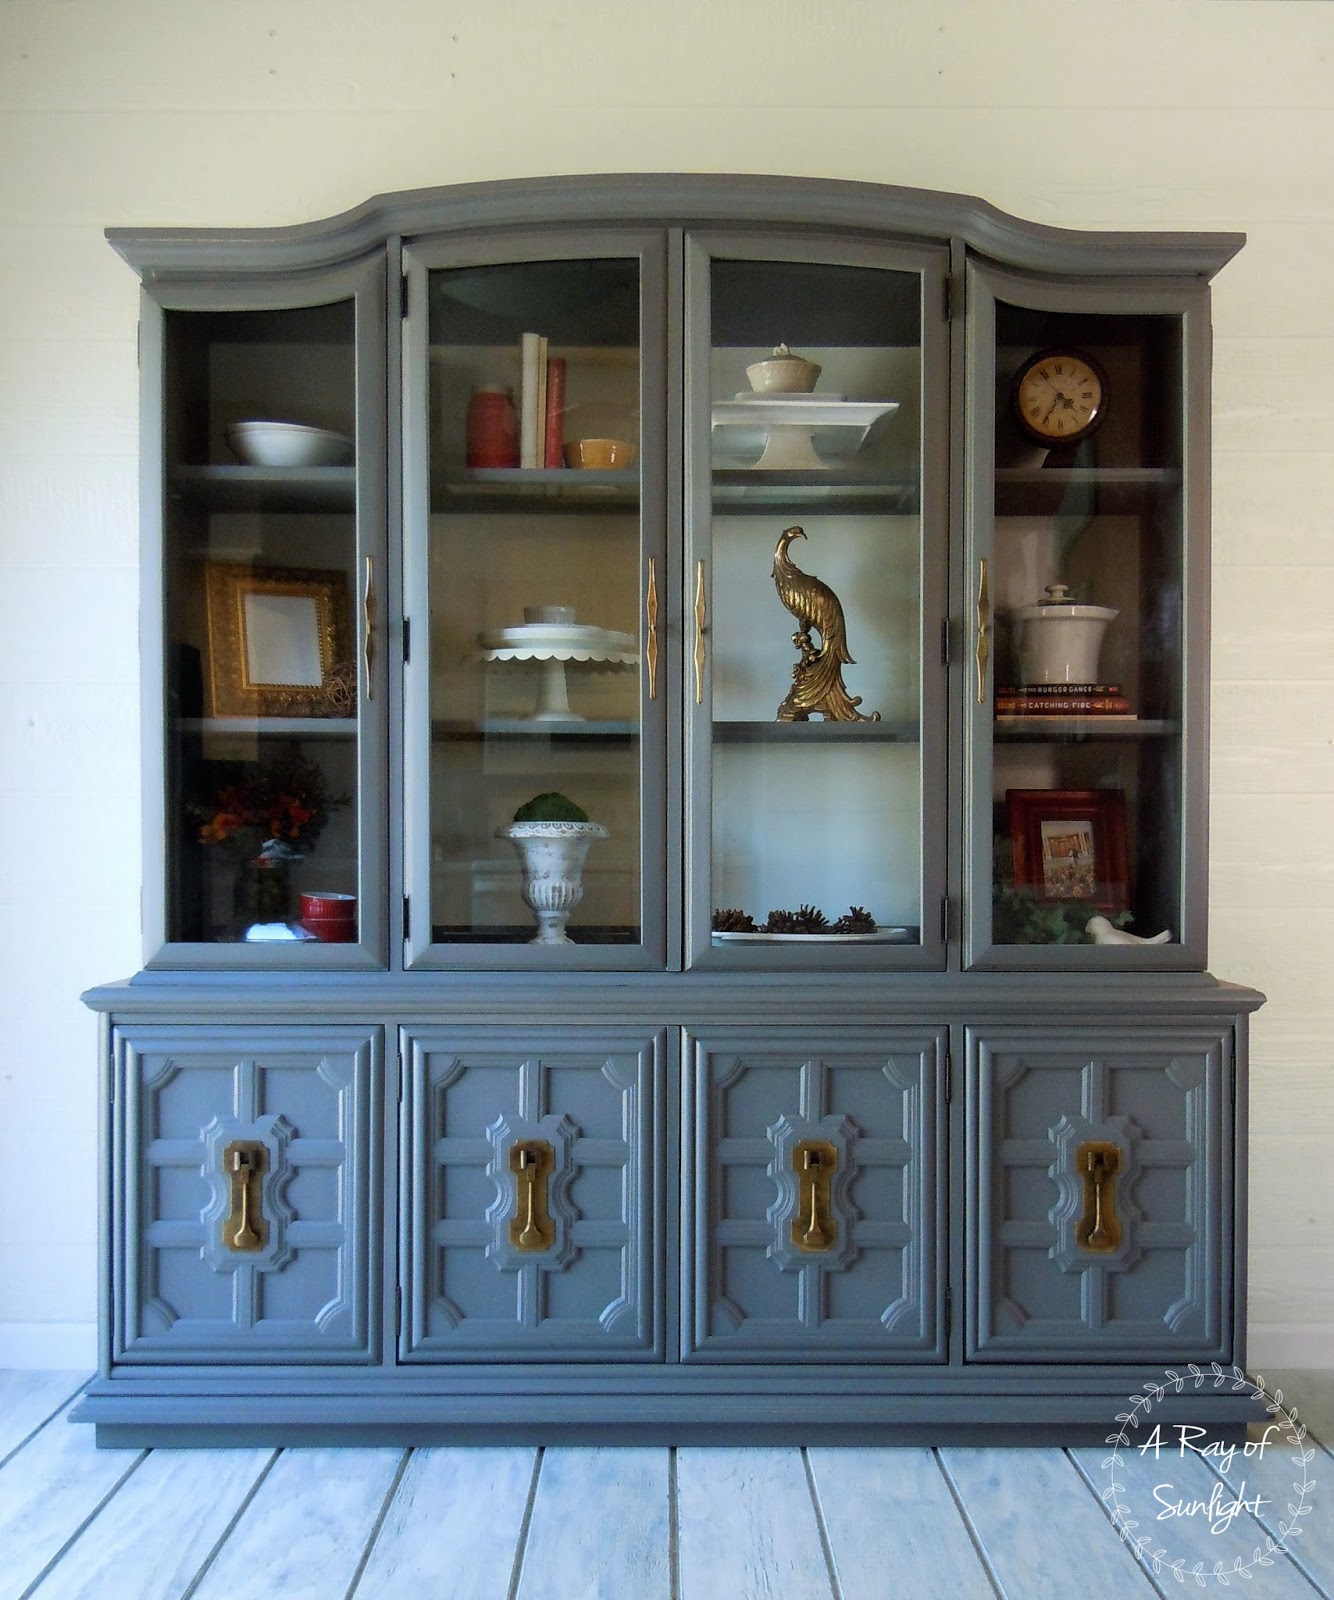
Painted Hutch Makeover
Do you want to reinvent your vintage furniture in a unique and exciting way? Check out this painted hutch makeover to create a stunning piece of furniture.
Materials
Instructions
- Remove any hardware using a screwdriver and clean the furniture.
- Carefully remove the glass from the cabinet doors and wrap it in towels or blankets to protect it.
- Clean the furniture with Krud Kutter and scuff sand the surface with 220 grit sandpaper.
- Apply 2 coats of clear shellac to the furniture.
- Make a homemade chalk paint by mixing Behr Premium Plus latex paint with Glidden's Gray Tabby color.
- Using a Wagner Double Duty paint sprayer, apply 2 or 3 coats of paint, allowing each coat to dry completely. For the back of the cabinet, use Behr Premium Plus latex paint in Sherwin Williams' Creamy color.
- Distress the entire furniture with 220 grit sandpaper after the paint is dry.
- Apply 3 coats of waterbased polyurethane to seal the chalk paint.
- Scrub the hardware with Bar Keepers Friend to make it shine again.
Recommended Products
As an Amazon Associate and member of other affiliate programs, I earn from qualifying purchases.


More China Cabinet Makeovers
- Antique China Hutch Makeover
- Painted Display Cabinet: Before and After
- Chippy Blue Painted Hutch Makeover
- DIY Blue China Hutch
- Painting a Hutch
Follow us on YouTube to get more tips for painting furniture. Or share your project with us on our Facebook Group and be part of our community. See you there!

Love the after and the color used. Perfectly done
Thank you from your SSPS Team for sharing your links with us at #270 SSPS Linky.
What a beautiful makeover! You have so many lovely posts on updated furniture!
This is a beautiful piece I love the color! 🙂 Tanya
I would not have thought to use Barkeeper’s Friend on the hardware, great idea, and they also look good too. Thank you for sharing with Whimsy Home Wednesday.
Lovely transformation. It is amazing what a makeover can do. I am happy to feature your painted hutch makeover at Love Your Creativity. Happy weekend.
I’m featuring you this week when the next To Grandma’s house we go link party starts – thanks for sharing with us!
I learn somthing new from you guys all the time. It just goes to show your never to old to learn somthing new (I’m 67) Thanks!!!!!!!!!!!!!!!!!!!!!!!!!!!!!!!!!!!!!
That’s true! Glad you’ve been learning a lot through our blogs. We appreciate the love!!