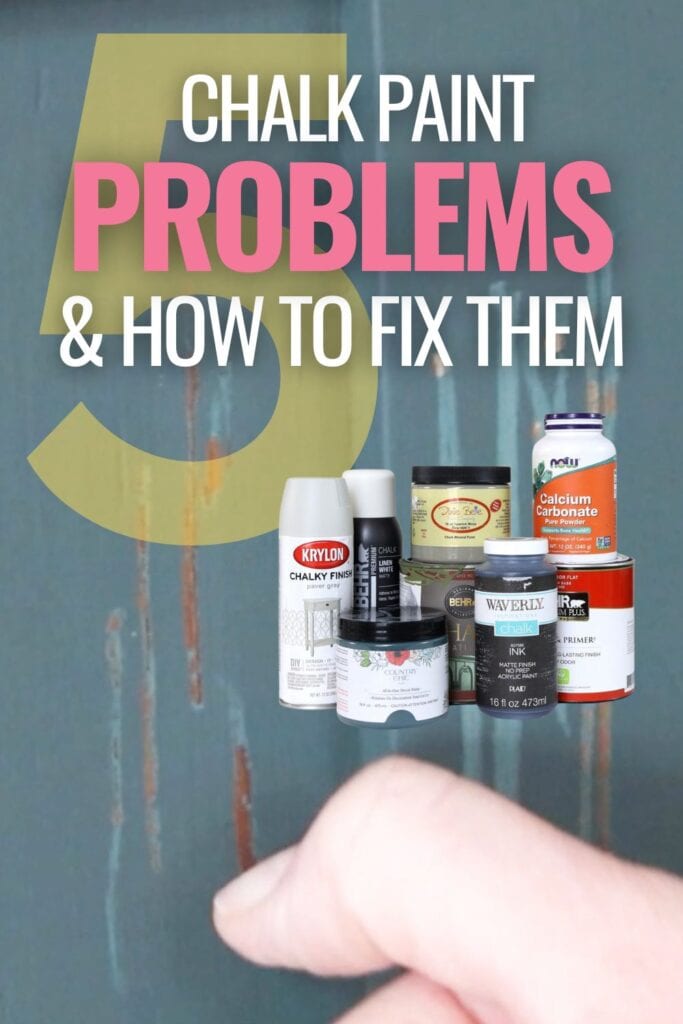
5 Chalk Paint Problems and How to Fix Them


If you are a fan of DIY furniture makeovers, you might have tried your hand at these chalk paint furniture ideas. This versatile paint is an excellent choice for giving old furniture a new lease of life, but it’s not without its challenges. In this blog post, we’ll explore 5 chalk paint problems and how to fix them!
From poor adhesion to grainy texture, chalk paint can pose a few hiccups along the way. However, with a little bit of know how, you can easily fix these problems and create a beautiful, long lasting finish.
While chalk paint is known to be incredibly easy to use, it can be tricky to get the perfect finish you’re looking for. Many people mistakenly believe that any furniture piece can simply be coated in chalk paint without any preparation, but that’s not the case.

Most chalk paint companies’ advertising and instructions don’t let you know that you really should prep before chalk painting because prepping is work that a lot of people don’t want to do.
So why use chalk paint instead of other paint? Well, while chalk paint has its issues, other paints also have their issues. Other paints don’t adhere as well and/or aren’t as easy to come by.
In reality, there are several steps that you need to take before and after applying the paint for optimal adhesion and finish quality.
This includes thorough cleaning, sanding, and priming. By identifying and fixing common chalk paint problems, you can make sure that your DIY furniture project looks amazing while standing the test of time.
As an Amazon Associate, I earn from qualifying purchases. I also may earn from other qualifying purchases with other companies or get free product to review and use. All opinions are my own.
1. Poor Adhesion
One of the most significant issues with chalk paint is poor adhesion, which can result in scratches and chips on your newly painted furniture. This problem often arises when you skip the essential prep work before applying the paint.
Check out the truth about using chalk paint for furniture here.
Without the proper preparation, such as cleaning the furniture, sanding, and priming, the paint will not adhere properly and is more likely to scratch or peel off.
To avoid this issue, be sure to thoroughly clean and sand your furniture, then apply a coat of shellac primer before painting your furniture with chalk paint. Learn more about why most people’s furniture paint jobs fail in this post.
Cleaning before painting will help your paint stick to the surface of your furniture instead of dirt grime and oils that will repel the paint. Check out my guide on how to clean furniture before painting here.
Sanding before painting will give your paint something to hold onto, other than a slick surface. Have you ever tried to hold onto something that is slick? It’s not easy! Paint can’t stick to slick surfaces either!
Don’t worry though, you don’t have to sand down to bare wood! Lightly sand enough that the shiny sheen on your surface goes away. Here’s more on why sanding before painting furniture is important.
And finally, priming before painting will help the paint stick even better to the surface. It also tackles another of the common chalk paint problems that we will talk about in a little bit.
Check out this blog post on the best bonding primer for laminate furniture to get more ideas of which to use for this kind of surface. And get answers on will chalk paint stick to laminate? in this post.
If you make sure to do all of these things before painting with chalk paint, your adhesion issues will go away! This will result in a long lasting, durable finish that will not scratch or chip easily.
Learn exactly how to prepare furniture for painting here.
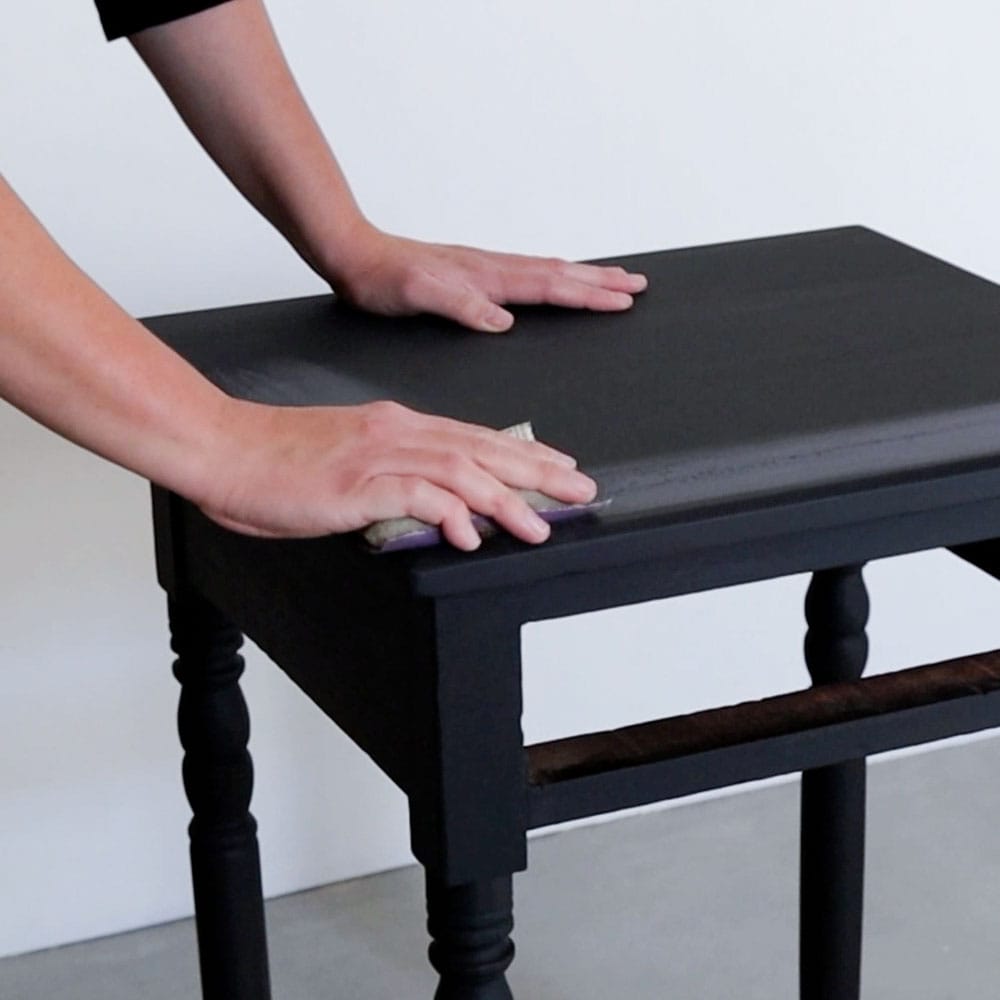
2. Grainy Texture
Another problem that many first time chalk painters experience when working with chalk paint is a grainy texture. This usually occurs when you do not lightly sand the final coat of paint before applying the topcoat.
While it may seem like an extra step that can be skipped, lightly sanding the final coat of chalk paint with 400 grit sandpaper or 220 grit sandpaper will help create a smooth texture and allow the topcoat to adhere better.
Learn more about the best sandpaper for furniture painting to get the right one for your project.
If you skip this step, the paint and the topcoat will feel a little rough. To avoid this issue, be sure to lightly sand the final coat of paint with fine grit sandpaper before applying your topcoat.
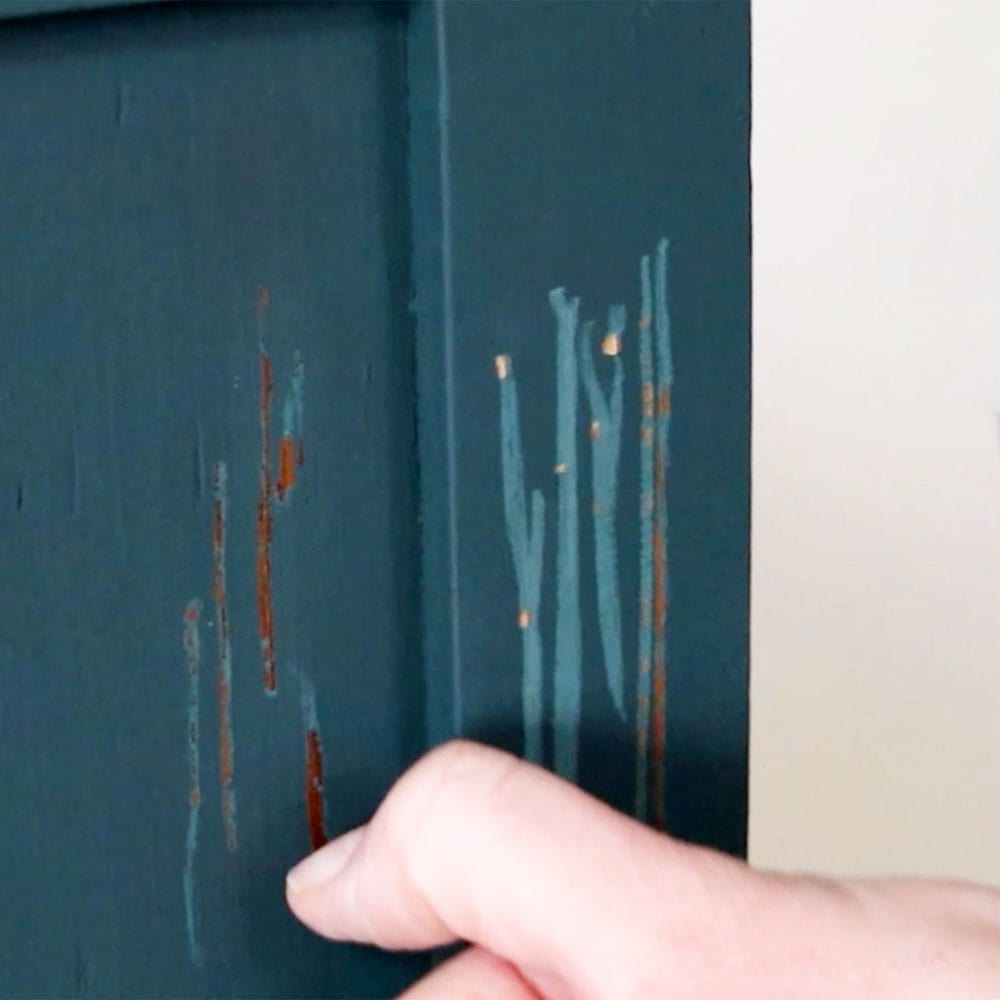
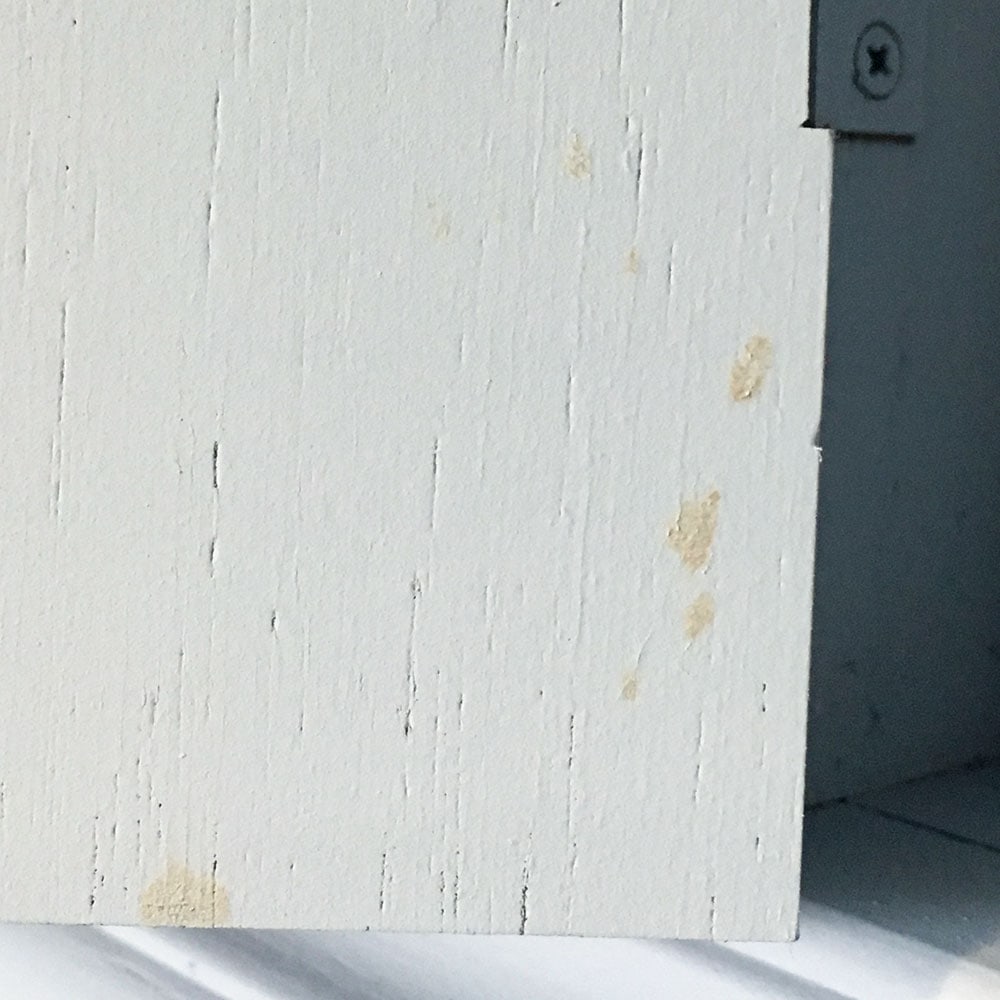
3. Stains in paint
Another challenge that many people encounter when working with chalk paint is bleedthrough stains.
This is because chalk paint is waterbased, and some stains can bleed through the paint if you do not use the correct type of primer. Yes, this can and does happen with basically every water based paint.
Check out the best primers to stop tannin bleed.
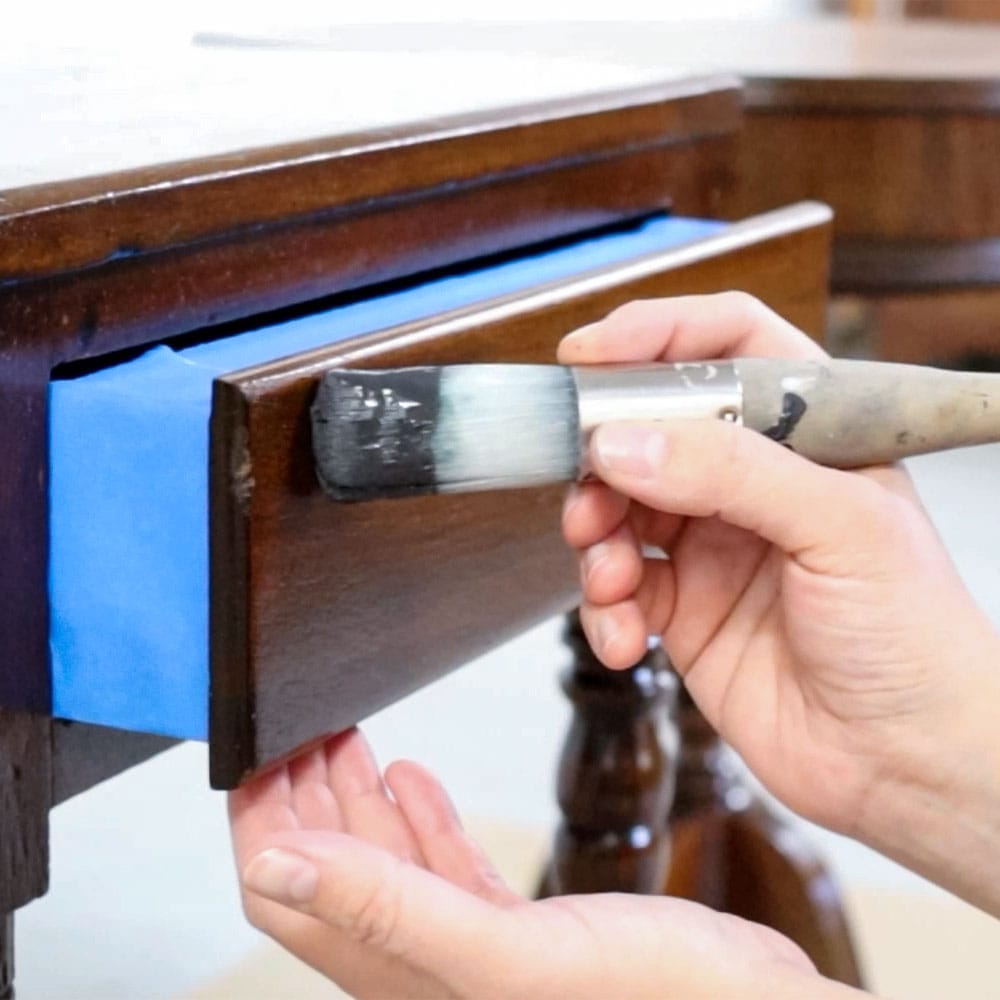
To prevent this issue, it’s crucial to apply a coat of shellac primer before painting with chalk paint, especially light colored chalk paint where you can easily see stains.
Shellac primer creates a barrier between the paint and the furniture, stopping any stains or tannins from coming through and ruining the paint job.
By following this step in the preparation process, you can avoid unsightly bleed through stains and guarantee a professional looking finish for your furniture.
Learn more about how to stop stains from coming through paint here, and if you haven’t prevented the bleed through from happening, here’s our guide on how to fix paint bleed through.
4. Streaky Topcoat Finish
Another problem that can occur when working with chalk paint is ending up with a streaky looking finish. And to avoid common chalk paint issues like streaky finishes, be sure to use the best topcoat for chalk paint to get a smooth, lasting result.
While chalk paint requires a topcoat to protect the paint and seal in the matte finish, applying waterbased polyurethane with a brush can often leave brush marks and streaks on the surface.
This is especially noticeable when working with dark colored chalk paint. Using wax can also leave behind streaks or cloudy marks. To avoid this issue and create a professional streak free finish, we recommend spraying the polyurethane topcoat instead of brushing it on.
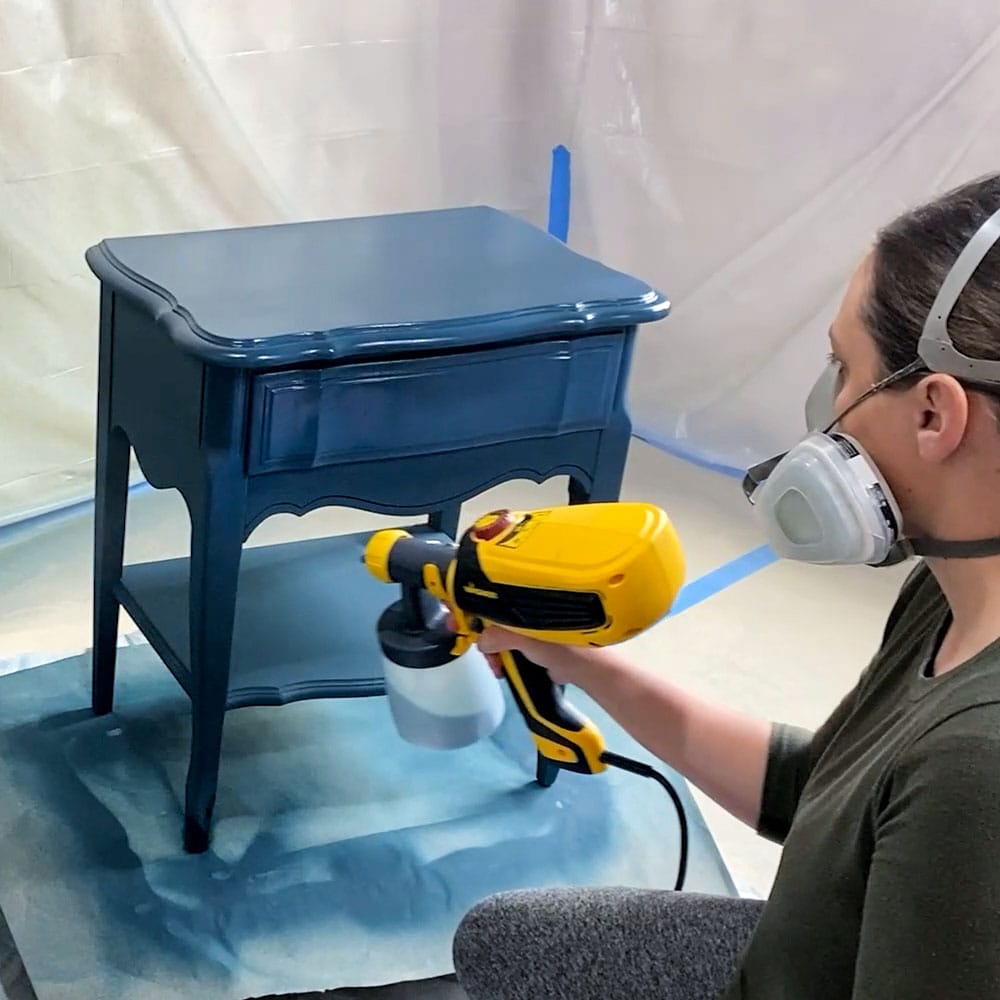
Here’s how to spray polyurethane. This application method allows for a smooth and even coat without leaving brush marks.
We have a lot more information for you about topcoats for painted furniture! Check out these posts to learn more!
Would you like to save this?
- How to Apply Polycrylic to Painted Furniture by Hand
- Topcoats for Painting Furniture
- What’s the Best Polyurethane for Furniture?
If you don’t want to have to deal with topcoating your paint, you can use one of the best all in one paints for furniture instead. These all in one paints don’t need a topcoat, eliminating this problem.
5. Brush Marks
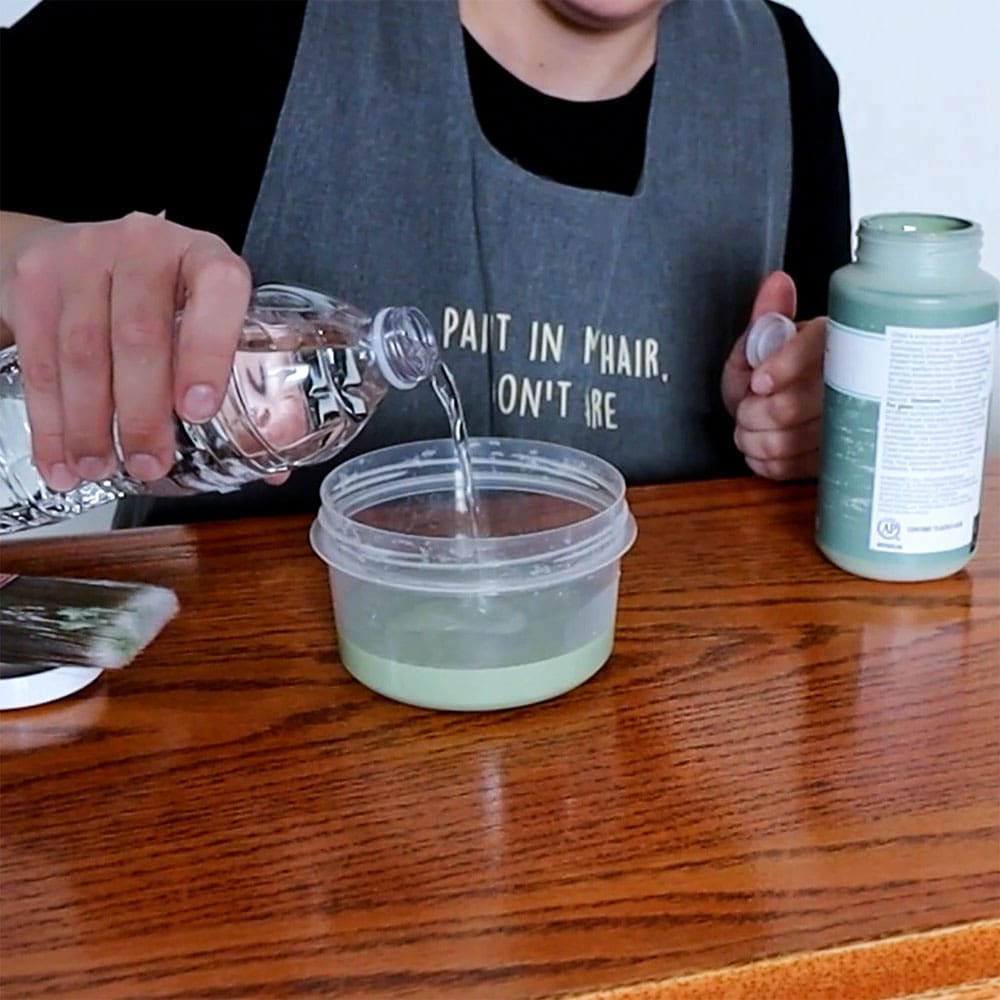
Another common issue that can arise when working with chalk paint is ending up with visible brush marks and texture in the finished product. Chalk paint is notoriously thick and doesn’t level out well unless it has been thinned out with water.
Without this step, the paint can dry with visible brush marks, making your finished furniture look unprofessional.
To avoid this issue, you will need to mix some water into your chalk paint before applying it. This will thin out the paint, make the paint take longer to dry so it can flatten out, and create a smoother finish.
Additionally, using a high quality brush designed for use with chalk paint and applying the paint in thin, even coats can help prevent visible brush marks. Learn more about how to paint furniture without brush marks here. Here are the most common paint brush mistakes and how to avoid them.
Instead of brushing on the chalk paint, you can also spray it on with a paint sprayer. You don’t need a fancy sprayer either! Learn more about this technique from my guide on how to get a smooth finish with chalk paint here.
This electric paint sprayer that is under $100 can spray thinned out chalk paint! Here’s how to spray paint a dresser with chalk paint.
Here are some frequently asked questions about painting furniture with chalk paint:
Is it necessary to sand the furniture before painting it with chalk paint?
One common question that people ask when it comes to chalk painting furniture is whether or not it is necessary to sand the surface before painting.
The answer is yes, it’s necessary to scuff sand the surface with 220 grit sandpaper before painting with chalk paint if you want your paint to adhere well.
Sanding helps the paint adhere to the surface of the furniture better and creates a tooth for the paint to bond to. Without the proper sanding, the paint may not stick well to the furniture and could easily peel or scratch off.
Scuff sanding with 220 grit sandpaper also helps to smooth out rough edges and create a more polished look. The sanding step is an essential part of the preparation process, and it’s recommended not to skip this step if you want the best results.


How many coats of chalk paint should I apply?
Apply 2 to 4 coats of chalk paint, depending on the desired color and coverage. Each coat should be allowed to dry completely before the next coat is applied.
This typically takes around 1 hour. Lighter paint colors and bold colors like hot pink may need more than 4 coats of paint. It’s important to remember that each coat of paint should be applied evenly and thinly to avoid drips or clumps.
If you’re a beginner, check out this step by step guide on how to chalk paint furniture here.
Do I need to use a topcoat over chalk paint?
Yes, it’s important to apply a waterbased polyurethane topcoat to protect the paint and ensure a durable finish. You can use wax instead, but waterbased polyurethane is more durable than wax.
Read through this post about how to apply Waverly Wax over chalk paint and how to use Waverly Antique Wax to learn more.
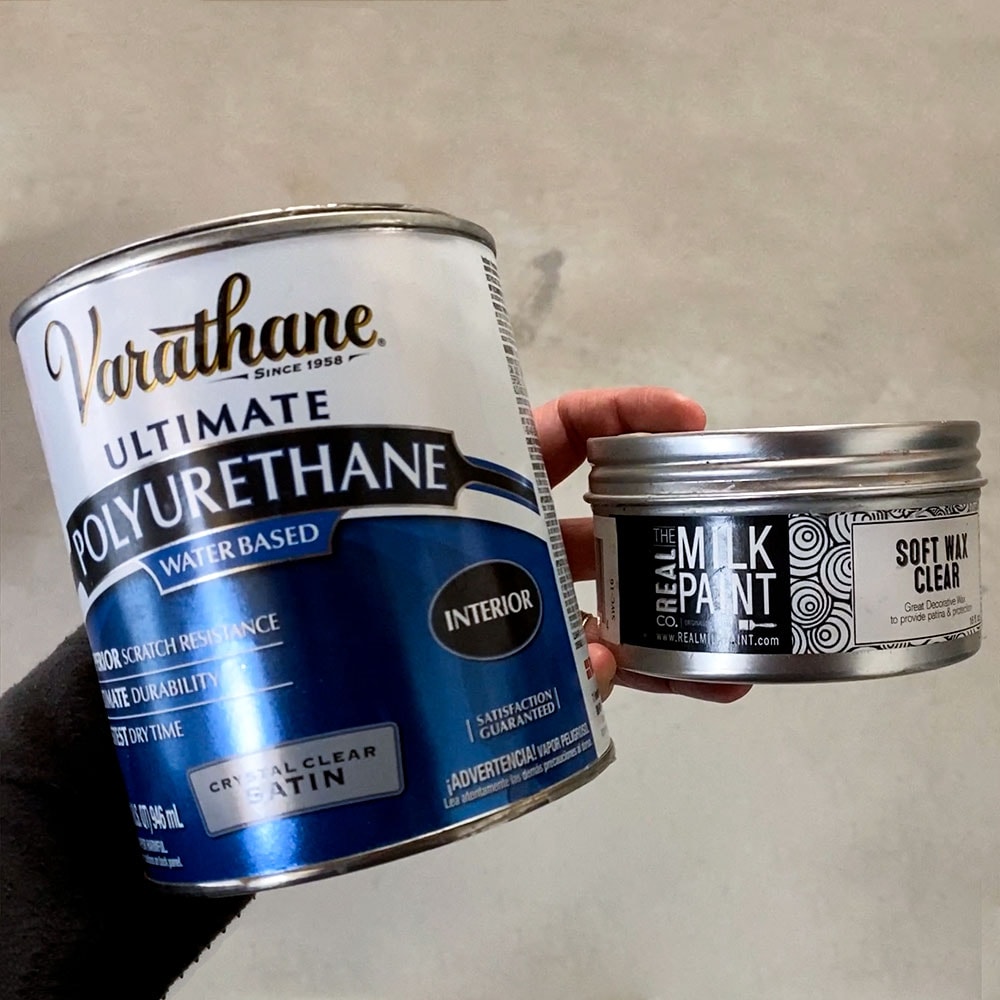
Here is the difference between wax vs polyurethane.
What kind of brush or roller should I use for chalk paint?
You honestly can use any brush or roller to paint with chalk paint. But, if you’re willing to invest in a nicer paint brush or roller, your finish will look nicer!
A high quaility paint brush can be the difference between having brush marks and bristles in the paint or having a brush free smooth looking finish.
Here is my list of the best chalk paint brushes, and here is my list of the best rollers for painting furniture.
How long should I wait before using my furniture after painting it with chalk paint?
This depends on what topcoat you used to seal the chalk paint. If you used Varathane Waterbased Polyurethane, your furniture should be ready to lightly use after 24 hours.
If you waxed your chalk painted furniture, the wax may still be tacky for a few days after sealing the chalk paint. Wait for the furniture to not feel tacky and soft. Check out the best wax for chalk paint to know the right one for your project, and check out the comparison of wax vs polyurethane here.

Learn about how to use Waverly Chalk Paint and wax since they are some of the cheapest paint and wax out there.
Remember, these topcoats take about 30 days to cure, and wax can take a little longer to cure completely. So be extra careful with your furniture until the paint and topcoat layers are cured and as hard as it will get.
If you’d like to repaint, check out my guide on how to paint over chalk paint here. If wax isn’t curing properly, here’s how to paint over chalk paint that has been waxed.
Chalk paint can be a fantastic product to use for DIY furniture makeovers. Still, as we’ve learned, it’s not without its challenges. Learn more about why chalk paint is a favorite choice in our blog post about what is so great about chalk paint.
By taking the time to complete all the necessary preparation steps, including cleaning, sanding, priming, and topcoating with waterbased polyurethane, and addressing any of the common problems discussed in this post, you can create beautiful and long lasting results.
With these tips and tricks, you’ll be well on your way to creating gorgeous, chalk painted furniture that will look great for years to come.
More Chalk Paint Makeover Ideas:
- Waverly Chalk Paint Review – Sofa Table Makeover
- Blue Chalk Paint Coffee Table Makeover
- Behr Chalk Painted Dresser Makeover
- How to Make Furniture Look Rustic
- Chalk Painted End Tables

Follow us on YouTube to get more tips for painting furniture. Or share your project with us on our Facebook Group and be part of our community. See you there!
