How to Spray Polyurethane
Polyurethane is one of the furniture painting tools and supplies that every DIY-er should have. But do you have problems with your water-based polyurethane being streaky or foggy when you brush it on? You can learn how to make your polyurethane topcoat look perfect with this tutorial on how to spray polyurethane.
Learning how to spray polyurethane can be intimidating, especially for beginners. But we will guide you through the process step by step!
Using a paint sprayer for polyurethane might feel intimidating initially, but once you get the hang of it, you won’t want to switch back to brushing on your topcoat. Spraying gives you a smoother and more even application, leading to a polished, professional finish.
And while spraying polyurethane is generally an easier and more efficient method, it does require some preparation and precautions. But once you get the hang of it, spraying polyurethane will feel like second nature!
And if you’re already using a paint sprayer to spray paint, spraying polyurethane isn’t much different. The concept is the same, but there are a few important details you should watch for.
As an Amazon Associate, I earn from qualifying purchases. I also may earn from other qualifying purchases with other companies or get free product to review and use. All opinions are my own.
What Is the Best Water-Based Polyurethane for Spraying?
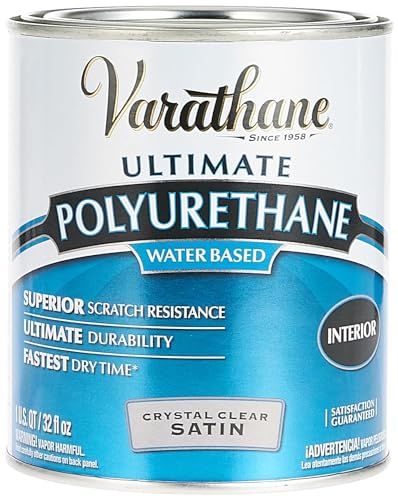
To start out, this is my all-time favorite water-based polyurethane. I haven’t had problems with it turning yellow over white paint (unlike the Minwax polycrylic).
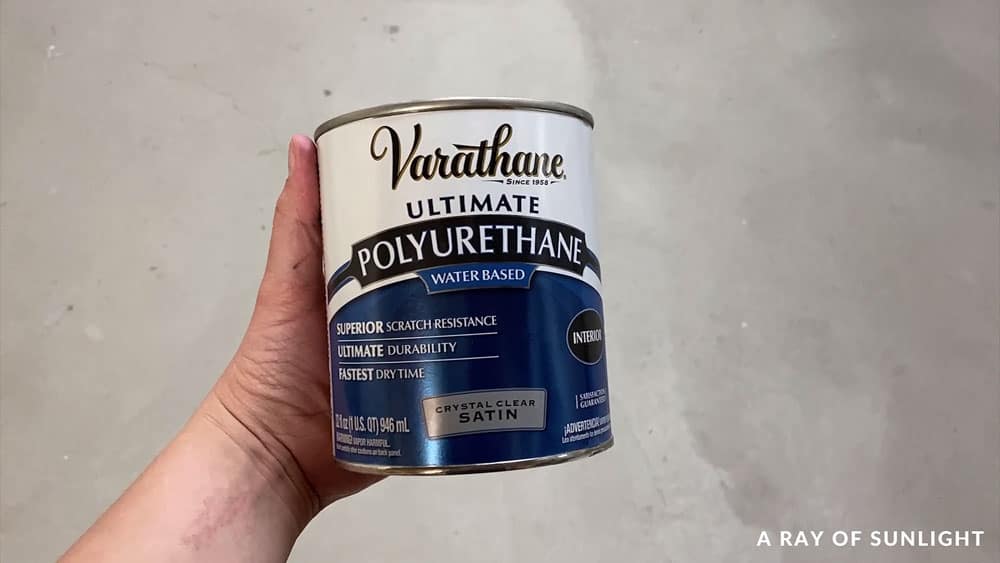
It’s available in gallons, quarts, and 1/2 pints. You can also choose from Matte, Satin, Semi-Gloss, or Gloss sheens! (My go to is Satin.)
Even though I go through A LOT of polyurethane, I like to get it in the quart sizes instead of the gallon sizes.
Mostly because I find that there is room for more user error when it comes to the gallon sizes. I’ll share more about that below.
How to Use Polyurethane
Before we go any further, let’s take a quick second to go over the basics. Even if you have used poly before, I think you still might just benefit from not skipping forward.
Check out the comparison of spray polyurethane VS brush on polyurethane here.
Mix Polyurethane – But seriously, don’t skip this step!
The very first thing you should do when you open a fresh can of polyurethane is mix it.
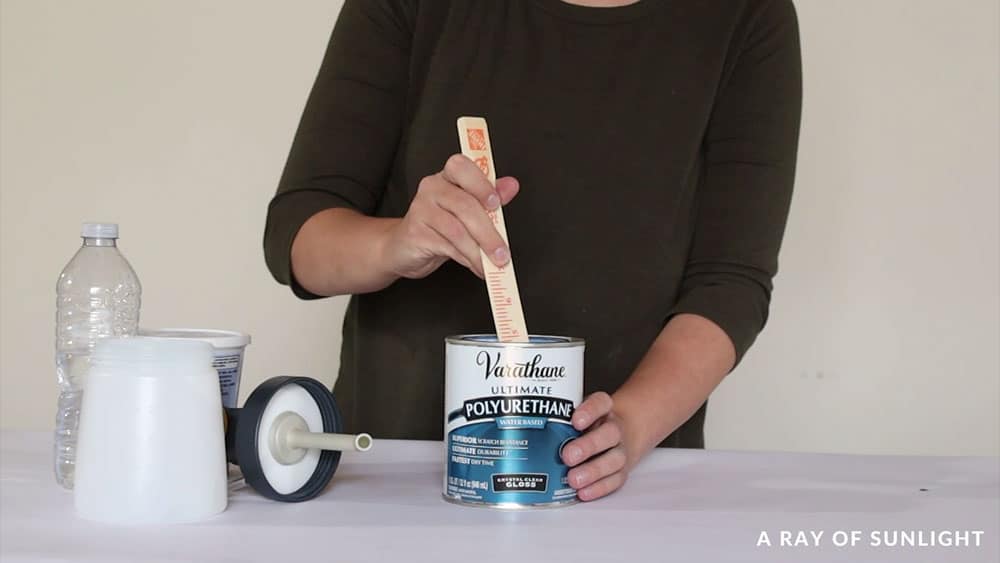
Yeah, that’s a pretty basic step. But are you doing it right? This is where that user error comes in that I mentioned above.
See, I used to not mix my poly very well. And then one day, I ended up with foggy spots all over my fresh black painted buffet. I had no idea what happened, so I researched it. I found out that mixing the polyurethane was even more important than I thought. Why?
The Flattening Agent Needs to be Mixed in Really Well
Inside your can of polyurethane is some flattening agent. They use it to change the sheen from gloss to matte (flat).
As you can probably guess, there is more flattening agent in the matte sheen compared to the gloss sheen. The flattening agent likes to fall to the bottom of the can, so the polyurethane on the top of the can has little to no flattening agent in it.
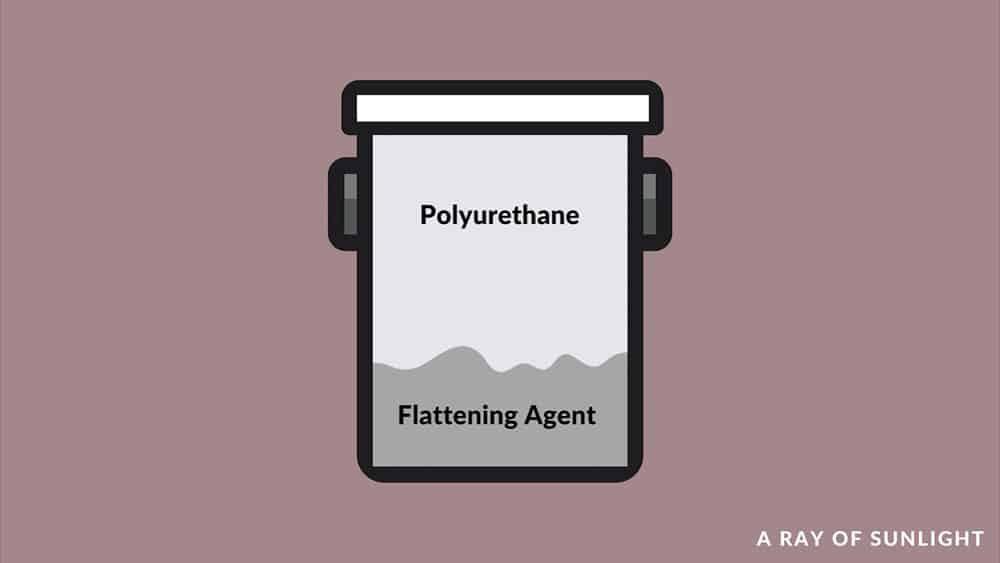
If you don’t mix the flattening agent into the rest of the poly, it can create an uneven sheen everywhere you spray.
Some spots will have a lot of flattening agent (making them have a very matte sheen) and other spots will look crystal clear (making them have a more glossy sheen).
This is why I like to buy the quart sizes of polyurethane. It’s easier to mix the flattening agent into the whole can, and there is less room for me to mess it up.
Add Some Paint to Your Poly
If you’re spraying poly over a dark color, try adding some of the paint color to your poly.
Just like usual, I don’t measure it out exactly. But I would say that you really only to mix in a tablespoon or 2 per cup of poly.
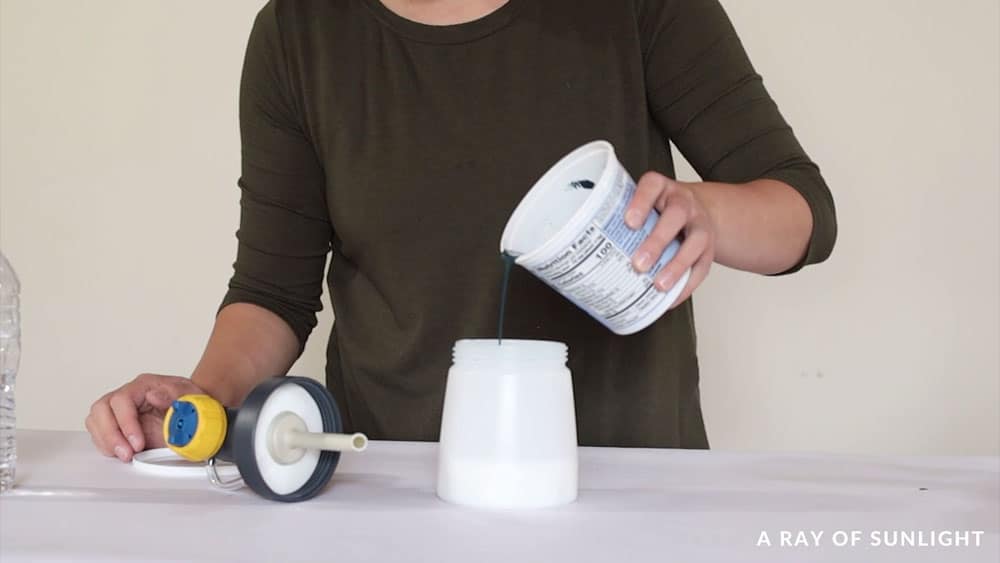
When you add some of the paint color to the poly, it will help hide any streaks, fogginess, or uneven sheen that you might get.
Filter Polyurethane
Before spraying anything, always put it through a mesh filter to weed out any clumps or bumps. (Even if it’s a brand new can!)
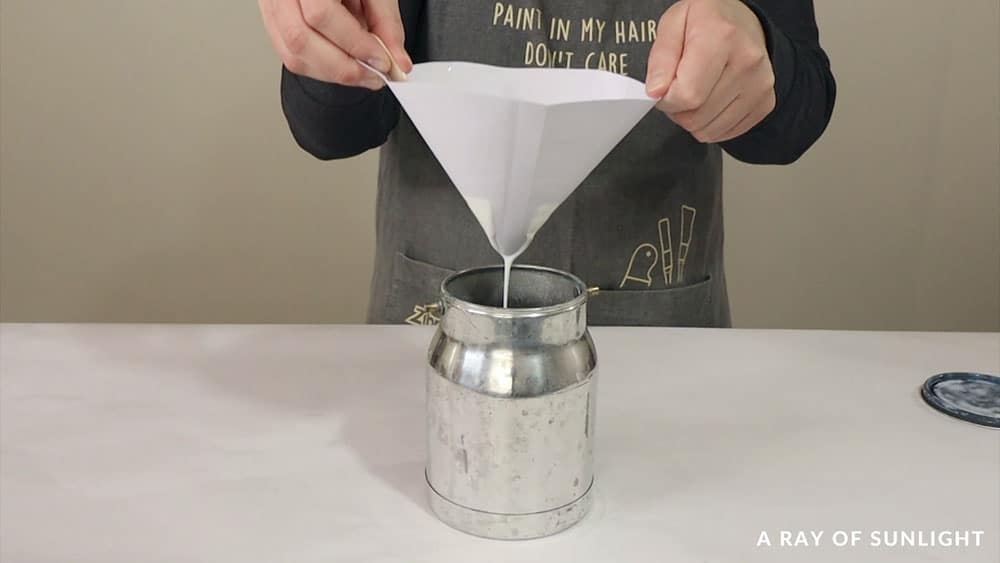
Those clumps, even if they are small, can clog your sprayer and cause a mess for you! I personally use these disposable filters.
Thin Polyurethane
Do you have to thin polyurethane for the paint sprayer? No. Is it a good idea to thin it? I think so!
Thinning polyurethane for spraying isn’t completely necessary (unless you want a super smooth finish.) Thinned polyurethane will be able to lay down better, with less texture bumps. It will also dry to a buttery smooth finish.
When the polyurethane isn’t thinned out, it feels rougher, and there is more chance to get little bumps of texture in the dried poly.
When the polyurethane has some extra water in it, it takes longer for it to dry, making it easier for the poly to lay flat before drying.
How to Thin Water-Based Polyurethane for Spraying
You can thin the polyurethane out the same way you would thin paint out.
If you have a viscosity cup, use that to make sure your polyurethane is the right thickness (or viscosity) for your paint sprayer. Learn more about using a viscosity cup to thin paint for a paint sprayer here!
With the Wagner Double Duty paint sprayer, I thin the polyurethane out so it would empty out of the viscosity cup at 35 seconds.
With my professional Fuji paint sprayer, I don’t measure as much, but I like to fill up my 8 ounce mini container with about 3/4 polyurethane and then put water in the last 1/4 of the container.
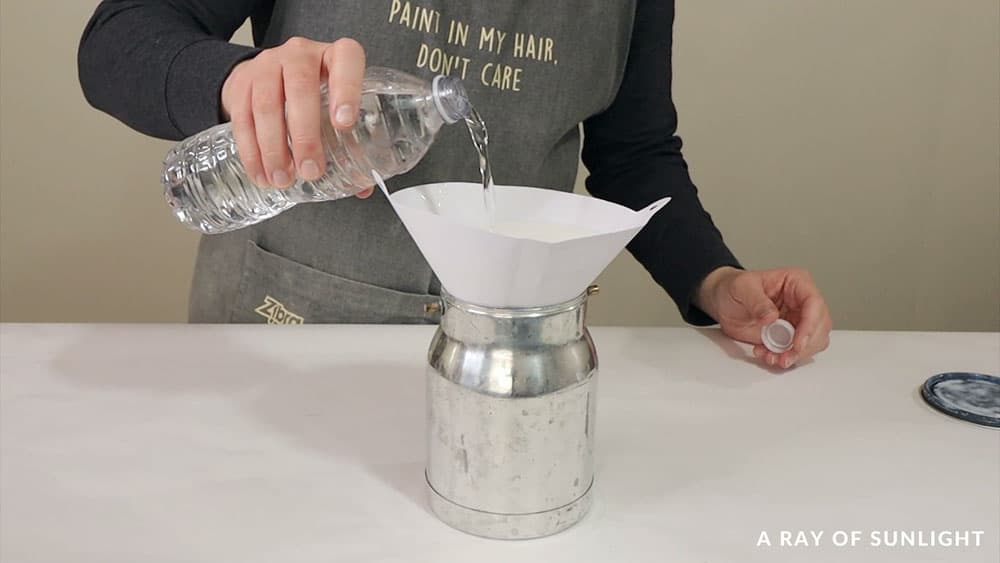
So that translates into 3 parts poly to 1 part water, for any size container.
Test Polyurethane Before Spraying
Before you actually spray your polyurethane, test it out to make sure it’s spraying correctly! Trust me, it doesn’t always spray perfectly right from the get go.
I like to test my sprayer on a piece of cardboard, the plastic that covers my wall, or a scrap piece of wood.
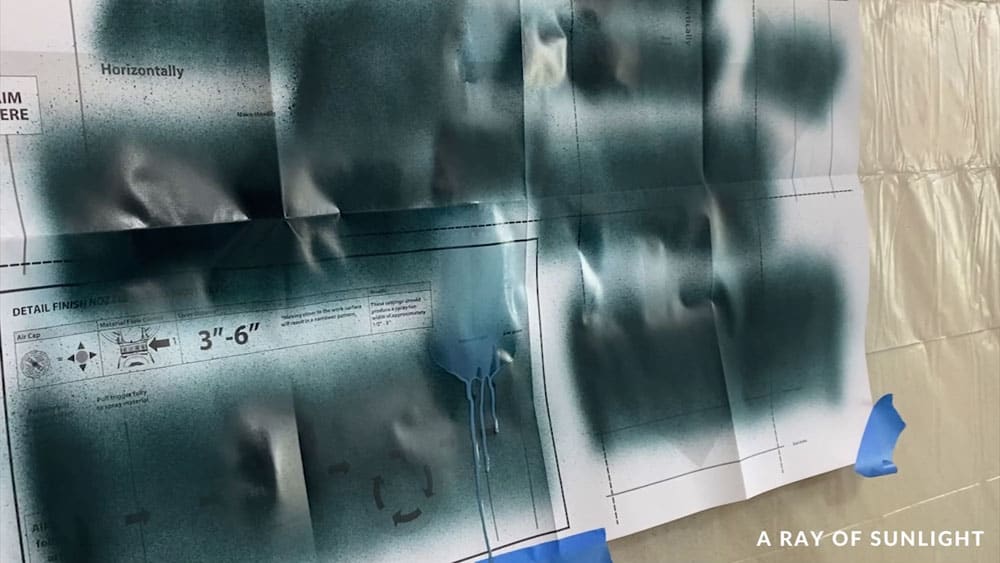
Just make sure it’s spraying how you want it to spray before you actually spray your poly onto your project. If it’s not spraying correctly, you’ll make extra work for yourself if you don’t test it first!
Let Polyurethane Dry
Most everyone recommends 3 coats for the best durability. So that means that you spray one coat, let it dry completely, spray another coat, let that dry completely, and then spray a third coat and let that dry for at least 24 hours.
What does it mean to let it dry completely? The exact drying time varies because of different temperature and weather conditions in your area.
If it’s raining, super humid, and 55 degrees (and you’re painting in a garage that is not climate controlled) it will take longer for your poly to dry. But if it’s a sunny, dry, 90 degree day, your poly will dry very fast.
If you spray the poly super super thick ( I don’t recommend that!) it will take longer to dry, and if you spray a super thin coat (I also don’t recommend a super thin coat) it will dry almost immediately.
Varathane recommends waiting 2 hours between coats. I personally can usually recoat in about 1 hour. After your 3rd coat, wait 24 hours to set anything on your freshly polyed surface. Ask me how I know. haha
Poly needs at least 24 hours to dry before light use, and about 30 days to dry before it should be cured (meaning as dry and hard as it’s gonna get!)
Best Paint Sprayer for Polyurethane
I don’t know that there is exactly the perfect paint sprayer for polyurethane. Both paint sprayers that I have had worked well with poly.
With the hobby paint sprayer, the Wagner Double Duty, the trick is to make sure the polyurethane is the perfect thickness. (about 30-35 seconds for the viscosity cup).
(Learn all you need to know about how to use the Wagner Double Duty paint sprayer here!)
I used the Wagner Double Duty for 3 years before I upgraded to the Fuji Q4.
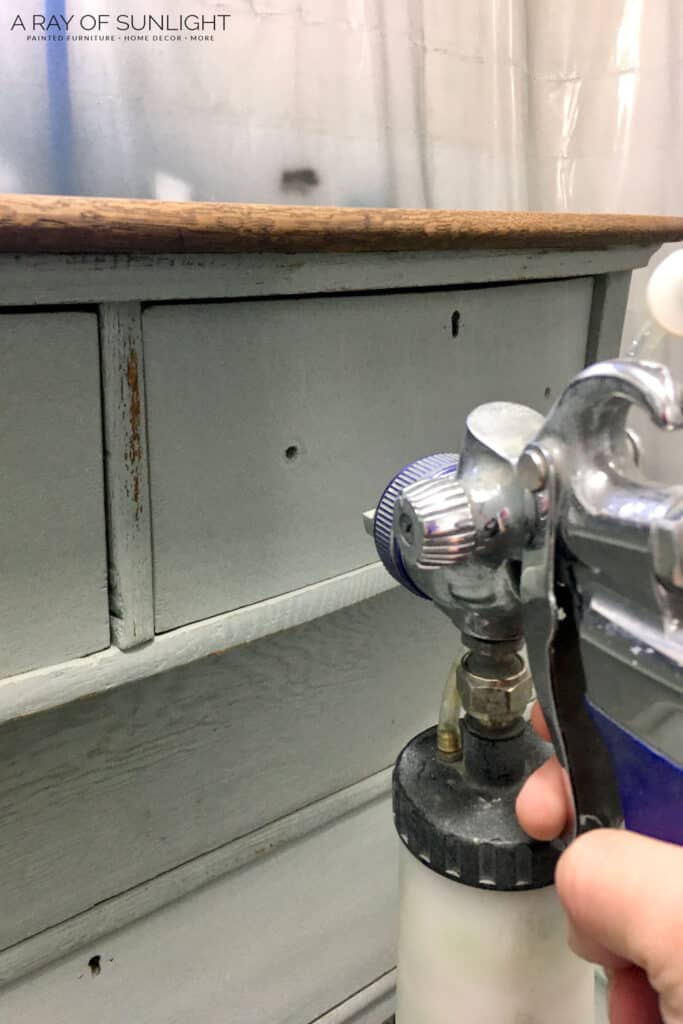
The Q4 is definitely an investment that isn’t for everyone. (Read my Fuji Q4 paint sprayer review here.) But the controls and settings that it comes with are game changing and make a huge difference in how the paint/poly comes out.
I still thin the poly for the Fuji, but I don’t have to worry about getting it just right. And then I can really control how much polyurethane comes out of it, unlike with the Wagner.
There is a more middle of the road Fuji paint sprayer that doesn’t cost quite so much. It’s called the Fuji Semi Pro. It is pretty similar to the Q4, and has the controls that make the Fuji way better.
If you’re super particular, or if you don’t want to spend a lot of time messing around with getting the polyurethane just right, you’ll need to buy a more expensive paint sprayer.
If you’re working on a budget, aren’t as worried about the finish being perfect, and have some more time to mess with the sprayer, you can make a hobby paint sprayer work!
We’ve compiled the best sprayers for polyurethane here.
UPDATE: I recently bought the Wagner FLEXiO 3000… and it sprays amazingly well. Check out these blue painted nightstands to see how using the Wagner FLEXiO 3000 works.
Check out my list of the best Wagner paint sprayers for furniture here. If you don’t have a paint sprayer yet, check out my post for the best paint brushes for polyurethane.
Do I Need to Have a Separate Sprayer for Polyurethane?
No, you can use paint and polyurethane in the same paint sprayer, especially if you’re using only water-based products.
Actually, I like to empty out my paint and leave just a little bit of the paint in the container, and then put the water based polyurethane in the sprayer. It tints the polyurethane a little bit and makes it look so much better when you spray it on top of dark colors.
If you’re using some oil-based, some water-based, and some shellac-based products, you might want to get separate sprayers. But I like to stick to only water-based products in my paint sprayer.
Can I Spray Oil-Based Polyurethane?
You can! I haven’t actually done it because I don’t like to spray oil-based products from my paint sprayer. But that doesn’t mean that it can’t be done!
Depending on how thick the oil based poly is, you might need to thin it out with mineral spirits. You can thin it out using the same method as the water-based poly!
Just make sure to use the correct thinning agent (mineral spirits for oil-based products, and water for water-based products)
Use a Spray Can Version of Polyurethane
Another option is to use the spray can version of oil-based polyurethane. Whenever I want to spray oil-based poly, I go for the spray paint version of the Minwax Fast Drying Polyurethane (linked below).
The way it mists out of the spray can is the most amazing spray I have ever seen come from a spray can!
UPDATED: I recently tried the Varathane oil based poly in a paint can and it was a mess (I tried two different cans too!). Both cans spit big fat drops of poly all over my project
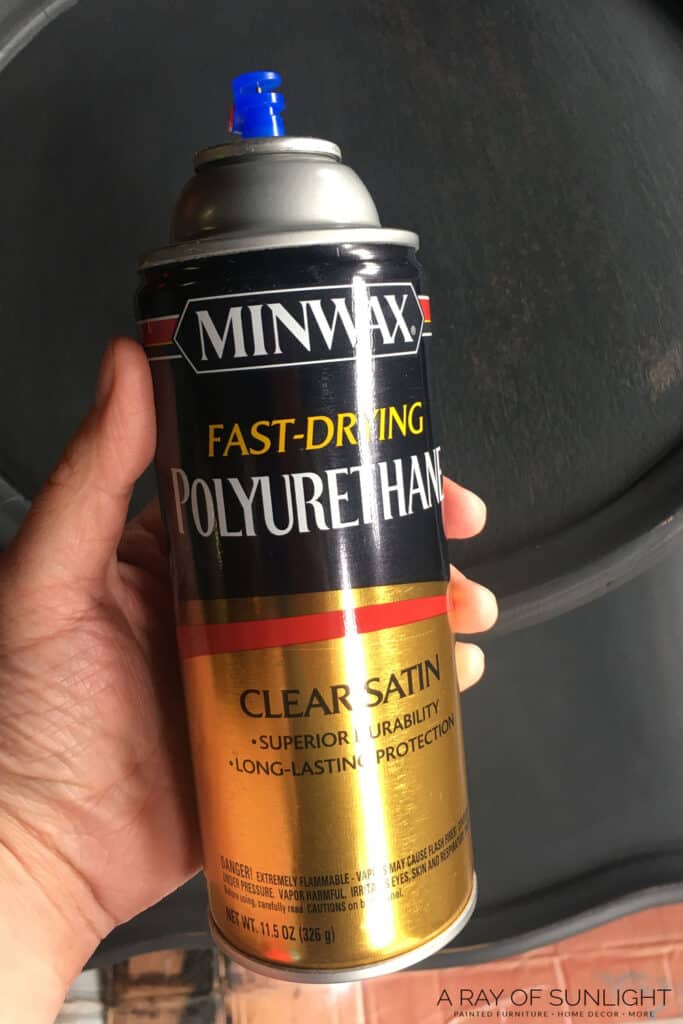
So if you want to use a spray paint kind of oil based poly, I really recommend that you stay away from this Varathane oil based spray can, and instead, use this Minwax fast drying oil based poly. You won’t regret it!
I used the Minwax oil based polyurethane on this makeover with black furniture paint, on the drawers. Learn more about the features, pros and cons, and how-to’s of Minwax polyurethane spray here.
UPDATED AGAIN: I recently tried the Varathane water based poly in a spray can, and I don’t recommend it. But I tried the Minwax polycrylic in a spray can and it created a beautiful finish! This is the best clear polyurethane spray for wood.
I used the Minwax polycrylic in this green sofa table makeover reviewing Waverly Chalk Paint.
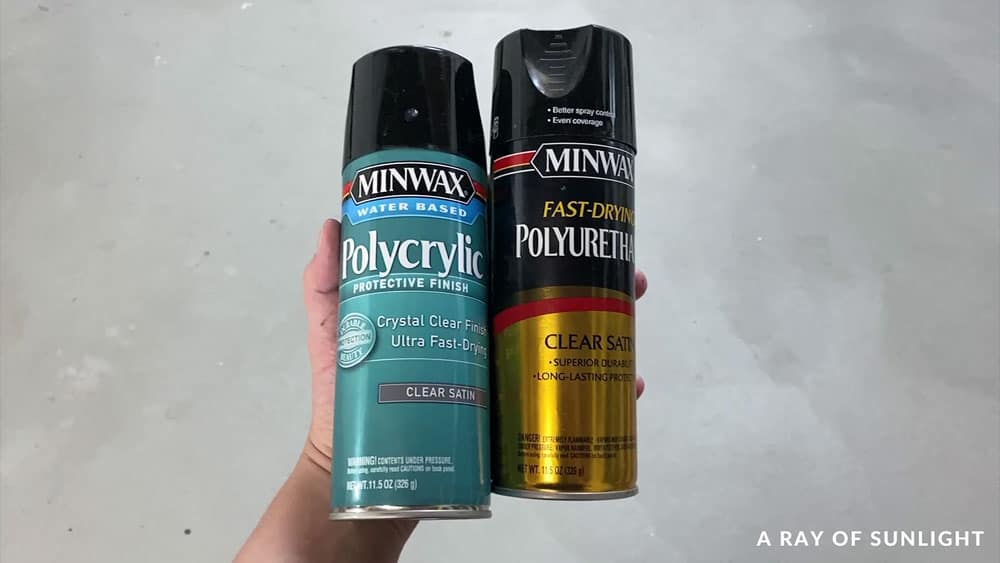
Crazy huh? Because up at the top of this post, I told you that I recommend Varathane water-based poly instead of the Minwax water-based poly. Learn more about the best spray polyurethane here.
I guess it just goes to show us that some brands are good for some things, while other brands are good for other things! Check out my comparison between polycrylic vs polyurethane here.
How to Smooth Dried and Rough Polyurethane
We talked about thinning your polyurethane to make it feel more smooth, but there is another step you can take to make sure it feels more smooth.
Don’t Spray Polyurethane in Full Sun or in the Heat
You don’t want it to be under 50 degrees though. You want to find a nice place where the polyurethane can dry slowly.
If the polyurethane dries too fast, it can result in those textured bumps and it can make the poly feel rough.
Sand Between Coats of Poly
Before you spray your second and third coats of poly, run a piece of 400 grit sandpaper (this sandpaper is my favorite brand/type) all over your poly.
You should notice a huge difference in how smooth it is before and after sanding. Then wipe away all the white powder left from the poly. (I like to vacuum up the dust and then use a tack cloth to wipe any excess away)
Have Enough Ventilation When Spraying
If you’ve sprayed much before, I’m sure you’ve noticed the overspray that gets into the air. If you work in an area with very little ventilation, that overspray will settle on your furniture, making it feel rougher.
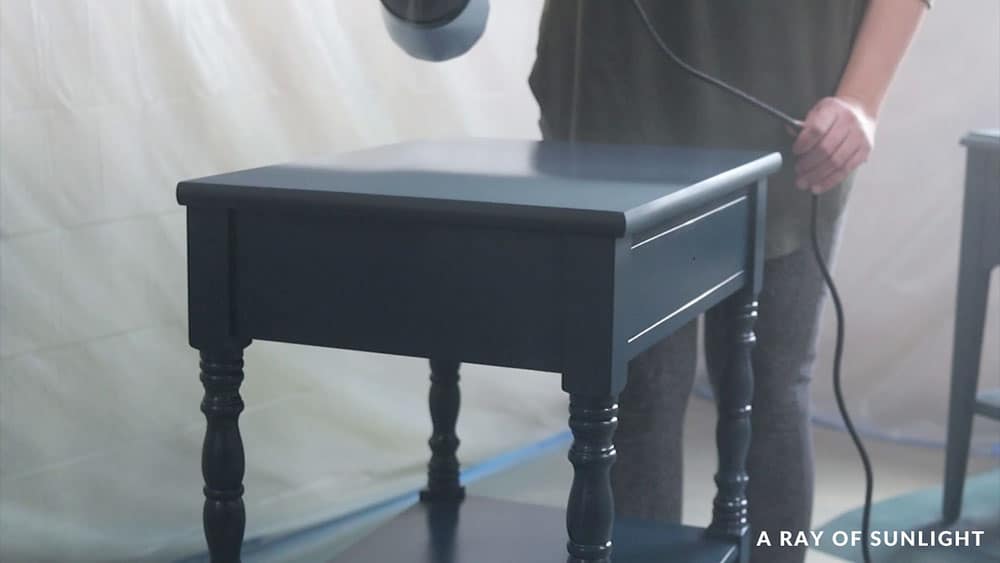
So, if you have a fan sucking up the air, or ventilation you will get a smoother feeling finish. I hope that helps! Here is a video that may help you to spray polyurethane better!
If you don’t have a paint sprayer, check out other ways how to apply polycrylic to painted furniture here.
Water-based Polyurethane vs Oil-based Polyurethane
To compare these 2 types of polyurethane, we need to look at their drying time, durability, and application.
Water-based polyurethane dries faster than oil-based, making it more convenient for those who want to finish their project quickly. However, oil-based polyurethane is known for its durability and can withstand harsher conditions.
But when it comes to application and ease of use, water-based polyurethane takes the lead. It has a lower odor and is easier to clean up with just soap and water. On the other hand, oil-based polyurethane has a strong smell and requires mineral spirits for cleanup.
In terms of spraying, both types of polyurethane can be used with a paint sprayer.
Water-based polyurethane also dries faster which means you can apply multiple coats without waiting too long in between.
How to Clean Paint Sprayer after Using Polyurethane
As mentioned above, water-based polyurethane can be easily cleaned with soap and water. Simply run warm soapy water through the paint sprayer until it runs clear. For oil-based polyurethane, you will need to use mineral spirits to clean the sprayer.
You should also take apart the sprayer if possible and clean each individual part thoroughly to prevent any buildup of dried polyurethane.
Check out our guides on how to clean a Wagner paint sprayer and how to clean a Fuji Q4 paint sprayer if you also have these models. Clean your paint sprayer after each use so it lasts for a long time and continues to work effectively!
More Paint Sprayer Resources
- How to Prevent Overspray When Painting Furniture
- Painting Furniture With a Sprayer
- Can You Spray Milk Paint?
- How to Spray Paint a Dresser with Chalk Paint
- Spray Paint Tools
Follow us on YouTube to get more tips for painting furniture.
Or share your project with us on our Facebook Group and be part of our community. See you there!





Hello Natalie! What a god-send your article was for me! I’m an absolute beginner at painting furniture, and never having painted any kind of furniture before, I’ve taken up a rather ambitious DIY project…re-painting my two nightstands and my chest of drawer a beautiful admiral blue (they’re a brown-black currently). I have all the supplies needed…but I’m getting cold feet now! I’m so scared of messing up my furniture! I have two questions, if you wouldn’t mind answering them please:
1) To prime or not to prime, that’s is the question ?. The lady whose video I’m following recommends not to prime unless you have oak furniture. I have no idea what kind of wood furniture I have. What do you say?
2) Water based polycrylic or polyurethane? The lady recommends ploycrylic. Thoughts?
Thank you!
Hey there!
I’m proud of you for taking on the project!
1. I prime every piece. Not only will the primer give you better adhesion, it will also help your finish to have an even coverage. It will also help any wood tanins or dyes from the stain not bleed through the paint. But you have to use the right primer. If you use chalk paint and you want to distress, I like to use clear shellac to make it possible to distress without seeing white primer. Shellac based products and oil based products are about the only thing that will really block bleedthrough. They also provide the best adhesion. IF I don’t use clear shellac, I use BIN shellac based primer.
2. Over paint, I use water based polyurethane. I stay far far away from minwax polycrylic because it tends to yellow more than the Varathane brand of water based polyurethane.
Best of luck!
Hi, I am wondering how much to thin Varathane Triple-thick Polyurethane. I am assuming if you add 3 parts poly to 1 part water for the regular formula, you would add more water to triple thick. Is that right?
I haven’t used the triple thick poly. But I would guess that you would want to thin it out more. You can thin it a little bit and then test it out. And then add more water if needed.
Can Verathane Polyurethane spray be applied onto artwork/sculpture that’s been painted in part with acrylic water-based paint pens? Or will polyurethane cause the paint pen paint to bleed once sprayed onto it?
I have no idea about paint pens. Sorry