How to Clean a Wagner Paint Sprayer
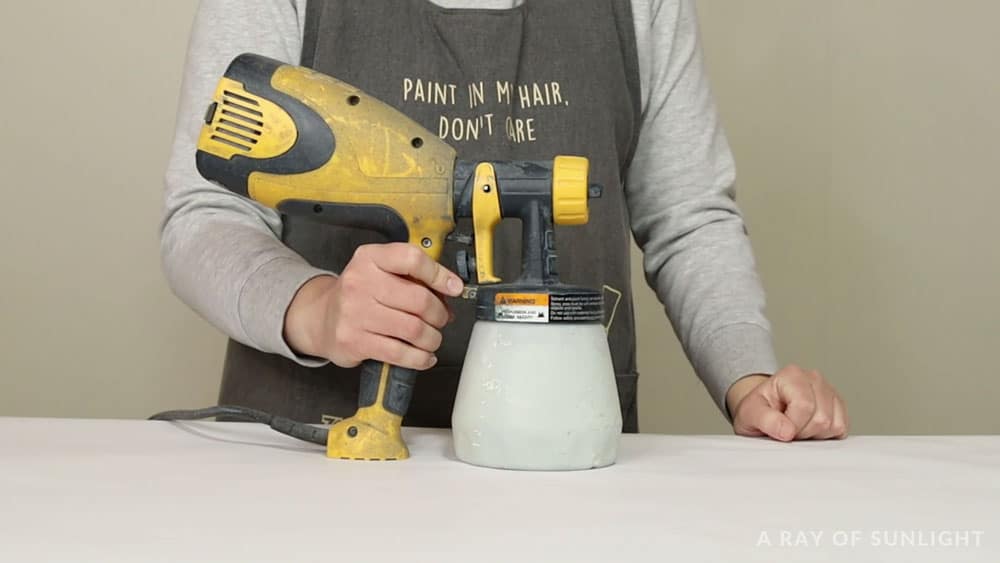
In about five minutes, your paint sprayer can be all cleaned up and ready for the next project. Here’s how to clean a Wagner paint sprayer, specifically the Wagner Control Spray, Double Duty paint sprayer.
It’s easier than you may think! And if you want to make your project even easier, check out this list of furniture painting tools and supplies.
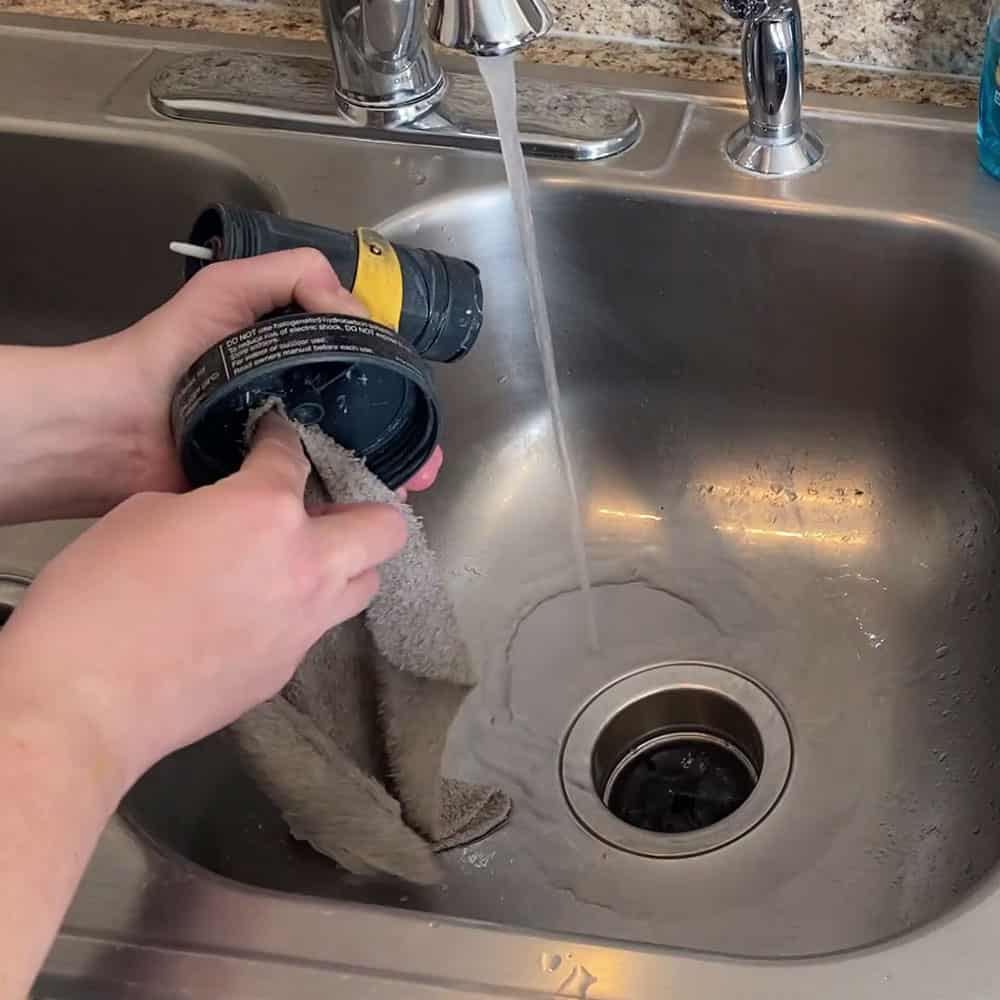
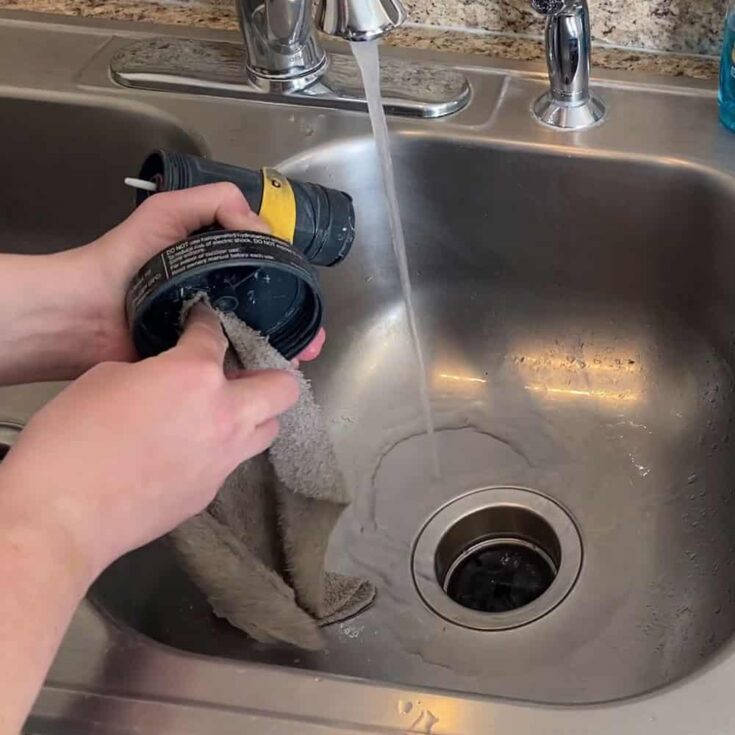
Honestly, I actually think that cleaning a paint sprayer is easier and faster than cleaning a regular paint brush!
With a few steps, your paint sprayer can be nice and clean, and ready for your next project. Just follow the steps below. And honestly, it’s basically the same process for all HVLP paint sprayers.
I know that my professional paint sprayer gets cleaned out the same way, with only a few changes (like how to disassemble the sprayer).
However, if you have a Wagner FLEXiO sprayer and don’t know how to clean it, you can check out this blog post on how to clean a Wagner FLEXiO sprayer here.
Supplies Used to Clean a Wagner Double Duty Paint Sprayer
As an Amazon Associate, I earn from qualifying purchases. I also may earn from other qualifying purchases with other companies or get free product to review and use. All opinions are my own.
- Wagner Paint Sprayer
- Cleaning Solution (see below for more info)
- Small Brushes
- Bucket to Spray Into
- Old Rag
What Cleaner To Use To Clean the Paint Sprayer
If you are using a water-based product in your paint sprayer, you’ll want to use warm water and soap (I like using Dawn dish soap).
If you are using an oil-based product, you’ll want to use mineral spirits as your cleanup solution.
When in doubt, check the label of the paint product that you’re using to see what they recommend as a cleanup solution.
Learn more about what to use to clean paint sprayer here.
How to Clean a Wagner Paint Sprayer
Here is the step by step guide to cleaning your Wagner paint sprayer.
Rinse Paint Sprayer Container and Suction Tube
First, unplug the paint sprayer. Then pull the trigger for about 5-10 seconds to let the paint in the suction tube fall back into the container.
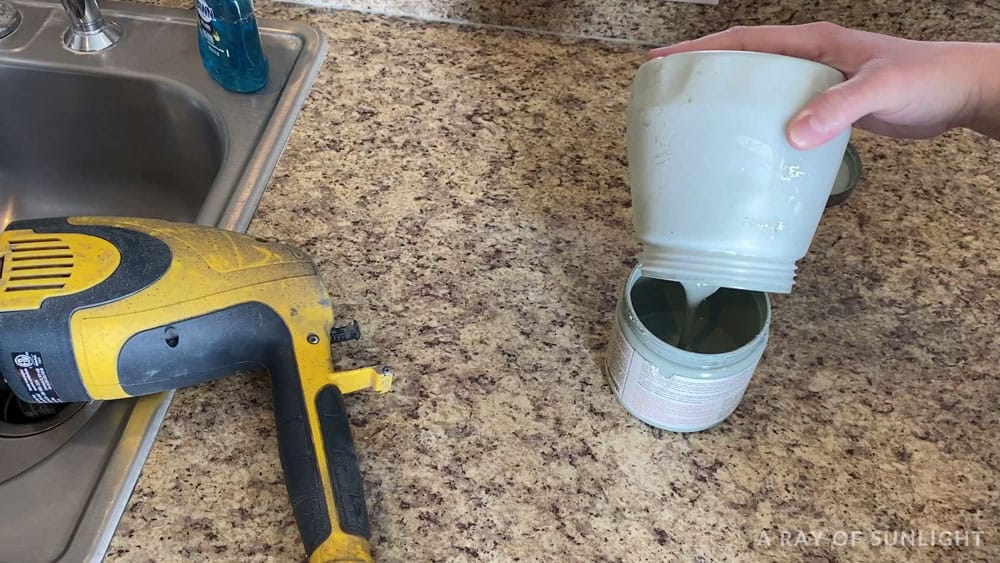
Unscrew the container, and pour the product back into the product’s original container.
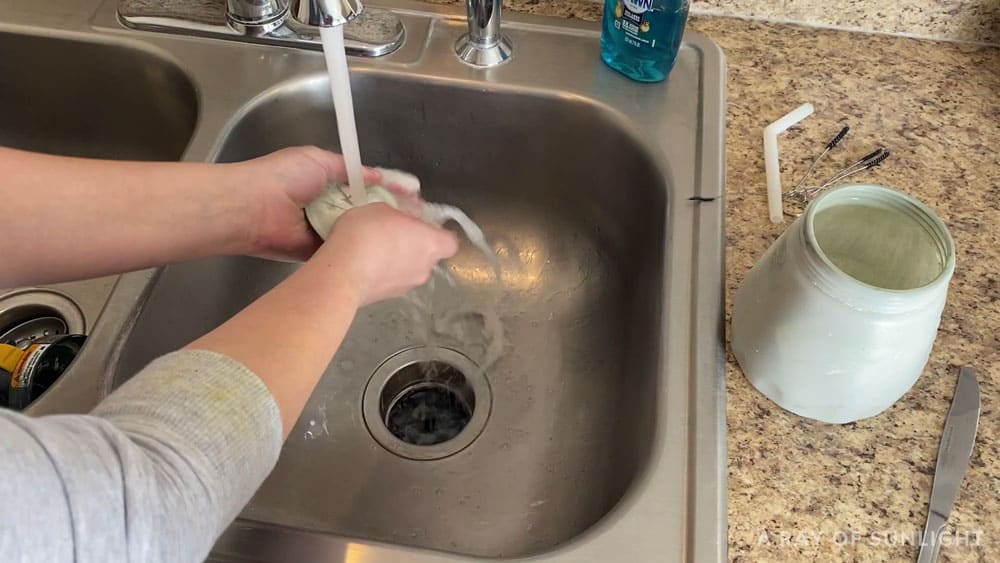
Then rinse the paint sprayer’s container and the suction tube with the cleaner solution. I also like to rinse the white container seal that goes around the suction tube at this point.
Properly dispose of the cleaning solution. (Check your local regulations for information on how to properly dispose of the cleaning solution.)
Spray the Cleaning Solution
Fill the sprayer’s container with some cleaning solution, screw the container back onto the paint sprayer, and plug the paint sprayer back in.
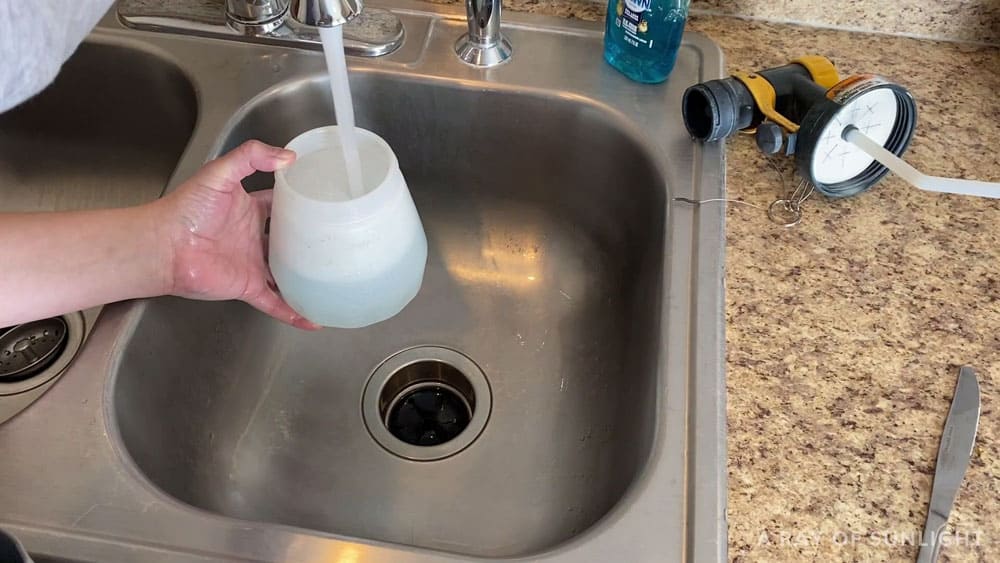
Then spray the cleaning solution through the paint sprayer for about 20 seconds. This will clean the inside of the paint sprayer so there is no product left inside the paint sprayer.
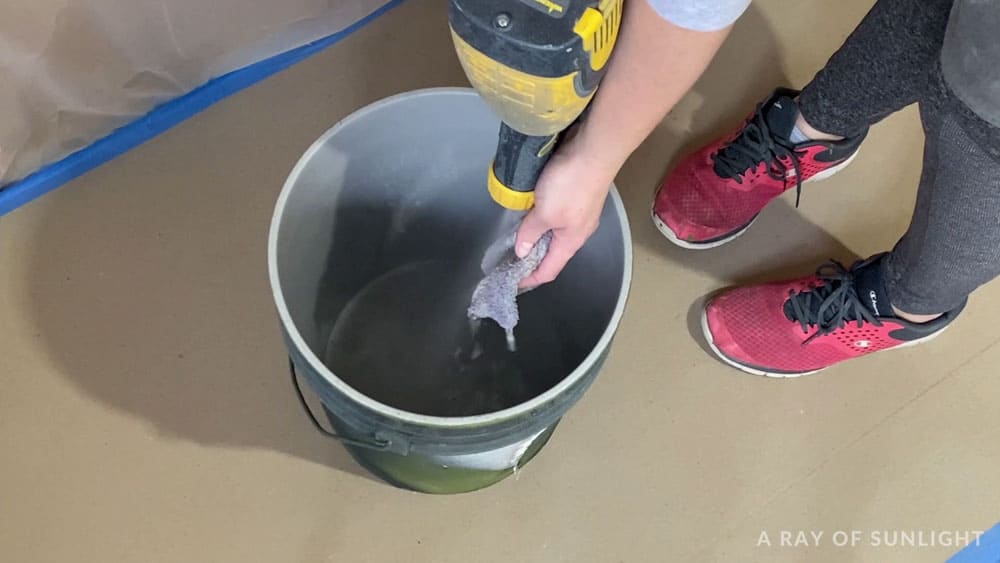
I like to spray into a 5-gallon bucket and a rag to help keep the spray from going everywhere.
Disassemble Paint Sprayer Head and Clean
Unplug the paint sprayer. At this point, I like to unhook the paint sprayer from the turbine too. And disassemble the sprayer:
- unscrew the container and dispose of the cleaning solution
- take off the suction tube and container seal from the head of the sprayer
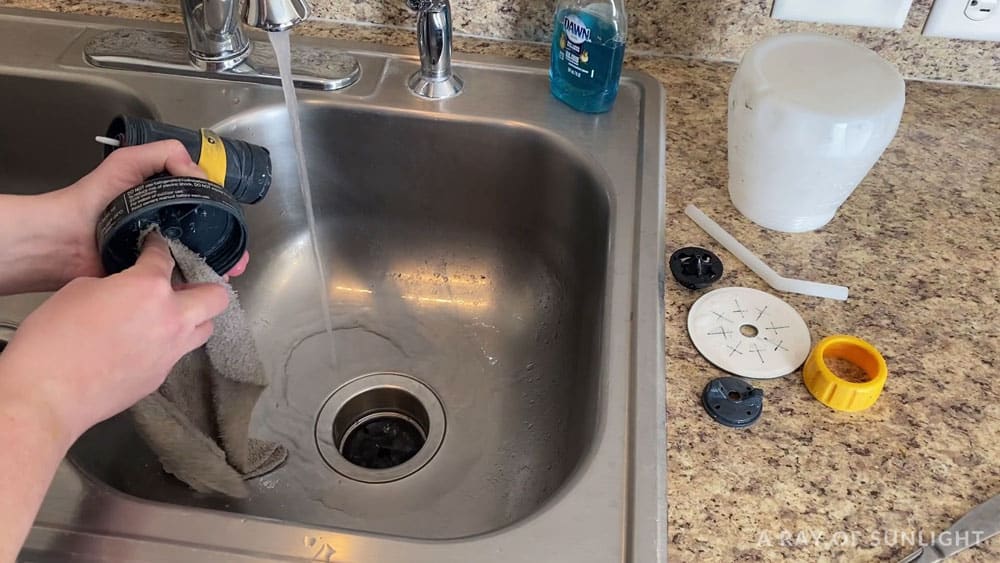
On the head of the sprayer:
- unscrew the nut
- take off the air cap
- pull off the nozzle
- and grab the seal ring.
Clean all of these pieces with a brush or rag, and the cleaning solution. Use a little brush to get all of the way into the nozzle.
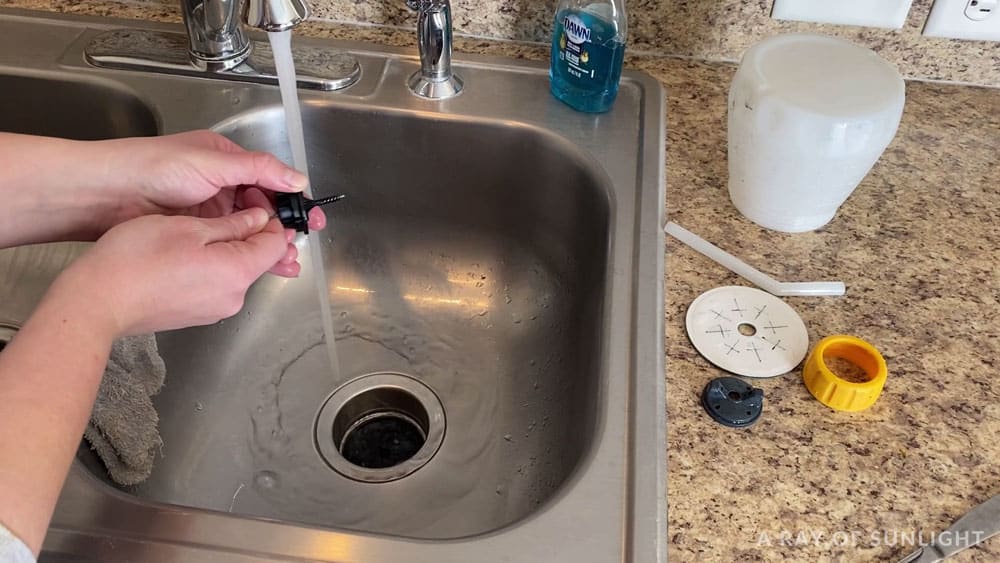
And make sure to clean inside the bottom of the sprayer head too! (Where the container seal tries to block the paint). While you’re at it, wipe down the sprayer too.
Let Paint Sprayer Dry Completely
Before you reassemble everything, let it all dry. Especially the pieces that go back on the head of the sprayer.
If you put it back together wet and use it right away, you might get drips of cleaning solution in your sprayed paint. I like to let everything dry on a towel near my sink. That’s all there is to it!
Check out my Wagner paint sprayer troubleshooting guide to help you out if you encounter any problems with your paint sprayer.
If you keep your paint sprayer clean, it will last a long time and through a lot of paint projects! Learn how to use a Wagner Double Duty paint sprayer here!
How often should you clean your Wagner paint sprayer?
Your Wagner paint sprayer should be cleaned after each use. With this, you can make sure your sprayer stays in good working condition and prevents any buildup or clogging.
Especially if you plan on switching between water-based and oil-based products, since you don’t want them mixing together in your sprayer. You also need different cleaning solutions for each type of paint for furniture.
If you’re using your paint sprayer frequently, it’s also a good idea to give it a deep clean every few weeks or so to keep it in top shape. This means disassembling and cleaning all the parts more thoroughly.
What to do if Wagner paint sprayer is clogged or not working properly
Oh no! Is your Wagner paint sprayer acting up? Don’t worry, it happens to the best of us. Here are a few easy things you can do to get it back in working order.
For clogging issues, try thinning out your paint with water or using a different product altogether. Sometimes certain paints are thicker and need to be diluted for optimal use in a sprayer.
If that doesn’t work, take a look at the nozzle or tip of the sprayer and make sure it’s not clogged with dried paint. You can scrape it off if there’s any then test your sprayer again.
There might also be settings that need to be adjusted, such as the air pressure or flow control. Make sure these are set correctly for the type of paint and project you’re working on.
If your sprayer still isn’t working properly, you should clean it more thoroughly this time then double check that all parts are assembled correctly and securely.
Check out our how to unclog a paint sprayer post to guide you through troubleshooting your clogged sprayer.
Remember, a clean paint sprayer means better results and less hassle in the long run. Don’t skip out on regular cleanings so your Wagner paint sprayer continues to perform at its best.
More Paint Sprayer Resources
- How to Thin Paint for a Wagner Sprayer
- Wagner Double Duty Paint Sprayer Review
- How to Spray Paint a Dresser with Chalk Paint
- How to Spray Polyurethane
- Best Wagner Paint Sprayers for Furniture
Follow us on YouTube to get more tips for painting furniture.
Or share your project with us on our Facebook Group and be part of our community. See you there!


