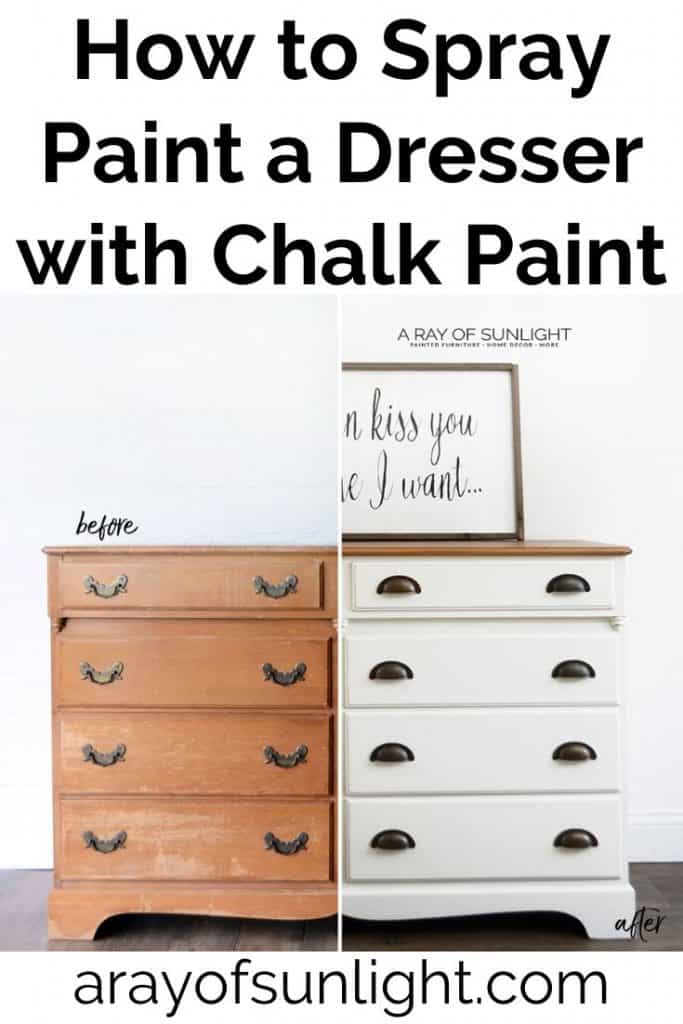
How to Spray Paint a Dresser with Chalk Paint


The easiest way to paint a dresser is to paint it with chalk paint, and even faster is spraying chalk paint on furniture! To help you get started, here’s how to spray paint a dresser with chalk paint.
Learning how to use a paint sprayer on furniture can be a daunting task, but it doesn’t have to be! With the right tools and techniques, you can create beautiful, professional-looking pieces of furniture in no time.
Chalk style paint is mostly known for being a no prep paint. You don’t need to prime before using chalk paint, and it is super forgiving! It easily sands and distresses to create a farmhouse style dresser.
You can brush it on, but why waste your time with a brush, when you can spray chalk paint! Spraying chalk paint gives a smoother finish than brushing and is much faster.
You can cover large areas in no time and get a professional look without all the effort. Plus, no brush strokes means an even and flawless finish.
So here’s how you spray chalk paint on a dresser in just a few simple steps!
As an Amazon Associate, I earn from qualifying purchases. I also may earn from other qualifying purchases with other companies or get free product to review and use. All opinions are my own.

Supplies Used to Spray Paint a Dresser with Chalk Paint
- Paint Sprayer
- Krud Kutter
- 220 Grit Sandpaper
- Clear Shellac
- Chalk Paint
- Mesh Filter
- Waterbased Polyurethane
- Painters Tape
- Wood Stain
- New Hardware
Before diving into spraying chalk paint, we gotta make sure to have all these necessary supplies to make the process run smoothly.
Can You Spray Chalk Paint with a Sprayer?
Yes, you can spray chalk paint with a paint sprayer!! Chalk paint tends to be on the thicker side, but you can easily thin it out with some water to make it easy to spray.
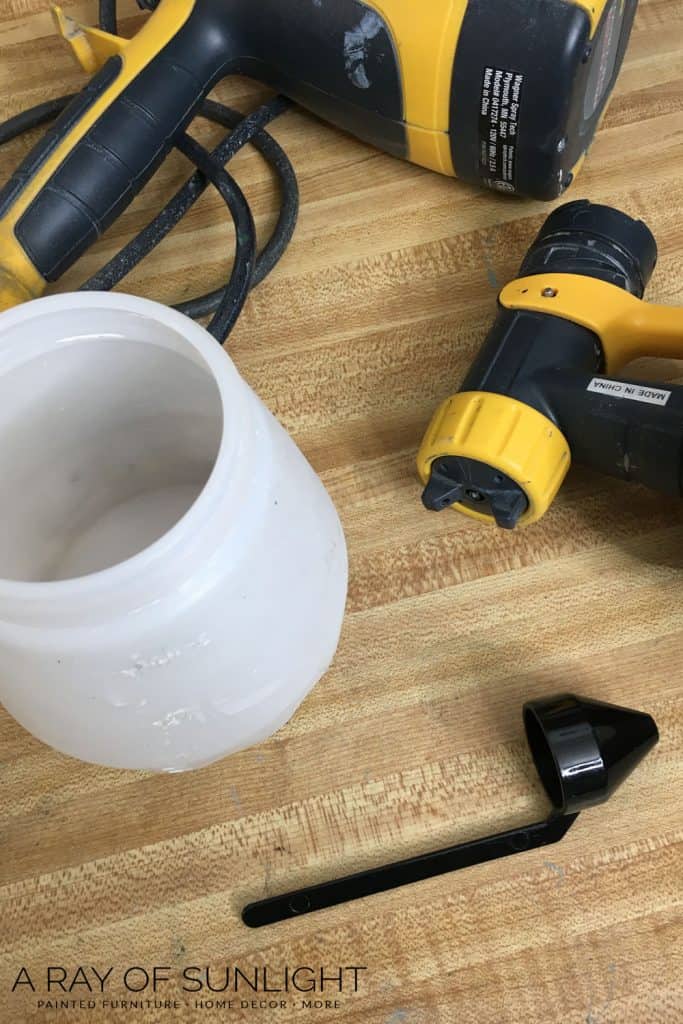
You don’t need a fancy paint sprayer, either! I used this Wagner paint sprayer for 3 years of painting and selling furniture. For top paint sprayer options for your chalk painting projects, here’s our list of the best paint sprayer for chalk paint.
(They have discontinued that sprayer and replaced it with this Wagner 250 paint sprayer now. Check out my Wagner Control Spray 250 review here to learn more about it.)
Learn all you need to know about how to use the Wagner Double Duty paint sprayer here! The new sprayer is very similar to the Wagner Double Duty, so the steps are the same.
It’s a great beginner paint sprayer because you don’t need an air compressor. It comes with all the tools you need to get started, and it’s cheap! Check out my list of the best Wagner paint sprayers for furniture here.
If you still need some answers on “can you use chalk paint in a sprayer?” – read this post for more!
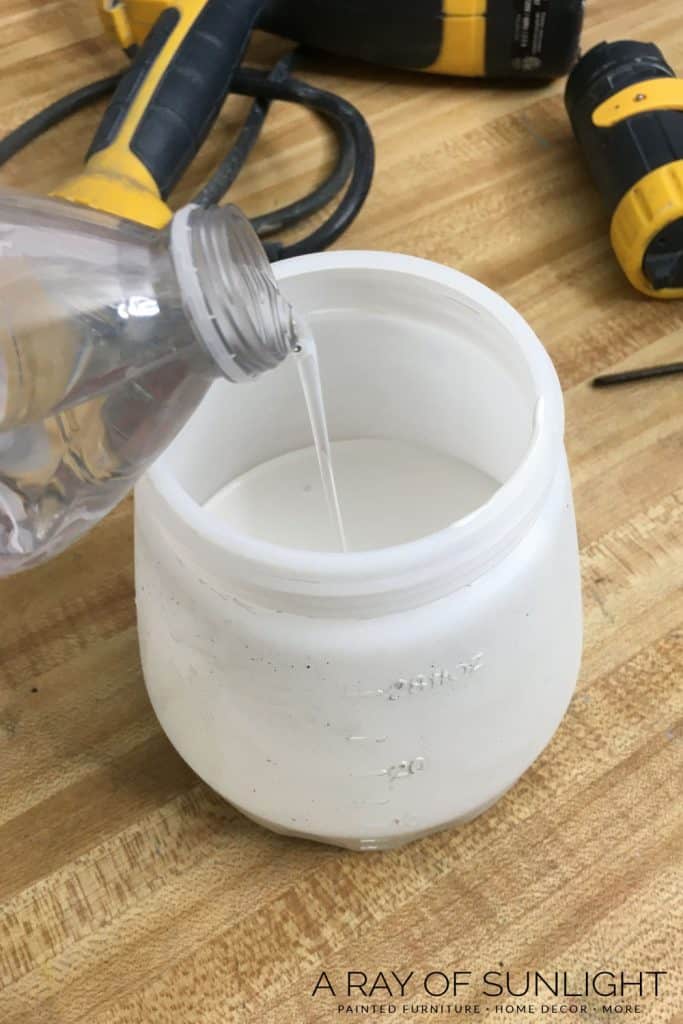
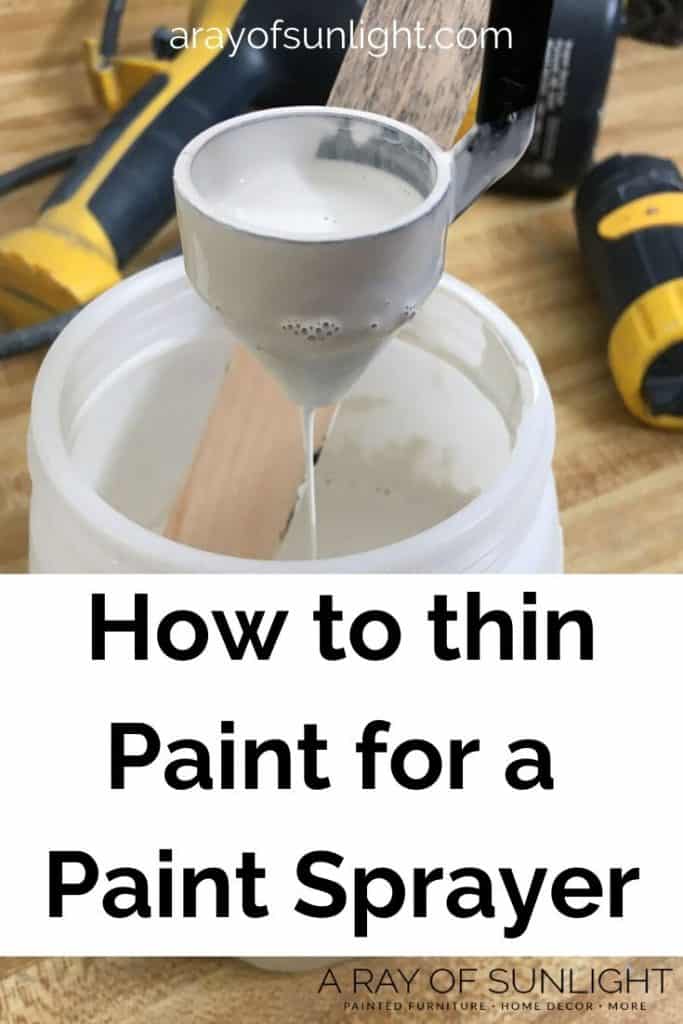
How to Thin Chalk Paint for a Sprayer
It’s super easy to thin paint for a Wagner sprayer. There isn’t any guesstimating when it comes to how much water to thin chalk paint.
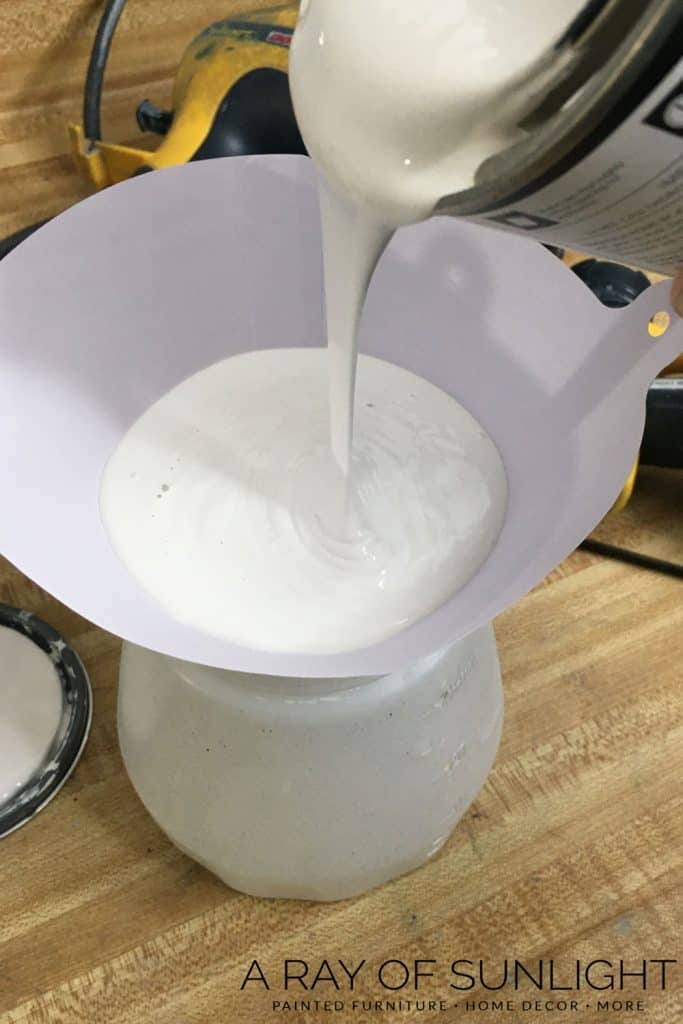
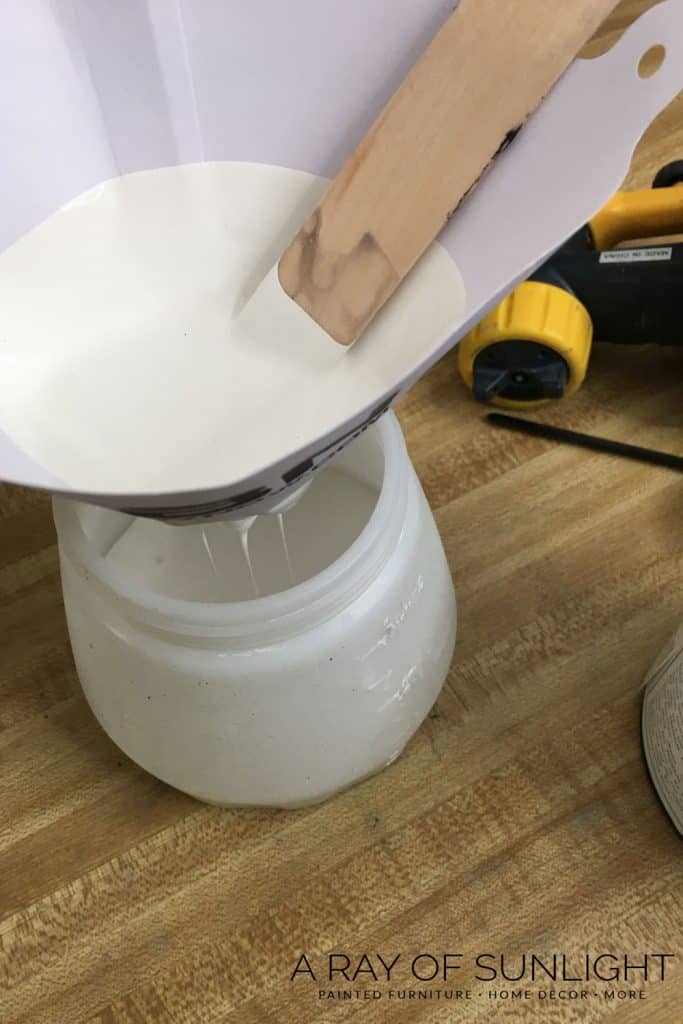
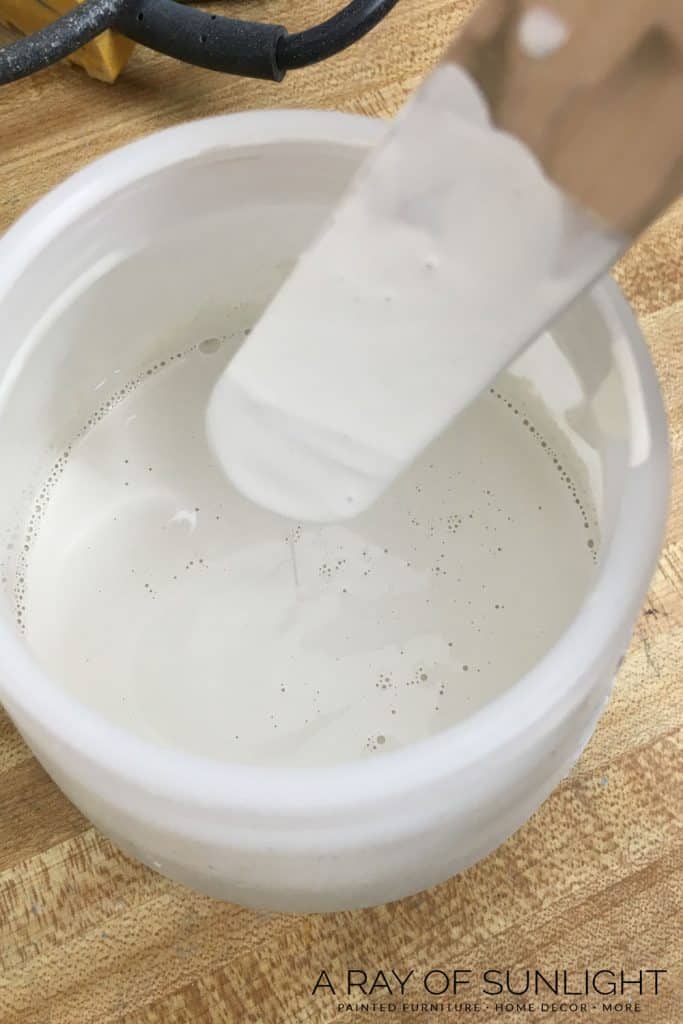
Before you start thinning paint though, you should mix your paint with a stir stick.
Then pour the paint into a sprayer container through a mesh filter to make sure there aren’t any clumps or anything in the paint that can clog the paint sprayer.
These paper mesh filters are cheap and disposable so you don’t have to clean them out after every use! Now we’re ready to thin chalk paint for the paint sprayer!
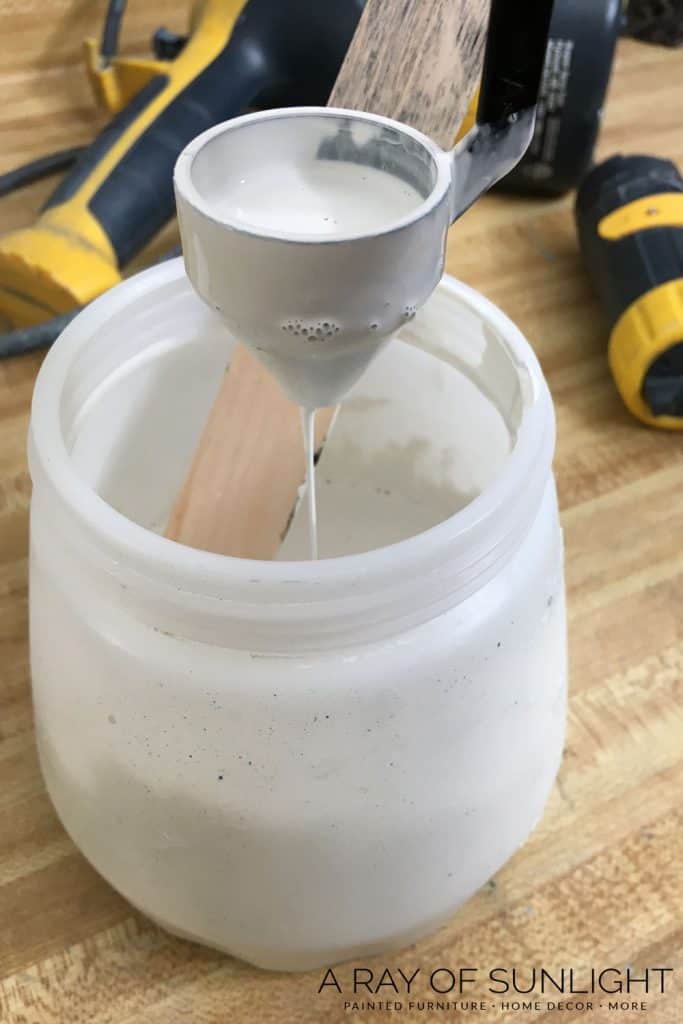
Wagner includes a little tool called a viscosity cup with their Double Duty paint sprayer. Unfortunately, they don’t include one with the Wagner 250 paint sprayer.
You can purchase a viscosity cup separately though if you want it! This thing is golden because it measures how viscous (thick or thin) your paint is.
- Dip the cup into your paint, and see how long it takes for the paint to completely run out of the cup. You want it to run out of the cup between 30-40 seconds. (I prefer 35-40 seconds)
- If it’s too thick, add more water to the paint, stir it up really well, and then test it again.
- If the paint is too thin, add more of the original paint, and stir it really well before testing.
If you’re using a different paint sprayer, look in the manual to see what that paint sprayer suggests.
Some paints should not be thinned out too. So make sure you are using chalk paint, mineral paint or an acrylic paint for best results.
Don’t worry if it seems like you put a lot of water in there. If it’s running out between 35-40 seconds, it will work great and chalk paint will still adhere properly!
Test the Paint Sprayer Before Painting
Before painting your dresser, test the sprayer on a piece of cardboard or paper. Play around with the settings to get the paint flow to where you want it.
You don’t want it to spray too much, because you’ll waste a lot of paint in overspray, and you will end up with a lot of drips.
A lighter mist is better! You can hold the sprayer anywhere from 1-12 inches from the dresser, depending on how much paint you have coming out of the sprayer.
So if you have it on a low flow setting, you can hold the sprayer closer. If you have more paint coming out, you will want to hold it further away.
I prefer a mid-low setting so I avoid overspray, and because it produces a finer mist that makes your paint job look super professional.
Wagner Paint Sprayer Not Spraying?
If your spray gun is not spraying, make sure you thinned the paint enough. Test it by putting water in the other container and trying to spray that out. If you can spray the water, then you need to thin your paint.
Another way to troubleshoot a paint sprayer that isn’t spraying is to make sure you don’t have any clogs. Even brand new paint can have little clumps of dry paint or debris in it.
Be sure to filter your paint through a mesh filter before spraying it. If you think your Wagner paint sprayer is clogged, unplug it, and clean it out.
- Start by filtering the paint through a mesh filter, into the other container. Clean out the dirty container and then run warm soapy water through the paint sprayer until the clog is gone.
- If the water isn’t going through the sprayer, take the head of the sprayer apart by unscrewing and pulling out the air cap and nozzle. Clean each of those pieces off really well with water and a small brush. Assemble the sprayer and try running the warm soapy water through it again.

Another reason there may not be any paint coming out of your paint sprayer is if the container isn’t screwed on tight. Air pressure has to build up in the container, and if it isn’t screwed on tightly, it can’t build up any pressure.
Visit our Wagner paint sprayer troubleshooting post for more tips on how to fix your sprayer if it isn’t spraying.
Spray Painting A Dresser with Chalk Paint
Now you’re ready to spray paint a dresser with chalk paint!
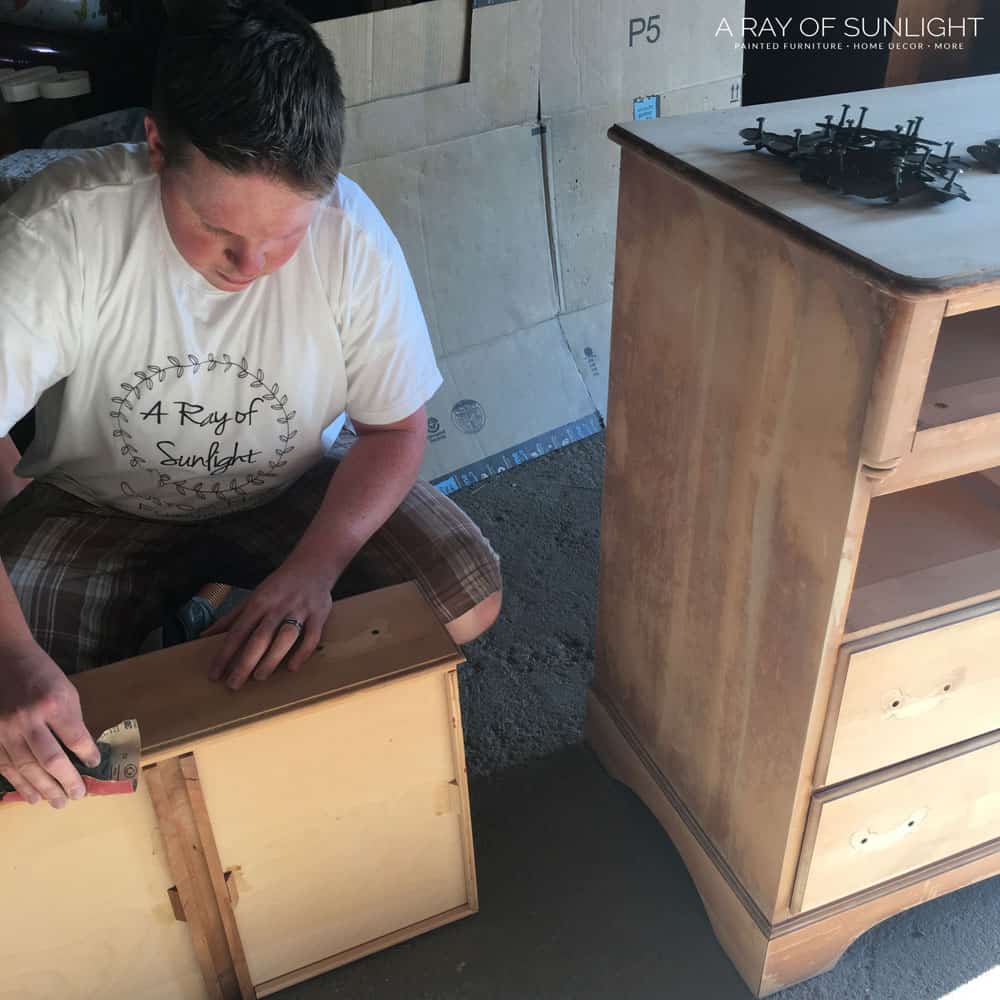
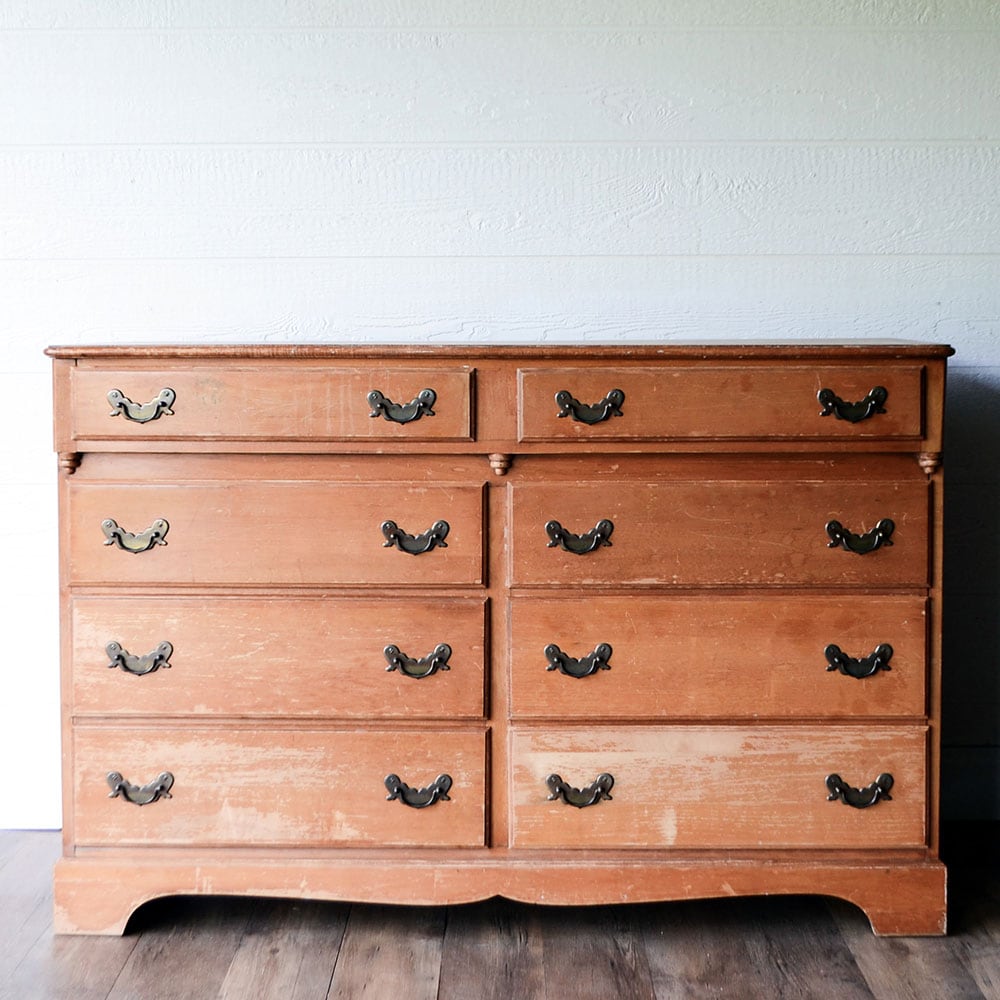
If you want your finish to last, prep your dresser by wiping it down with a degreaser, scuff sanding the shine off, and spraying it with shellac to prevent bleed-through.
Would you like to save this?
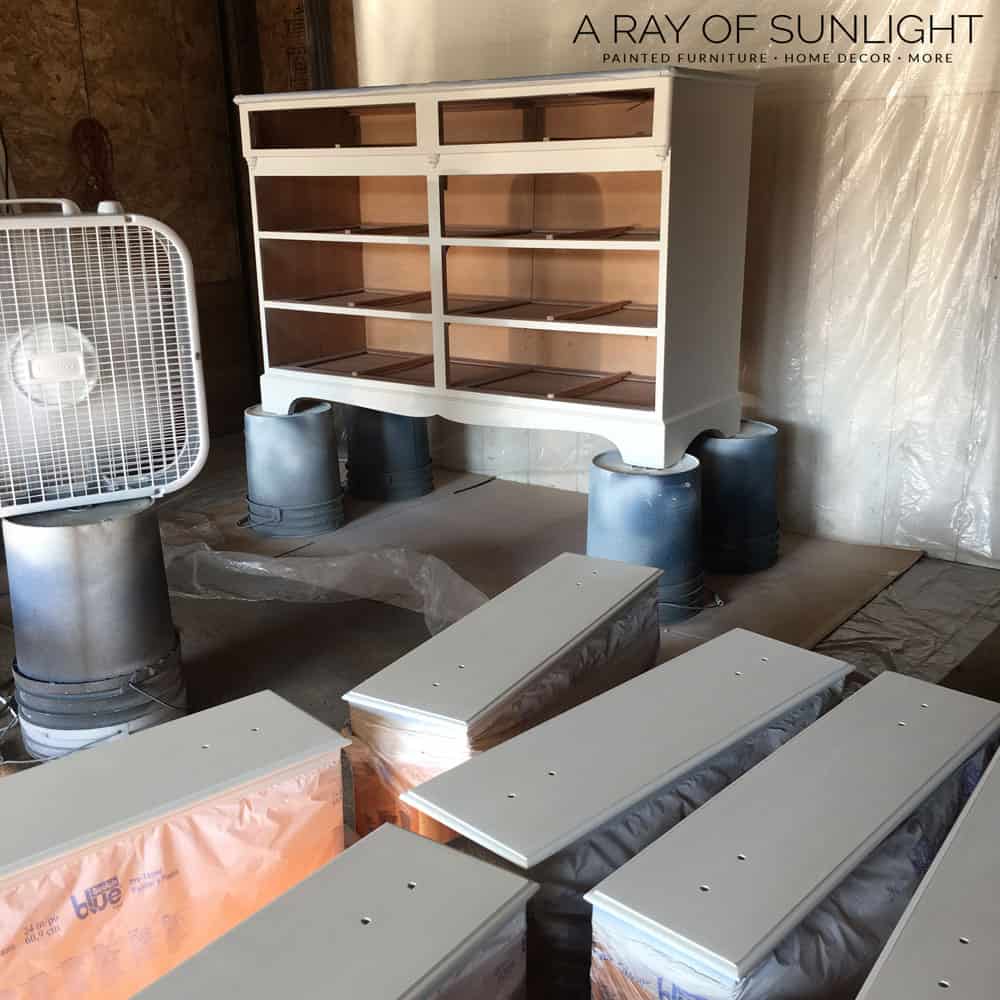
Learn more about how to prep furniture for painting for a lasting finish here. Also, see how to prevent overspray when painting furniture and protect the inside of the drawers here.
We also prevented any bleed-through stains from coming through the white paint by priming. Learn more about how to prevent bleedthrough here!

Spray back and forth, keeping the spraying steady and upright. Spray a light coat on first, holding the sprayer straight. On the second coat, you can angle the sprayer and get more into the details.
Chalk paint also comes in spray cans. Check out how to use spray chalk paint here if you want to learn spray painting furniture.
I love that with chalk paint you don’t have to wait a certain amount of time to recoat. When it’s dry to the touch you can give it another coat!
From my experience, it is okay to leave chalk paint in the paint sprayer for a few hours while you’re painting a few coats. I don’t recommend leaving it in the paint sprayer overnight though.
(Even though I have definitely left chalk paint in the sprayer for longer than a few days… It makes for a long and harder cleanup.)
Distressing A Painted Dresser
This is totally optional, but I love a good distressed dresser. That way I don’t have to worry about the kids beating up the furniture, their distressing will blend into the distressing I already created haha!
Distressing a dresser is super easy though. Grab some 220 grit sandpaper and rub it on the edges and raised details on the dresser.
Chalk paint easily distresses and turns into a fine powder. Grab a vacuum with a hose attachment and suck all the powder up and then wipe any remaining dust away with a damp lint-free rag. Learn more ways (dust-free) to distress furniture here.
How to Seal Chalk Paint
Chalk paint is super porous, and so it needs to be sealed for long-lasting durability and wipeability. Otherwise, if you get any spills, or want to use your dresser in a high-traffic area, your chalk paint will likely not hold up.
The best way to seal painted furniture is with my favorite water-based polyurethane. It’s much more durable than wax, and it lasts for a long time.
Can you spray polyurethane with a paint sprayer?
Polyurethane is super easy to spray, in fact, it’s the best way to put on polyurethane! Start with a clean paint sprayer. Yep, you can use the same paint sprayer that you put chalk paint in, just make sure it’s cleaned out.
How to thin polyurethane for spraying?
Filter the polyurethane into the small container and then add a little bit of water. You don’t HAVE to thin polyurethane, but I find that it sprays smoother.
You can test the viscosity with the viscosity cup, but I don’t typically worry about it. Just add a splash or two of water to water-based polyurethane.
Put the paint sprayer together and then test it before spraying a thin even coat of polyurethane on your dresser.
It dries pretty fast, so you don’t have to wait too long to recoat it. I like to spray 3 coats of polyurethane for the best protection and for the best sheen. Learn ALL of my tips and tricks on how to spray polyurethane here!
Let your dresser dry at least 24 hours before you put things on it, and be gentle with it for at least a month while the paint and polyurethane cure.
Staining A dresser Top and Attaching Hardware
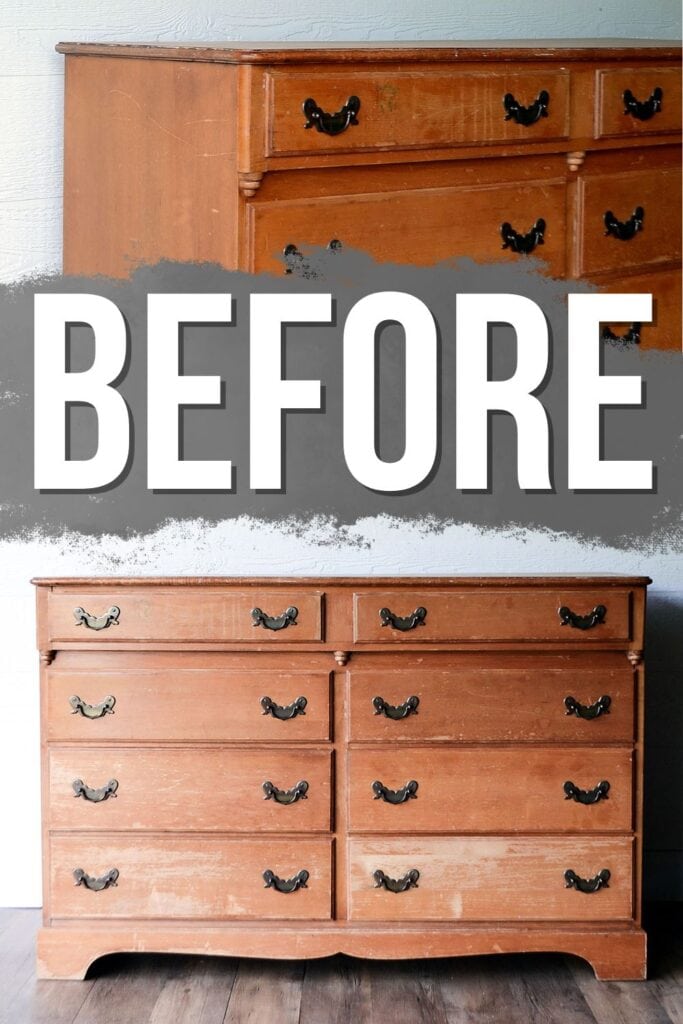
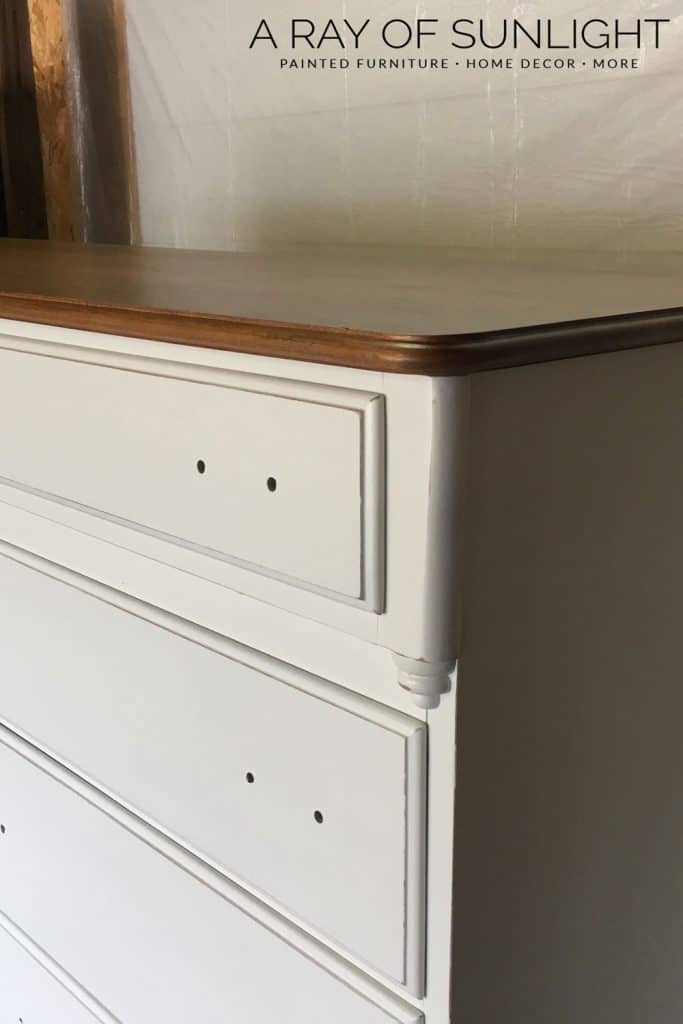
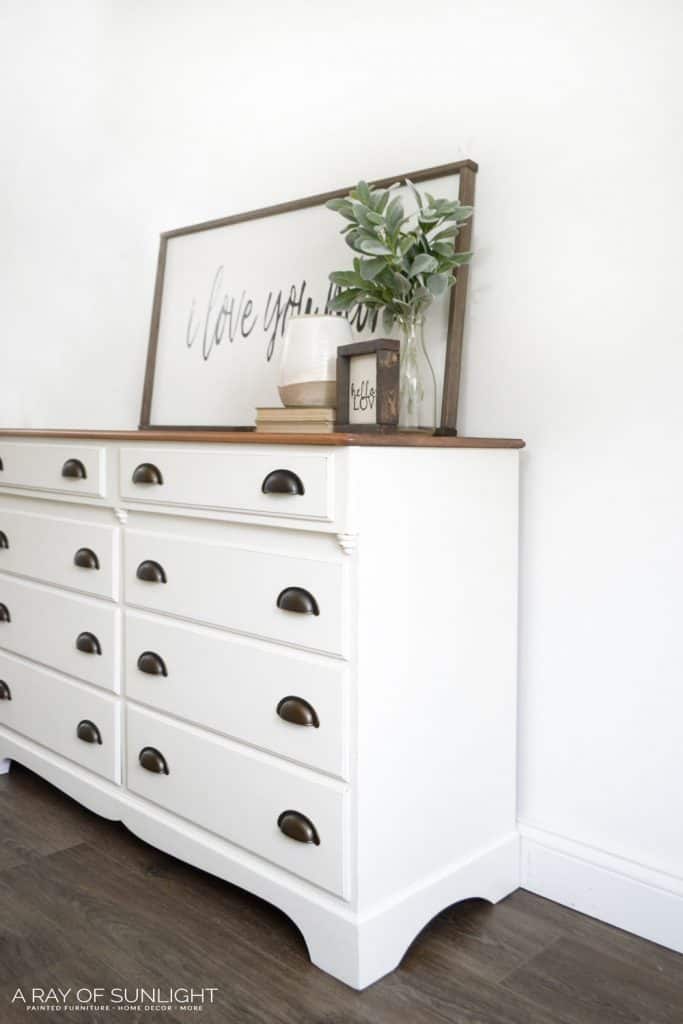
Since we basically sanded the dresser down to raw wood when prepping it, we decided to go for a stained top, painted bottom look. We stained the top, then let it dry. Then we taped it off with plastic before painting the dresser.
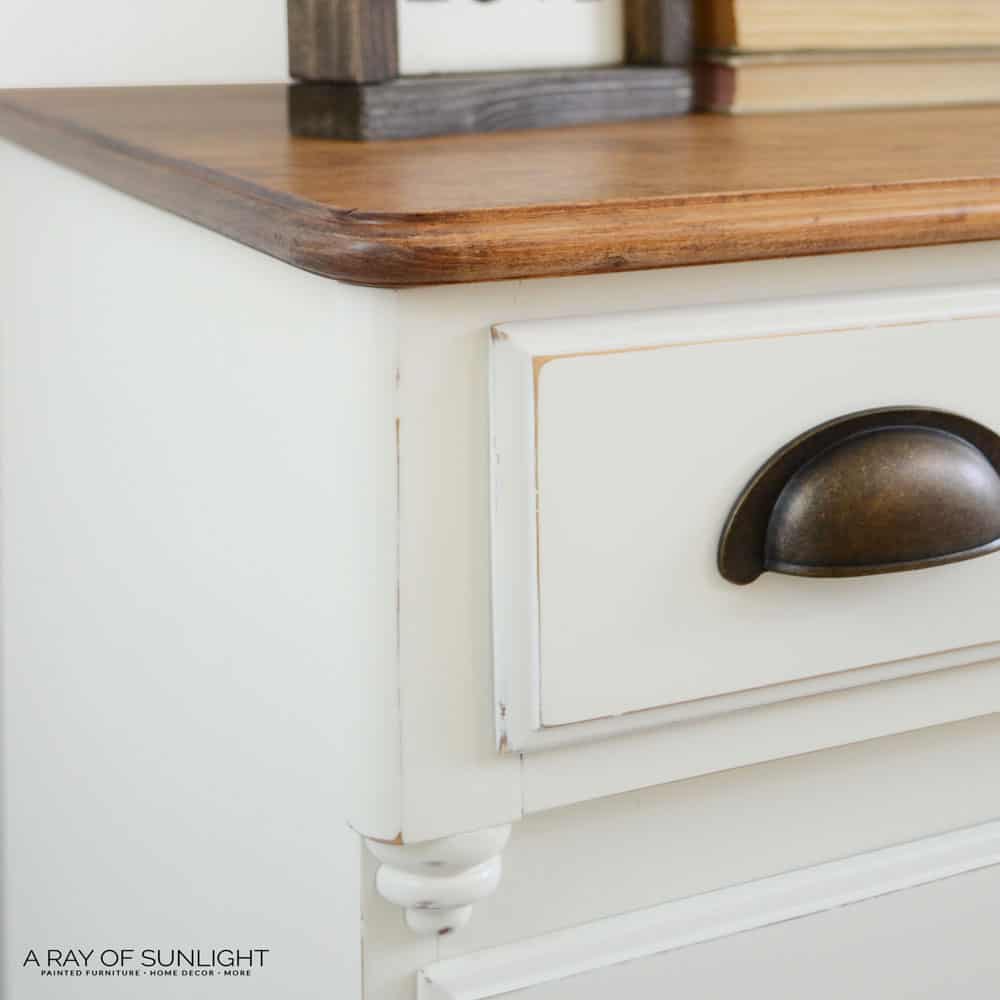
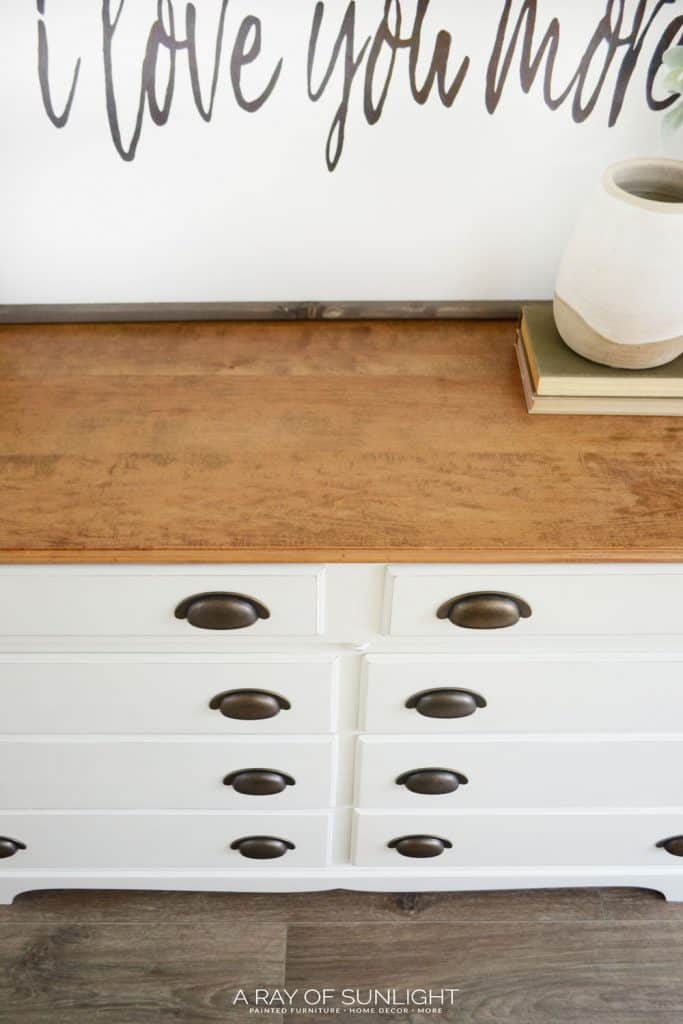
After the paint and polyurethane were dry, I attached new farmhouse-style cup pulls to the dresser. They were the same size as the original pulls, so I didn’t have to fill the old holes in order to change the hardware.

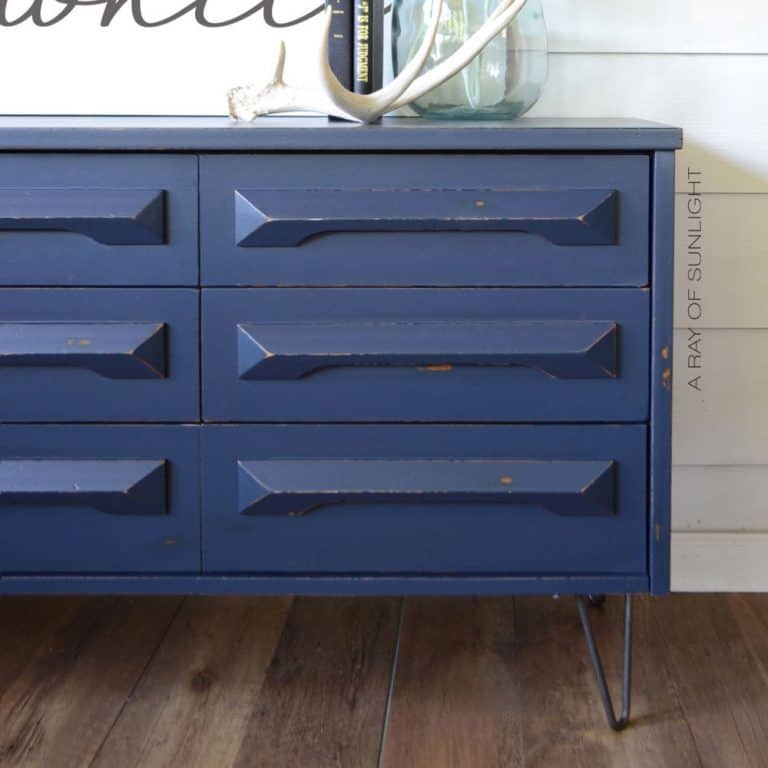
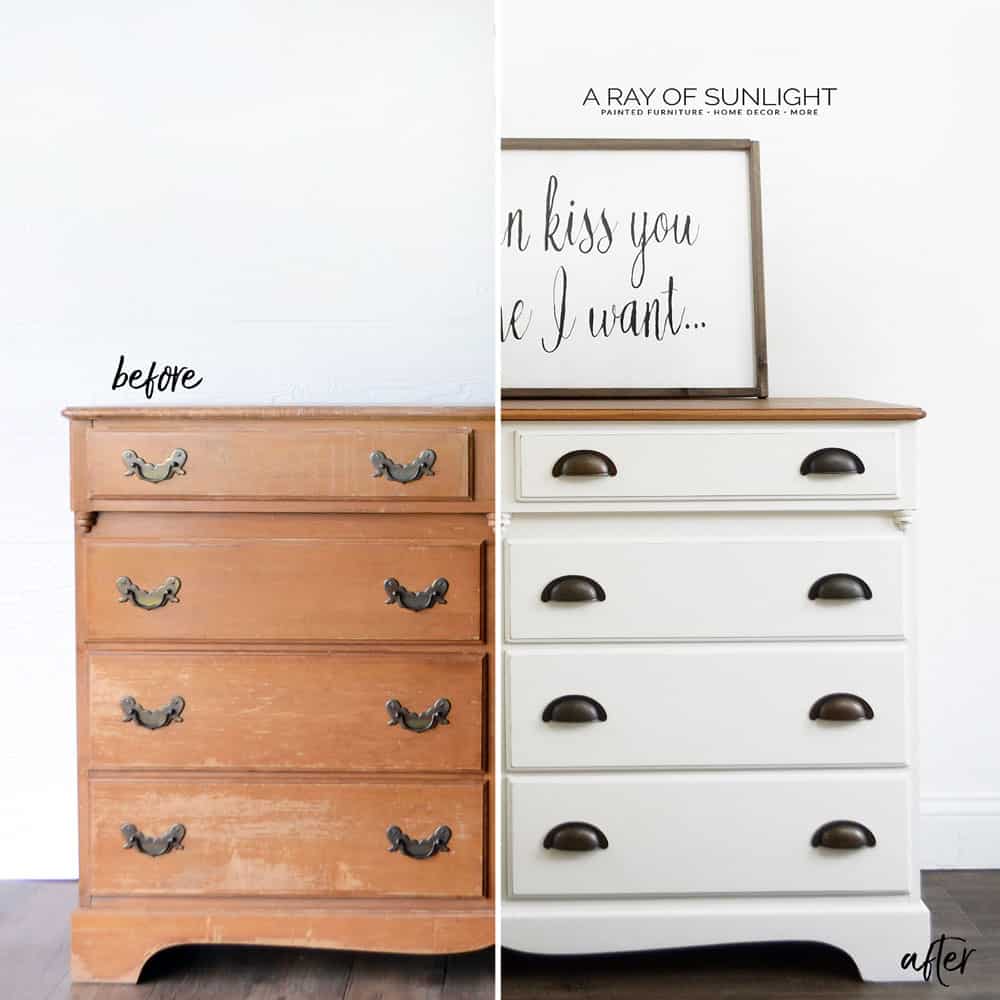
More Before and After Makeovers
See All >
Click any of these “before” photos below to view the “after” of that makeover.


I hope this was super helpful!! Get more chalk painted furniture and chalk paint dresser ideas here, and if you like this white dresser makeover, here are more white painted dresser ideas!


How to clean paint sprayer after using chalk paint?
Cleaning your paint sprayer after using chalk paint is important to maintain its functionality and prolong its lifespan.
Same with other types of paint for furniture, you need to take the time to properly clean your paint sprayer or else the leftover paint can clog it and make it unusable. Worse, it can damage your sprayer permanently.
To clean your paint sprayer after using chalk paint, you should start by emptying out any leftover paint from the sprayer. Then, fill the paint container with warm water and add a few drops of Dawn dish soap. This will help loosen any remaining paint particles inside the sprayer.
After that, reattach the paint container to the sprayer and spray the mixture through until it runs clear. This will help clean out any residual paint from the nozzle and other parts of the sprayer.
Depending on the amount of paint left in your sprayer, you may need to repeat this process a few times for a thorough clean.
Once you have cleaned out the paint, it’s important to rinse out the sprayer with clean water to remove any remaining soap residue. After rinsing, make sure to dry all the parts of the sprayer before storing it away. This will prevent any rust or damage to the sprayer.
Here’s our guides on what to use to clean paint sprayer and how to clean a paint sprayer to help you keep your sprayer in top shape and ready for your next project.

How to Spray Chalk Paint on a Dresser
With this makeover, learn how to spray chalk paint on a dresser to update old furniture faster and get a smooth, even finish.
Materials
- Krud Kutter
- 220 Grit Sandpaper
- Clear Shellac
- Chalk Paint
- Mesh Filter
- Waterbased Polyurethane
- Painters Tape
- Wood Stain
- New Hardware
Tools
Instructions
- Prep the dresse for paint by wiping it down with a degreaser, scuff sanding the shine off, and spraying it with shellac to prevent bleed-through.
- Mix the chalk paint well and pour it into the sprayer container through a mesh filter to make sure there aren’t any clumps or anything in the paint that can clog the paint sprayer.
- Add water to the chalk paint to thin it.
- Test the sprayer on a piece of cardboard before painting the dresser. If your spray gun is not spraying, make sure you thinned the paint enough
- Spray the paint back and forth onto the dresser keeping the spraying steady and upright for the first coat. On the second coat, angle the sprayer to get into the details.
- Once dry, distress the dresser with sandpaper.
- Seal the chalk painted dresser with waterbased polyurethane. Spray 3 coats of polyurethane for the best protection and for the best sheen.
- Attach new hardware to the dresser.
- Let your dresser dry at least 24 hours before you put things on it, and be gentle with it for at least a month while the paint and polyurethane cure.
Recommended Products
As an Amazon Associate and member of other affiliate programs, I earn from qualifying purchases.


More Spray Painting Resources
- Spray Painting Furniture
- Spray Paint VS Brush Paint Furniture
- Spray Painting Furniture Gold
- Best Paint For Spraying Furniture
- Spray Painting Indoors
Learn the Art of Updating Furniture!
If painting furniture feels overwhelming or your past attempts didn’t go as planned, this course will guide you step by step.

Follow us on YouTube to get more tips for painting furniture. Or share your project with us on our Facebook Group and be part of our community. See you there!
I think this is an informative article and it’s extremely
useful and knowledgeable. I really enjoyed reading this post.
big enthusiast, thank you!
Best regards,
Balle Dencker
Do you make your own paint by mixing different ones? If not what brand chalk paint do u use. Thank you Jennifer
Hey Jennifer! I use a bunch of different brands of chalk paint and other types of paint for furniture. Here’s a post that might help guide you on some of the best brands out there! https://arayofsunlight.com/what-paint-to-use-on-a-dresser/
I don’t know how to get an answer to this question, but I’m going to try. I have a piece of furniture that is painted with lacquer and would like to know how to prep it for re-painting.
It is black now and I want it white. How do I accomplish this fete?
Hey, Jessie! Sounds like that can be a challenge. You might want to try checking these blogs out and following along the steps: How to Repaint Furniture and The Easiest Way to Remove Paint from your Old Wood Furniture. Hope it helps and best of luck to you!
I didn’t like having to struggle through so much info to see the “after” photo. I no longer restore, refurbish, and build furniture and don’t need the instructions. Please think about this segment of your admirers in future posts.
Thank you so much for your feedback. We do strive to make the user experience as pleasant as we possible. But also, the ads that we have on there are how we make an income and how we are able to provide this free content to you and the rest of our audience. So we know it’s not a perfect setup and we will consider this feedback in the future and see if we can make it any better for the both of us.