DIY Painted Hallway Cabinet
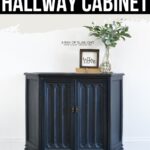
Have you got a hallway cabinet that’s looking a bit lackluster? Want to spruce it up and add some personality to your hallway? This DIY painted hallway cabinet is just the project for you! With these furniture makeover ideas, you can create a beautiful and personalized statement piece for your home.
Say goodbye to boring hallway furniture and hello to a stylish and unique piece that will brighten up your space!
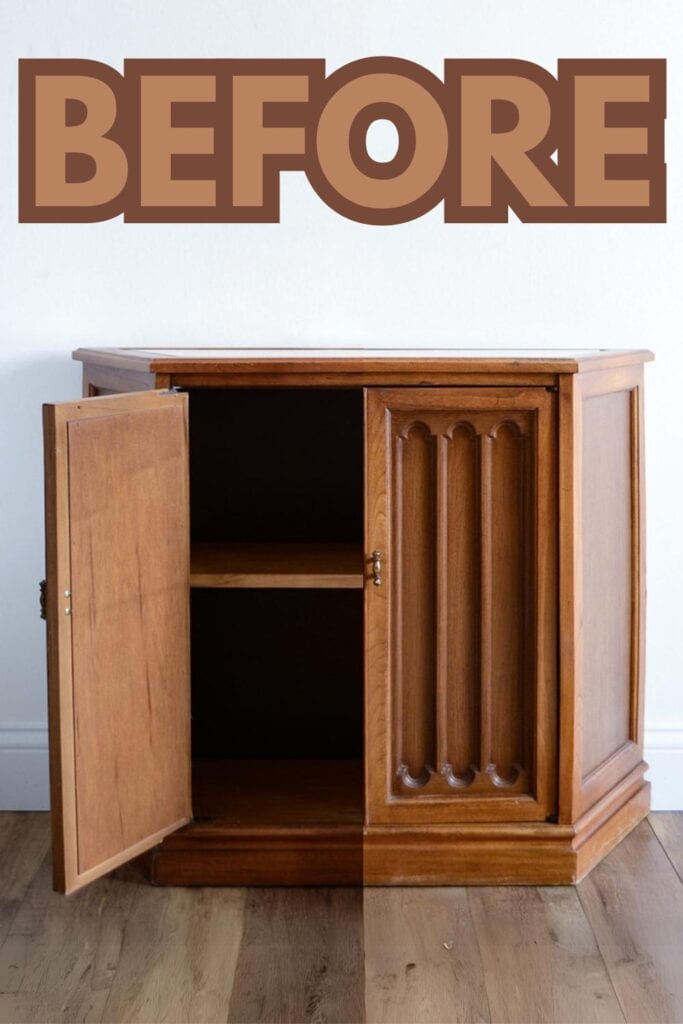
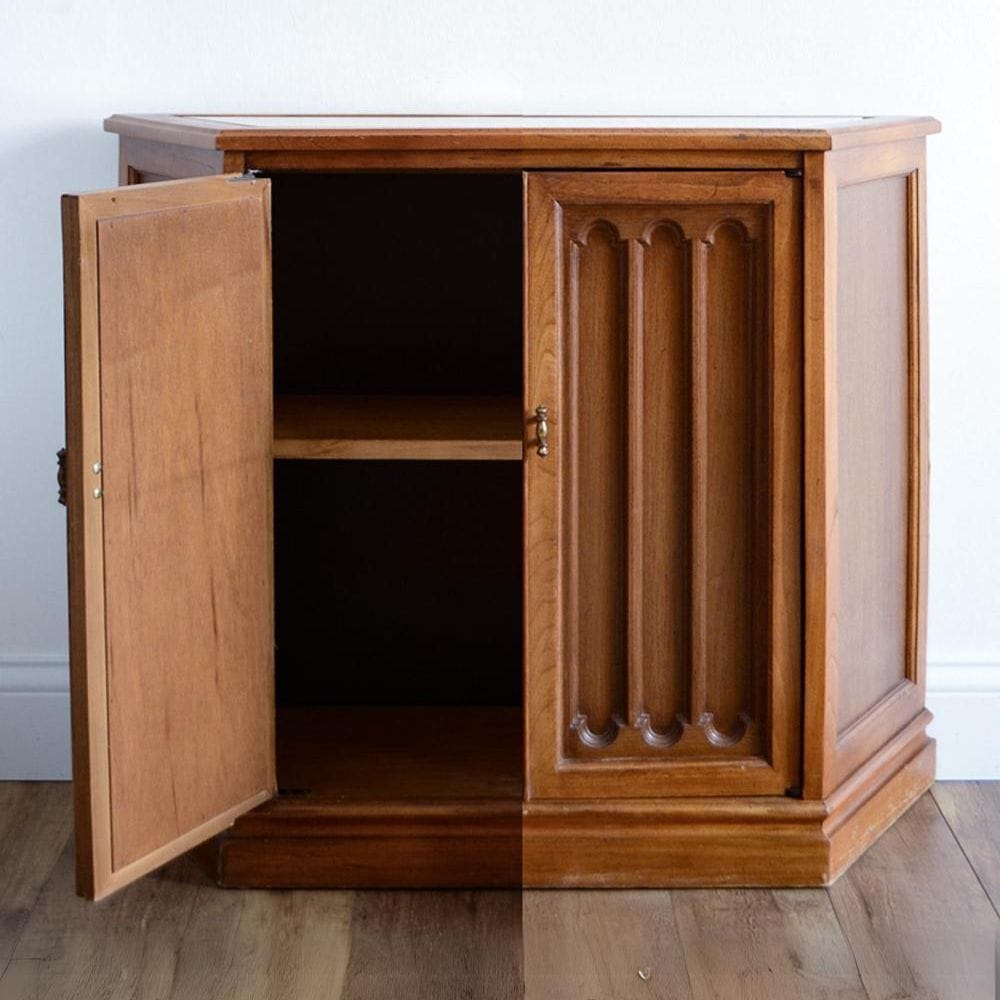
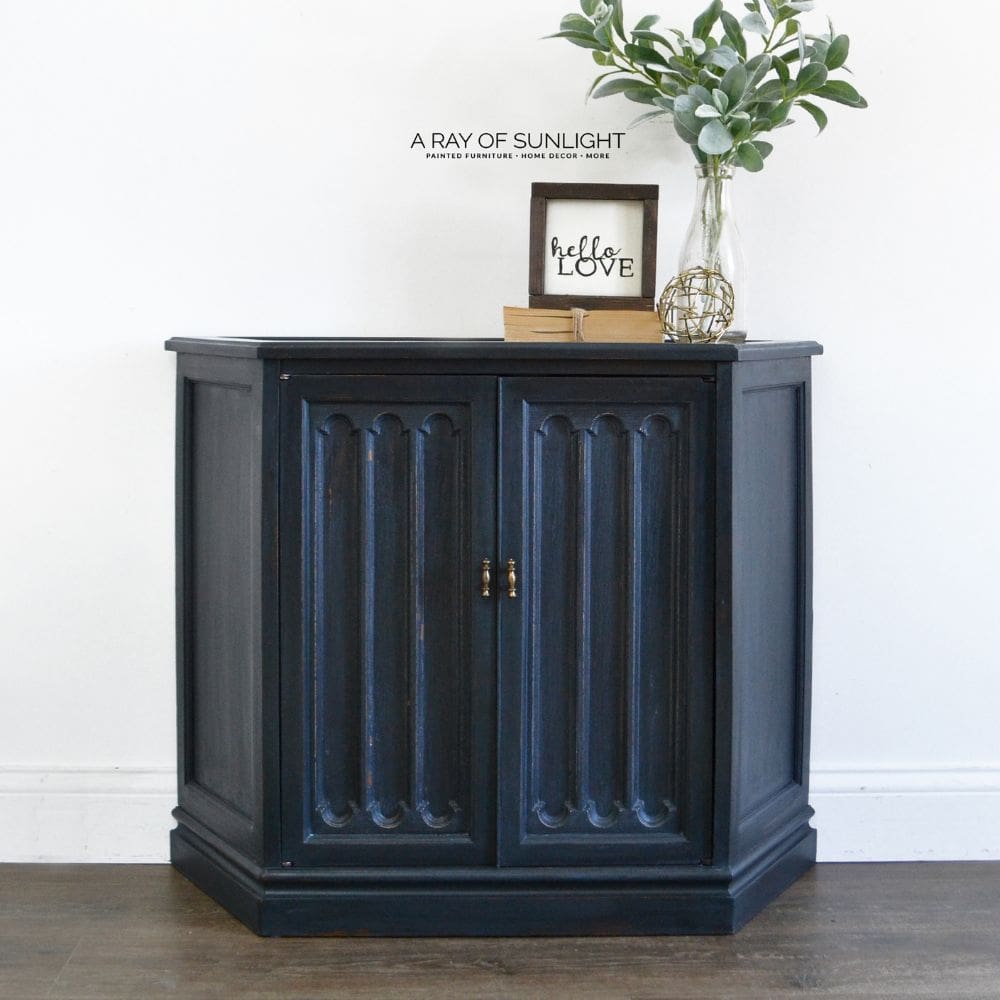
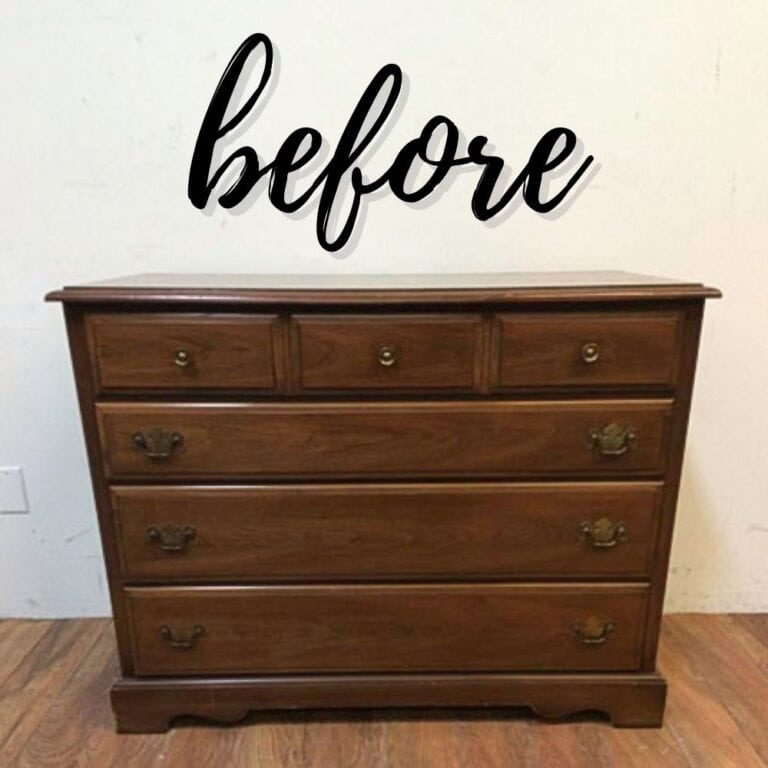
I stumbled upon this hallway cabinet at a cheap estate sale and couldn’t resist its potential. The tan marble slab on top wasn’t my favorite, so I decided to remove it and give the piece a complete makeover.

Hallway cabinets provide valuable storage space and add a touch of style to your hallway. But don’t settle for a plain cabinet – let’s add some personality and flair to it with this fun DIY project!
With a few simple steps, I transformed this cabinet into a stunning addition to my hallway.

Supplies Used for DIY Painted Hallway Cabinet
As an Amazon Associate, I earn from qualifying purchases. I also may earn from other qualifying purchases with other companies or get free product to review and use. All opinions are my own.
- Electric Screwdriver
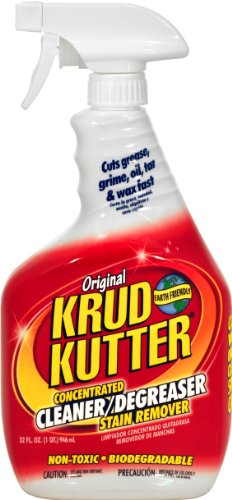
- Krud Kutter
- Sandpaper
- Milk Paint (Chesterfield Blue and Silhouette Black)
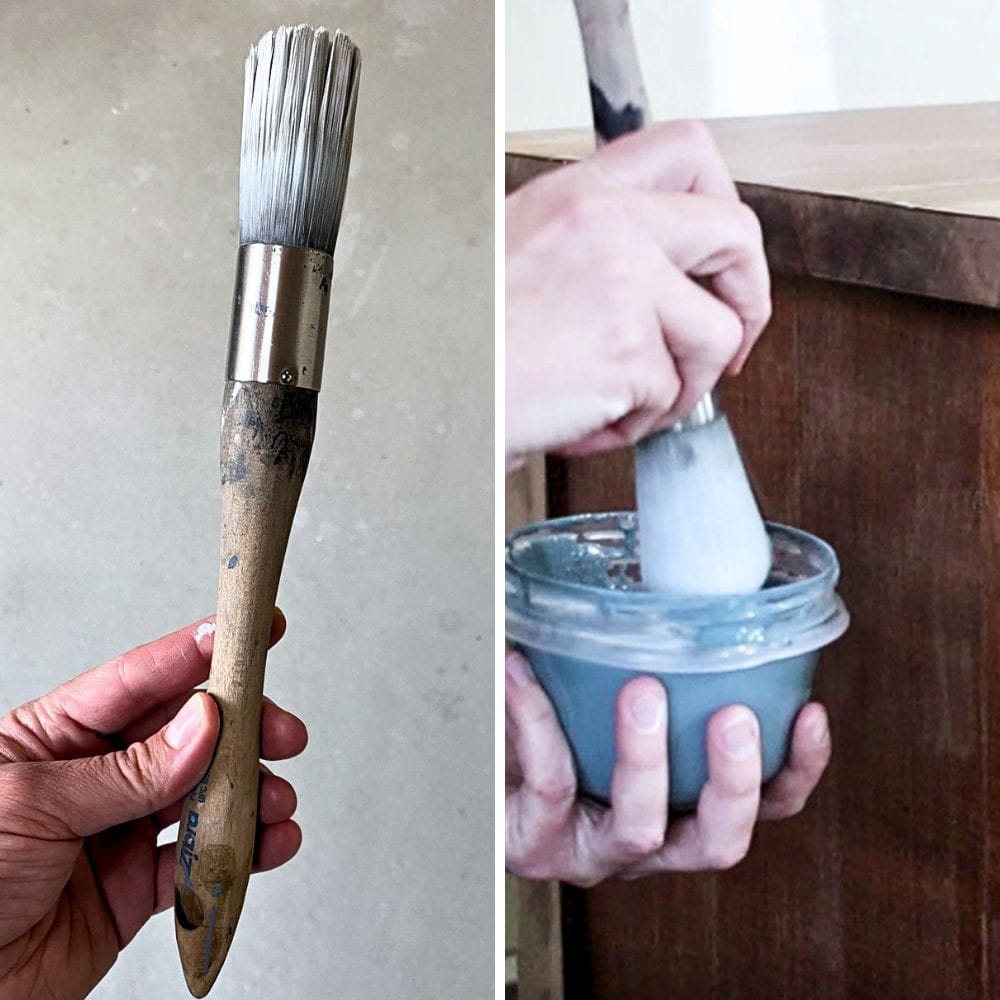
- Zibra Round Brush
- Jigsaw
- 3/8″ Plywood
- Vacuum
- Tack Cloth
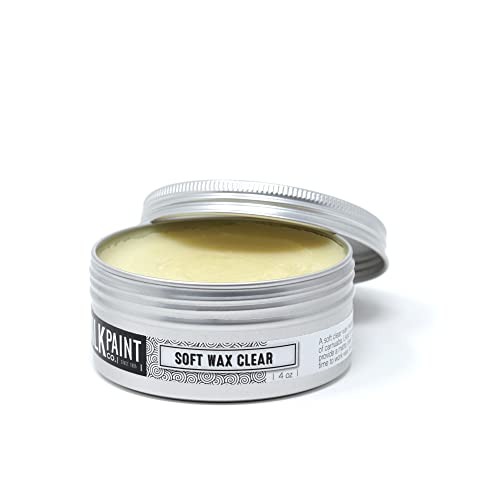
- Real Milk Paint Wax
- Old English
Prepare Hallway Cabinet
First, remove all the knobs on the doors of your hallway cabinet with an electric screwdriver. This will make it easier to paint and clean the cabinet.
Next, use Krud Kutter to thoroughly clean the surface of the wood. Cleaning furniture before painting will remove any grease or oils that may prevent the paint from adhering properly.

Since we want a chippy look for our painted hallway cabinet, there’s no need to do this sanding before painting step. However, if you prefer a smoother finish, you can lightly sand the surface with a fine grit sandpaper. Make sure to clean off any dust before proceeding.
Check out our guide on how to prepare furniture for painting for more tips and tricks!

Mix Milk Paint
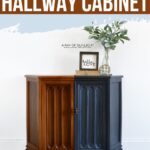
Now it’s time to mix milk paint! I used a mix of Chesterfield Blue and Silhouette Black milk paints from Rove and Dwell (previously Old Barn Milk Paint) – around 3 parts Chesterfield to 1 part Silhouette.
They have a great selection of colors to choose from – you can also get creative and mix your own custom shade. We have a post on mixing milk paint colors if you need some inspiration!
Once you’ve chosen your colors, start by mixing them together first until they’re well blended.
Then, add an equal amount of water and continue mixing until smooth. Let the paint sit for around 15 minutes to thicken up before using.
Paint Hallway Cabinet
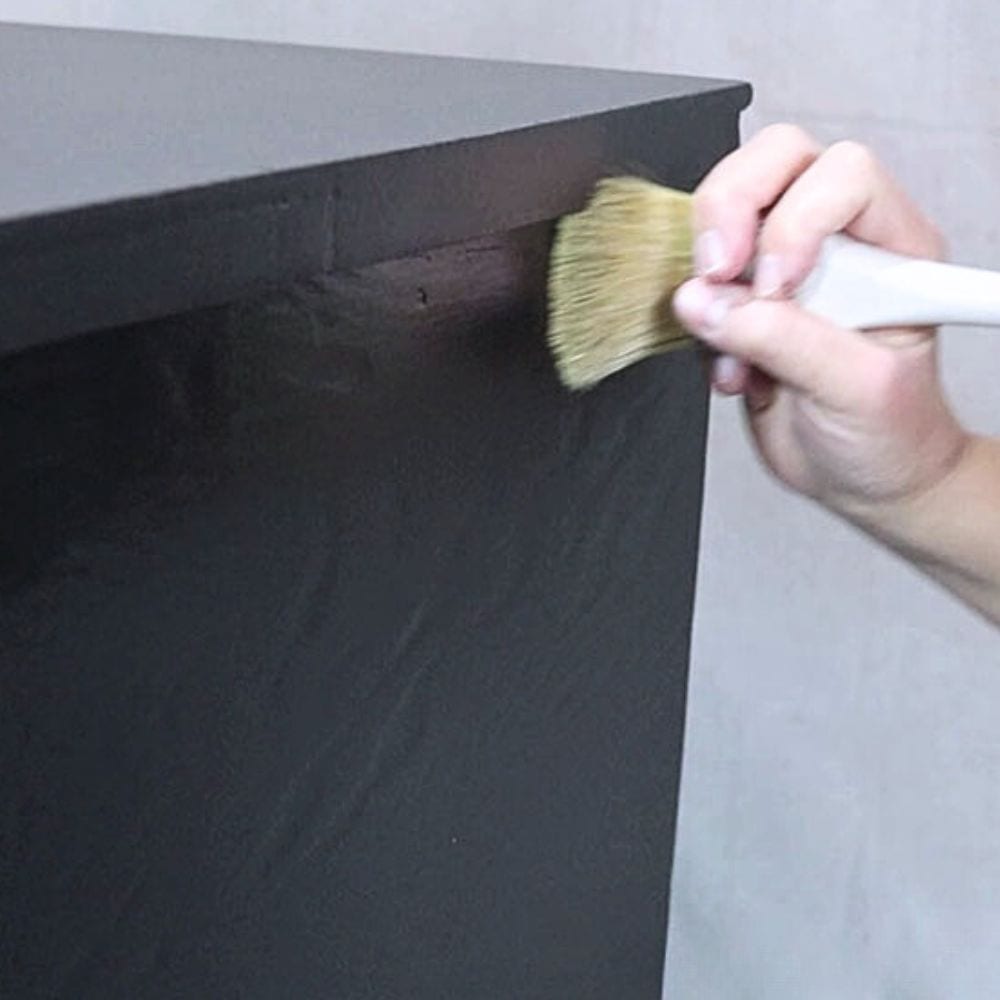
I began painting the hallway cabinet in smooth strokes using a Zibra round brush. The milk paint went on easily and had a nice consistency, making it simple to get an even coat.
Don’t worry about perfection – the slightly chipped look is part of the charm! If you’re new to painting furniture with milk paint, check out our post for more tips and tricks.
After one coat of paint, I let it dry for around 1 hour before applying a second coat. If you want a more distressed look, one coat may be enough, but I wanted to deepen the color and add some texture.
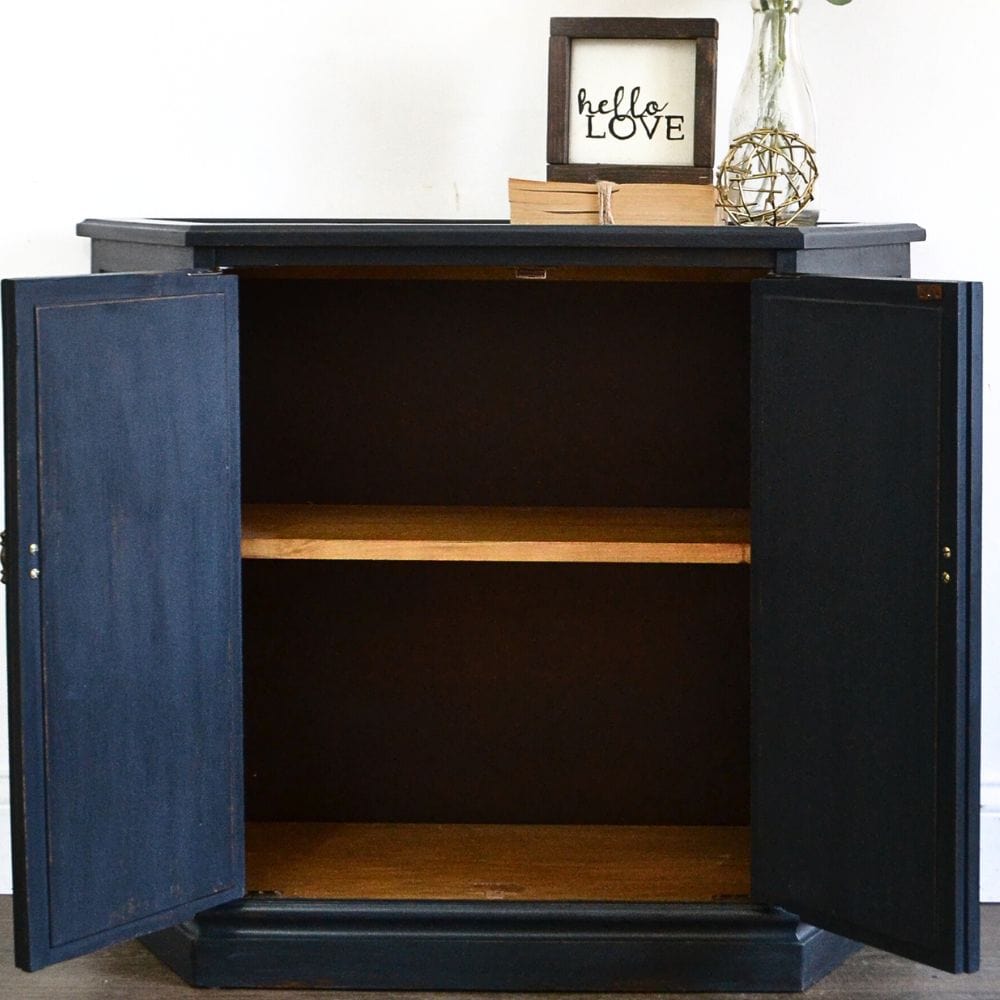
I did leave the shelves and the inside of the cabinet unpainted, as I like the wood look and it adds some contrast to the piece. But feel free to paint those areas if you prefer a more cohesive look!
Replace Cabinet Top
As mentioned above, I removed the top from this hallway cabinet, so I needed to replace it.
Would you like to save this?
I traced the outline of the old marble top onto a piece of 3/8″ plywood, then cut out the shape with a jigsaw. I painted the plywood top with the same color of milk paint as the rest of the cabinet.
Then, I lightly sanded the paint with a fine-grit sandpaper to give it a smooth finish and help bring out any chipping or texture. Unfortunately, the paint didn’t chip as much as I wanted.
Anyway, I removed the dust that was created from the sanding with a vacuum and tack cloth before moving on.
Seal Milk Painted Hallway Cabinet
To seal my milk painted hallway cabinet, I used furniture wax. This not only helps protect the paint from chipping and damage but also gives it a subtle sheen and brings out the color.
Here’s our post on sealing painted furniture to learn more about how to properly seal painted furniture.
I prefer using Real Milk Paint wax as it’s all-natural and easy to apply. Alternatively, you can use other topcoats for painting furniture such as water-based polyurethane.
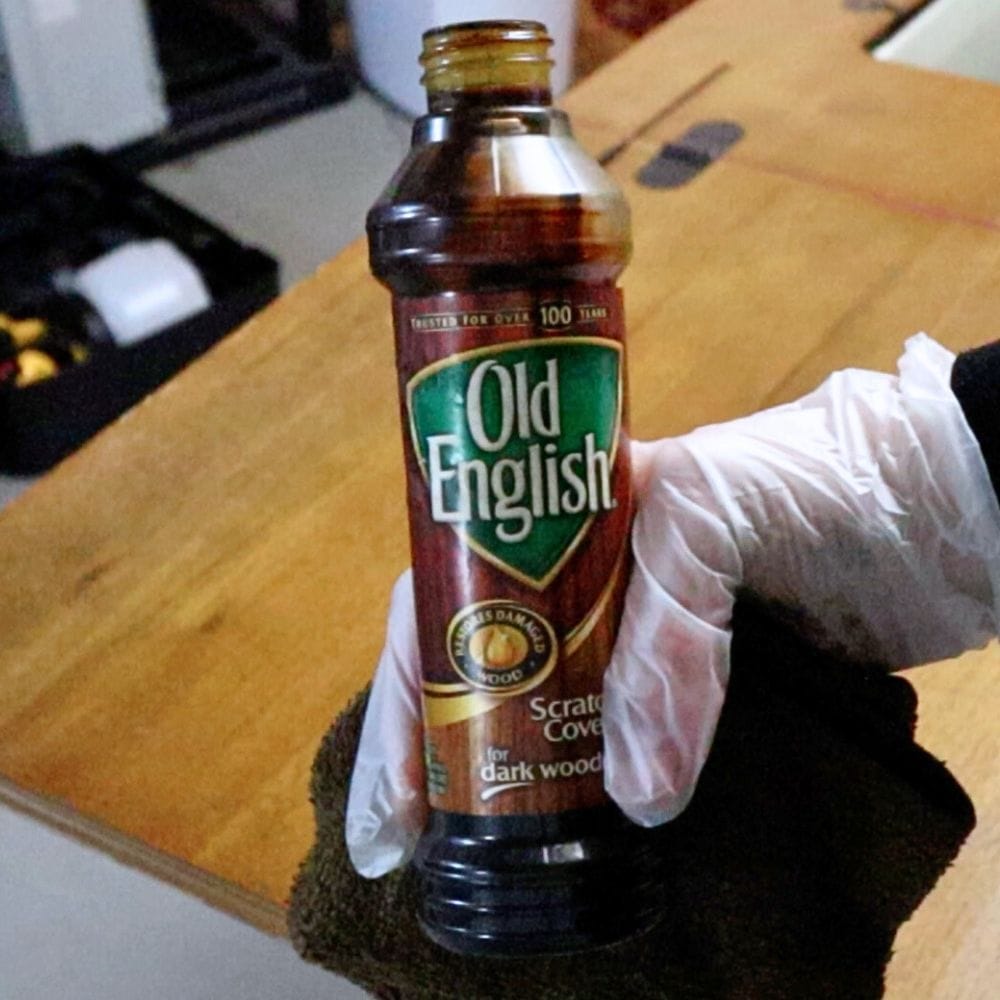
After I sealed the painted cabinet with wax, I wanted to give the shelves some extra love. Since I left them as is without painting, they were looking a bit worn and dull.
I used Old English on them – an oil that helps darken scratches and imperfections to blend in with the rest of the wood’s stain. This simple step gave my shelves a fresh look. For more details about this product, here’s what does Old English do to wood. Check out this antique dresser makeover where we also used it.
Finally, I put the old hardware back on the cabinet doors. I didn’t want to replace them as they had a unique vintage feel that added character to the piece.
If you prefer, you can switch out the hardware for something new and modern. Here’s how to change hardware on furniture if you need some guidance.

More Before and After Makeovers
See All >
Click any of these “before” photos below to view the “after” of that makeover.


Will a chippy look affect the durability of painted furniture?
Some people may worry that the chippy look of painted furniture will affect its durability. However, this is not necessarily the case.
The chipping effect is actually a desired aesthetic and does not impact the structural integrity of the piece.
In fact, milk paint is known for its strong adhesion and durability, making it a great choice for painting furniture.
If you want maximum durability, then you should seal the milk painted piece with a topcoat. This will help protect the paint and prevent further chipping.
A chippy look with milk paint can add character and charm to your painted furniture without sacrificing quality or durability.
And there you have it – a beautiful and unique DIY painted hallway cabinet! You don’t need to settle for boring hallway furniture when you can easily transform it into a statement piece.
And you can definitely make this makeover reflect your personal style by choosing different colors and finishes.


DIY Painted Hallway Cabinet
This DIY painted hallway cabinet is just the project to spruce it up and add some personality to your hallway.
Materials
Instructions
- Remove any hardware from the hallway cabinet and clean the surface with a degreaser. Sand it with a fine-grit sandpaper if you want a smoother finish.
- Mix your desired milk paint colors together, along with water, until well blended. Let the mixture sit for 15 minutes to thicken before applying.
- Paint the cabinet in smooth strokes using a Zibra round brush, and let it dry for an hour between coats. You can choose to paint the shelves or leave them unpainted for a contrasting look.
- Optional: Replace the cabinet top with a new piece of plywood. Paint it the same color as the rest of the cabinet. Sand everything lightly so the paint looks smooth and bring out any chipping or texture.
- Seal the painted cabinet with furniture wax for added protection and a subtle sheen. Use Old English on unpainted shelves to give them a refreshed look.
- Put back the old hardware or replace it with new ones to complete the makeover. Enjoy your unique and eye-catching DIY painted hallway cabinet!
Recommended Products
As an Amazon Associate and member of other affiliate programs, I earn from qualifying purchases.


More Painted furniture Makeover Ideas
- Corner Cabinet Makeover
- Farmhouse Cabinet Makeover
- TV Cabinet Makeover
- Turn a Headboard into a Bench
- Painting a Dresser Blue
Follow us on YouTube to get more tips for painting furniture. Or share your project with us on our Facebook Group and be part of our community. See you there!