Embossing Furniture

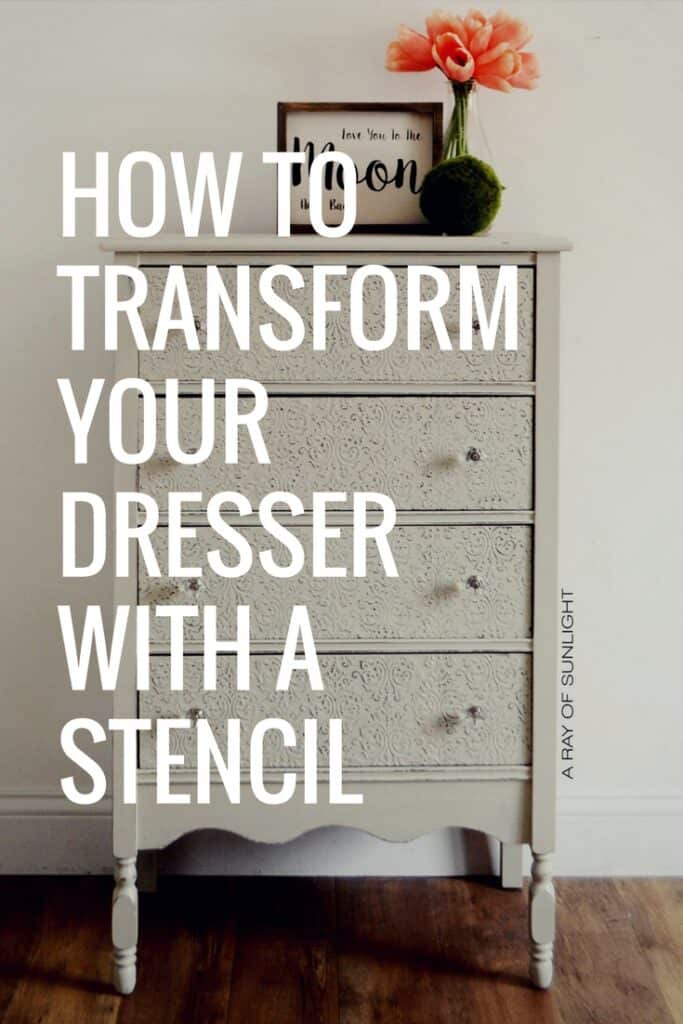
There are many painting techniques for furniture, and embossing furniture is a great way to add texture and dimension to your home decor. It involves pressing decorative patterns into your piece for a personalized touch. This is perfect for giving new life to old or plain pieces, as well as creating one of a kind statement pieces.
Here’s a step by step tutorial on how to emboss furniture so you can transform it and add some character to your home.
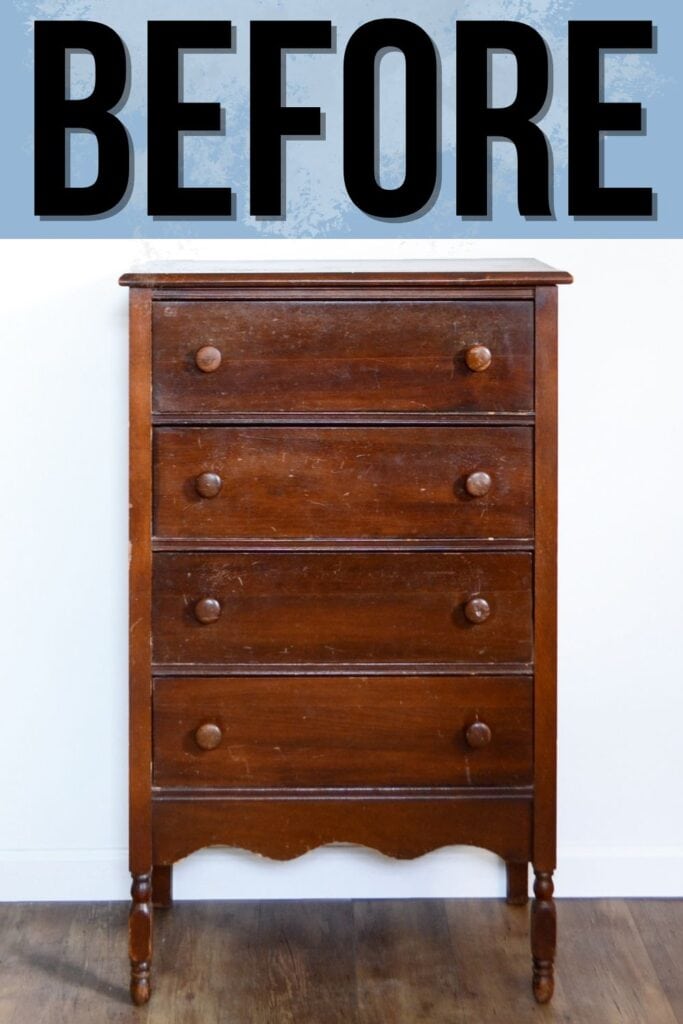
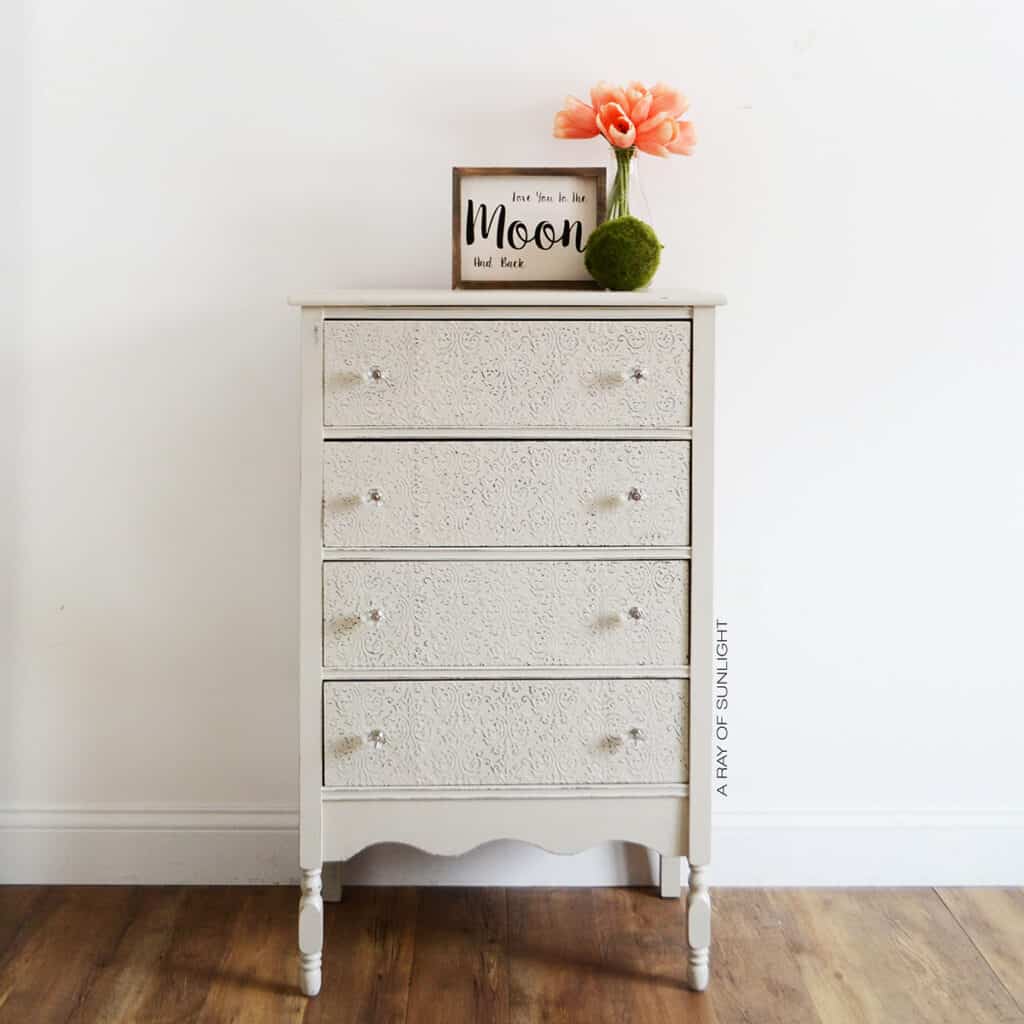
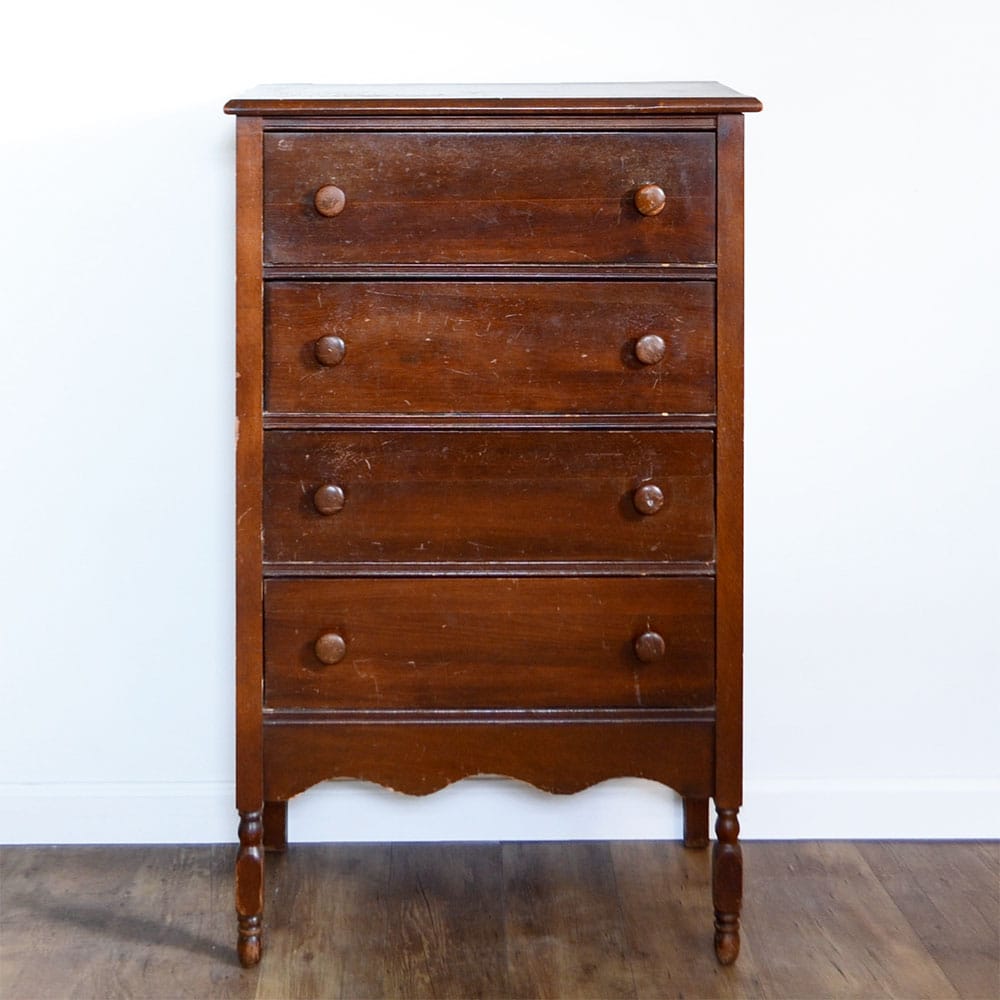
You can see above what the chest of drawers looked like before. We transformed it into something much more magical. Aren’t these little chests just the cutest? It’s definitely a petite thing and would be adorable in a little girls room or even an entryway or in that small space that needs a little somethin’.

Embossing is great for those drawers or parts of old furniture that are damaged because you can cover them up! But it’s also a great way to turn your boring piece into something that has so much character. The textured patterns will give it a unique and eye catching look.
Another great benefit is its versatility. You can create any design you want by simply using different embossing tools, from floral designs to geometric patterns. Plus, you have the option to paint over these areas with your desired color, making it easy to fit into any room’s color scheme.

Supplies Used for Embossing Furniture
As an Amazon Associate, I earn from qualifying purchases. I also may earn from other qualifying purchases with other companies or get free product to review and use. All opinions are my own.
- Texture Powder
- Painting Sponge
- Country Chic Paint in Dark Roast
- Country Chic Paint in Sunday Tea
- Stain Blocking Primer
- Stir Stick
- Plastic Disposable Bowl
- Damask Stencil
- Flat Edged Tool
- Painters Tape
- 220 Grit Sandpaper
- Polyurethane
Get my list of the 10 best painting furniture supplies here!
Repair and Prepare Furniture
These cute old dressers have a ton of character because of how old they are. Some of these were built over 100 years ago when power tools weren’t a thing, so everything was done by hand, which creates so much character.
Some things need fixin’ to make it more sturdy and strong, and some things should be left alone to keep the piece true to its original beauty.. right??
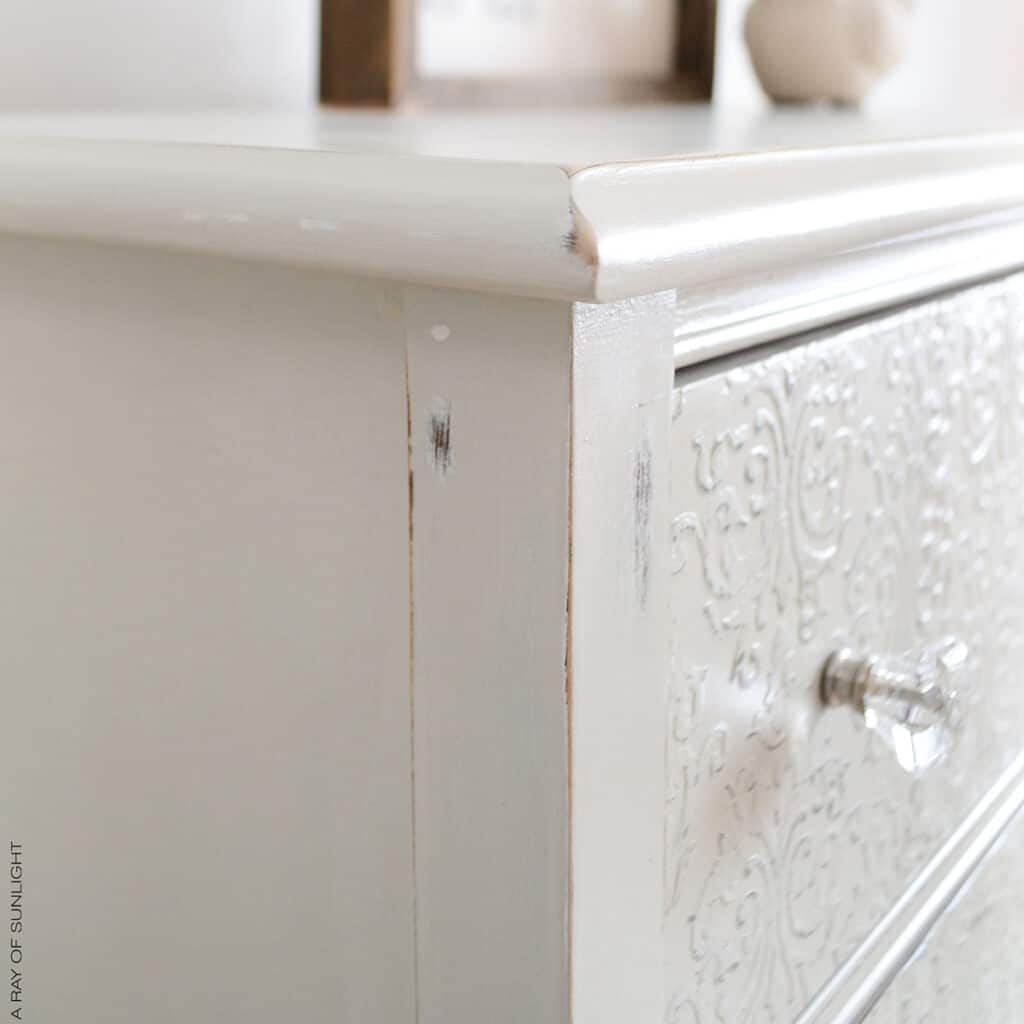
When we brought it home, one corner of the top was broken off. Luckily the corner piece was still attached with a nail, so we took off the top, glued the corner piece back to the main piece, and reattached the top to the dresser.
Then, we reinforced the sides and even filled in a large gap on one side of the dresser with Bondo. Learn more about how to repair damaged furniture here. Check out my Bondo wood filler review here to learn more about this product and see it in action.
Get Our Secrets!
Grab this super convenient How to Repair Furniture Ebook with all of our secrets on how to repair furniture for only $14.
You can print it out and have instant access whenever you come across damaged furniture, and know exactly how to fix it!
Click on the picture of the book to purchase!

Then I prepped it like I do every single piece. Learn exactly how to prepare furniture for paint here. It’s really so important to make sure the furniture is prepared correctly, or the new coating might not stick.
How to Emboss Wood
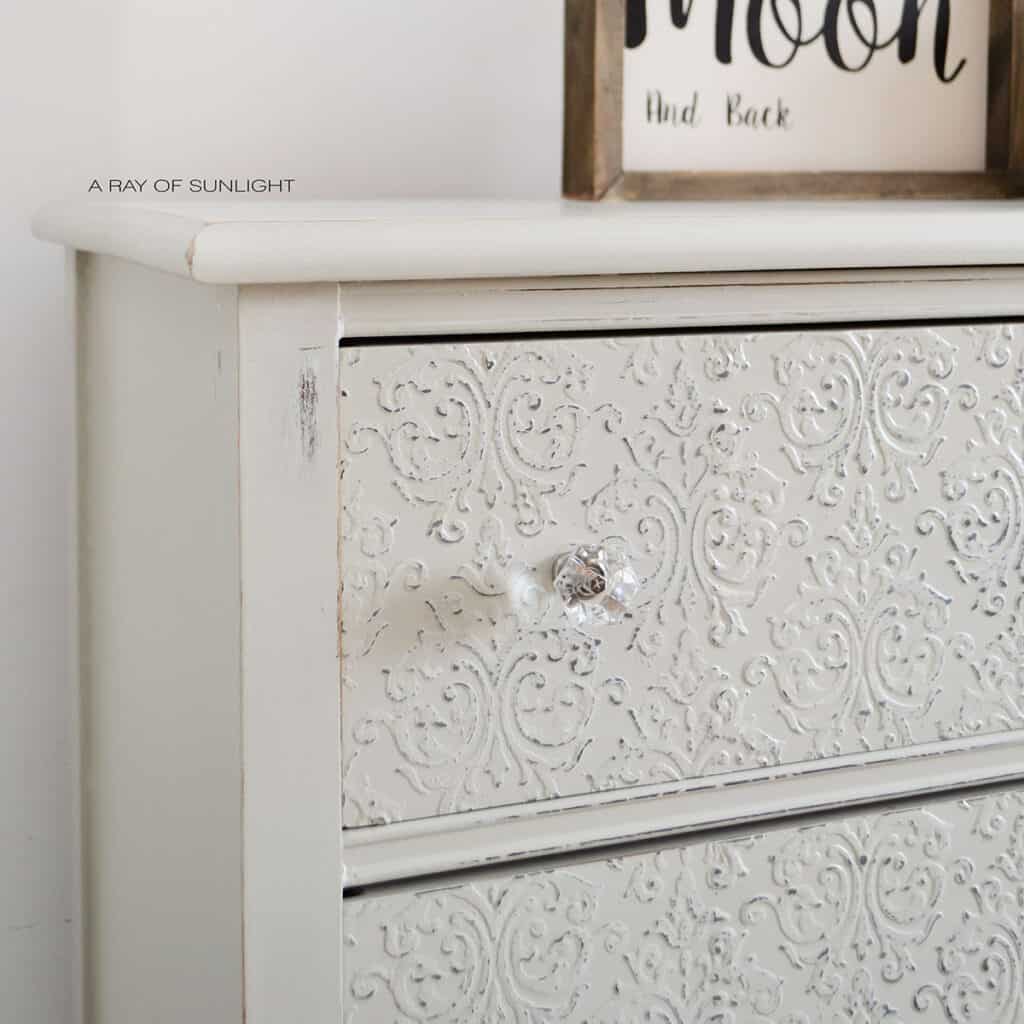
Each drawer received the royal treatment with some fresh new embossing! This step is soo easy but really creates so much detail and extra fun! I wrote more about it here, on these shabby chic end tables with raised stenciling I did. But the basic process is this.
I mixed equal parts of Country Chic texture powder with Dark Roast paint. It should be about the consistency of peanut butter. Then I grabbed the Damask stencil and taped it smack dab in the center of a drawer. I dragged the flat edged tool, with a little bit of texture paste on the edge, across the stencil to fill it in.
I made sure to keep it to a thin layer of texture everywhere. Then, I removed the stencil and worked on the next drawer until all of them had one section of embossing done.
Then I went back to the first drawer, lined up the stencil where it should be, and continued the pattern. Here’s another similar makeover: a navy dresser with textured drawers. Here’s how to decoupage furniture with rice paper for another way to design your piece.
Also, it’s always best to wash off the stencil right after use so the texture and paint don’t dry onto it. I let the embossing on the drawers dry overnight before moving on.
Prime to Block Stains
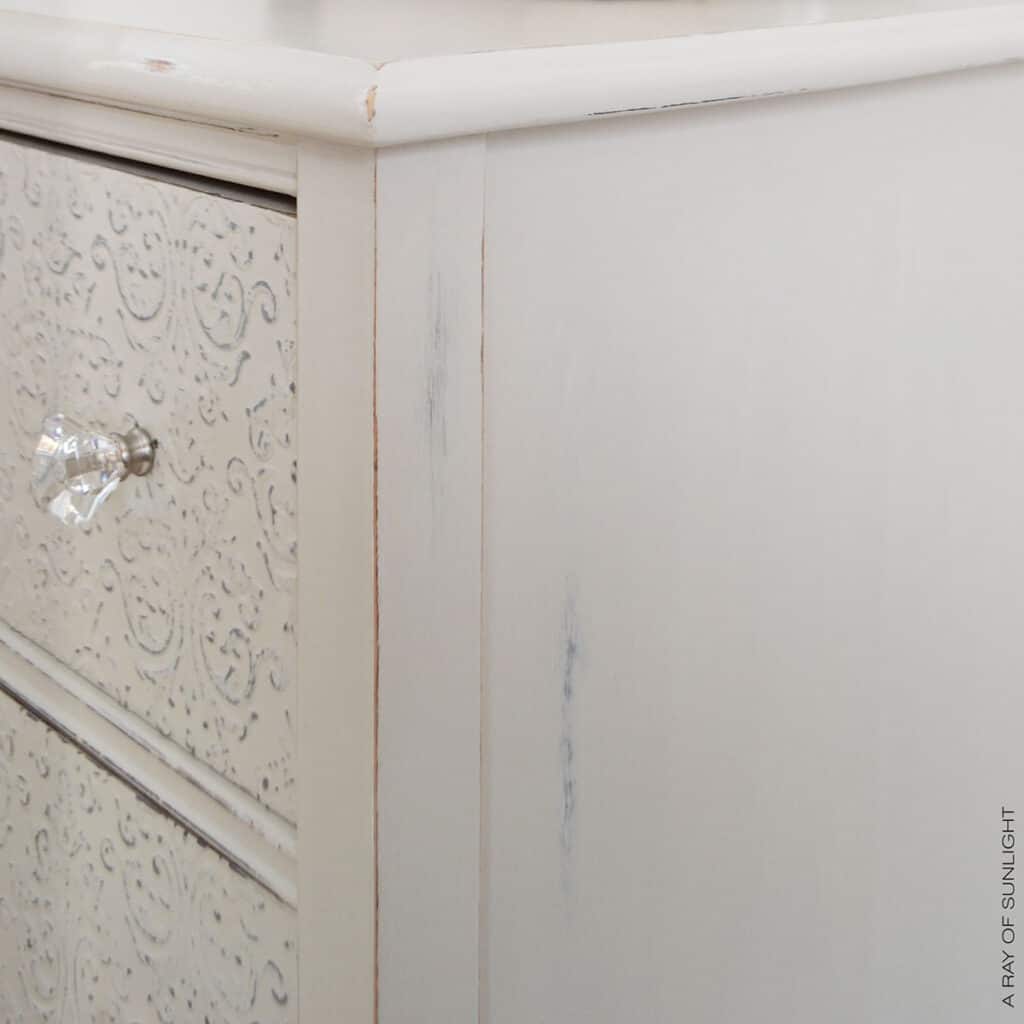
Because I was using a light color and I had sanded down to the bare wood in some places, I went over everything with two coats of stain blocking primer. This stuff is really good at blocking bleedthrough stains! Let me tell ya, I have had my fair share of projects that I had completely finished, only to find that it is bleeding!
Sometimes, the red, orange, or brown spots don’t come through until you’ve sealed up the new finish and you’re completely done. It sometimes doesn’t even show until a day or two AFTER I’m done. So, I’ve learned to protect myself against it, and I almost always prime my piece beforehand!
Even if I use a dark color. It still bleeds through sometimes! Not worth it! Learn more about how to stop stains from coming through paint and how to stop wood knots from bleeding through paint here.
I will say though, if I’m going to finish a piece in a dark color, I will usually stick to the clear shellac. Just because it is clear when it dries. Then, when I distress the chalk coating, there won’t be any white showing between the wood and the finish. Check out the best primers for painting furniture here.
Paint Embossed Furniture
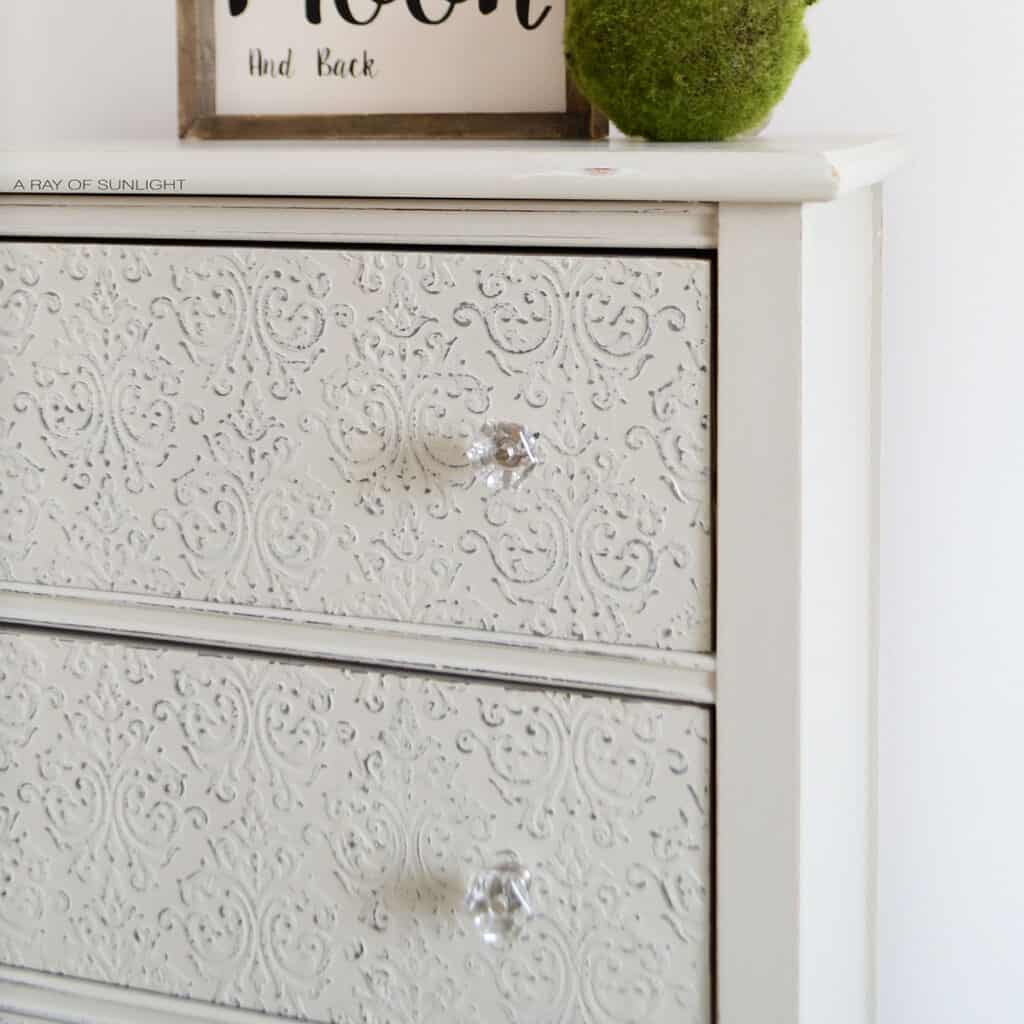
Once the primer was dry, I applied 2 or 3 coats of this amazing grey color called Sunday Tea from Country Chic. Check out more top chalk paint brands here. For similar shades, here’s our list of the best beige paint for furniture. Get inspired with these gray chalk painted furniture ideas!
Distress Embossed Paint
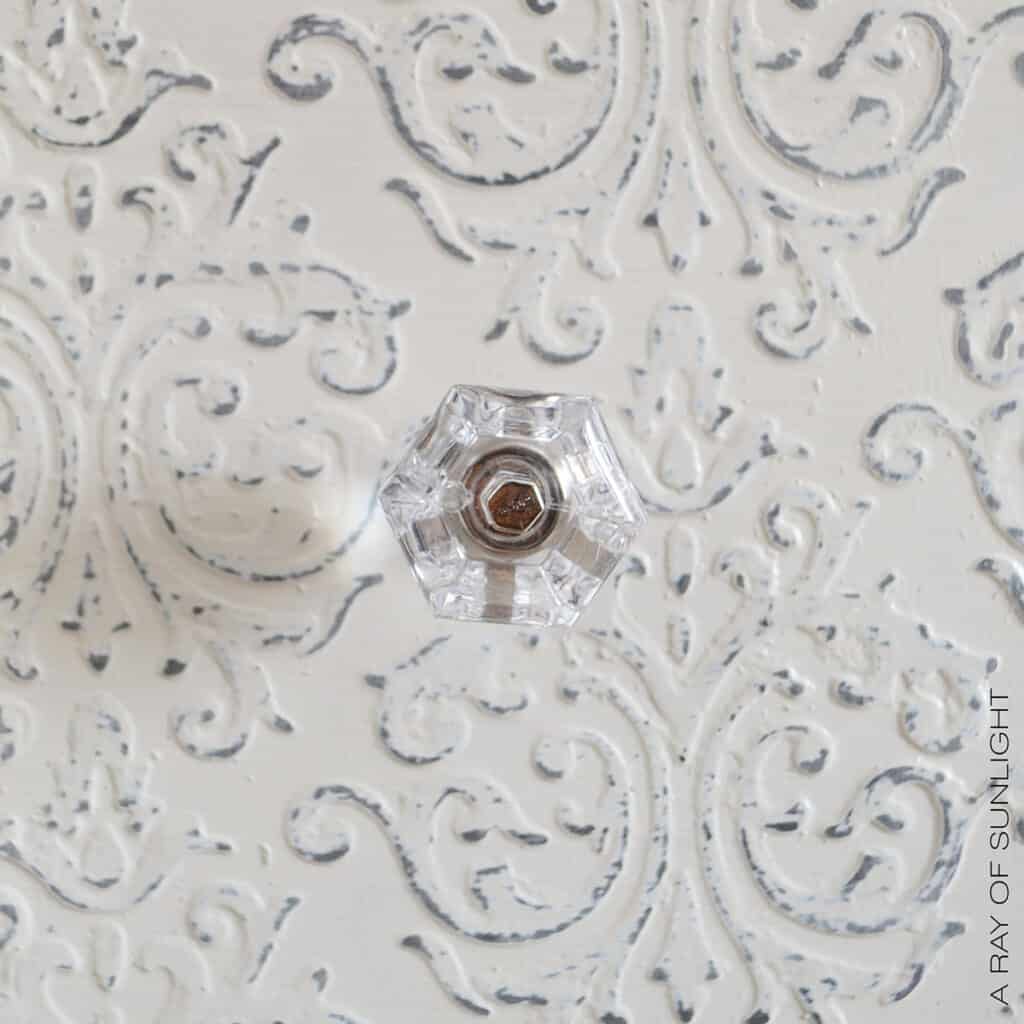
After the grey finish dried, I went over everything with 220 grit sandpaper and distressed it all up like no one’s business. Learn more about the 6 best distressing furniture techniques here!
Would you like to save this?
This is why I mixed Dark Roast with the texture powder. Dark Roast is a really nice deep brown that will show up almost the color of wood. So when you go to distress the texture, it looks like wood underneath. Booyah! Check out distressed painted furniture and distressed dresser ideas for inspiration for this look.
Of course, I wiped all of the dust off the dresser, and then I sprayed on multiple coats of the best waterbased polyurethane. Learn more about topcoats for painting furniture here! And learn ALL of my tips and tricks on how to spray polyurethane here!
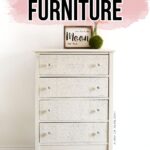
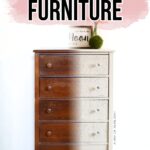
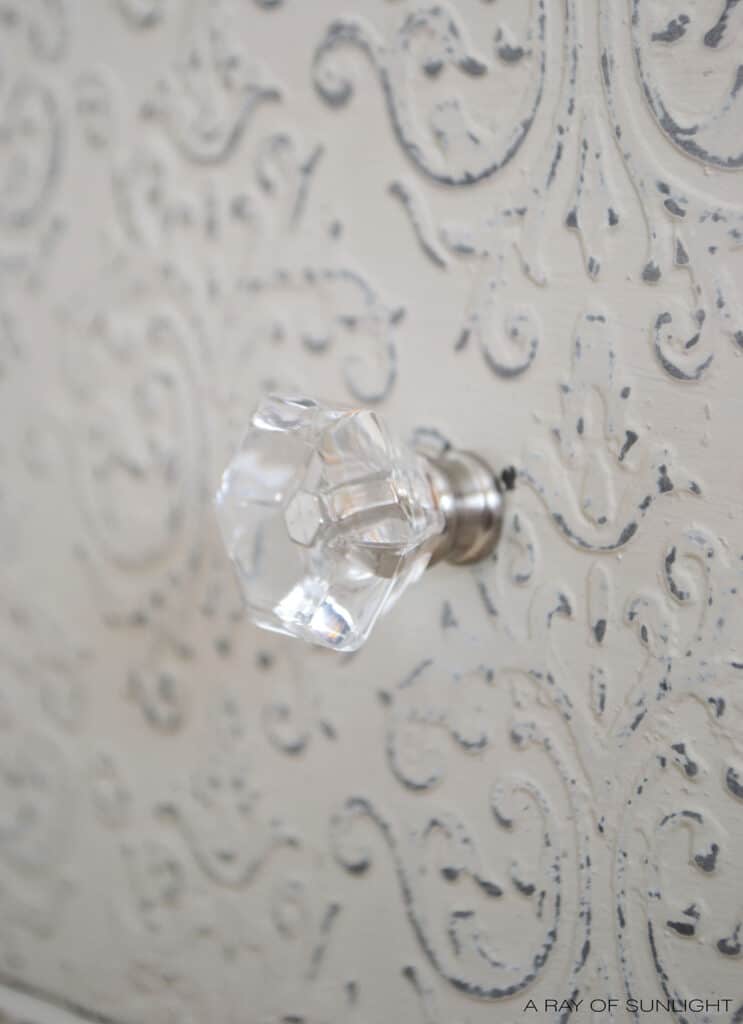
And then, to finish it up, I added glass knobs so the texture could be the star of the show. And that’s that! This little cutie is all finished up!
More Before and After Makeovers
See All >
Click any of these “before” photos below to view the “after” of that makeover.


So now here’s the question.. would you add raised embossing to your dresser drawers? Let me know by commenting below! You can also add the stencil after painting – here’s how to stencil painted furniture to guide you.
Can embossing be done on any type of furniture or surface?
The short answer is yes. It’s a versatile technique that you can do to almost any piece. You can even use it to add unique details to decorative items like picture frames or vases.
However, it is important to keep in mind that intricate designs or details may not show up as well on certain surfaces. For example, doing it on a highly textured surface may result in a less defined design.
For more inspiration, here’s our list of dresser stencil ideas! If you want to add more of that rustic, charming look, here’s our list of shabby chic dresser ideas. These fun dresser paint ideas are also perfect if you want to make unique pieces.


Is it possible to remove embossing from furniture if you change your mind?
Yes, it is possible. You can sand down the area with fine grit sandpaper until it’s no longer noticeable. This will also smooth out the surface, making it easier to repaint or refinish if desired.
However, keep in mind that these methods may affect the underlying finish. If the design is deeply ingrained into the surface, it may also be more difficult to completely remove. In this case, you may need to use more aggressive methods, such as chemical strippers or heat guns.
So make sure you are committed to the design first and that it fits with your overall vision for the piece. But if you do change your mind, know that there are ways to remove or minimize it.


Embossing Furniture
Don't just paint your furniture, give it an upgrade with embossed drawers. Embossing furniture is a great way to paint furniture with a completely new look.
Materials
- Texture Powder
- Painting Sponge
- Country Chic Paint in Dark Roast
- Country Chic Paint in Sunday Tea
- Stain Blocking Primer
- Stir Stick and Plastic Disposable Bowl
- Damask Stencil
- Painters Tape
- 220 Grit Sandpaper
- Polyurethane
Tools
Instructions
- Prepare the furniture for paint by looking into areas that need repair and fixing them. Then proceed to cleaning and scuff sanding the furniture to make sure the paint sticks.
- Now, mix equal parts of texture powder with Dark Roast paint. It should be about the consistency of peanut butter.
- Grab your stencil and tape it onto the area you want the embossing. Spread a thin layer of mixed up texture powder over it. Repeat this until you finish the areas then let the embossing dry overnight.
- Prime the furniture with 2 coats of stain blocking primer.
- Once the primer dries, paint 2 to 3 coats of paint onto the furniture then let the paint dry.
- Distress the now painted and embossed furniture with 220 grit sandpaper. (Optional) Wipe all the dust from sanding.
- Now, topcoat the furniture with multiple coats of waterbased polyurethane.
- Add your new furniture hardware.
Notes
Mix the texture powder with the color of paint you are using to create a solid embossed look.
Recommended Products
As an Amazon Associate and member of other affiliate programs, I earn from qualifying purchases.


More Grey Painted Furniture Ideas
- Grey Chalk Paint Dresser
- The Chippy Gray Milk Paint Dresser
- How to Paint Wood Furniture With Pure & Original Paint
- Vintage Nightstands Makeover
- How to Paint a Wooden Bench
Follow us on YouTube to get more tips for painting furniture. Or share your project with us on our Facebook Group and be part of our community. See you there!
Hi Natalie,
Thanks for all the ideas! I am going to try to replicate this dresser (how to add raised embossed on the light grey dresser) as my first makeover….and I am trying to find the stencil you used. The link doesn’t take me where I need to go for the stencil. Can you point me in the right direction?
Thanks,
Leah
Hey Leah!
This is the damask stencil I used, but it looks like it’s not available right now. Hopefully you can find something pretty similar! Best of luck!!
Thanks Natalie for the quick response. I found something similar that I love. I am trying to order the texture powder, but they don’t offer it anymore. Have you used any other product that worked well for you?
Leah
Hi Natalie! I love this and next dresser I get I’m going to try this. Thank you for sharing.
I love the new look Natalie! 😍
Natalie this is such a pretty idea for me to try on my small pieces of furniture. I’m a newbie at this so if I master small projects I can feel more confident on a larger piece. I am inspired and I want to be added to your followers list! I have to buy the texture powder and the dark roast paint. Thank you for your directions… it makes trying new things easier!
Diana (Massachusetts)
Love this! Definitely will have to try this technique.
A very nice fresh look 🙂
The embossing adds such nice texture and detail, esp to a very simple piece.
Thanks for your great detailed process description !!
Very nice.
p
I’ve read this post over and over and I think I might be ready to try embossing. Did you just mix the dark roast for embossing or did you use dark roast for the first coat of paint on the entire dresser?
Awesome!!
I just used it for embossing.
LOVE this piece!! I’m happy to see something besides a transfer! This one s beautiful!
Thank you Jackie! We dabble in transfers here and there, but simple is where my heart is. 😍 thanks for the love!
That is beautiful! It hardly even looks like the same piece.
Aww thanks so much Joanne!
I love this technique, it looks great. Thanks for sharing with us at Handmade Monday, this will be a feature this week 🙂
Thank you SO much!!