How to Decoupage Furniture with Rice Paper
Decoupage is a fun and creative way to transform ordinary furniture into unique and personalized pieces. With some rice decoupage paper and a little creativity, your wood (or laminate) furniture can have a whole new look. Here’s how to decoupage furniture with rice paper without any stress!
Try this painting technique for furniture and create stunning designs and patterns on any piece of furniture in your home, from dressers to chairs.
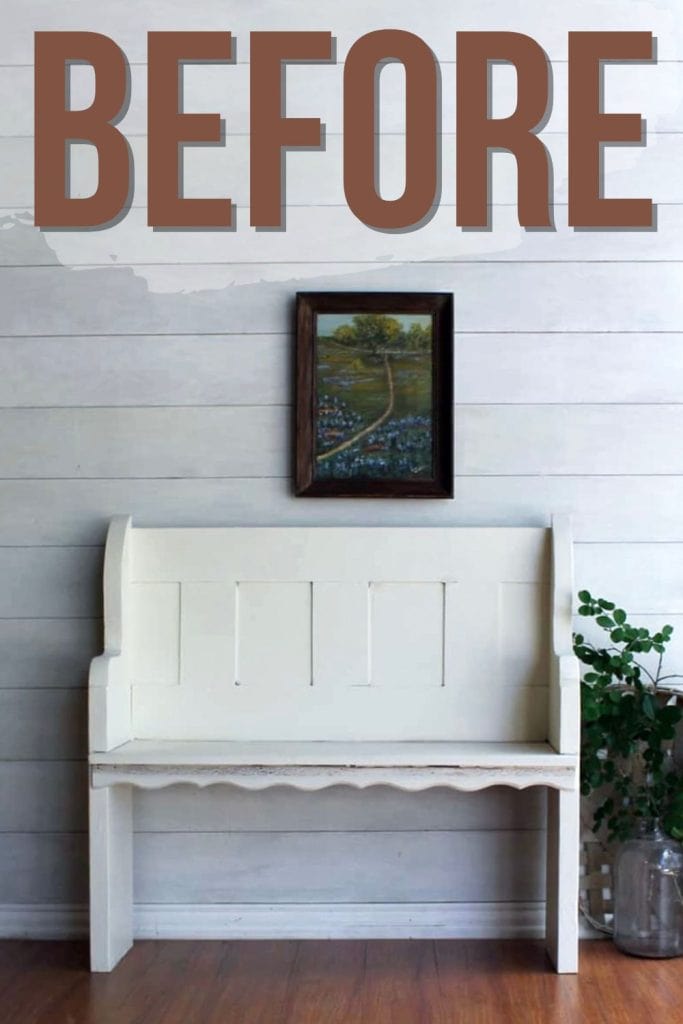
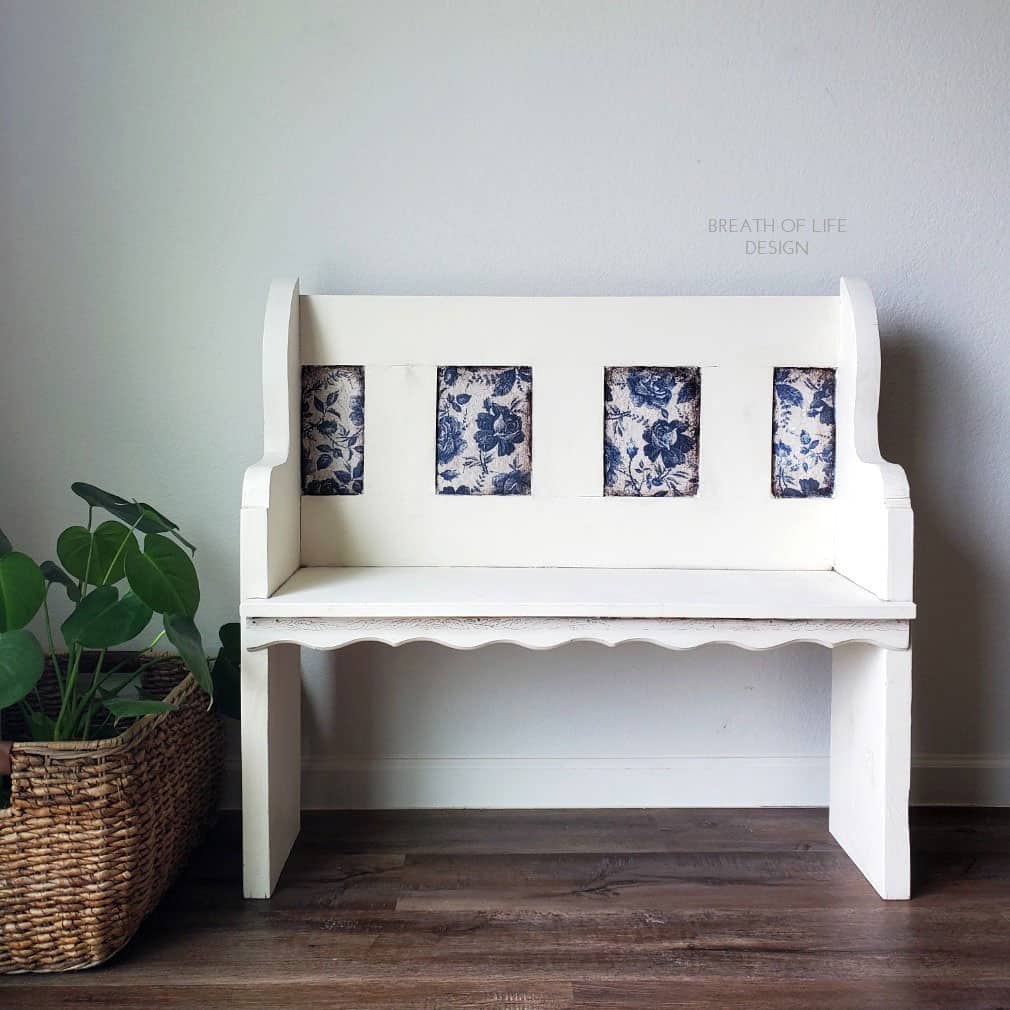
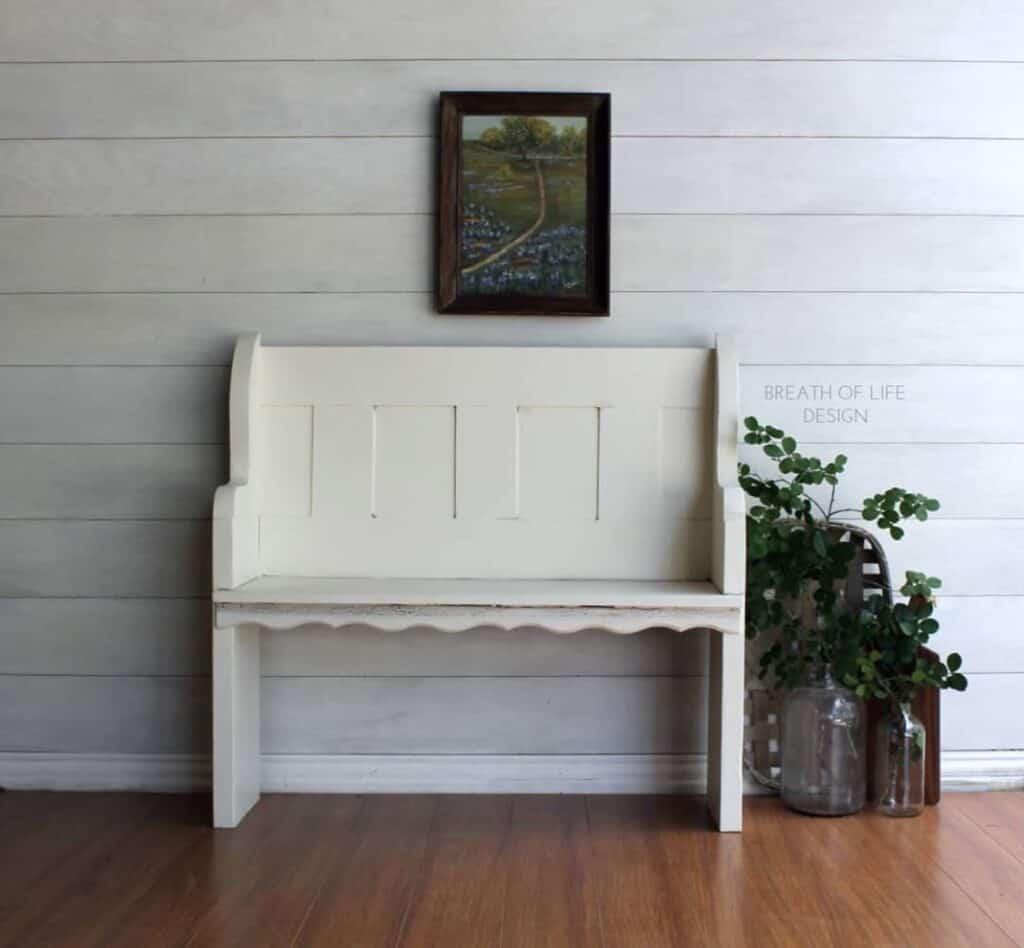
My husband and I built this mini church pew because, like most moms, I love taking pictures of my kids and thought this would be a cute little photo prop.

After building it, painting it, and using it many times, I decided to try out a new technique. I first practiced this technique on a piece of wood and absolutely loved the results. I am excited to share this easy and quick process with you to try on your own furniture!
If you just want to update the color of your bench or pew, here’s painting a wood bench with chalk paint.

Supplies Used to Decoupage Furniture with Rice Paper
As an Amazon Associate, I earn from qualifying purchases. I also may earn from other qualifying purchases with other companies or get free product to review and use. All opinions are my own.
- Chip Brush (for the texture and wax)
- Paint Brush (for the clear coat)
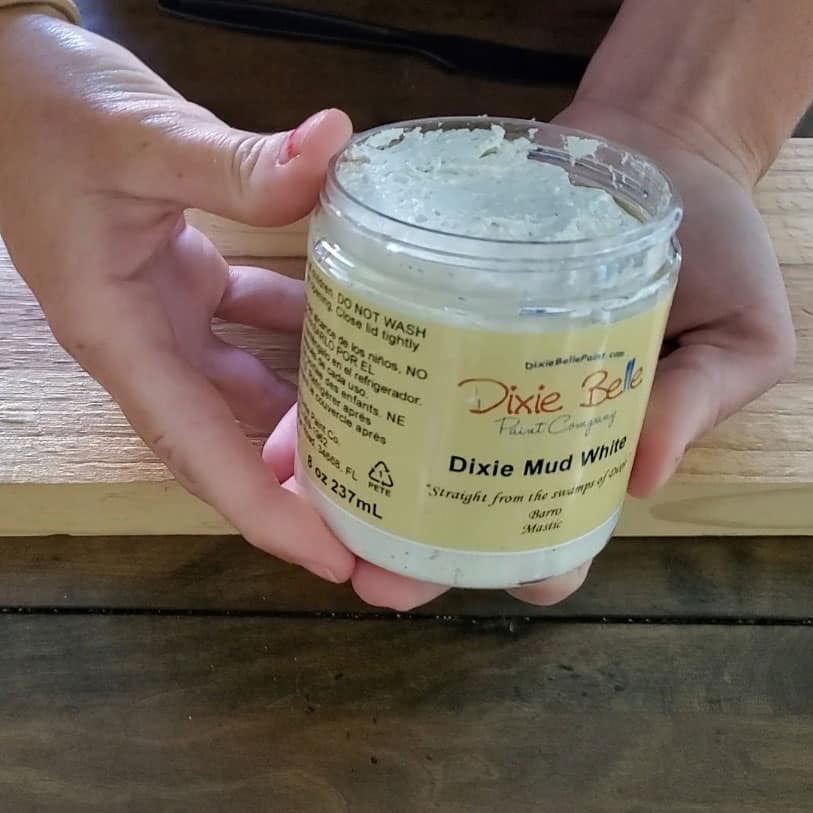
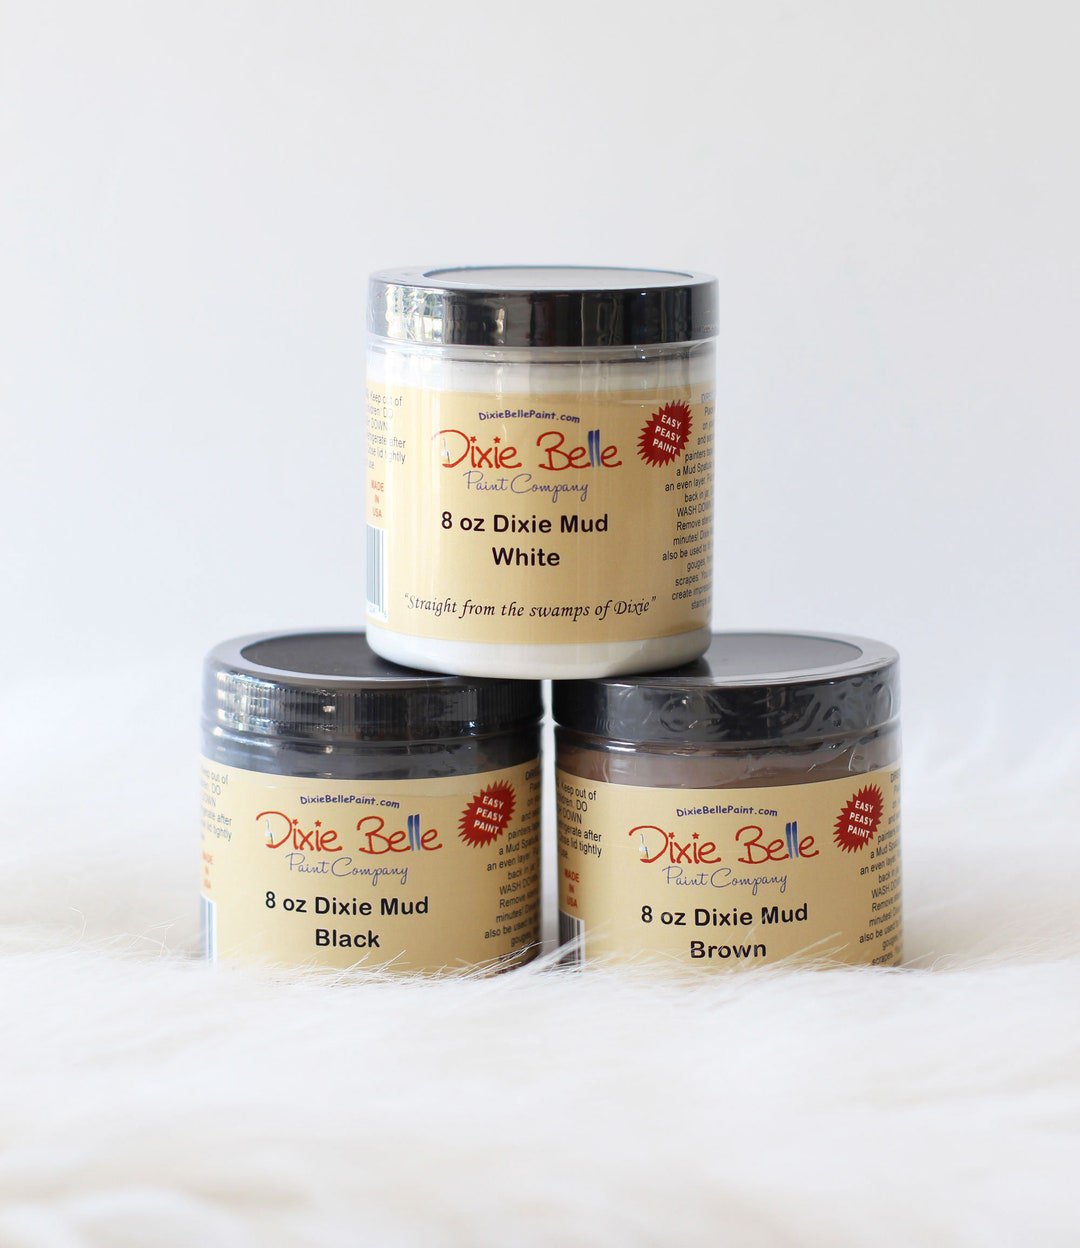
- Dixie Belle Mud – White
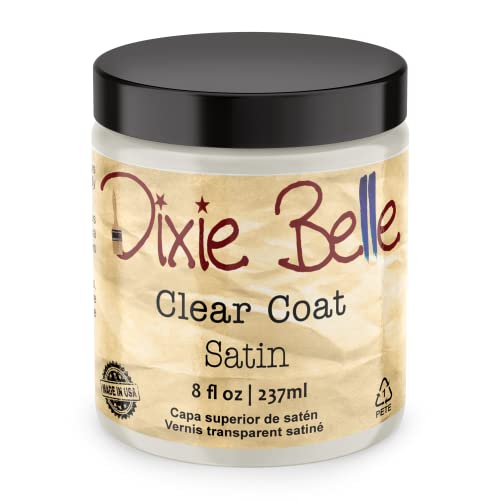
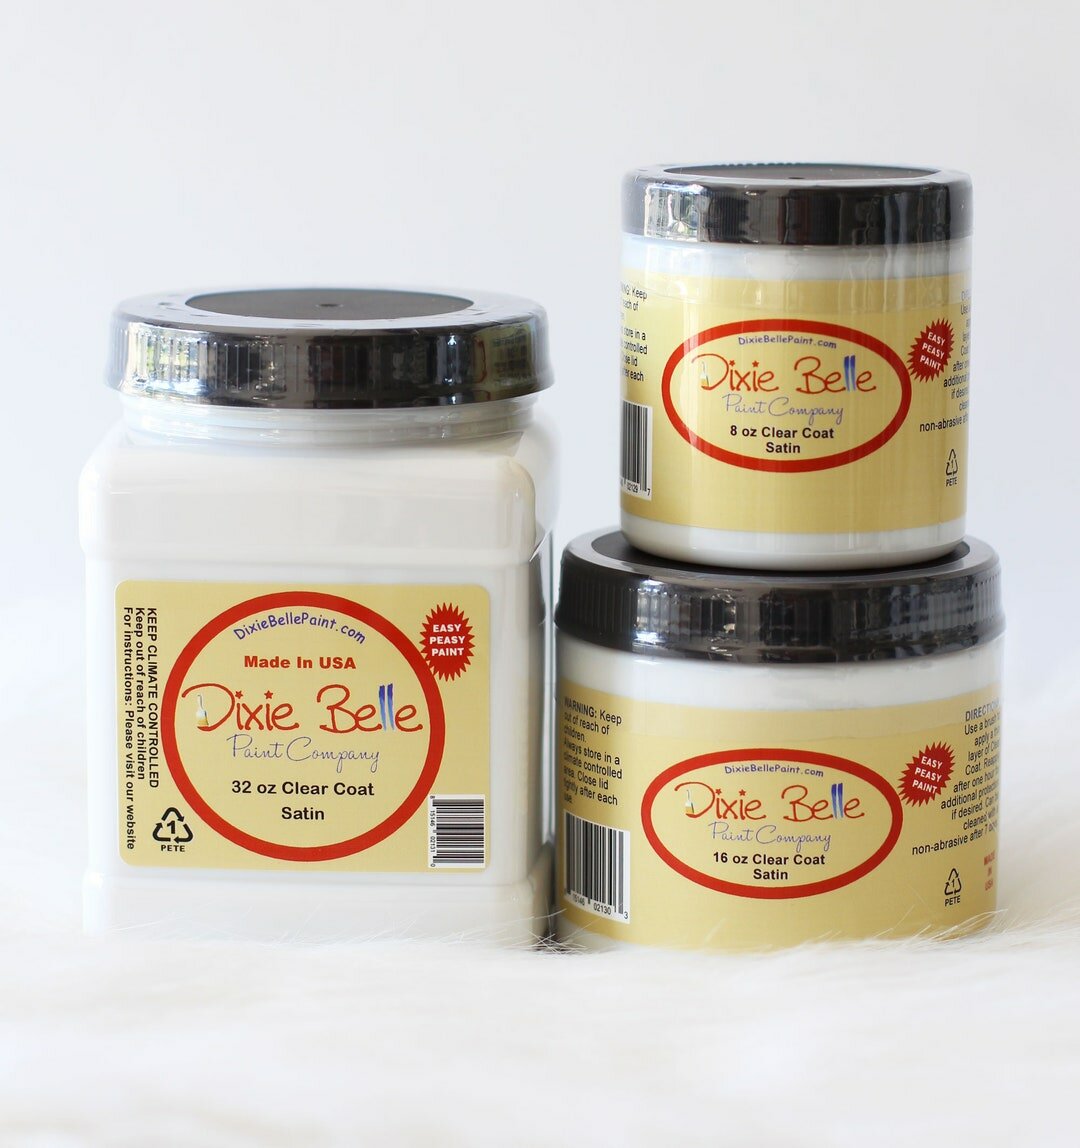
- Dixie Belle Satin Clear Coat
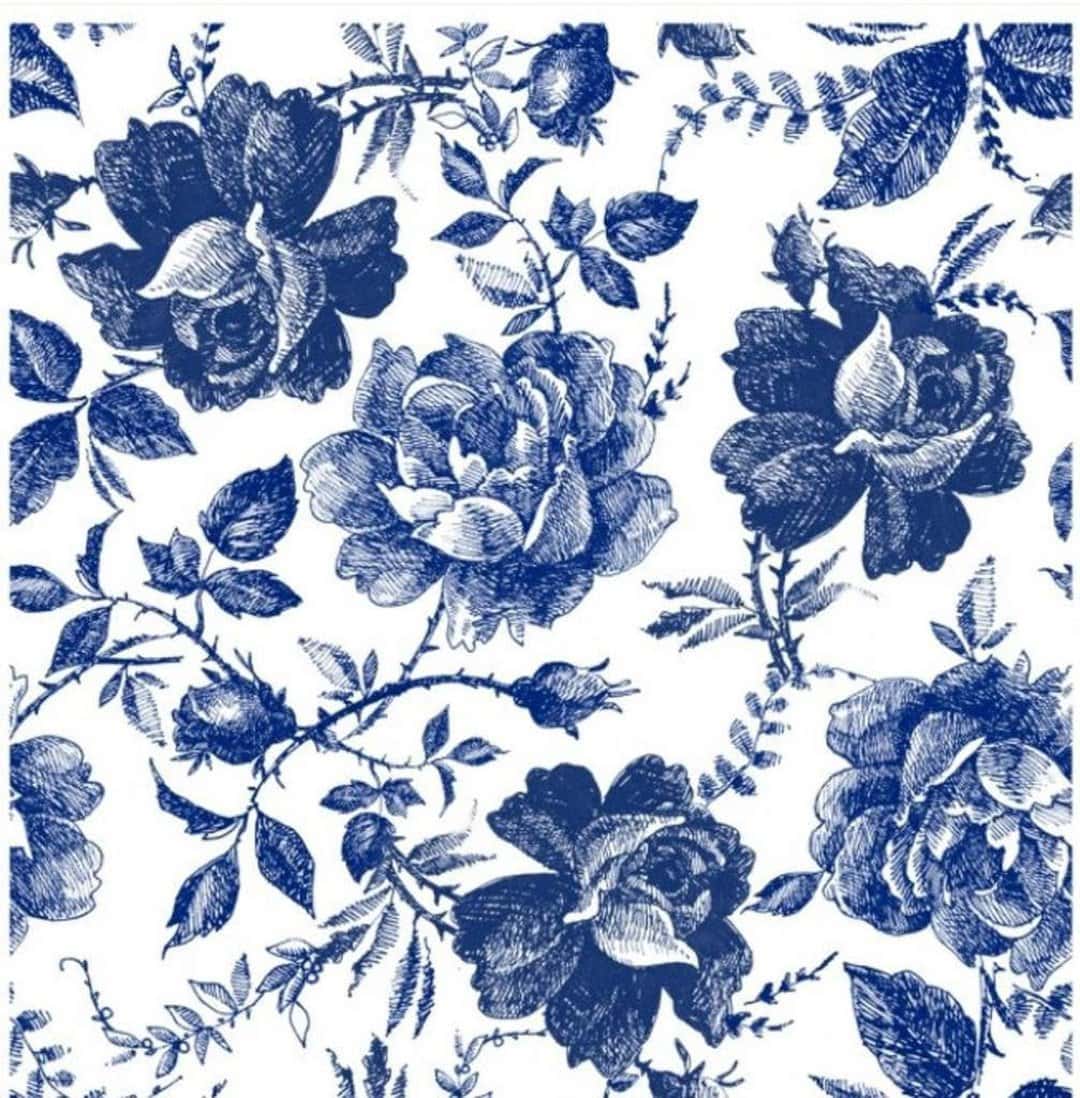
- Belles and Whistles Rice Decoupage Paper – Sketched Blue Flowers
- Dixie Belle Best Dang Wax – Brown
How to Add Texture to Wood Furniture
First, I created a textured surface by using Dixie Belle Mud in the color White.
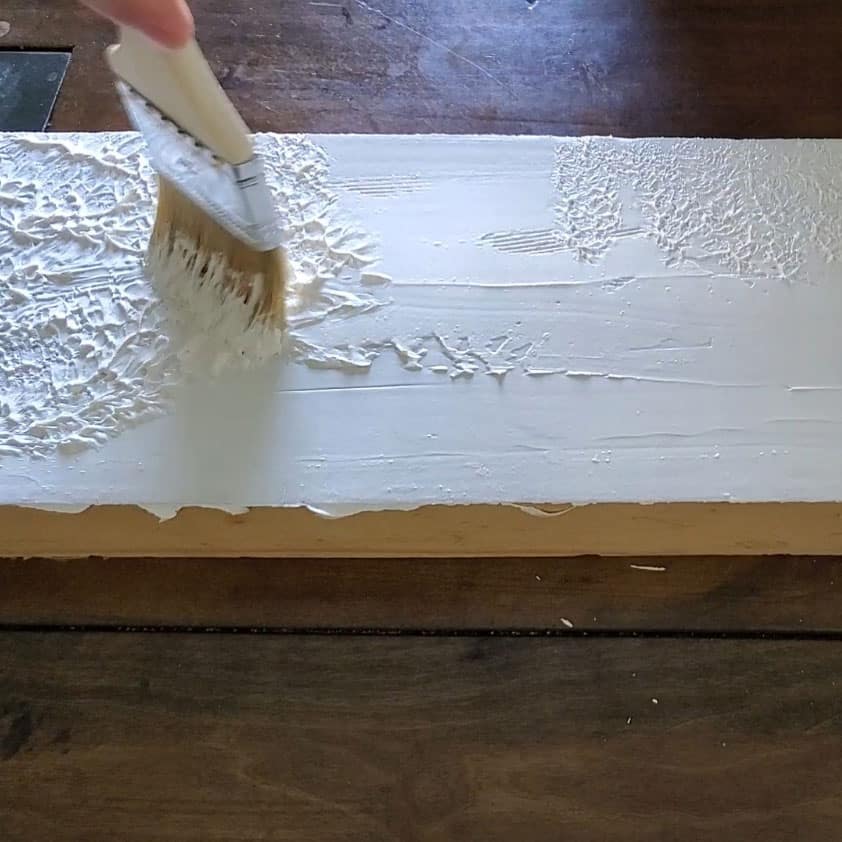
I stirred the product well and spread a thick layer over the area I wanted to decoupage.
I wanted this area to have a lot of hills and valleys, so I began stippling the wet Mud with a chip brush. Read this post to learn more about the best paint brushes for painting furniture.
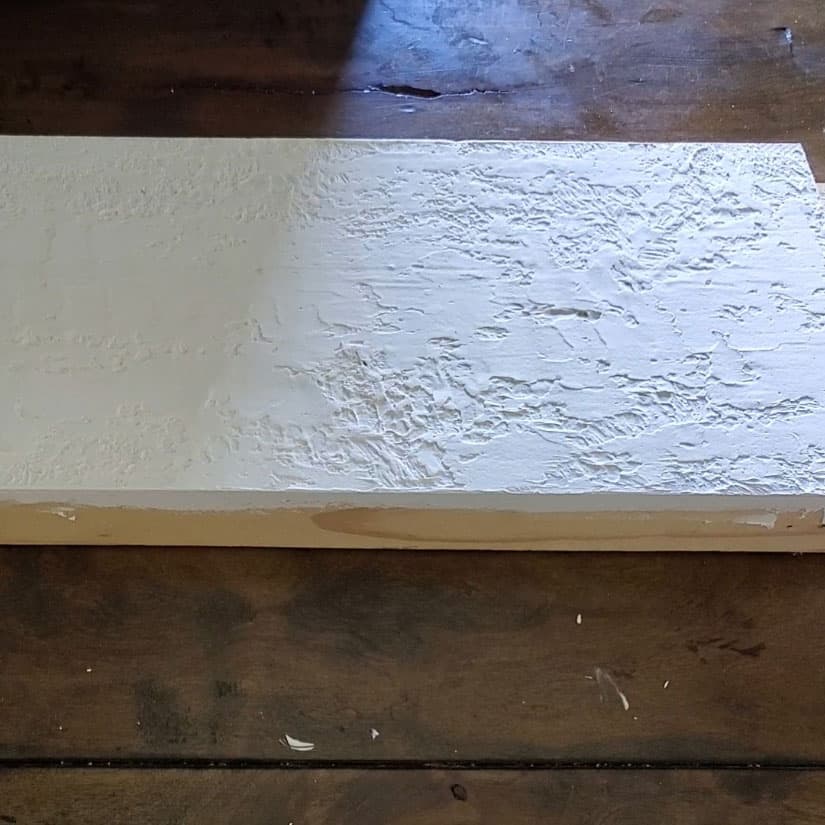
Then I allowed the product to fully dry before moving on to the next step. (This took approximately 2 hours.)
Dry times really depend on the temperature and the thickness of the Mud. I like to set my projects out in the sun when I can to speed up the drying process.
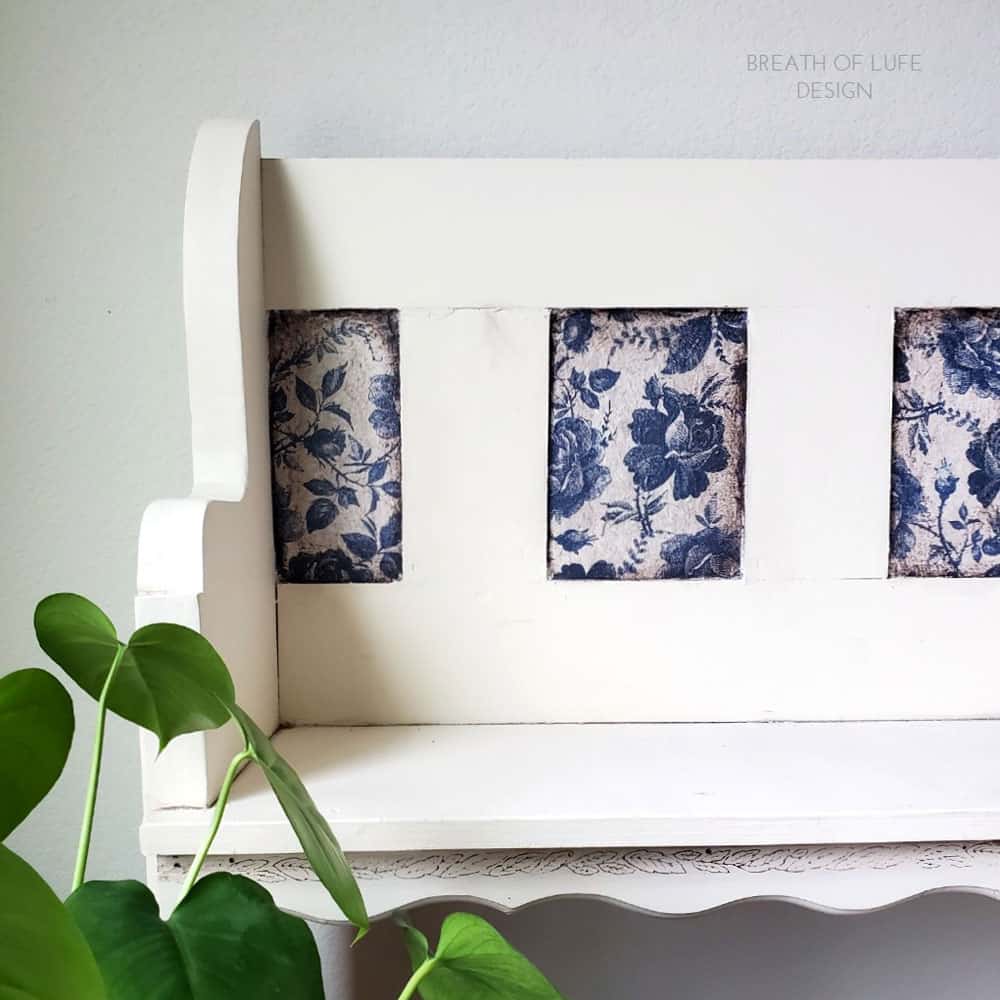
How to Apply Decoupage Paper to Furniture
Once the Mud was dry, I put my rice decoupage paper onto the area to estimate the size I needed to cut.
Then I cut the paper down to size with some scissors and applied the Satin Clear Coat onto the Mud with a brush.
I like to put a generous amount of clear coat on to ensure all of the areas of the paper are saturated. I gently placed the paper onto the wet clear coat.
Immediately after putting the decoupage paper onto the clear coat, I applied more of the clear coat on top of the paper. This seals the paper onto the surface.
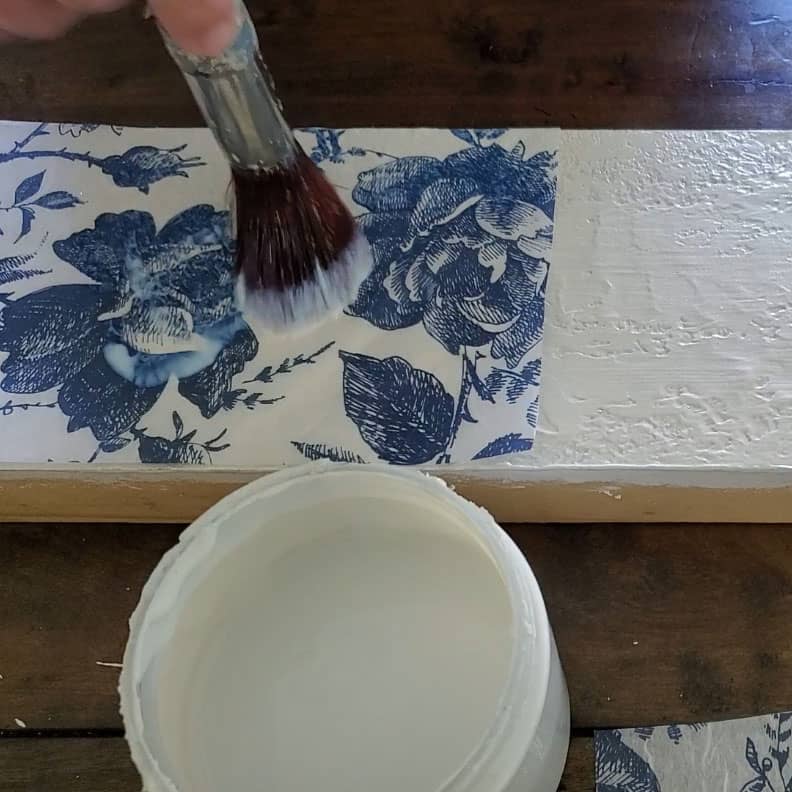
While I apply the clear coat on top, I use a stippling motion again to make sure the paper gets pushed into the crevices of the texture we created.
Now it’s a waiting game again to make sure the clear coat is fully dried.
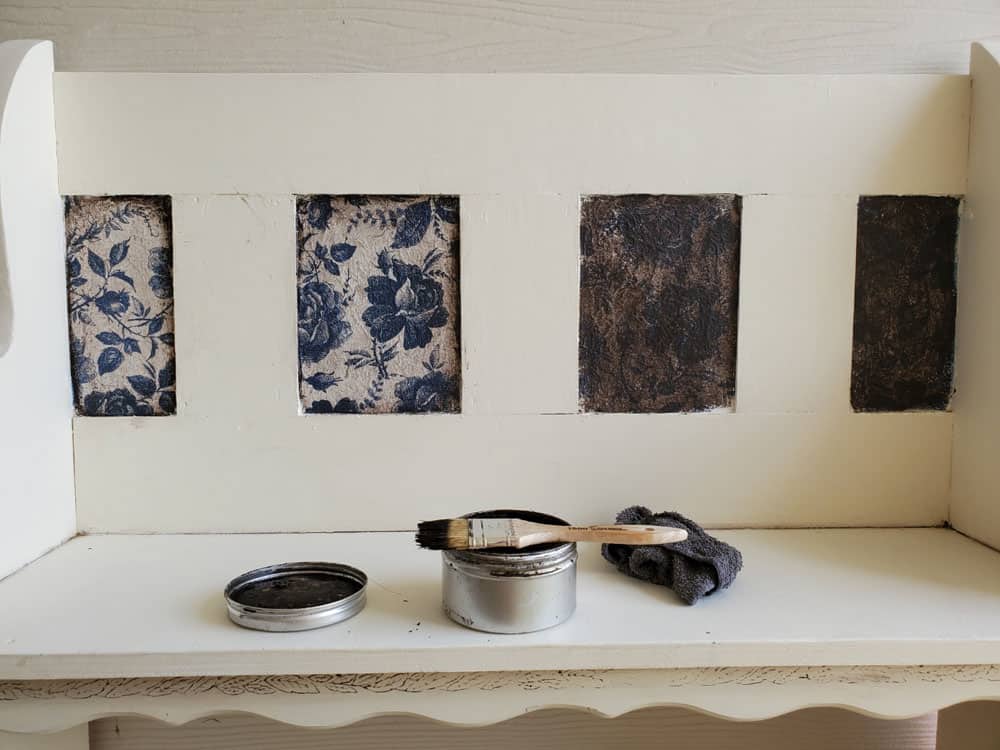
How to Antique Furniture With Wax (Optional)
So now we have a textured decoupaged surface that looks beautiful as is, but I wanted to create a more antiqued look. I did this by adding brown wax over the sealed paper.
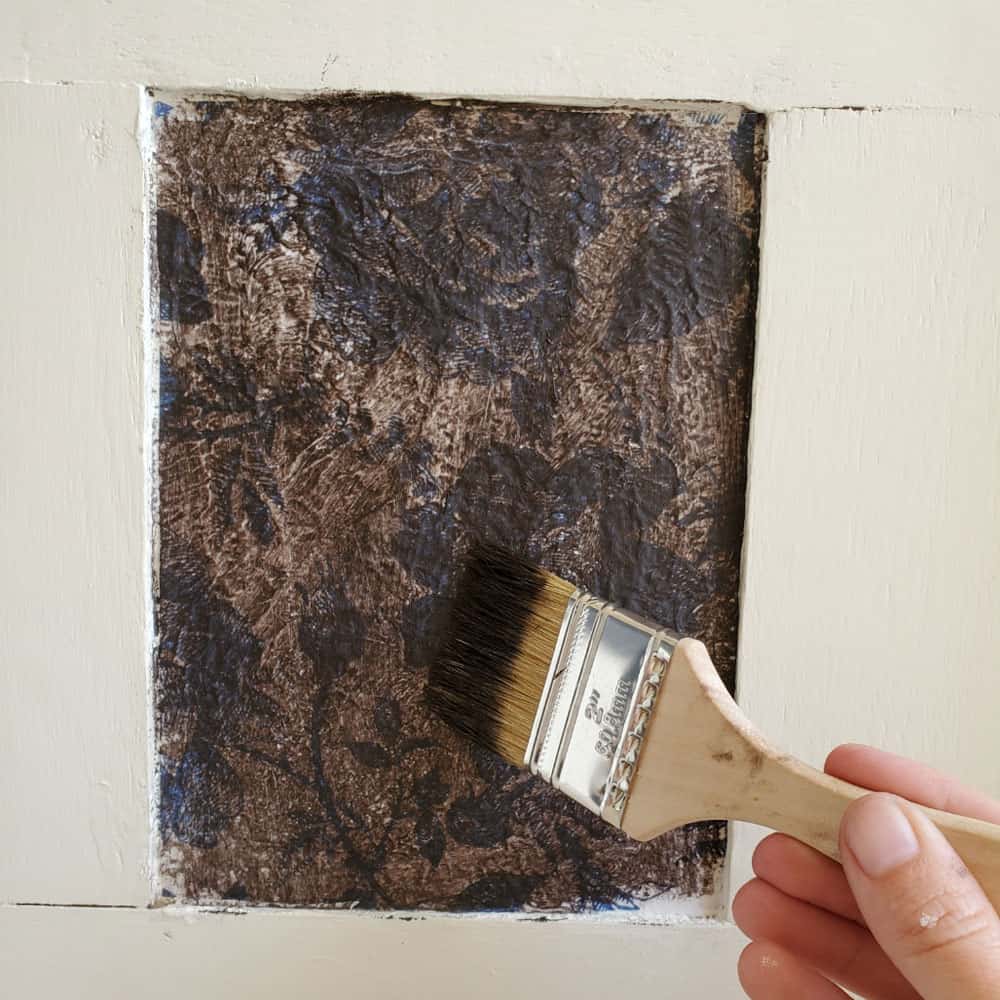
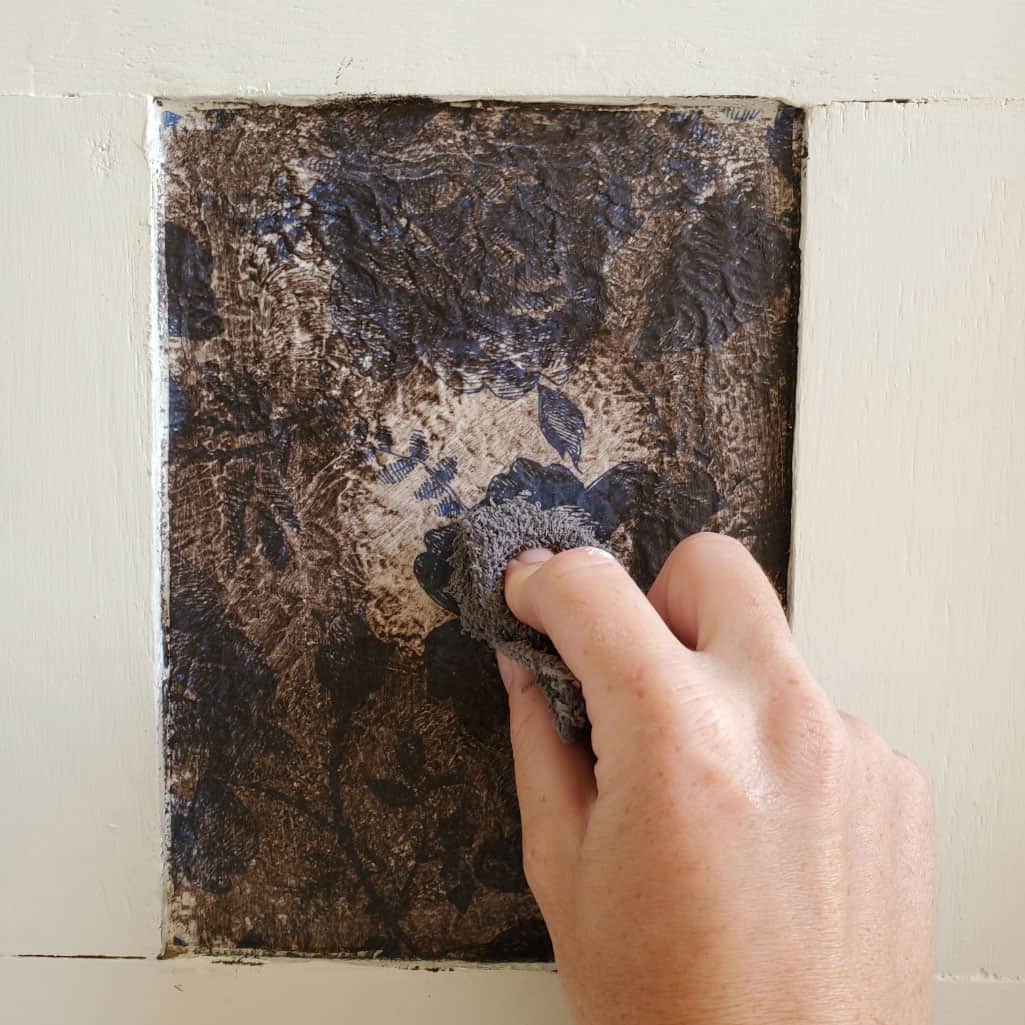
I grabbed my chip brush and dipped it into the Best Dang Wax in Brown. I applied it over the entire surface of the paper, making sure it was pushed into all the crevices. I then grabbed a damp rag/paper towel and began removing the excess wax.
Would you like to save this?
This wax is water based, so it is easy to remove from the sealed surface.
Now, this is the time when it comes down to personal preference.
I like to remove most of the wax from the center while leaving a bit more wax as you progress to the edges. I like this look because it looks more natural to me.
Once you have the area looking the way you like, you can begin closing up the lid on your wax and throw in the towel.
Decoupaging Furniture
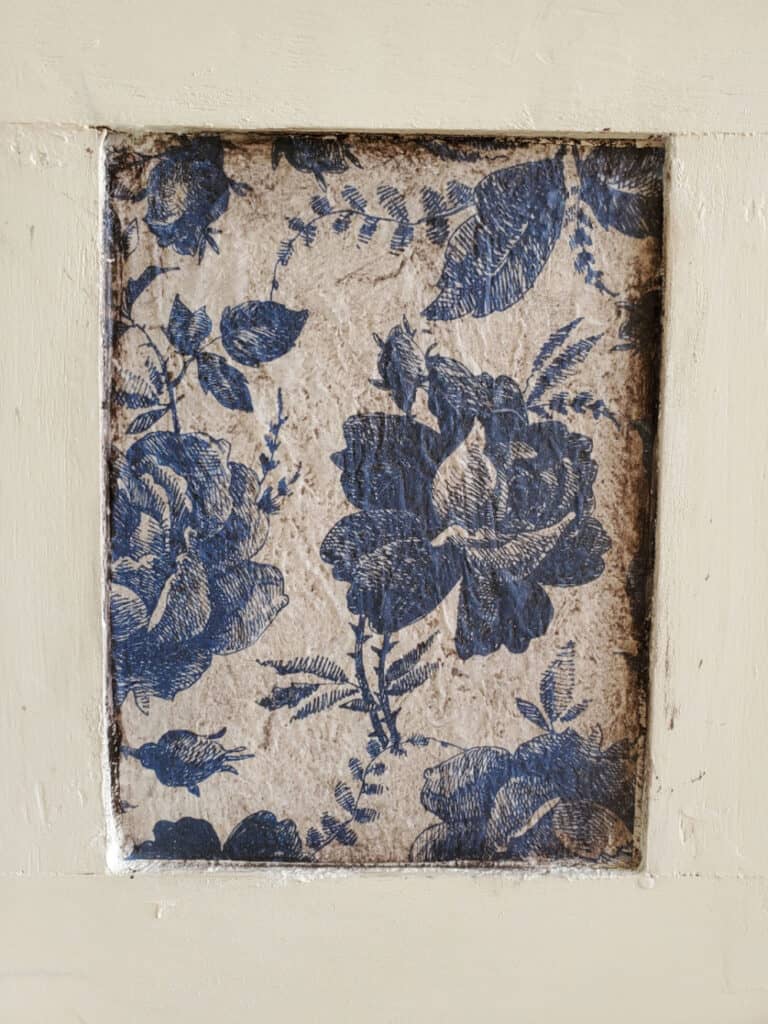
This technique is super simple and easy. Decoupage can sometimes be a bit challenging when trying to make it look “perfect”, so this is a great way to alleviate some of the stress. The finished product has a vintage feeling, so if it ends up looking worn and imperfect, that is just fine!
If you like how this bench turned out, you should check out more shabby chic painted furniture and shabby chic dresser ideas here. If you want to try more floral pieces, check out more floral painted furniture ideas here. And here are decoupage dresser ideas for more similar makeovers!
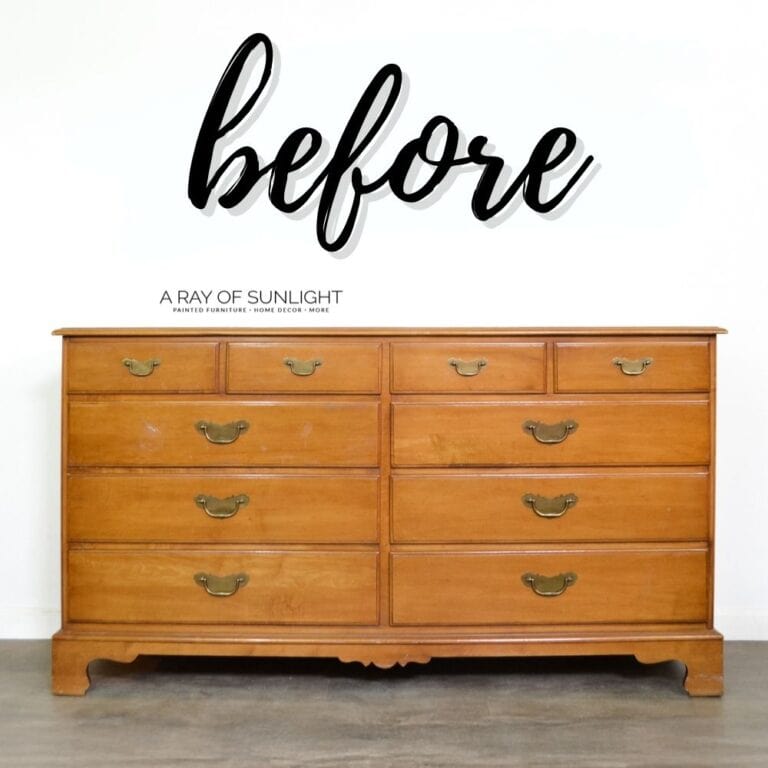
More Before and After Makeovers
See All >
Click any of these “before” photos below to view the “after” of that makeover.


Can you not add texture to the furniture before decoupaging?
Yes, it is possible to decoupage without adding texture to the furniture first. The process would be the same, except you would skip the steps involving adding and drying the Mud product.
Instead, you would simply apply your chosen decoupage medium directly onto the surface and then place your paper on top, along with the clear coat. This method may result in a smoother finish.
However, adding texture can add an extra dimension and visual interest to your decoupage project.
Can you use decoupage on curved surfaces?
Yes, you can use decoupage on curved surfaces! While it may seem more challenging than applying it to flat surfaces, the process is still the same.
The key is to be patient and work carefully, making sure to smooth out any wrinkles or bubbles as you go along. One helpful tip is to cut slits in the paper before applying it, so that it can better conform to the curves. Overlapping the slits will help prevent gaps or creases in the design.
So if you have furniture with intricate or curved details, don’t hesitate to try decoupage!


Can you use regular paper for decoupage instead?
No, regular paper is not the same as decoupage or rice paper and you will not get the same results. An alternative to using rice paper for decoupage is using one very thin layer of a napkin. Since it is very thin, you can get similar results.
Regular paper is thicker than decoupage paper and it is not made for this purpose. If you have specific paper you want to use for decoupage, you can test it out on a sample to see if you like the results before tackling a project and potentially ruining it.
This makeover was created by Eryn Garcia with Breath of Life Design. Eryn has a passion for breathing life into furniture and interior spaces. She was born and raised in Texas and graduated from Texas A&M in 2016 with a degree from the College of Architecture. She lives with her husband and three kids, ages 5, 3, and 1. She is a stay-at-home mom that decided she needed a creative outlet and began refinishing furniture. Follow along to see more of her work and some behind the scenes into her life…
Follow Eryn on Pinterest, Instagram, and her Facebook Page to see more of her amazing work!


How to Decoupage Furniture with Rice Paper
Check out this super easy and creative way to transform your furniture by learning how to decoupage furniture with rice paper!
Materials
Tools
Instructions
- Stir the white Dixie Belle Mud well and spread a thick layer over the area you want to decoupage. Stipple the wet mud with a chip brush to have a lot of hills and valleys.
- Leave it to fully dry then put rice decoupage paper onto the area you want to decoupage.
- Apply a generous amount of Satin Clear Coat onto the mud and paper with a brush to seal it to the surface. Wait for it to fully dry.
- For a more antiqued look, brush water-based brown wax over the sealed paper. Then grab a damp rag/paper towel to remove the excess wax.
Recommended Products
As an Amazon Associate and member of other affiliate programs, I earn from qualifying purchases.
More Floral Furniture Makeovers
- How We Easily Added This Floral Pattern
- How to Apply Furniture Transfers
- Chalk Painting – Desk With Floral Transfers
Follow us on YouTube to get more tips for painting furniture. Or share your project with us on our Facebook Group and be part of our community. See you there!
I love this! You are so creative, and your one-of-a-kind pieces are beautiful!
Aww thank you so much Leslie!
This is such a beautiful transformation.
Thanks so much Joanne! Always appreciate the kind words!
Congratulations, popping in quickly to let you know that your awesome post will be featured at SSPS 348.
Aww thank you so much Esme! I appreciate it!
Great project! I am happy to feature you at Thursday Favorite Things this week over at Follow the Yellow Brick Home. Have a great weekend!
Ahh thanks so much!