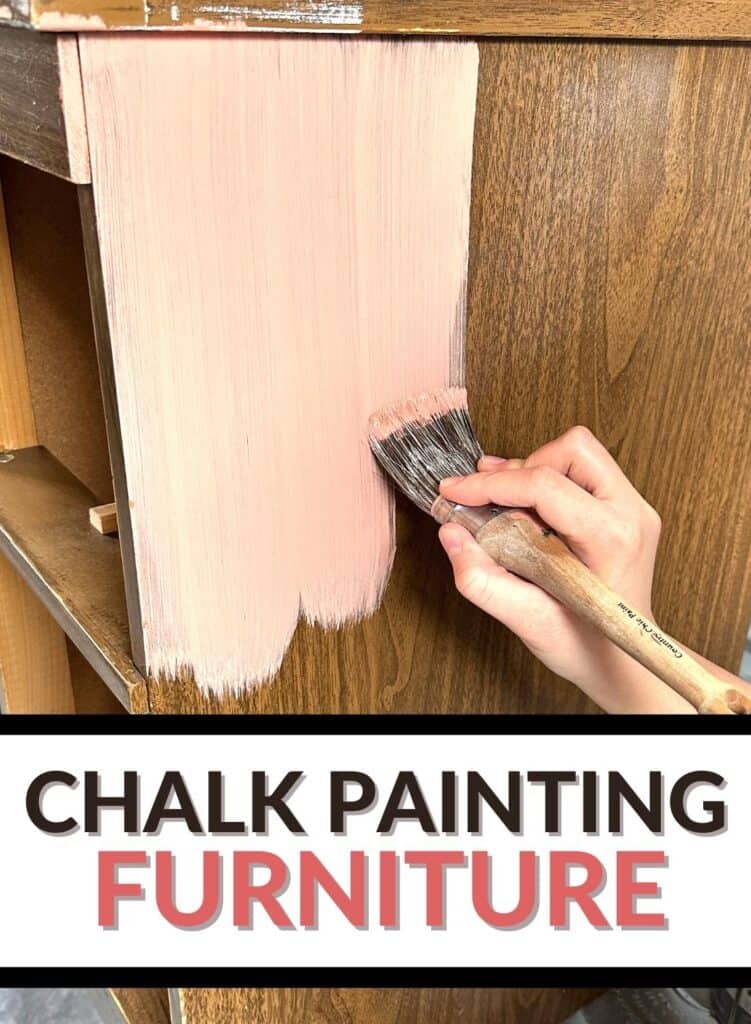
Chalk Painting Furniture

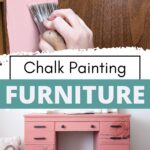
Have you ever wanted to do these chalk paint furniture ideas but didn’t know where to start? Chalk painting furniture is an easy and affordable way to transform outdated pieces of furniture into works of art.
If you want an aged, shabby-chic look, or a vibrant and colorful modern piece, chalk paint has something for everyone. Learn how to make your own transformation with our step-by-step guide on chalk painting furniture.
Chalk painting furniture is an easy way to update your old furniture… but there are some tricks that you need to know before you start painting.

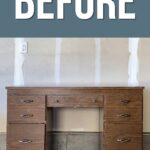
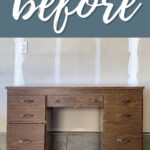
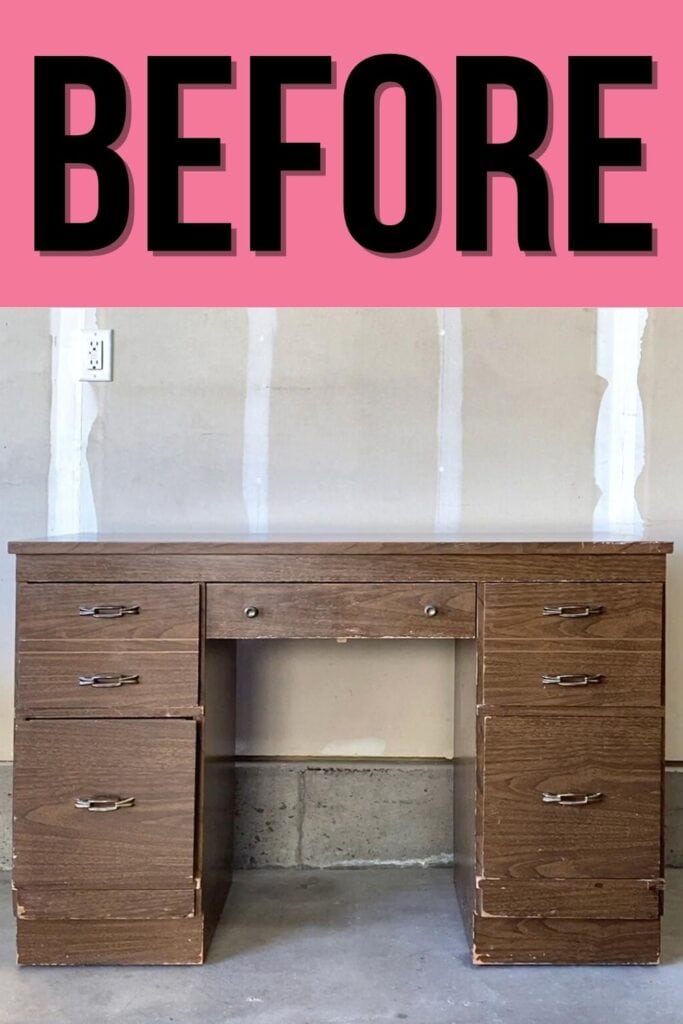
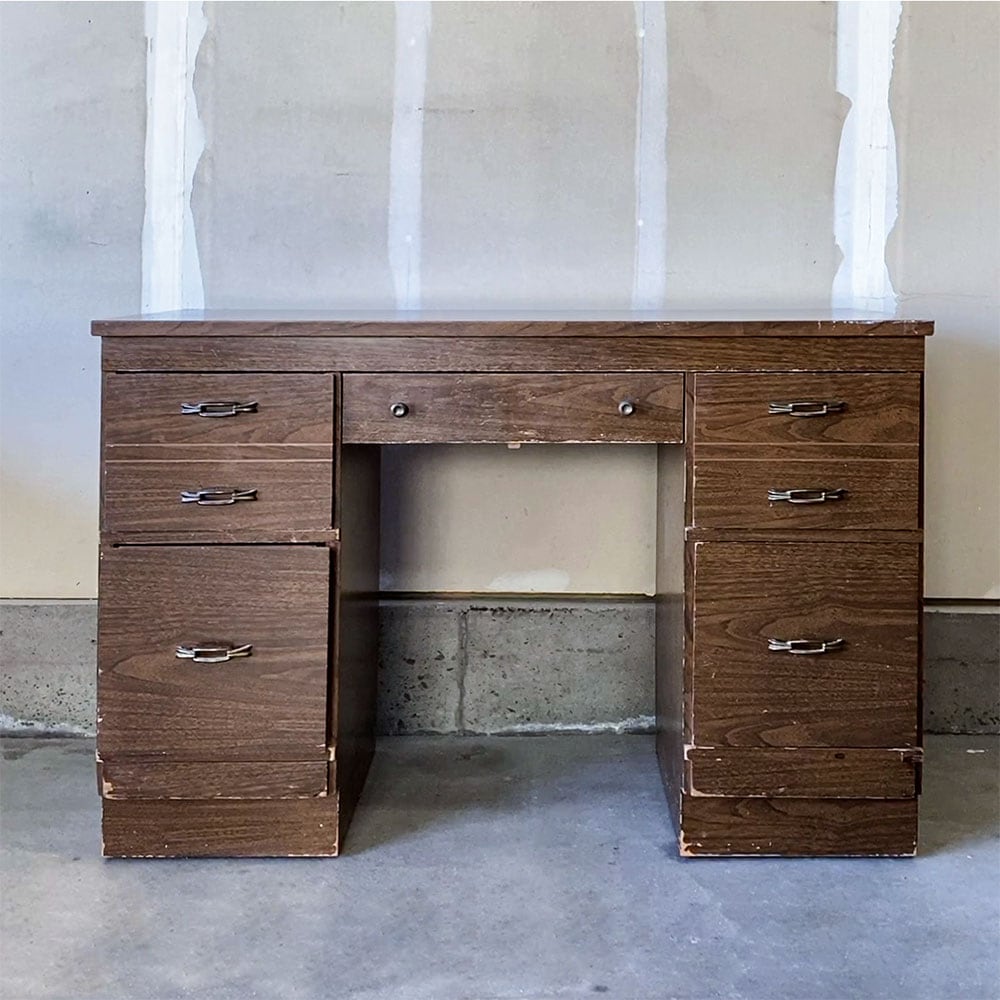
There’s the desk we’re painting today. We thrifted it for $25 and we’re going to turn it into a fun, bold statement piece. Let’s dive into this chalk paint desk makeover so you know what to expect.

Supplies Used for Chalk Painting Furniture
As an Amazon Associate, I earn from qualifying purchases. I also may earn from other qualifying purchases with other companies or get free product to review and use. All opinions are my own.
- Electric Screwdriver
- Krud Kutter
- Wood Filler
- 220 Grit Sandpaper
- 400 Grit Sandpaper
- SurfPrep Sander (Use code RAY10 to get 10% off your order)
- Shop Vac
- Tack Cloth
- Clear Shellac
- Annie Sloan in Scandinavian Pink
- Country Chic Paint Oval Paint Brush
- Misting Bottle
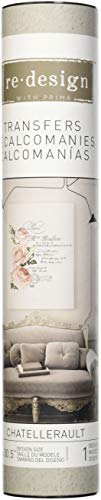
- Rose Furniture Transfers
- Waterbased Polyurethane
- Paint Sprayer
Get our list of 10 must have painting furniture supplies here.
Preparing Furniture for Paint
First, we removed all of the hardware. Removing the hardware is an easy way to make your paint job look better and it’s pretty easy with this electric screwdriver.
Then, we cleaned the desk with Krud Kutter to remove oils, dirt, and grime from the surface so the paint will stick better. Learn more about how to clean furniture before painting here!
Plus, get all of the tips on how to prepare furniture for painting here.
If you want to change your drawer hardware, here’s our comparison on ways of filling holes when replacing cabinet or furniture hardware.
This desk was used in our post about chalk spray paint as a way to compare chalk spray paints and find out which one was the best…
So after that comparison was done, we removed all of that paint so we had a nice, even surface to work with. Here are the best tools for removing paint from wood.
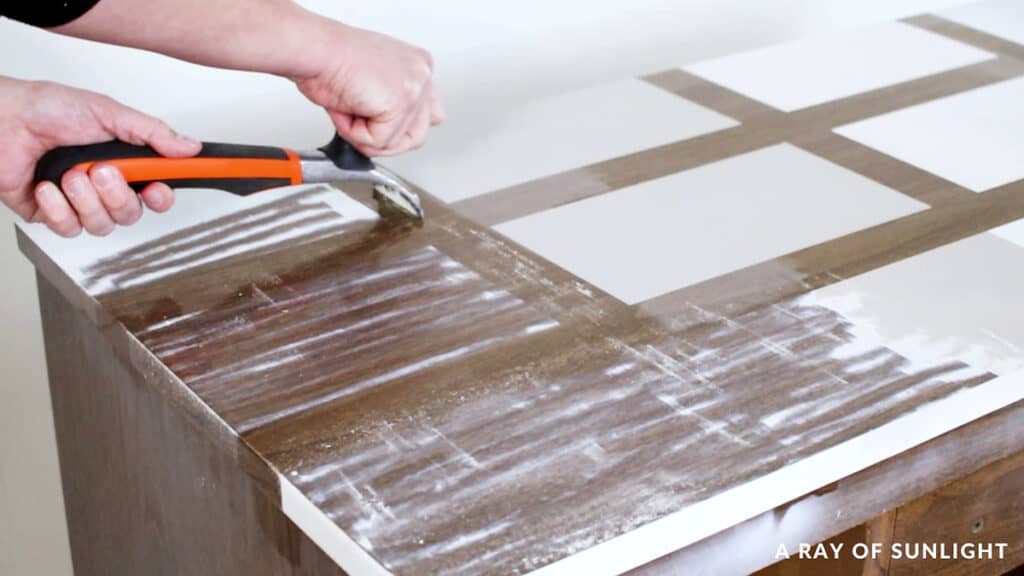
We didn’t have to remove the paint, but we needed to at least smooth out the edges where the painter’s tape was, or else you would have been able to see those lines through our new paint.
Then I filled the small damage with wood filler. Here are the best wood fillers for furniture. If you have larger damage, here’s how to repair damaged furniture.
Does Chalk Paint Scratch Easily?
For this chalk paint makeover, we went with the original chalk paint… Annie Sloan in Scandinavian Pink. Here’s my honest and personal Annie Sloan Chalk Paint review if you want to learn more about this brand.
Check out some Annie Sloan chalk painted furniture here to see how DIYers have used this paint in real projects. For color recommendations, check out our list of the best Annie Sloan chalk paint colors.
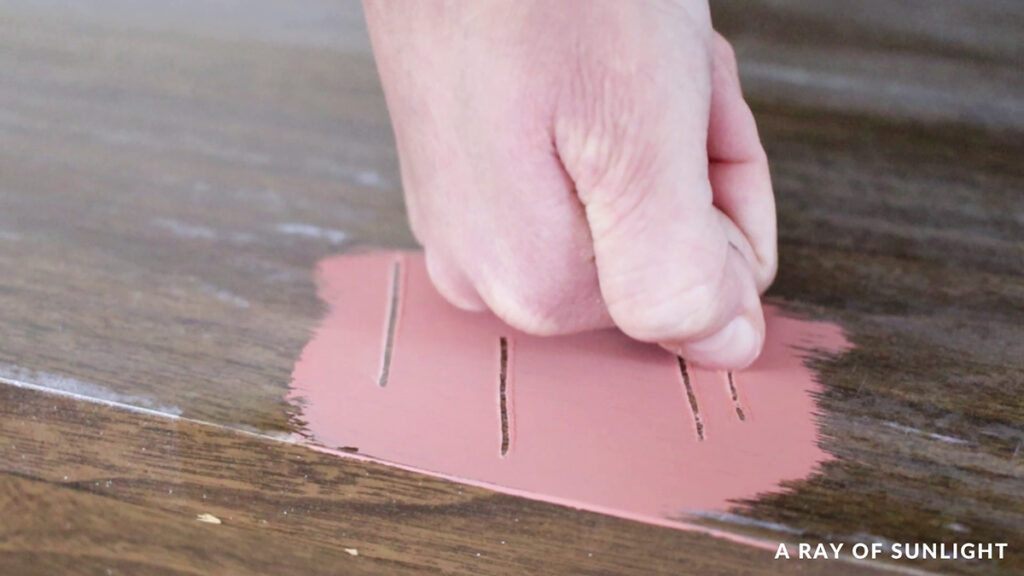
Before I painted it on, though, I wanted to show you something. I brushed some of the paint onto the desk side and back where we had only cleaned. And then I brushed some on the top that was sanded laminate. I let it dry for almost 48 hours, and then I scratched at it… The results??
It was pretty easy to scratch it off of the back. It held on a little better on the side, but it still scratched off. And the laminate top… well it didn’t stand a chance. Check out this post on how to paint laminate furniture with tips on preventing these scratches.
Here’s how to keep chalk paint from scratching for a more detailed guide on making your chalk painted furniture scratch free.
If there’s one thing I have learned over the years, is that if any paint doesn’t stick well to a surface after 24-48 hours, there’s a very good chance that it won’t ever adhere well. So, the second your kids or pets run into it, it’s gonna get scratched or dinged.
Yeah, chalk paint is known as a no-prep paint… but that’s just not true. I’ve seen it time and time again. If you want your paint job to look good for a long time, you have to scuff sand and prime before chalk painting.
Want to skip the sanding and priming? Check out these best all-in-one paints for furniture and use them on your next project!
Sanding Before Chalk Painting
My husband used 220-grit sandpaper to sand all of the desk before painting. Learn about the best sandpaper for furniture painting here and the best sanders for furniture in this post!
The point here is to scuff up the surface to help the paint stick.
So we don’t have to go all the way down to the bare wood… Actually, this desk isn’t made of real wood, so we would have never gotten to bare wood. Haha
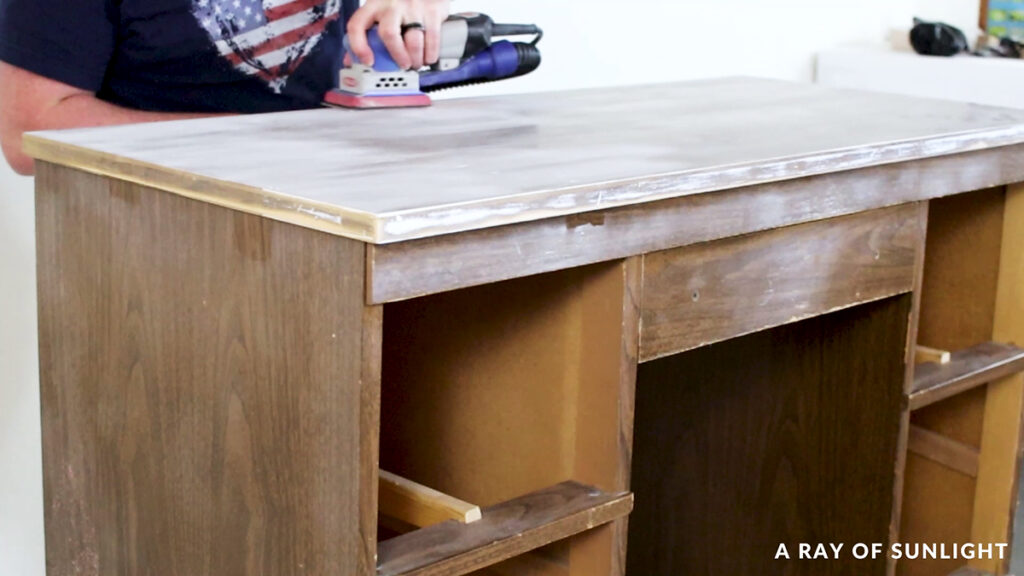
See how the surface looks lighter where he sanded? That’s what we want. Learn more about the importance of sanding before painting furniture, and how to scuff sand here.
Then he cleaned up all of the dust with our shop vacuum and a tack cloth.
Priming Before Chalk Painting
And then we moved the desk outside to prime it. I like to use spray on clear shellac for my primer before chalk painting. It’s clear, so I can distress the chalk paint. Here are the best distressing furniture techniques you can do if you want the shabby chic look.
It sprays on easily, and yes, even though it makes the surface nice and shiny again, chalk paint sticks to it really well. It also stops stains from coming through paint when painting wood furniture, so it’s all-around a great primer.
Here’s our list of the best primer for chalk paint for other tried and tested chalk paint primers!

Chalk Painting Furniture
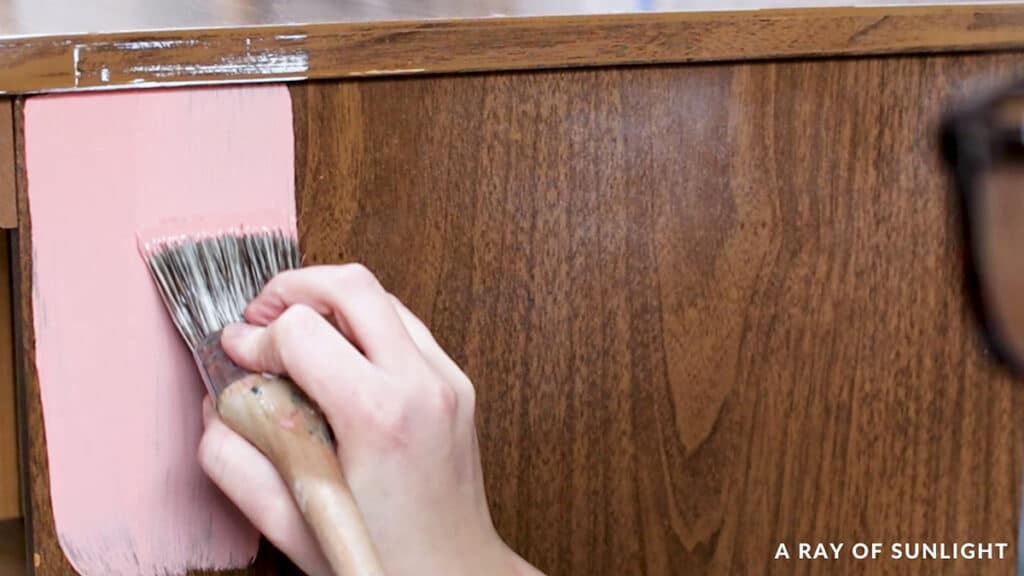
The next day, it was time to chalk paint! I ended up using a Country Chic Paint Oval paint brush to brush on the chalk paint. Check out the best chalk paint brushes here.
Would you like to save this?
Wondering what is chalk paint exactly and why it’s popular? Check out the post to learn more!
The more I use this brush, the more I love it. Learn more about the best paint brushes for painting furniture here.
This paint is thick, so I used a misting bottle to make the paint wetter. This helps prevent the paint from leaving so many thick brush marks everywhere.
There are a few other ways to paint furniture without brush marks too.
Personally, I prefer just mixing some water into the paint before painting. The misting bottle was annoying to constantly have to use to keep the paint from drying to fast.
Here’s what the 1st coat looked like when it was dry. I definitely needed another coat.
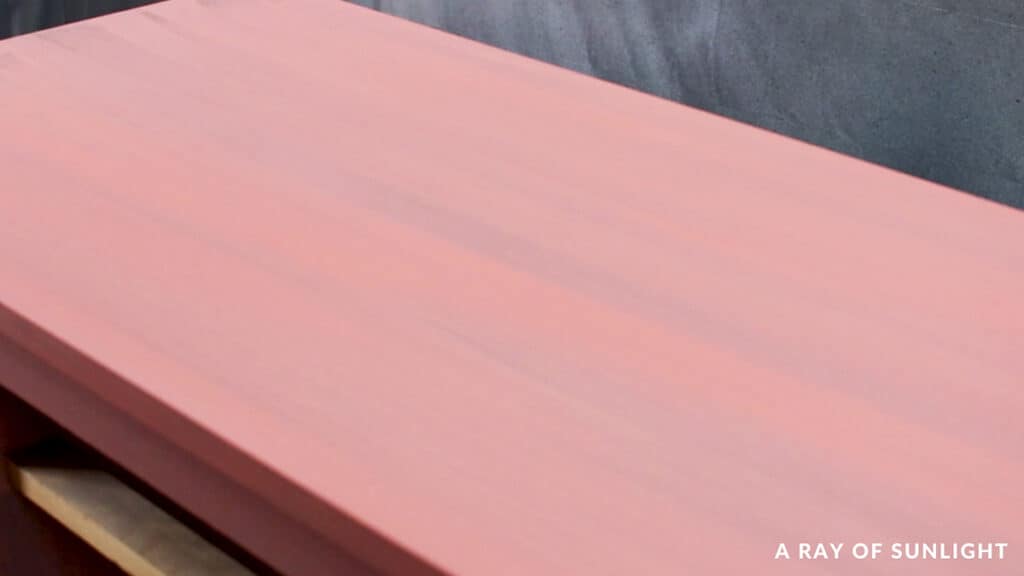
I painted on another 2 coats of paint, the same way as the first coat. One of the awesome things about chalk paint is how fast it dries. It makes the project go much faster.
Sanding Chalk Paint
When I finally had full coverage, I looked closer at my paint job, and I had these ridges of paint on all of the edges. I hate those!
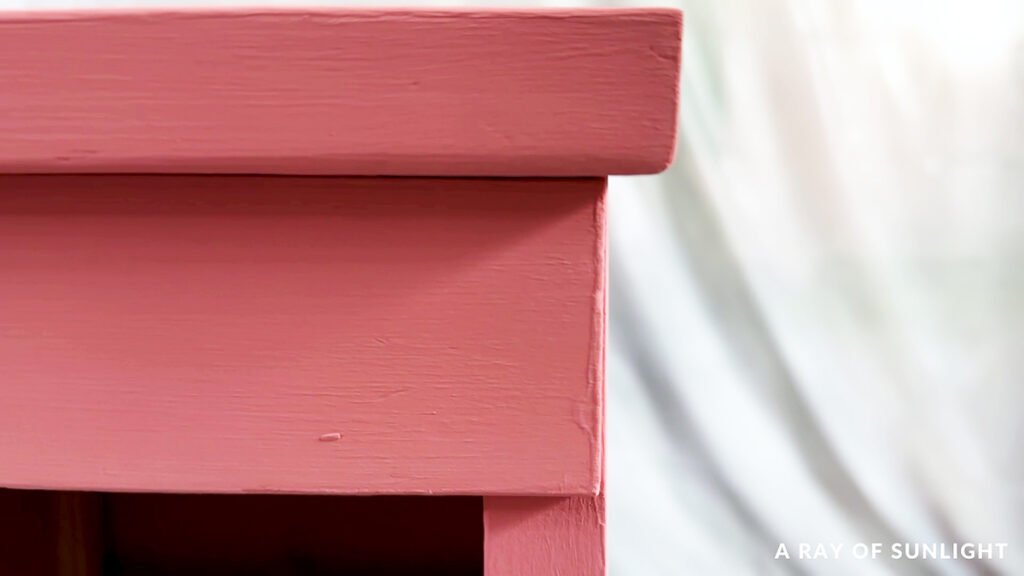
So, I sanded them off to create a distressed look… and in the process, I sanded too much. But at least those globs were gone. haha
So I ended up painting another 2 coats of paint to get full coverage everywhere.
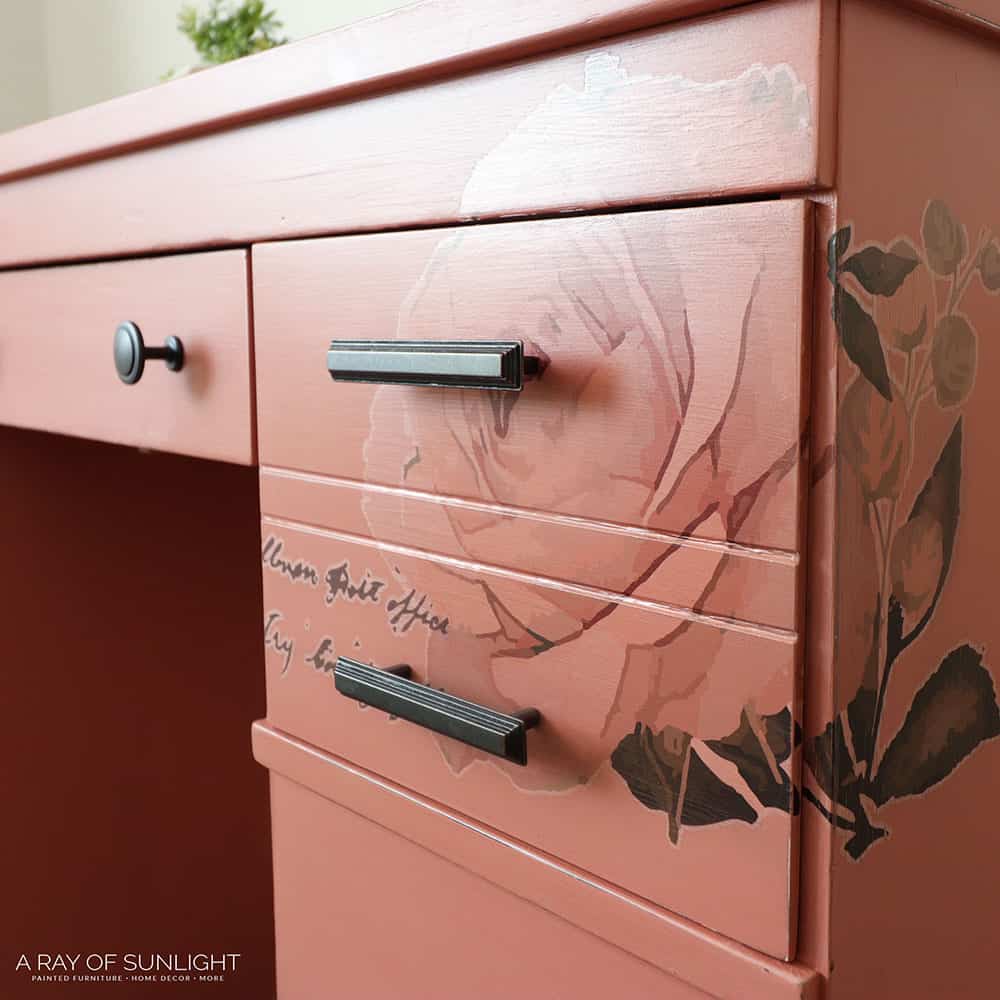
Applying Furniture Transfers
This next part is totally optional, but I wanted to make this desk even more fun, so I busted out these rose furniture transfers.
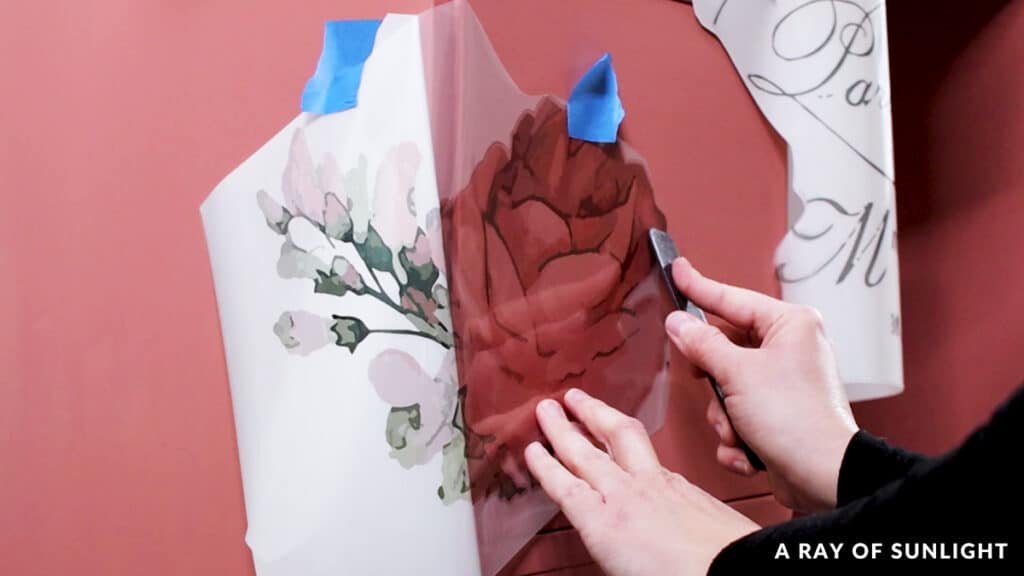
Learn how to apply furniture transfers here.
Distressing Chalk Paint
Since they weren’t perfect, I decided to lightly distress everything to go for more of a worn look. I used 400 grit sandpaper to sand the transfers lightly.
And then I used 220 grit sandpaper on the rest of the desk to distress the edges and smooth out the brush marks. Then I cleaned up the dust.
Sealing Chalk Painted Furniture
The worst part about chalk painting furniture is that you have to topcoat the chalk paint. Read through this post to learn more about the truth of using chalk paint for furniture.
I planned to brush it on by hand to show you the process…
But by this point I just wanted to be done.. so instead, I sprayed 3 coats of waterbased polyurethane on because that’s the easiest and fastest way to apply the topcoat.
Here’s how to spray polyurethane. Check out more ways to apply polycrylic to painted furniture here. I have some other posts that show how to apply polyurethane by hand, like this tutorial on painting furniture black, if you want to see that process!

You can use wax, too. But it’s just not very durable and it takes a lot longer to dry, so I like to use waterbased polyurethane instead. Learn more about the pros and cons of wax for chalk paint here. You can also check the review of one of the popular choices of clear wax among DIY-ers – here’s Waverly Clear Wax review!
Check out this guide on the best topcoat for chalk paint to find the perfect match for your project, and learn your other options for topcoats for painting furniture here.
And here’s what the desk looks like now!

More Before and After Makeovers
See All >
Click any of these “before” photos below to view the “after” of that makeover.


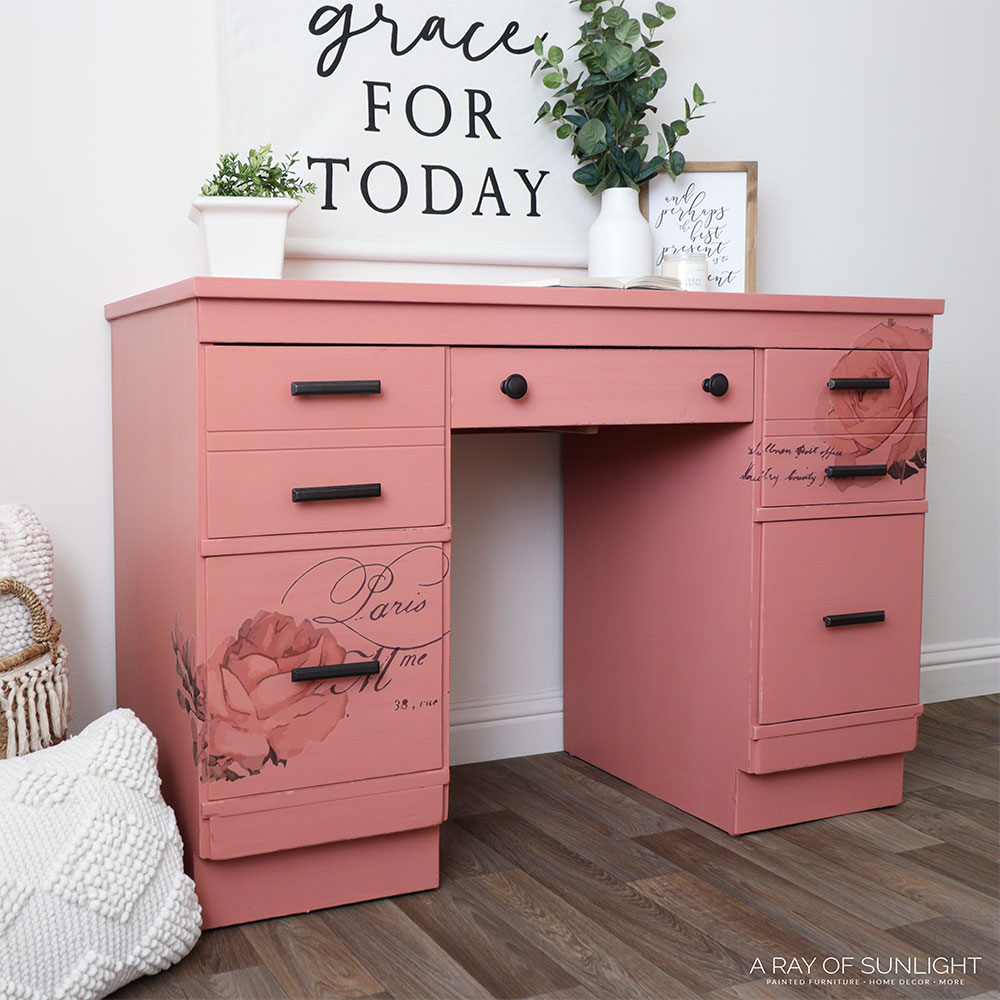
I have 3 little girls, and the 2 that can actually talk kept telling me how much they love this desk. Haha I guess I should paint their dresser pink for them!
What do you think of the new look? Are you a fan of pink furniture? Check out more pink painted furniture and pink dresser ideas here. These pink chalk painted furniture ideas and chalk painted desk ideas are worth trying, too!
Here are desk paint color ideas for other shades you can use. And for more similar projects, check out these painted desk ideas and painted roll top desk ideas.
What about transfers? Do you want to see them more often? Let me know in the comments!!


Chalk Painting Furniture
Chalk painting furniture is an easy and affordable way to transform outdated pieces into works of art. Here's how to chalk paint furniture.
Materials
Tools
Instructions
- First, remove all of the hardware. Clean the furniture with Krud Kutter to remove oils, dirt, and grime from the surface so the paint will stick better. For any damages, fill them in with wood filler.
- Sand all over the furniture with 220 grit sandpaper. Then clean up all the dust from sanding.
- Prime furniture with a few coats of clear shellac.
- Spray some water then brush the chalk paint onto furniture to prevent any brush marks. Paint 2 more coats or until full coverage.
- Sand the edges of your furniture to create a distressed look.
- Apply furniture transfers onto the furniture (optional). Lightly distress the transfers for a worn look then sand the rest to smooth out brush marks.
- Seal the chalk paint with 3 coats of waterbased polyurethane.
Recommended Products
As an Amazon Associate and member of other affiliate programs, I earn from qualifying purchases.


More Chalk Painting Resources
- Top Chalk Paint Brands
- How to Chalk Paint Furniture
- Chalk Painted Fabric Chair
- How to Chalk Paint Laminate Furniture
- Chalk Painted Furniture
Follow us on YouTube to get more tips for painting furniture. Or share your project with us on our Facebook Group and be part of our community. See you there!
Yes Please! More transfers!!
Thank you!!!
Beautiful color! Just enough transfer. Very nice job!
Thanks so much Linda!
PLEASE post the after beside the before. I get so tired of scrolling through so much junk. sometimes I just give up and do on to the next post.
Thank you for the feedback! We totally understand that scrolling through ads can be frustrating, but at the end of the day the ads are what make it possible for us to provide free content to you, while still allowing us to pay the bills and pay our team to create this free content. We are always trying to improve user experience, though, and we will take this feedback into consideration. Thank you!
I love your detailed post on how to redo furniture. I find it all very helpful. I am a little intimidated by spraying on the top coat and haven’t done that yet. But I feel like you are a great cheerleader and I should try it.
Where did you get the great drawer pulls from, please.
Thank you!
Aww thank you so much for the kind words Julie! We’re so glad this tutorial was very helpful for you. I get how spraying on the top coat can be intimidating so if you need any tips maybe this blog can help you out How to Spray Polyurethane or you can also check this out: How to Apply Polycrylic to Painted Furniture.
As for the drawer pulls, I wish I could remember and tell you where we got them but this project was from a while ago. It could either be from Home Depot or D’Lawless Hardware.