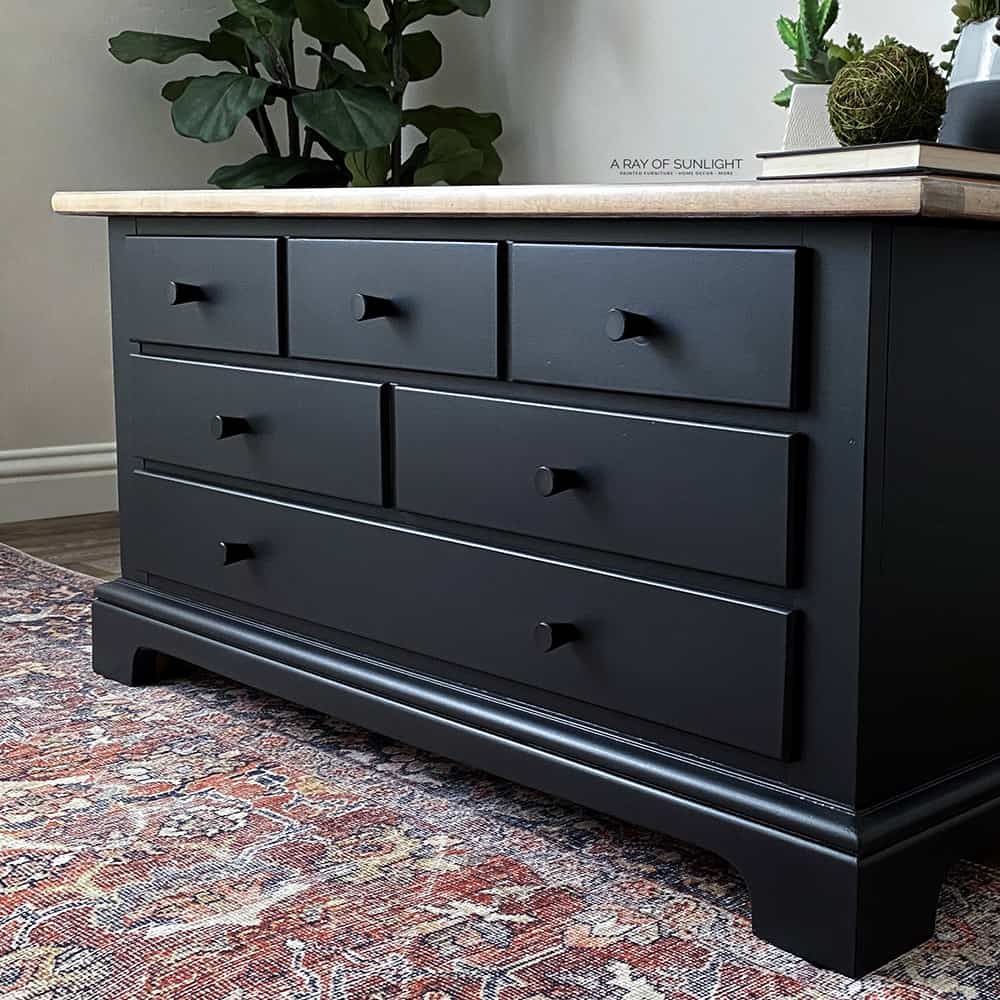
Black Coffee Table Makeover Idea


This coffee table has been sitting in my workspace for years. YEARS! It’s such a cool piece, though. It has 6 drawers total, 3 on one side and 3 on the opposite side. Without further ado, here’s my black coffee table makeover idea!
With these black painted furniture ideas in mind, I gave it a sleek and stylish transformation! I’m so excited to share with you how it turned out. Keep reading for all the details!
I finally decided it was time to give this piece the attention it deserved and bring it back to life. I went with a classic black color – it’s versatile, works with pretty much any decor style, and still makes a statement.

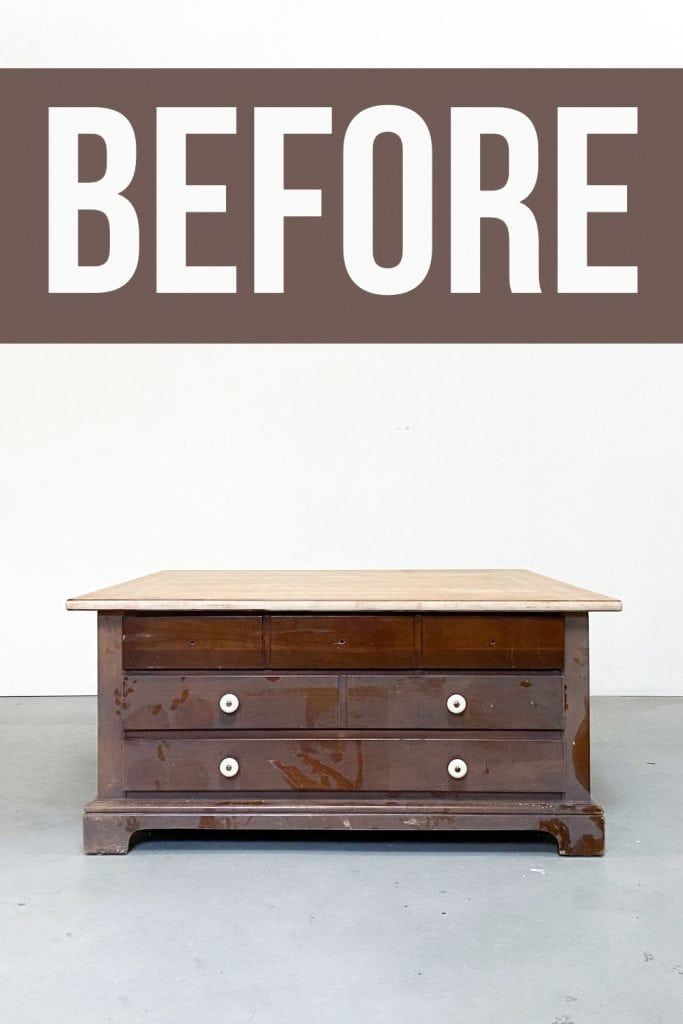
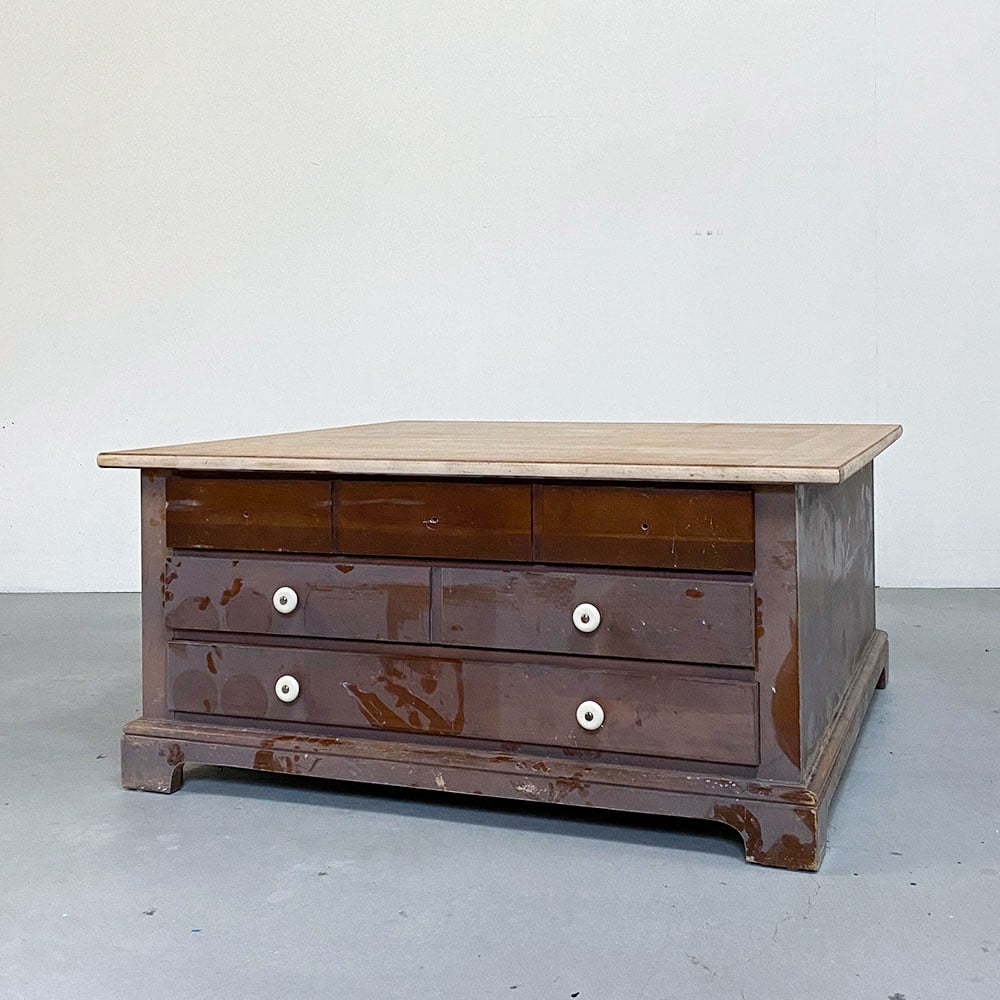
This is what it looked like a few weeks ago. I did a terrible job of sanding the top a few years ago. And then it just sat there, collecting dust, and came with us when we moved from Minnesota to Idaho in 2020.
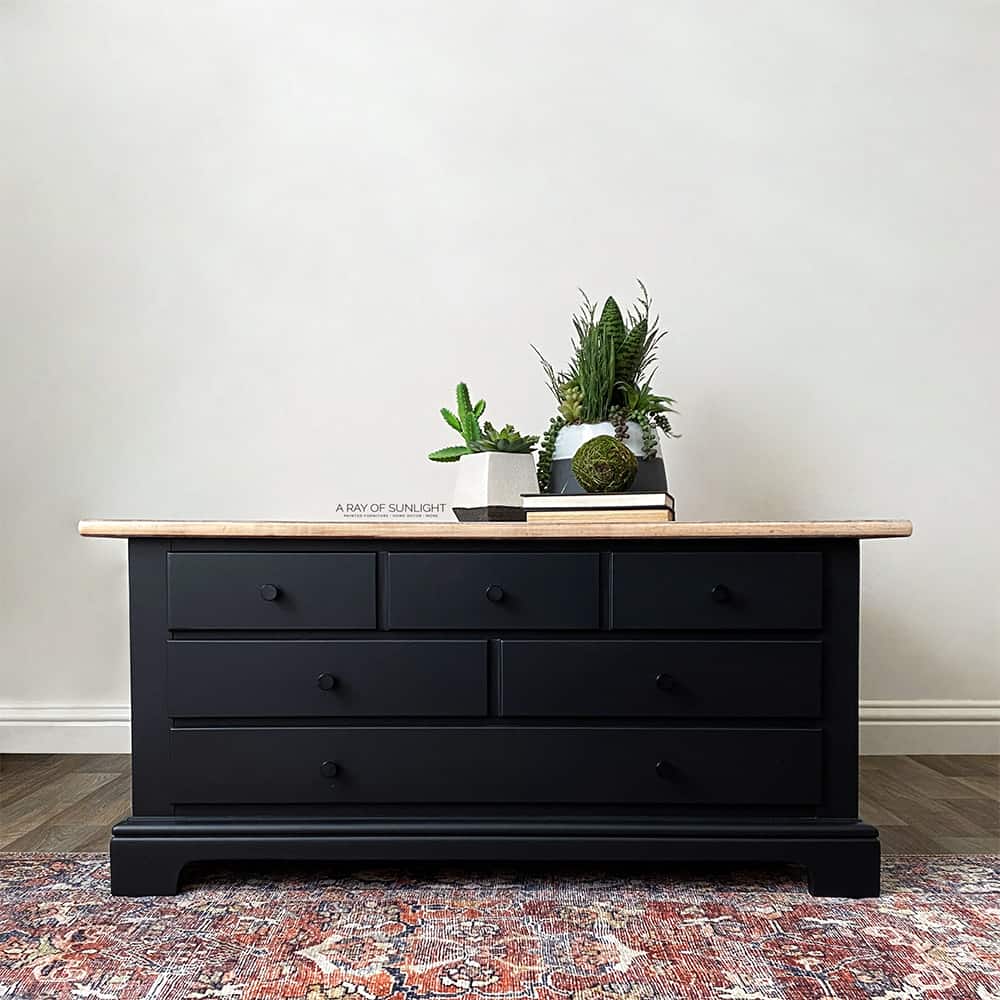
And let me tell you, I am absolutely glad with how it turned out! It went from dull and outdated to fresh and modern. Now, let’s get into the steps I took to update this piece!

Supplies Used for Black Coffee Table Makeover Idea
As an Amazon Associate, I earn from qualifying purchases. I also may earn from other qualifying purchases with other companies or get free product to review and use. All opinions are my own.
- Nail Gun
- Electric Screwdriver
- Krud Kutter
- 220 Grit Sandpaper
- Tack Cloth for Cleaning Dust
- Shop Vac
- SurfPrep Sander (Use code RAY10 to get 10% off your order)
- Clear Shellac
- Pre Taped Plastic and Painters Tape
- Fuji Q4 Paint Sprayer
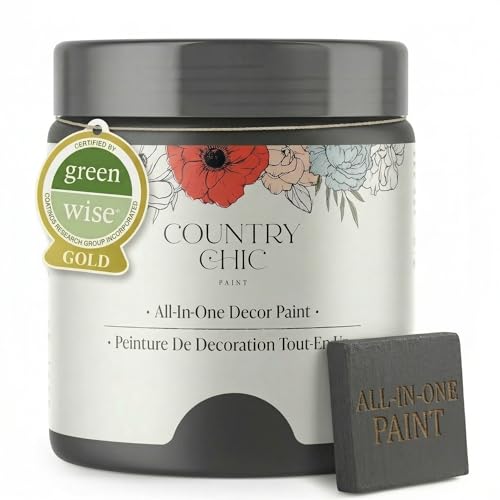
- Country Chic Paint in Liquorice
- Staalmeester Paint Brush (For touch up inside drawers)
- My Favorite WaterBased Polyurethane – Matte and Satin Mixed
- Fine Grit Foam Sanding Pad for SurfPrep Sander (Use code RAY10 to get 10% off your order)
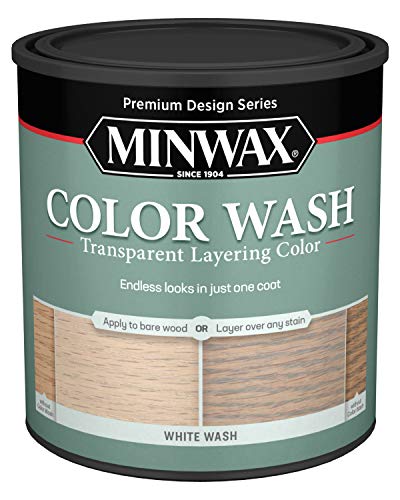
- Whitewash
- Country Chic Paint Brush (Whitewash)
- Misting Bottle (Whitewash)
- Lint Free Rags
- Foam Sponge and Pantyhose for Topcoat
- New Black Knobs
Preparing Furniture Before Painting
A drawer track had come loose, so I nailed it back into place. Then I removed the knobs with my handy dandy electric screwdriver.
And, of course, I cleaned off all of the dust and scraped off the gunk and grime. I had to bust out the razor blade because it was so bad. Haha learn more about how to clean furniture before painting here.
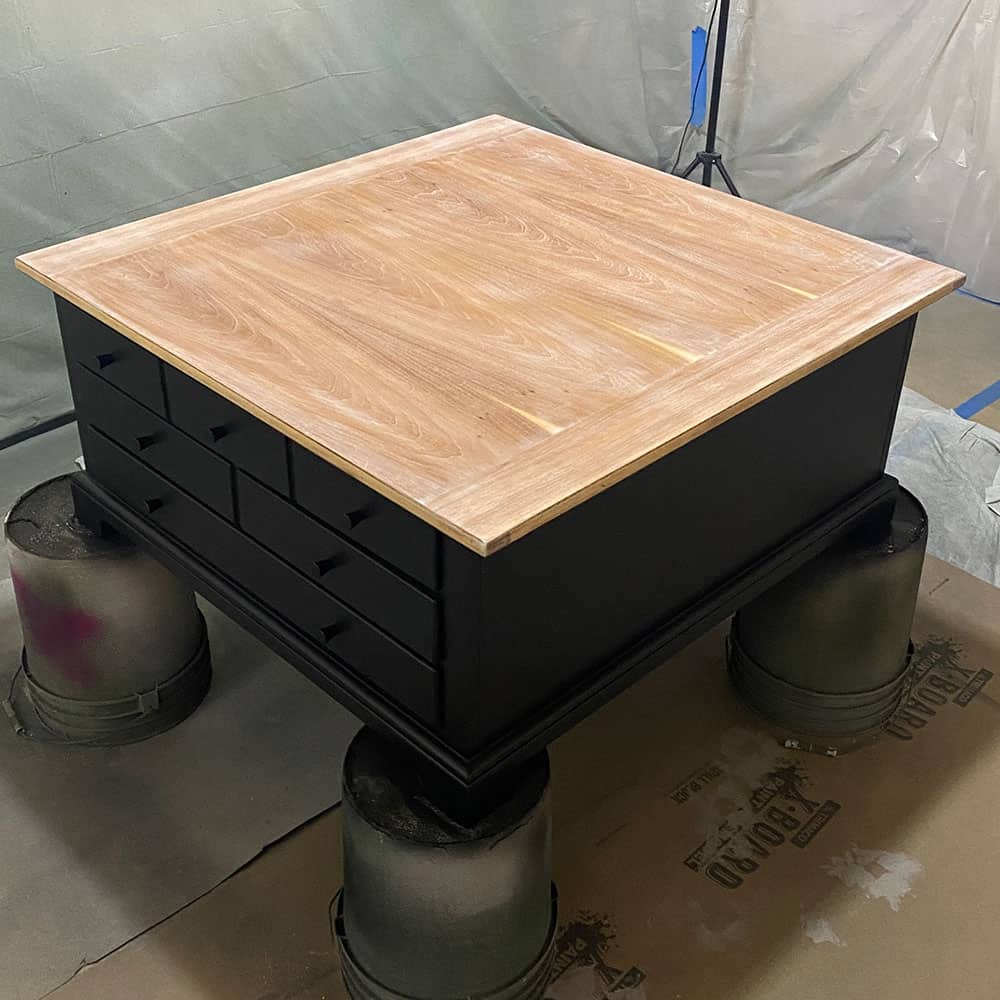
Then, when it was all cleaned off, I got it dirty again. I sanded the top with 220 grit sandpaper. Like I said earlier, I had done a terrible job of sanding it before, and there were swirl marks all over. And then, after sitting for a few years, there were some marks that I wanted to get out as well.
Read our SurfPrep Sander reviews for everything about this sander I used!
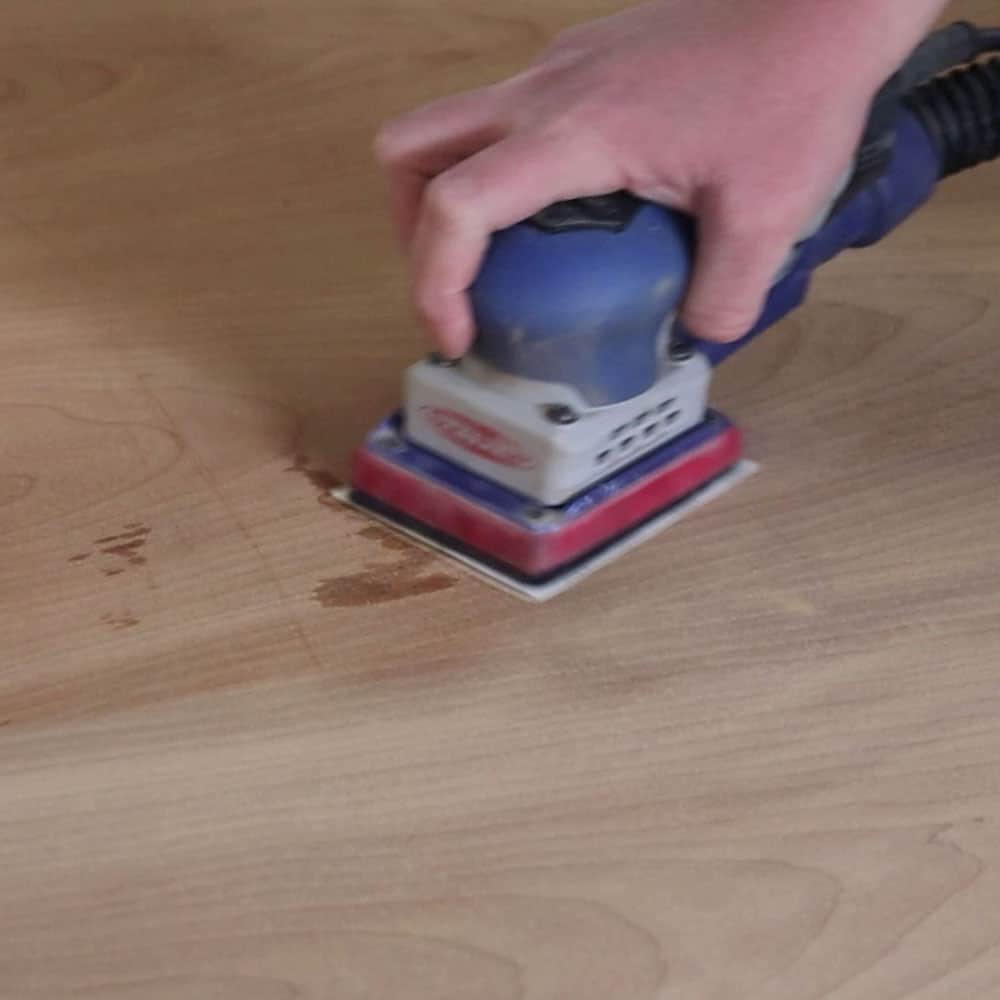
This top is a veneer, so I couldn’t get all of the swirl marks back out without sanding too much. So I just did the best that I could and called it good. If you’re painting veneer furniture, check out this post to learn more about the process.
While I was at it, I sanded inside the drawers, too. And I scuff sanded the rest of the table as well. Learn the importance of sanding before painting furniture here!
Then, I cleaned up all of the dust again. And I sprayed 2 coats of clear shellac over the entire thing. Here’s our guide to help you choose the best primers for painting furniture. When the shellac was dry I taped off the top.
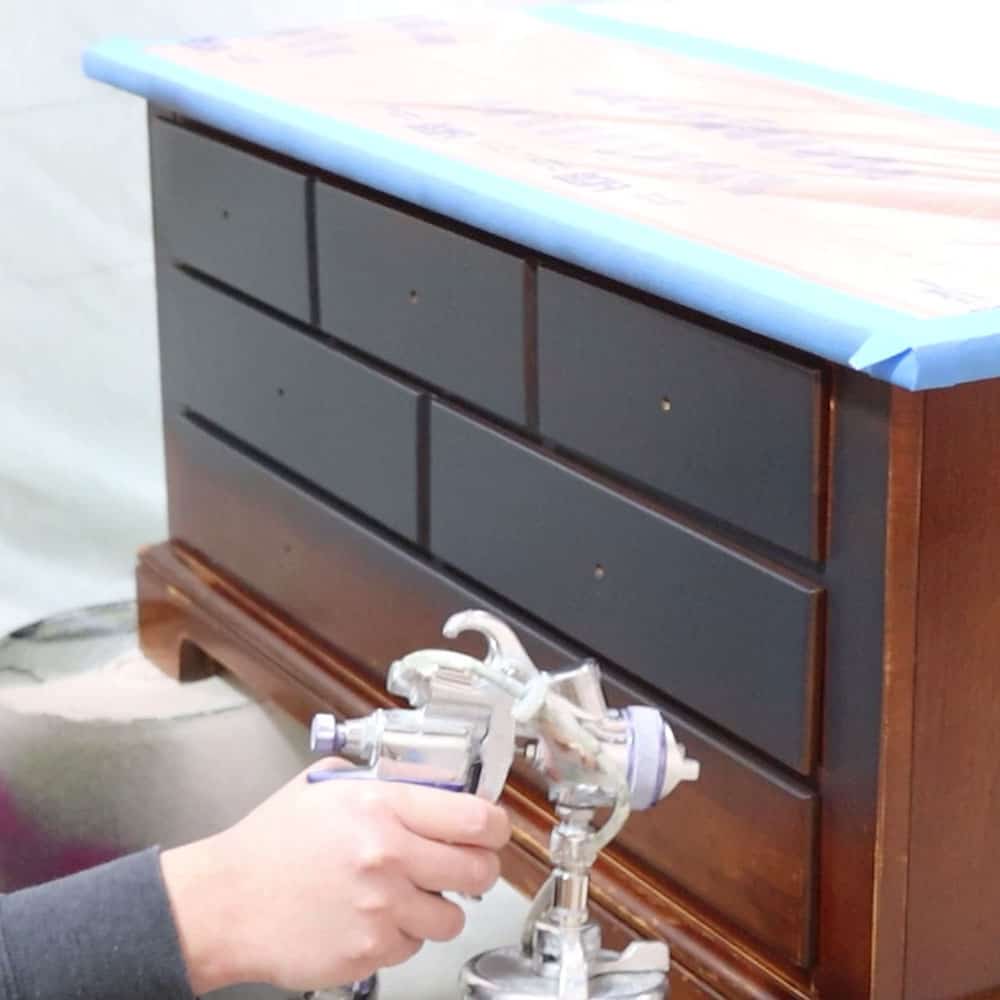
Painting Coffee Table Black
And then, I loaded my paint sprayer with some Liquorice. It’s thick, so I thinned it out with some water. Then, I applied it onto the piece. Here’s more about how to thin and how to use the Fuji Q4 Platinum Paint Sprayer.
Country Chic Paint is some of my favorite chalk paint – check out my honest and detailed Country Chic Paint review here. Here’s my lists of the best black chalk paint for furniture and the best matte black paint for furniture, including Liquorice.
I recently also tried Fusion Mineral Paint in Coal Black in my HVLP gun on this flat file cabinet makeover (as seen in this repainting furniture post), and I love how it turned out!
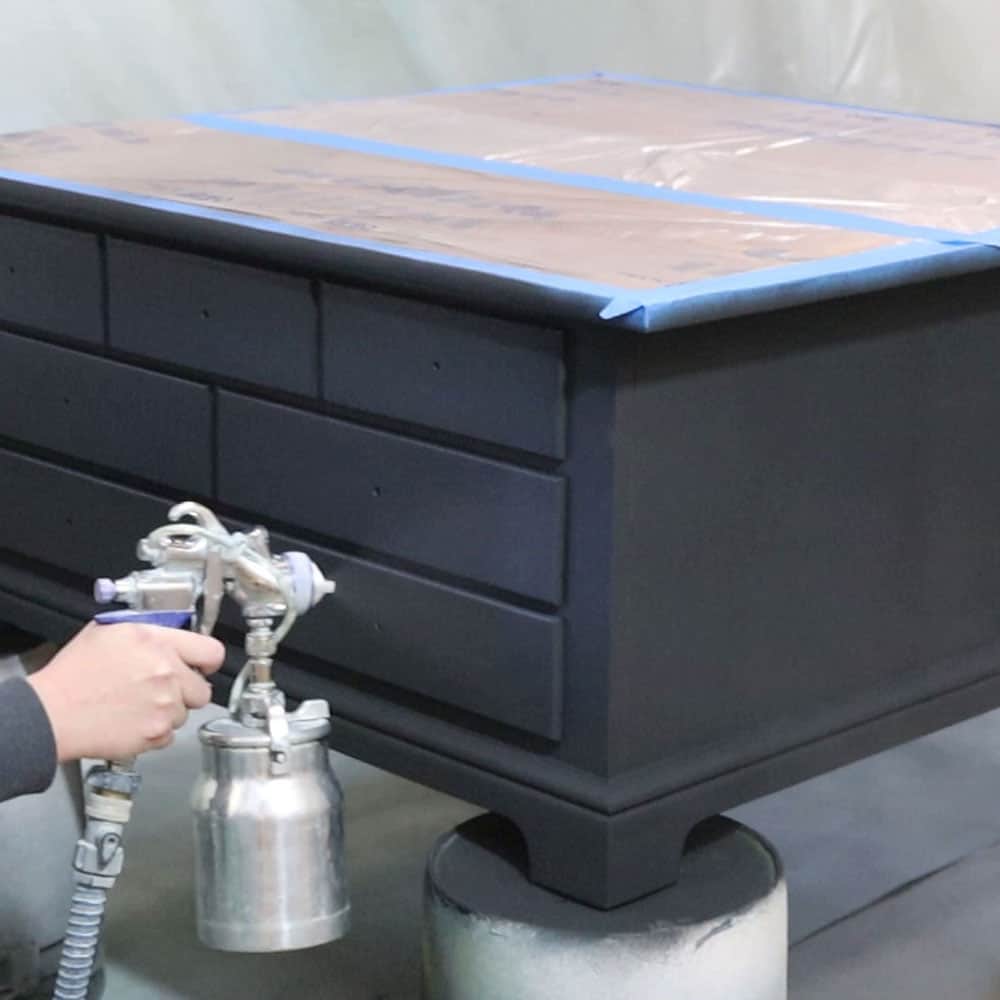
It took 2 coats to get everything covered. I also touched up on the inside of the drawers with a paintbrush. Read this post to learn more about the best paint brushes for painting furniture.
All of that took about 3 hours, with only about 20 minutes of it spent actually putting the coating in the sprayer and then spraying. The rest was all dry time. Haha I love spraying paint! Learn everything you need to know about how to chalk paint furniture here!
Spraying Polyurethane on Chalk Paint
While that last coat dried, I added some waterbased poly into the sprayer that still had a little bit of black coating in it.
After the chalk paint was completely dry, I applied the black tinted polyurethane onto it. Then, I let that coat of poly dry. Then I felt the finish. It was feeling pretty rough, so I very lightly sanded everything down with a fine grit foam pad. Just to make it feel smooth.
I cleaned up the dust, and then I added 3 more coats of polyurethane. 1 more all over, and then 2 more with the drawers open. Here’s a tutorial on how to spray polyurethane. If you don’t have a sprayer, here’s how to apply polycrylic to painted furniture.
Or you can use an all-in-one paint that doesn’t require a topcoat! Check out this painting furniture black post where we updated this cedar chest without a topcoat using Heirloom Traditions Paint.


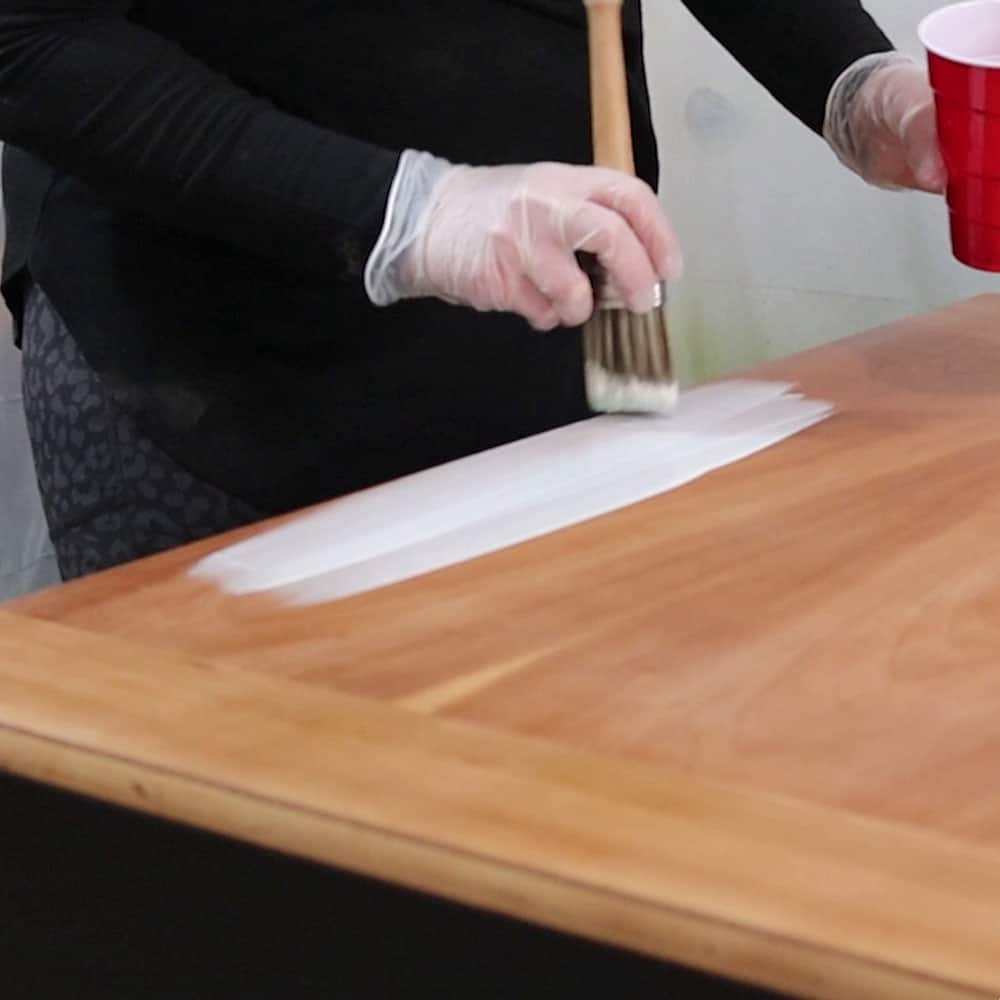
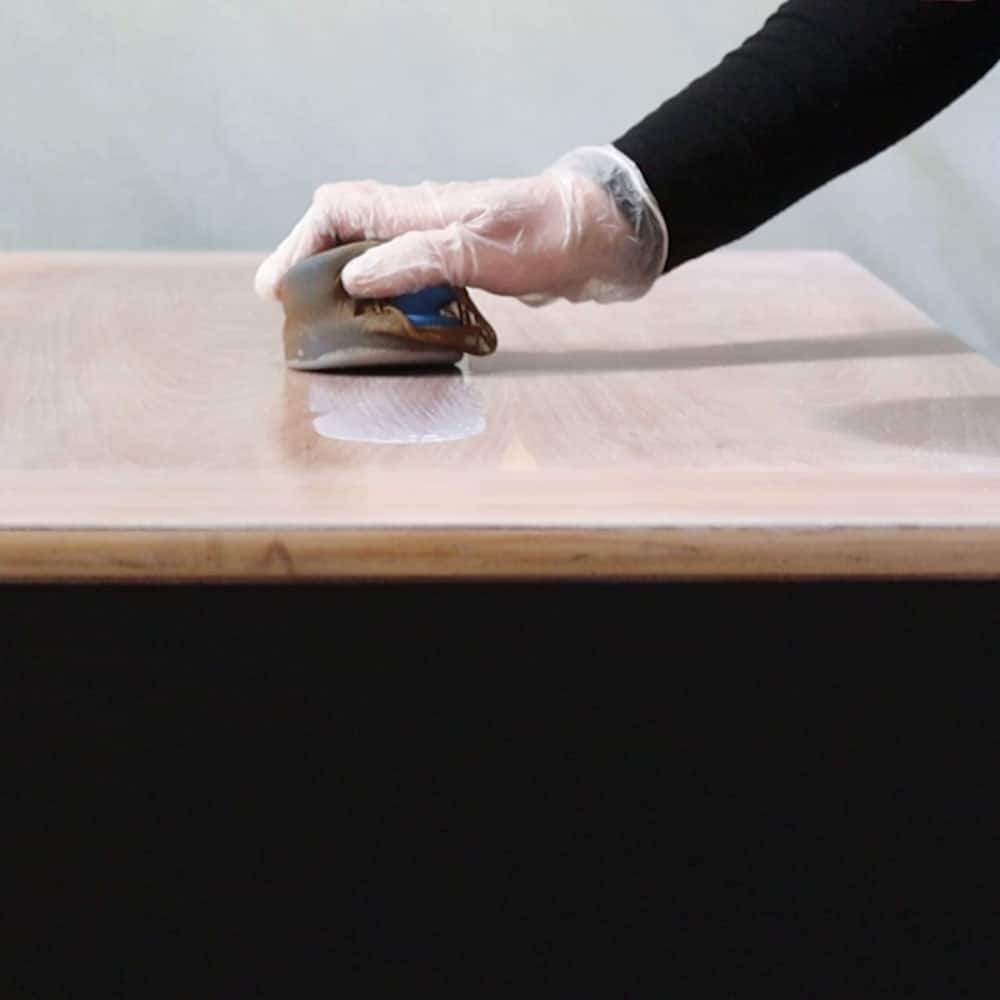
How to Whitewash Wood
I wasn’t a fan of how orange the wood on the top looked. I sanded the top a little bit because there were some smudges in the shellac somehow. And then I whitewashed the wood. Here’s another great method on how to tone down orange wood furniture for a much better look.
This was probably the most difficult part for me. It was such a large space, and then the wood grain was going different ways. And you have to work quickly with whitewash.
Would you like to save this?
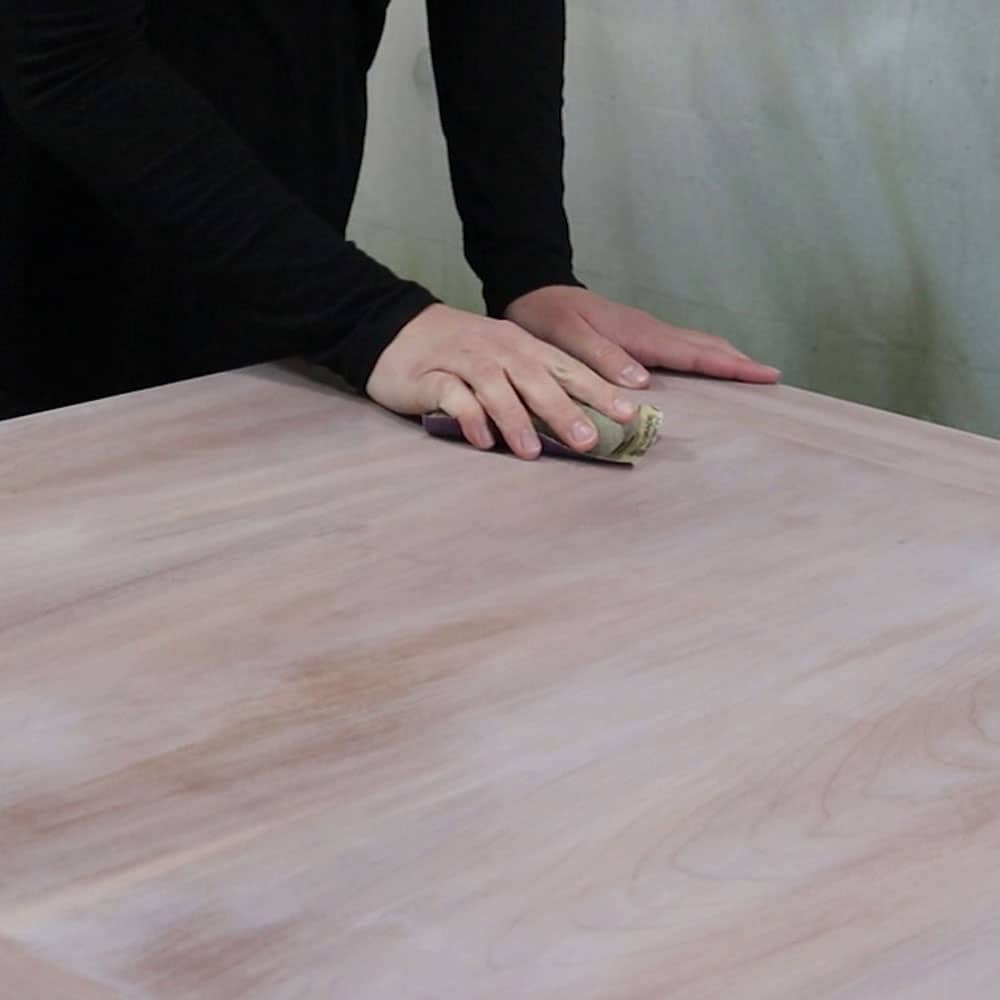
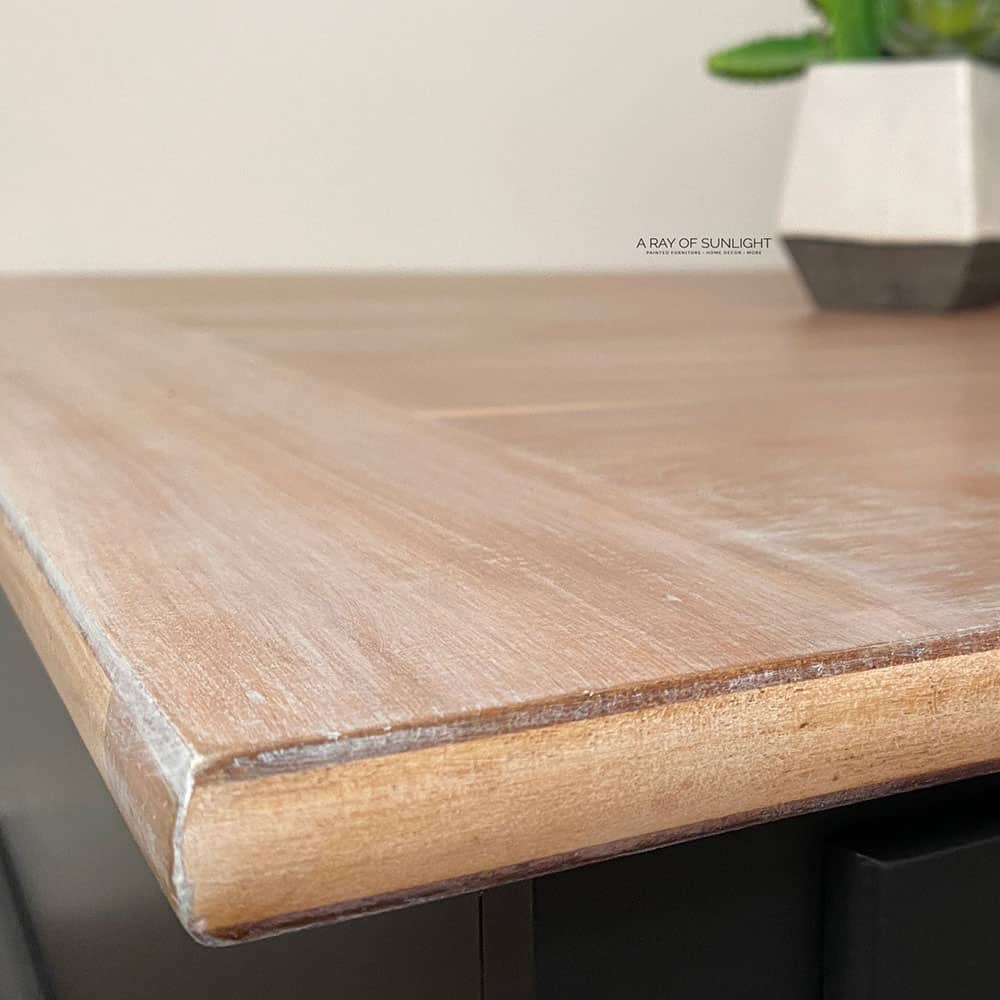
So, I ended up doing two coats of whitewash, which looked terrible. And then I sanded it back down to where I was almost happy with it. Then I dry brushed a little more wash on in a couple of spots, and when those were dry, I sanded them ever so lightly so you couldn’t see the brush marks.
Here’s a way better tutorial for how to whitewash furniture! And check out whitewashed furniture ideas here for inspiration.
It’s not perfect by any means. Then, I used a foam sponge and some pantyhose to topcoat the top by hand. And I put the drawers back in. And put on some new knobs.
You can watch the whole process in our YouTube video below, or scroll down to see what it looks like now! What do you think??
More Before and After Makeovers
See All >
Click any of these “before” photos below to view the “after” of that makeover.


For more DIY projects like this, check out these black painted coffee table ideas and chalk painted coffee table ideas. Upcycle your old piece with these redoing coffee table ideas. Check out some more black chalk painted furniture ideas here! Get more ideas for your next DIY project with these coffee table refinishing ideas.
And why did I let this thing sit on the sidelines for so long? It wasn’t hard at all! It took a couple of days, including all of the dry time. And I was able to embrace the bad sanding job on the top. You can only barely see the swirl marks here and there, but it mostly just looks rustic. Haha
I probably spent around $75 for the coffee table and then around $65 on supplies. And around $2000 in tools. Hahaha anyway, I’ll be back next time with another new makeover!

Ideas for Painting a Coffee Table
Aside from using black, there are many other fun and creative ways to give your piece a fresh new look. If you still like a bold statement, you can try using these bold furniture paint colors, or you can go for a more subtle look by using these neutral furniture paint colors. You can also mix and match different colors for each drawer.
You can use stencils to add a unique design to your piece. Stencils come in a variety of patterns, from geometric shapes to floral designs, and you can even raise the texture like this DIY raised stencil on furniture.
Just like we did in this black coffee table makeover idea, you can make the top stand out by refinishing it with a whitewash or stain. If you’re thinking, “is two-toned furniture in style?” – we think so! A colored base with a stained top? It’s a combo that’s both unique and timeless!
Check out our list of ideas for painting a coffee table and coffee table makeover ideas to find more inspiration. If you want a more modern update, here’s our list of modern chalk painted furniture ideas.


Black Coffee Table Makeover Idea
Here’s a black coffee table makeover idea with chalk paint and a whitewashed wood top.
Materials
Tools
Instructions
- Prepare coffee table by removing old hardware, cleaning off all the dust and gunk and sanding it smooth.
- Spray 2 coats of clear shellac all over the table.
- Thin out black chalk paint with some water then spray 2 coats onto the table (except the top). Touch up paint inside the drawers with a paintbrush.
- Leave the paint to dry.
- When paint dries, spray 3-4 coats of polyurethane.
- Apply whitewash on table top then sand as needed.
- Topcoat the top by hand using foam sponge and pantyhose.
- Attach new hardware.
Recommended Products
As an Amazon Associate and member of other affiliate programs, I earn from qualifying purchases.


More Coffee Table Makeovers
- White Painted Coffee Table
- Printmaker’s Farmhouse Industrial Coffee Table
- Rustic Wood Coffee Table
- Blue Chalk Paint Coffee Table
- Painting a Coffee Table
Learn the Art of Updating Furniture!
If painting furniture feels overwhelming or your past attempts didn’t go as planned, this course will guide you step by step.

Follow us on YouTube to get more tips for painting furniture. Or share your project with us on our Facebook Group and be part of our community. See you there!
I noticed you sprayed the unit with the drawers in and closed. Is that the best way to do it? I actually have a very similar coffee table sitting out on my patio right now.sa
That’s the best way for me, with a tight space, and I hate bending over the drawers on the floor because it hurts my back.
Either way I wrap the drawers in plastic.
It’s true, I keep buying all the better tools to make the furniture makeovers easier! Thank you for the love on the Coffee Table!