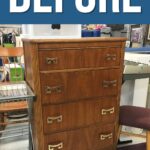
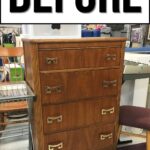
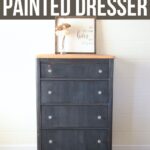
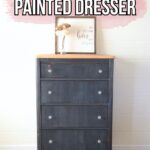
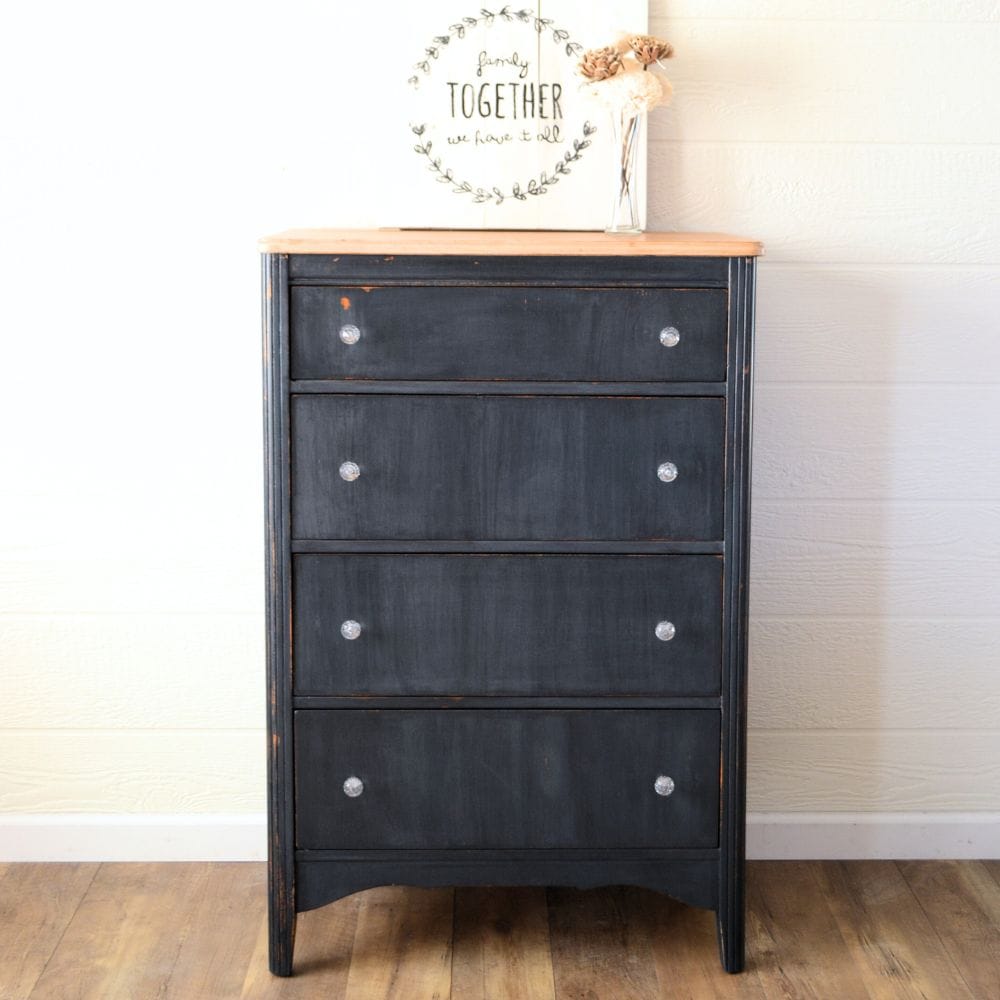
Navy Blue Milk Painted Dresser
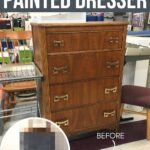
Are you looking to add a fresh and unique touch to your home decor? This stunning navy blue milk painted dresser will surely make a statement in any room! In this post, we’ll guide you through one of these DIY dresser makeover ideas using milk paint and simple techniques to create a beautiful and charming piece.
So roll up your sleeves and let’s get started on transforming your old dresser into a one-of-a-kind navy blue beauty!
Milk paint is a popular choice for furniture makeovers due to its natural and eco-friendly composition. This is one of the types of paint for furniture that creates a unique and charming finish on furniture pieces.
Its versatility allows for various techniques such as chipping and distressing to create a vintage or rustic look.

Now after deciding on milk paint, it’s time to decide on a color. Navy blue is a timeless and elegant choice that can add depth and character to any piece of furniture. It pairs well with different styles, from modern to farmhouse, making it a versatile color for dressers.
So let’s dive into the steps on how to paint your dresser navy blue using milk paint!

Supplies Used For Navy Blue Milk Painted Dresser
As an Amazon Associate, I earn from qualifying purchases. I also may earn from other qualifying purchases with other companies or get free product to review and use. All opinions are my own.
- Bondo
- Krud Kutter
- 80 Grit Sandpaper
- 120 Grit Sandpaper
- 220 Grit Sandpaper
- Dewalt Orbital Sander
- Tack Cloth
- Milk Paint
- Varathane Water Based Polyurethane
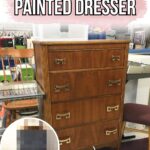
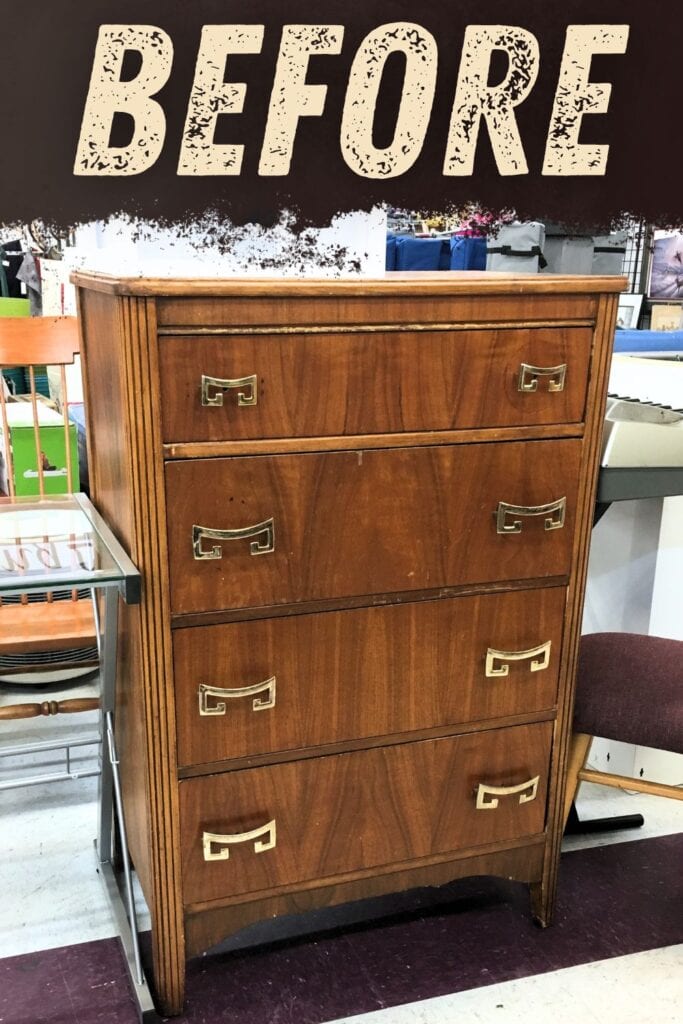
Preparing Dresser for Milk Paint
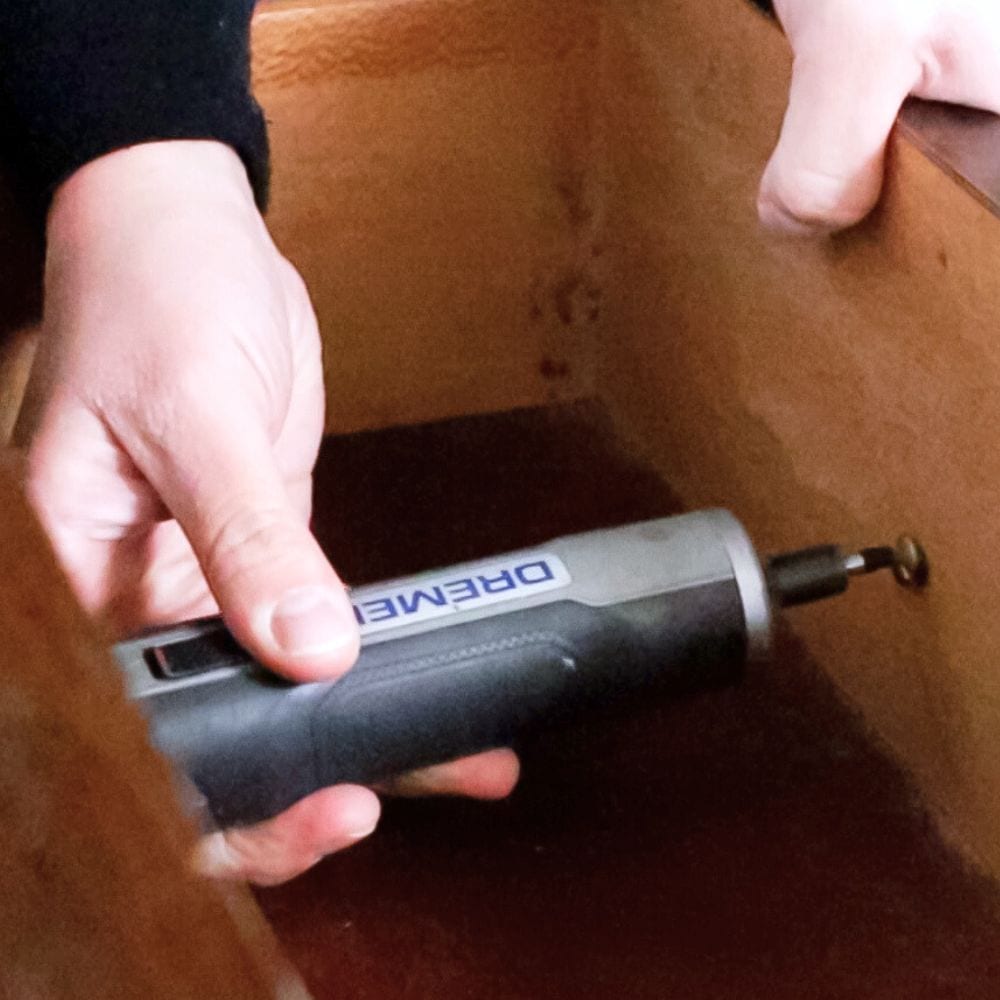
First things first, start by removing all hardware from your dresser. This includes knobs, pulls, and any other metal pieces.
If the hardware is in good condition, set it aside to be reused later. Otherwise, you can replace them with new ones for a fresh look.
We filled in hardware holes on the dresser with Bondo, which is one of the best wood fillers for furniture. Bondo is a strong and durable filler that can be sanded, painted, and stained just like wood.
Check out our Bondo wood filler review for more information on how to use it. Here are more ways of filling holes when replacing cabinet or furniture hardware.
Next, give your dresser a thorough cleaning to remove any dirt or grime that may affect the paint’s adhesion.
Use a degreaser like Krud Kutter to clean the surface and let it dry completely before moving on to the next step.
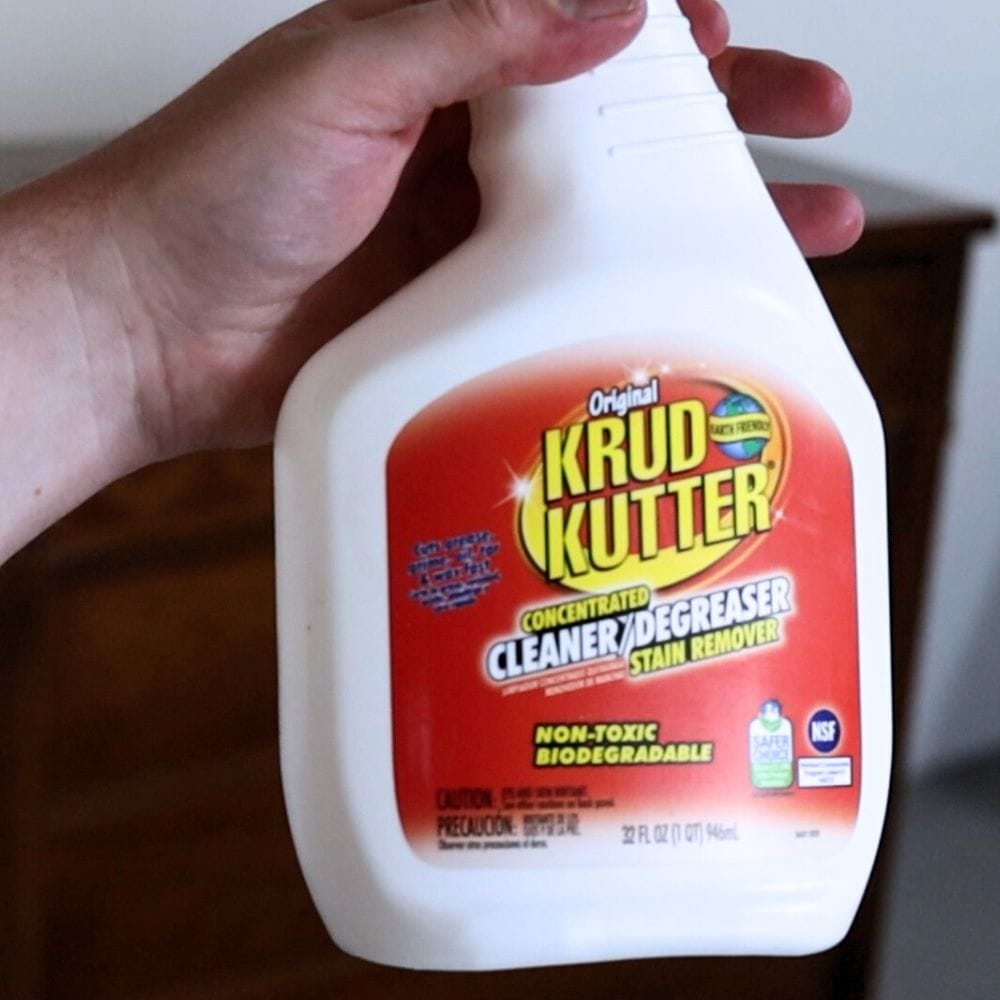
Our post on how to clean furniture before painting is a handy guide for you!
Make sure to inspect and fix any damage or imperfections on your dresser before painting. This includes filling in scratches and dents with wood filler or Bondo for larger areas.
Once the filler is completely dry, sand it down until smooth to create a seamless surface.
Sanding Dresser Before Painting
Now start scuff sanding your dresser, which is lightly sanding the surface to roughen it up for better paint adhesion. This step is important if you want your milk paint to adhere well and prevent chipping.
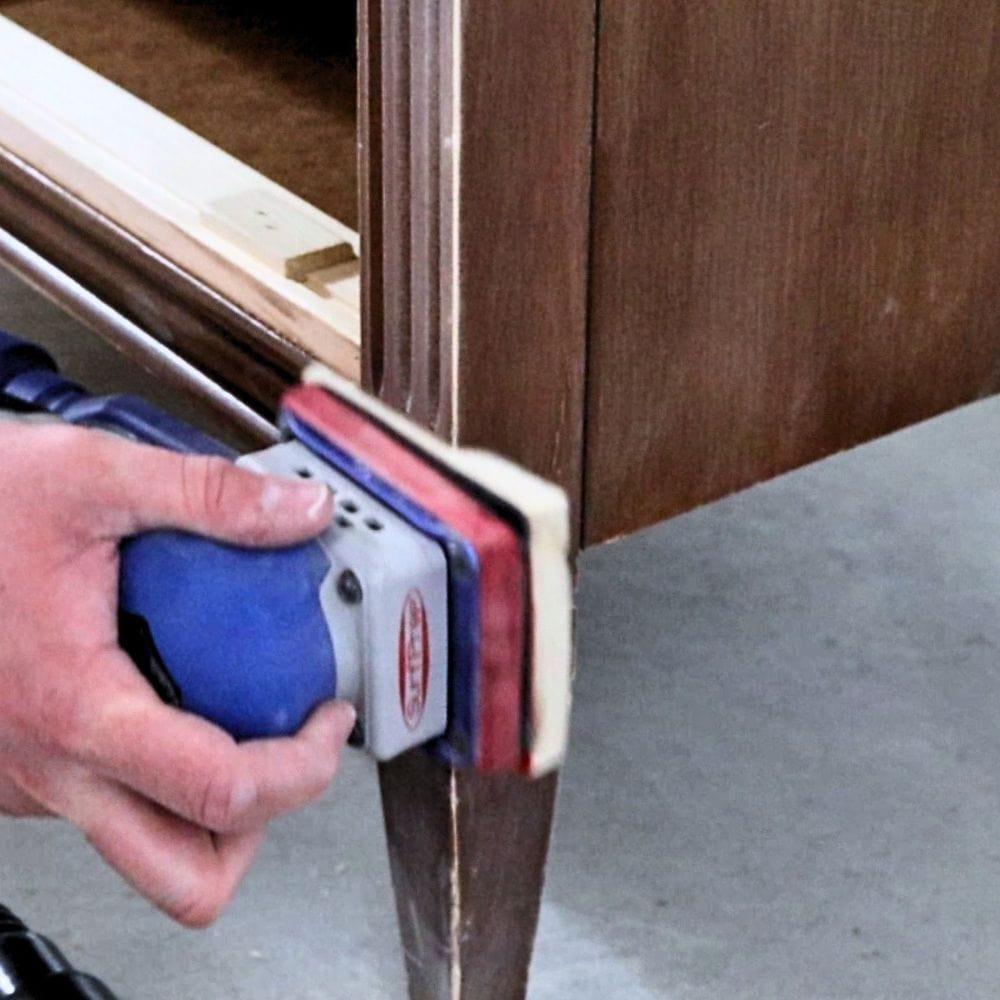
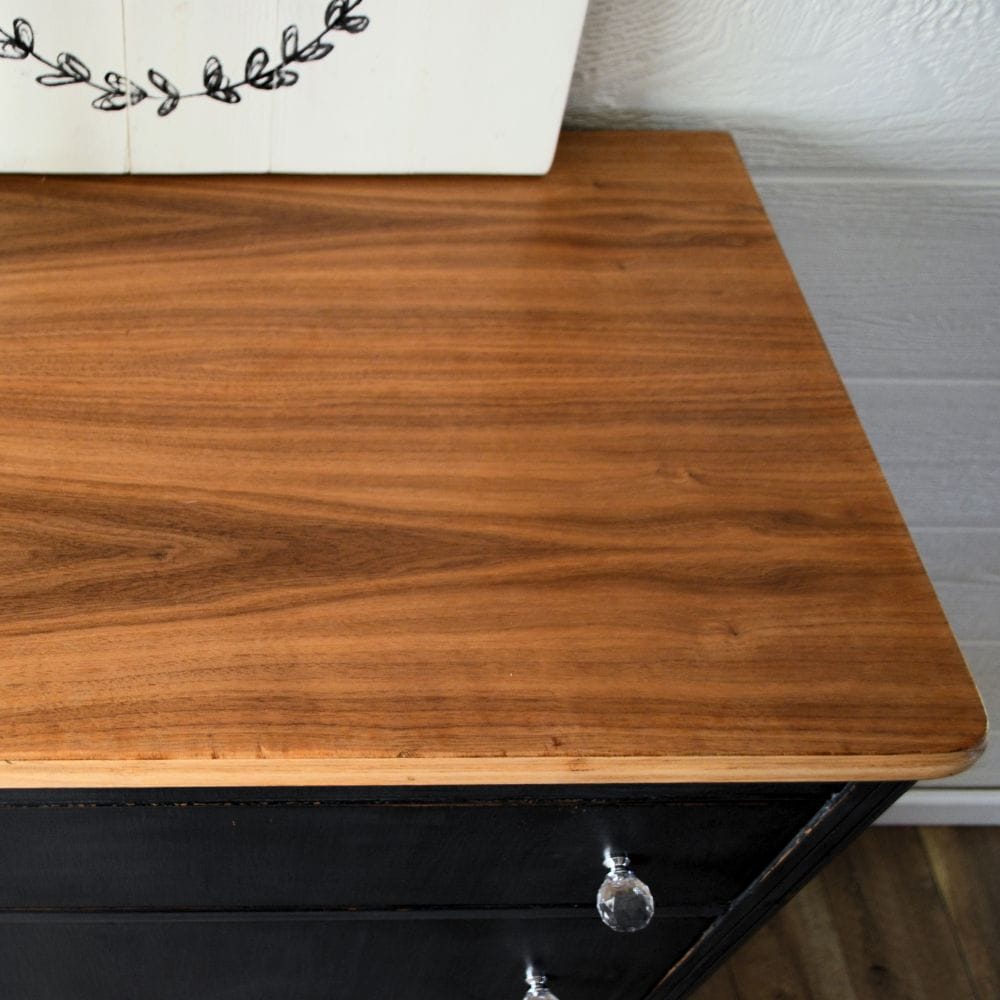
Our dresser had a damaged wood top, so we sanded it down to bare wood using 80 grit sandpaper and then went over it with 120 and 220 grit for a smooth surface with our Dewalt orbital sander. For curved edges and details, you can learn from our tutorial on how to sand curved surfaces.
If you prefer a chippy look, you can skip this step. Milk paint naturally chips and flakes off in areas where the surface is not well prepared. But if you want a clean and smooth finish and to help your paint adhere better, sanding is the way to go.


Plus, sanding will also smooth out any imperfections on your dresser and create a flawless surface for painting. You can learn more about how important sanding before painting furniture is in our post.
Make sure to remove all the dust from the sanding. You can use a tack cloth or a damp cloth to wipe down the entire piece thoroughly. Any dust particles left behind can affect the paint’s adhesion and lead to a less than desirable finish.

Would you like to save this?
Painting Dresser with Navy Blue Milk Paint
Once you are done preparing the dresser for painting, it’s time for mixing milk paint. You can choose different brands of milk paint, but we used Miss Mustard Seed Milk Paint in Artissimo for this dresser.
Here’s our list of the best milk paint for furniture to learn more about the top powdered milk paint options!
Mix equal parts of powder and water in a container until you get a smooth consistency free from lumps. You can check out our tutorial if you’re also interested in mixing milk paint colors to create a custom shade.
Grab a brush and start painting! Milk paint dries quickly, so make sure to work fast and cover all the areas in smooth strokes. This dresser took 2 coats of navy blue paint for full coverage. Let the first coat dry completely before moving on to the next one.
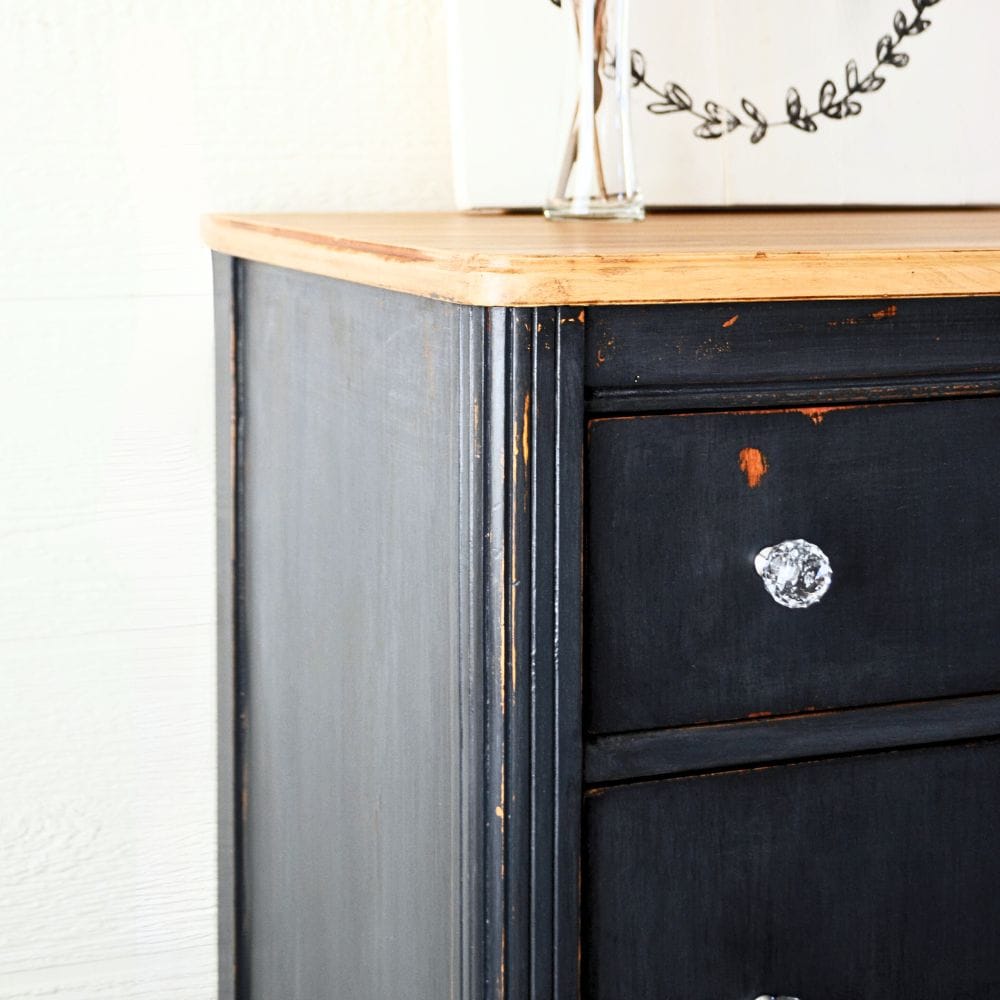
Once you’re satisfied with the color and coverage, you can distress the dresser using 220 grit sandpaper. Simply rub on areas that naturally wear out over time, such as edges and corners, to create a vintage look.
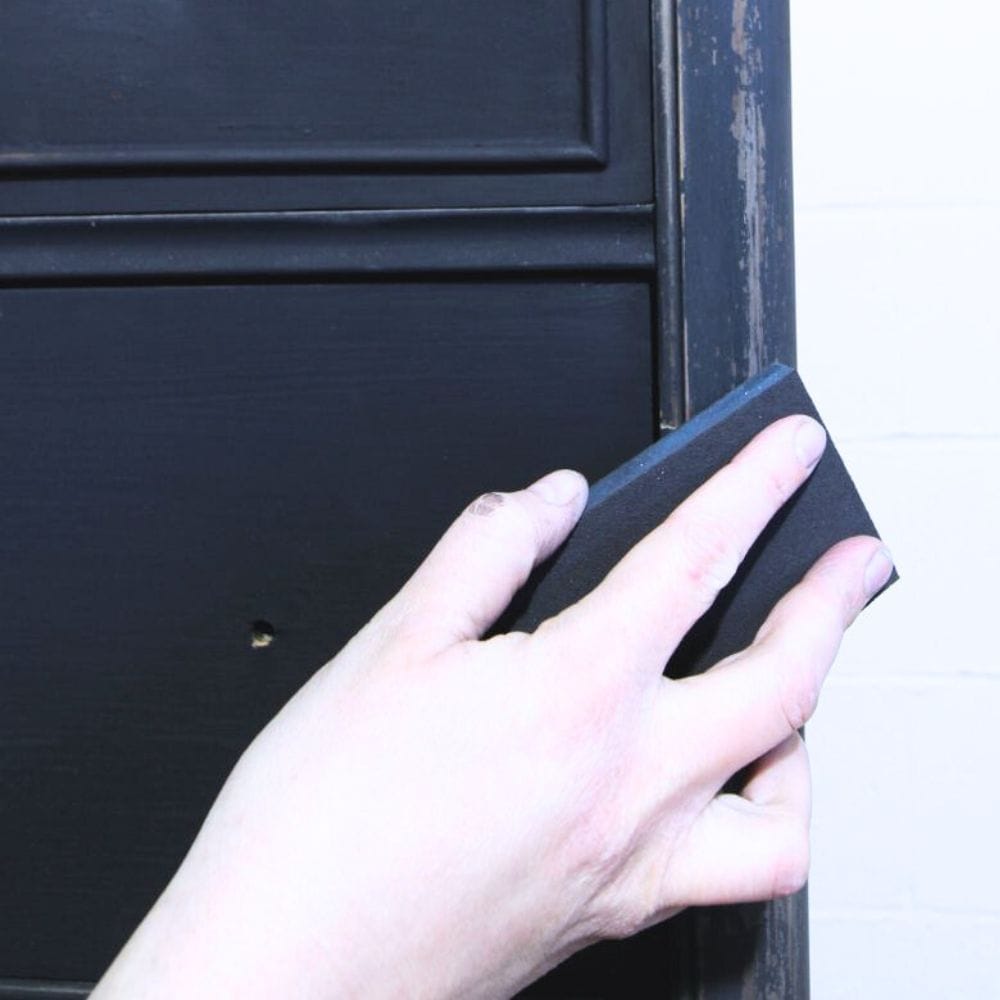
You can distress as much or as little as you like, depending on the look you’re going for. Here are the best distressing furniture techniques you can try.
Seal your dresser with a topcoat to protect the paint and add a smooth finish. We used Varathane water-based polyurethane for this navy blue dresser, but you can also use other topcoats for painting furniture.
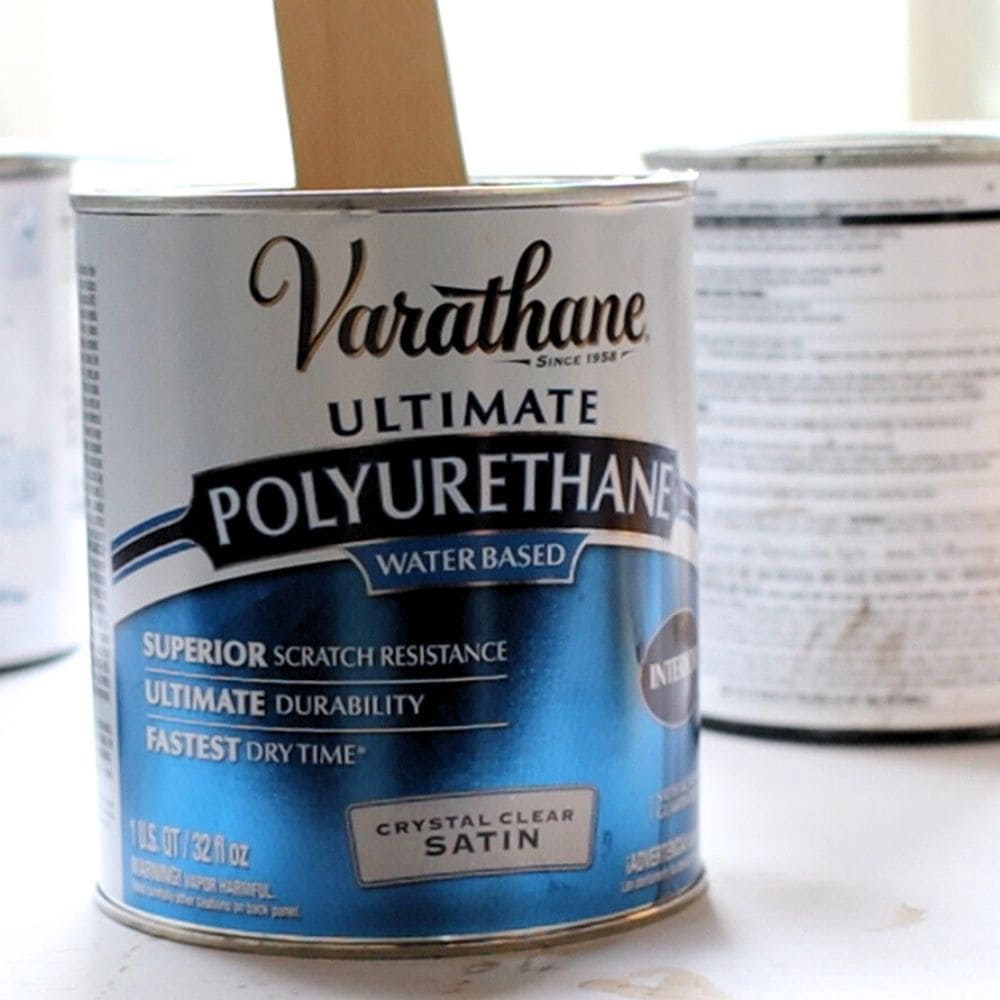
Allow the topcoat to dry completely before reattaching your hardware or adding new ones for a fresh, updated look. We got these new crystal knobs and love how they add a touch of elegance.
And there you have it, your very own beautiful navy blue milk painted dresser!
Is distressing necessary for milk painted furniture?
Distressing is optional and depends on the look you’re going for. Milk paint does naturally chip and wear off in areas, but distressing can enhance that vintage, worn-out look.
It adds character and charm to your furniture piece and can also be used to cover up any imperfections or mistakes in the painting process.
Some people prefer a clean, smooth finish without distressing, while others love the rustic feel of distressed milk painted furniture. It ultimately comes down to personal preference and the style of your home.
Remember that milk paint can chip or peel off in areas where the surface is not well-prepared or sealed properly. So if you don’t want that chippy look, it’s important to properly sand and seal your furniture.
We hope this guide on how to paint a dresser with navy blue milk paint has been helpful and inspiring for your next furniture makeover project. Here are more hand painted dresser ideas like this one!
More Before and After Makeovers
See All >
Click any of these “before” photos below to view the “after” of that makeover.


For more blue dresser makeovers, here’s our list of blue painted dresser ideas! You can also check out these unique bedroom dresser ideas for one of a kind styles you can recreate. If you want a boho theme, check out our list of boho painted furniture ideas.
And whether you choose to distress or not, navy blue milk paint is sure to add a beautiful and unique touch to your dresser.


Navy Blue Milk Painted Dresser
This stunning navy blue milk painted dresser will surely make a statement in any room!
Materials
Tools
Instructions
- Remove any hardware from your dresser, clean the surface and inspect for damage or imperfections. Fill in any scratches or dents with wood filler.
- Sand down the surface of your dresser to roughen it up for better paint adhesion, using 80 grit sandpaper. Then smooth out the surface with 120 and 220 grit sandpaper for a flawless finish. Wipe down the dresser with a tack cloth or damp cloth to remove all dust from sanding.
- Mix equal parts of milk paint powder and water in a container until you get a smooth consistency without lumps. Apply the first coat of navy blue milk paint on your dresser, working quickly and covering all areas. Let the first coat dry completely before applying a second coat for full coverage.
- If desired, distress the dresser using 220 grit sandpaper by rubbing on edges and corners to create a vintage look. You can distress as much or as little as you like.
- Seal the dresser with a topcoat to protect the paint and add a smooth finish. Let the topcoat dry completely before reattaching your old hardware or adding new ones for an updated look.
Recommended Products
As an Amazon Associate and member of other affiliate programs, I earn from qualifying purchases.


More Painted Dresser Makeovers
- DIY Fluted Dresser Makeover
- Blue DIY Dresser Makeover
- Shutter Gray French Country Dresser
- DIY Navy Blue Bedroom Dresser
- Blue Nursery Dresser Makeover
Follow us on YouTube to get more tips for painting furniture. Or share your project with us on our Facebook Group and be part of our community. See you there!
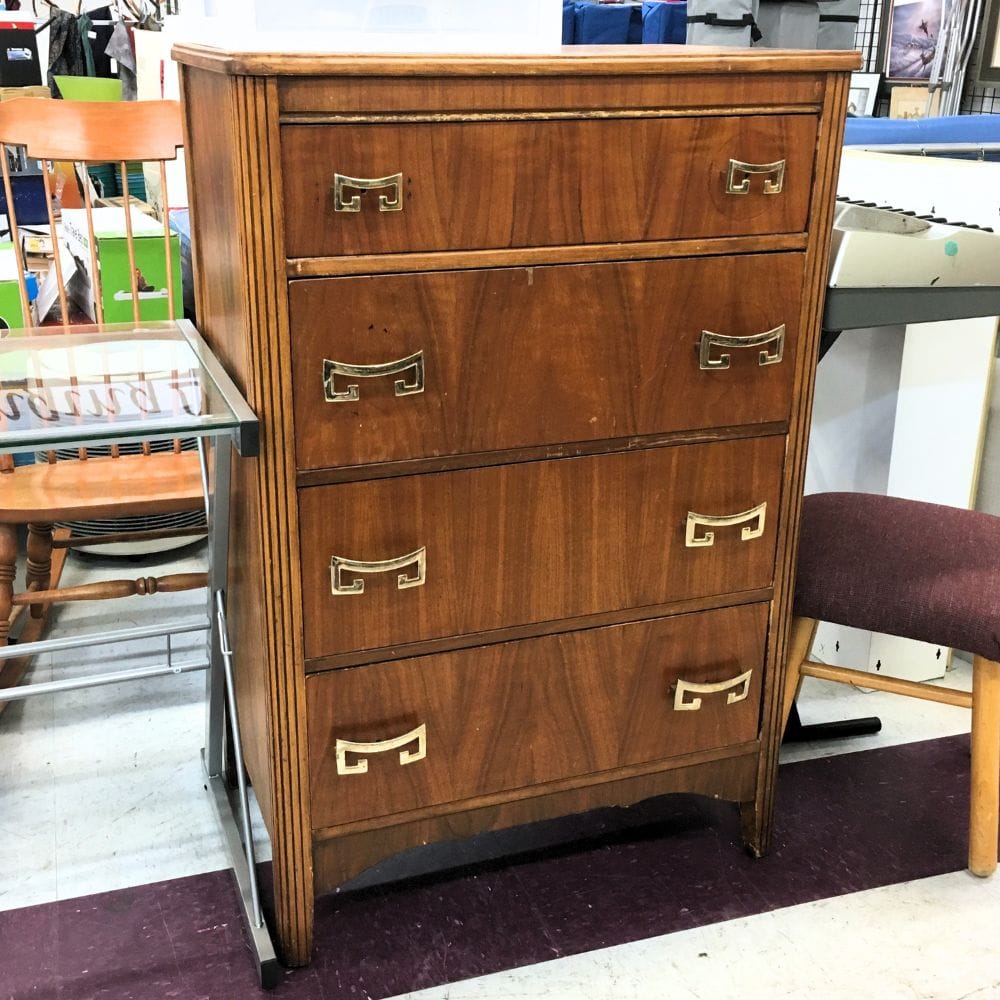
I would like to have seen the original pulls on this. They are stunning! They would have really pumped up the navy paint color.
I hear you!