How to Prepare Furniture For Painting
Learning how to prepare furniture for painting is super important! Sure, you don’t have to prep wood furniture for paint, but you’ll likely run into some issues with your finished project if you don’t. Proper preparation is key to creating professional looking results and avoiding any potential disasters.
So before grabbing that paintbrush or paint sprayer, check out these painting furniture ideas to prep your furniture for a smooth and lasting finish.
Prepping is SO important for a long lasting finish. Without prep, there is a good chance the paint will end up peeling or chipping off. Annnnd if that happens, the paint all has to be stripped off and the project started all over. Boo! So, don’t skip the prep! (Even if the can of paint says “no prep paint”)

It may sound pretty intimidating, but it’s SUPER SIMPLE and probably won’t take as long as you think it does. And honestly, it’s probably a lot less work than having to redo an entire piece of furniture because the paint didn’t adhere properly.
This is especially important for furniture pieces that are frequently used or located in high traffic areas. So let’s dive into each step in more detail so you can successfully get your furniture ready for the painting process.
Supplies Used to Prep Furniture For Painting
As an Amazon Associate, I earn from qualifying purchases. I also may earn from other qualifying purchases with other companies or get free product to review and use. All opinions are my own.
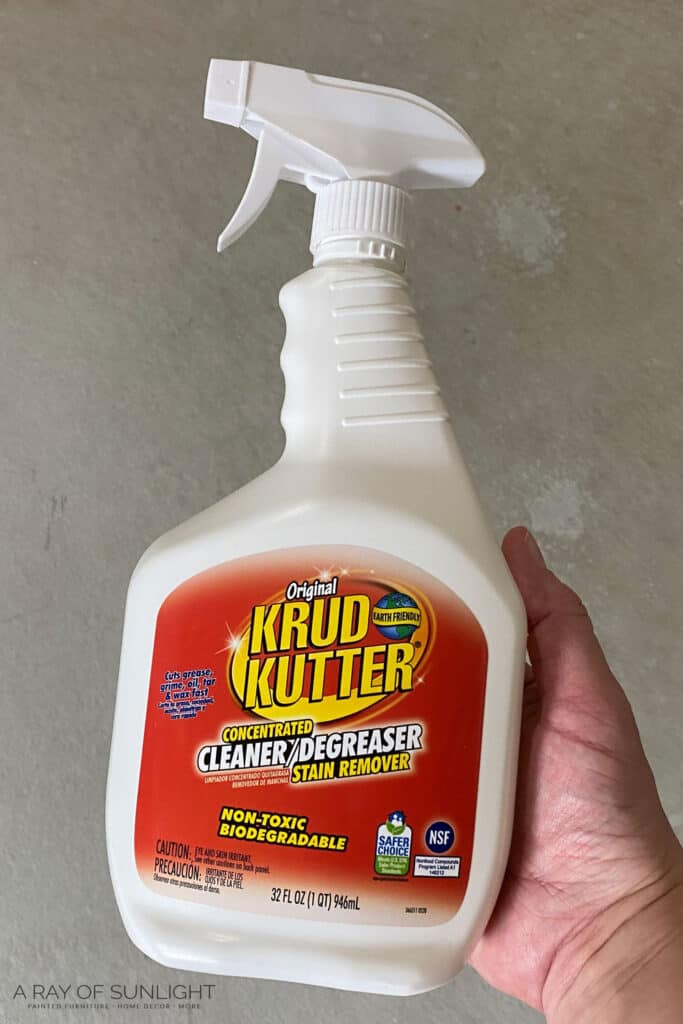
- Krud Kutter Cleaner Degreaser
- Old Rag
- 220 Grit Sandpaper
- Vacuum with Hose and Brush Attachment
- Tack Cloth
- Primer
Preparing Furniture for Painting
Prepping furniture to paint usually includes three main steps: cleaning, sanding and priming. Keep reading for tips and tricks on how to successfully complete these steps before moving on to painting your piece.
Cleaning Furniture Before Painting
Most furniture is dirty in some way, shape, or form. Even if it isn’t old. So before doing anything, get that piece of furniture clean. You need to remove:
- dirt
- grime
- oils
- grease
- furniture polish (this is a hard one!)
All of those things can make the paint not stick, or make the finish easily scratch, flake or peel off in the future. They can also honestly just make the paint look bad. So get them gone! Here’s more on why most people’s furniture paint jobs fail and how to fix it.
Best Degreaser for Cleaning Furniture
It doesn’t have to be anything super crazy. I personally always use the Krud Kutter cleaner / degreaser (it’s great for cleaning around the house too!) A lot of professionals recommend using a 1 to 1 ratio of denatured alcohol and water.
TSP is also a common cleaner, but be really sure to rinse off the residue, and that the paint/primer you use doesn’t say not to use it. They are all great cleaners and will work.
How to Clean Furniture Before Painting
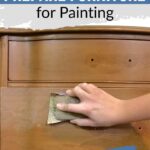
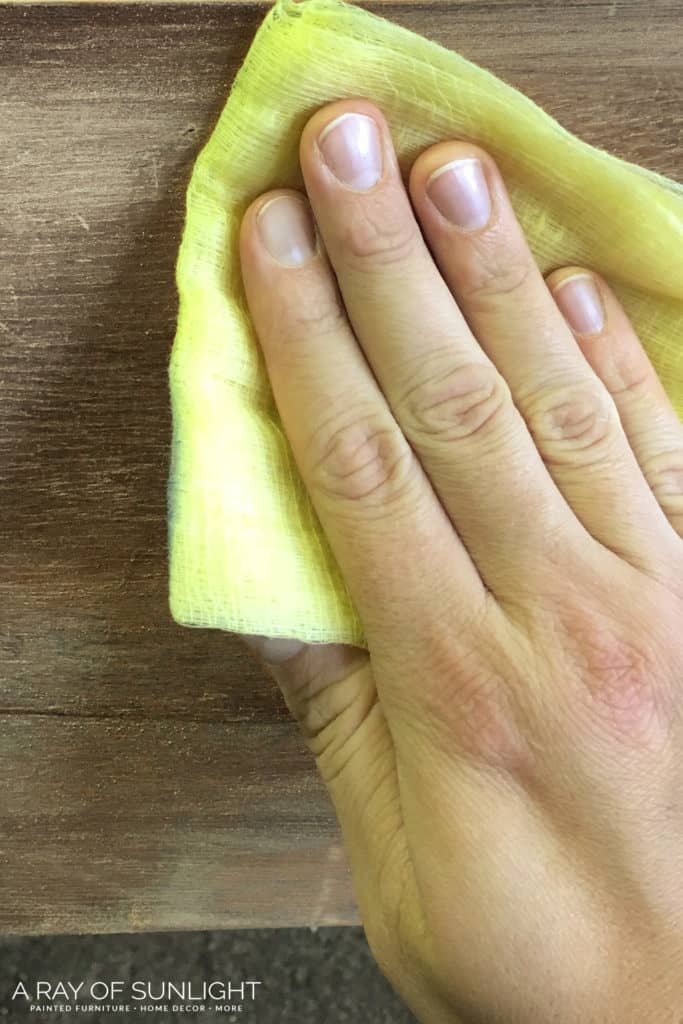
- Wipe your furniture down with a damp old rag and the cleaner of your choice.
- If there is a lot of grime built up, you can scrub it first with a soft sponge, scrubber.
- And then I like to go back over it all again with a clean damp rag to make sure it’s all cleaned off.
Pro Tip: Clean the piece BEFORE you sand. This way, you won’t smash any built-up yuckiness into the wood.
Sanding Before Painting
Ah, sanding. The thing most people want to avoid. I get it, it’s one more step in the process. And sanding creates dust, that you have to clean off. But it really isn’t bad. An average size dresser should take about 20 minutes to sand by hand. This sanding doesn’t mean that you need to sand down to the raw wood either!
Do I Need to Sand Before Painting Furniture?
Yes and no. You could skip it. But you take the risk of your paint not adhering very well (right off the bat, but in the future, it may be easier to get scratched as well.) But, sanding isn’t the end all, be all answer to getting paint to stick to furniture.
Here are some questions to help you figure out if you need to sand before painting:
- Is the old finish flaking off in some spots, or does it feel super rough?
- If so, you’ll want to get your furniture sanded smooth, or else your paint job will be and look rough too.
- Are you priming with a really good bonding primer before painting?
- If you are, you should be fine to skip sanding.
- Is your furniture’s old finish slick?
- Paint has a really hard time holding onto slick surfaces, so you’ll need to scuff sand and/or prime with a good bonding primer for best results. I’ll share more about bonding primers in the section below.
Every piece of furniture can benefit from a little sanding before painting. Learn more about the importance of sanding before painting furniture in this post.
What Grit Sandpaper for Wood Furniture Before Painting
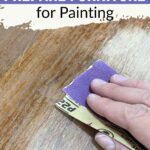
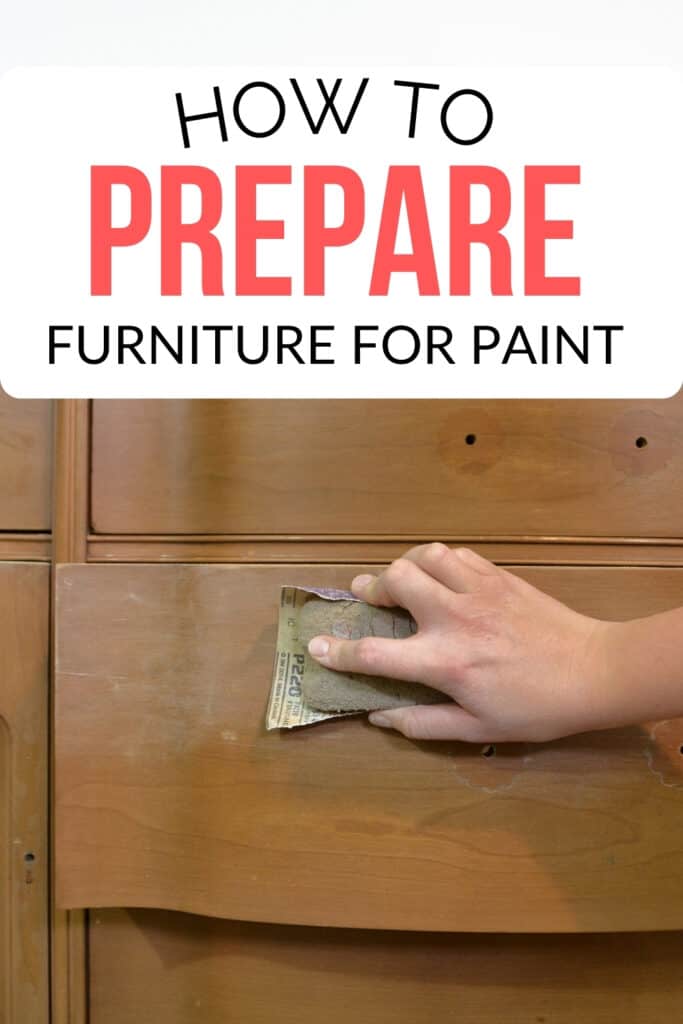
I use 220 grit sandpaper to scuff sand furniture before painting. I’ve seen others use 120-150 grit sandpaper too, but I feel like those grits are too coarse, and they leave way too deep of scratches behind.
How to Sand Furniture Before Painting
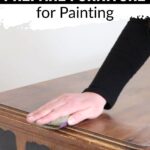
Lightly sand everything down with 220 grit sandpaper. Here’s more on how to choose the best sandpaper for furniture painting! If you’re using an electric sander, you should check out Surfprep sandpaper as it’s compatible with most sanders.
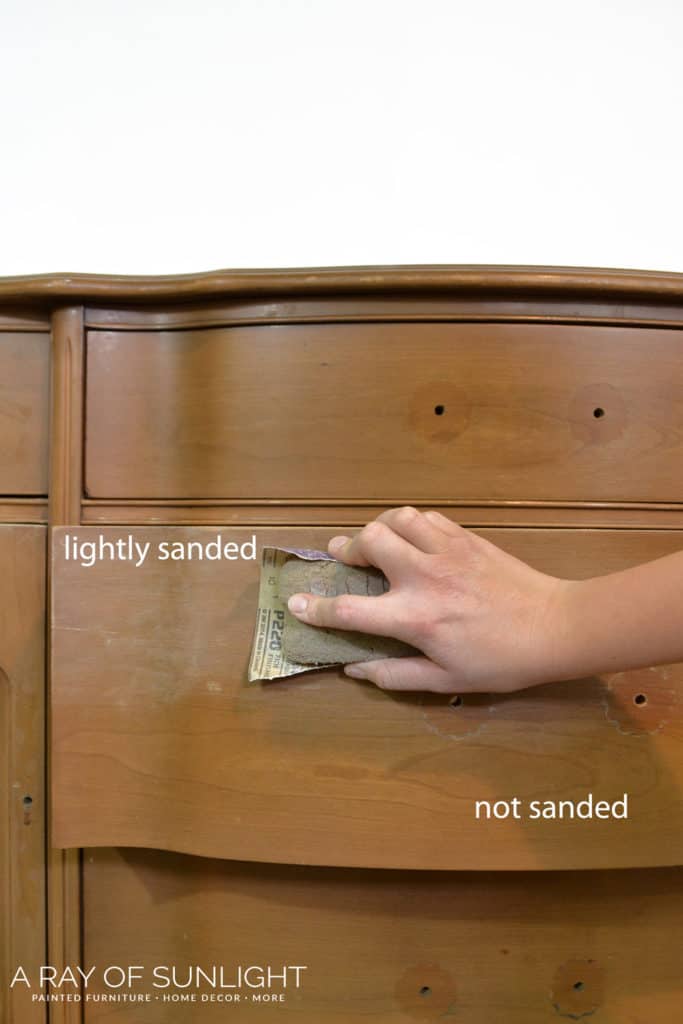
What does lightly mean? Quickly rub the sandpaper over everything just a few times. This basically just scratches the surface up a bit so the paint has something to adhere to. It also removes any shine that the old finish had. You don’t need to sand clear down to the bare wood!
I like to rip the sandpaper into 6 equal pieces, then fold one of those in half and rub that all over the furniture. To make things easier, I wrap a small rectangle of sandpaper around a sanding block, and then remove the sanding block when I need to get into any small details.
For small details, corners, or trim work, I fold the sandpaper in half again and sand with the folded edge.
Would you like to save this?
Removing the Dust from Sanding
It’s so much easier to use the hose attachment on the vacuum to collect the majority of the dust before moving on to wiping everything down. Plus, inside the drawers and cabinets probably need to be vacuumed out as well, so it’s a perfect time to do both! If you want your sanding experience to be quick, easy, and dust free, here’s SurfPrep Sander with Vacuum!
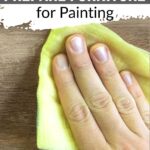
Tack cloths are so good at picking up all of the little particles of dust that are left behind after vacuuming off most of the dust. No, you don’t have to use a tack cloth to remove the dust, but they pick up the dust so much better than a rag can.
And they don’t leave any lint behind like rags do either!
Priming Furniture Before Painting
Priming. Honestly, it does so much more than make your paint stick. Depending on the primer, it also helps prevent bleed through issues from staining through the paint. Here’s more on how to stop stains from coming through paint! Other primers help your paint have better coverage too.
Do You Need to Prime Furniture Before Painting
Yes and no. There are a lot of paint options that have great adhesion. (Like chalk paint.) And there are even paints that have a stain blocking primer built into them. But even these paints have their limits.
Chalk paint still needs a bonding primer under it to stick to laminate or super slick furniture. But it also needs a primer to prevent bleed through from coming through the paint. Especially if you’re painting with a light color.
The Best Primer for Painting Furniture
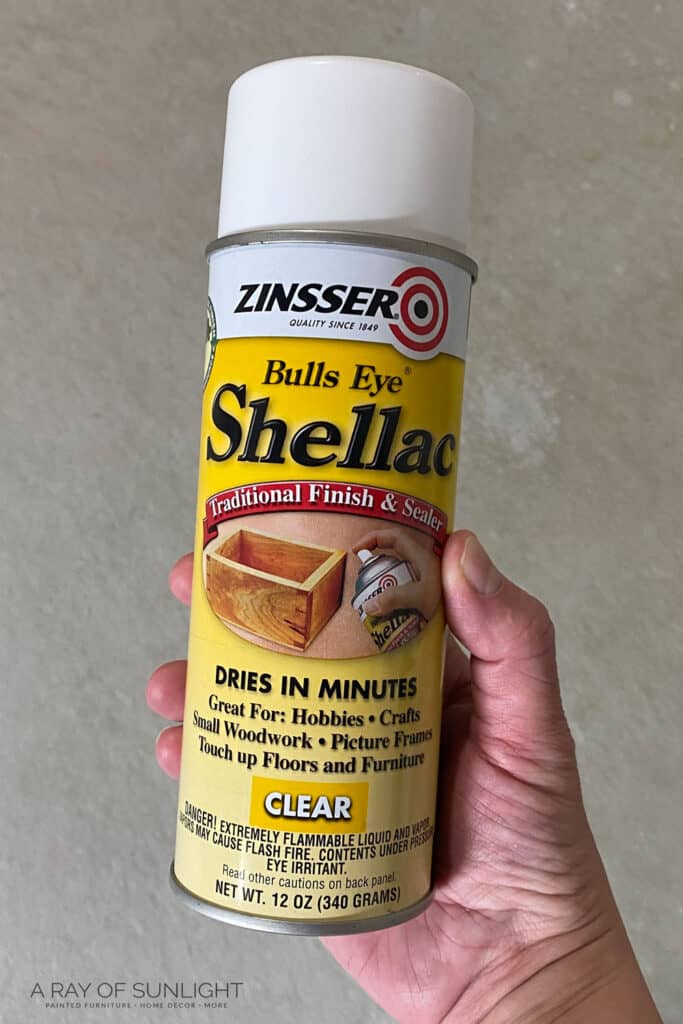
Shellac primer is the best primer for painting furniture. It is an amazing bonding primer, but it also blocks bleed through stains from coming through the paint!
I personally use the clear shellac in a spray can because I like to spray it on. But I also like to have the ability to distress the paint. And since it’s clear, I can distress without seeing any primer.
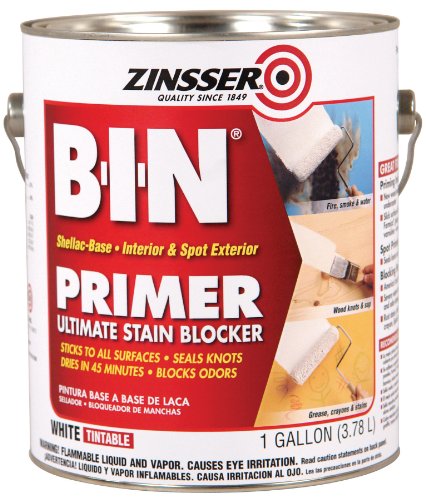
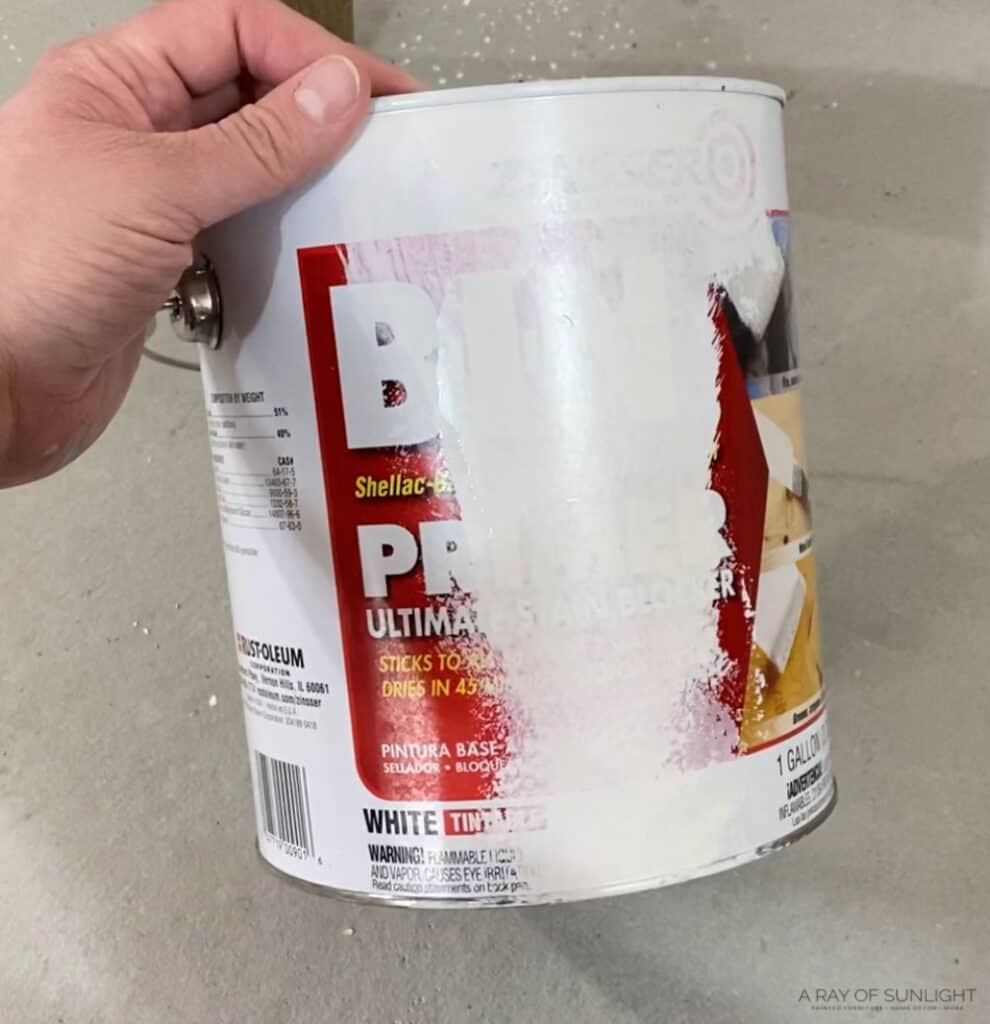
BIN shellac based primer (not the synthetic stuff!!) is the next best. It’s white, so it’s really great for lighter colors, and helps you to get better coverage with the paint. It’s available in the spray can as well!
There are also waterbased primers that work. But they need a lot of dry time in between coats and before you paint. Check out this YouTube video to see the best primers for laminate furniture. And check out this YouTube video on priming before using chalk paint to see how stain blocking primers compare.
Why do you use shellac as a primer if it’s a topcoat?
Yep, shellac is mostly known as a topcoat for wood. But it has amazing bonding properties and stain blocking properties!
(Did you know it’s also a great product to use on raw wood before you stain? It helps the wood take the stain more evenly!)
That’s why it’s the base for one of the most popular primers around – BIN shellac-based primer!
Do I have to use the spray shellac or can I use the stuff in the can?
I personally use the clear shellac in the spray can because it’s so easy to spray on! But you can definitely use the stuff in the can instead. You’ll just have to brush it on or put it in a paint sprayer. You’ll need some ammonia to clean your brush or paint sprayer!
Get Our Secrets!
Grab this super convenient How to Repair Furniture Ebook with all of our secrets on how to repair furniture for only $14.
You can print it out and have instant access whenever you come across damaged furniture, and know exactly how to fix it!
Click on the picture of the book to purchase!

How to Prime Furniture Before Painting
Apply 2 coats of shellac, letting the shellac dry for an hour between coats. For extra stain blocking power, let the second coat dry overnight before painting.
Once everything is dried it’s time to start painting! Wahoo! I promise that taking the extra few minutes to prep your furniture will pay off in the long run.
Preparing Painted Wood for Repainting
What about painted furniture that you want to repaint? How do you prepare it for a new coat of paint? You should always check the condition of the existing paint first. If it’s still in good shape, meaning it doesn’t scratch or peel easily, you can go ahead and lightly sand the surface with some fine grit sandpaper.
But if the existing paint is peeling or chipping, it’s best to remove it completely before repainting. This may seem like extra work, but if you want the new paint to stick and have a smooth finish, it’s worth the effort.
Check out how to remove paint from wood furniture for step by step instructions and tips on different methods you can use. If your old paint is chalk paint, here’s how to remove chalk paint easily and quickly.
After the old paint is removed, you can do the above steps for cleaning, sanding and priming the wood before painting. Then, you’re all set to repaint your furniture and give it a brand new look!
We hope this guide on how to prepare furniture for painting helps you get your furniture painting project off to a great start. Remember, taking the time to properly prep your furniture will result in a better end result and save you time and frustration in the long run.

How to Prepare Furniture For Painting
Learning how to prepare furniture for painting is super important! Sure, you don’t have to prep wood furniture for paint, but you’ll likely run into some issues with your finished project if you don’t.
Materials
Instructions
- Clean furniture to remove any dirt, grime, oils, grease and furniture polish. Wipe your furniture down with a damp old rag and Krud Kutter. If there is a lot of grime built up, you can scrub it first with a soft sponge, scrubber. And then go back over it all again with a clean damp rag to make sure it’s all cleaned off.
- Lightly sand everything down with 220 grit sandpaper. You don’t need to sand clear down to the bare wood! Vacuum the dust from sanding and wipe the furniture with a tack cloth to pick up all of the little particles of dust that are left behind after vacuuming.
- Now, prime your furniture to help make your paint stick and prevent bleed through issues. Apply 2 coats of shellac, letting the shellac dry for an hour between coats. For extra stain blocking power, let the second coat dry overnight before painting.
- Once everything is dried, you can start painting!
Recommended Products
As an Amazon Associate and member of other affiliate programs, I earn from qualifying purchases.


More Painting Furniture Resources
- Painting Furniture with a Sprayer
- Five Biggest Furniture Painting Mistakes
- How to Hide Wood Grain When Painting
- How to Paint Wooden Furniture
- Best Way to Paint Furniture
Follow us on YouTube to get more tips for painting furniture. Or share your project with us on our Facebook Group and be part of our community. See you there!
Watching your videos and hearing your joyful voice makes teaching 8th graders and caring for my baby during the pandemic manageable! Thank you for sharing so kindly all your advice.