Five Biggest Furniture Painting Mistakes
Painting furniture is a really fun hobby! Especially when you can take a piece from trash and make it into treasure. But first, you need to know these five biggest furniture painting mistakes (and how to fix them) before taking on any piece.
This way, you can recreate these furniture makeover ideas with ease and without any major mishaps or accidents. So, keep reading to learn from these common mistakes and avoid them in your next DIY projects!
I have been painting furniture to sell since 2014. In that time I have seen some pretty big mistakes. I even made them myself in the beginning! I want to share them with you, along with helpful tips on how to avoid them so you don’t end up making the same ones!

But don’t worry, if you make some of them. I’m also sharing how to fix these five biggest furniture painting mistakes! It’s totally fine to mess up as long as you learn from it and keep getting better. Plus, you’ll pick up some useful tips for your future furniture makeovers.
You might learn something new or simply confirm what you already know. Either way, a little reminder never hurts. Let’s dive in!
As an Amazon Associate, I earn from qualifying purchases. I also may earn from other qualifying purchases with other companies or get free product to review and use. All opinions are my own.
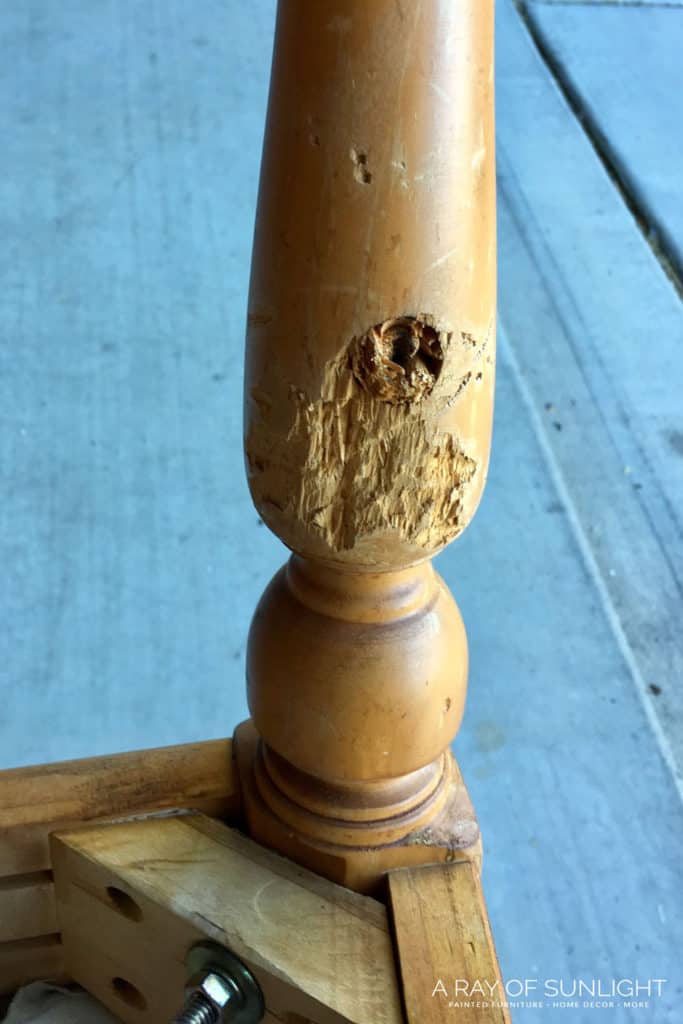
5) Not Repairing Major Damage Before Painting
If your piece has major damage on it, like a large hole, missing parts of a leg, broken drawers, etc, it is best to fix those beforehand. I know some like to leave a little bit of damage, but the big things should be taken care of.
Some easy repairs to fix are:
- Repair chewed up furniture or large holes – How to Repair Damaged Furniture
- Sand down the sides of drawers and doors to make them slide in and out easier – How To Fix Old Dresser Drawers That Stick
- Repair broken trim – How to Repair Broken Trim on Furniture
- Fix broken drawers – How To Fix A Broken Dresser Drawer
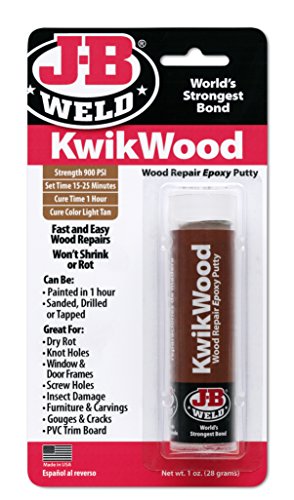
- Fill in old hardware holes with wood filler or my fave Kwikwood – Filling Holes When Replacing Cabinet Or Furniture Hardware

4) Not Preventing Bleedthrough BEFORE Painting
Bleedthrough is a major problem. It shows up in the form of red, orange, or yellow stains that can show up at any time. Typically, at the worst time, when you think you’re completely done with your project. Booooooo!
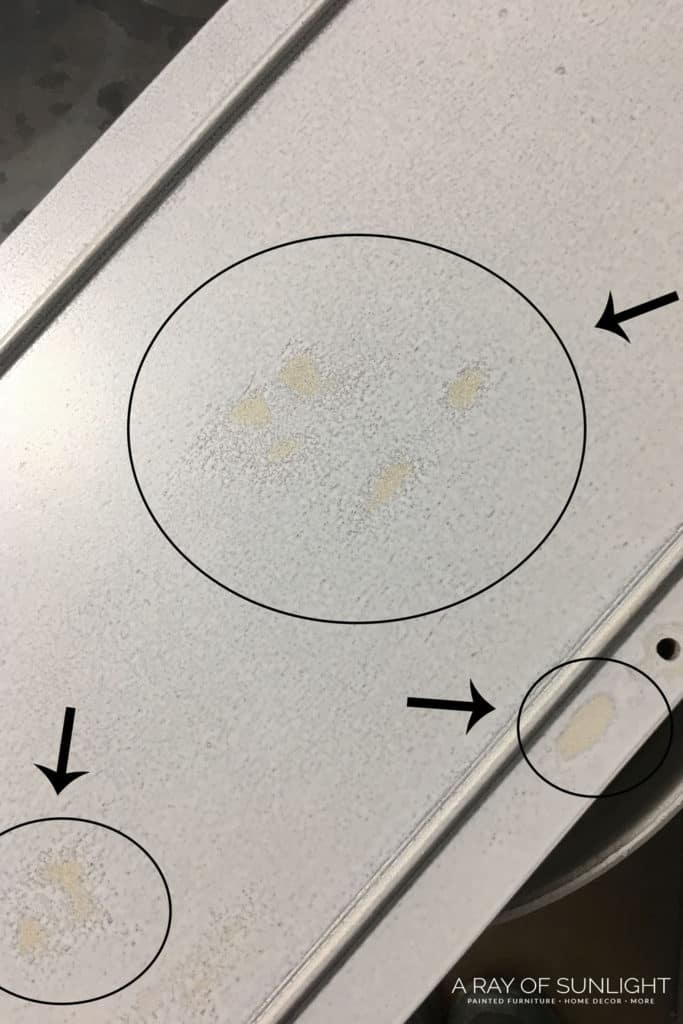
Bleedthrough is caused by tannins in wood. As they are exposed to waterbased products, they show up and stain right through your finish. They are the very worst on light colors because you can see the stains easier, but it happens no matter the color.
And sometimes, you won’t see any bleeding until you put a waterbased poly topcoat on top of the chalk paint. (See mistake 2).
How to Prevent Bleedthrough
There is good news, though! BIN shellac based primer and clear shellac can block bleedthrough from showing up! I love the spray cans for easy application! BIN shellac based primer is a white tinted primer, so it’s best for light colors or if you don’t want to distress your piece.
Clear shellac is best for dark colors that you want to distress so the wood underneath will show through the new finish. Here are the best distressing furniture techniques you can do!
Read this post for more details on how to stop stains from coming through paint, as well as how to fix bleedthrough after you have already painted. Here’s more on why your paint doesn’t work even when you try to do everything right.
3) Not Watching out for Paint Drips or Sags
The more coating you put on, the more likely it is to start to drip down the sides of the piece.
How to Fix Paint Drips
To prevent and fix them, don’t load your brush up with too much coating. Be sure to brush some of it off and back into the can before moving it over to your piece.
When working with edges, start on the inside and then on to the outside edge. If you brush in the opposite direction it’s more likely for the paint to drip down the sides. Then, keep an eye on any vertical surfaces for drips or sags while the coat dries. If you see any, simply brush it away with your brush.
If you don’t notice any until it has dried, simply sand it down with 220 grit sandpaper and coat that area again. Applying thin coats is also recommended for the best adhesion.
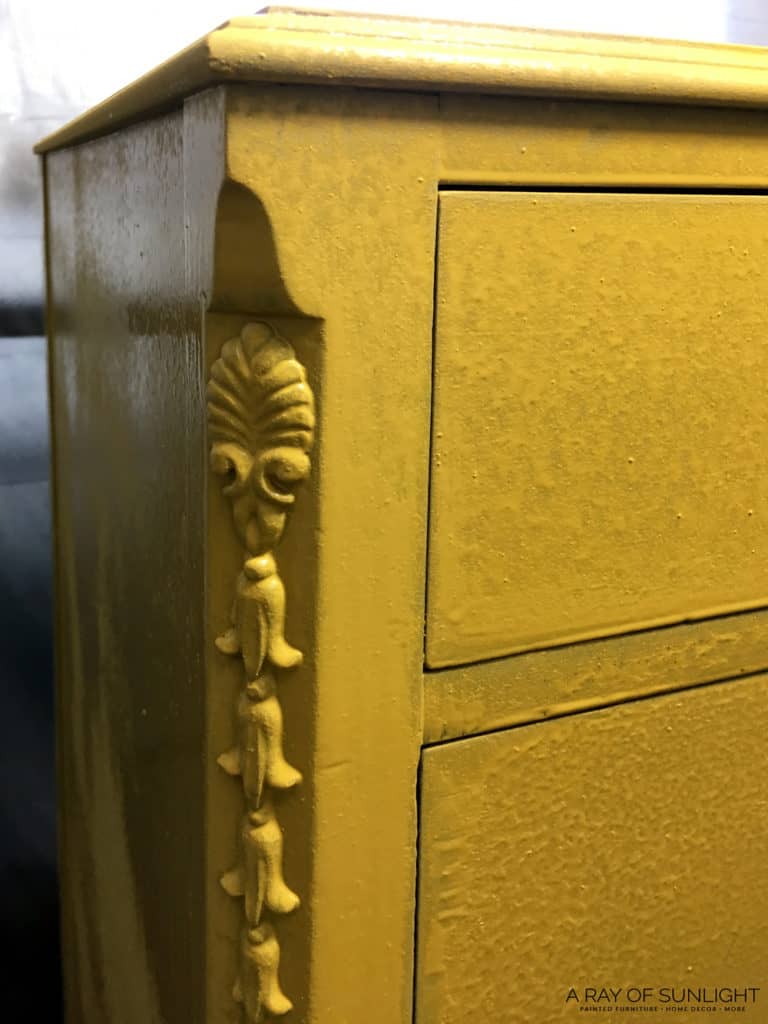
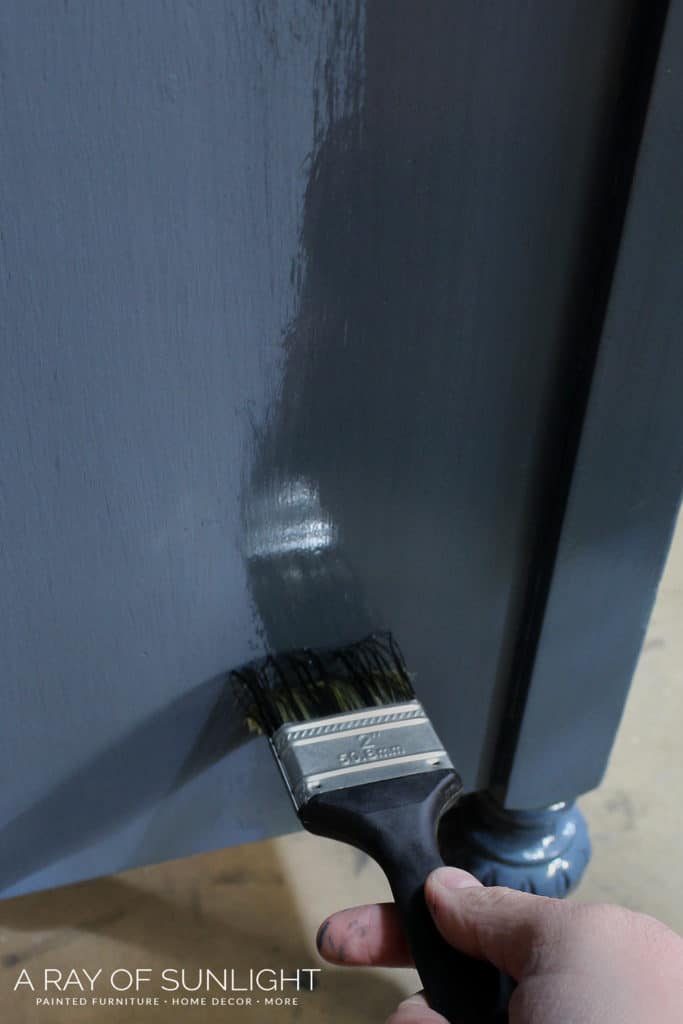
2) Not Topcoating the Paint for extra durability
Of course, this isn’t for every single paint out there. But most need these topcoats for painting furniture. For example, chalk style coating is super porous and definitely needs a topcoat if you want to be able to wipe dirt and grime off of it.
Would you like to save this?
How to Fix Polyurethane Mistakes
My very favorite and the most durable topcoat is waterbased polyurethane. It will give your finish added protection from scratching off, and it will also help with any spills.
You can brush it on or apply it with a sprayer. The easiest (and best-looking) way is to spray it on, but if you don’t have that option, you can always brush it on. Here’s more about painting furniture with a sprayer.
Just beware that if you brush it on, it can look uneven and streaky. The best way to prevent streaky looking poly is to only touch it once (maybe twice) while applying it. Use long strokes and lay it on as evenly as possible.
This video from Country Chic Paint has great tips on how to seal furniture with clear coat.
Do not use oil based poly over a lighter colored finish. This poly has a yellow tint to it, and will make your finish have a yellow tint as well. You can use it over dark colors to add richness, though.
Polyurethane will not prevent scratching if you didn’t do the prep work correctly, though. Learn more about what’s the best polyurethane for furniture here.
* Note: Some finishes might not mix well with a top coat. These are more of the enamel style ones that are very durable without a topcoat. If top coated, the polyurethane may crack. (Ex. Benjamin Moore Advance or Sherwin Williams Emerald Urethane Trim and Door Enamel)
How to Fix Polyurethane Drips
When applying polyurethane, especially if you’re using an HVLP gun, you can also get drips and runs. First, wipe them away while the poly is still wet. You can also brush them away to help blend them in. Then, wait for the poly to dry completely.
Once it’s dry, sand the drips with 400 grit sandpaper. This will smooth out the rough texture from the uneven application. After sanding, spray on two to three more thin coats of poly this time.
You might also want to check your sprayer settings to make sure they’re set right. If your settings are off, they could be the reason why the poly is dripping. You can also practice on a scrap piece of wood beforehand and adjust the settings until you get the desired spray pattern and thickness.
If you have a Wagner model, here are Wagner paint sprayer settings you can explore. And here’s repurpose a desk into nightstands so you can see how we tackled these poly drips!
1) Not Prepping Furniture
This is the biggest mistake I see! Sure, it sounds nice to get that color onto your piece, but you could be making more work for yourself once it dries. Prepping really shouldn’t take more than 30 minutes for a dresser, but it will pay you back in years of extra durability.
Most pieces have a nice smooth or shiny finish to them, so if they aren’t prepped, the finish can peel off or even scratch off very easily. That would leave you with a huge mess to remove and start all over, or it would leave you with a finish that will quickly deteriorate.
You need to give the new coating something to hold onto, especially when the surface is shiny and slick. Especially laminate or plastic types of manufactured pieces.
How to Prep Furniture for Painting
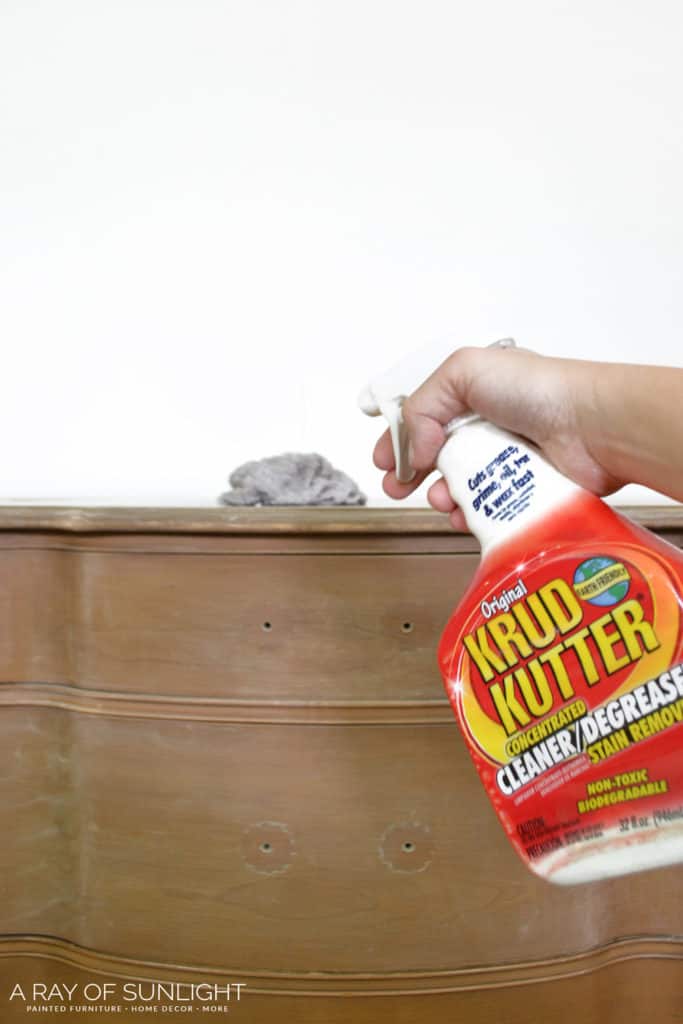
Thankfully, it’s super simple to prep! Actually, it’s as easy as 1-2-3.
- Clean off dirt and grime with a degreaser like Krud Kutter.
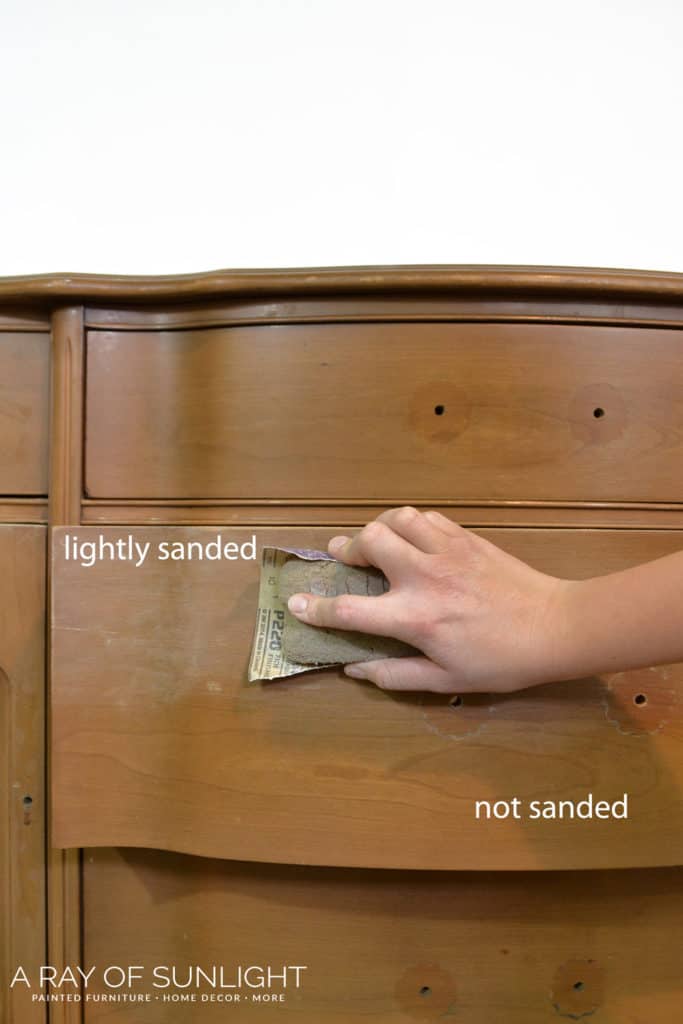
- Scuff sand with 220 grit sandpaper. This only involves rubbing the sandpaper back and forth a few times across the entire surface. You don’t need to remove the old finish back down to raw wood! Just scuff up the old finish enough for the new coating to hold onto. Learn about the best sandpaper for furniture painting here.
- Remove the dust with a vacuum hose and brush attachment and a lint free rag. Tack cloths are perfect for this because they don’t leave any lint behind, and they pick up dust so well.
- Optional: If you’re working with laminate or plastic type surfaces, it’s always best to prime beforehand. But not with just any ole primer. You need one that will stick to laminate. So, the paint and primer in one product and the stain blocking primers won’t work for this. Here are your options for the best bonding primer for laminate furniture.
Learn more about how to clean furniture before painting here and the importance of sanding before painting furniture here. Get more tips and tricks on how to prepare furniture for painting in this post!


So, those are the five biggest furniture painting mistakes! Hopefully, you’ve picked up some tips on how to fix painting mistakes like these. And again, even if you’ve made them before, it’s okay! You live, and you learn, and you do a better job next time.
More Painting Furniture Resources
- Furniture Painting Tools And Supplies
- Painted Furniture Colors
- Best Paint Brushes for Painting Furniture
- Best Primers for Painting Furniture
- How to Paint Furniture With Chalk Paint

Follow us on YouTube to get more tips for painting furniture. Or share your project with us on our Facebook Group and be part of our community. See you there!
These are great tips!
Thank you so much!
Have you done any bathroom vanities
I haven’t yet. Well, I helped my sister haha but I haven’t done it all by myself.
Your posts are incredibly helpful! You’ve given me the confidence to start a new hobby. Thank you so much!!!
Your advice Is the Bestest! Thank you!!
Great tips. I gave repaired broken parts with bondos or Pollifilla but not by making a mold. This is genius. Thankyou
Excellent tips! Thanks so much for sharing your fire-tested knowledge!