Comparison: Filling Holes when Replacing Cabinet or Furniture Hardware


When painting furniture, you’ll want to remove the existing hardware and replace it with something new to give your piece a fresh look. Today, I’m sharing my favorite way of filling holes when replacing cabinet or furniture hardware, and I’ll also share how it compares to other popular wood fillers! It’s crazy!
Replacing hardware can leave behind unsightly holes that need to be taken care of before painting or staining. Luckily, filling these holes is a quick and easy process. Keep reading to learn more about my go-to method for filling hardware holes and even for repairing old furniture!
Aside from paint or stain, changing the hardware on a piece of furniture is one of the easiest and most affordable ways to update its look. You can go for a completely different style or simply swap out old hardware for newer, more functional pieces.

But new hardware means new holes, especially if they have different sizes or spacing than the old ones. So, you’ll need to fill in the old holes to make room for the new hardware and create a smooth surface for painting or staining.
My favorite method only requires an hour of dry time, doesn’t shrink or crack… or leave air bubbles behind, and this material can be drilled into, too! Oh, and it isn’t real stinky! Any guesses as to what it is?? I’ll also share why this is my preferred method of filling holes later on in this post.
As an Amazon Associate, I earn from qualifying purchases. I also may earn from other qualifying purchases with other companies or get free product to review and use. All opinions are my own.
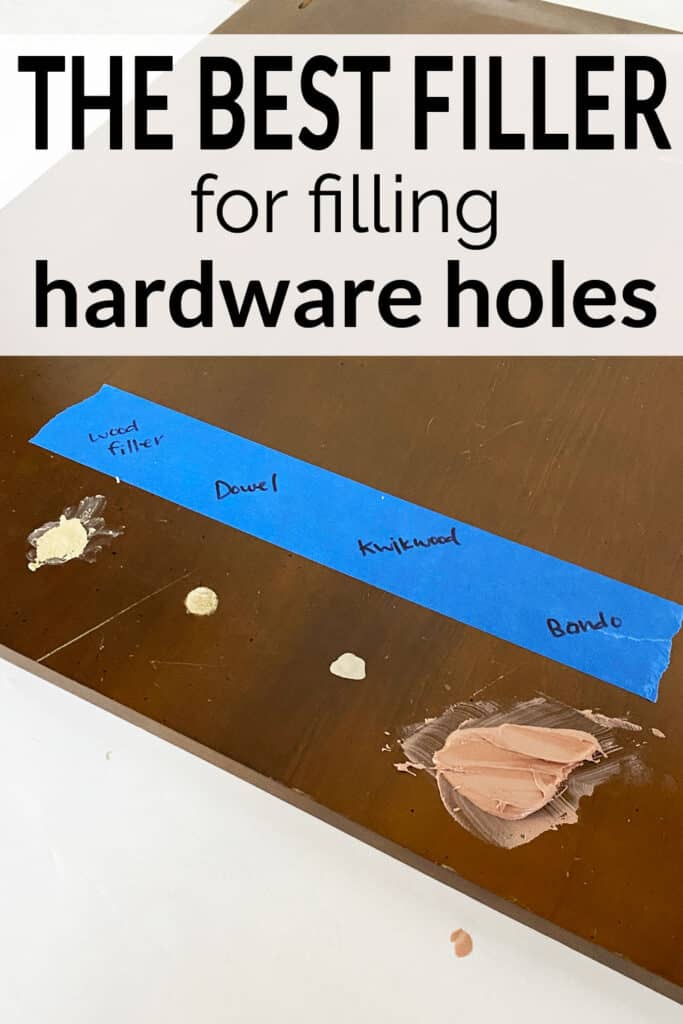
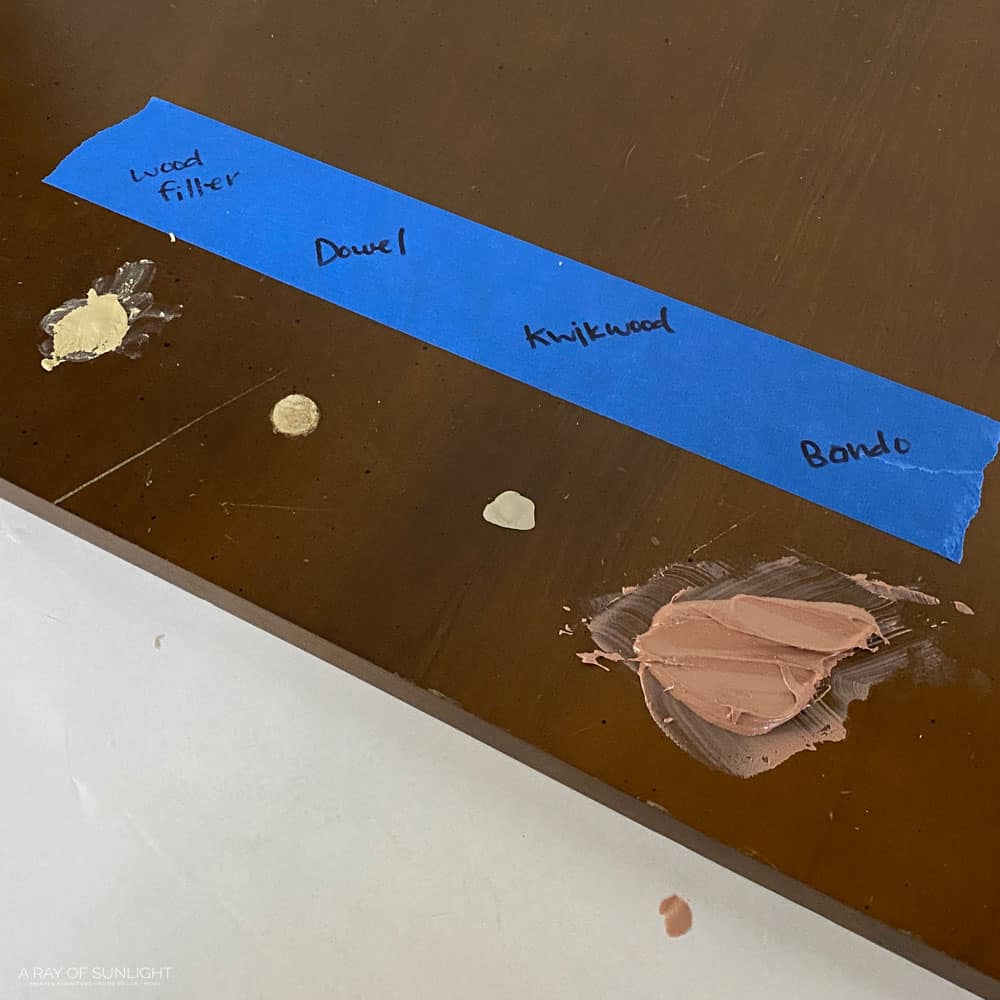
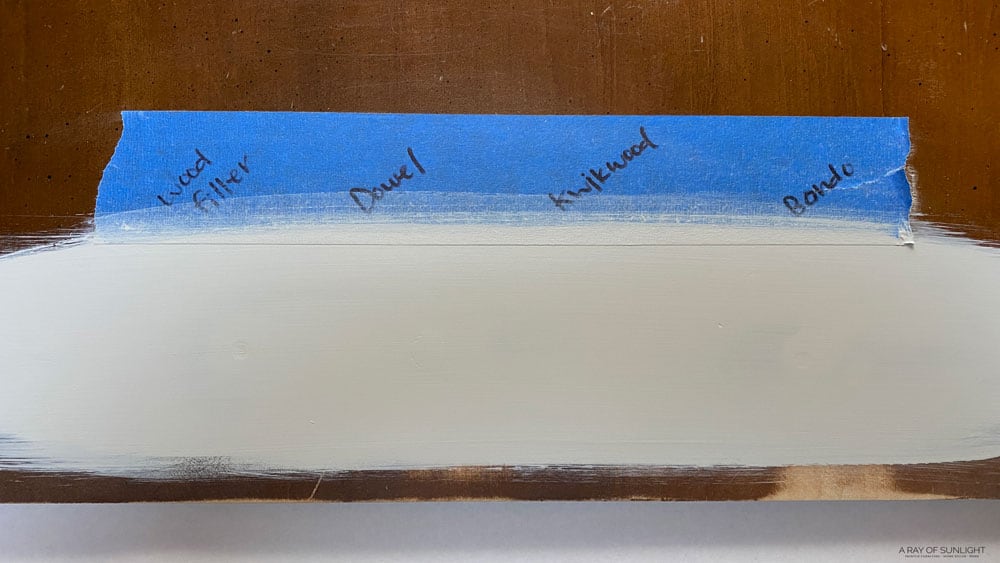
Fillers Tested In this Experiment
- Wood Filler
- Bondo
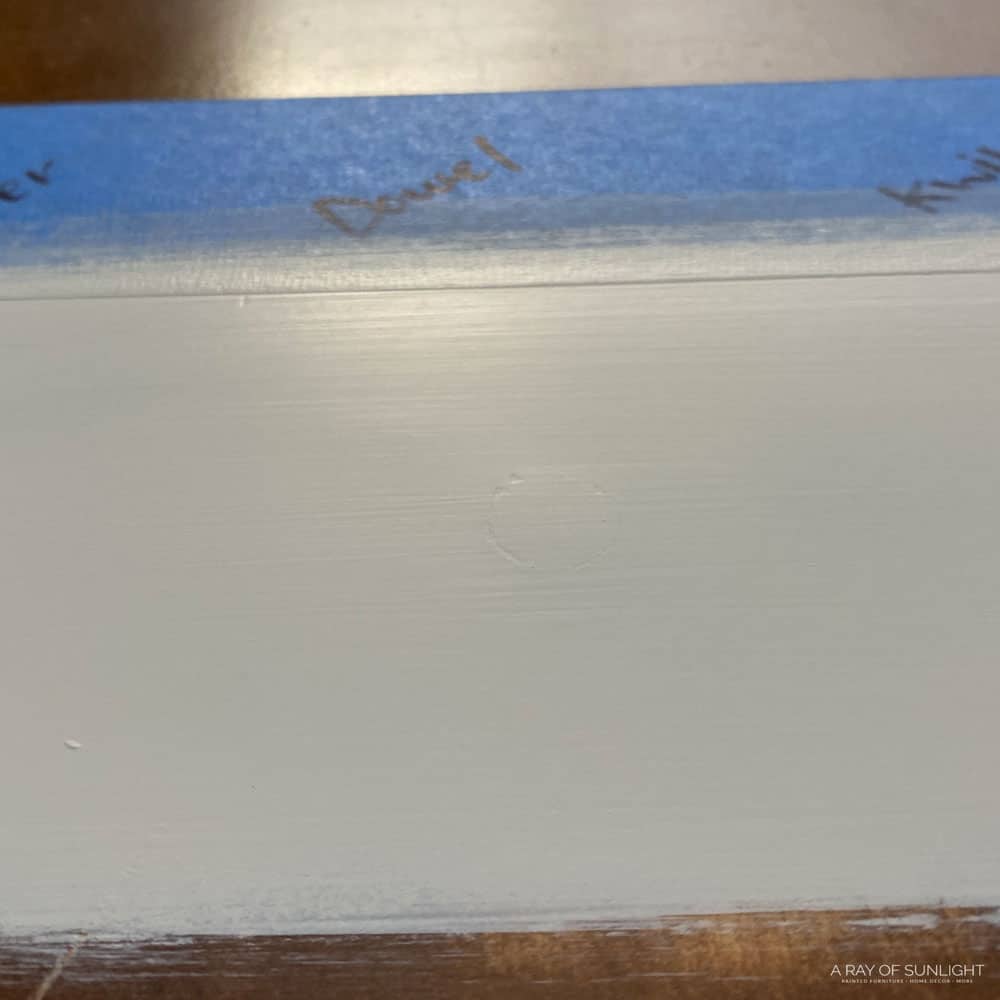
- Dowels
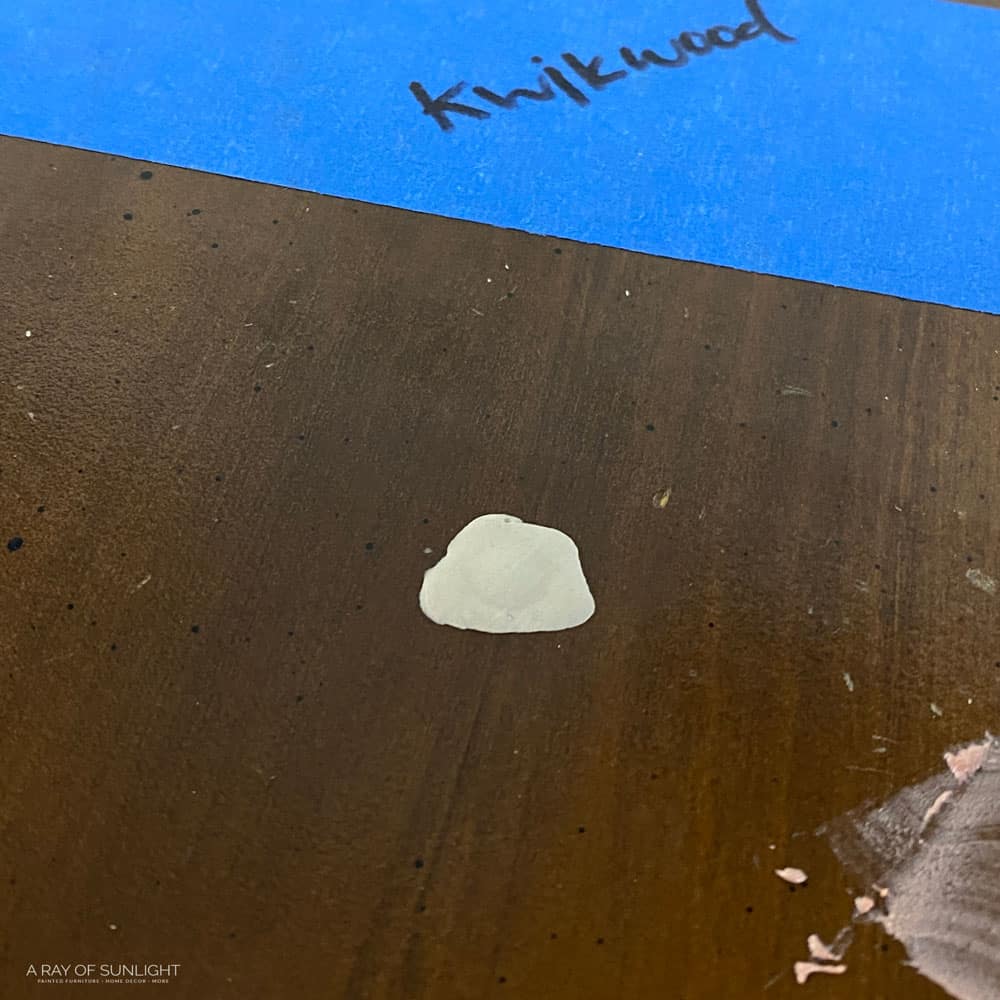
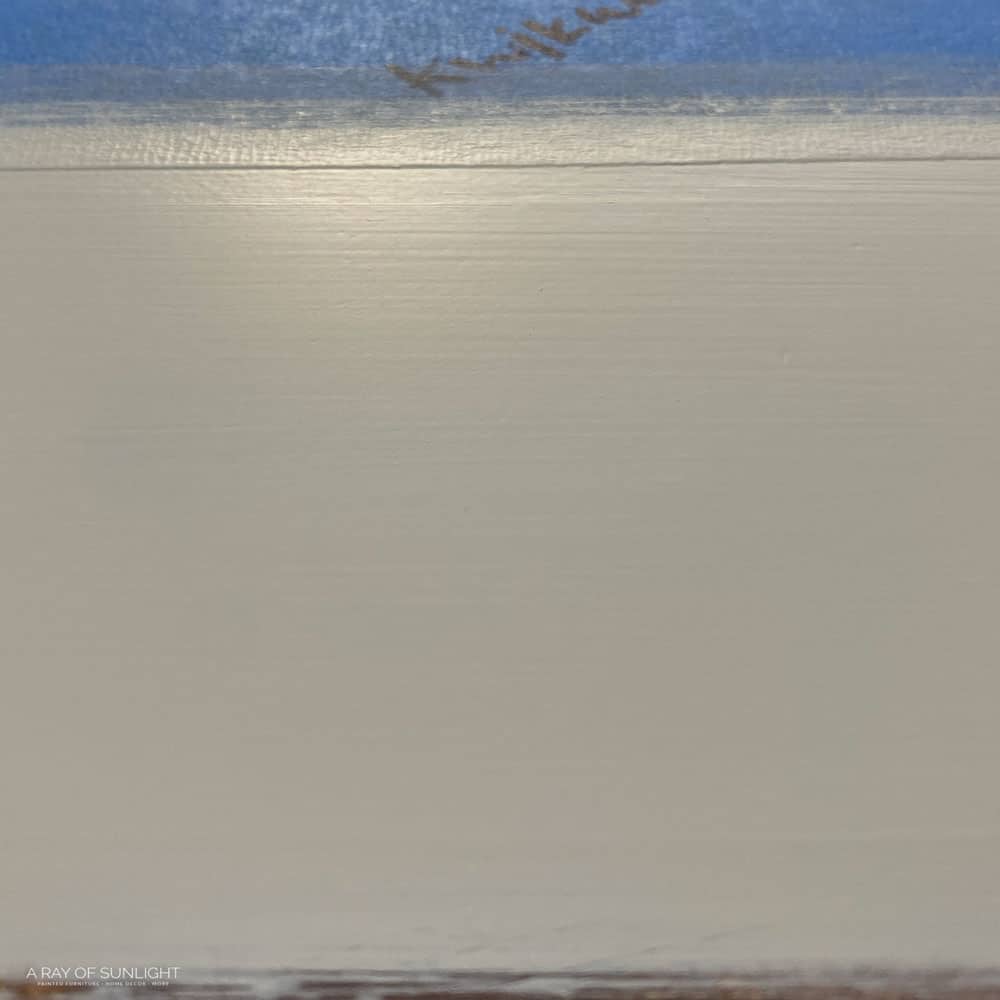
- KwikWood
Best Filler for Replacing Cabinet or Furniture Hardware
KwikWood! Have you heard of it?
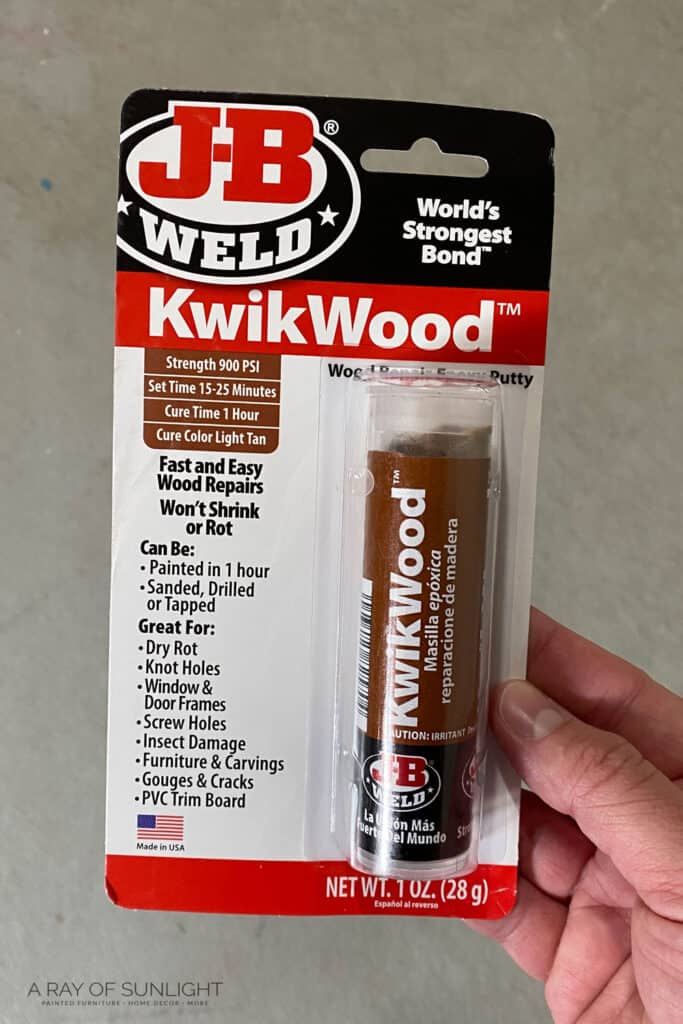
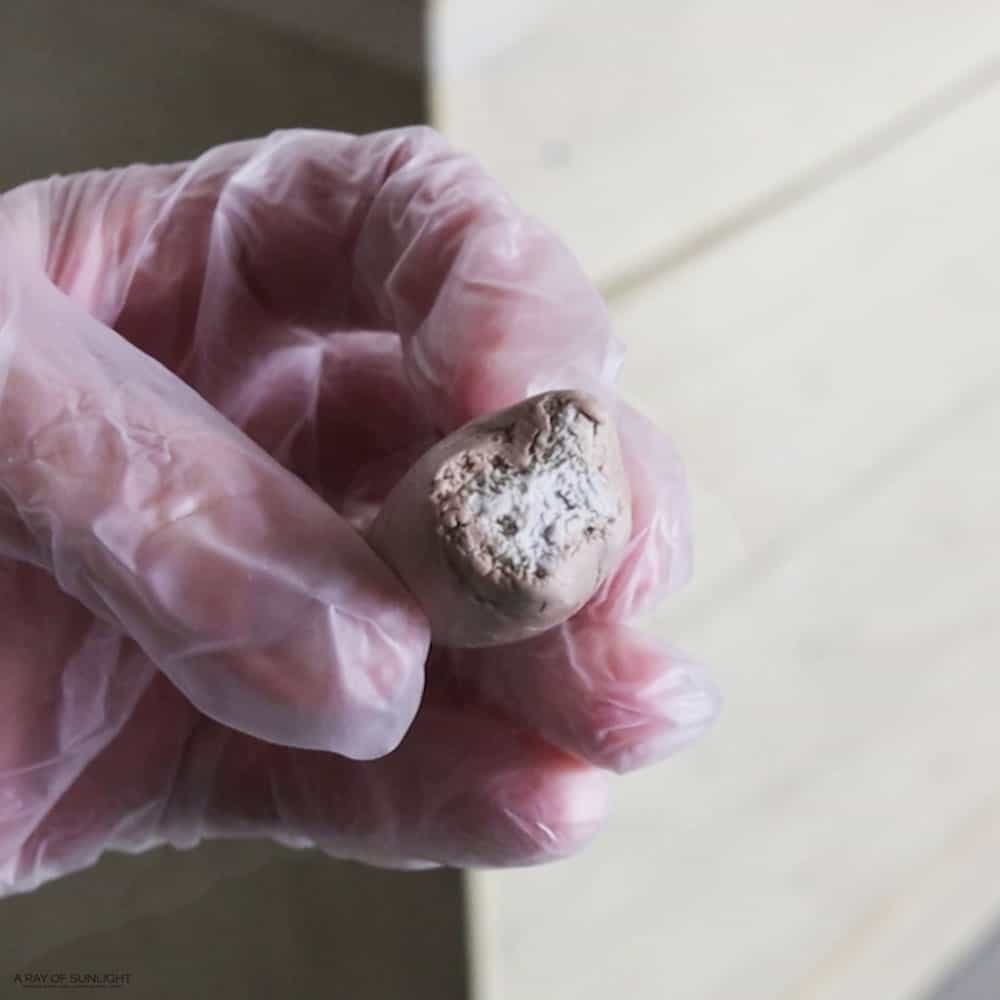
This stuff is, in my opinion, the best way of filling hardware holes in cabinets and drawers. It has the consistency of clay and comes wrapped up in plastic and inside of a little tube.
How to Use KwikWood
To use it, you just
- Cut off how much material you want to use.
- Then, you knead it together until the stuff in the middle and the stuff on the outside is completely mixed together. This takes just a minute or two.
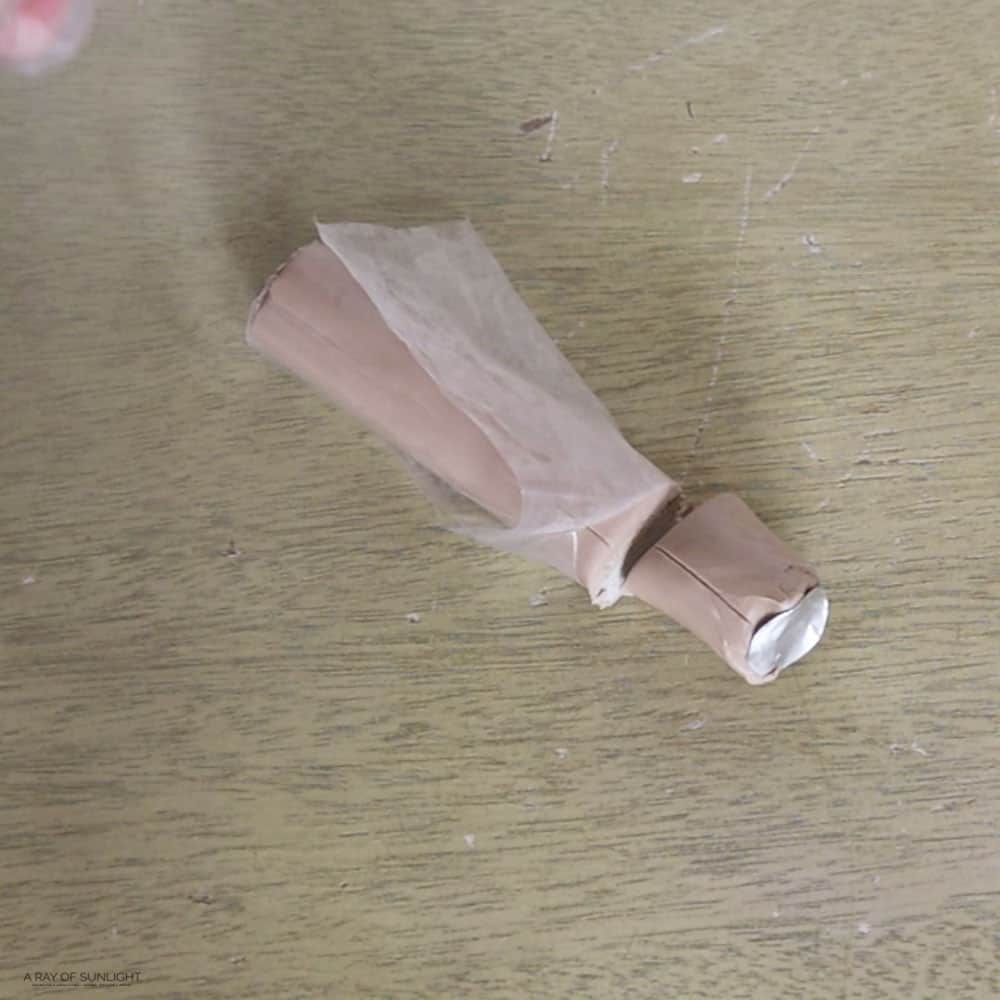
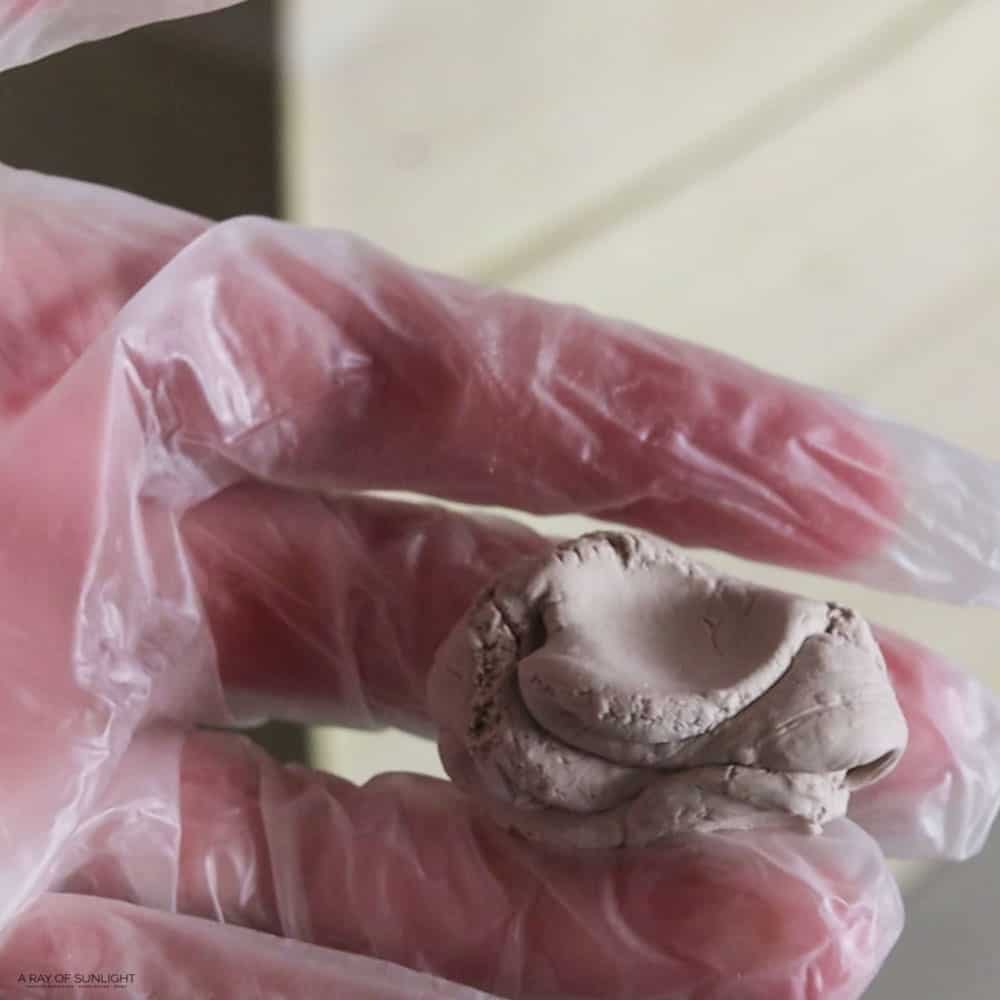
Then, you can push it into the old holes until they are completely filled in. I personally like to overfill them slightly and make sure the hole is completely filled up.
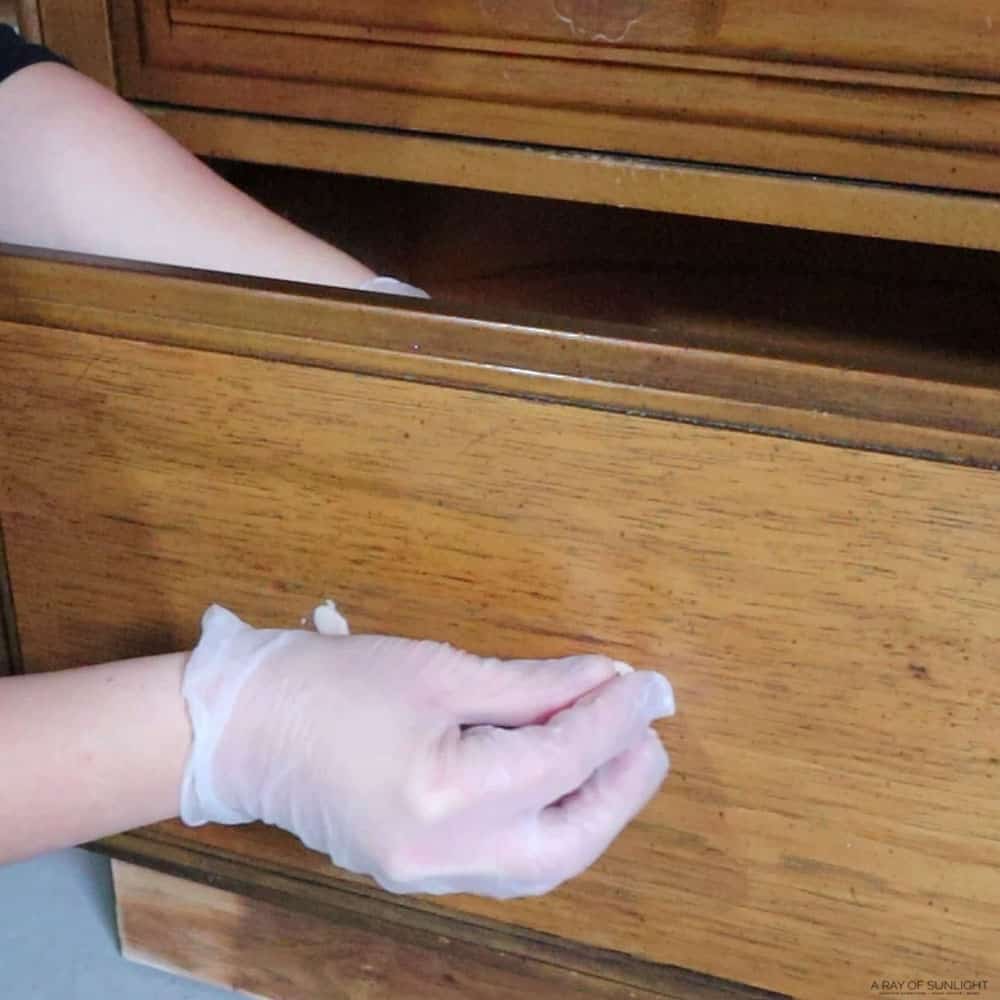
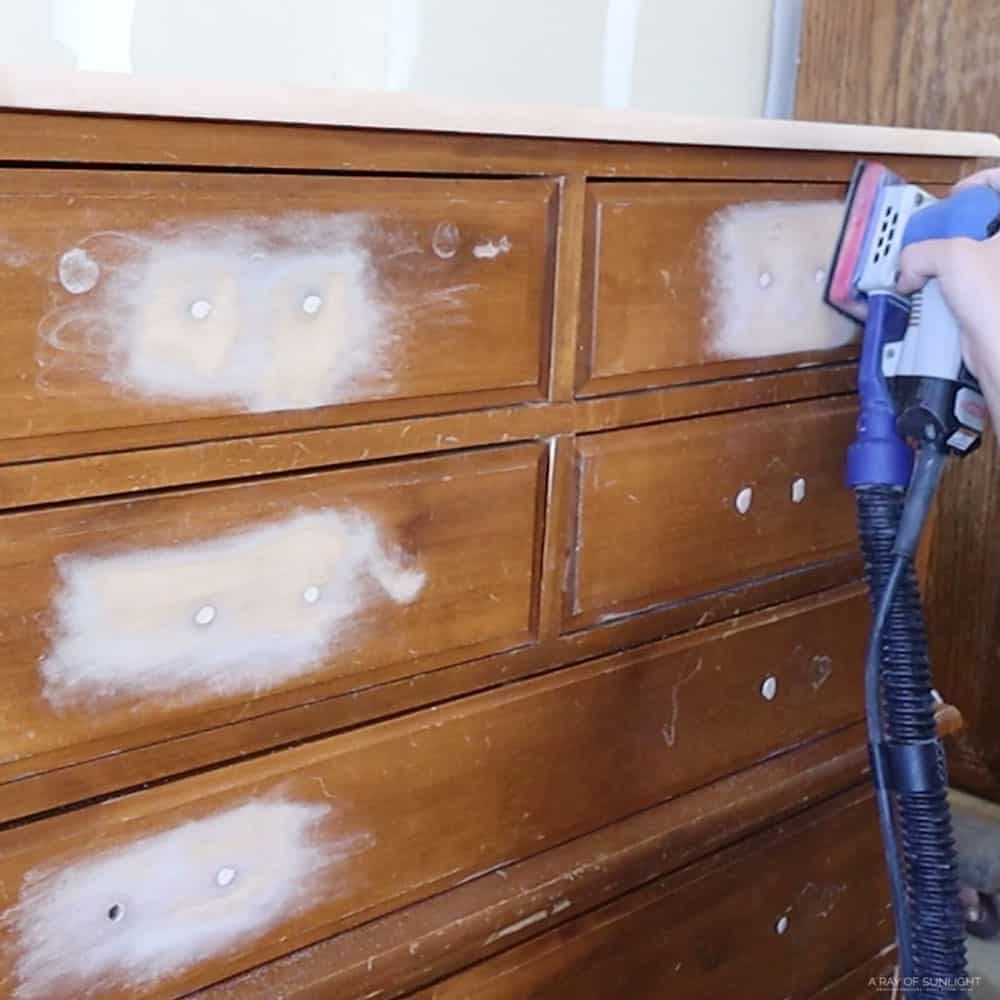
Unlike Bondo, KwikWood doesn’t have a strong smell, and it has a 15 minute work time after it is mixed together before it starts to harden up too much. Then, after an hour the KwikWood is dry, hard as a rock! At that point, I like to sand it down flush with the wood around it to create a seamless repair.
Different Ways of Filling Holes when Replacing Cabinet or Furniture Hardware
The other options I’ve seen and tried before just don’t match up with KwikWood, in my opinion. I tested them all out together so you could kind of see what I’m talking about..
Wood Filler
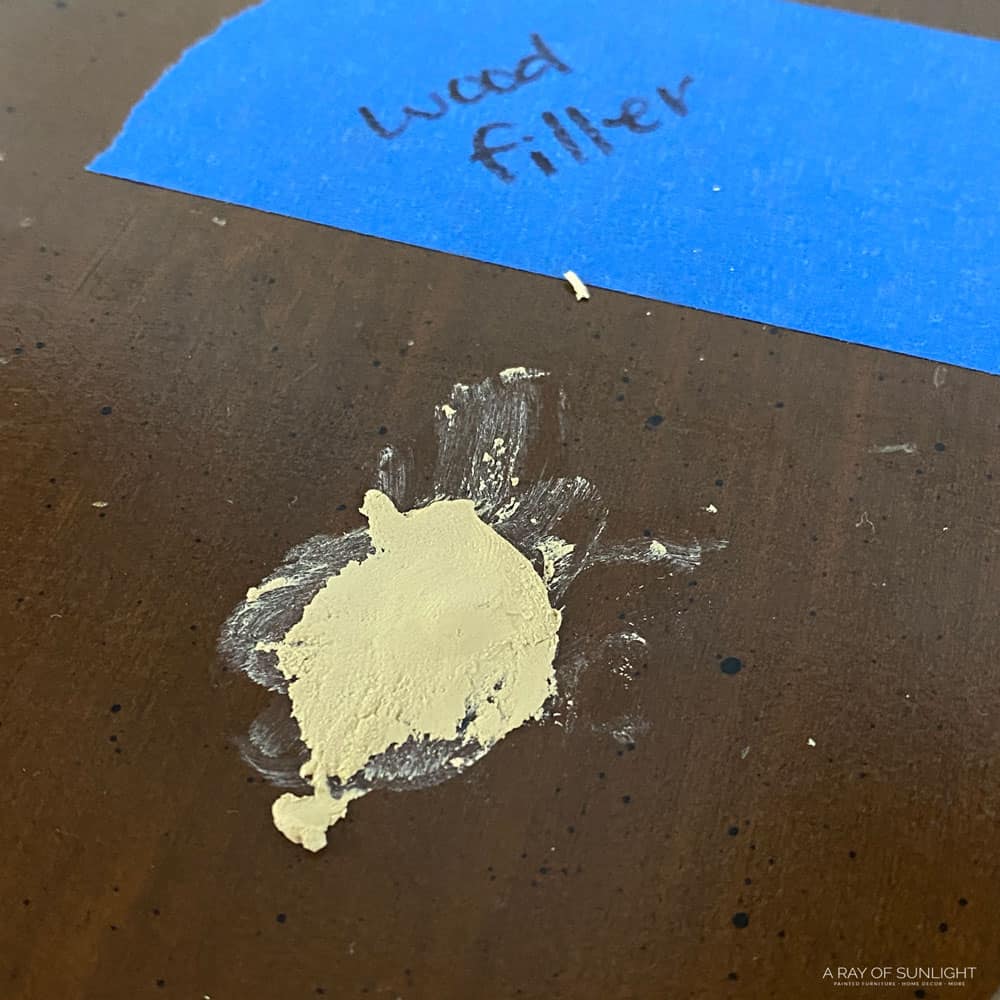
Wood filler shrinks as it dries, and even if you overfill it, it somehow still manages to continue to sink back into the hole, so you can still see the outline of the hole… Even after you paint over it.

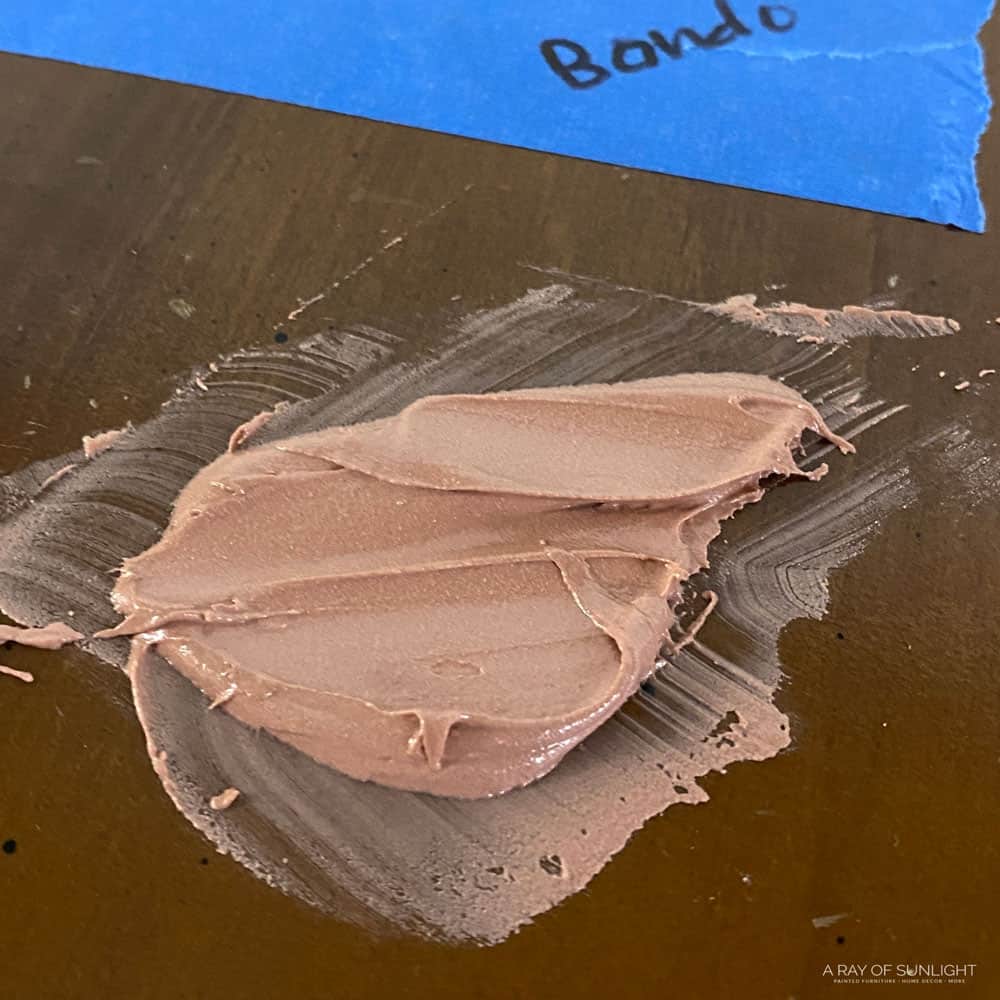
Bondo
I used Bondo for a long time, but it’s really stinky and it’s messy, and it’s only workable for a few minutes.
Would you like to save this?
Oh, and you need to have something to mix it on.
Bondo also gets air bubbles in it, so I found myself filling the holes with Bondo, sanding it down, and then filling it with wood filler… and then sanding it again. And even then I still struggled to make the hole disappear completely after I painted over it.
I love Bondo as the best way to fix chipped wood furniture, but not to fill hardware holes. Check out my honest Bondo wood filler review here to learn more about this product.
Dowels
Dowels can be a pain because you either need the perfect size of a dowel or you have to drill the hole to the right size for the dowel.
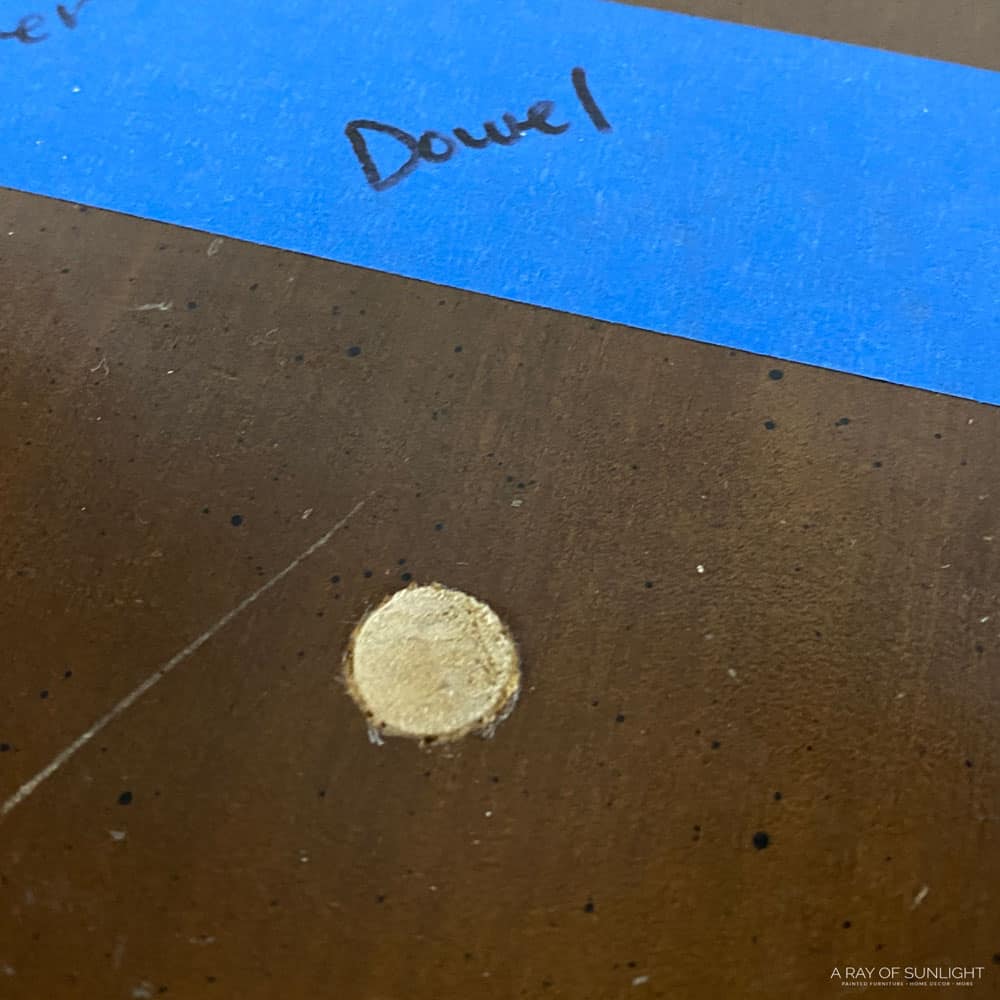
And then, you have to cut the dowels to the right size. Once it’s in place, you still have to fill in the seam or any chips unless you’ve done it perfectly.
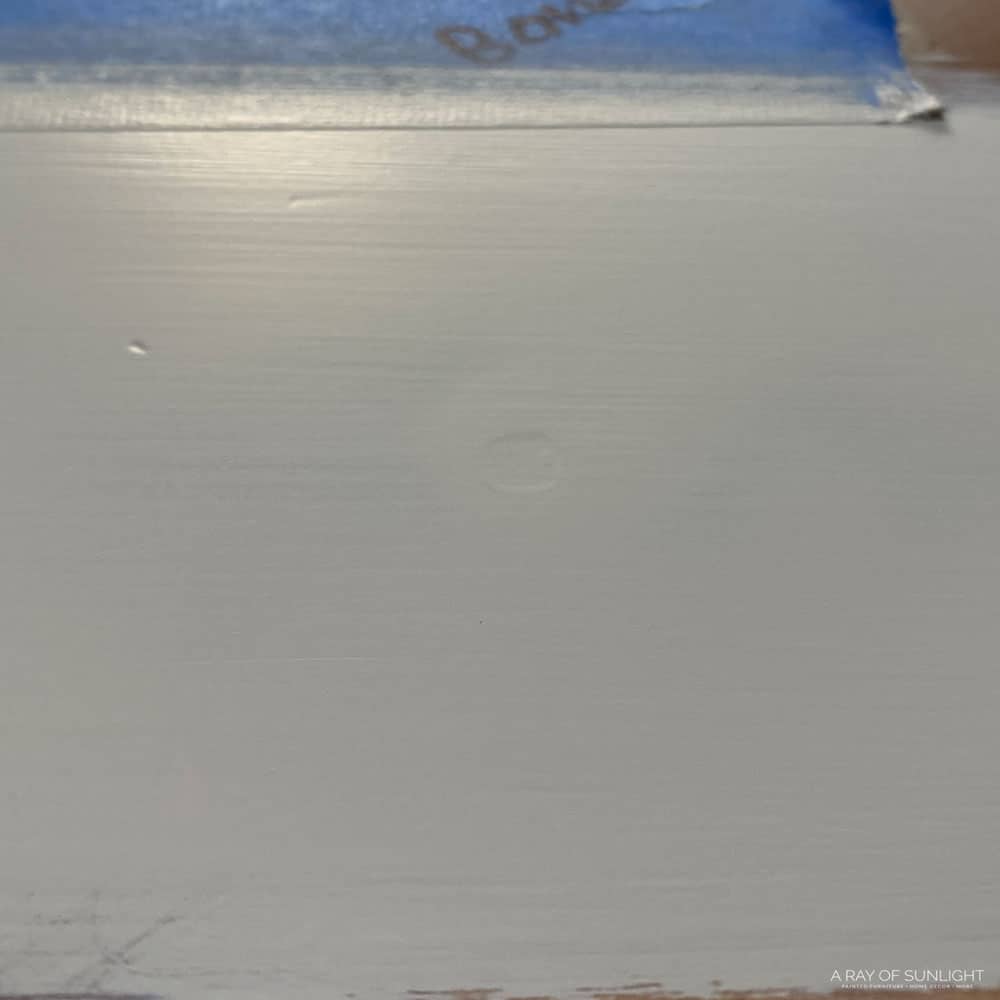
KwikWood
KwikWood is a one-and-done option.
It fills the hole perfectly, no more wood filler needed. And it creates a repair that you can’t see at all once it is painted.
That’s it! Do you have more tips and tricks or any questions? Please share them in the comments! Watch the video of this comparison here:
How to drill holes in cabinets or furniture
After filling in the old hardware holes, it’s time to drill new ones for your updated hardware. First, you’ll want to measure and mark the exact spot where you want your new hardware to go. Make sure that your measurements are accurate and level for a professional looking finish.
Next, you’ll need to choose the right drill bit size for your hardware. If you’re unsure, it’s always better to start with a smaller bit and then gradually increase the size until your hardware fits snugly. Repeat this process for each hole. Here’s more on how to drill new hardware holes to guide you!
How do I make my cabinet hardware look new?
If you just want to give your cabinet hardware a quick refresh, the easiest way is to clean it! Start by boiling your hardware in water for about 5 minutes. This helps loosen any grime or buildup that has accumulated over time. Adding a splash of vinegar to the water can also help with stubborn stains.
After boiling, scrub the hardware clean with Bar Keepers Friend. This powerful cleaner comes in both powder and liquid form and works wonders in removing tough stains and grime. Get into all the crevices of your hardware with a scrubbing sponge or toothbrush.
Once you’ve scrubbed it all away, rinse the hardware and let it dry. Then, you’re all set to use your freshly cleaned hardware for a nice, updated look in your cabinets!
And there you have it – the best way of filling holes when replacing cabinet or furniture hardware is with KwikWood! It’s easy to use, doesn’t have a strong smell, and creates a seamless repair. So, if you’re looking to update your hardware, we recommend using KwikWood to fill those old holes and then install your new hardware.
More Furniture Hardware Resources

Get Our Secrets!
Grab this super convenient How to Repair Furniture Ebook with all of our secrets on how to repair furniture for only $14.
You can print it out and have instant access whenever you come across damaged furniture, and know exactly how to fix it!
Click on the picture of the book to purchase!

Follow us on YouTube to get more tips for painting furniture. Or share your project with us on our Facebook Group and be part of our community. See you there!
I’ve never heard of KwikWood! Sounds to good to be true. I don’t use Bondo and Wood Filler dries so quickly and my fingers are ruined. So happy to learn about a great product. Thanks for doing the comparison!
I’m new to all of this but if u have an antique dresser n the wood is peeling off the front would yiu use this kwik wood? Then sand and then how would you paint it back to the original wood color?
For peeling veneer, I prefer to use Bondo, but if it’s only a small area, the KwikWood works great!
Then you can use gel stain to stain it back to the original wood color.
Natalie,
Thanks so much for the KwikWood demonstration. When filling a crack or depression on a painted tabletop, do you still prefer KwikWood for the best result?
Thank you!
for small repairs, or thin repairs, Bondo is better because it’s thinner and is easier to get into the crack.
Sharlee,
I acquired a nice dresser that had some chips out of the top. We used bondo which worked great, but now I want to leave the top natural (we sanded finish off) with just a whitewash but worry that the spot where bondo was patched is going to stick out like a sore thumb. Any advice you can give me will be appreciated!
Hey Susan, you can try to use our Wood Stain Repair tutorial to make the Bondo look like the whitewashed wood.
Hi! After using Kwikwood would you use primer before painting over? I’m not sure if kwikwood absorbs paint differently. Thanks!
Yes, for best results prime the Kwikwood and all of the furniture to get an even finish.
I just make sure the filler on the inside doesn’t poke out of the other side of the hole on the inside. That’s all I do.
have you ever tried the Kwikwook on a stained cabinet instead of painted?
I have. It will not stain like the wood does, so you can use this wood stain repair trick to make it blend with the stain around it.