
How to Darken a Warm Wood Bed Frame Without Stripping It
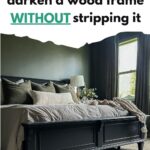
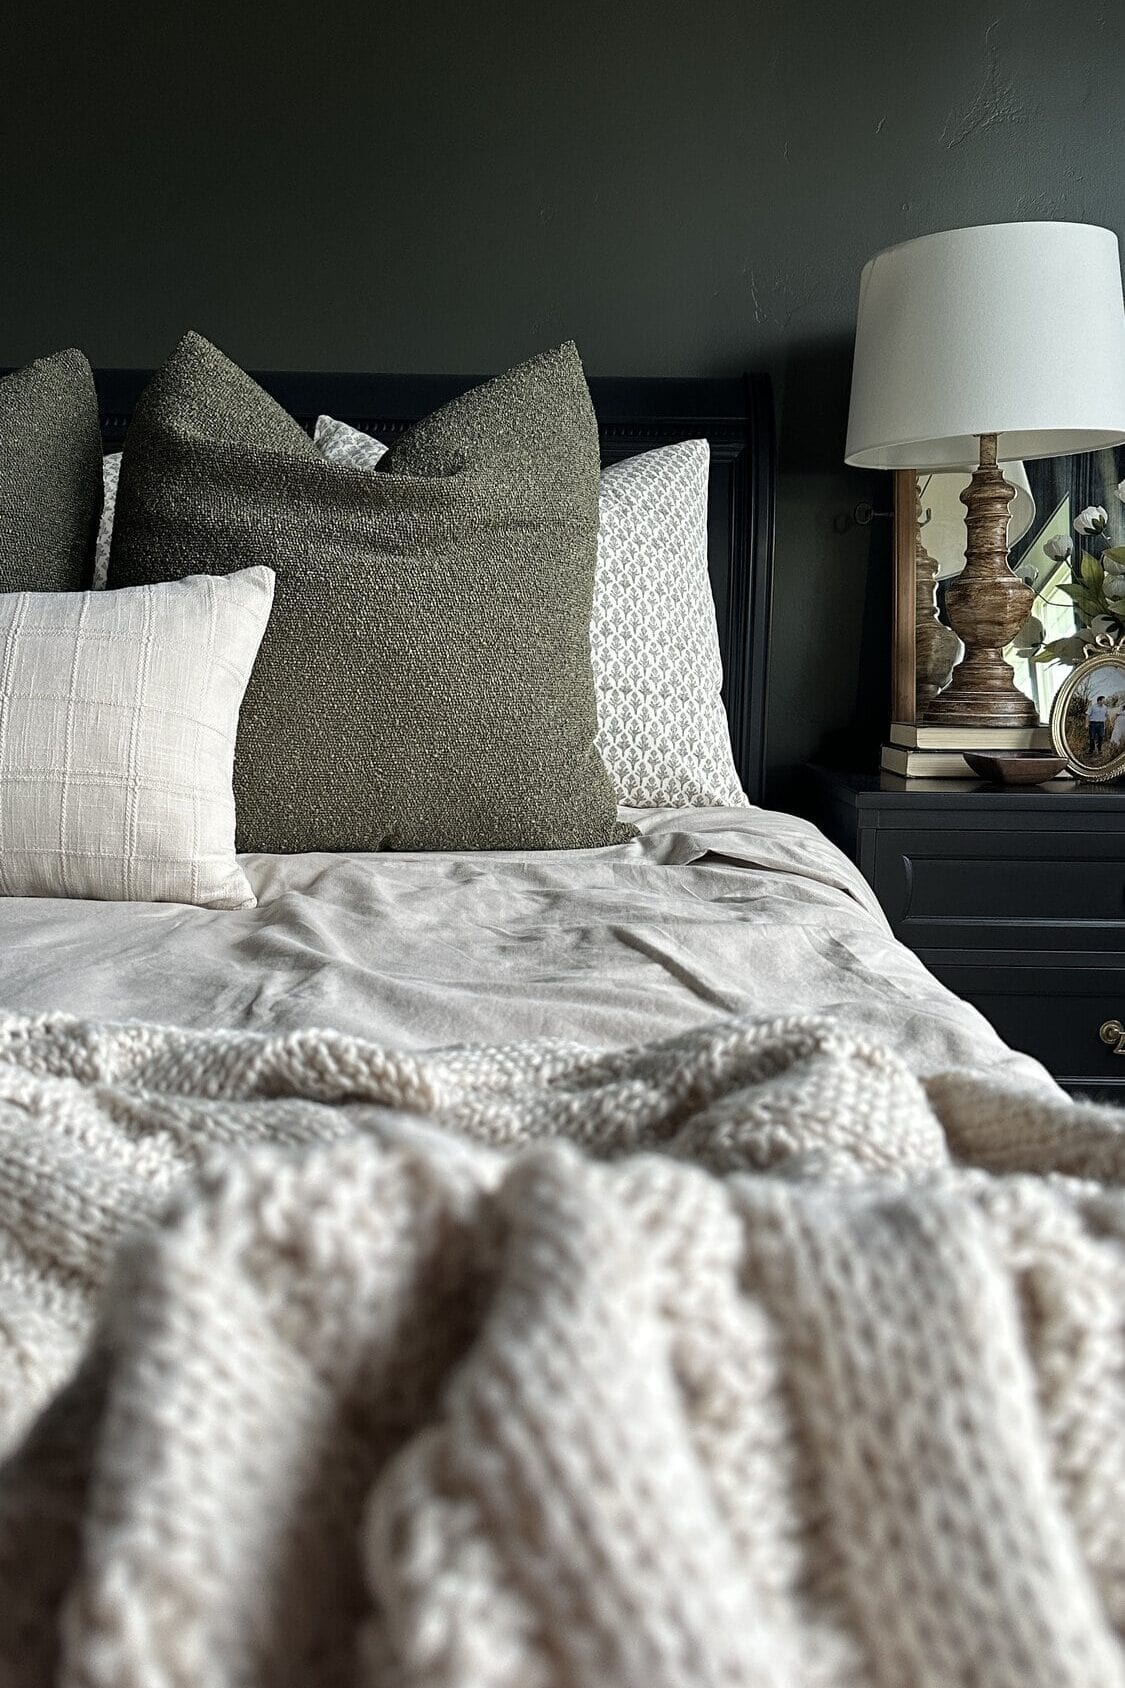
If you’ve been wondering how to darken a warm wood bed frame without stripping it, I’ll show you the steps in this wood bed frame makeover. After updating the rest of our bedroom furniture, the orange toned bed frame became the one piece that no longer fit the room, so I set out to change it without stripping it to bare wood.
If you love giving old furniture a fresh look, you’ll also find plenty of inspiration in these furniture makeover ideas before starting your own project.
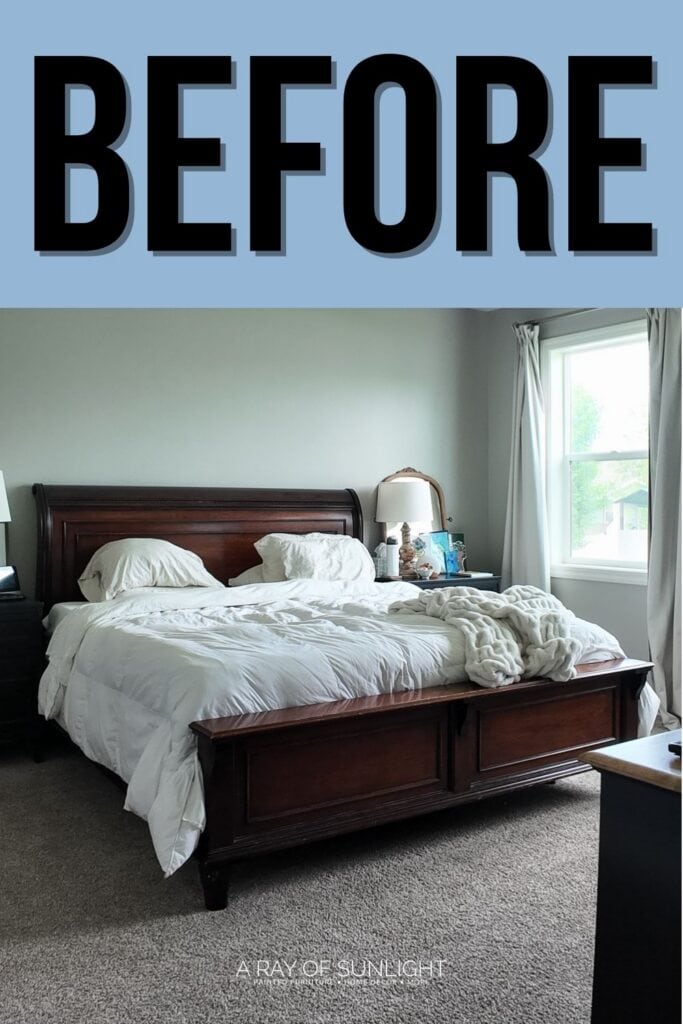
Welcome to Furniture Fixer Upper day, where we join 4 of our talented furniture friends and bring you brand new makeovers! I’ll link to my friend’s makeovers after our after photos at the bottom of this post! Don’t forget to check out their masterpieces!! Okay, back to our makeover!
We’re redoing our bedroom, and we’ve already updated our old nightstands and listed them for $1,000 to help pay for the paint, lighting, decorations, and other updates. Now, the biggest eyesore in this bedroom was this big bed frame.
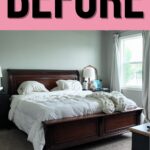
We bought this off of Facebook Marketplace, and it came with 2 matching nightstands and a large dresser. I hated the color of this wood, though. It’s so orange. My home’s just full of grays, and I wanted everything to have similar undertones to be cohesive. So, we had to give this a makeover.

What I was really hoping for was to stain the wood dark, like our kitchen cabinets, with no orange or red undertones. I didn’t want to paint this just straight up black, but I wanted a darker color. But my other goal was that I didn’t want to strip this thing down to raw wood at all. That would’ve been so much work, and I didn’t think it would’ve been worth it.
So, my goal was to be able to scuff it up and then tone down the orange. I needed to get some green in there and make it more the color of our kitchen cabinets and even our bathroom cabinets. We’ll see if we can do it!

Supplies Used on Wood Bed Frame Makeover
As an Amazon Associate, I earn from qualifying purchases. I also may earn from other qualifying purchases with other companies or get free product to review and use. All opinions are my own.
- Flexible Drill Extender
- Drill
- SurfPrep Sander (Use code RAY10 to get 10% off your order)
- SurfPrep Medium Grit OVERSIZED Foam Pads (Use code RAY10 to get 10% off your order)
- 220 Grit Sanding Screens (Use code RAY10 to get 10% off your order)
- Shop Vac
- Tack Cloth
- Deglosser Prep Cloths
- Heirloom Traditions All In One Paint in Warm Embers
- Elmer’s Wood Filler
- Staalmeester Round Pointed Paintbrush
- Zibra Chiseled Paintbrush
- Topcoat
- Paint Filter
- Paint Sprayer
Stain Test on Wood
Right before leaving town for a family reunion, I decided it was the perfect time to test if I could get this stain on. If it worked, the finish could dry in the garage while we were gone, and I wouldn’t have to be without a bed for very long.
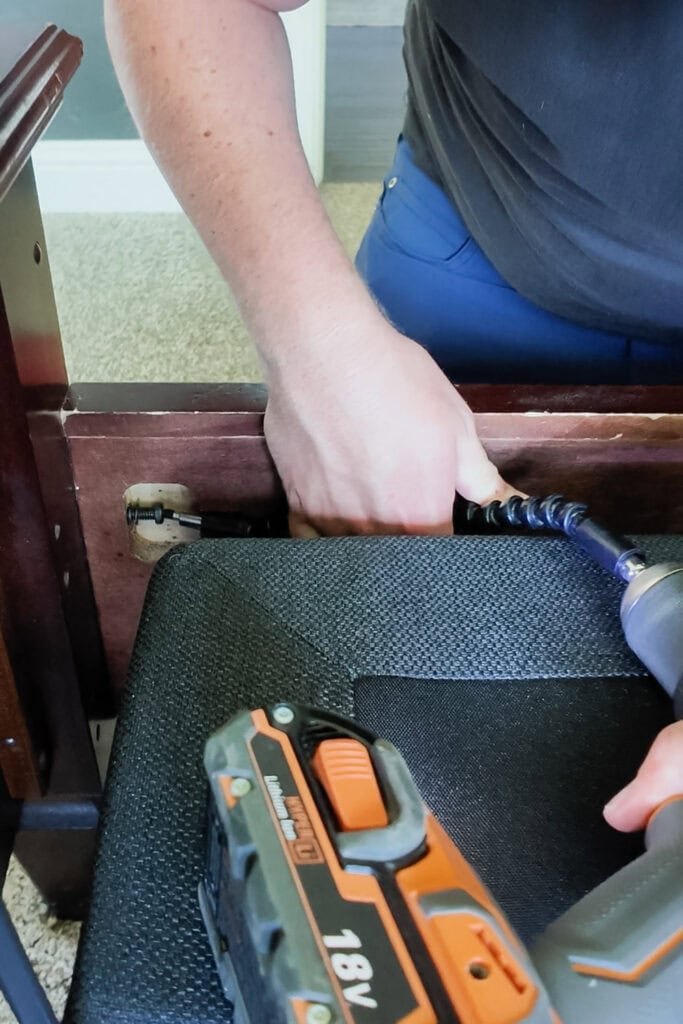
Instead of taking apart the entire bed, we started with the footboard to make sure the process would work. Taking the bed apart was a pain because of our heavy adjustable bed frame, but a flexible drill extender made it much easier to reach the screws in tight spaces.
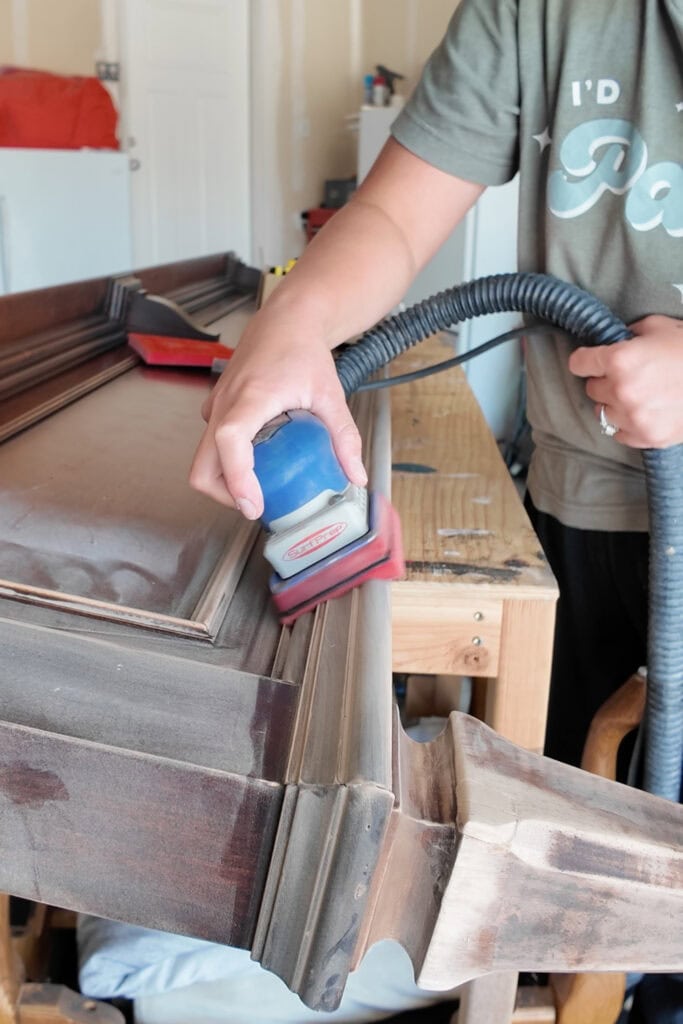
Since the finish was very slick, I knew I needed to scuff sand it before applying anything. I used our SurfPrep sander with oversized medium grit foam pads, plus some 220 grit sanding screens on the flat areas, to remove the glossy surface and give the finish something to grip. Read about these DIY projects made easy with the SurfPrep Sander to help you decide if it’s worth investing in one.
After sanding, I vacuumed all the dust with our shop vac, then wiped everything down with a tack cloth. For good measure, I also used a deglosser prep cloth to dull the sheen and help the stain stick better.
I started with Ebony stain because I knew the Walnut wouldn’t darken the wood enough. Unfortunately, after brushing it on and wiping away the excess, it looked like almost nothing had changed. It would’ve taken far too many coats to get the look I wanted.
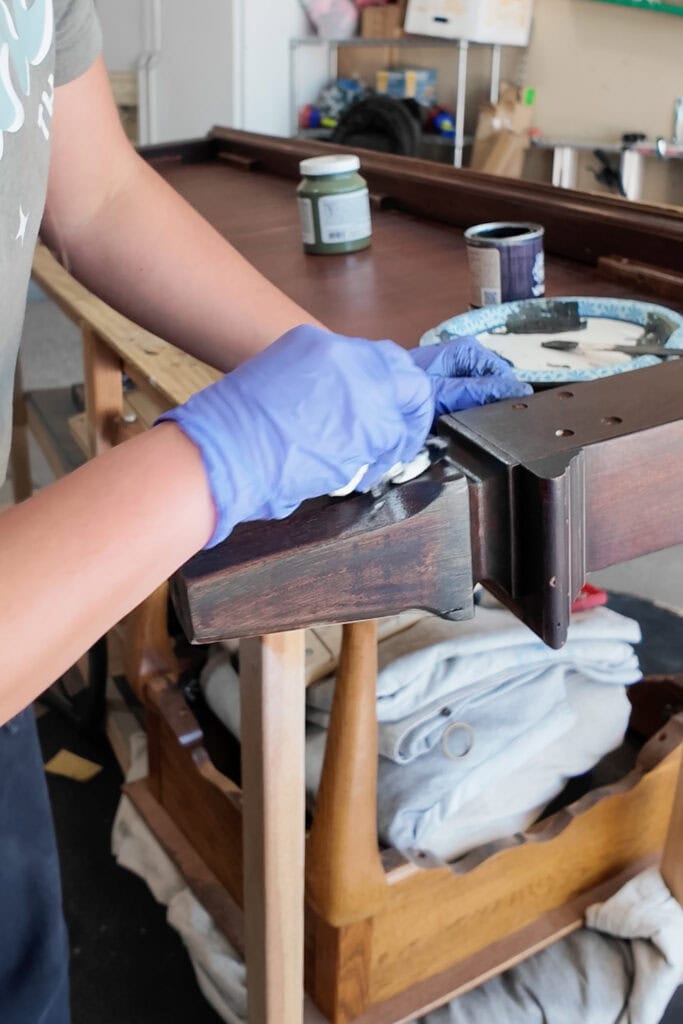
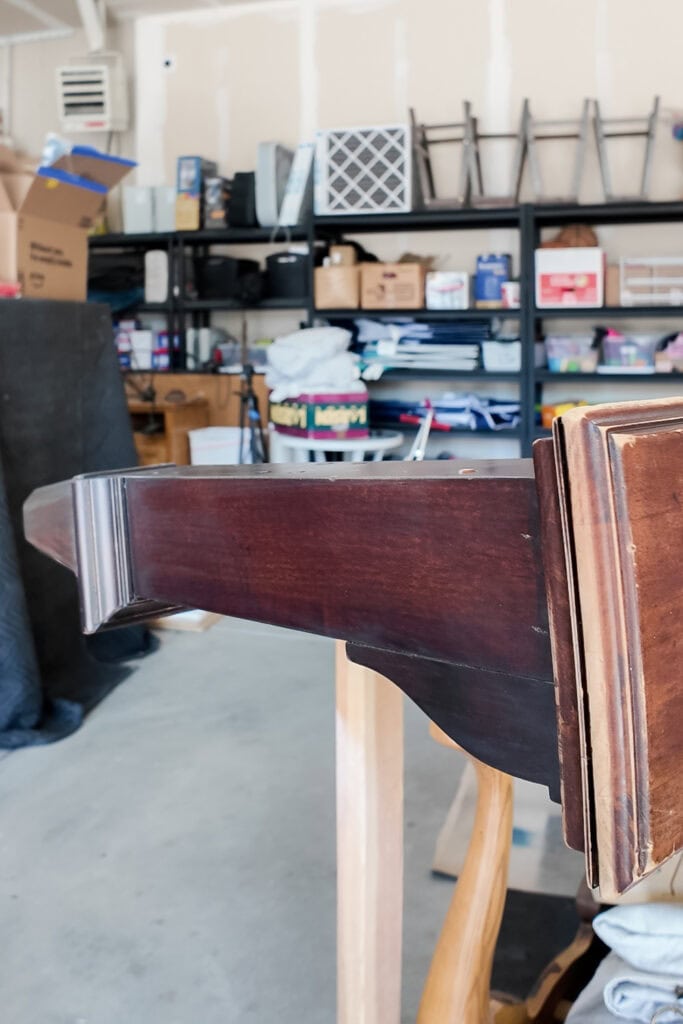
I even tried mixing the Ebony stain with a little green paint. Now I know, waterbased and oil based products shouldn’t be mixed. But we have done this a little bit before, and it has worked really well. But it was still too thin on the bed frame. At that point, I knew this wasn’t going to be the quick makeover I had hoped for.
Painting Over Stained Wood
Then I remembered a headboard I had painted years ago using a black paint wash. It still let the wood show through, dried quickly, and gave the dark wood look I loved. I decided to try that technique instead.
The black wash worked so much better. It was easier to apply, dried in about 20 to 30 minutes, didn’t have the strong smell of oil based stain, and gave me the darker finish I was after. Before leaving town, I finished one coat on the footboard and let it dry while we were gone.
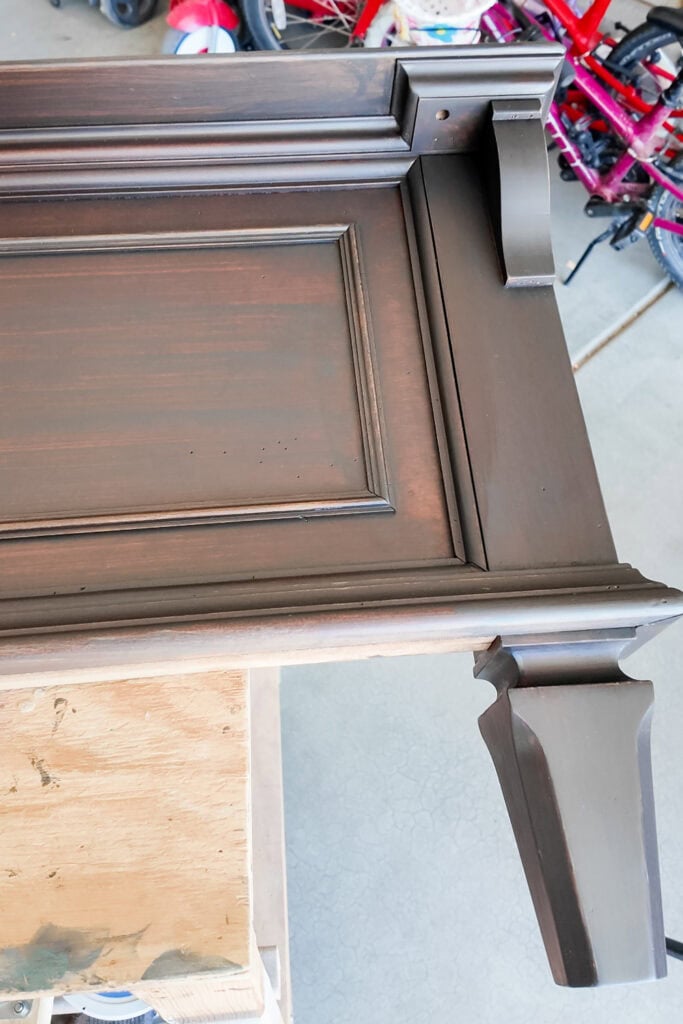
When I came back the next week, the first coat looked pretty good, but there were definitely spots that needed another coat. You could still see a lot of the red orange undertones, and the finish looked a little streaky.
Would you like to save this?
Repair Footboard Damage
As I started brushing on the second coat, I remembered the damage on the footboard. The top had several scratches that didn’t sand out, and one corner had been chipped and glued back together by a previous owner. Even after the first coat, you could still see the cracks and outlines of the repair.
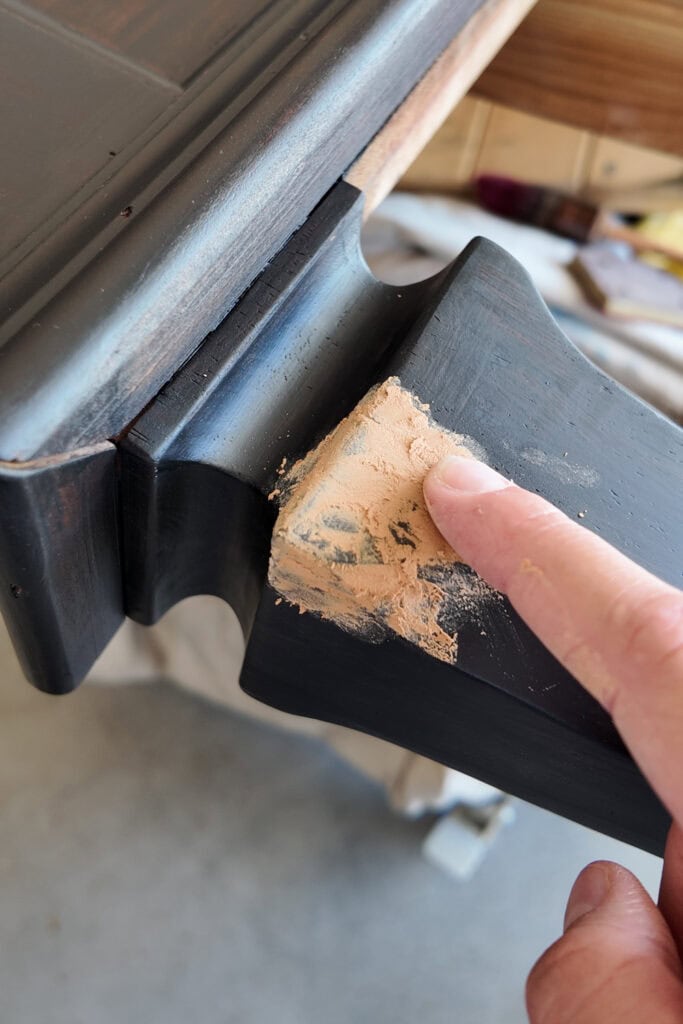
I filled the scratches and chipped area with regular Elmer’s Wood Filler and let it dry for about an hour. Then I sanded everything smooth with a SurfPrep foam pad and 220 grit sanding screen before brushing another coat over the repairs. Once that dried, I applied one more coat over the entire top of the footboard to blend everything together.
Even after filling the scratches, you could still see some of the shallow outlines. At that point, I decided they were part of the character of the bed. I wanted it to look professionally done, but it didn’t need to be factory finished. Get more tips on how to repair damaged furniture here.
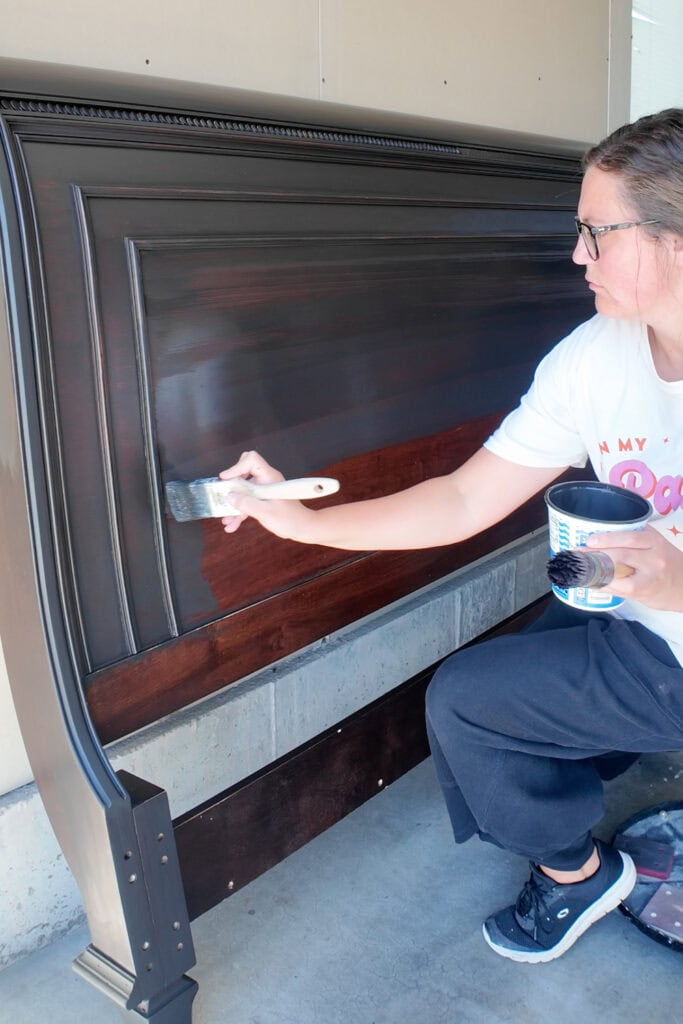
For the curved areas, I used a Staalmeester round pointed brush because it made painting those details much easier. On the flat surfaces, I switched to a wider Zibra chiseled brush to cover more area. After a couple of coats, I let everything dry for a full day. Check out my list of best paint brushes for painting furniture here for more options.




Black Paint Wash on Furniture
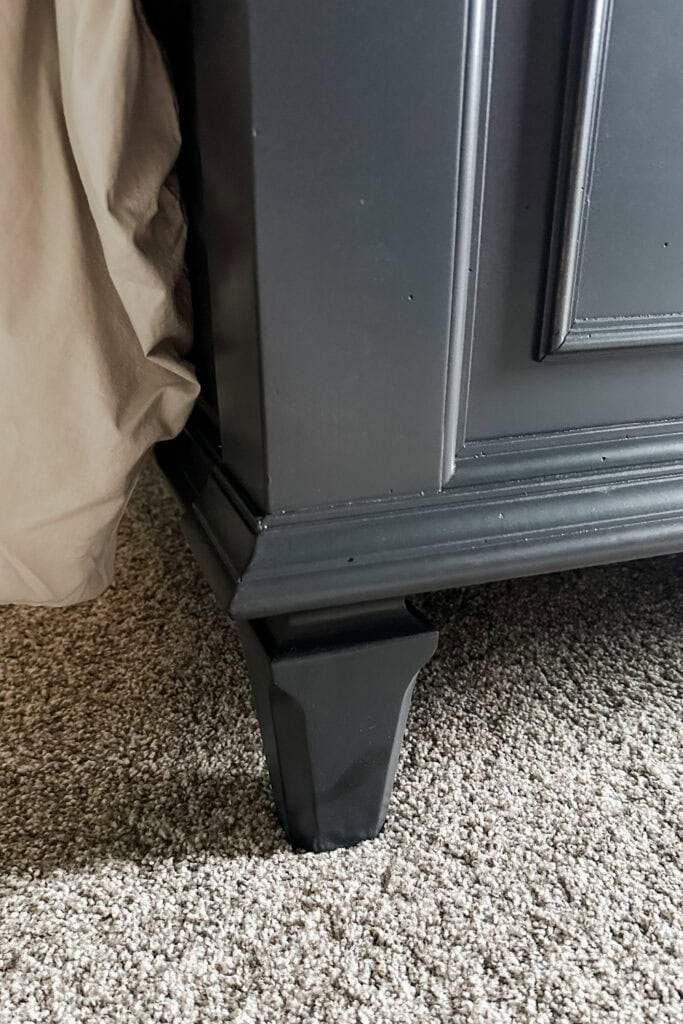
I used Heirloom Traditions All In One Paint in the color Warm Embers for the black wash. I had never topcoated it before, so I wasn’t sure how it would react. Since it’s more like an enamel paint, I was a little nervous about causing the finish to crackle, but it already looked really good. Learn all about it in my Heirloom Traditions All In One Paint review here.
We get asked all the time if we paint the backs of our furniture, and most of the time the answer is no. If a piece is designed to sit against a wall, like a headboard or the back of a dresser, there’s really no point. But if the factory finished it all the way around, I finish it too.
Since this headboard already had a finished back, I added one coat of the black wash so it looked clean and intentional. I didn’t spend time building up multiple coats because no one was going to see the back once the bed was in place. I just wanted it to blend in with the rest of the bed.
Topcoating Paint Wash
Once everything dried, I tested the finish by scratching it, and it wasn’t coming off. The only issue was that the brushed finish had an uneven sheen. Some areas looked more satin, while others looked hazy. So even though this all in one paint doesn’t need a topcoat, I decided to spray one anyway to even out the sheen.
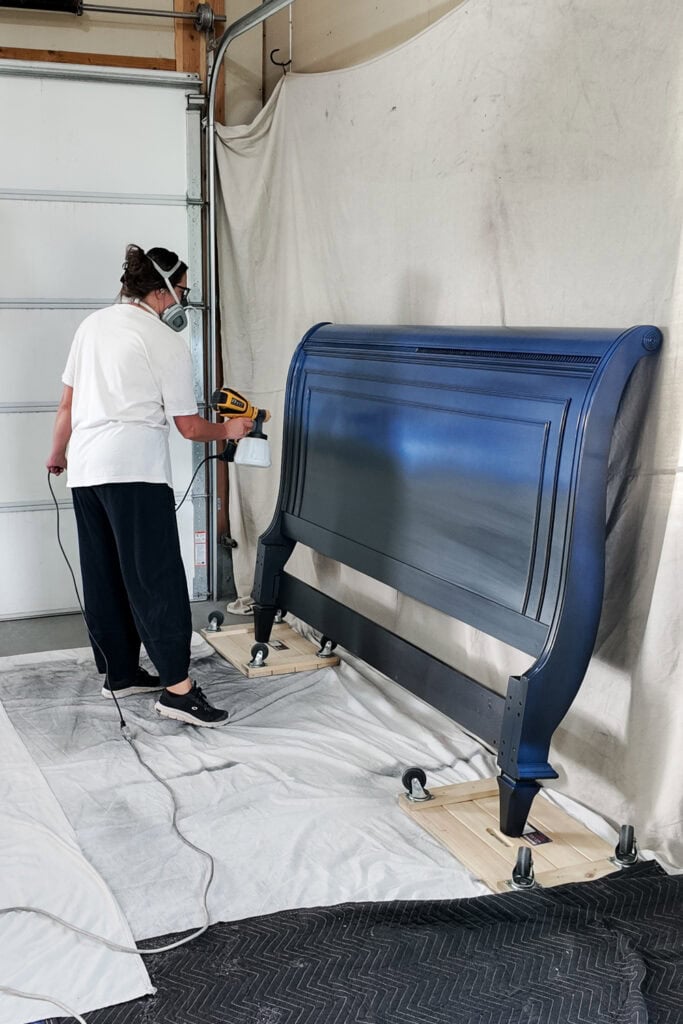
The next time it cooled down into the low 70s, I sprayed on one coat of satin topcoat. I thinned it more than usual because it was extra thick, filtered it before pouring it into my beginner HVLP sprayer, and sprayed a light coat to even out the finish.
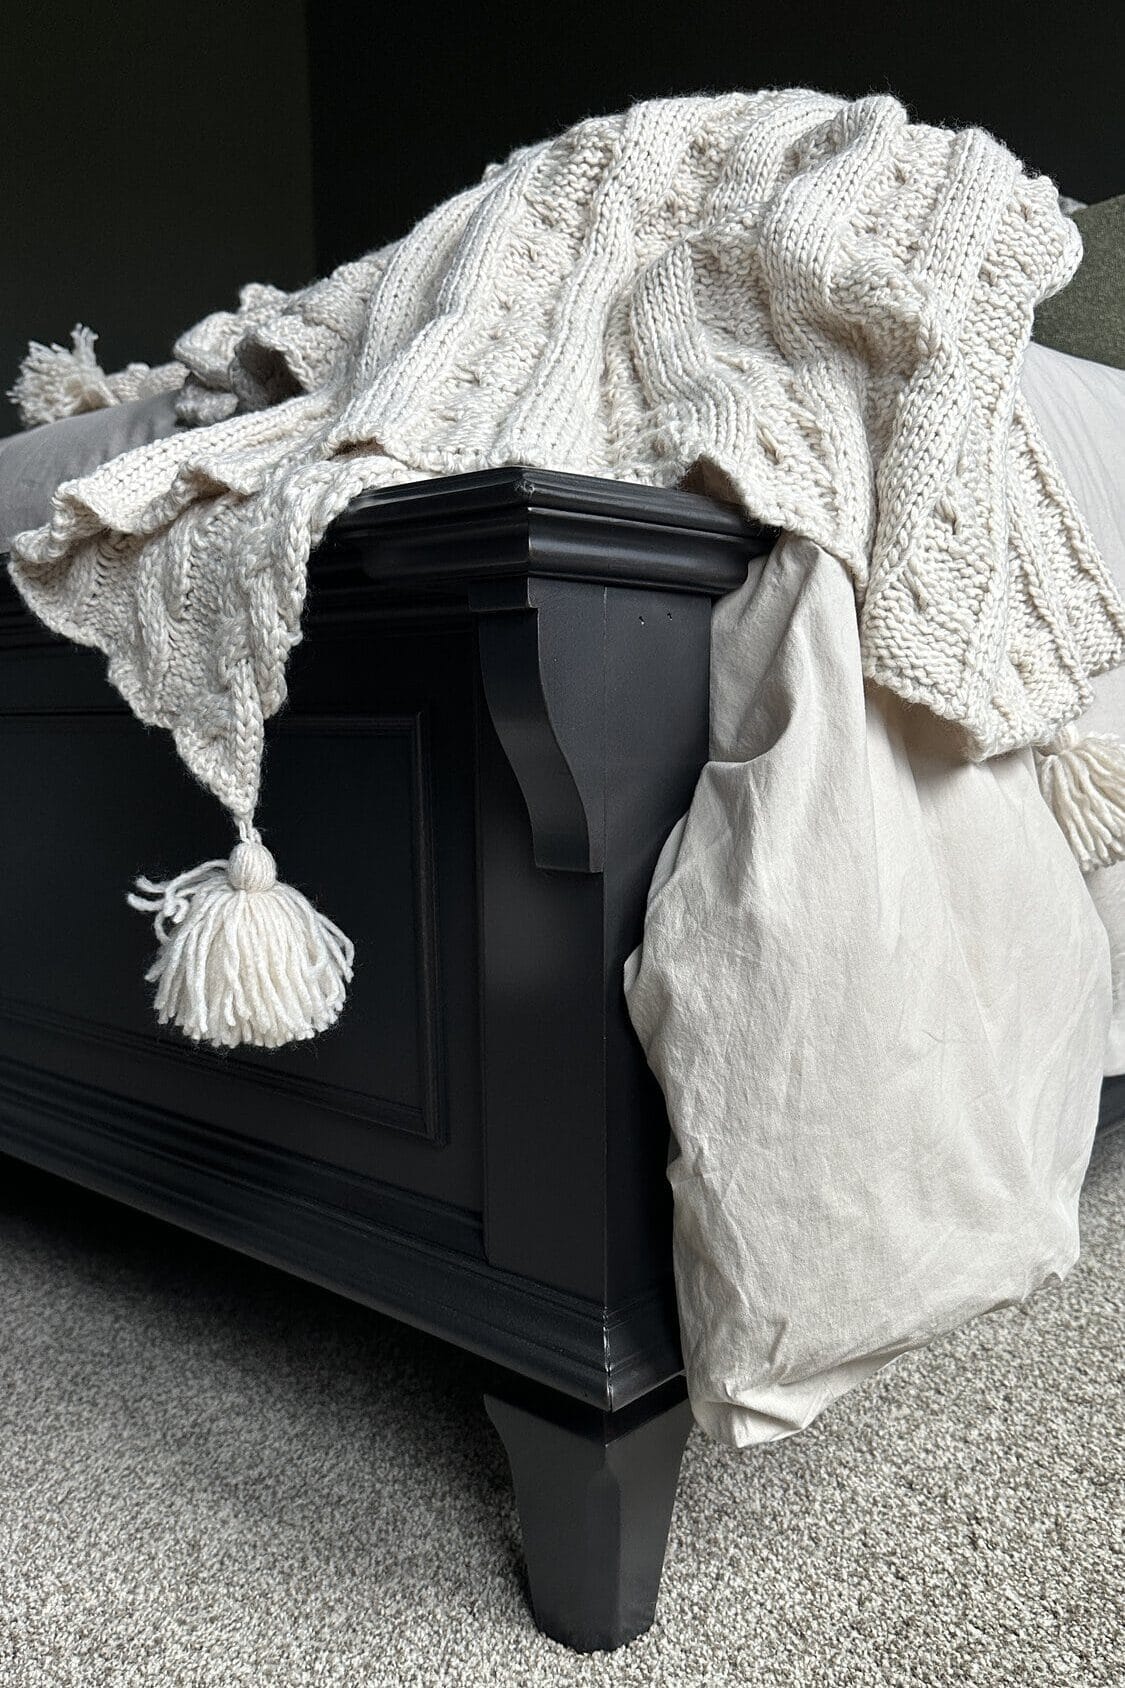
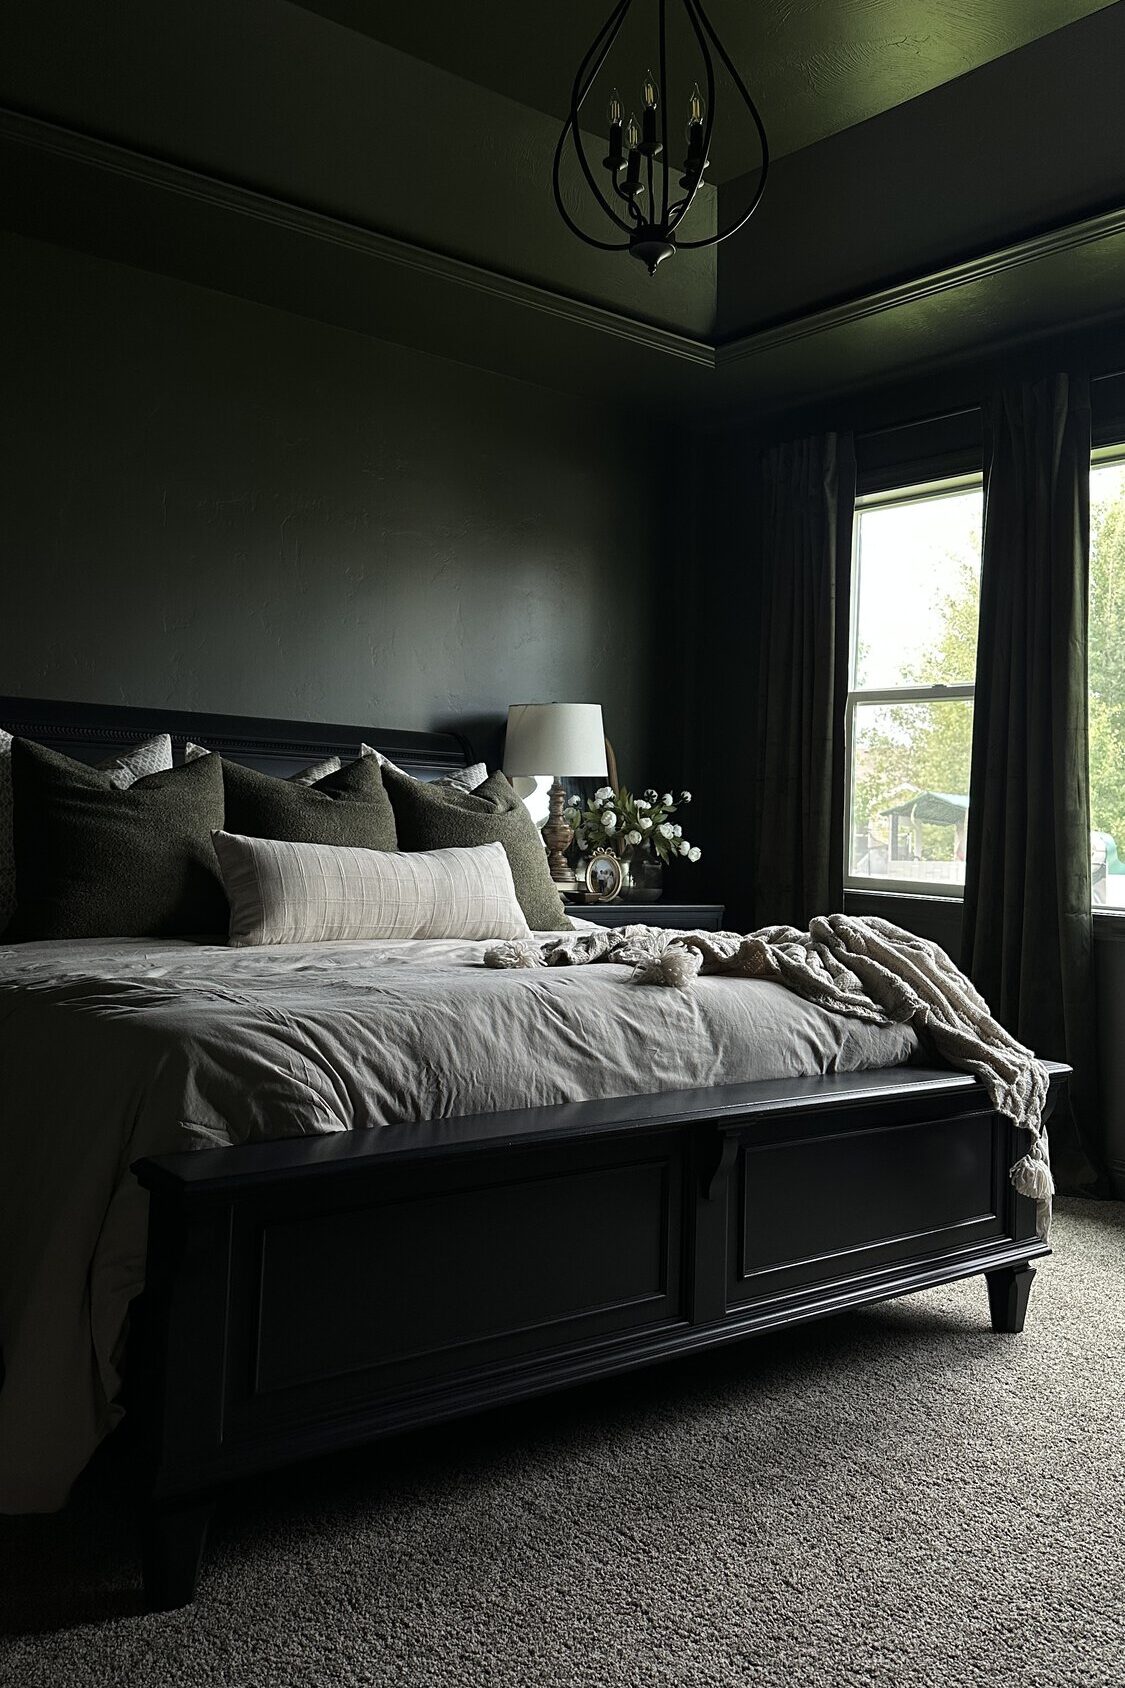
Once everything was dry, we brought the bed back into the bedroom and put it back together. It looked so much better without the red orange undertones. Around the same time, I ended up painting the bedroom walls too, so the whole room started coming together.
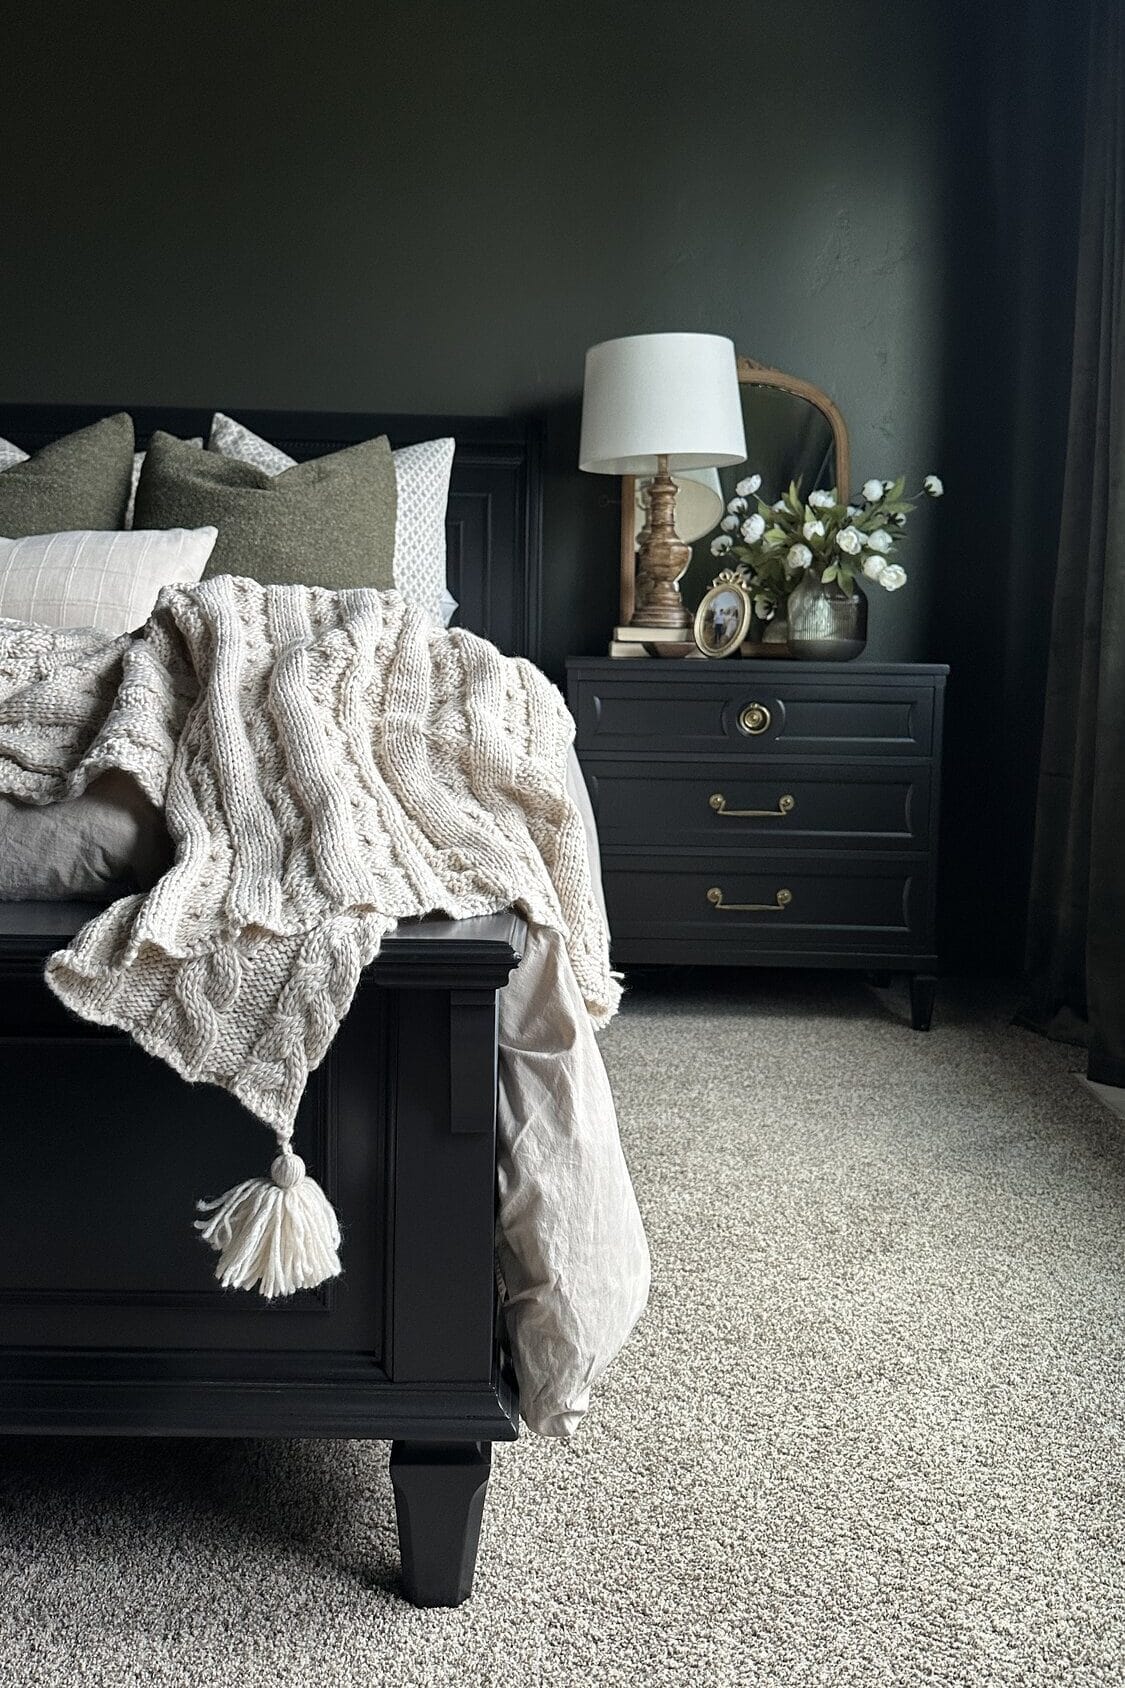
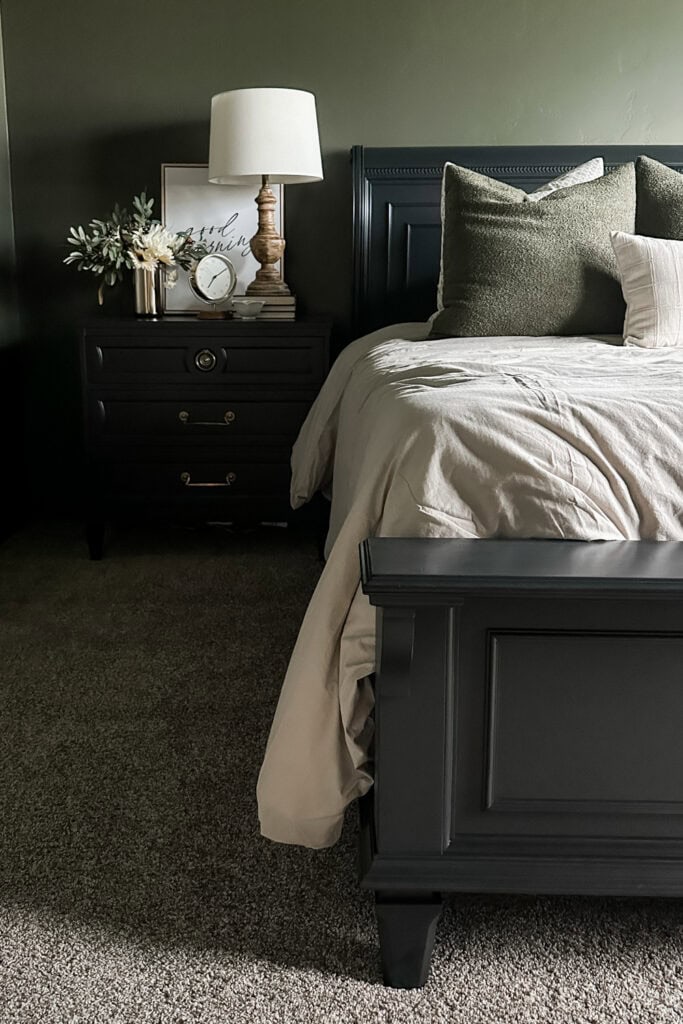
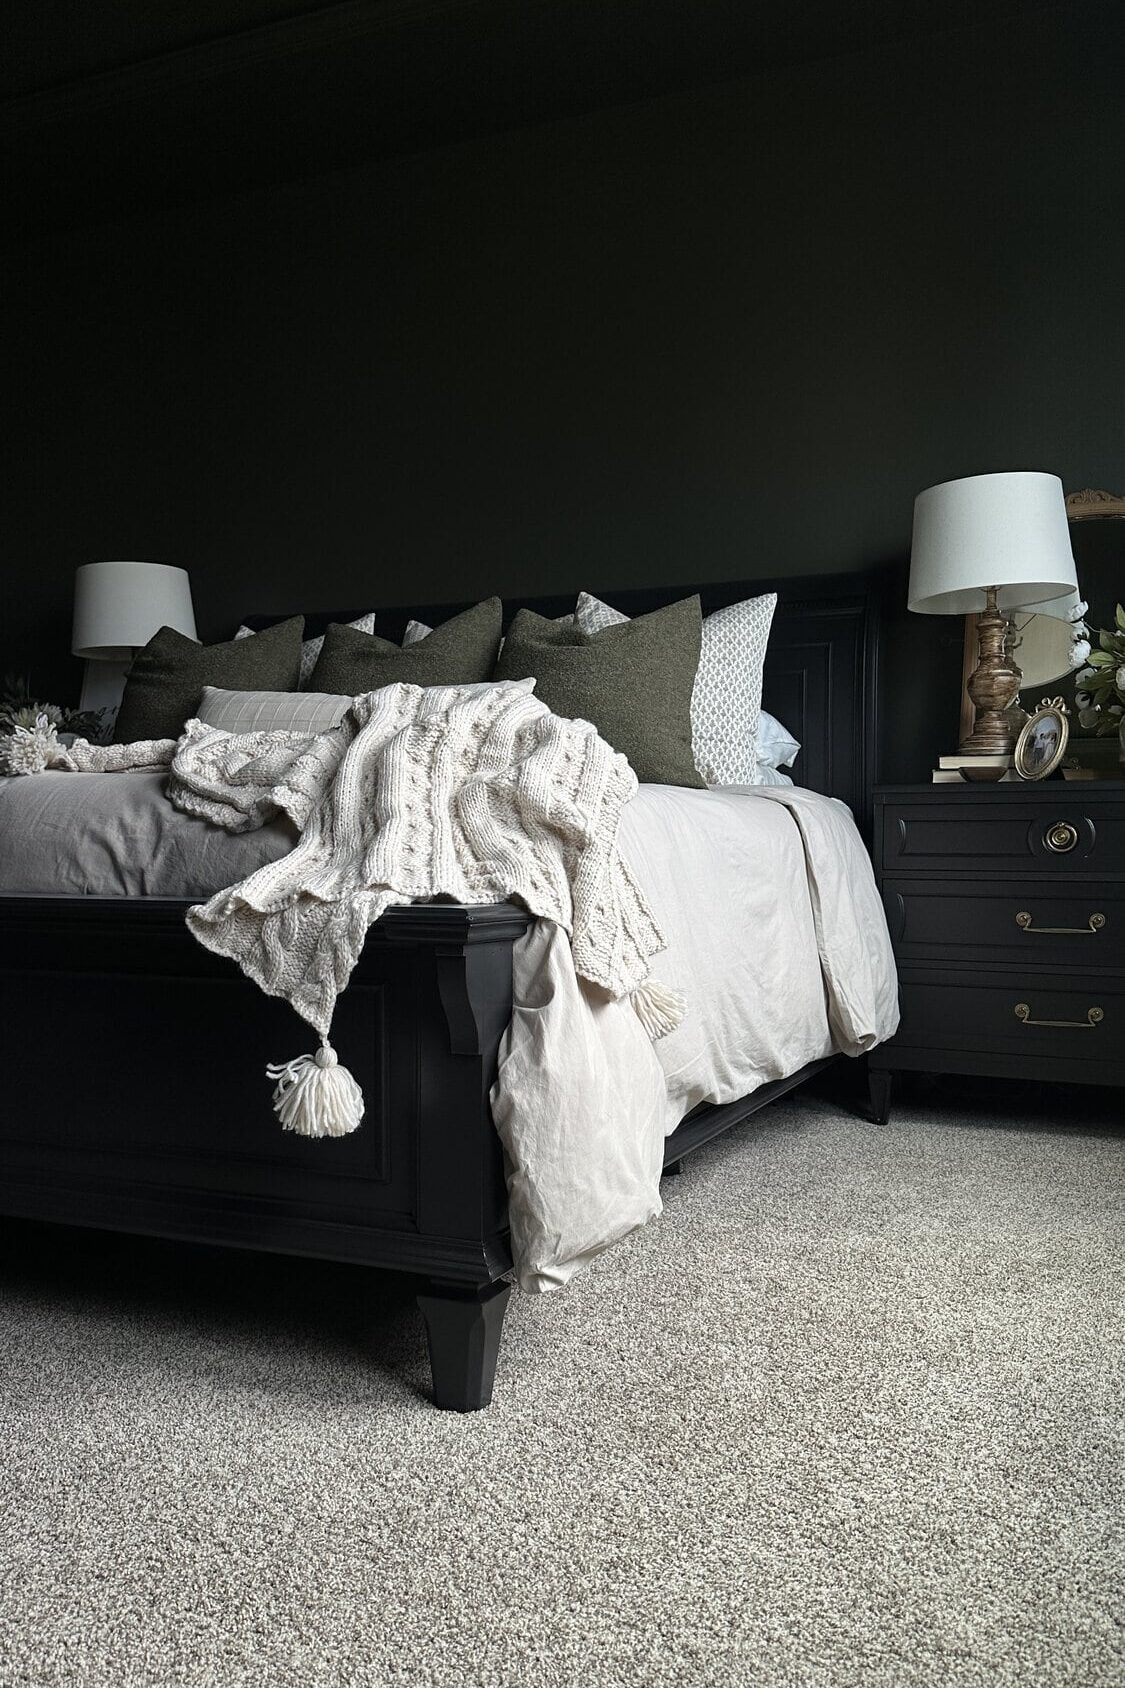
I love the darker furniture with the dark green walls. Looking back, though, I probably could have just sprayed the bed black instead of doing a paint wash because you really can’t see much of the wood grain once it’s in the room. Even so, I’m really glad I darkened the bed instead of stripping it down to raw wood.
Don’t forget to check out these other awesome before and after furniture makeovers from my Furniture friends!! (Click the links below the photos!)
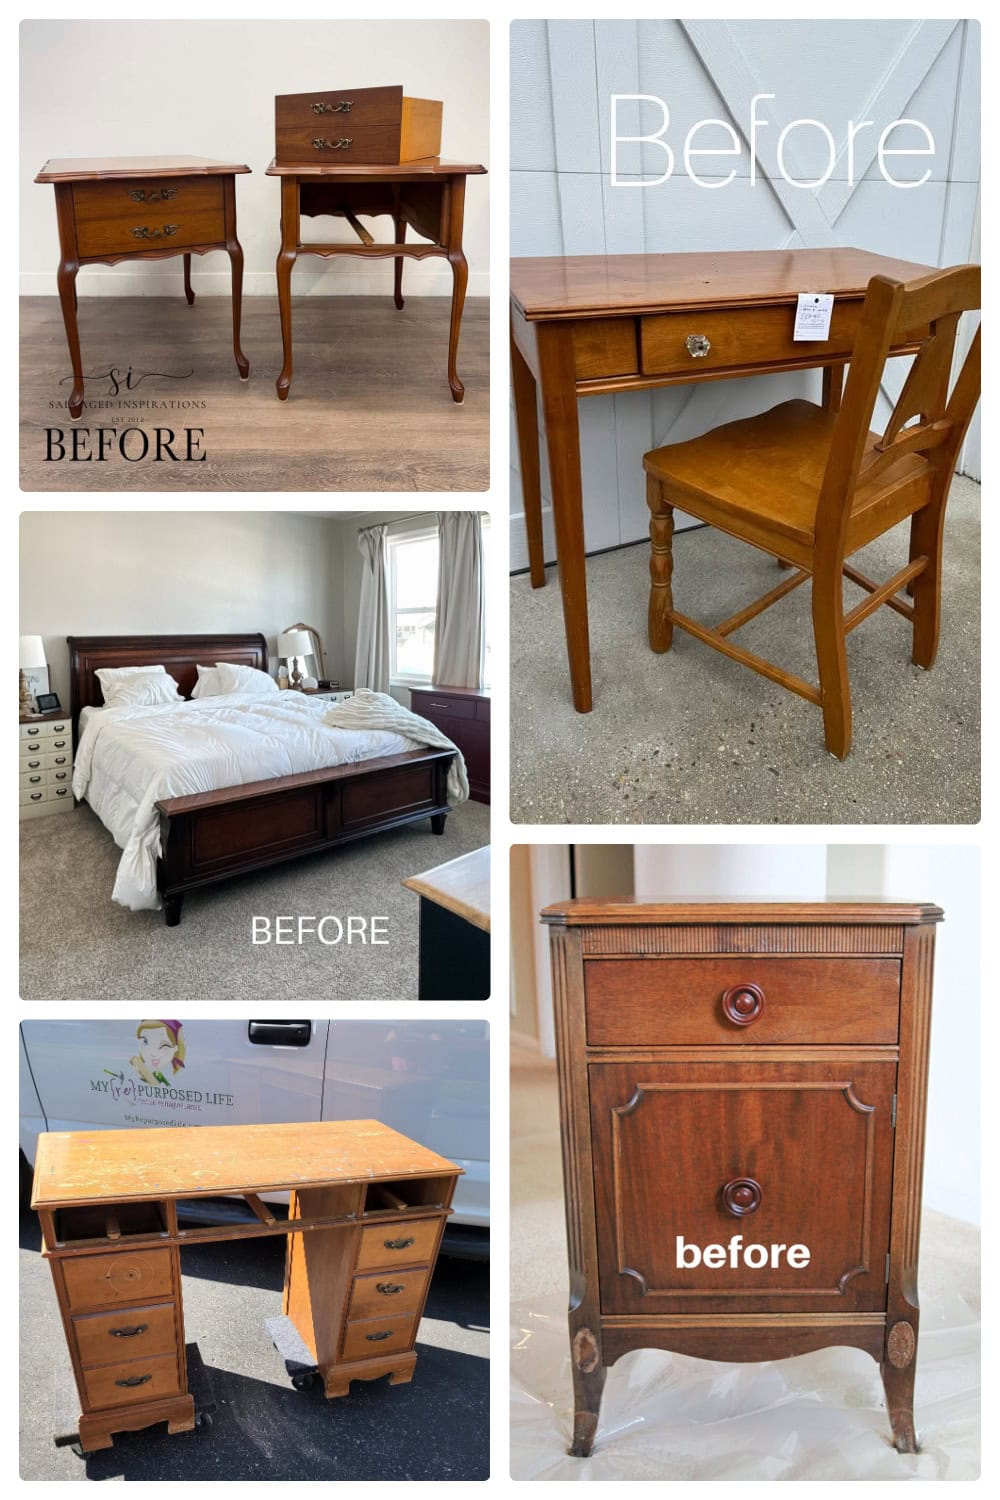
- Coastal Nightstand Makeover from Petticoat Junktion
- Flipping a Vintage Desk With Missing Drawers from My Repurposed Life
- French Provincial Flip With Basic Tools from Salvaged Inspirations
- Painted Table and Desk Set Makeover from Confessions of a Serial DIYer

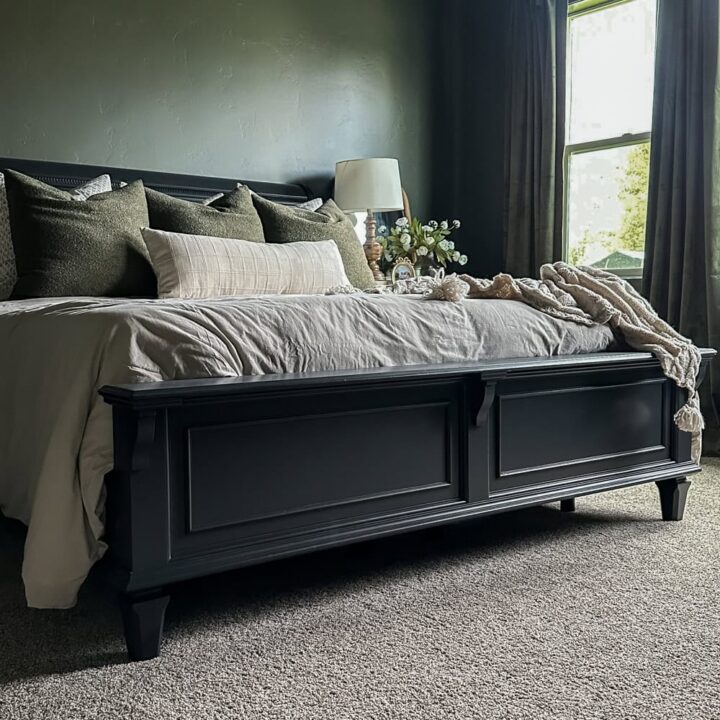
How to Darken a Warm Wood Bed Frame Without Stripping It
If you've been wondering how to darken a warm wood bed frame without stripping it, I'll show you the steps in this wood bed frame makeover.
Materials
Tools
Instructions
- Scuff sand the slick finish before applying anything so the new finish has something to grip. Use a SurfPrep sander with oversized medium grit foam pads, plus 220 grit sanding screen on the flat areas, to remove the glossy surface.
- Clean all the dust with a vacuum, then wipe everything down with a tack cloth. For good measure, wipe it with a deglosser prep cloth to dull the sheen and help the stain stick better.
- Mix Heirloom Traditions Paint in Warm Embers with water for the black wash. Apply a coat and let it dry.
- Fill scratches and chipped areas with regular Elmer's Wood Filler and let it dry for about an hour. Sand everything smooth with a SurfPrep foam pad and 220 grit sanding screen before brushing another coat over the repairs and one final coat all over.
- Filter and thin Dixie Belle topcoat into your beginner HVLP sprayer, and spray a light coat for an even sheen.
- Let it dry completely, and enjoy the darker finish on your bed frame without having to strip it.
Recommended Products
As an Amazon Associate and member of other affiliate programs, I earn from qualifying purchases.


More Furniture Makeover Ideas
- I Used the Wrong Paint on This End Table, Here Is What Worked Instead
- Simple DIY Dresser Makeover
- Waterfall Cedar Chest Makeover
Follow us on YouTube to get more tips for painting furniture. Or share your project with us on our Facebook Group and be part of our community. See you there!
WOW!! It looks amazing! What an elegant transformation this was and your staging is spot on! XOXO
Ahh thank you so much Christy!
this was a big job. It turned out beautiful.
Thanks so much Jackie!
I love, love, love, it! So dramatic. What a romantic bedroom. Great job Natalie!
Aww thank you so much Kathy! So glad to hear that you love it!
I love the dark wood with the dark olive walls. Very striking and beautiful.
I’m so glad to hear that! Thanks so much!
Wow! This room is absolutely beautiful! It’s so pretty!
Aww so glad to hear that!