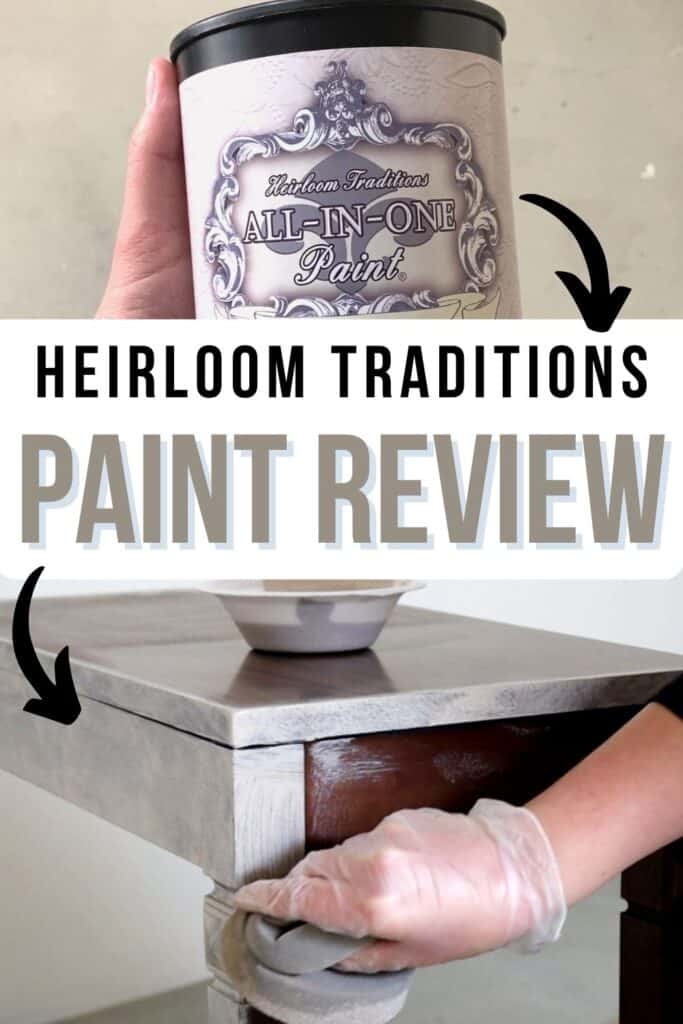
Heirloom Traditions All In One Paint Review

Hey friends! I finally did it. I tried Heirloom Traditions Paint. It’s an all-in-one paint that some of you keep talking about, so I had to give it a try for myself. With this Heirloom Traditions All In One Paint review, I hope to help you decide if it’s the right fit for your DIY project.
Let’s talk about how I used to use Heirloom Traditions Paint, then we’ll dive into my experience with it and my thoughts on the product.
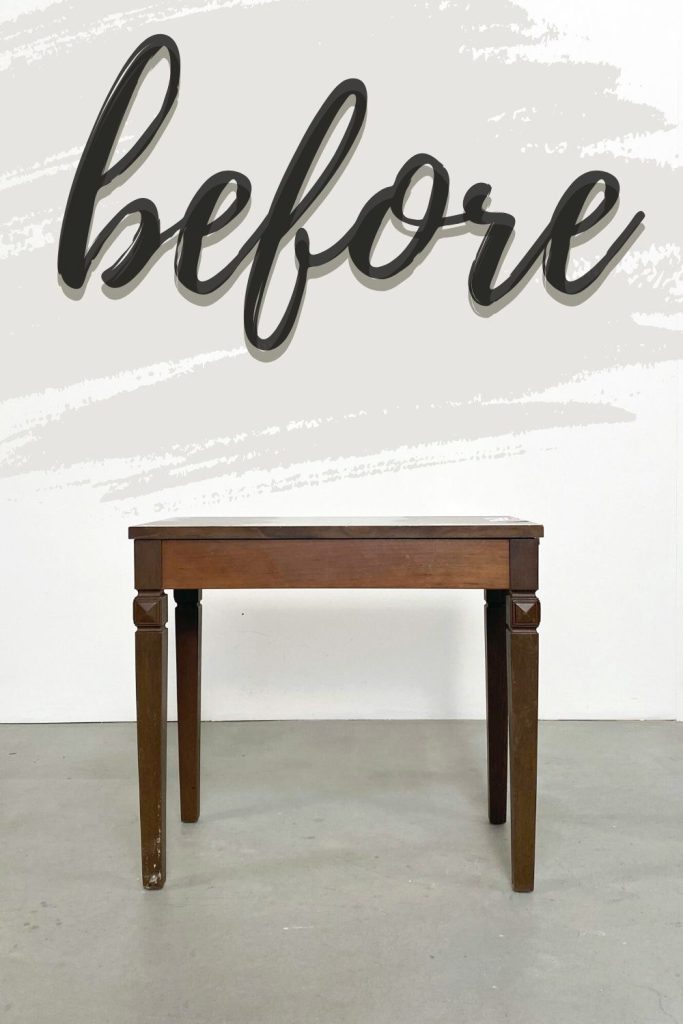
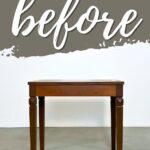
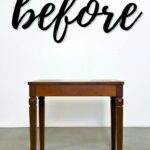
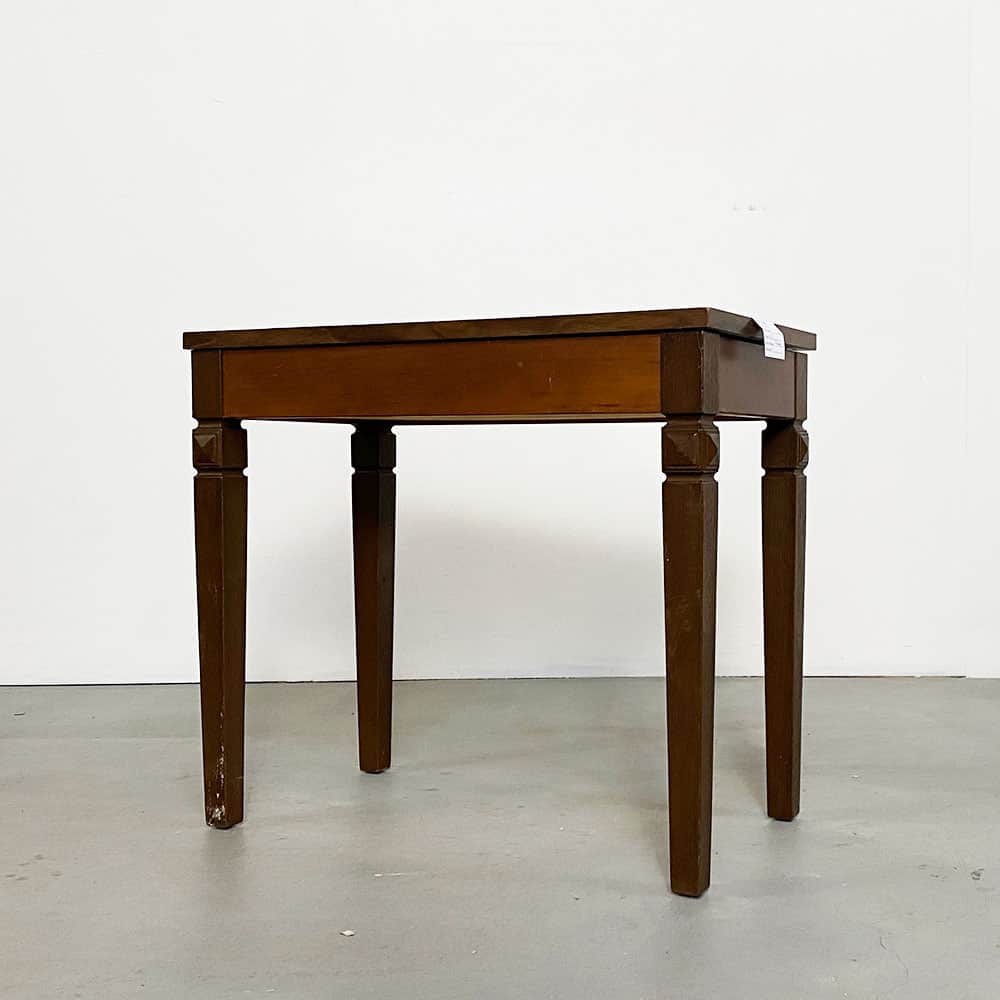
Here’s what I tried it on. A cute little piano bench that was only $10 at the thrift store. And while piano benches aren’t moneymakers if you’re wanting to flip furniture for profit… It was the perfect little thing to test some paint on.

I don’t know if you can tell, but it’s mostly made of laminate, and a little bit of real wood. And paint doesn’t stick to laminate very well, so this should be fun!

Supplies Used for this Heirloom Traditions All In One Paint Review
As an Amazon Associate, I earn from qualifying purchases. I also may earn from other qualifying purchases with other companies or get free product to review and use. All opinions are my own.
- Heirloom Traditions Paint in Oyster
- Krud Kutter and Old Rag
- Liquid Deglosser
- 220 Grit Sandpaper
- True Applicator Sponge
After gathering all these supplies, I was ready to start with my project using Heirloom Traditions Paint!
How to Use Heirloom Traditions Paint
Here’s how we used Heirlooms Traditions Paint to paint this piano bench.
Clean and Degloss Piano Bench
Alright, so I cleaned the bench with Krud Kutter and an old rag to get rid of all the dirt, grease, and grime. Then I filled in some damage and sanded that down.
Read this post to learn more about how to clean furniture before painting and here’s more about how to prepare furniture for painting.
From what I’ve seen, Heirloom Traditions recommends to just use their deglosser to clean and scuff up the surface of the furniture.
I didn’t buy their deglosser, but I did wipe this liquid sander deglosser on all of the bench.
Scuff Sand Bench
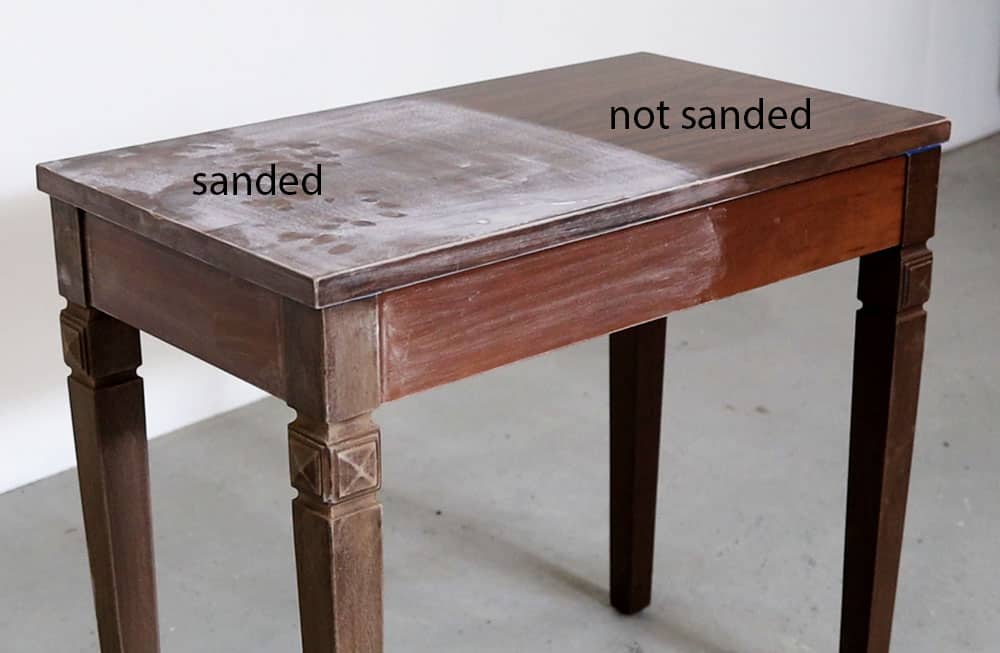
They do recommend lightly scuff sanding slick surfaces, and this surface is definitely slick, so I rubbed my 220 grit sandpaper on half of the bench… and I left the other half of the bench alone.
You know, just because I want to see what this stuff is really able to do.
Learn more about sandpaper for furniture painting here and read more about the importance of sanding before painting furniture here!
Painting a Bench with Heirloom Traditions Paint
I used this beige neutral color, called Oyster. Here are more best beige paint for furniture options if you like this color. And here are more best Heirloom Traditions paint colors!
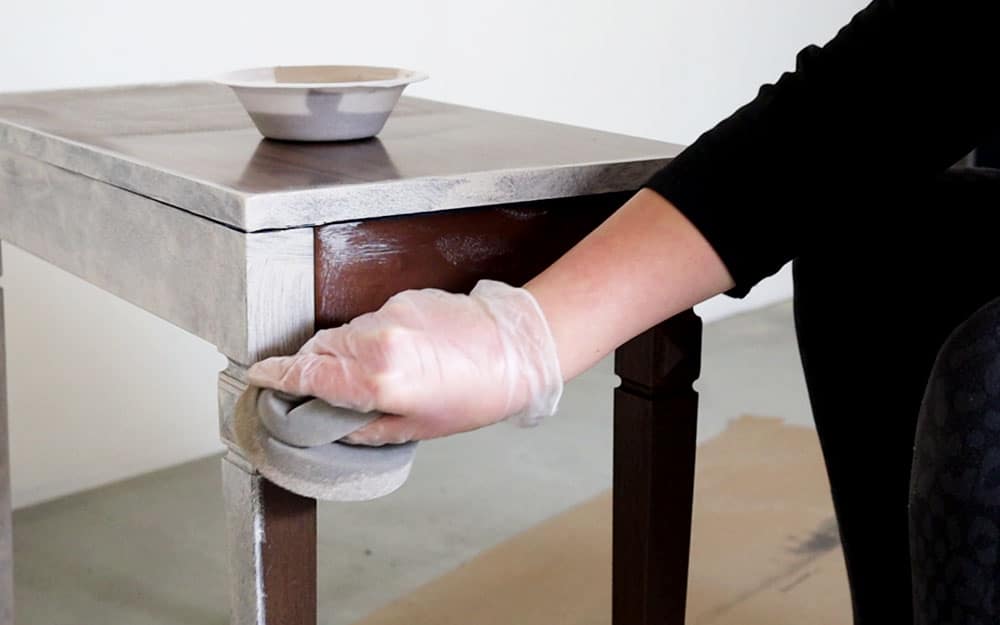
And I stirred it for 2 whole minutes like the back of the can says to do. And…Then I used the true applicator sponge to paint the paint on everywhere.
I ended up kind of wiping it on, and then, I did the stippling (bouncing) thing that they tell you to do so that you don’t get brush marks. Discover other methods of how to paint furniture without brush marks.
Here’s what it looked like after the 1st coat of paint.
It definitely needed another coat. So I let it dry for 2 hours and then painted another coat on.
After the second coat was dry, I could still see plenty of spots that needed better coverage, and I could still see the damage that I had filled. So I sanded it out more, and then I painted another coat of paint. (So it took 3 coats of paint).
Wet Distress Painted Bench
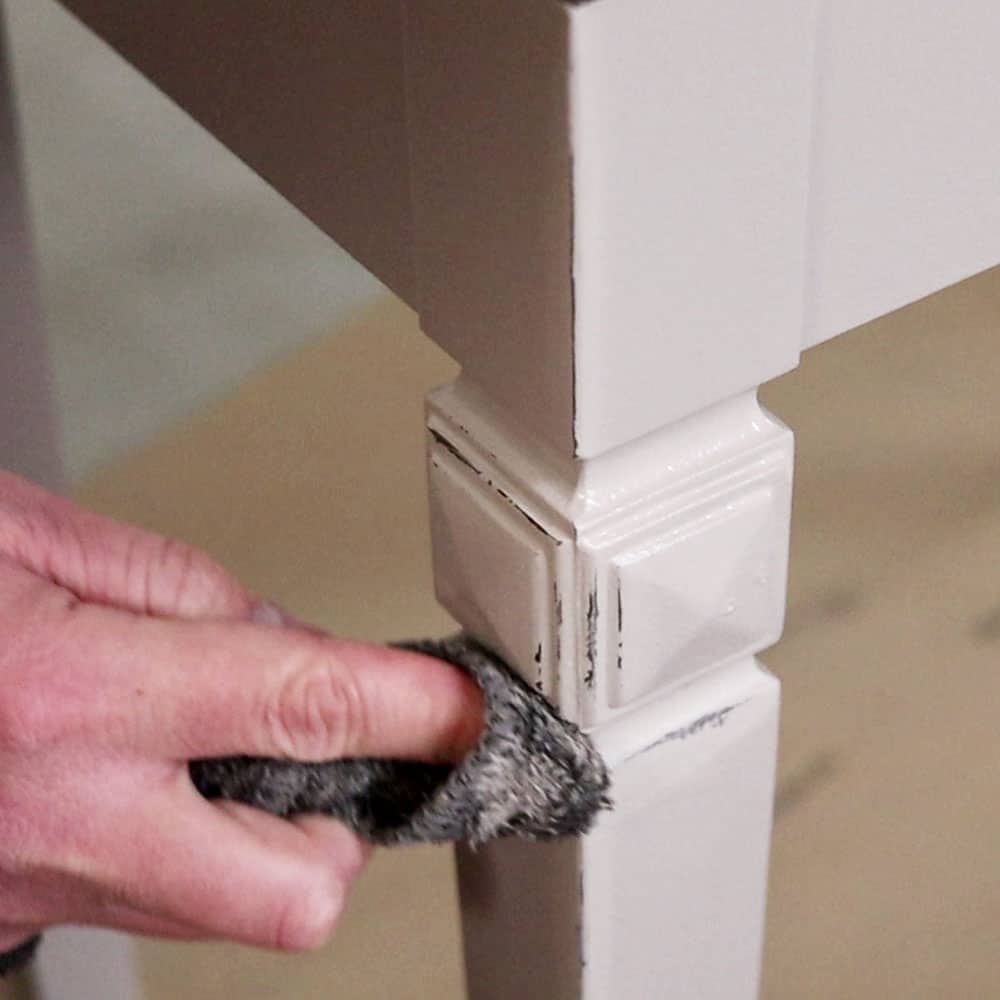
While that last coat of paint was still wet, I removed the tape from the inside. I didn’t do a very good job of taping, and paint had seeped under it.
So I rubbed it off with a wet rag… and while I was at it, I distressed the edges with that same wet rag.
Can you Distress Heirloom Traditions Paint?
Wet distressing with a rag worked, but when it was dry, you could see that there was a difference in the sheen right around where I had distressed.
If you don’t want to use a wet rag to distress, you can also try one of these other 6 techniques anyone can do to distress furniture!
It doesn’t seem to be any less durable right where I wet distressed it though. It wasn’t too hard to rub off, but it definitely didn’t wipe right off either. Then I let it dry completely.
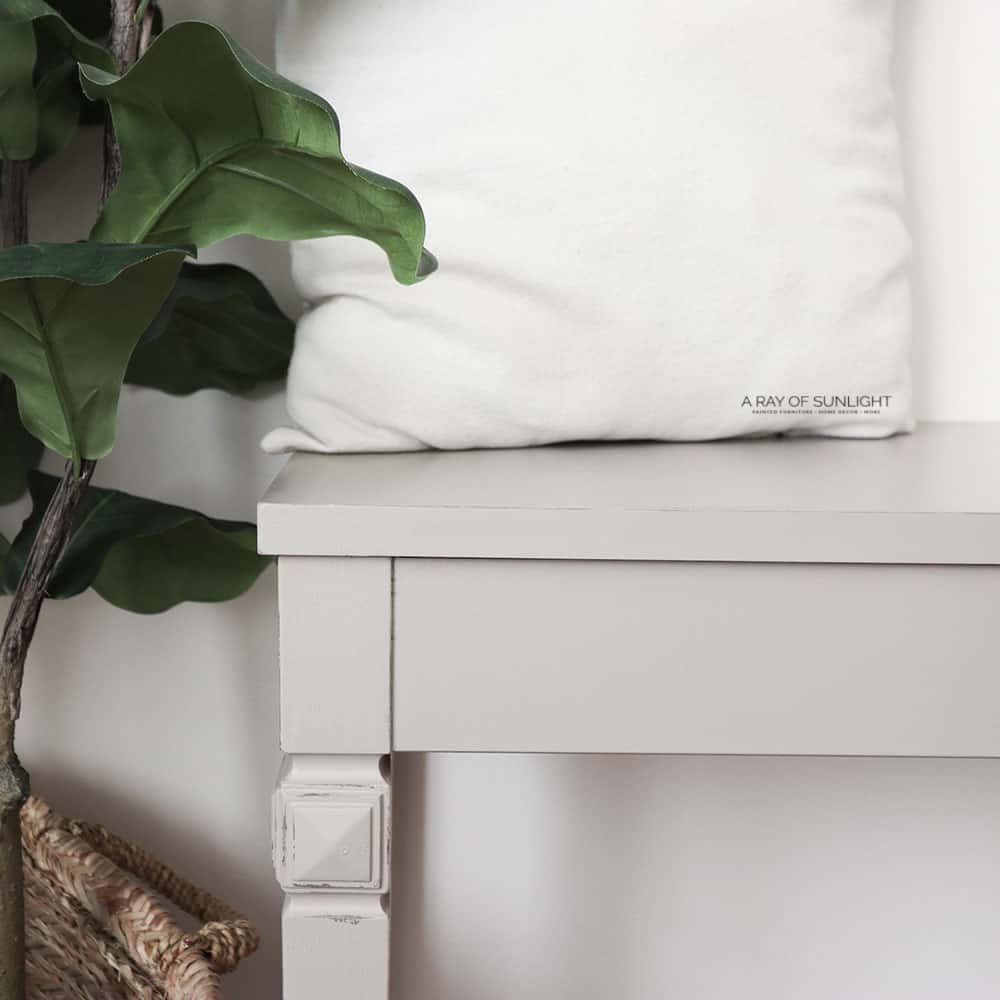
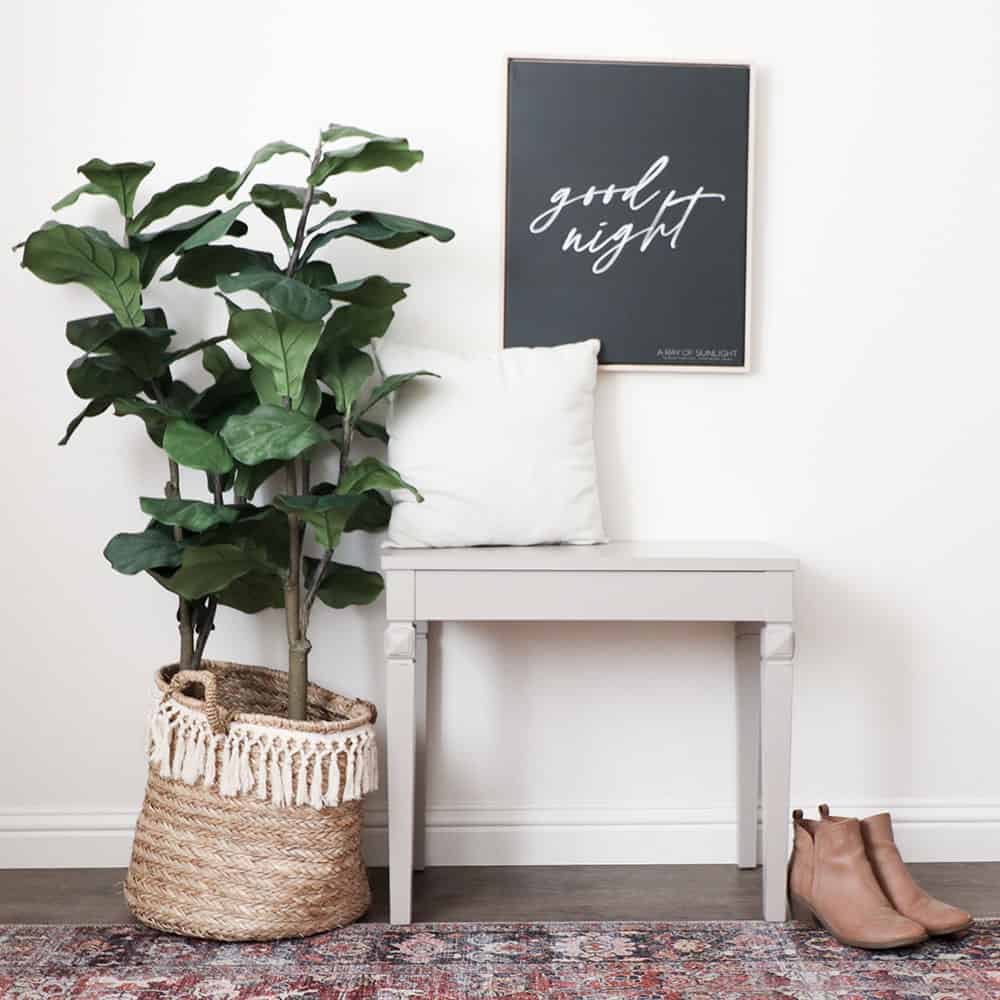
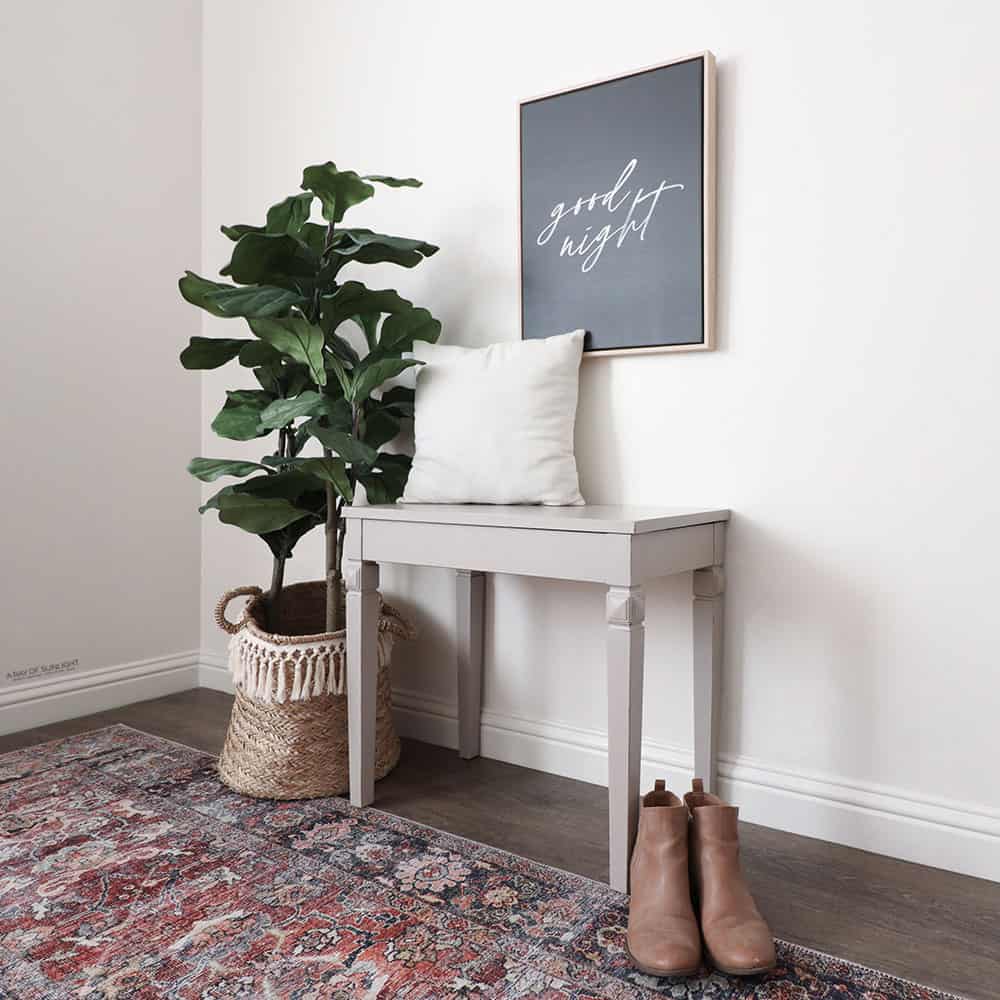
And here’s what it looks like all finished up. Check out another makeover of painting a wood bench with chalk paint here.
More Before and After Makeovers
See All >
Click any of these “before” photos below to view the “after” of that makeover.


Heirloom Traditions Paint Review
But we’re here to talk about the paint huh?
No Brush Strokes??
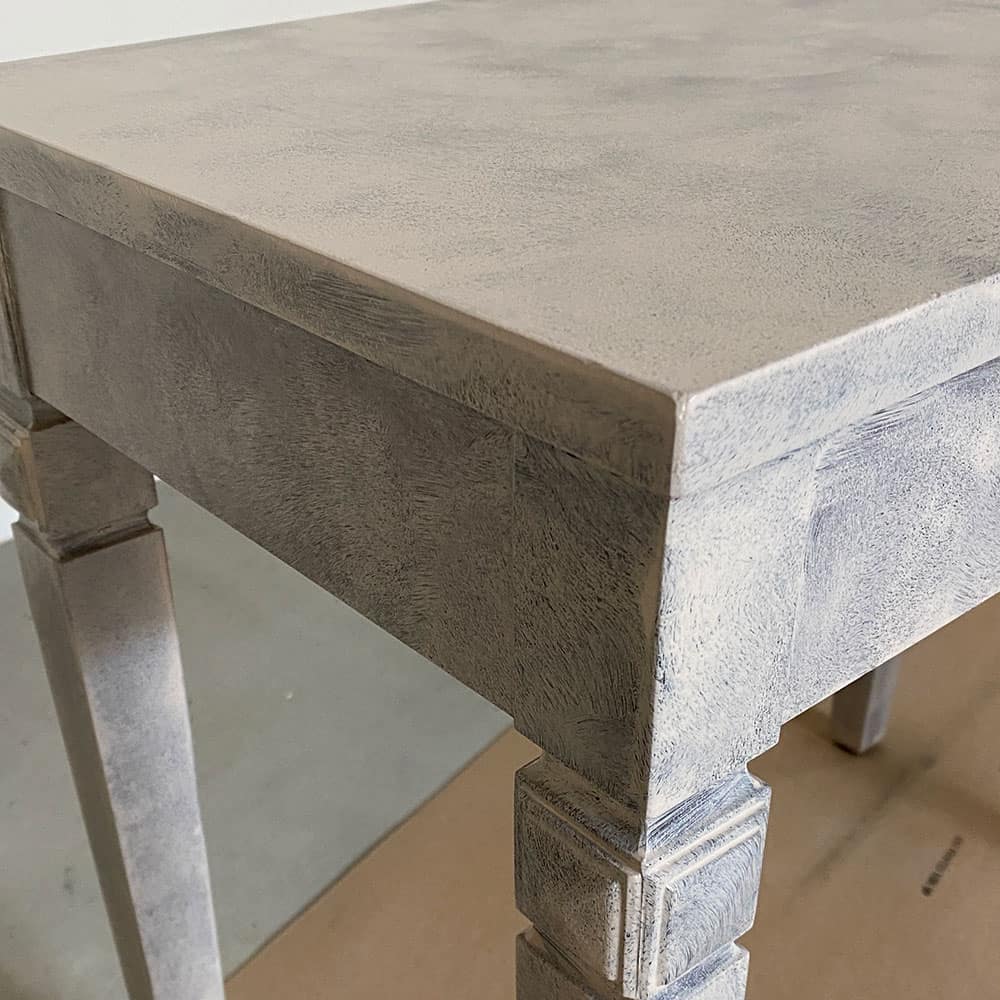
Alright, let’s get close up to the bench… It definitely is a brush-free finish, because I didn’t use a brush at all. But man, that is some pretty heavy texture there.
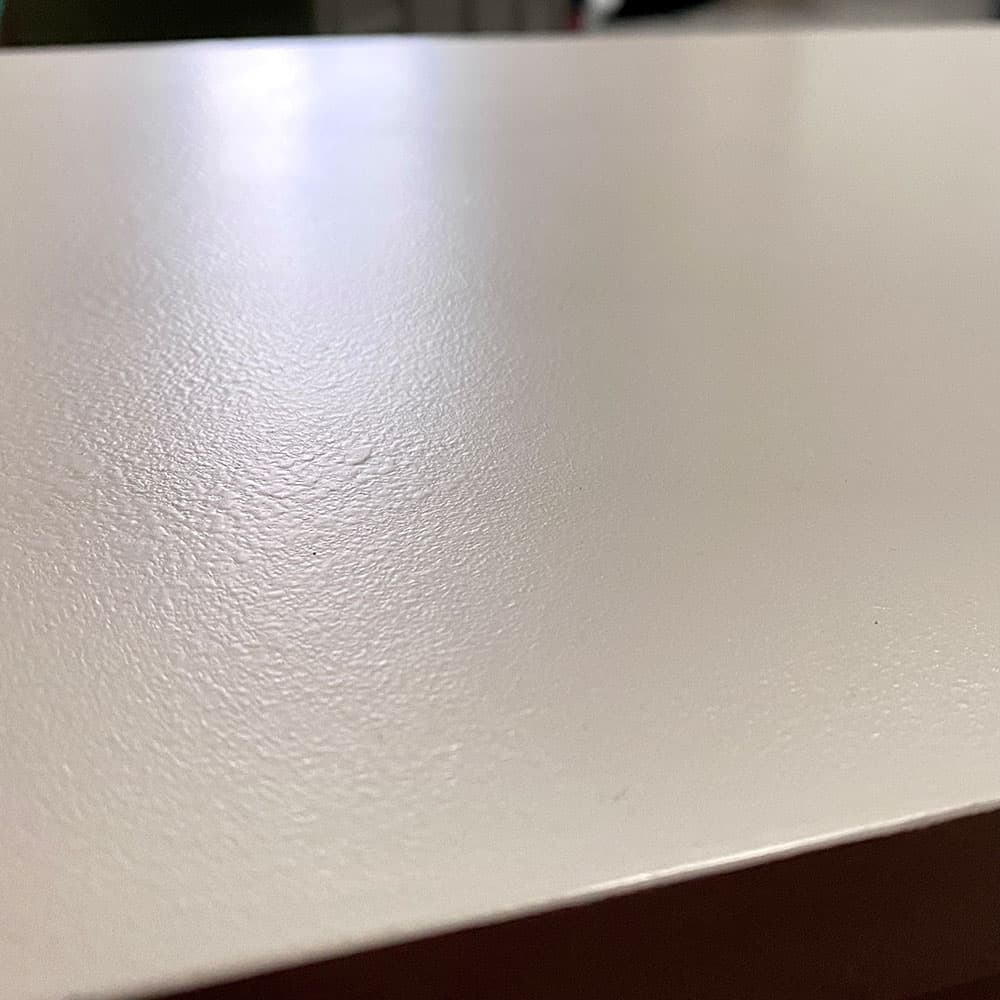
From a few feet away, you don’t really see any texture, but when you’re right there, it’s definitely there. It’s personally not my preference. But I think there are a lot of you out there that don’t mind it at all.
Update: We’ve sprayed Heirloom Traditions Paint on this cedar chest we painted black, and it sprays to a beautiful texture-free finish!

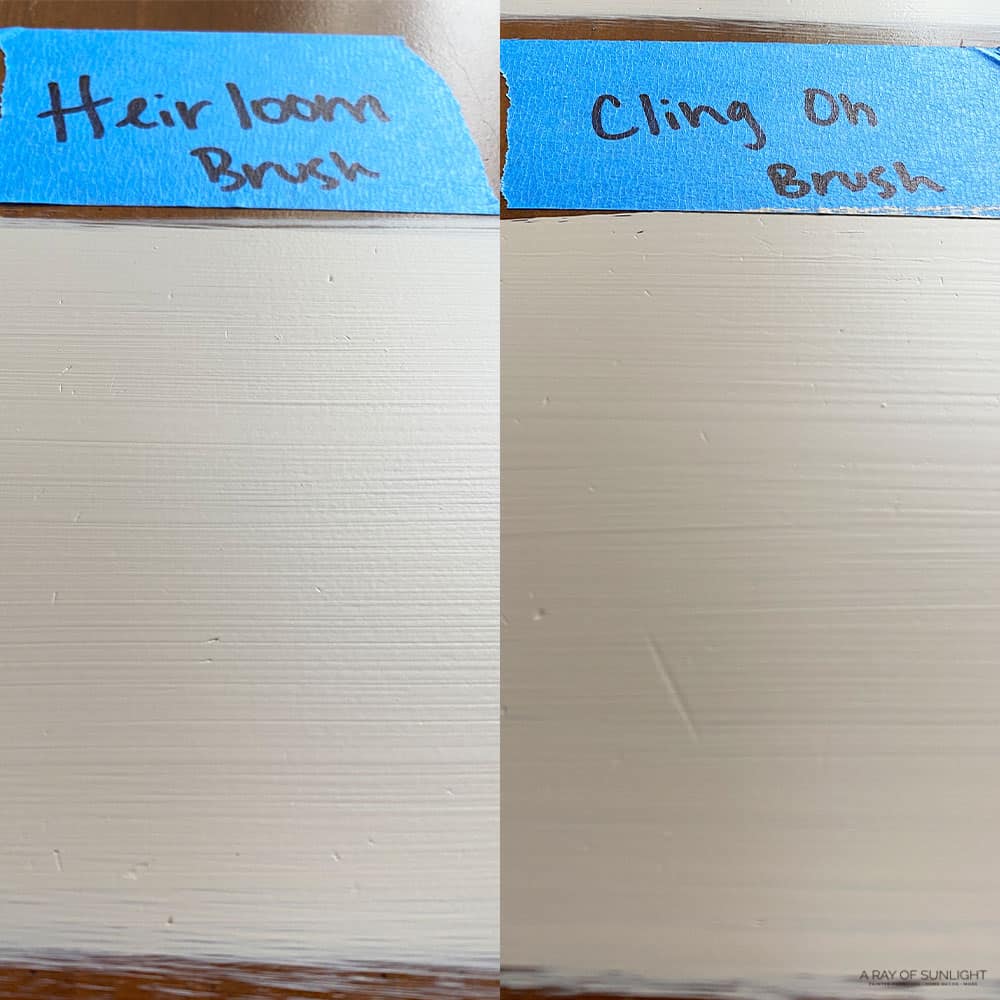
Brushing Heirloom Traditions All in One Paint
Just for kicks and giggles, I tested out how well it brushes on. I used their paintbrush, and a well-known high-quality brush, the Cling On Brush.
Two coats of paint later, and this is what it looks like brushed on.
Would you like to save this?
I think there are fewer brush marks with the Cling On, but either way, there are still a lot of brush marks left behind. I was so tempted to thin it out a little bit, but they say to not thin it, so I didn’t try.
My guess is that it would make the paint less durable, but it would probably also have fewer brush strokes in it. Maybe I’ll test that out sometime and update you in the comments.
Is Heirloom Traditions Paint Durable?
Speaking of durability… I’m blown away! Almost 3 days after I painted it, I scratched at it. The deglossed and scuff-sanded side barely scratched at all.
And the side that was not scuff sanded (only had a deglosser,) scratched off only a little bit more.
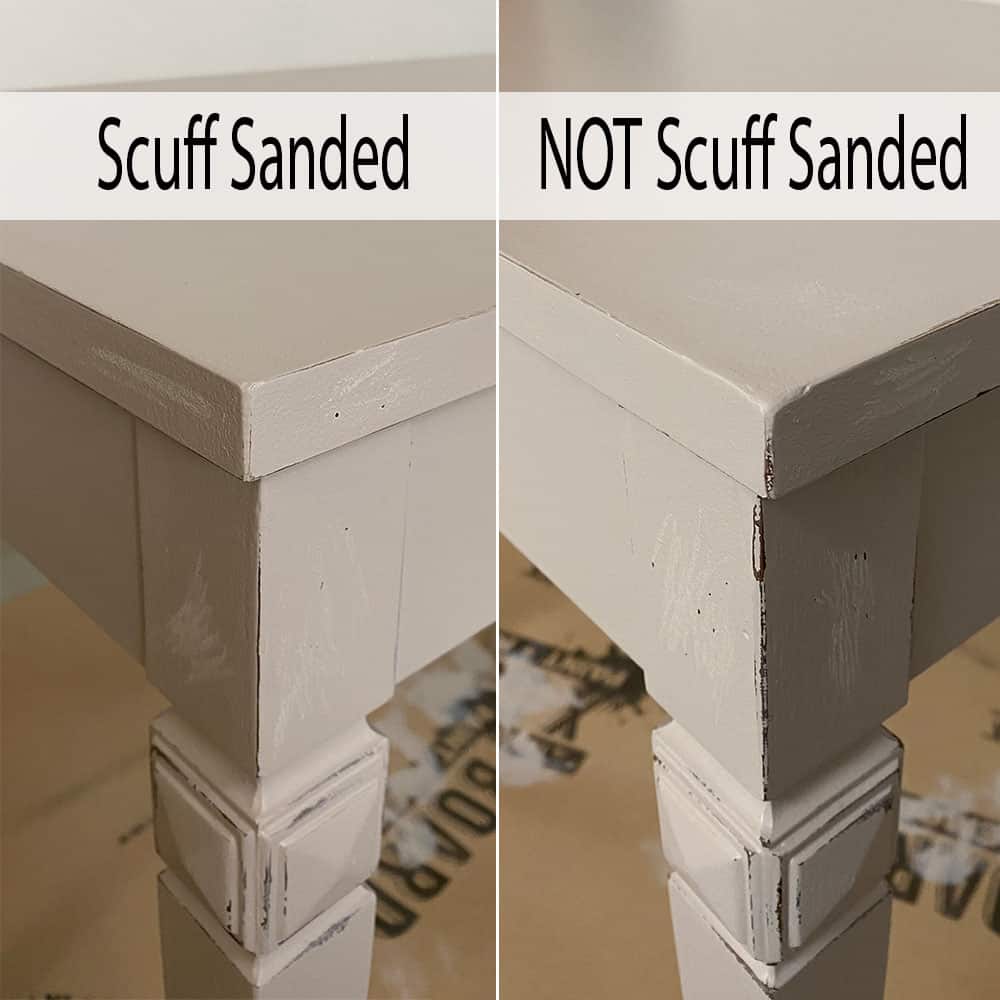
And honestly… that’s really really impressive for painting laminate furniture. Check out this post to learn more about the best paints for furniture without sanding.
I actually even did a sample on it before…no deglosser and no scuff sanding… and yeah, it scratched off more than these did. But after a week, I couldn’t get it to scratch at all.
Check out this comparison of how to paint laminate furniture without sanding VS sanding here!
If you saw my blog a couple of weeks ago, (the one on how to paint furniture black) I had to scuff sand and prime before some of my favorite paint would stick to laminate.
And even last week’s blog post, (with the chalk paint and wax that I didn’t scuff sand or prime before) that stuff is still scratching a tiny bit, and it’s had a month to cure!
If you can’t tell, I’m really impressed with how well this Heirloom Traditions Paint sticks.
Easy to Work With
It was pretty easy to work with. I mean, if you can skip prep, and you don’t need to topcoat… I’d say that’s pretty darn easy.
Sheen
Speaking of sheen, I really love that it’s not a matte sheen. So many All in One paints have a matte sheen as seen in this DIY fluted dresser, and even though it’s pretty, it just gets scuffed up so easily. So I love this satin sheen. Check out our best satin finish furniture paint post where Heirloom Traditions Paint is on the list!
Overall Heirloom Traditions Paint Review
I did NOT want to like this paint. Haha, I thought it was just another paint company that was selling pie in the sky dreams again.
But holy moly I love how well it adheres! It really is an All in One Paint!
If I can figure out a way to have a true brush-free and texture-free finish with it, without sacrificing durability, I’m all in… I wonder if I can spray it!?
Check out my list of the best all-in-one paints for furniture here. For the best techniques using it, here’s how to use all in one paint.
*Update: I tried spraying Heirloom Traditions Paint on these blue-painted end tables and it worked great with a texture-free finish!
Check out these Heirloom Traditions Paint before and afters for more inspiration! Also, see how this paint compares in my Beyond Paint vs Heirloom Traditions Paint comparison here.
Is Heirloom Traditions Paint a chalk paint?
No. Heirloom Traditions Paint is an All-in-One Paint. It doesn’t require a topcoat like chalk paint does. Once dry, it has a satin sheen, unlike chalk paint which has a very matte and porous sheen.
Learn more about painting furniture with Heirloom Traditions Paint here.
How long do you wait between coats of Heirloom Traditions Paint?
Heirloom Traditions Paint is usually dry within half an hour. Once dry to the touch, you can paint the next coat of paint.
Can you water down Heirloom Traditions Paint?
Technically no. Heirloom Traditions recommends to not thin, for maximum bonding and durability.
Can you though… yes. But beware that your paint probably won’t adhere as well, or be as durable as it could be.
Can you use Heirloom Traditions Paint in a sprayer?
I want to try it out, but I don’t know how well it will go.
You can spray it since it’s not as thick as chalk paint, and I have sprayed thick, thick chalk paint before with the Homeright sprayer and Wagner FLEXiO sprayer.
But I don’t know that you will get a true fine finish if you spray it without thinning it out.
*Update: I tried spraying Heirloom Traditions paint All in One paint on this little farmhouse cabinet and I love how the finish turned out!
Where to Buy Heirloom Traditions Paint
You can buy it on their website or on Amazon.
How Much Heirloom Traditions Paint Do I Need?
I used maybe a quarter of a quart on this bench. I don’t think that I would have even needed a sample size for it. A medium dresser (3-5 drawers) usually takes about a pint of paint.
Typically you can paint a large dresser (6+ drawers) with a quart of paint. You may be able to get away with a pint of paint if you are using a dark color on a 6 drawer dresser.
If you are painting the inside of a piece as well, then you’ll need more paint. Check out redoing end tables using Heirloom Traditions Paint.
Heirloom Traditions Paint on Laminate
Yes! This bench was mostly laminate and after a week, it doesn’t scratch off at all. Even where I only cleaned it (no scuff sanding and no deglossing!)
It’s always a good idea to scuff sand laminate before painting or priming it though, so I would still recommend scuff sanding just to be sure.
Or test it out on your furniture. Let it dry for a week, and then see if you can scratch it off. For me, the paint didn’t scratch off at all after a week!
Heirloom Traditions Paint for Cabinets
I think it’s a great paint for cabinets, especially kitchen cabinets. As far as durability is concerned, it’s definitely durable and will stick really well to cabinets. I personally don’t love all of the texture that the stippling of the sponge left though.
Have you tried this paint before? What did YOU think?


Heirloom Traditions All In One Paint Review
Let's paint furniture with an all in one paint. Here's how to use Heirloom Traditions Paint!
Materials
Instructions
- Clean furniture with Krud Kutter and an old rag to get rid of all the dirt, grease, and grime. Wipe liquid sander deglosser on all of the furniture. Then fill in some damage and sand that down. Lightly scuff sand slick surfaces.
- Wipe Heirloom Traditions paint onto furniture using the applicator sponge. Let it dry for 2 hours and then paint another coat on. Paint 3 coats or more for overall coverage.
- You can distress the painted furniture with a wet rag. Then let it dry completely.
Recommended Products
As an Amazon Associate and member of other affiliate programs, I earn from qualifying purchases.


More Furniture Paint Reviews
- Dixie Belle’s Silk Paint Review
- Rust-oleum Milk Paint Review
- Behr Chalk Paint Review
- Painting Furniture with Lilly Moon Paint
- Chalk Spray Paint Review: Rust-oleum vs Magnolia vs Krylon vs Behr
Learn the Art of Updating Furniture!
If painting furniture feels overwhelming or your past attempts didn’t go as planned, this course will guide you step by step.

Follow us on YouTube to get more tips for painting furniture. Or share your project with us on our Facebook Group and be part of our community. See you there!
I’m thinking of painting my kitchen cabinets with this paint (I’m seeing posts about it and feel it would make the task more manageable)
I’m concerned about the finish as you mentioned in this post. I read you post about spraying it on the farm cabinet, but it seems you had more prep steps. Can I follow your prep steps on the bench and still use a sprayer?
Trying to get this just right before I begin.
Thanks!
You can get away with not priming / sanding if you want. Even when you spray it on. (Priming before painting has many benefits, but yes, you technically can use this paint without priming or prepping more than cleaning.)
I’m going to try spraying my kitchen cabinets. I’ll start slowly and learn from my mistakes as I go. Wish me luck!!!!!!!!!!!!!!!!!!
That’s incredible Janie! It can definitely be tricky at first and if you need some tips, maybe this blog can come in handy for you: How To Use A Paint Sprayer
Good luck! You’ve got this!!
I am trying it on bathroom tile. The tutorial suggests to use the small roller to get rid of brush marks after you stipple it on. Maybe try that on your furniture too.
I’ve tried all of their methods, and none of them truly end in a non texture finish. But I’m also more picky than some people are. haha Best of luck!
Just tried it for the first time on a gnarly, warped, water damaged 1940’s accent table. I had to sand out a lot of damage. Didn’t prime, 3 coats, and wow. After 24 hour dry time on 3rd coat, topped it if with a transfer. Super cute! And can’t scratch it. I did a quick wax coat over the transfer. It’s on to stay. Happy to share photos if you’d like.
Do you think if you thin it with floetrol it would work ok? Different than thinning it with water?
I bet it would work, but I haven’t tested it. Water always works well for me.
I’ve just done 4 coats (!) of cashmere on a really light colored wood laminate and it’s still not covering evenly. The “stippling” has also left so many bubbles that didn’t flatten out. I’m going to have to wait for it to really fully dry and then sand everything down and try just a painted coat – brush strokes are better than the amount of bubbles I’m getting. This was not as easy as a lot of others have said – if you’re new to painting, be cautious. My laundry room now looks like a child painted it! Glad I tried a less important space before committing to re-painting my kitchen!
i’ve been using HTP several years. I use cling on brushes and I think the key is to load the brush with paint and let it level, you cannot over work. I don’t like stipple method or roller they suggest. I just started spraying and love it. However i find to get a soft finish with a sprayer i lightly sand then topcoat with polyvine varnish. Is it normal for spraying paint to have a grainy feel?
I agree! The grainy feel from spraying comes from overspray in the air settling back down on your furniture, so having an air filter to clear out the air in a small spray booth helps a lot.
Natalie,
I’ve been using HTP for years! I’ve worked with Paula and Melissa since the beginning. I love their paint. It is a little pricey for flipping furniture in my neck of the woods. I just bought a new color, Embers, for some kitchen cabinets at my vacation home. Hoping to get those done later in the spring.
gail
That’s so awesome to hear Gail! I’ve been very impressed with it since using it! I’ll have to check out that color, just the name makes it sound great.
I hate the stippled texture, and would much prefer brush marks.
That’s fair enough!