Cane Back Chair Makeover


Cane back chairs are beautiful chairs add a touch of elegance and charm to any room, and with the right makeover, they can become a standout piece in your home. We have this cane back chair makeover you can be inspired from!
This furniture makeover idea will show you how to transform your old and tired cane back chair into a stylish and updated piece of furniture. Keep reading to find out how!
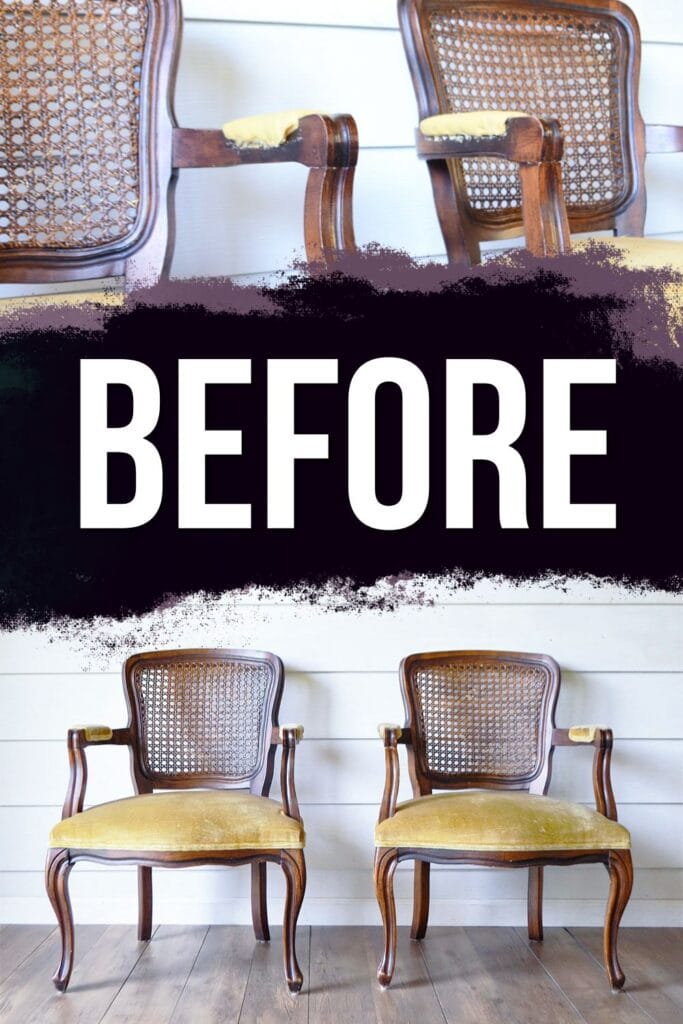
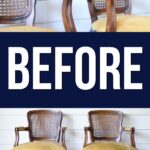
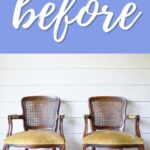
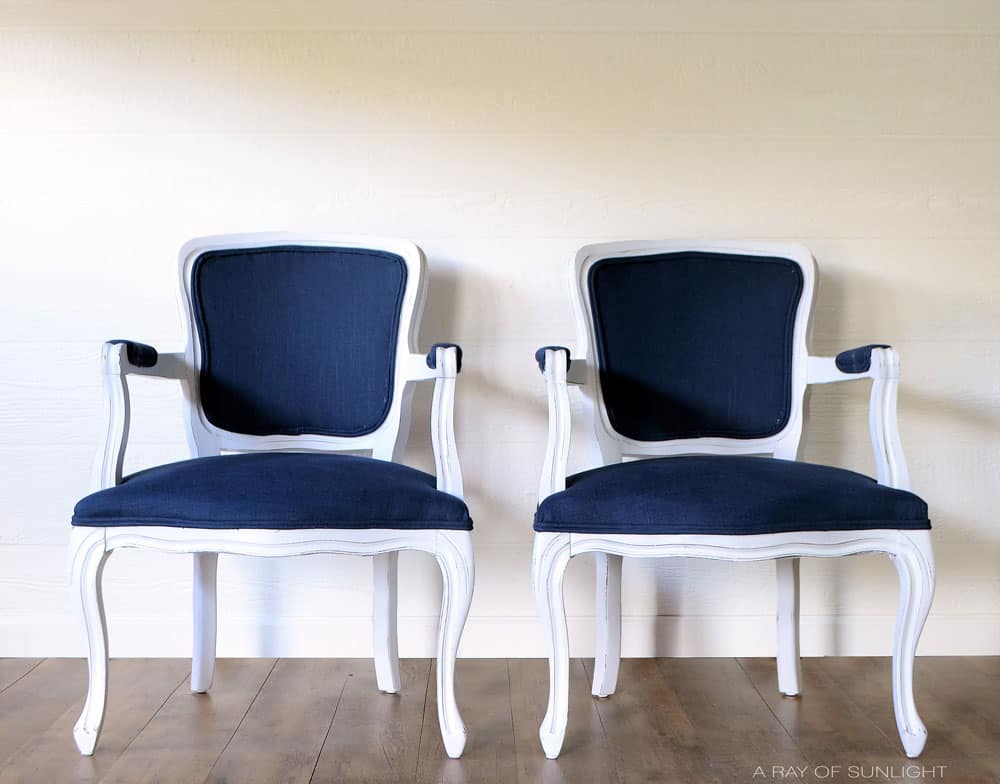
Thrift stores are so hit and miss. Most are overpriced, but I still have the hardest time driving by without stopping. This time I stopped by and snagged these french chairs.

One of the best things about finding furniture at thrift stores is that you can give it a new life with just a few simple changes. And when I spotted these cane back chairs, I knew they had so much potential for a stunning makeover.
Let’s get started on these cane back chairs!

Supplies Used for cane back chair makeover
As an Amazon Associate, I earn from qualifying purchases. I also may earn from other qualifying purchases with other companies or get free product to review and use. All opinions are my own.
- Pliers
- Flat-Head Screwdriver
- 220 Grit Sandpaper
- Krud Kutter
- Waterbased Polyurethane
- White Paint
- Fabric
- Pneumatic Staple Gun
- Air Compressor
- Scissors
- 3/16″ Cable Cord
- Glue
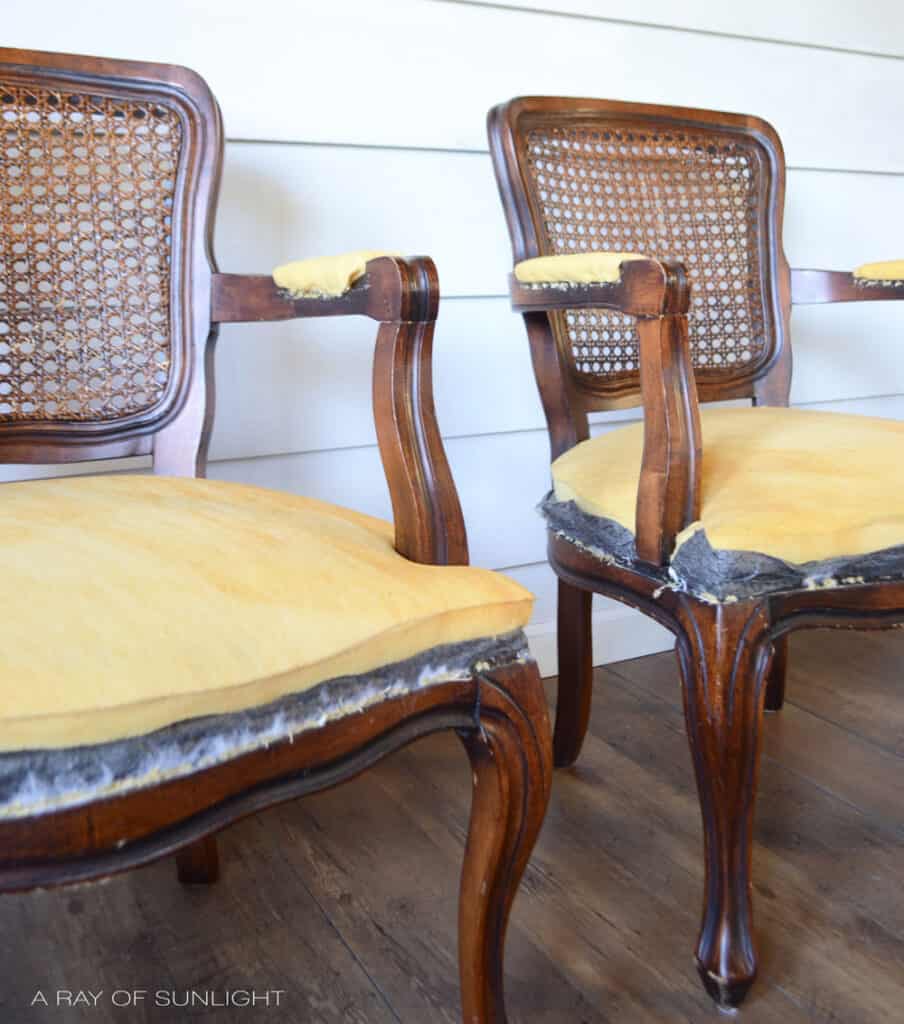
Removing Old Fabric From Chairs
The worst part of all is the first step; removing all of the fabric and trim with pliers and a flathead screwdriver. Man, that stuff is always stuck on so hard!
Prep and Paint Wood and Cane
Then I prepped the wood for a new paint job by lightly sanding and wiping everything clean. Learn all about how to prepare furniture for painting here and how to clean furniture before painting here.
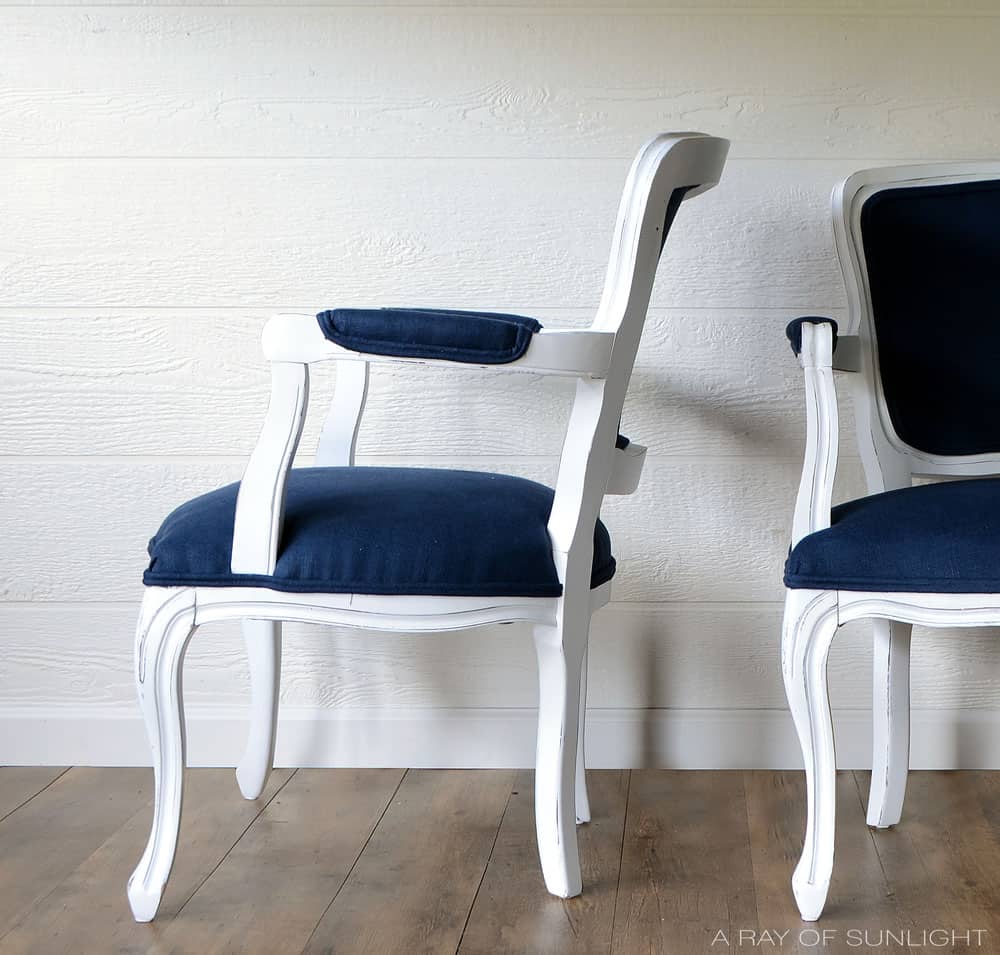
I gave both chairs a new crisp white finish with heavy distressing and a few coats of poly for extra durability. For more tips and tricks, here’s painting cane furniture and painting furniture white.
Reupholstering Chairs with Blue Fabric
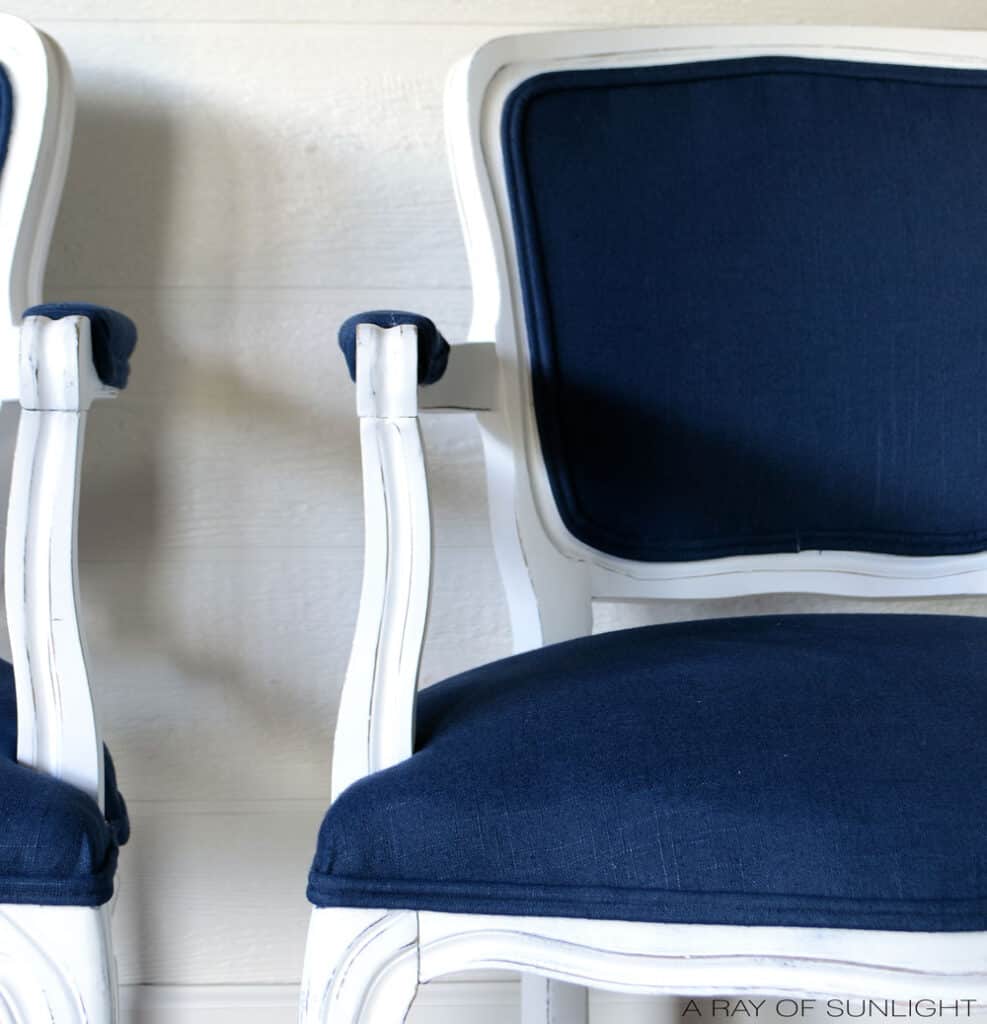
I used the old fabric (adding a couple of inches to the edge of each piece) to figure out how many yards of fabric I needed for the chairs. I decided on some navy linen fabric from Joann and grabbed a roll of batting.
This time around I finally got smart and purchased this pneumatic staple gun instead of using my old manual staple gun. So. Much. Better!
This one takes regular old T50 staples, just like my old manual staple gun. If you’re thinking about reupholstering, you NEED to get a pneumatic staple gun. This one was cheap and it works great!
I just plugged it into our small air compressor and went to work! I used the old fabric as a template to cut out my new fabric and batting.
For the seat, I started by stapling on the batting in a few spots and then cut off the excess with sharp scissors. Then I stapled on the new pretty fabric, making sure everything was tight and in line.
Covering Cane with Blue Fabric
But since the cane didn’t have fabric over it before, I just measured the size of the cane, added 4 inches, and cut out a rectangle for each side of the cane.
For the cane back I kept the cane for the extra support it gives and followed the same process for both the back side and the front.
If you like the cane webbing look, check out how to install cane webbing to a door for your furniture here. Or if you’d like to lighten your cane furniture, here’s our guide on how to lighten cane furniture.
Check out this guide about cane furniture repair to help you keep your furniture’s natural charm, as well as our guide on how to repair rattan wrapping if the wrapping of your rattan furniture starts to unravel or break.
First batting, then the fabric. I stapled them on just outside of the border of the cane so it would have wood to attach to, but I stayed as close to the cane as possible.
Would you like to save this?
I didn’t want to cover the whole back of the chair. Once all the fabric was stapled on I used sharp scissors to cut the excess away, making sure to cut as close to the staples as possible.
For the trim I used 3/16″ cable cord and 2.5″ strips of fabric to make double welting. Vidya at What’s Ur Home Story has a great tutorial explaining how to make a double welting. Then I just used glue to attach the trim onto the edges of the fabric to cover up the staples and ugly edges.
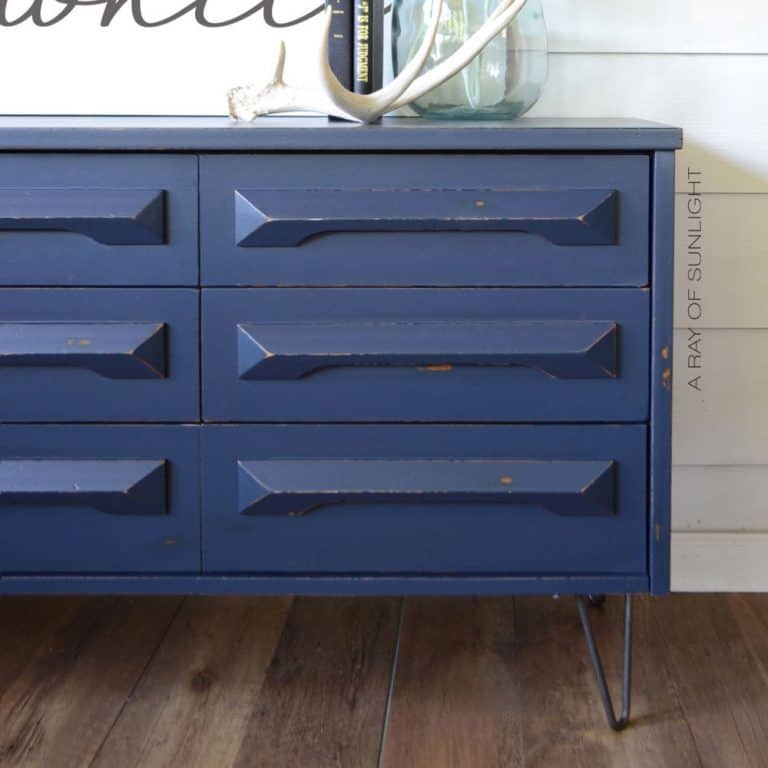
More Before and After Makeovers
See All >
Click any of these “before” photos below to view the “after” of that makeover.


I couldn’t be happier with how these chairs turned out! They look super expensive and are just what I wanted in the space! Wahoo!!
For more similar projects, here are painted chair ideas and chalk painted chair ideas! Check out more shabby chic painted furniture ideas for your next project here.


Can I use any type of fabric to reupholster my chairs?
While it may be tempting to use any type of fabric for reupholstering your chairs, it’s important to choose a durable fabric for the job.
Fabrics such as linen, cotton, or polyester blends are good options as they are strong and can withstand wear and tear.
Avoid using delicate fabrics like silk or velvet, which may not hold up well on chairs that are used regularly.
It’s also important to consider the color and pattern of the fabric when reupholstering your chairs. Bold or busy patterns may be overwhelming, while light colors can easily show stains and dirt.
Consider using a neutral or muted tone for your fabric to make sure it complements your existing decor and is easy to maintain. You can also add interest with decorative trim or throw pillows in a complementary fabric.
In the end, the fabric you pick for reupholstering your chairs will depend on your personal preferences and how you use the chairs at home. So make sure to keep these factors in mind when you make your selection!
Can I add padding to my chairs when reupholstering them?
Yes, you can definitely add padding to your chairs when reupholstering them.
This is especially helpful if you plan on using the chairs for long periods of time. Adding padding can make the chairs more comfortable, as well as providing extra support for your back and bottom.
Make sure to choose a moderate amount of padding that still allows your chairs to have a sleek and polished appearance.
You should also consider how much padding is already in the chairs, as adding too much could make them bulky and uncomfortable.
It’s also important to use high-quality padding material that won’t easily compress over time or lose its shape.


Cane Back Chair Makeover
Check out this cane back chairs makeover for the perfect way to update and repair your furniture.
Materials
- 220 Grit Sandpaper
- Krud Kutter
- Waterbased Polyurethane
- White Paint
- Fabric
- 3/26" Cable Cord
- Glue
Tools
- Pliers
- Flat-head Screwdriver
- Pneumatic Staple Gun
- Air Compressor
- Scissors
Instructions
- Remove the old fabric from the chairs and trim with pliers and a flat head screwdriver.
- Prep the wood for paint by lightly scuff sanding and cleaning.
- Apply a few coats of paint onto the chairs, distress, and seal with some poly.
- Use the old fabric to measure how much new fabric you need.
- Start stapling the batting and then the fabric to the seat making sure everything was tight and in line.
- To cover the cane with fabric as well, measure out fabric for both sides of the cane back, add 4 inches, and cut out a rectangle for each side of the cane.
- Staple the batting, then the fabric to the wood staying as close to the cane as possible. Once all the fabric is stapled on use sharp scissors to cut the excess away, making sure to cut as close to the staples as possible.
- Make double welting for the trim then glue it onto the edges of the fabric to cover up the staples and ugly edges.
Recommended Products
As an Amazon Associate and member of other affiliate programs, I earn from qualifying purchases.


More Fabric Furniture Makeovers
- Painted Fabric Chair
- How To Paint Fabric With Chalk Paint
- Harp Back Chair Makeover
- Painting a Wood Bench
Follow us on YouTube to get more tips for painting furniture. Or share your project with us on our Facebook Group and be part of our community. See you there!

So beautiful!!! I'm glad I'm your help line! You are amazing….great job!
Oh thanks! You also taught me how to reupholster, soo you're more than just a help line. Haha