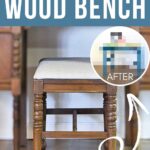
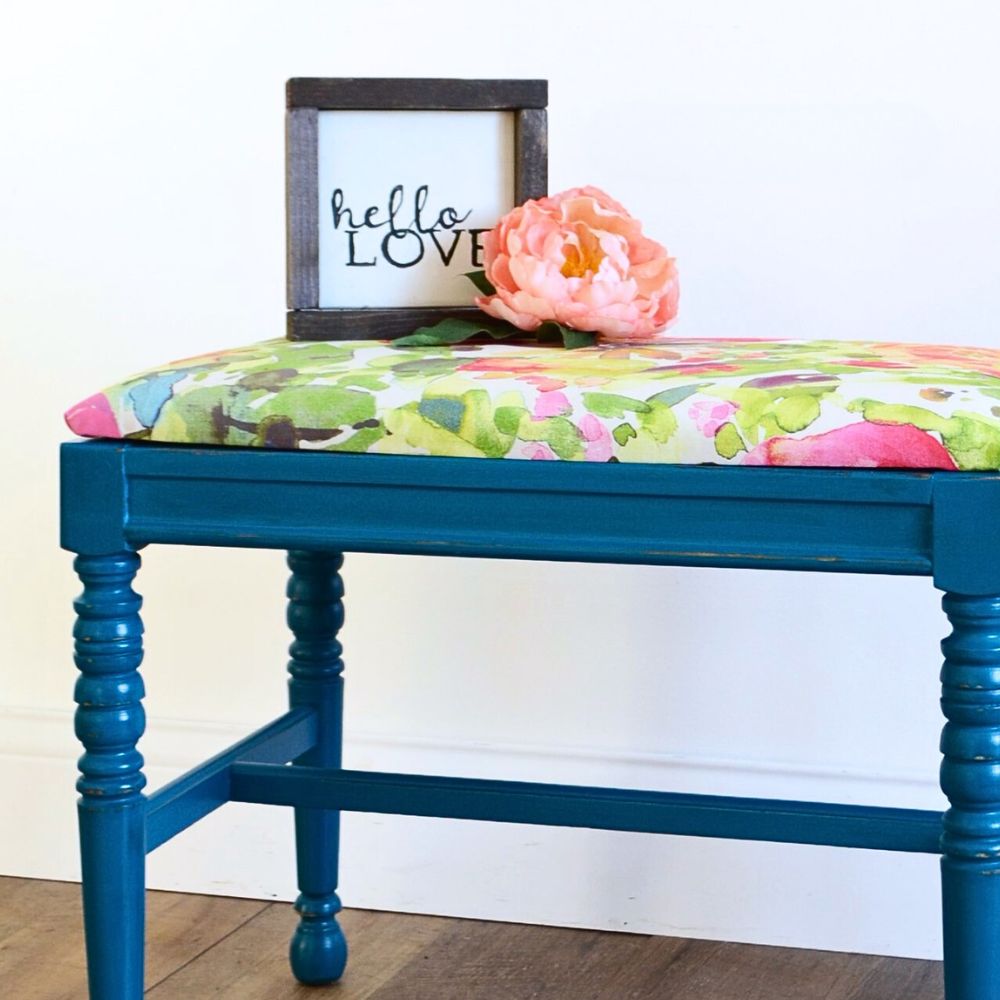
Painting a Wood Bench
Have you been searching for blue painted furniture ideas to spruce up the interior of your home? Our latest project, painting a wood bench, is from this vintage vanity with matching bench we recently stumbled upon.
We thought it was the perfect candidate for a little sprucing up a bold teal paint color. We will show you how to take a dated piece of furniture and give it a fresh, modern look!
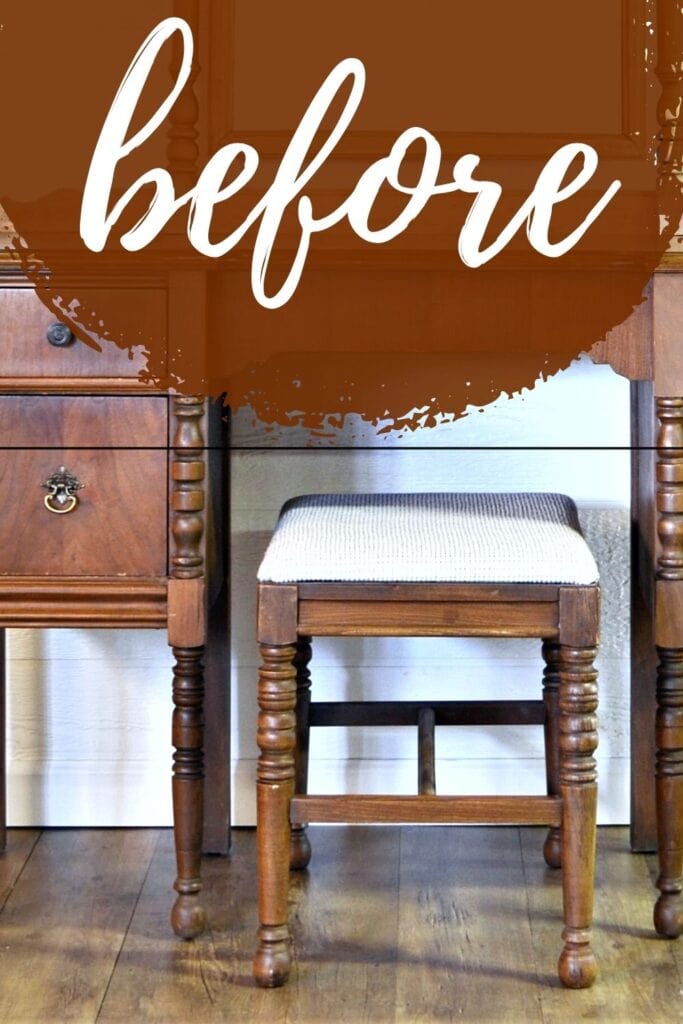
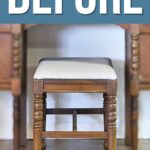
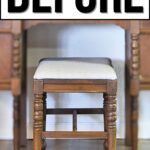
We were immediately drawn to the unique shape and size of the vintage vanity and matching bench when we found it in a thrift store. We just knew it was perfect for our project!

We did decide that repurposing the vanity and refurbishing the bench would be much more rewarding than selling them as a set. We took apart the vintage vanity and transformed it into two different nightstands.
And for the matching bench, this is how we painted it!

Supplies Used for Painting a Wood Bench
As an Amazon Associate, I earn from qualifying purchases. I also may earn from other qualifying purchases with other companies or get free product to review and use. All opinions are my own.
- Screwdriver
- Fabric
- Staple Gun
- Krud Kutter
- Tack Cloth
- 220 Grit Sandpaper
- Clear Shellac
- Country Chic Paint’s Limited Color Collection 2018 in Reverie
- Painting Sponge
- Polycrylic
Reupholstering the Bench
The first step was to remove the pad from the top of the bench. This involved unscrewing it then proceeding to meticulously remove any staples that held it in place. With that done, we were able to take off the old fabric.
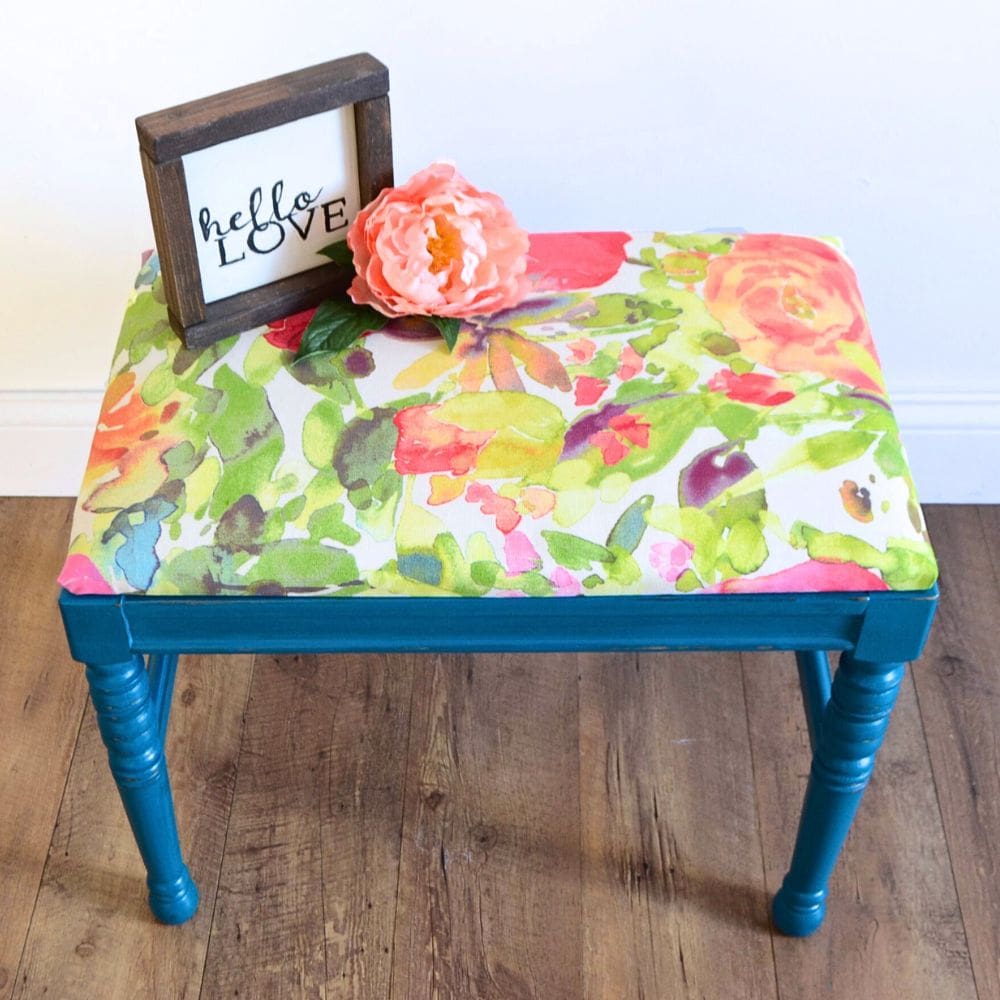
After that, we headed to the store, if I remember right, Hobby Lobby, and looked through all the fabrics they had. We finally found this fun floral pattern for the upholstery!
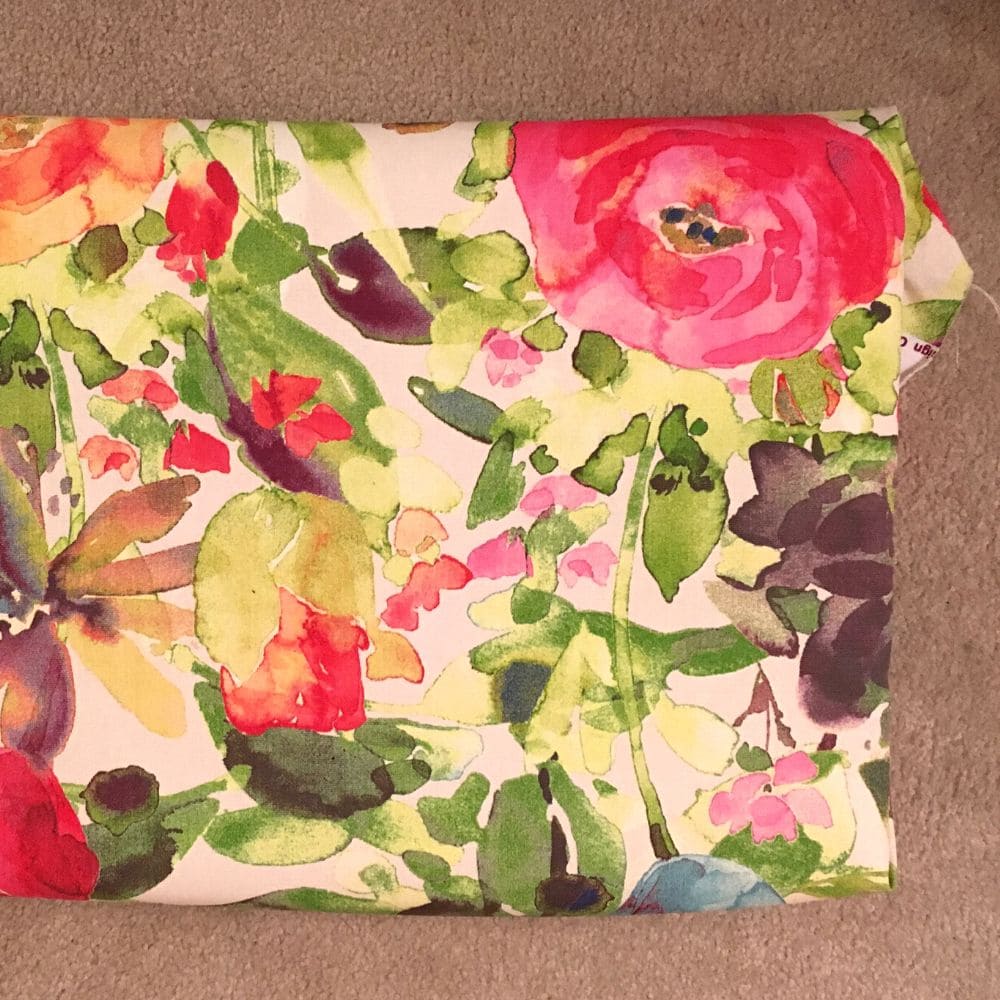
We measured around 6 inches larger than the size of the pad and cut it out accordingly. We pulled it tight on top of the pad and used a staple gun to secure it.
Preparing the Wooden Bench for Painting
To prepare the wooden bench for painting, we started by cleaning the wood with Krud Kutter. This cleaner is designed to remove dirt and grime and works really well before you begin painting furniture. We wiped it off with a damp rag then let the wood dry.
Learn exactly how to clean furniture before painting here and how to prepare furniture for paint here.
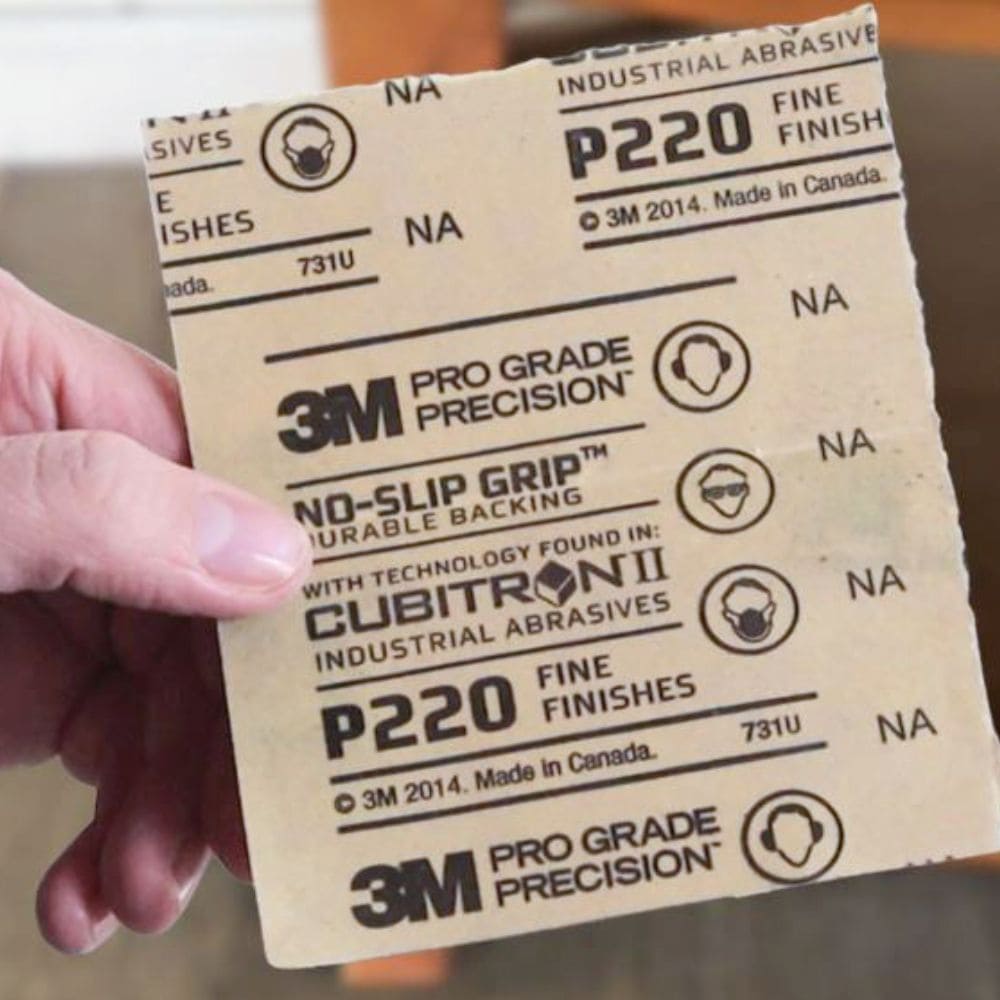
Afterwards, we used 220 grit sandpaper to lightly sand down the surface of the wood. This is done for better adhesion of the paint and for a more durable and long-lasting finish on the wooden surface.
Find other great sandpaper for furniture painting that is a perfect fit for your next project. Also, check out this post to learn more about the importance of sanding before painting furniture.
After cleaning and sanding, we used a vacuum to clean up any debris and make sure the surface was completely free of dust before painting. I also wiped it down with a tack cloth one more time just to make sure there were no traces of dirt or dust.
Priming Before Painting
Priming before painting is an important step to take when it comes to furniture painting. When I painted this piece, I had little knowledge about the concept of bleed through, so I didn’t apply a primer before painting.
So now I definitely recommend using a stain blocking primer before painting wood. This step is crucial to stop stains from coming through paint. Here’s our guide on the best primers for painting furniture.
A good quality clear shellac is perfect for this! When applying clear shellac to wood furniture, it’s best to use an aerosol can for even coverage and no brush strokes.
You should spray 1-2 coats of it, then be sure to wait at least 12 hours in between the primer and paint to let the primer cure and block the stains the best it can.
Check out the best spray primer for wood here for more options.

Painting a Wood Bench
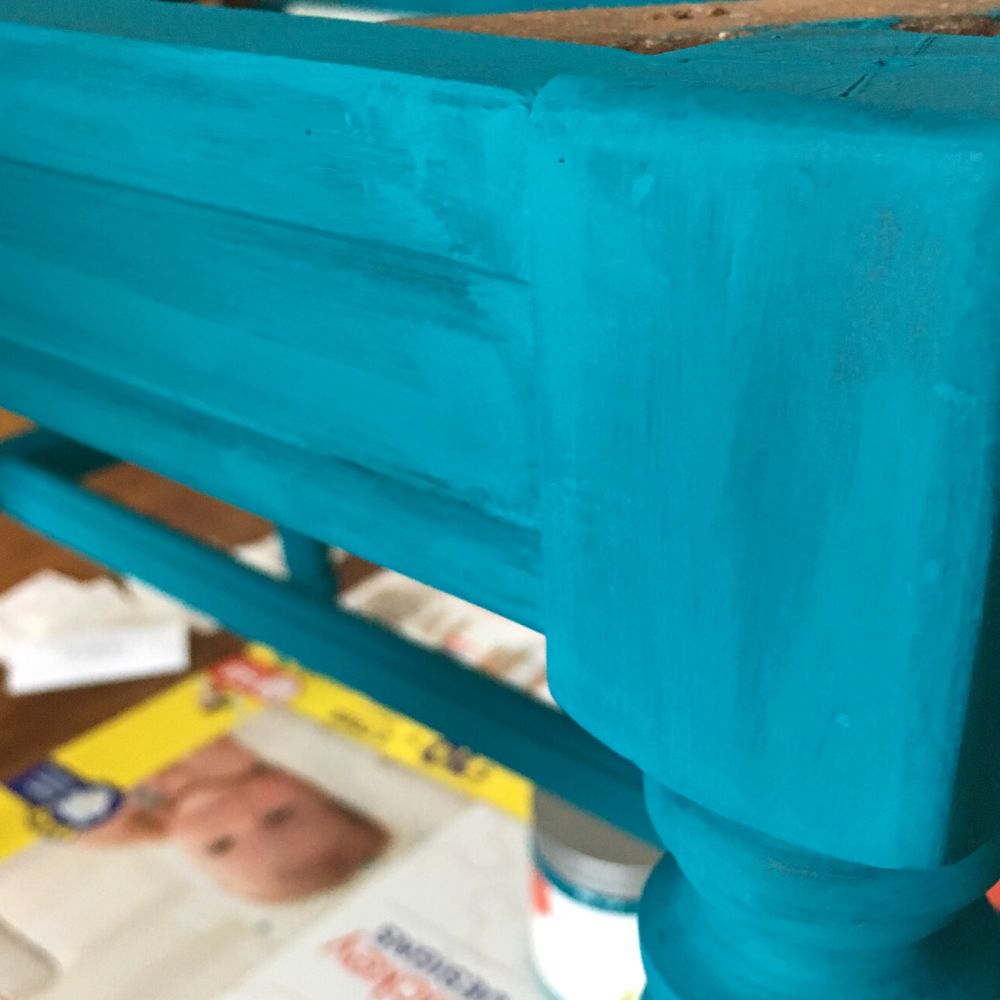
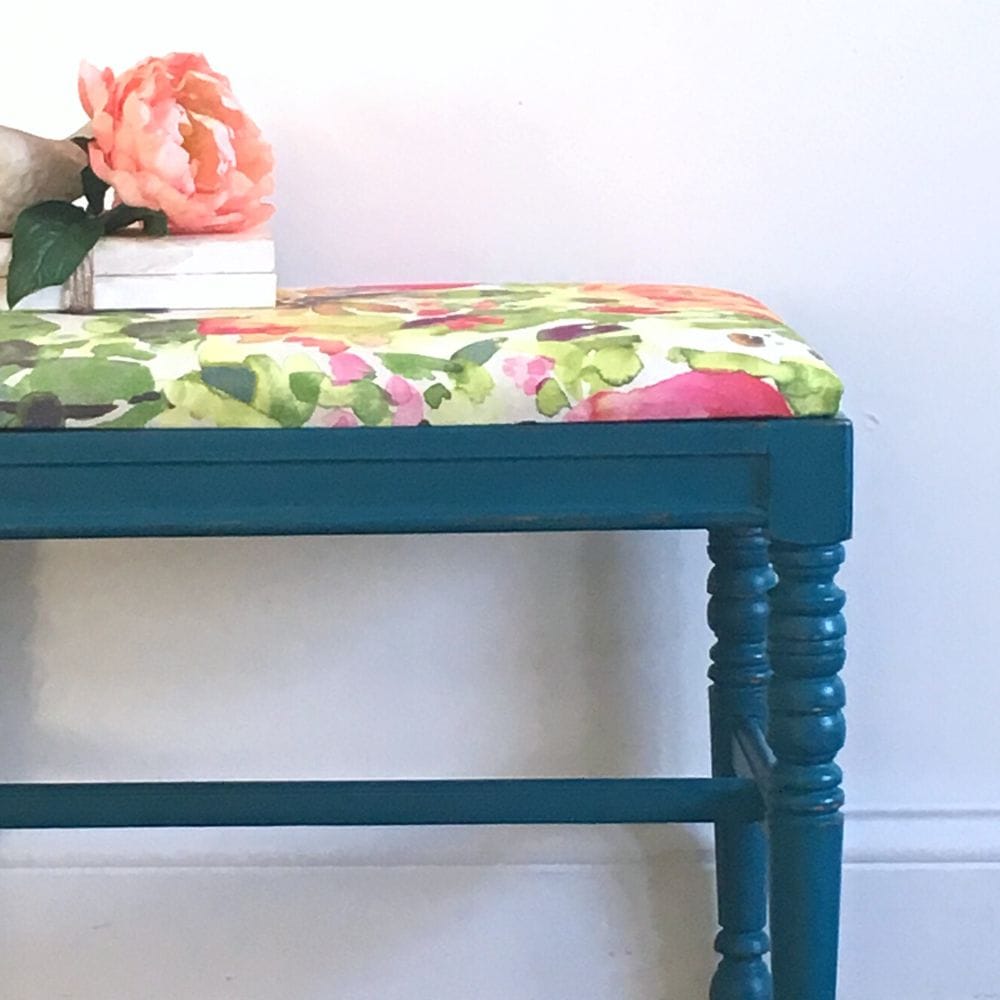
We chose the Country Chic Paint Limited Color Collection 2018 in the color Reverie for this project. It is a lovely, bold shade of blue-green and we fell in love with the color instantly. Here’s our honest Country Chic Paint review for an in-depth look at this paint.
After the primer dried, we applied the blue paint using the Country Chic Paint sponge for an even application and a smoother finish.
Would you like to save this?
We find the painting sponge to be quite effective as the paint goes on more thinly, preventing brush marks, especially when compared to using a traditional paintbrush.
Due to Reverie being an extremely bold color, the first few coats didn’t quite cut it. We had to apply around 4-5 coats, making sure each coat dried completely before applying the next coat. And that’s how we got full coverage on this bench!
Topcoating the Painted Wood Bench
Once the paint was completely dry, we applied a topcoat to the painted wood bench. Just like any other painted wood furniture project, a topcoat is a must for a long-lasting finish.
We opted for a polycrylic finish as it will seal in the color and protect the wood from scratches and everyday use. Learn more about sealing painted furniture here.
The key here is to apply very thin layers and we recommend applying two to three coats of polycrylic with a painting sponge. Let the polycrylic dry for a couple of hours between coats.
Here’s our more detailed tutorial on how to apply polycrylic to painted furniture.
Final Assembly
Finally, the last step in painting a wood bench was to put everything back together!
We attached the reupholstered cushion back on top of the painted bench using the same screws we took out earlier and we made sure that all screws were tight and secure.
Just like that, our project was complete!
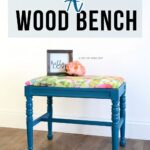
The Reverie blue paint we chose really helped give this wood bench a modern look. And the floral fabric? It’s adding that extra pop and uniqueness we were hoping for.
We couldn’t believe how much it had changed from when we first found it in the thrift store! This project reminded us of the incredible power of paint and how it can totally revamp outdated furniture.
For another bench makeover you can try, check out our Heirloom Traditions All In One Paint review. You can also update a chair or two with these painted dining chairs ideas!
More Before and After Makeovers
See All >
Click any of these “before” photos below to view the “after” of that makeover.


Tips for choosing the right color and finish for painting wood bench
When painting a wooden bench, it’s key to pick the right color and finish for the look you want. Here are some tips to guide you:
- Consider the existing decor: Think about the colors and style of your room when picking a color for your bench. You want it to complement or add a pop of color, not clash with everything else.
- Think about the purpose: Are you painting a bench for outdoor use or indoor use? If it’s going to be used outdoors, consider using a durable paint with a weather-resistant finish. For indoor use, think about what type of wear and tear the bench will receive and choose a finish that will hold up well.
- Don’t be afraid to get creative: While neutral colors are always a safe choice, don’t be afraid to add some personality with a bold color or pattern. A painted bench can be a statement piece in any room.
- Test paint first: It’s always a good idea to test out paint samples on a small area of the bench before committing to a color. This way, you can have an idea of how it will look and if it’s the right color for your space.


Take a moment to choose the perfect color and finish for your wood bench, then follow our guide to paint your bench like a pro!


Painting a Wood Bench
Want to learn about painting a wood bench? You're in the right place! Update your wood indoor bench with fabric with this step by step tutorial!
Materials
- Krud Kutter
- Tack Cloth
- 220 Grit Sandpaper
- Clear Shellac
- Country Chic Paint's Limited Color Collection 2018 in Reverie
- Polycrylic
Instructions
- Remove the pad from the top of the bench by unscrewing it and carefully removing any staples.
- Measure and cut fabric 6 inches larger than the size of the pad. Pull the fabric tight on top of the pad and secure it with a staple gun.
- Clean wood bench with Krud Kutter and then wipe off with tack cloth.
- Sand down surface of wood using 220 grit sandpaper for better adhesion of paint. Vacuum and use a damp rag to make sure surface is free of dust.
- Apply a stain blocking primer before painting.
- Apply the Reverie paint with Country Chic Paint's sponge for an even application and smoother finish. Let paint dry in between coats, apply at least 5 coats total.
- Apply 2-3 coats of polycrylic with the sponge and let each coat dry for a couple of hours.
- Reassemble the pad on top of painted bench and make sure all screws are tight and secure.
Recommended Products
As an Amazon Associate and member of other affiliate programs, I earn from qualifying purchases.


More blue painted furniture makeovers
- Blue Painted French Provincial Dresser
- Antiqued Blue Farmhouse Buffet
- Antique Desk Makeover
- French Blue Dressers
- Corner Cabinet Makeover
Follow us on YouTube to get more tips for painting furniture. Or share your project with us on our Facebook Group and be part of our community. See you there!

I am prepping an old end table today for painting and découpaging with fabric scraps so this was a super helpful and timely post! I am glad I found it at SSPS link party! Your bench turned out beautifully. I am also working with a shade of teal for my living room table because I just painting my fireplace in dark teal. Your bench matches my living room perfectly!
Shelbee