Antique Desk Makeover
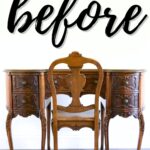
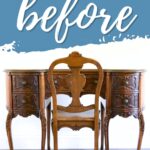
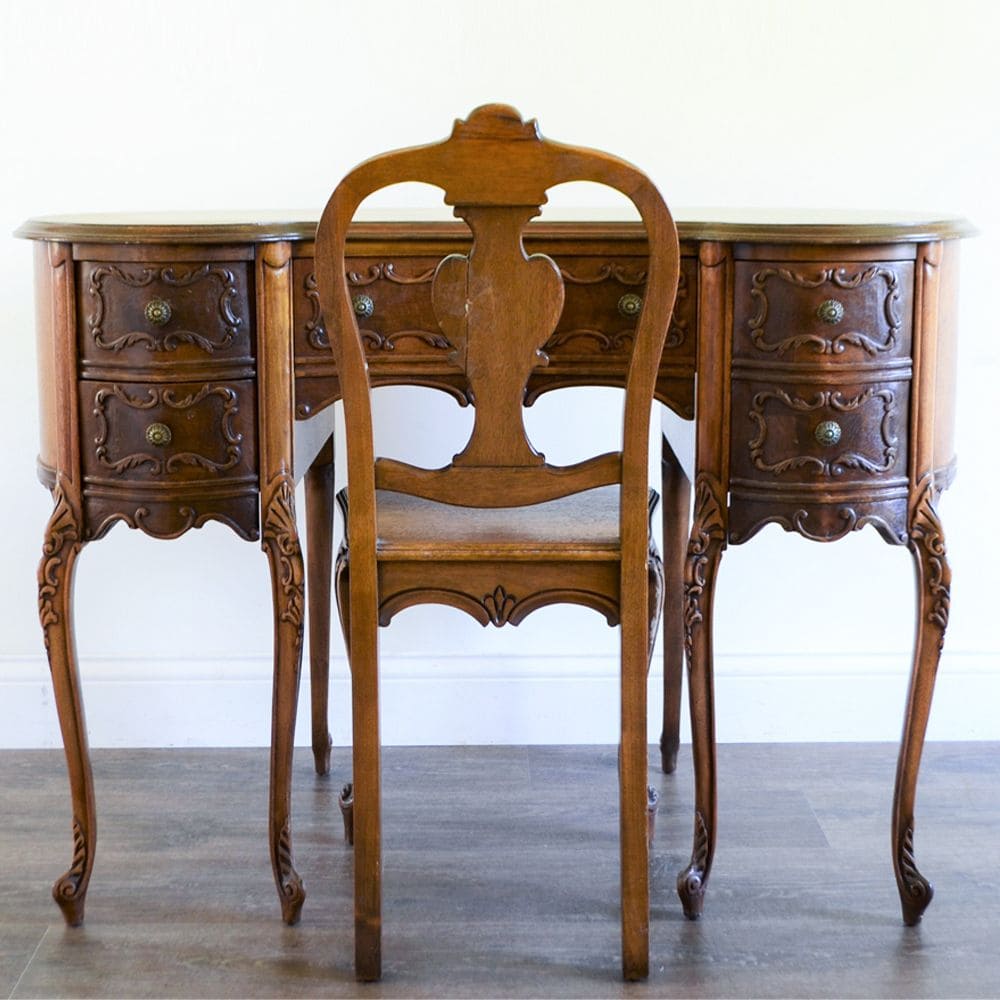
Buckle up because we’ve got an Antique Desk Makeover that’s going to completely blow your socks off. We took an old, antique kidney bean desk and gave it a fresh, vibrant makeover that has major character and style.
And guess what? You can create your own blue painted furniture too! We’re going to take you through the journey, from repairing a broken chair to painting it with the perfect shade of blue!
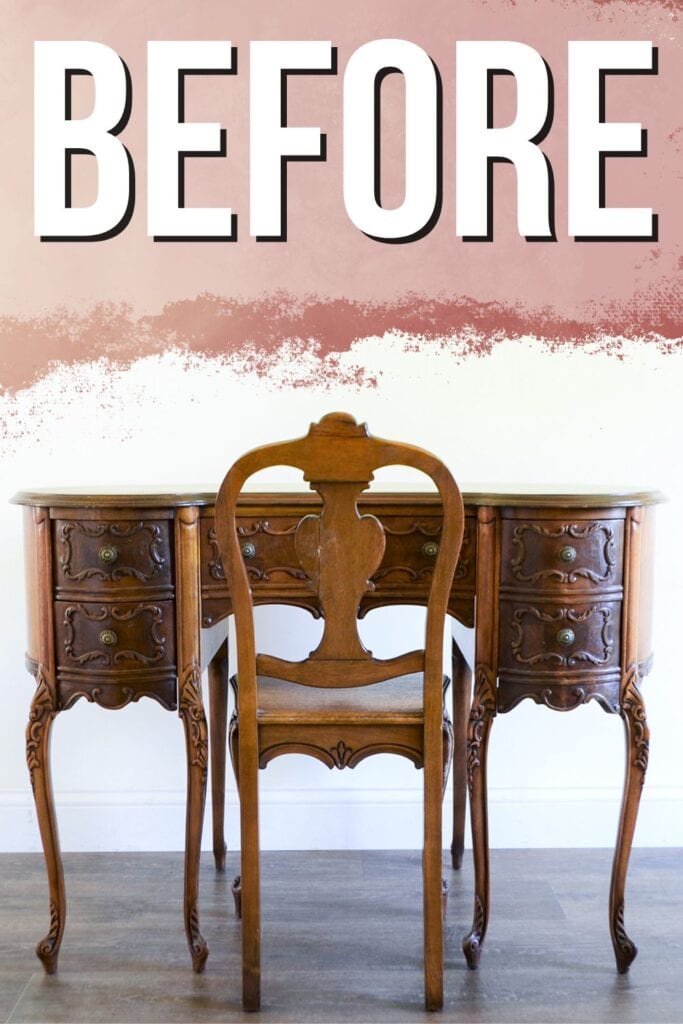
So, you’re here because you love a good before and after, or you’ve got an antique piece that needs a bit of tender loving care, right? Well, you’ve come to the right place!

We’ve got a step-by-step guide, chock-full of handy tips and tricks, that will walk you through how we transformed this antique kidney bean desk into a fun piece of furniture that brings a pop of color and a whole lot of personality.
And the best part? You don’t need to be an expert DIY-er to pull this off! We’ll show you how we went from broken chair to beautiful in no time. Buckle up, grab your paintbrush, and let’s dive in!

Supplies for Antique Desk Makeover
As an Amazon Associate, I earn from qualifying purchases. I also may earn from other qualifying purchases with other companies or get free product to review and use. All opinions are my own.
- Wood Glue
- Toothpicks
- Tie Down Straps
- Drill
- Wood Filler
- Sandpaper (220 Grit and 400 Grit)
- Krud Kutter Cleaner
- Shop Vacuum
- Tack Cloth
- Clear Shellac (as a primer)
- Latex Paint
- Calcium Carbonate Powder
- Wagner FLEXiO Paint Sprayer
- Paint Filters
- Respirator
- Waterbased Polyurethane Topcoat
- Bar Keepers Friend (for cleaning hardware)
Repairing the Chair
Before we could even think about getting to the fun part (painting!), we had to address some structural issues. Our antique chair was in dire need of repair. As you’ve seen from the images, the chair had suffered some damage and the back brace was pretty unstable.
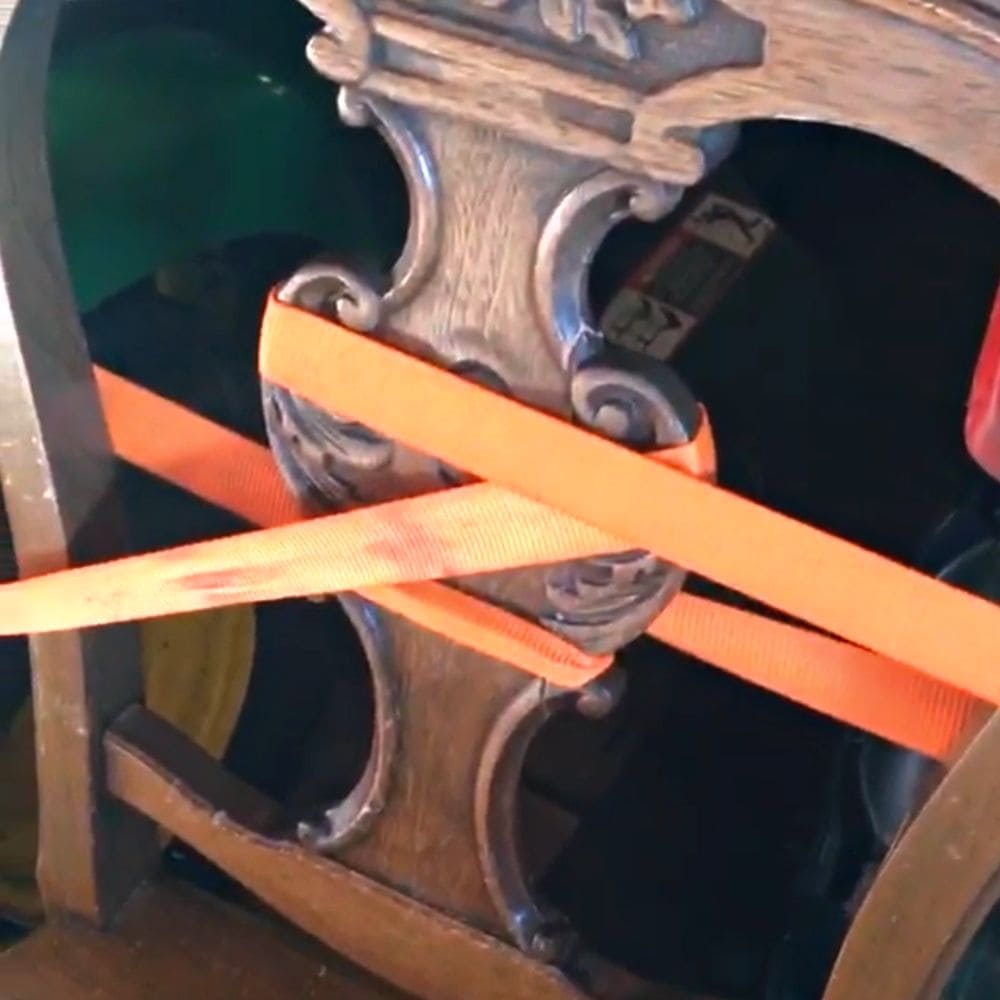
The first step to bring this chair back to life was to mend the broken piece. Luckily, we had a killer trick on our side: toothpicks, wood glue and tie down straps. Yes, you read it right!
Check out the best glue for repairing wood furniture here.
We drilled very small holes into the damaged areas on both sides of the wood. These holes served as a solid grip for the toothpicks that we then coated with a layer of wood glue.
Aligning the broken pieces together, we inserted the toothpicks and applied some more glue for good measure. To create a firm joint, we had to secure that wood in a tight position while the glue dried. This is where ratchet straps came into play!
We wrapped them around the broken wood and around some other things in the garage, applying as much pressure as needed to keep the wood pieces in place.
After the glue dried thoroughly, any visible seams were filled with wood filler and sanded down to smooth it out. We made sure to keep the chair’s original shape intact throughout the process. The result was a sturdy, ready-to-be-painted chair.
Here’s our list of the best wood fillers for furniture to learn more about the different types of wood fillers to know which one is right for your project.
If your antique piece has more issues, check out how to repair cracks in antique wood furniture.
It’s amazing how a little bit of ingenuity and elbow grease can breathe new life into what most would consider a lost cause.
Prepping the Desk and Chair for Paint
Alright, now that our chair is all fixed up and sturdy, it’s time to get these pieces ready for paint. But before we get all color-happy, a proper prep is definitely in order!
First things first, a good and thorough cleaning was absolutely necessary. These antique pieces have been around the block a few times, and let’s just say, they’ve accumulated quite a bit of history (read: dust and grime).
So, we broke out our trusted bottle of Krud Kutter and an old damp rag, and got to work. We made sure to get into all the nooks and crannies. Learn more about how to clean furniture before painting if you are not sure about the step by step process of cleaning furniture.
Old wooden furniture is also a great breeding ground for bacteria, germs, and odors. Here’s how to disinfect wood dresser or any other furniture.
After a thorough scrub-down, it was time for very very light sanding. Sanding the furniture not only helps in smoothing out any rough spots, but it also helps the paint adhere better. We used 220 grit sandpaper for this task, making sure to go over every inch of the desk and chair.
Learn more about the importance of sanding before painting furniture here.
Note, there was a sweet spot to hit – not too rough, but just enough to dull the shine of the finish. I didn’t want to remove the finish or damage all of the details of it either!
Then, we removed the dust with a shop vacuum and a tack cloth to remove any residual dust. Finally, to make sure the paint would stick like a dream, we applied a good coat or 2 of clear shellac as a primer and let it dry overnight.
Painting an Antique Desk
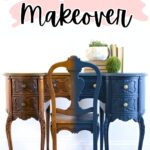
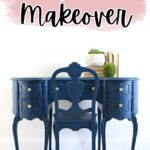
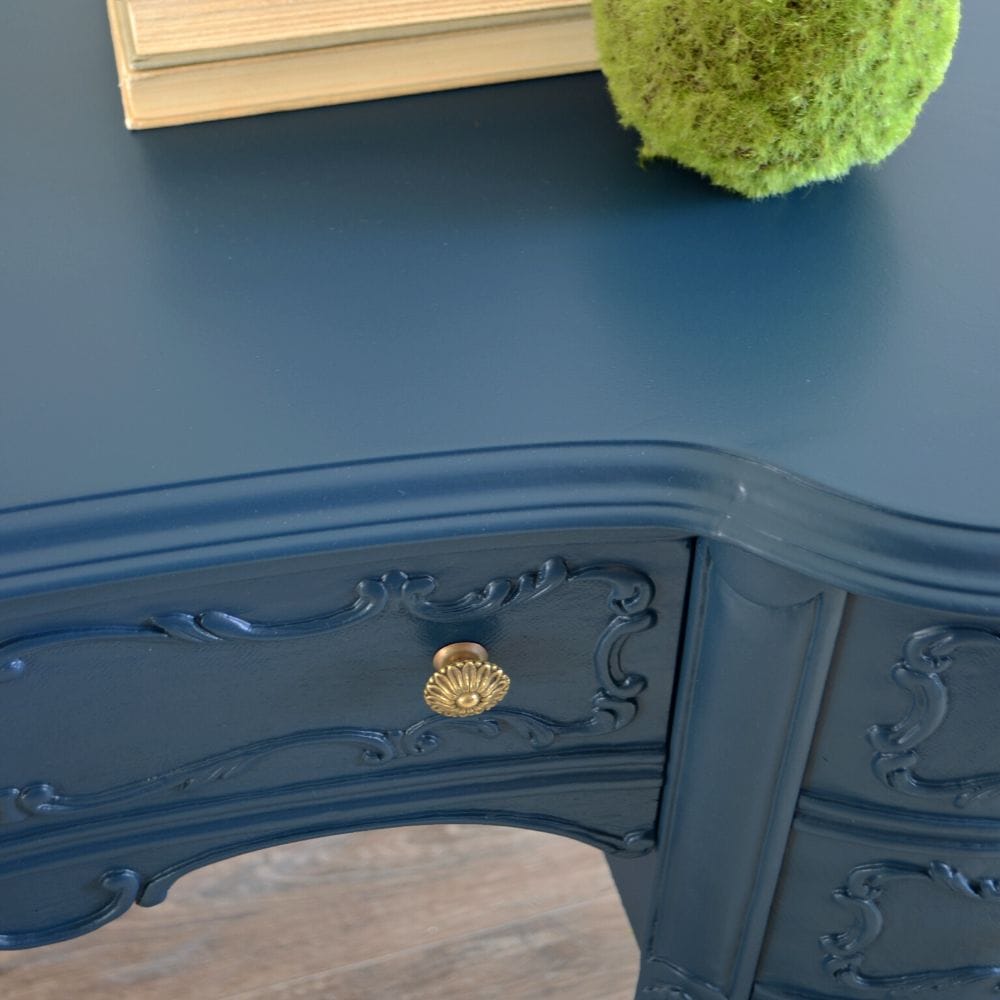
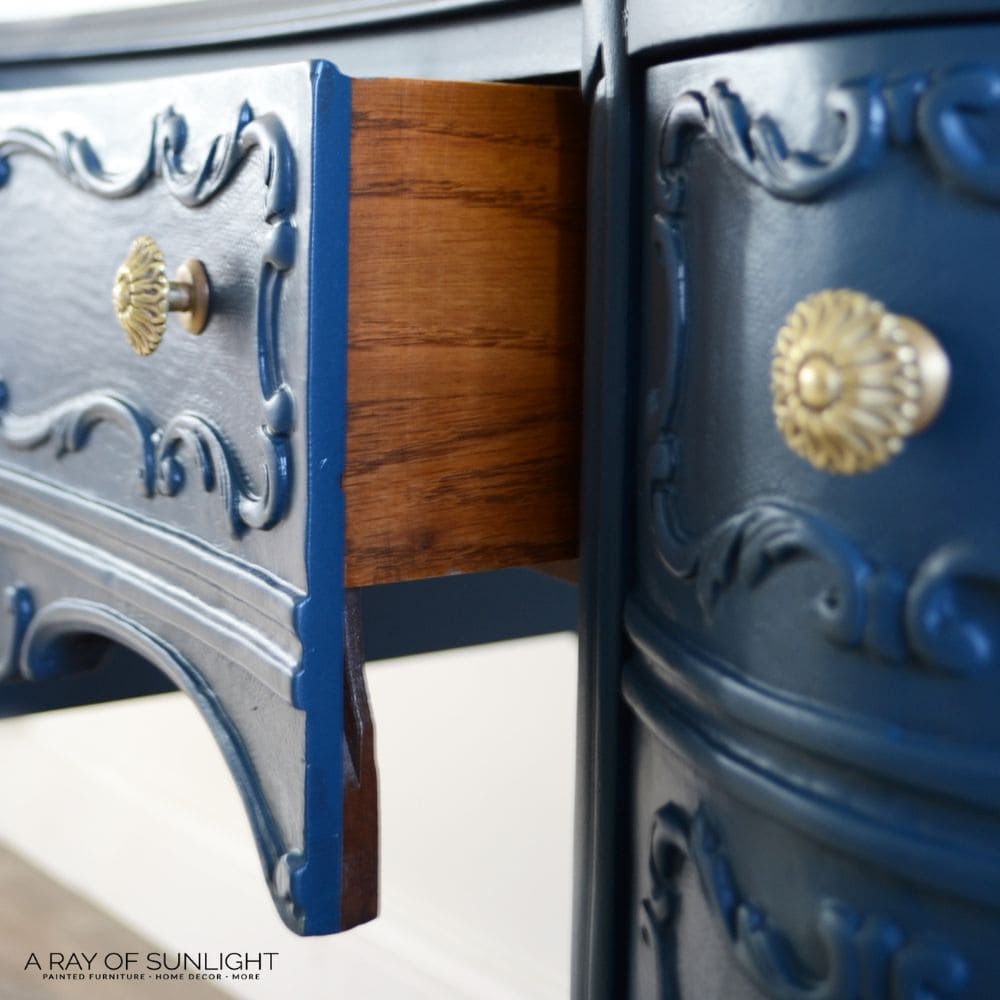
It’s show time! With our desk and chair primed and ready, it was time to bring out the color. The shade we opted for? A dreamy, rich, and eye-catching blue that we knew would breathe new life into these pieces.

Would you like to save this?
The best part is that we used regular latex paint in this custom color to make a homemade chalk paint that sticks better to surfaces than the latex paint does. Here is our homemade chalk paint recipe, and here are more chalk paint recipes you can also try.
If you want to use this color on your project, here is a picture of the color code. If you show this picture to any paint place, they can color match it. For other color inspiration for your desk, check out these desk paint color ideas!
We chose to use a Wagner FLEXiO paint sprayer for this project for a smooth and even finish. Pour your chalk paint into the sprayer, making sure to follow our how to use a Wagner FLEXiO 3500 paint sprayer post so you don’t make mistakes that can ruin your project.
We applied a light first coat onto the desk and chair, holding the sprayer about 6-8 inches away from the surface. We kept the sprayer moving at all times to avoid drips and runs.
After the first coat had dried (which doesn’t take long with chalk paint!), we followed up with a second coat. After the second coat, we let the pieces dry completely overnight.


Sealing the Chalk Paint
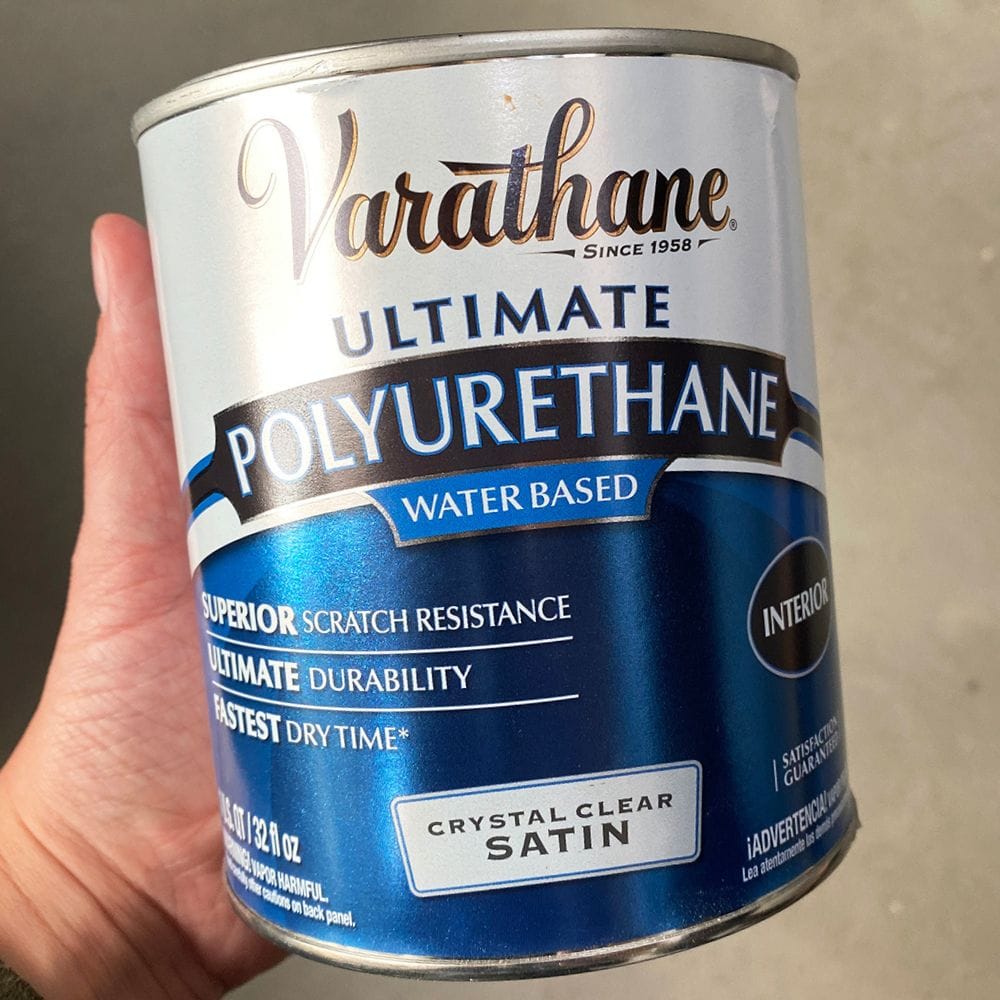
Now that we’ve got our color on, it’s time to seal the deal! No chalk paint job is truly complete without a rock-solid seal to lock in that gorgeous color and protect it from wear and tear. For our antique desk makeover, we went with a waterbased polyurethane topcoat.
Learn more about sealing painted furniture here.
Here’s our list of the best polyurethane for furniture to help you decide which polyurethane is best for your next project.
Just like with the paint, we sprayed the topcoat on to create a professional looking finish. Check out our post on how to spray polyurethane to see how we did that. We’ve also compiled the best sprayers for polyurethane here.
If you need to apply the topcoat by hand, here is how to apply polycrylic (waterbased polyurethane).
I applied 3 coats total of the topcoat, letting it dry between coats for about an hour or 2. If the surface feels rough, I sand between coats with 400 grit sandpaper to make it feel nice and smooth.
Cleaning Brass Hardware
For the hardware, we just cleaned up the original hardware. These pieces were so pretty, they just needed a little clean!
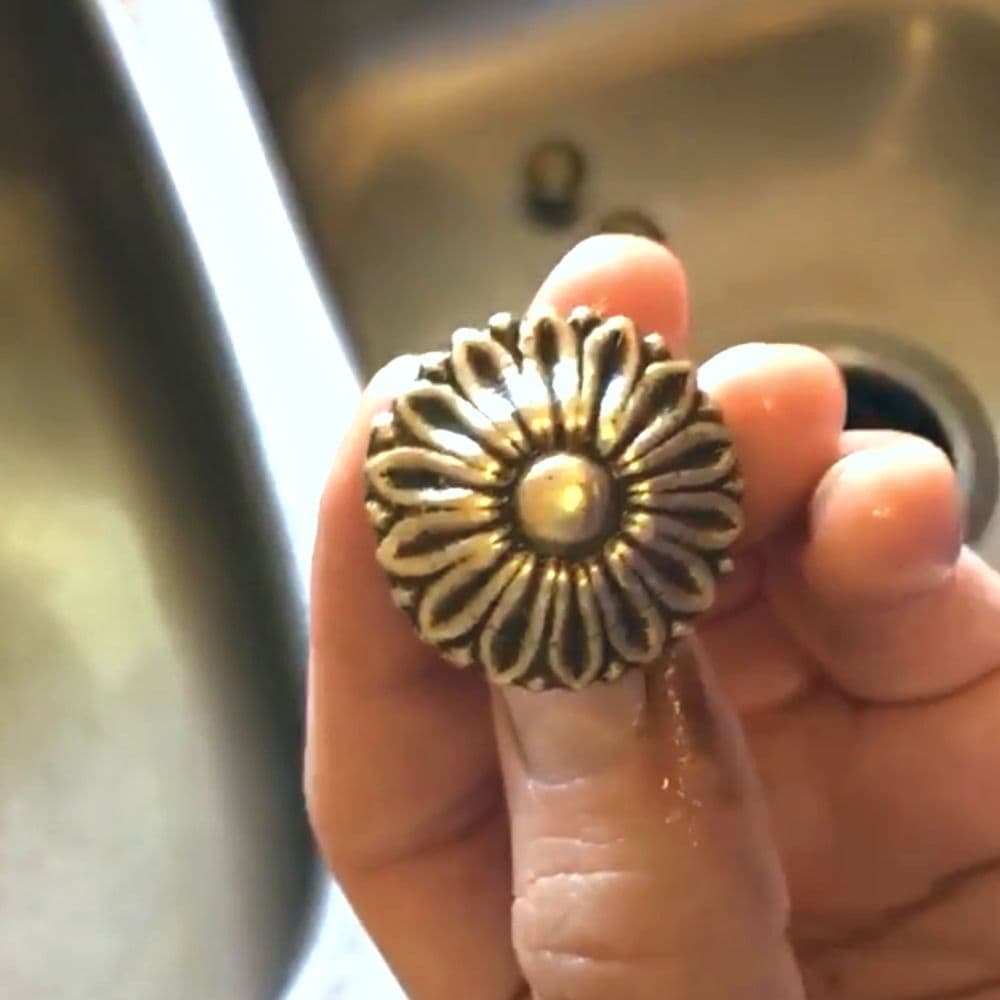
We used a combination of boiling them and scrubbing them with bar keepers friend to bring out the gold shine! And we decided to keep the contrasting detail in the details to make them really pop!
For a complete tutorial on cleaning original hardware, visit our how to clean drawer pulls post.
And here is what the desk looks like now! I absolutely love the new look, and our client was very happy to be able to show off her heirloom again! For similar projects you can recreate, here’s our list of painted roll top desk ideas.

More Before and After Makeovers
See All >
Click any of these “before” photos below to view the “after” of that makeover.


If you have other antique furniture like a dresser that you want to update check out these antique dresser refinishing ideas for inspiration. For more desk makeovers check out this painted secretary desk ideas.


Antique Desk Makeover
Looking for inspiration for your own Antique Desk Makeover? Get step by step instructions on how to paint your family heirloom.
Materials
Instructions
- Drill small holes into the damaged areas on both sides of the wood. Insert toothpicks coated with wood glue into these holes. Secure the wood in a tight position with ratchet straps while the glue dries.
- Clean the furniture thoroughly. Lightly sand the furniture with 220 grit sandpaper. Vacuum away the dust and apply a coat or two of clear shellac as a primer, leaving it to dry overnight.
- Use a Wagner FLEXiO paint sprayer to apply your preferred color of homemade chalk paint to the furniture. Apply a light first coat, let it dry, then follow up with a second coat. Allow the pieces to dry completely overnight.
- Spray a water-based polyurethane topcoat onto the furniture to seal the color and protect it from wear and tear. Apply three coats total, letting it dry between coats for about an hour or two.
- Clean the original hardware by boiling and scrubbing them with barkeepers friend to bring out the gold shine.
Recommended Products
As an Amazon Associate and member of other affiliate programs, I earn from qualifying purchases.


more Antique furniture makeovers
- Antique Pie Crust Table Makeover
- Antiqued Blue Farmhouse Buffet
- Black Painted Antique Buffet
- Antique Blue Sideboard Buffet
Follow us on YouTube to get more tips for painting furniture. Or share your project with us on our Facebook Group and be part of our community. See you there!
Oh wow! I’m not really one for painting, antique furniture, but yours turned out really nicely
Thank you for sharing this at the Sunday sunshine blog hop!
Laurie