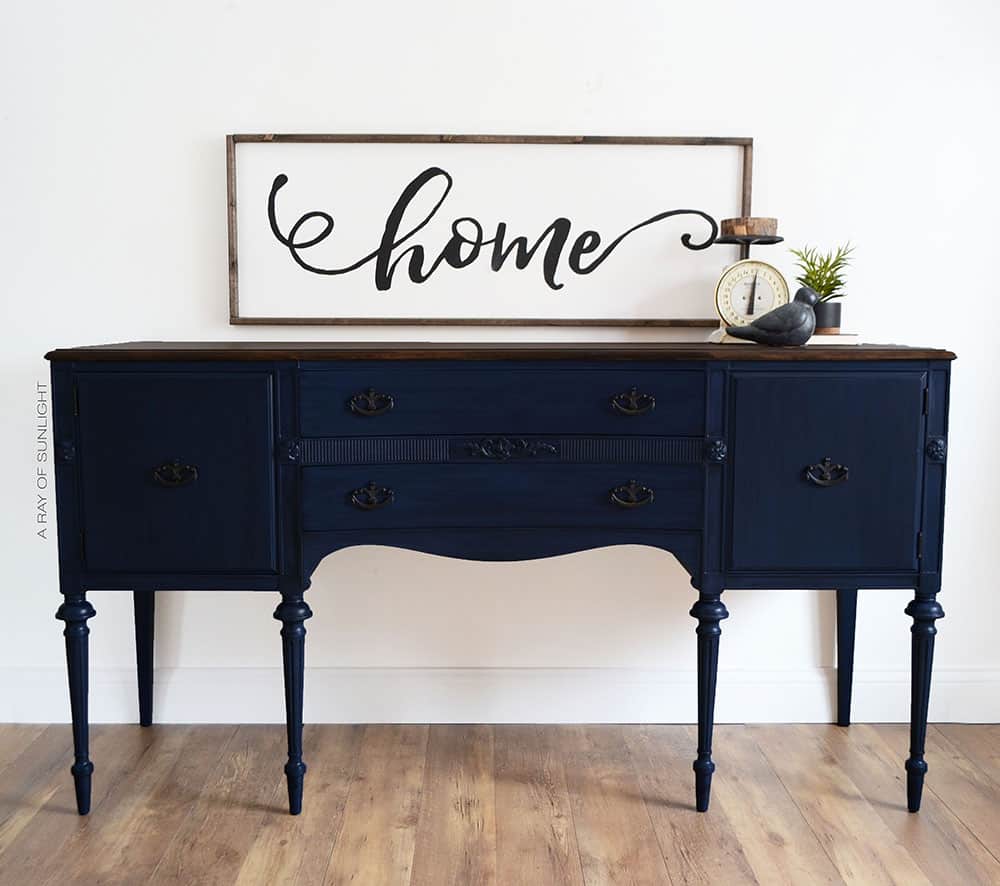
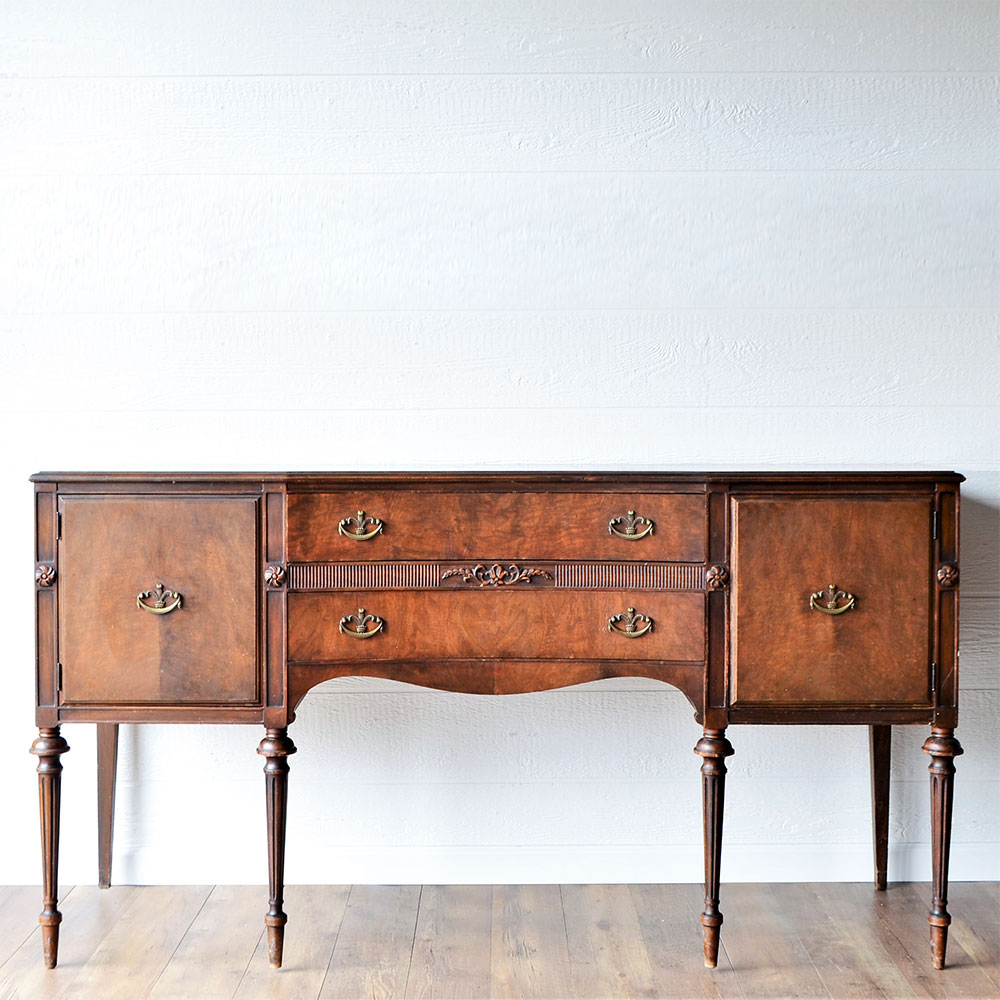
Antiqued Blue Farmhouse Buffet

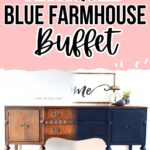

If you’re a fan of rustic charm and vintage pieces, this is definitely a piece you’ll want to add to your home. This antiqued blue farmhouse buffet with an antiquing glaze is the makeover your space needs.
This sideboard is a perfect example of the magic of chalk painting – it transforms even the most ordinary furniture into a unique statement piece. Get your own sideboard ready for a charming update!
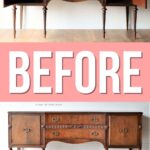
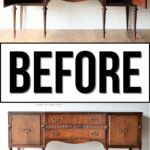
We snatched up this buffet a few weeks ago, in perfect time for our client to contact us and fall in love with it.
She was looking for a sideboard for her dining room and wanted this specific old blue finish with a dark walnut top. We get so many inquiries about this exact finish and we were happy to meet her request!

These pieces not only look great but also serve a purpose. They are versatile and can be used in various rooms for storing or displaying items.
So if you have something like this in your home, follow our lead and give it some love with this project!

Supplies Used For Antiqued Blue Farmhouse Buffet Makeover
As an Amazon Associate, I earn from qualifying purchases. I also may earn from other qualifying purchases with other companies or get free product to review and use. All opinions are my own.
- Citristrip
- Painter’s Tape
- Plastic
- Clear Shellac
- Behr Paint
- Calcium Carbonate Powder (to make chalk paint)
- Wagner Double Duty Paint Sprayer
- Water Based Polyurethane
- Black Glaze
- Baby Wipes
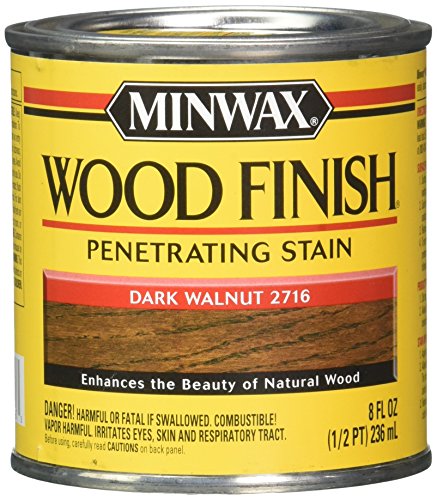
- Minwax Dark Walnut Stain
- Minwax Oil Based Wipe on Poly
- Krud Kutter
- Rustoleum’s Oil Rubbed Bronze Spray Paint
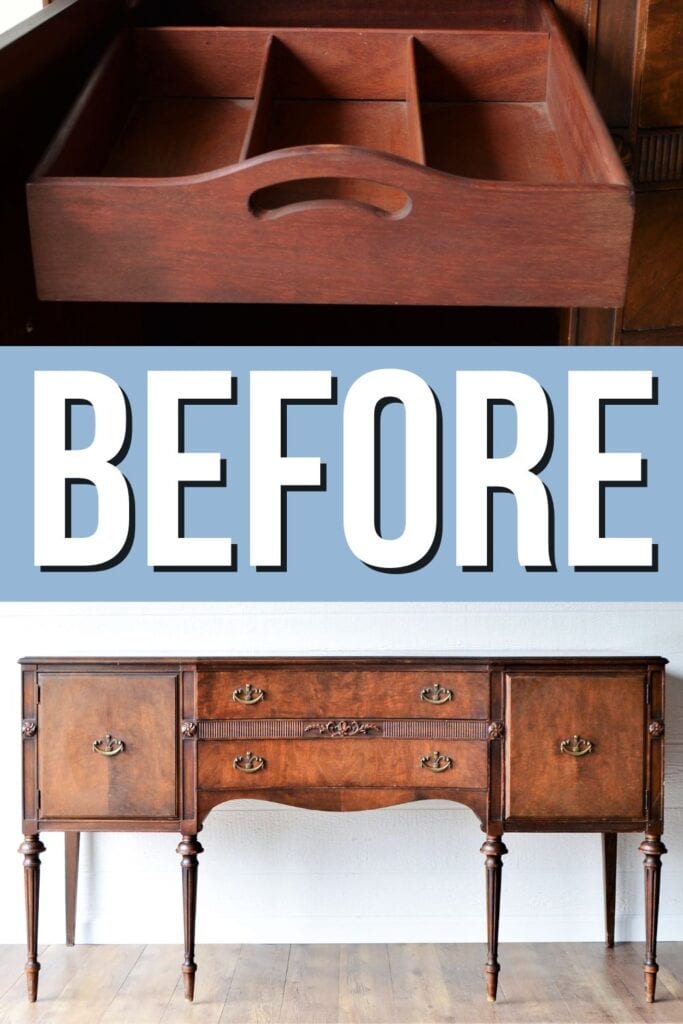
Prepping Furniture for a Makeover
We started out by prepping it for a new finish.
We stripped the top with Citristrip, using this tried and true method removed the hardware and finished up with our go-to prep process. Here’s more about how to prepare furniture for painting.
Then we taped off the top with good ole painter’s tape and plastic, making sure the top was completely covered and protected from overspray. Learn more about how to prevent overspray here!
Priming to Prevent Bleedthrough
Since it is mahogany, we covered all of our bases by spraying on a few coats of shellac. This just prevents any bleed-through that may come through the blue finish.
Learn more about bleed-through and how to prevent it from ruining your new makeover job here!
We forgot to shellac one small part of the piece, and after applying a few coats, we could see some discoloring in that area.
Shellac provides insurance so we don’t have to start over when the bleed-through happens. Luckily it was a small area, and it was easy to shellac that area and then move forward with more paint.
The worst bleed-through happens with lighter colors, but even this deep blue had a difficult time covering the wood tannin. Read this post to learn more about the best primers to stop tannin bleed.
Updating Furniture with Chalk paint
For the blue base, we sprayed on a few coats of our homemade chalk paint with Inked by Behr Paint with our handy dandy Wagner paint sprayer.
We love love love this thing! It makes our job so much easier and faster AND (the best part) provides a smooth brush-free finish on all our pieces!
We wrote up a 3 part blog series about how to use this HVLP sprayer starting with how to thin paint for a Wagner Sprayer.
Topcoating Chalk Paint
Once it was all dry, we sprayed on two coats of poly. Learn ALL of my tips and tricks on how to spray polyurethane here!
This round of poly seals the porous coating so the glaze in the next step is easier to work with. Learn all about the best topcoats for painting furniture here!
Glazing over Chalk Paint
Need to SEE how to glaze? Check out this video on how I glaze over chalk paint.
To give the blue finish an old look, we mixed our clear glaze with black latex and brushed it on with a cheap brush from the dollar store.
Would you like to save this?
We made sure to work it into all of the details and work in small areas so it wouldn’t dry too much before we wiped it off. We have found baby wipes to be the perfect tool to wipe off the excess glaze.
After the glaze was completely dry, we sprayed on three more coats of poly to seal in the glaze as well as provide a long-lasting durability to the finish.
Check out my comparison between glaze vs wax over chalk paint to learn more. Finally, we were able to take the tape and paper off the top!
Staining A Wood Top
We brushed on dark walnut wood stain by Minwax to the fresh raw wood, wiped off the excess stain with old cut-up t-shirts, and let it completely dry.
Read this post to learn more about how to stain wood darker. Or, if you have a coffee table that you want to update by staining, here’s how to restain a coffee table!
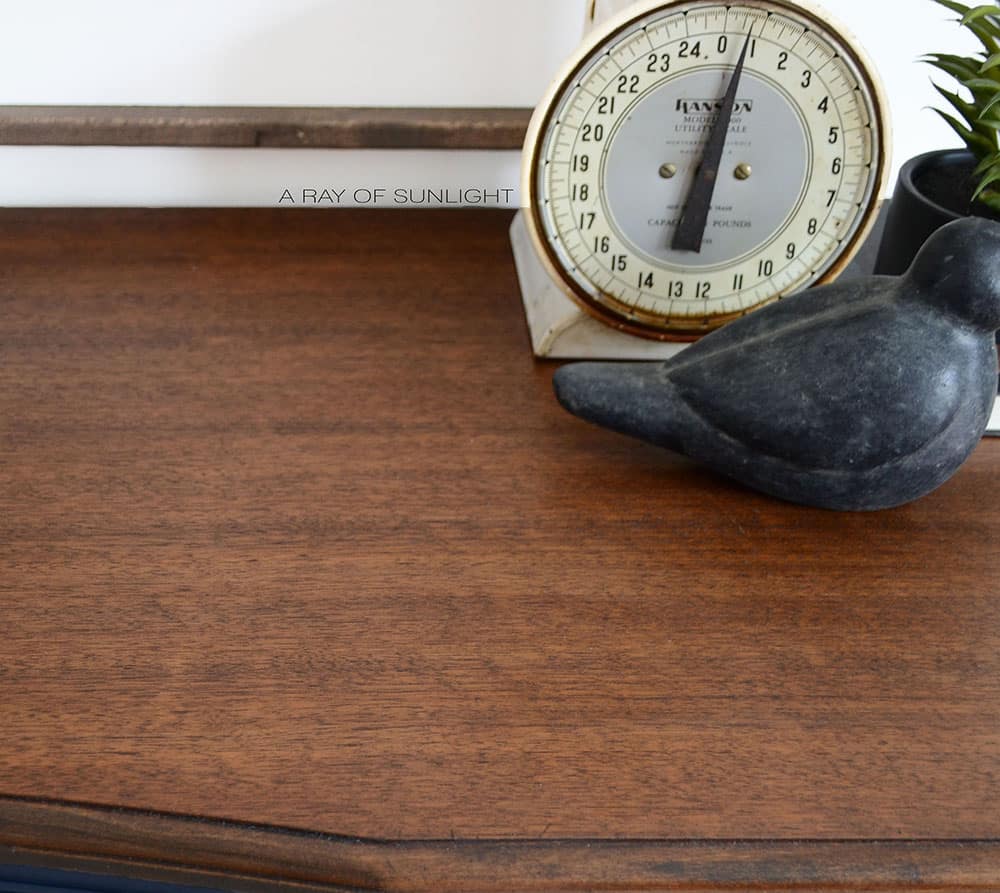
To seal the stained top, we love using Minwax’s oil-based wipe on poly. The oil-based poly brings out all the beautiful colors of the wood grain, compared to the water-based poly we use over paint.
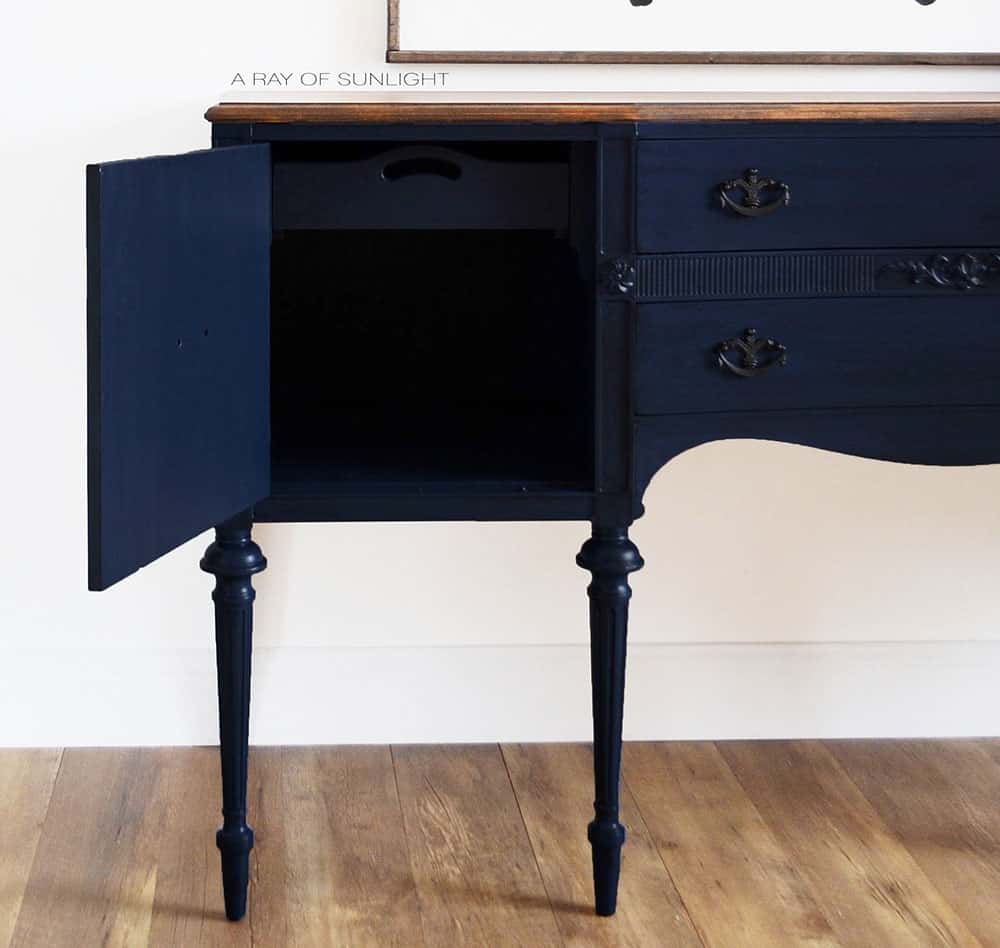
Cleaning Old Furniture Hardware
To finish off the piece, we cleaned up the original hardware with Krud Kutter, then sprayed it with Rustoleum’s oil rubbed bronze spray and sealed it with more poly.
Check out this post to learn more about how to clean old furniture hardware.
I think it’s safe to say that this finish is one of my very favorite finishes! The mix of blue, antiquing, and a stained top comes together to make one stunning finish.
More Before and After Makeovers
See All >
Click any of these “before” photos below to view the “after” of that makeover.


For similar makeovers, check out these chalk paint buffet ideas and dark blue painted furniture ideas!
Why do people Make furniture Look Old?
People often want to give furniture a makeover to add character, charm, and a vintage look to their pieces. It can also be a way to cover up imperfections or wear and tear on old furniture.
Antiquing can create a unique and one-of-a-kind piece that stands out in a room and adds an interesting focal point.
Another reason is to create a specific aesthetic, such as shabby chic or farmhouse style. By distressing the finish or adding a glaze, they can get an aged and weathered look that fits their desired theme.
What are the ways To Make Furniture Look Old?
There are a few different methods for antiquing furniture, depending on the look you want to create.
One popular technique is, of course, using a glaze over a painted surface. This adds depth and an aged appearance to the piece.
Another way is to use distressing techniques, such as sanding or scuffing the edges and corners of the furniture.
This gives the piece a worn and weathered look, adding character and charm. You can learn the best distressing techniques in our post.
Some people also use wax or dark furniture polish, especially on wood pieces. This adds a subtle, aged sheen to the surface and enhances the natural grain of the wood.
Our post on how to use Waverly Antique Wax shows how to use wax in detail. Check out these posts on antique painted furniture and chalk painted antique furniture for more inspiration on creating an aged look.


Antiqued Blue Farmhouse Buffet
Are you looking for a buffet that is perfect to create a fresh look in your dining room? Check out this step by step guide to an antiqued blue farmhouse buffet makeover using chalk paint and an antiquing glaze.
Materials
Instructions
- Remove hardware and clean the buffet. Strip the buffet top with Citristrip then tape it off with good to make sure the top is completely covered and protected from overspray.
- Now, prime all of the base with shellac to avoid bleed through and help the paint stick.
- Mix Behr latex paint with calcium carbonate powder and water to make homemade chalk paint.
- Spray a few coats of homemade chalk paint in Inked color onto the buffet using a Wagner paint sprayer.
- Once all the paint dries, spray two coats of water based polyurethane. Without a layer of poly, glaze will just soak into the porous chalk paint and dry way too fast
- For the antique look, mix clear glaze with black latex paint (or just buy black glaze) and brush it onto the painted buffet using a cheap paintbrush. Wipe off excess glaze using baby wipes.
- After the glaze is completely dry, spray three more coats of water based polyurethane to seal in the glaze as well as provide a long-lasting durability to the finish.
- Take the tape and paper off the buffet top then stain it by brushing on Minwax dark walnut wood stain, wiping off excess stain with old cut-up t-shirts.
- Let the stain dry completely then seal the stained top using Minwax oil based wipe on poly.
- Clean the old furniture hardware with Krud Kutter, spray it with Rustoleum’s oil rubbed bronze spray paint, and seal it with more poly.
Recommended Products
As an Amazon Associate and member of other affiliate programs, I earn from qualifying purchases.


More Buffet Makeovers
- Black Antique Buffet
- Dark Green Sideboard Makeover
- Painted Buffet Ideas
- Buffet Turned Into Bathroom Vanity
- Antique Blue Sideboard
Follow us on YouTube to get more tips for painting furniture. Or share your project with us on our Facebook Group and be part of our community. See you there!
Need another pic. Can’t discern the 3 different finishes from this one. I want to enjoy how gorgeous it must look after all your hard work.
Totally freaking beautiful
I would buy this piece in a heartbeat! It’s gorgeous!