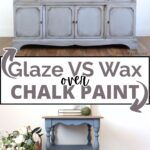
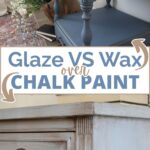
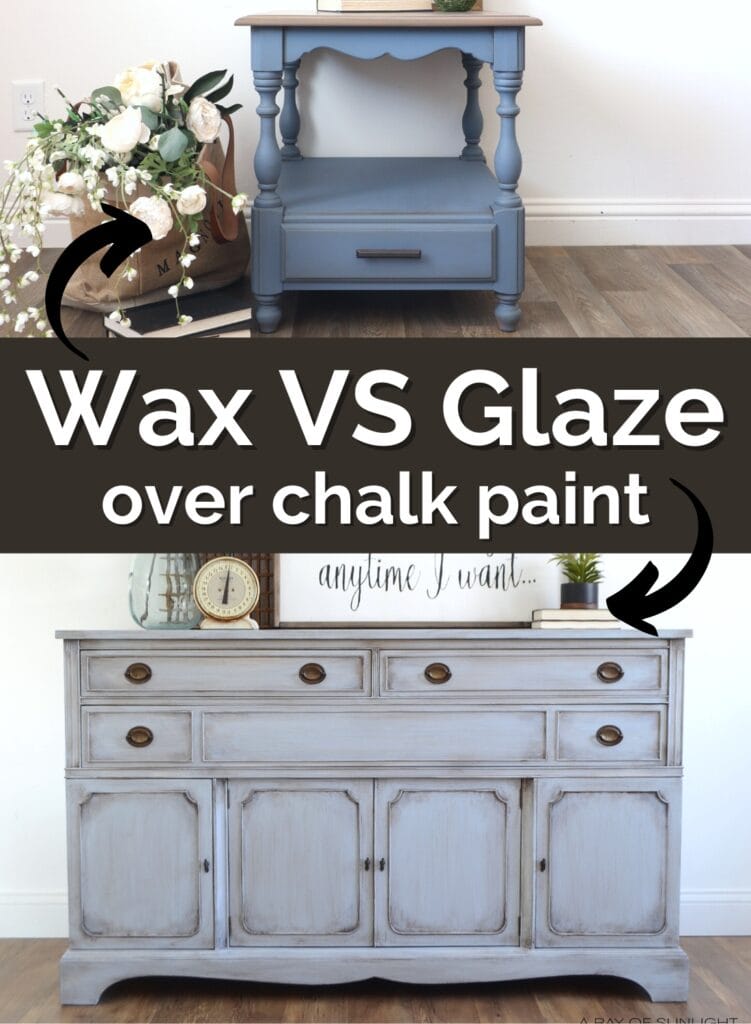
Glaze VS Wax Over Chalk Paint
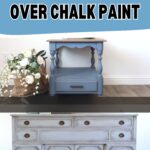
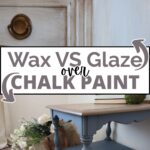
Chalk painting is one of the most popular techniques due to its versatility and how easy it is to use. But when it comes to finishing your project with an antiqued look, you may be faced with a decision between glaze vs wax over chalk paint. Knowing which one will work best for your specific project requires an understanding of both and how they differ from each other.
We’ll take a look at how to apply both finishes over these chalk paint furniture ideas, as well as provide a comparison so that you can choose which one is right for you.
Glaze and wax are two popular antiquing finishes that can be applied over chalk paint. Each has its own advantages and disadvantages, so it’s important to understand the differences between them before making a decision.

With glaze, you get a more durable finish with a poly topcoat that dries quickly and works well with polyurethane topcoat. Wax is quicker to apply but not as durable, and if you don’t like it, you have to remove it before painting again.
So, keep reading to learn more about these two and make an informed decision on which product is best for you!
As an Amazon Associate, I earn from qualifying purchases. I also may earn from other qualifying purchases with other companies or get free product to review and use. All opinions are my own.
What is Chalk Paint?
Chalk paint is made of a mixture of chalk, pigment, and binder that results in a chalky finish. Unlike traditional paint, it is intentionally formulated to have a textured and weathered look once dry, though you can create a smooth brush free look with it as well.
One of its biggest advantages is how convenient and easy it is to use. Chalk paint companies say that it does not require any sanding or priming before application, and dries quickly. As an added bonus, it comes in a wide range of colors and can be further customized with different finishes.
It is particularly favored by furniture painters who want to complete their projects in a timely fashion without spending too much time on the preparation or finishing stages.
How to Chalk Paint Furniture
One important thing to know about chalk paint is that you shouldn’t just start applying it on any surface without any prep work. Learn how to prepare furniture for painting here.
If you want it to stick really well, it’s a good idea to do something called scuff sanding before you start. Learn more about the importance of sanding before painting furniture here.
Another downside to it is that it won’t block stains on the surface you’re painting. So you still should prime first – here’s how to stop stains from coming through paint. Check out the best primers for painting furniture (and how to choose the right one) here.
When you’re using it, it’s usually pretty thick and goopy. So you might see some brush marks or texture when it dries. You can learn more about how to paint furniture without brush marks here, and here are the best chalk paint brushes you can use.
If you want it to last a long time and not get messed up too easily, you need to put something on top of it to protect it. You can choose either wax or polyurethane for this. Without that protection, you’ll need to touch up your chalk paint pretty often. Check out more of the best topcoats for painting furniture here.
Even though it has some downsides, a lot of people still like to use it because it’s easy to find and easy to use. Learn more about chalk painting furniture and get more tips here on how to chalk paint furniture, especially for beginners.
Glaze Over Chalk Paint
Glazing is an easy and efficient way to add depth, texture, and character to furniture pieces. It provides a protective layer that makes the piece more durable while adding a unique look.
With glaze, you get a more durable finish with a poly topcoat that dries quickly and works well with polyurethane topcoat. However, it does take longer, and it takes some skill and precision to apply it properly.

Pros:
- More durable with a poly topcoat
- Dries quickly
- Works well with a polyurethane topcoat
- Does not involve wax – I don’t like waxing chalk paint, and how it feels, how it dries, or holds up on furniture
Cons:
- Have to wait for chalk paint and topcoat to cure for 24 hours
- Takes a little more skill and precision to glaze
- Have to topcoat it for maximum durability
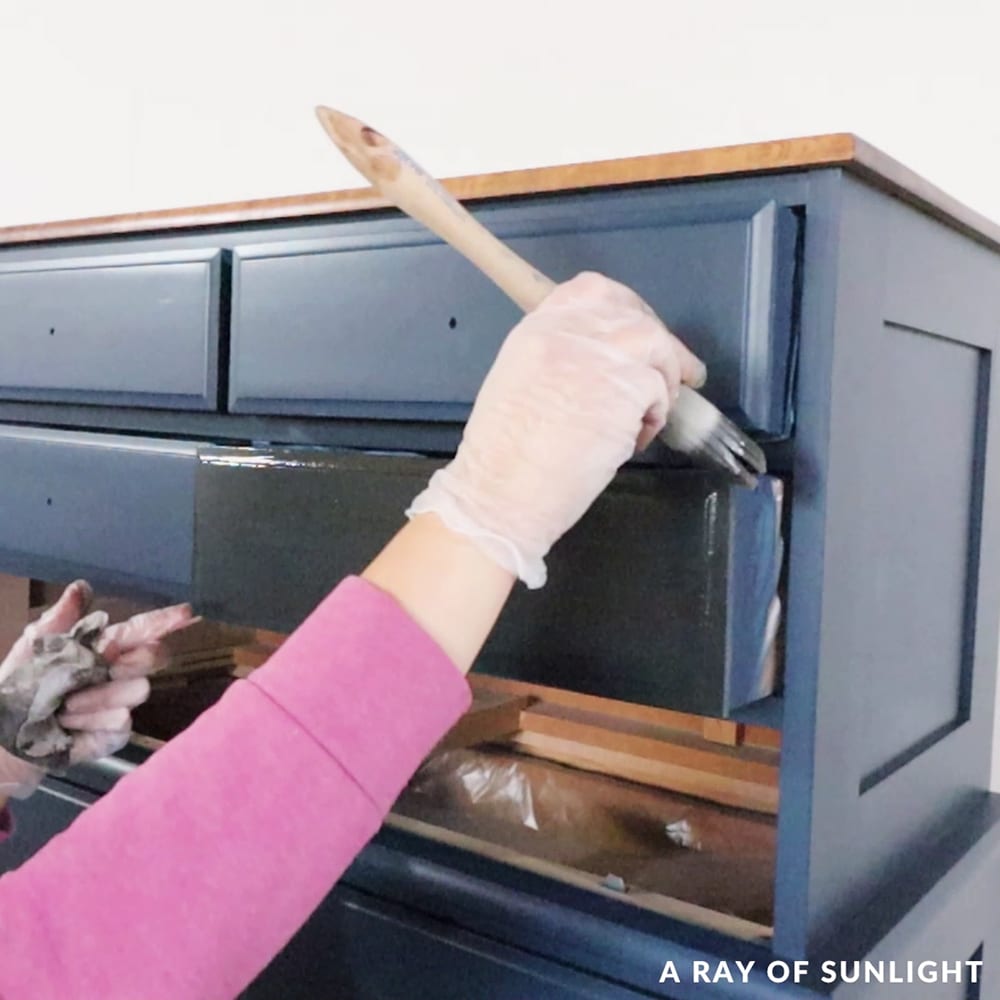
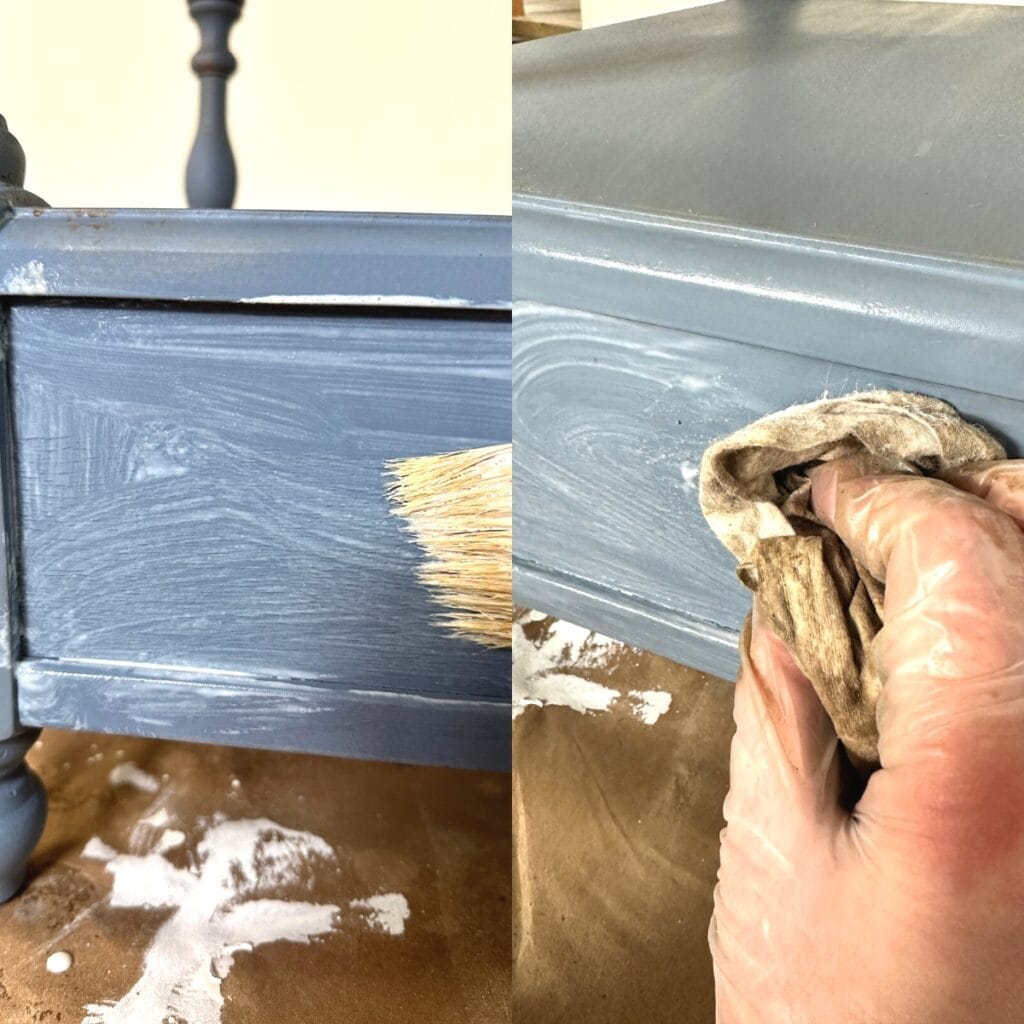
How to Glaze Over Chalk Paint
To create a beautiful glazed finish on your chalk painted pieces, it’s important to follow a few steps. Here is how you can successfully do it!
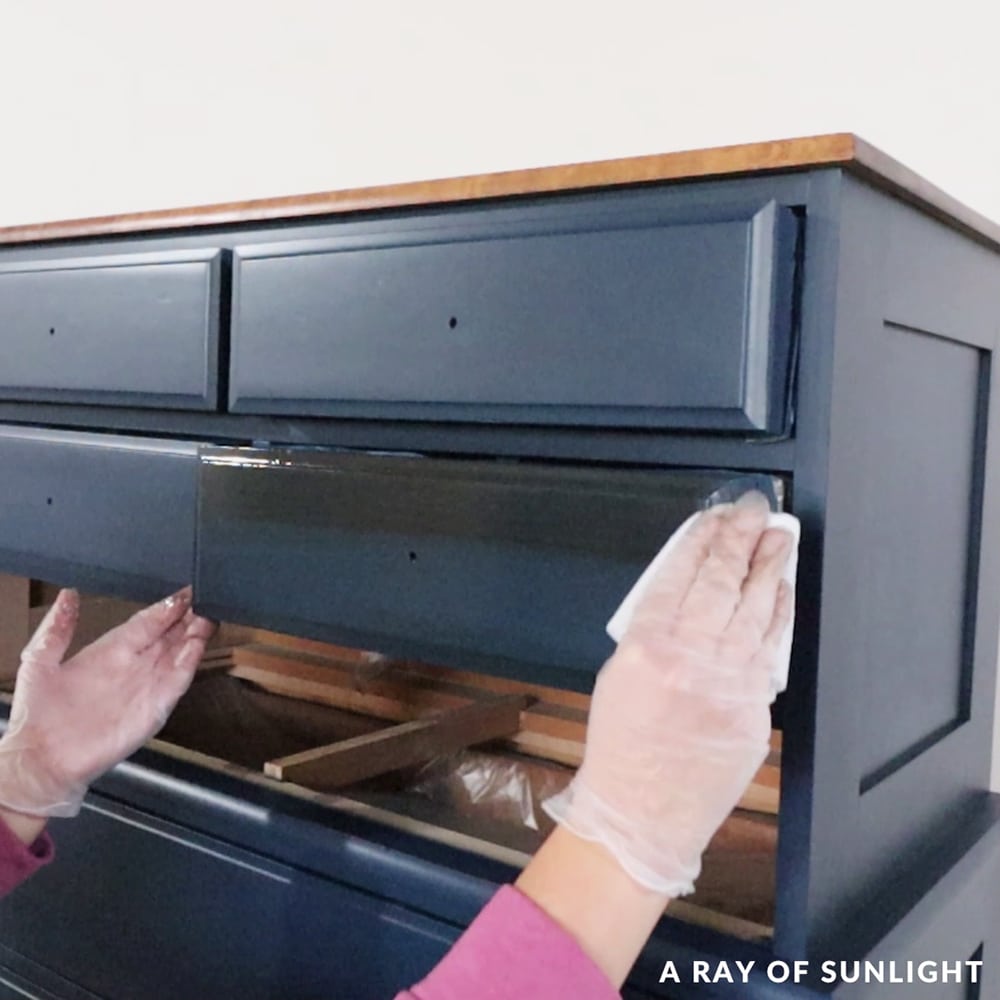
First, apply a waterbased polyurethane to topcoat the chalk paint. This will slow down the glaze’s absorption and make it easier to control. Let it dry for at least 24 hours before applying the glaze. Then, use a brush or lint free cloth, making sure to work it into all the crevices and corners.
Once applied, use baby wipes or a damp, lint free rag to remove any excess and create the desired effects.
You can add additional layers, letting it dry for at least a few hours between coats. You can also mix clear glaze with the chalk paint you used to hide some of the antiquing glaze.
To protect the finish, apply multiple coats of waterbased polyurethane, and let the final coat cure for at least 24 hours before using your newly glazed piece.
Check out this how to glaze over chalk paint makeover to see how I do it. Here’s an old sideboard makeover where we used this antiquing finish, too. Here’s how to paint and glaze furniture for more tips!
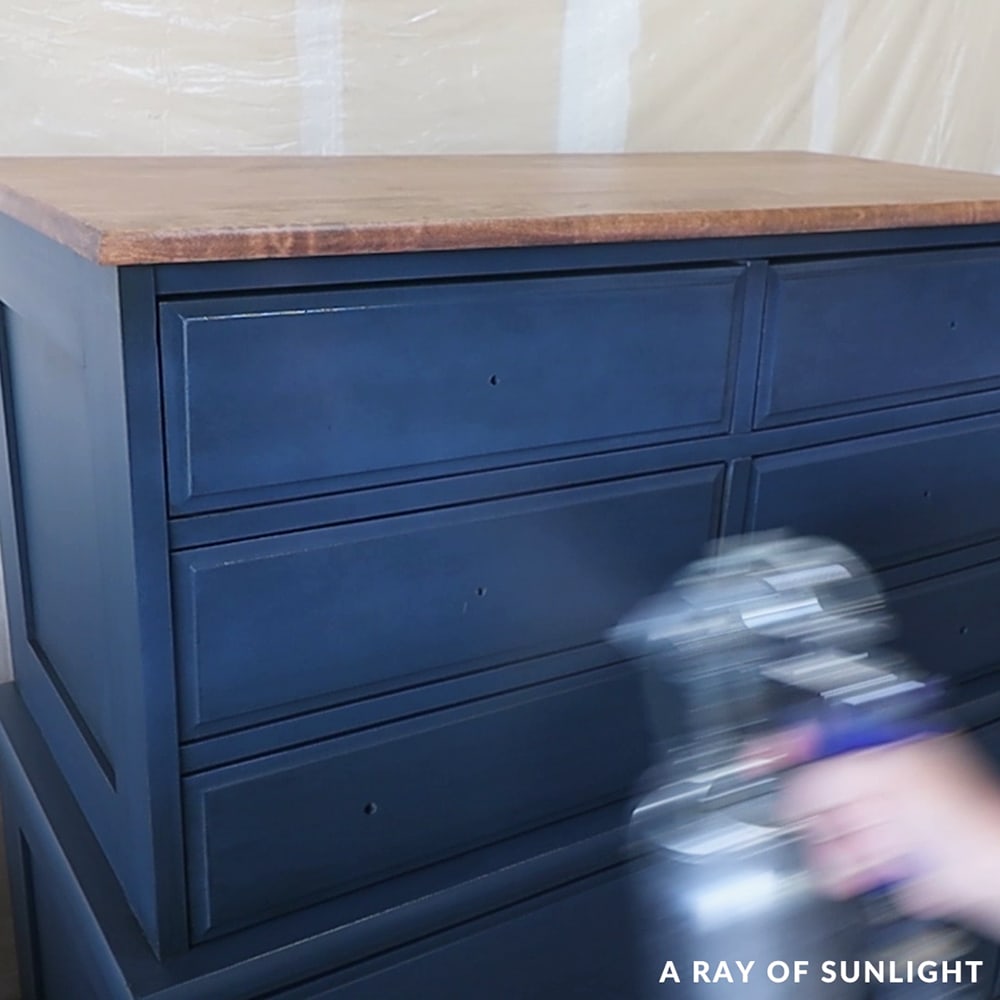
Wax Over Chalk Paint
Waxing is another easy and cost effective way to add character and protection to furniture pieces. This method involves applying a clear base coat first, followed by dark wax in areas where desired. The result is a unique, textured finish that provides both aesthetic appeal and added durability.
While this process may seem intimidating at first, it can be easily mastered. With the right supplies on hand, you’ll soon find yourself creating stunning projects with your own two hands!
Check PriceCheck PriceCheck Price
Would you like to save this?
Pros:
- Waxing is a much quicker process than glazing
- You don’t have to wait for the topcoat and chalk paint to cure before using
- Easier to work with
Cons:
- Does not dry quickly – stays tacky for days
- Not as durable as glaze with waterbased polyurethane topcoat
- If you don’t like it, you have to remove it before it cures to paint the furniture again


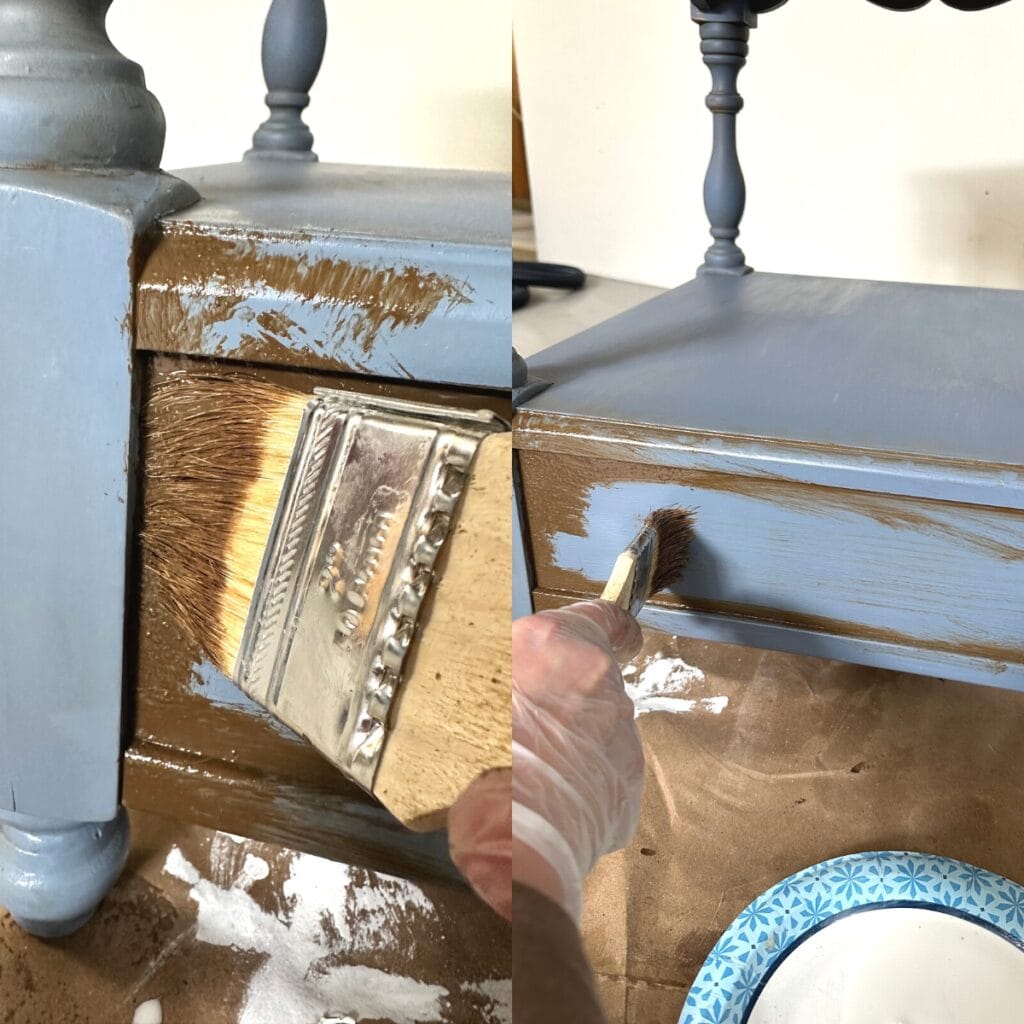
How to Antique Wax Over Chalk Paint
When applied correctly, antique wax creates a warm, soft sheen that highlights the natural textures and details of the furniture.
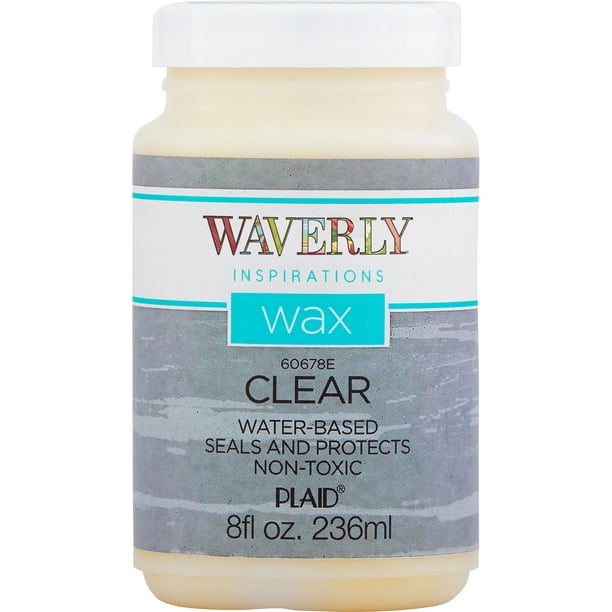
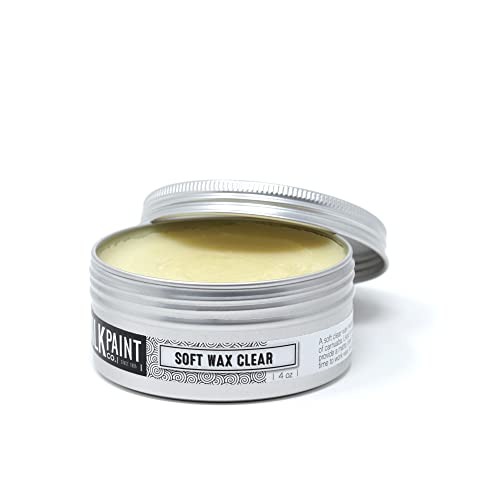
To begin the process of applying it, it is important to allow the paint to fully cure for at least 24 hours. Once it has fully dried and cured, apply a thin, even coat of clear wax using a lint free cloth or wax brush. Work in small sections at a time.
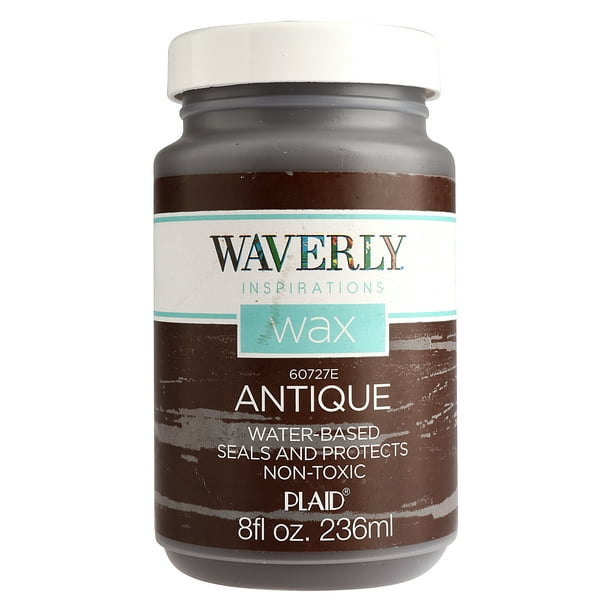
After removing the excess clear wax, immediately apply a small amount of the antiquing wax, focusing on the details and crevices. Use a clean, lint free cloth to remove any excess and blend the colors together.

If you got too much dark wax in one area, you can put more clear wax in that area to remove it. Once you have created your desired level of antique texture and depth, let the piece dry for at least 48 hours before using it.
In conclusion, antique waxing over chalk painted pieces is a great way to add character, depth, and texture to any piece.
Check out my guide on how to use Waverly antique wax here. Or read through this detailed guide on how to apply Waverly wax over chalk paint.
You can also see this French end table makeover in our how to use Waverly chalk paint and wax post to see how I do it.
With a little patience and practice, you can easily master this technique and create stunning, one of a kind pieces that will be the envy of all your friends and family.
How to Remove Wax From Chalk Painted Furniture
If the wax was applied less than two months ago, you’ll need to remove it first. If it’s more than two months ago, you might be able to skip removal by using a strong primer to help the paint adhere to the surface. That said, removing it entirely will give you better adhesion and longer lasting results.
This step is especially important because chalk paint does not stick well to wax and can easily scratch off. To remove it, use mineral spirits and a rag to rub the wax off the surface. Repeat the process until the surface feels smooth – you will notice the difference in texture.
Be sure to lay the rags you used flat and outside to dry since they can be flammable. And then let your piece dry completely before moving on to the next step.
For any residual wax, use 220 grit sandpaper to scuff up the surface lightly, which will create a rough surface for your new paint to adhere. If the old chalk paint easily scratches off, you might as well sand the piece down completely before applying fresh paint.
Get more tips about this process in our guides on how to paint over chalk paint that has been waxed and how to paint over chalk paint.
Glaze VS Wax
When it comes to creating an antiqued chalk paint finish, there are several factors to consider when choosing between these two.
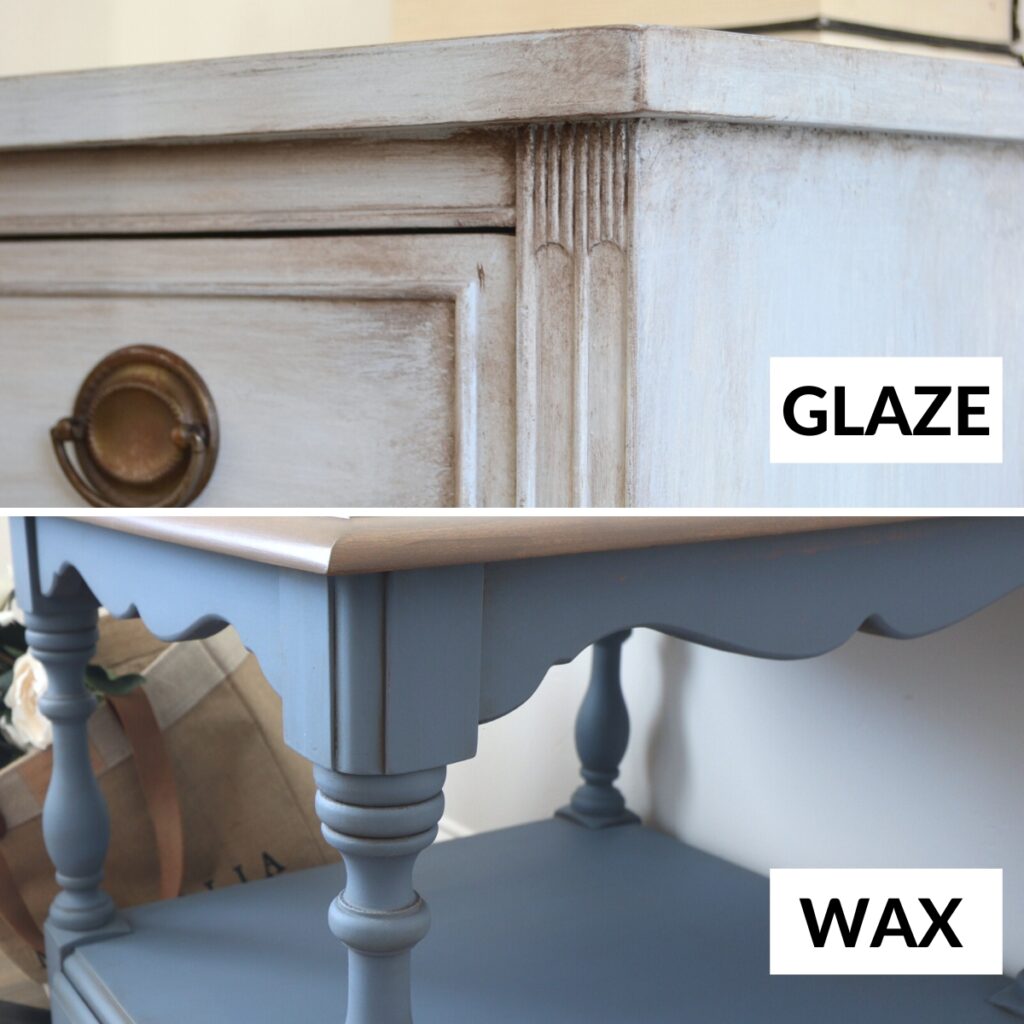
In this closeup comparison, the glaze was put on in multiple layers, with some white and blue glaze layered with the brown. The closeup of the wax was just 1 light coat.
Ultimately, the decision will depend on the desired finish, the level of durability needed, and personal preference.
Glaze provide a more durable option with a poly topcoat that dries quickly. This process involves applying a coat of waterbased polyurethane first, letting it dry for 24 hours, and then applying the glaze and letting it dry.
Then you will need to apply additional coats of waterbased polyurethane for maximum durability.
However, it takes longer and requires a little more skill to apply it properly. Additionally, it does not involve wax, which, I, for one, do not prefer due to the way it feels, how it dries, or how it holds up on furniture.
On the other hand, waxing is a much quicker process than glazing and easier to work with. This method involves applying a clear base coat first, followed by dark wax in areas where desired. The result is a unique, textured finish that provides both aesthetic appeal and some added durability.
However, it does take longer to dry and is not as durable as glaze with a waterbased polyurethane topcoat. And in the end, unlike glaze, if the wax finish is not to your liking, it must be removed before the piece can be painted again, which can be time consuming and require additional effort.
When deciding between the two, it’s important to consider the specific project at hand. For instance, if durability is a top concern, glaze may be the better option.
In addition, if speed and simple application are your top priorities, wax may be the better choice. Ultimately, you should consider their personal preferences and the specific needs of their project before making a decision.
More Glaze and Wax Posts
- Dreamy Blue Painted Dresser
- French Blue Dressers
- Wax For Chalk Paint
- Wax VS Polyurethane
- Painted Light Blue Dresser
Follow us on YouTube to get more tips for painting furniture. Or share your project with us on our Facebook Group and be part of our community. See you there!
Hi Natalie,
I devour everything you do and I’ve learned SO much! One question I have is can I glaze over Sherwin Williams Enamel Trim paint? I know I’m not supposed to top coat it, so I’m wondering if I can glaze over it and then top coat? Or just glaze it and not top coat it. Thanks!
Hey Bernadette! Thank you so much! So glad that you are learning so much with us on our page! As far as the glazing over the Enamel Trim Paint goes, I don’t know how it will react, I have never tried it. It dries like an oil based paint, so if you put waterbased stuff on it, it can react badly. But, it probably wouldn’t be an issue. As far as topcoating afterward, it would need to be topcoated with oil based topcoat, unless you wait 30 days for it to cure… That’s what I’ve heard anyway. Hope that helps! Best of luck to you and your project!