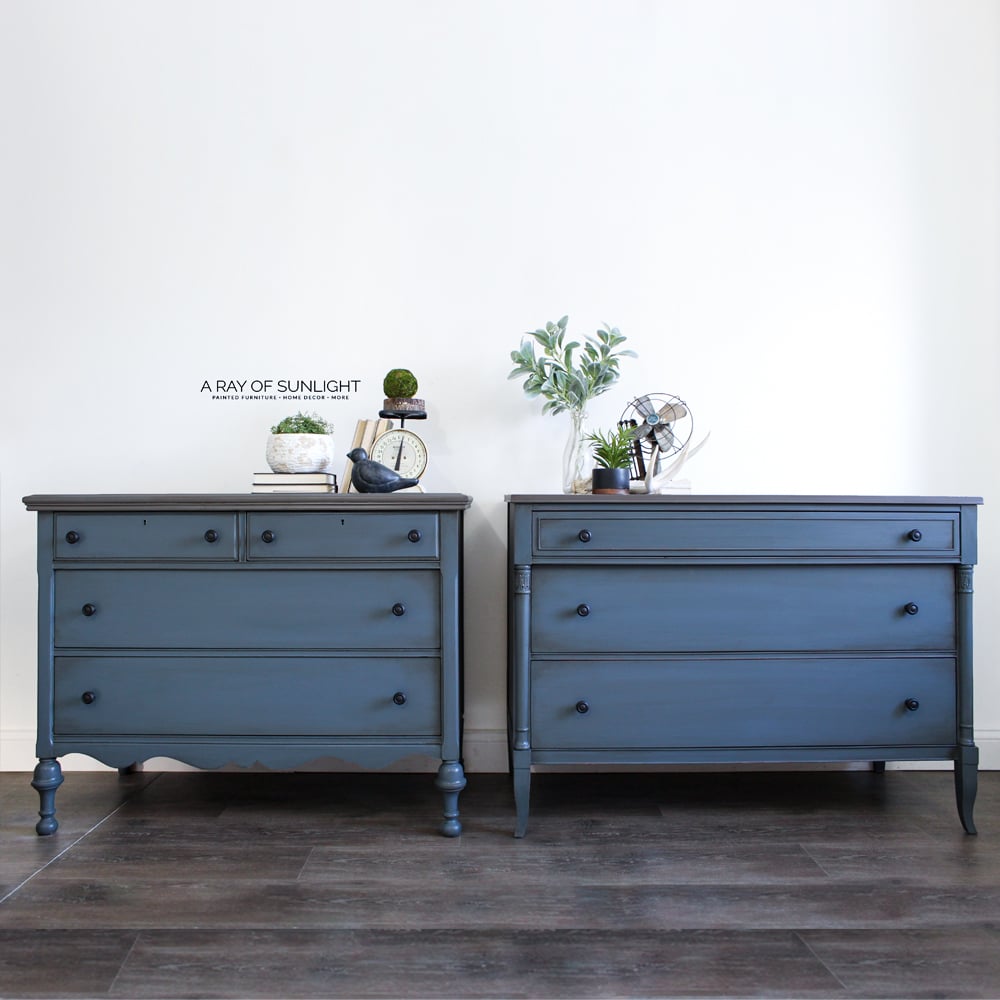
French Blue Dressers


If you’re looking to give your furniture a fresh look or want to add some French chic style to your home, this tutorial for our French blue dressers is the perfect place to start. It’s one of the best blue painted furniture ideas that will bring a touch of elegance and charm to any room in your house.
French dressers are just timeless – their classic design paired with the elegant blue paint color creates a stunning combination you should definitely try on your own furniture. So keep reading how we painted these French dressers blue!
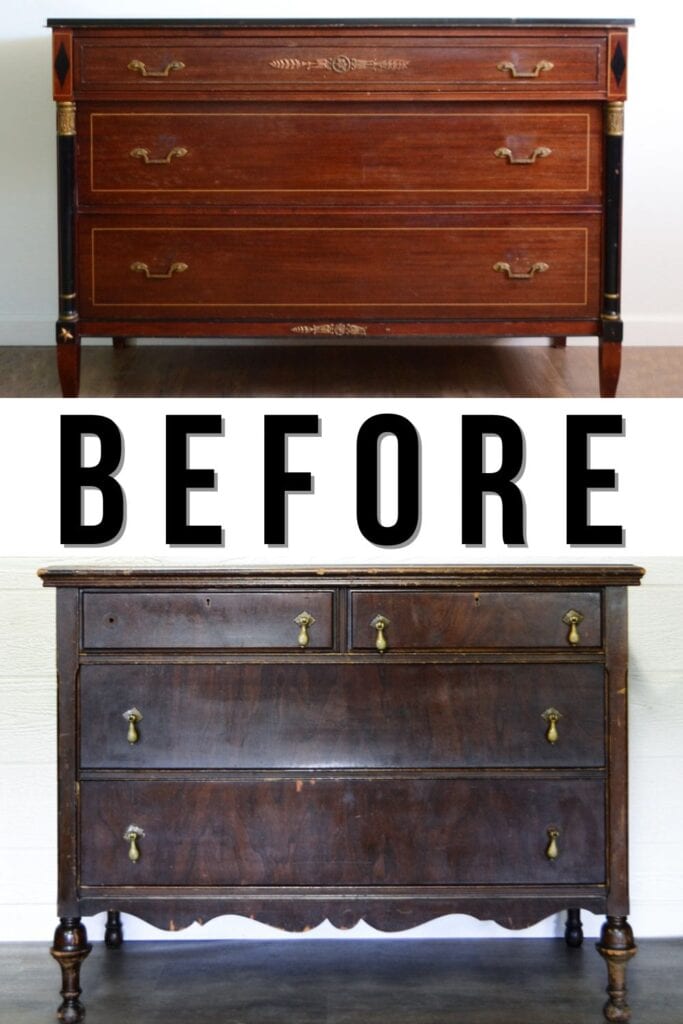
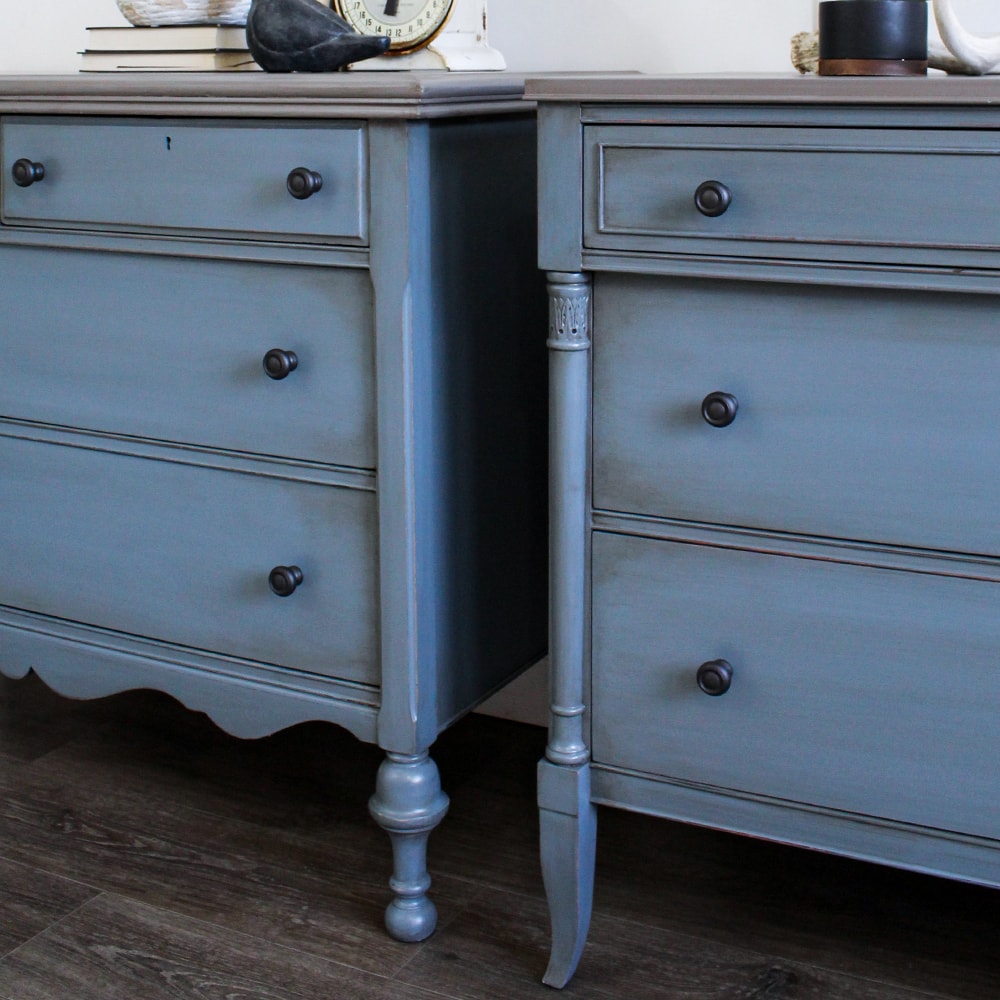
Our client wanted oversized nightstands for her room and while these two dressers were originally separate pieces they fit perfectly together as a set of mismatched nightstands. They also wanted these to have the same finish from this French provincial nightstands makeover we did.

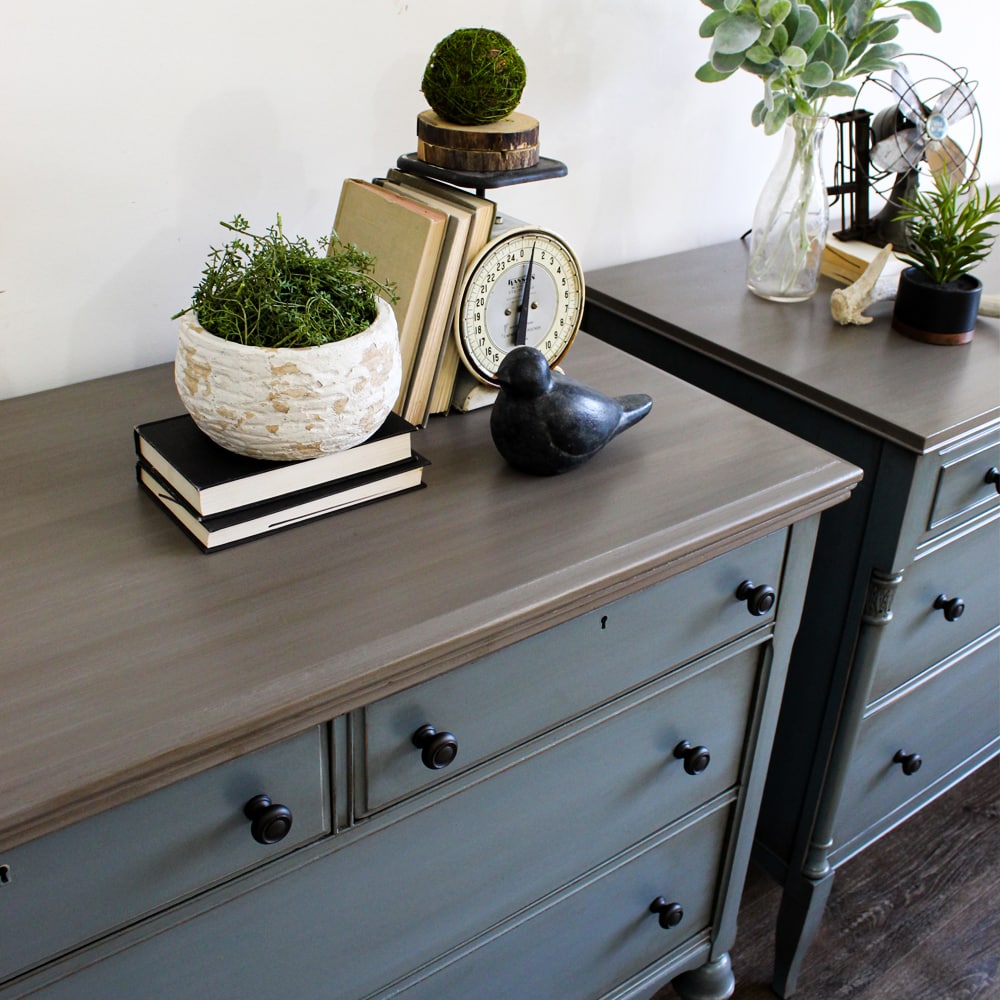
The muted hue of this blue adds a touch of sophistication and elegance to the dressers, while the glazed finish adds some grungy antique feel to the overall look.
The process of prepping, painting, and topcoating the dressers was quite simple. We even added distressing and glazing techniques to give them an even more unique look. We’ll walk you through each step so that you can recreate these French blue dressers for yourself.

Supplies Used for French Blue Dressers
As an Amazon Associate, I earn from qualifying purchases. I also may earn from other qualifying purchases with other companies or get free product to review and use. All opinions are my own.
- Krud Kutter
- Damp Rag
- 220 Grit Sandpaper
- Shop Vacuum
- Tack Cloth
- Clear Shellac
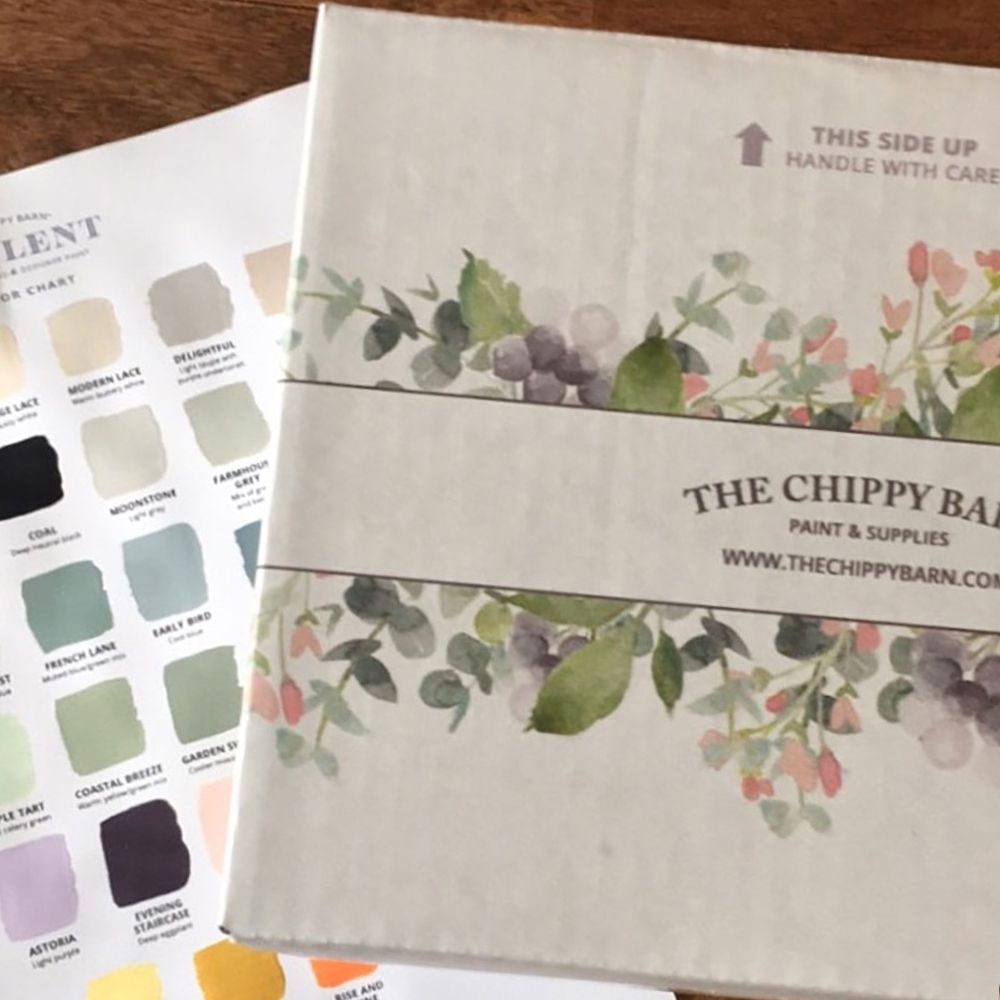
- Amulent Paint from Chippy Barn Paint – Old Blue
- Fuji Q4 Paint Sprayer
- Varathane Polyurethane
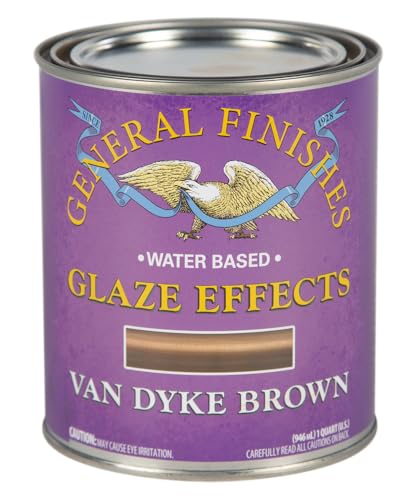
- General Finishes Van Dyke Brown Glaze
- Cheap Paint Brush
- Wipes or Lint Free Rag
Prepping the Dressers
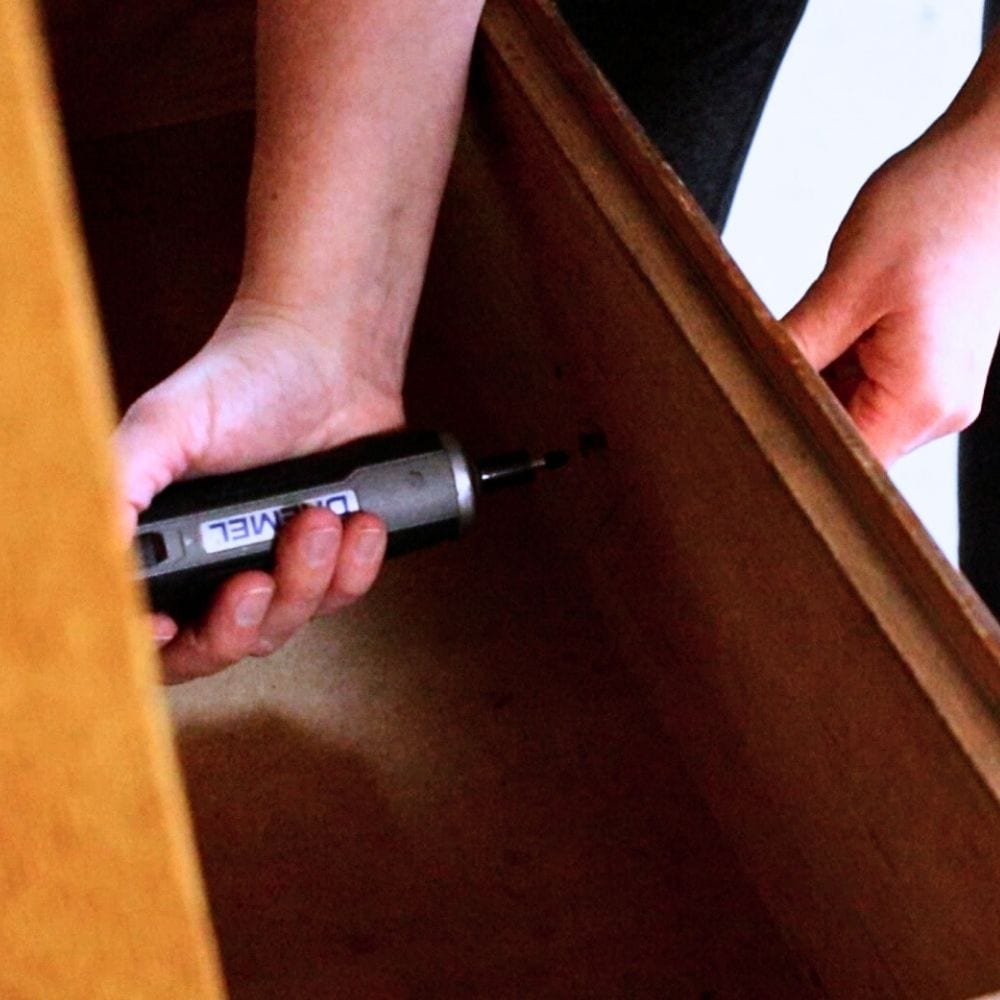
The first step in preparing the dressers for painting was to remove the little unnecessary appliques and the drawer pulls. This not only made the painting process easier but also gave us a cleaner look overall to make the dressers match each other better.
Once the dressers were stripped of any unnecessary details, it’s time to give them a good clean using Krud Kutter and a damp rag. Make sure to spray that Krud Kutter evenly on all surfaces. We’re cleaning to make sure there’s no dust or grime on the surface for the paint to stick to.
Learn more about how to clean furniture before painting, and why it is so important in our cleaning before painting furniture post. If you’re worried about bacteria, germs, or bad odors lurking inside the dresser, here’s how to disinfect wood dresser using a simple and natural solution.
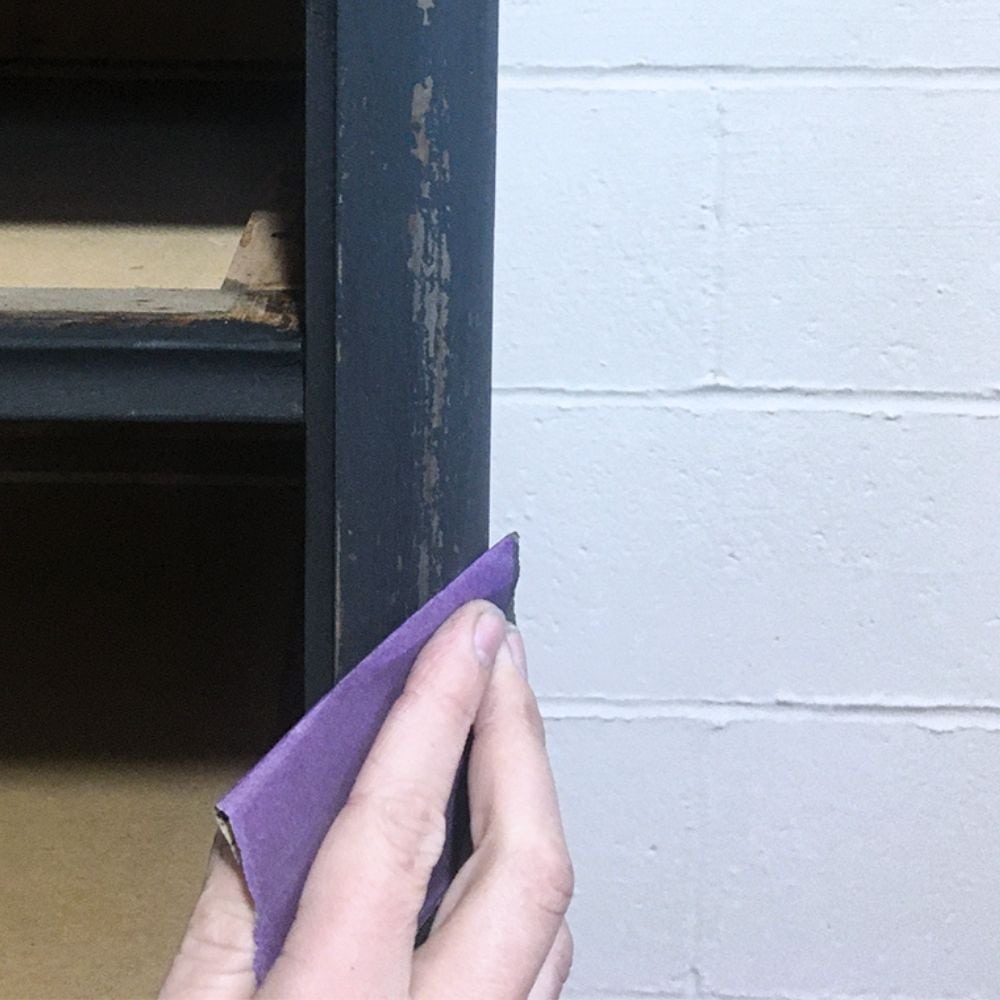
Then we lightly sanded the dressers with 220 grit sandpaper to scuff the finish up and help the paint stick to the surface better. If you’re not sure how to scuff sand, read our post on sanding before painting furniture.
Of course, we had to remove the dust again after sanding. I personally like to use a shop vac and brush attachment to suck up the dust, and then wipe it all off with a tack cloth.
Next, we took the dressers outside and applied 2 coats of clear shellac to both dressers. This helps to stop stains from coming through paint and helps the paint adhere better. We let the shellac dry overnight before moving on to the next step.
Even though clear shellac isn’t a primer technically, it acts like a primer in this case. If you aren’t sure about using clear shellac as a primer, here is a list of the best primers for painting furniture. You should also check out the best spray primer for wood here.
Painting the Dressers
For the painting process, we chose to use Amulent paint from Chippy Barn Paint in the color Old Blue. This paint is ceramic-based and known for its great coverage and leveling properties.
This paint is awesome because you can apply it smoothly with either a paint brush, roller, or a painting sponge. Either way, you can get a nice, level surface without any brush marks. You can read this post to learn more about how to paint furniture without brush marks.
But to make this project a whole lot faster, we put the paint in my Fuji Q4 paint sprayer and spray painted the dressers. We did thin the paint a little bit with maybe 10% water to paint ratio to help it spray better. If you want to spray your paint on your furniture, here is our list of the best HLVP paint sprayers for furniture.
We applied multiple coats to make sure everything was fully covered and allowed each coat to dry for a couple of hours. Gotta say, we’re impressed with the amazing coverage and flawless application of the paint! Here are more tips and tricks on how to paint a dresser to make the process stress-free.
Distressing the Painted Dressers
For a more rustic look, we lightly distressed these French blue dressers. We used 220 grit sandpaper to gently rub away some of the paint around the edges and on the details on these dressers.
This helps to give it an aged look and adds character to the furniture piece! Here are more distressing furniture techniques to use if you don’t want to create more dust in your workspace.
Chalk paint is perfect for distressing because it’s very easy to sand away compared to regular latex paint. And this Amulent paint pulled through flawlessly and effortlessly created the exact distressed look we were aiming for! Then we cleaned up the dust again before moving on to the next step.
Topcoat and Glaze on Painted Dressers
Once the dressers were distressed, we sealed them with 1 coat of Varathane Polyurethane to make it easier to glaze, and we let the poly dry overnight. Since I have a paint sprayer, I sprayed the topcoat on. Here is how to spray polyurethane for more information on this technique. We’ve also listed the best sprayers for polyurethane here.
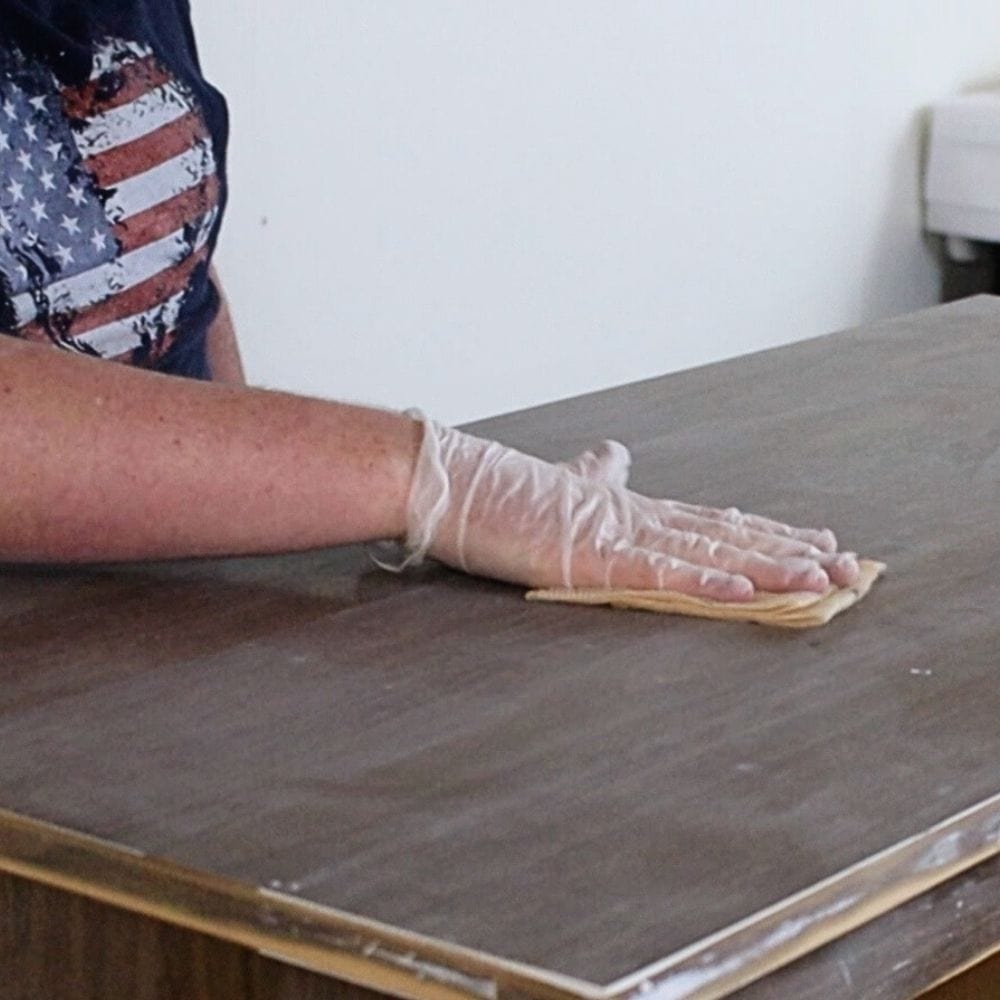
But if you need to brush it on, here is our post on how to apply polycrylic to painted furniture by hand. The next day we followed up with General Finishes Van Dyke Brown Glaze and wiped away the excess for a subtle antiquing effect. I have this video on how to glaze for you to learn from:
Would you like to save this?
After glazing, it’s important to topcoat your furniture piece with polyurethane again, as this helps to protect the paint and add durability. We applied 2 more coats of Varathane Polyurethane for extra protection and sheen!
You can explore more options of topcoats for painting furniture if you would rather use something other than waterbased polyurethane on your project. Learn more about sealing painted furniture here.
Creating a Weathered Look for the Tops
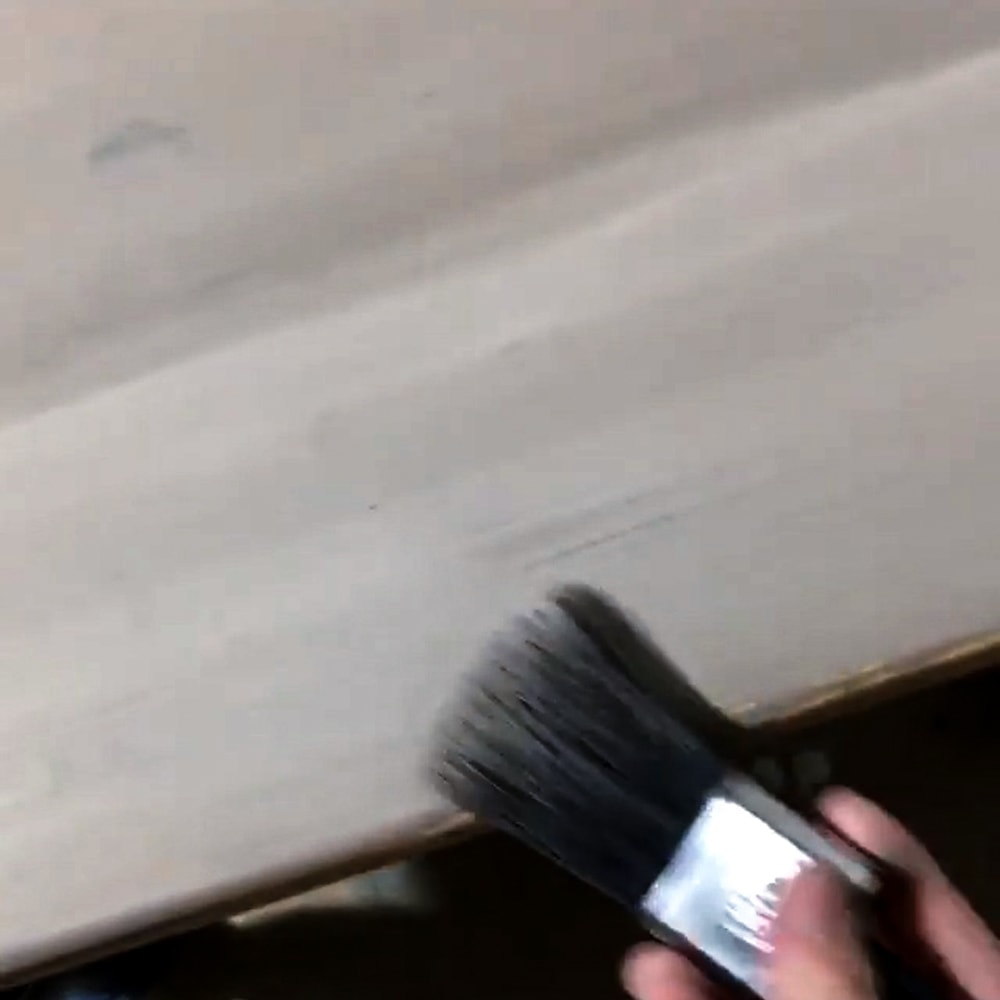
For the french blue dresser top, we wanted to create a weathered wood finish. We started by layering Suede Gray, Kindling, Alpaca, and Black with a paint brush, then adding a coat of Van Dyke Brown Glaze on top.
The glaze was applied with a damp cloth and wiped off for the desired effects. We added a few coats of glaze until we got the darker finish we were actually happy with.
And the last thing we did was seal the weathered tops of the dressers with 2 coats of Varathane Polyurethane. Again, this not only enhances the overall appearance of the dressers, but also adds protection against scratches, moisture, and other potential damages.
And there you have it – our French blue dressers turned nightstands all finished! From two separate pieces, we were able to create two beautiful matching nightstands that our client was thrilled with! If you also want to make money this way, here’s flipping furniture for beginners to get you started.
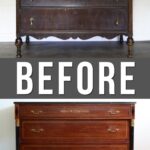
More Before and After Makeovers
See All >
Click any of these “before” photos below to view the “after” of that makeover.


We hope you enjoyed following along with our French blue dresser makeover and are inspired to take on a similar project yourself! For more antique style projects, here’s our list of painted antique dresser ideas.
If you have pieces you don’t know what to do with, you can also check out how to get rid of a dresser in creative and practical ways.
What are the best colors for French provincial furniture?
When it comes to choosing the perfect color for French provincial furniture, there are some popular options that never fail – including blue!
One classic color choice for this style of furniture is white. This timeless and elegant color gives a clean and fresh look to any piece, while still maintaining the traditional charm of French provincial design. It also allows for versatility in decor and can easily be paired with other colors or patterns.
Another popular color for French provincial furniture is gray. This sophisticated hue adds a touch of modernity to the traditional style, creating a unique and chic look. Whether you choose a light or dark shade, gray is a great option for those looking to update the look of their French provincial pieces.

Let’s not forget blue! Blue is a perfect choice for French provincial furniture because it adds a pop of color while still staying true to the classic and elegant style. From soft pastel blues to bold navy shades, there are many ways to incorporate this color into your furniture.
Plus, blue pairs well with other neutrals such as white and gray for a cohesive and stylish look. For more blue dresser makeovers like this one, here are blue painted dresser ideas.
Green is also a popular color for French provincial furniture, especially in pastel shades. This fresh and calming hue adds a touch of nature to any space and can bring a sense of tranquility to the room. Green also pairs well with other colors such as white, gray, and even blue for a beautiful and harmonious look.


French Blue Dressers
Want to DIY French blue dressers for your bedroom instead of paying for expensive ones at the store? Here is our step by step tutorial to create this look on old dressers!
Materials
Instructions
- Remove any unnecessary hardware and appliques on dressers.
- Clean surface with Krud Kutter and a damp rag.
- Apply multiple coats of Clear Shellac to both dressers and allow to dry overnight.
- Put the Amulent Paint from Chippy Barn Paint in Old Blue in the paint sprayer and spray paint the dressers, applying multiple coats until fully covered.
- Lightly distress the french blue dressers with 220 grit sandpaper to create an aged look.
- Seal the painted dressers with one coat of Varathane Polyurethane before applying General Finishes Van Dyke Brown Glaze for a subtle antiquing effect.
- For the dresser tops, layer Suede Gray, Kindling, Alpaca and Black then add a coat of Van Dyke Brown Glaze on top for a weathered look.
- Seal the weathered tops with two coats of Varathane Polyurethane.
Recommended Products
As an Amazon Associate and member of other affiliate programs, I earn from qualifying purchases.


More Blue Furniture Makeover Ideas
- French Provincial Nightstands Makeover
- Behr Chalk Painted Dresser Makeover
- Repurpose an MCM Desk into Nightstands
- DIY Blue China Hutch
- DIY Painted Hallway Cabinet
Follow us on YouTube to get more tips for painting furniture. Or share your project with us on our Facebook Group and be part of our community. See you there!

