How to Paint a Dresser
Welcome to our step-by-step guide on how to paint a dresser! Whether you’re a seasoned pro or just starting out with DIY projects, our tips and tricks will help make painting furniture easy and stress-free.
A dresser is a staple piece of furniture in any bedroom, but giving it a fresh coat of paint can completely transform its look. Follow along to learn all the tools and techniques you’ll need to create a beautiful painted dresser.
A dresser is more than just a piece of furniture for storage. It can also be a statement piece in your bedroom, adding personality and style to the space.

But buying a new dresser can be expensive, which is why learning to paint a dresser is a valuable skill. Not only is painting a dresser cost-effective, but it’s also a fun and creative way to express yourself.
You can play with different colors, finishes, and painting techniques for furniture to make your dresser truly one-of-a-kind.
Plus, transforming an old or worn-out piece into something beautiful can be extremely satisfying. But before jumping right into painting your dresser, what paint do you use?

Supplies Used To Paint A Dresser
As an Amazon Associate, I earn from qualifying purchases. I also may earn from other qualifying purchases with other companies or get free product to review and use. All opinions are my own.
- Electric Screwdriver
- SurfPrep Sander (Use code RAY10 to get 10% off your order)
- Shop Vacuum
- BIN Shellac
- Paint
- Paint Sprayer
- Painter’s Tape
- Paint Filter
- Fine Grit Foam Sponge (Use code RAY10 to get 10% off your order)
- Waterbased Polyurethane
What kind of paint to use on a dresser
When it comes to painting a dresser, there are several types of paint that you can choose from.
Chalk paint is a popular choice for its ease of use and ability to create different finishes. However, it’s important to remember to seal chalk paint for durability.
If you’re looking for a low-VOC option, acrylic paint is a great choice. It sticks to surfaces well and doesn’t require sealing if the furniture won’t receive heavy use.
You can check out our comparison post for chalk paint vs acrylic paint here to help you decide which one to use between the two.
Painting furniture with enamel paint is another great option, as it is easy to apply and has endless color options. However, it may be more expensive than other paints and have longer drying times in between coats.
Check out the best enamel paint for furniture for more details about each paint and and which is the right one for your next project.
If you want a quick and easy solution, all in one paint may be the way to go. It doesn’t require any top coating and is very durable, but it can also be expensive. Here are the best all-in-one paints for furniture that we recommend if you’re interested in trying it out.

Latex paint is a common choice for painting furniture due to its affordability and availability at most hardware stores. However, it’s important to properly prepare the surface and use a primer before painting with latex paint.
If you want to turn regular latex paint into chalk paint, here’s our homemade chalk paint recipe you can easily follow.
Yes, there are many different types of paint for furniture you can use to give your dresser a fresh new look. Just pick the one that suits your taste and needs!
How to prep a dresser for painting
Now that you’ve chosen your paint, it’s time to prep dresser for painting. The first step on how to prepare furniture for painting is to remove any old hardware. This includes drawer pulls, knobs, and handles.
If you plan on using new hardware, you may need to fill in old holes and drill new ones to fit the new hardware properly.
You can learn the ways of filling holes when replacing cabinet or furniture hardware here so you can easily do it yourself. Here’s how to clean old furniture hardware if you plan on reusing your old hardware.
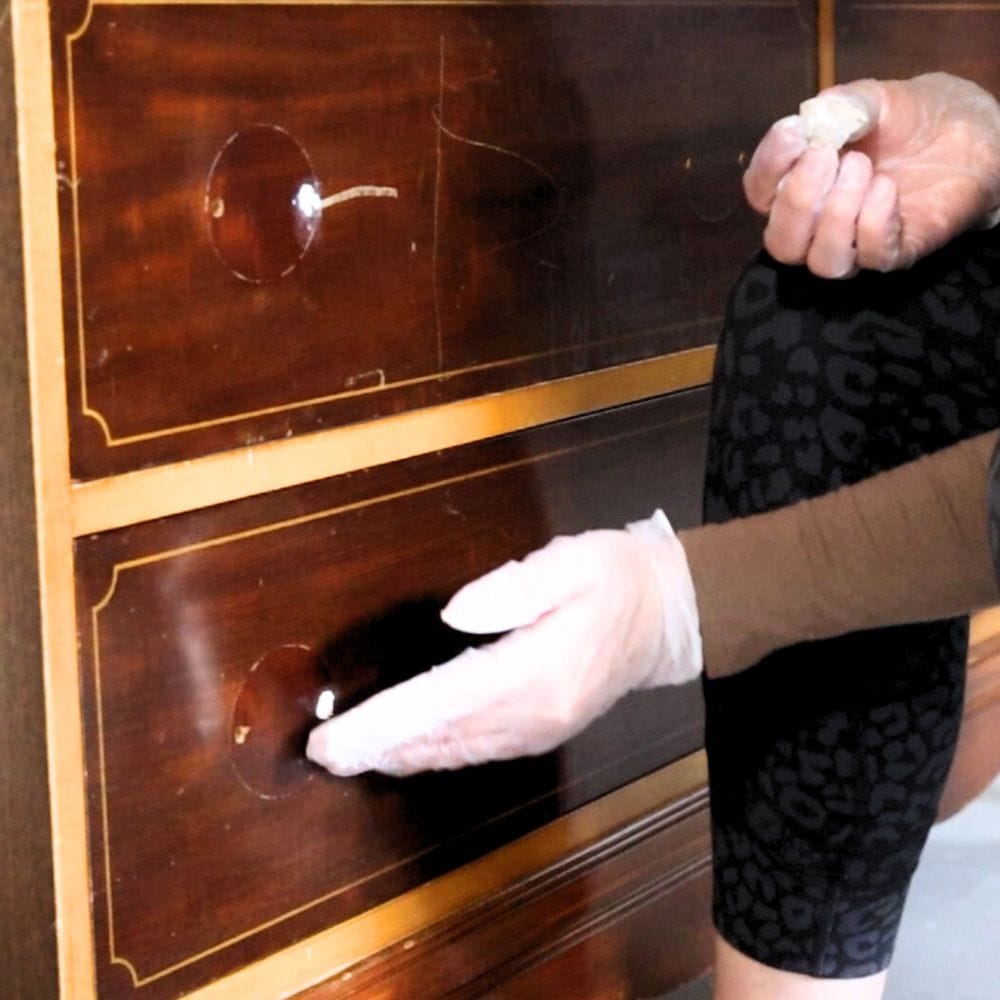
Next, you’ll want to make sure your dresser is clean and free of any dirt or grime. Cleaning furniture before painting is important for a successful paint job. We have a guide on how to clean furniture before painting here.
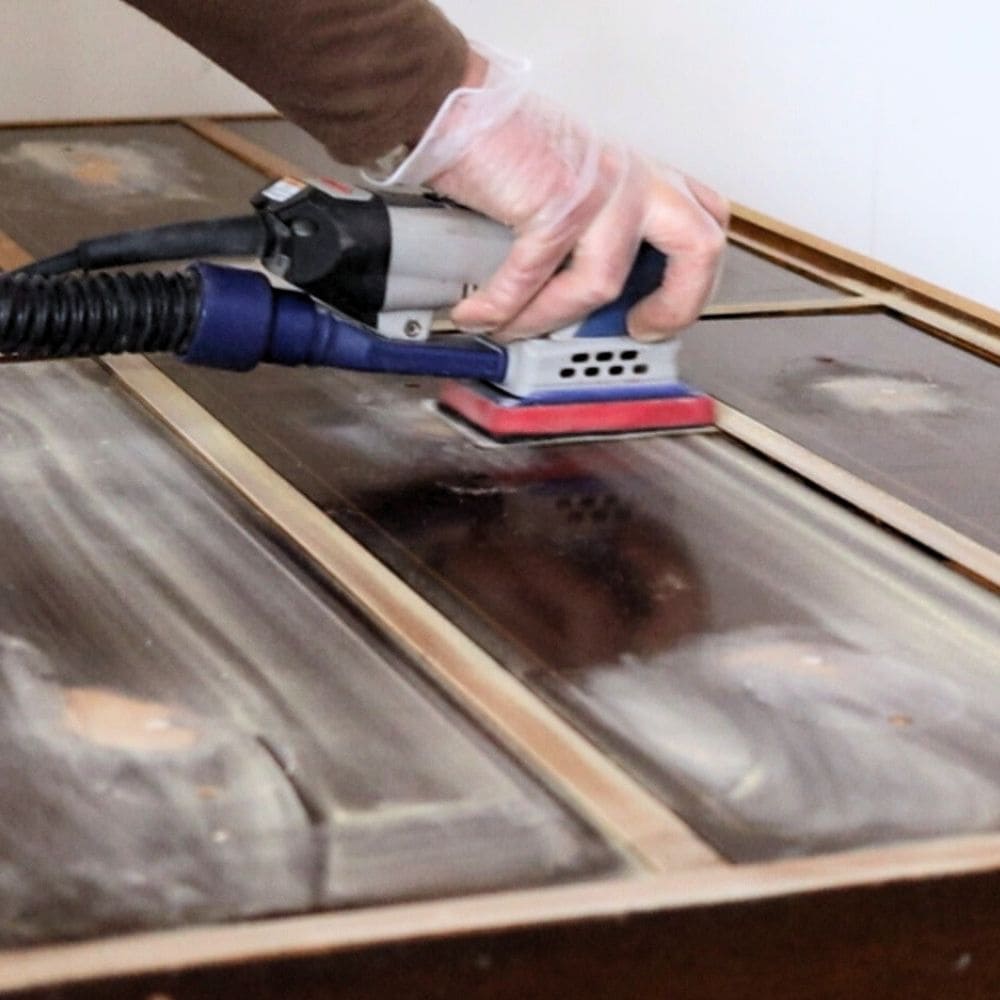
Be sure to also scuff sand the surface to create a better base for the paint to adhere to. When sanding before painting furniture, it also helps to smooth out any imperfections on the surface and guarantee a smooth and even finish. Learn all about sanding for paint prep here.
If your dresser has a laminate top, make sure to give it some extra attention. Laminate can be more difficult for paint to stick to, so be sure to sand it extra well.
And don’t forget to vacuum all the dust and wipe down the dresser with a damp cloth after sanding!
Can I paint my dresser without sanding?
Sure, you can paint your dresser without sanding, but we don’t recommend it. Again, sanding helps make the surface smooth and helps the paint stick better. You can learn more on what happens if you don’t sand before painting furniture here!
But if you’re in a time crunch or just don’t want to deal with the extra step, you may be able to paint your dresser without sanding. You should use a good bonding primer as well as one of these best paints for furniture without sanding to make sure the paint adheres well.
This painting furniture without sanding makeover will show you how you can still get a beautiful finish without sanding. Still, we really recommend sanding for the most durable and long lasting paint job!
Would you like to save this?
Priming a Dresser
Now that your dresser is prepped, it’s time to prime! But why do you need a primer?
On top of sanding, a primer helps to seal and protect the wood, making sure that the paint will adhere properly and creating a stronger bond between the paint and the surface.
By using primer, you can also stop stains from coming through paint, especially if you’re painting light colors over darker wood.
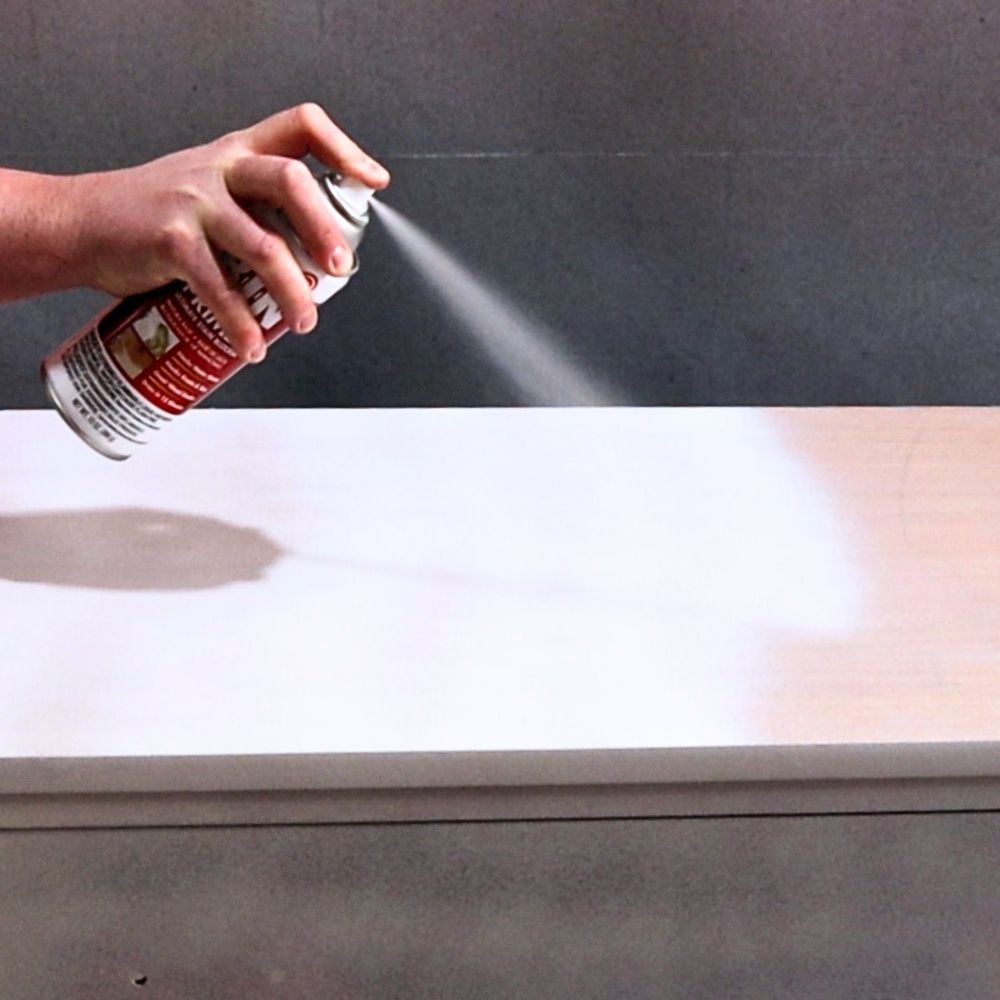
There are many best primers for painting furniture, but we recommend using shellac-based primers for the best results.
Shellac dries quickly, has good stain-blocking properties, and is compatible with most paints. Make sure to apply two coats of primer and let each coat dry for about an hour before moving on to painting.
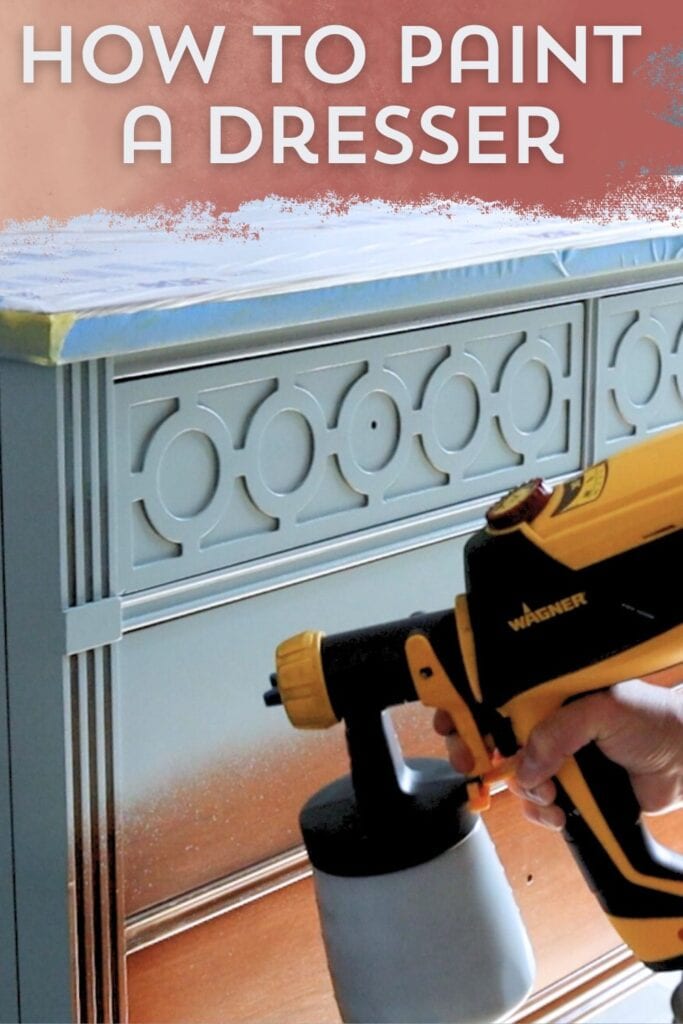
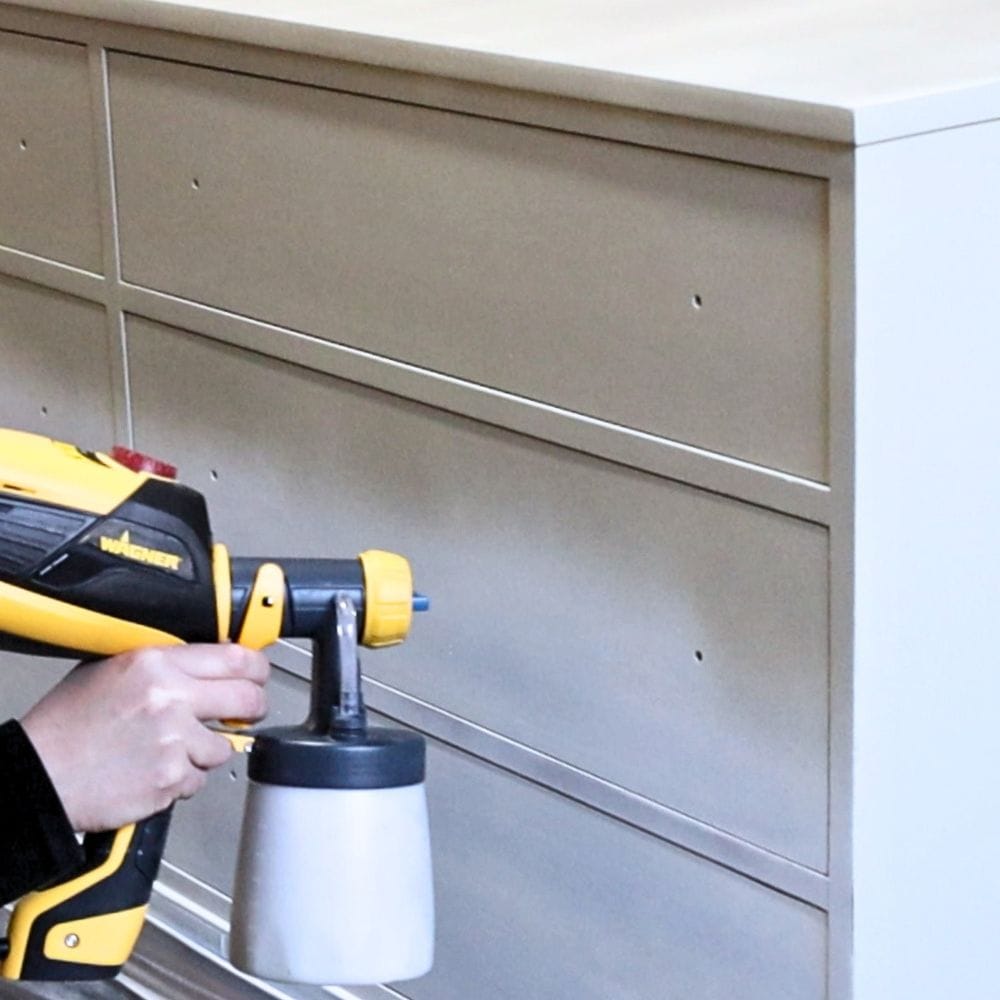
Painting a Dresser
After you’ve applied your primer and let it dry, you can finally start painting your dresser! Using a paint sprayer is the quickest and easiest method, but you can also use a brush if you prefer.
We have listed the best HVLP paint sprayers for furniture and the best paint brushes for painting furniture to help you choose the right tools for the job.
When using a paint sprayer, be sure to properly cover and tape off any areas you don’t want paint to get on using plastic. Here’s how to prevent overspray when painting furniture so you can have a mess-free painting experience.
If you’re using a brush, make sure to tape off with painter’s tape so you can easily paint without worrying about going over the edges.
Supposing you’re spraying your dresser, pour your paint through a mesh filter to prevent any debris or clumps from clogging the sprayer. Thin out the paint with a little water to make it easier to spray.
Apply 2-3 coats of paint, waiting for each coat to dry before applying the next one. For brush painting, always paint in the direction of the wood grain for a professional look.
If you come across paint drips, simply sand them out with a fine-grit foam sponge, clean up the dust, and apply another coat of paint. You can learn how to fix spray paint drips here so don’t worry if you make a mistake!
Protecting a Painted Dresser
You’ll want to add a topcoat to your newly painted dresser for extra durability and protection against scratches and wear and tear. Using one of these topcoats for painting furniture is a step that should not be skipped, especially if you want your beautiful paint job to last for years to come.
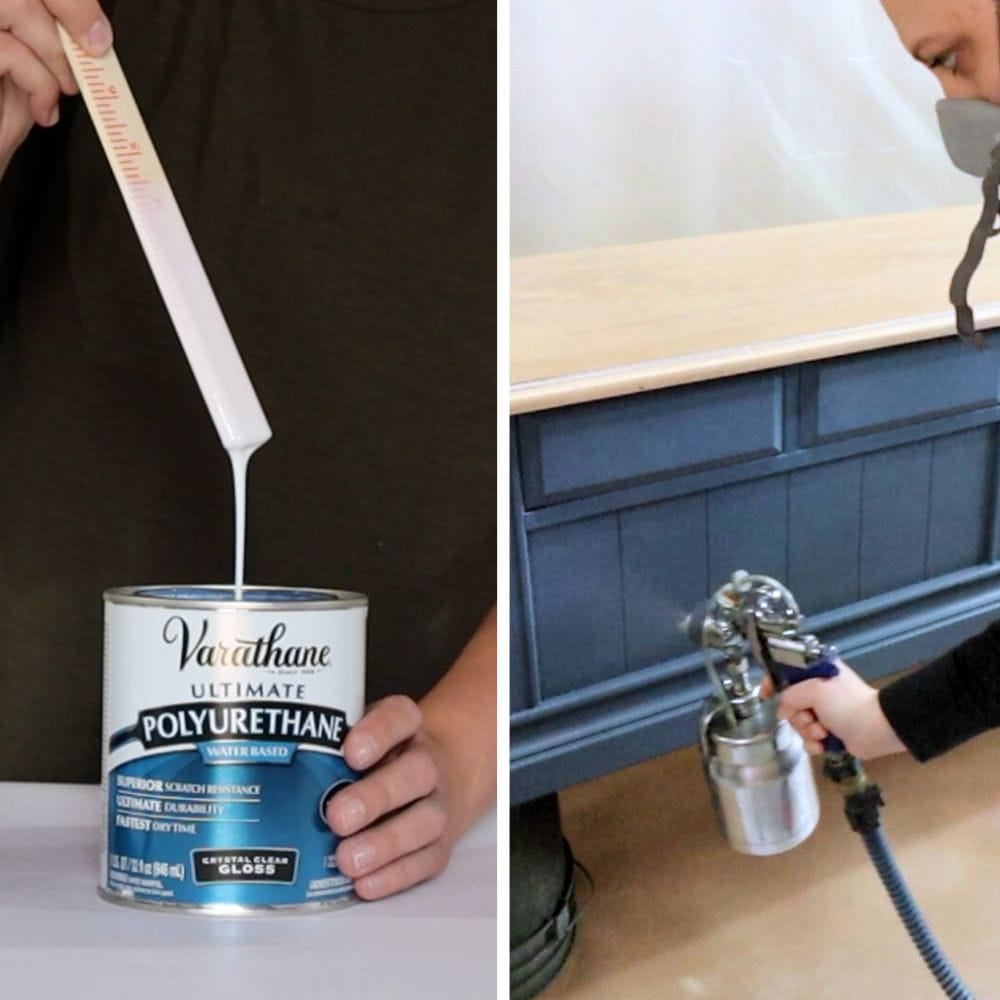
Polyurethane is a popular choice due to its strong protective qualities. To make the application easier, you can mix a little water with it and spray polyurethane using a paint sprayer. Make sure to apply at least two coats and let the dresser dry completely before using it.
Here’s how to spray polyurethane to help you apply your topcoat with a paint sprayer and get the best results.
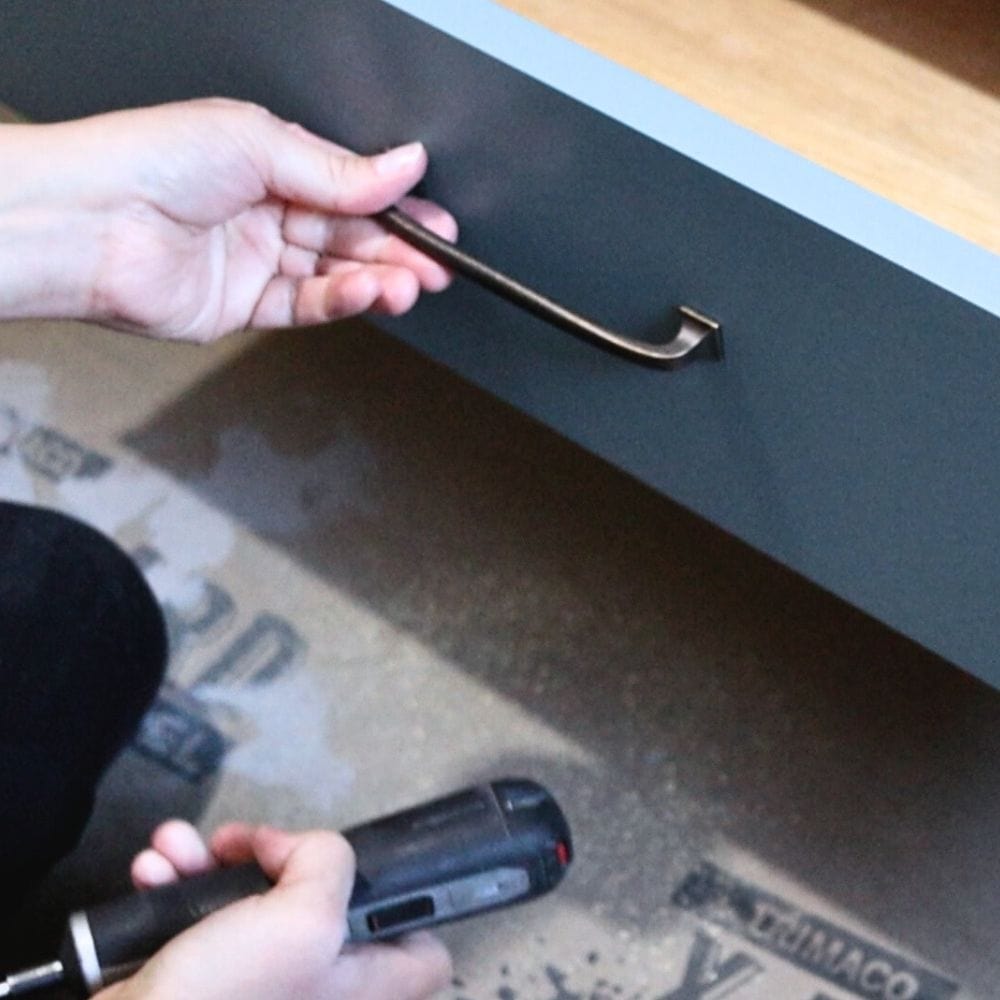
Adding hardware to your painted dresser is the finishing touch that will bring your piece together. Make sure to choose hardware that complements the style and color of your dresser. You can find a variety of unique and beautiful hardware options at your local hardware or home improvement store or online!
Can I just paint over old paint on a dresser?
Yes, you can definitely paint over old paint on a dresser! As long as the old paint is still in good condition and not chipping or peeling, you can save time and effort by painting over it instead of stripping it off. But if the old paint is damaged, it’s best to remove it before adding a new coat.
One thing to keep in mind when painting over old paint is that the color of the previous coat may affect the final result. For example, if you’re painting a white dresser over a dark color, you may need to apply more coats of paint to get your desired color.
Here’s repainting furniture for the steps to work with an already painted piece. You can also check out these repainting dresser ideas for inspiration on different colors and finishes you can create when painting over old paint.


By following these steps on how to paint a dresser, your dresser is set to become a stunning and unique piece of furniture that you can proudly display in your home. Remember to always properly prepare, prime, paint, and protect your dresser for a successful furniture makeover.

How to Paint a Dresser
Check out our step-by-step guide on how to paint a dresser for a successful dresser makeover.
Materials
Instructions
- Prep your dresser by removing any hardware and filling in holes, then clean and sand the surface to create a smooth base for paint to adhere to.
- Use a primer to seal and protect the wood, stopping stains from coming through and creating a stronger bond between the paint and surface.
- Properly cover and tape off areas you don't want paint to get on, such as the insides of drawers and hardware holes.
- Thin out your paint with a little water if using a paint sprayer. Apply 2-3 coats of your chosen paint, letting each coat dry completely before moving on to the next one.
- Sand out any drips or imperfections with a fine-grit foam sponge and clean up dust before applying another coat of paint.
- After the final coat of paint is completely dry, add a topcoat for extra durability and protection against wear-and-tear.
- Add your desired hardware to complete the look of your painted dresser.
Recommended Products
As an Amazon Associate and member of other affiliate programs, I earn from qualifying purchases.


More Dresser Painting Tips
- How To Paint A Dresser White
- Painting A Dresser Black
- How to Paint an Antique Dresser
- How to Repaint a Dresser
- Wallpaper Dresser Ideas

Follow us on YouTube to get more tips for painting furniture. Or share your project with us on our Facebook Group and be part of our community. See you there!